Blog

Ampeg VT-22 Restoration

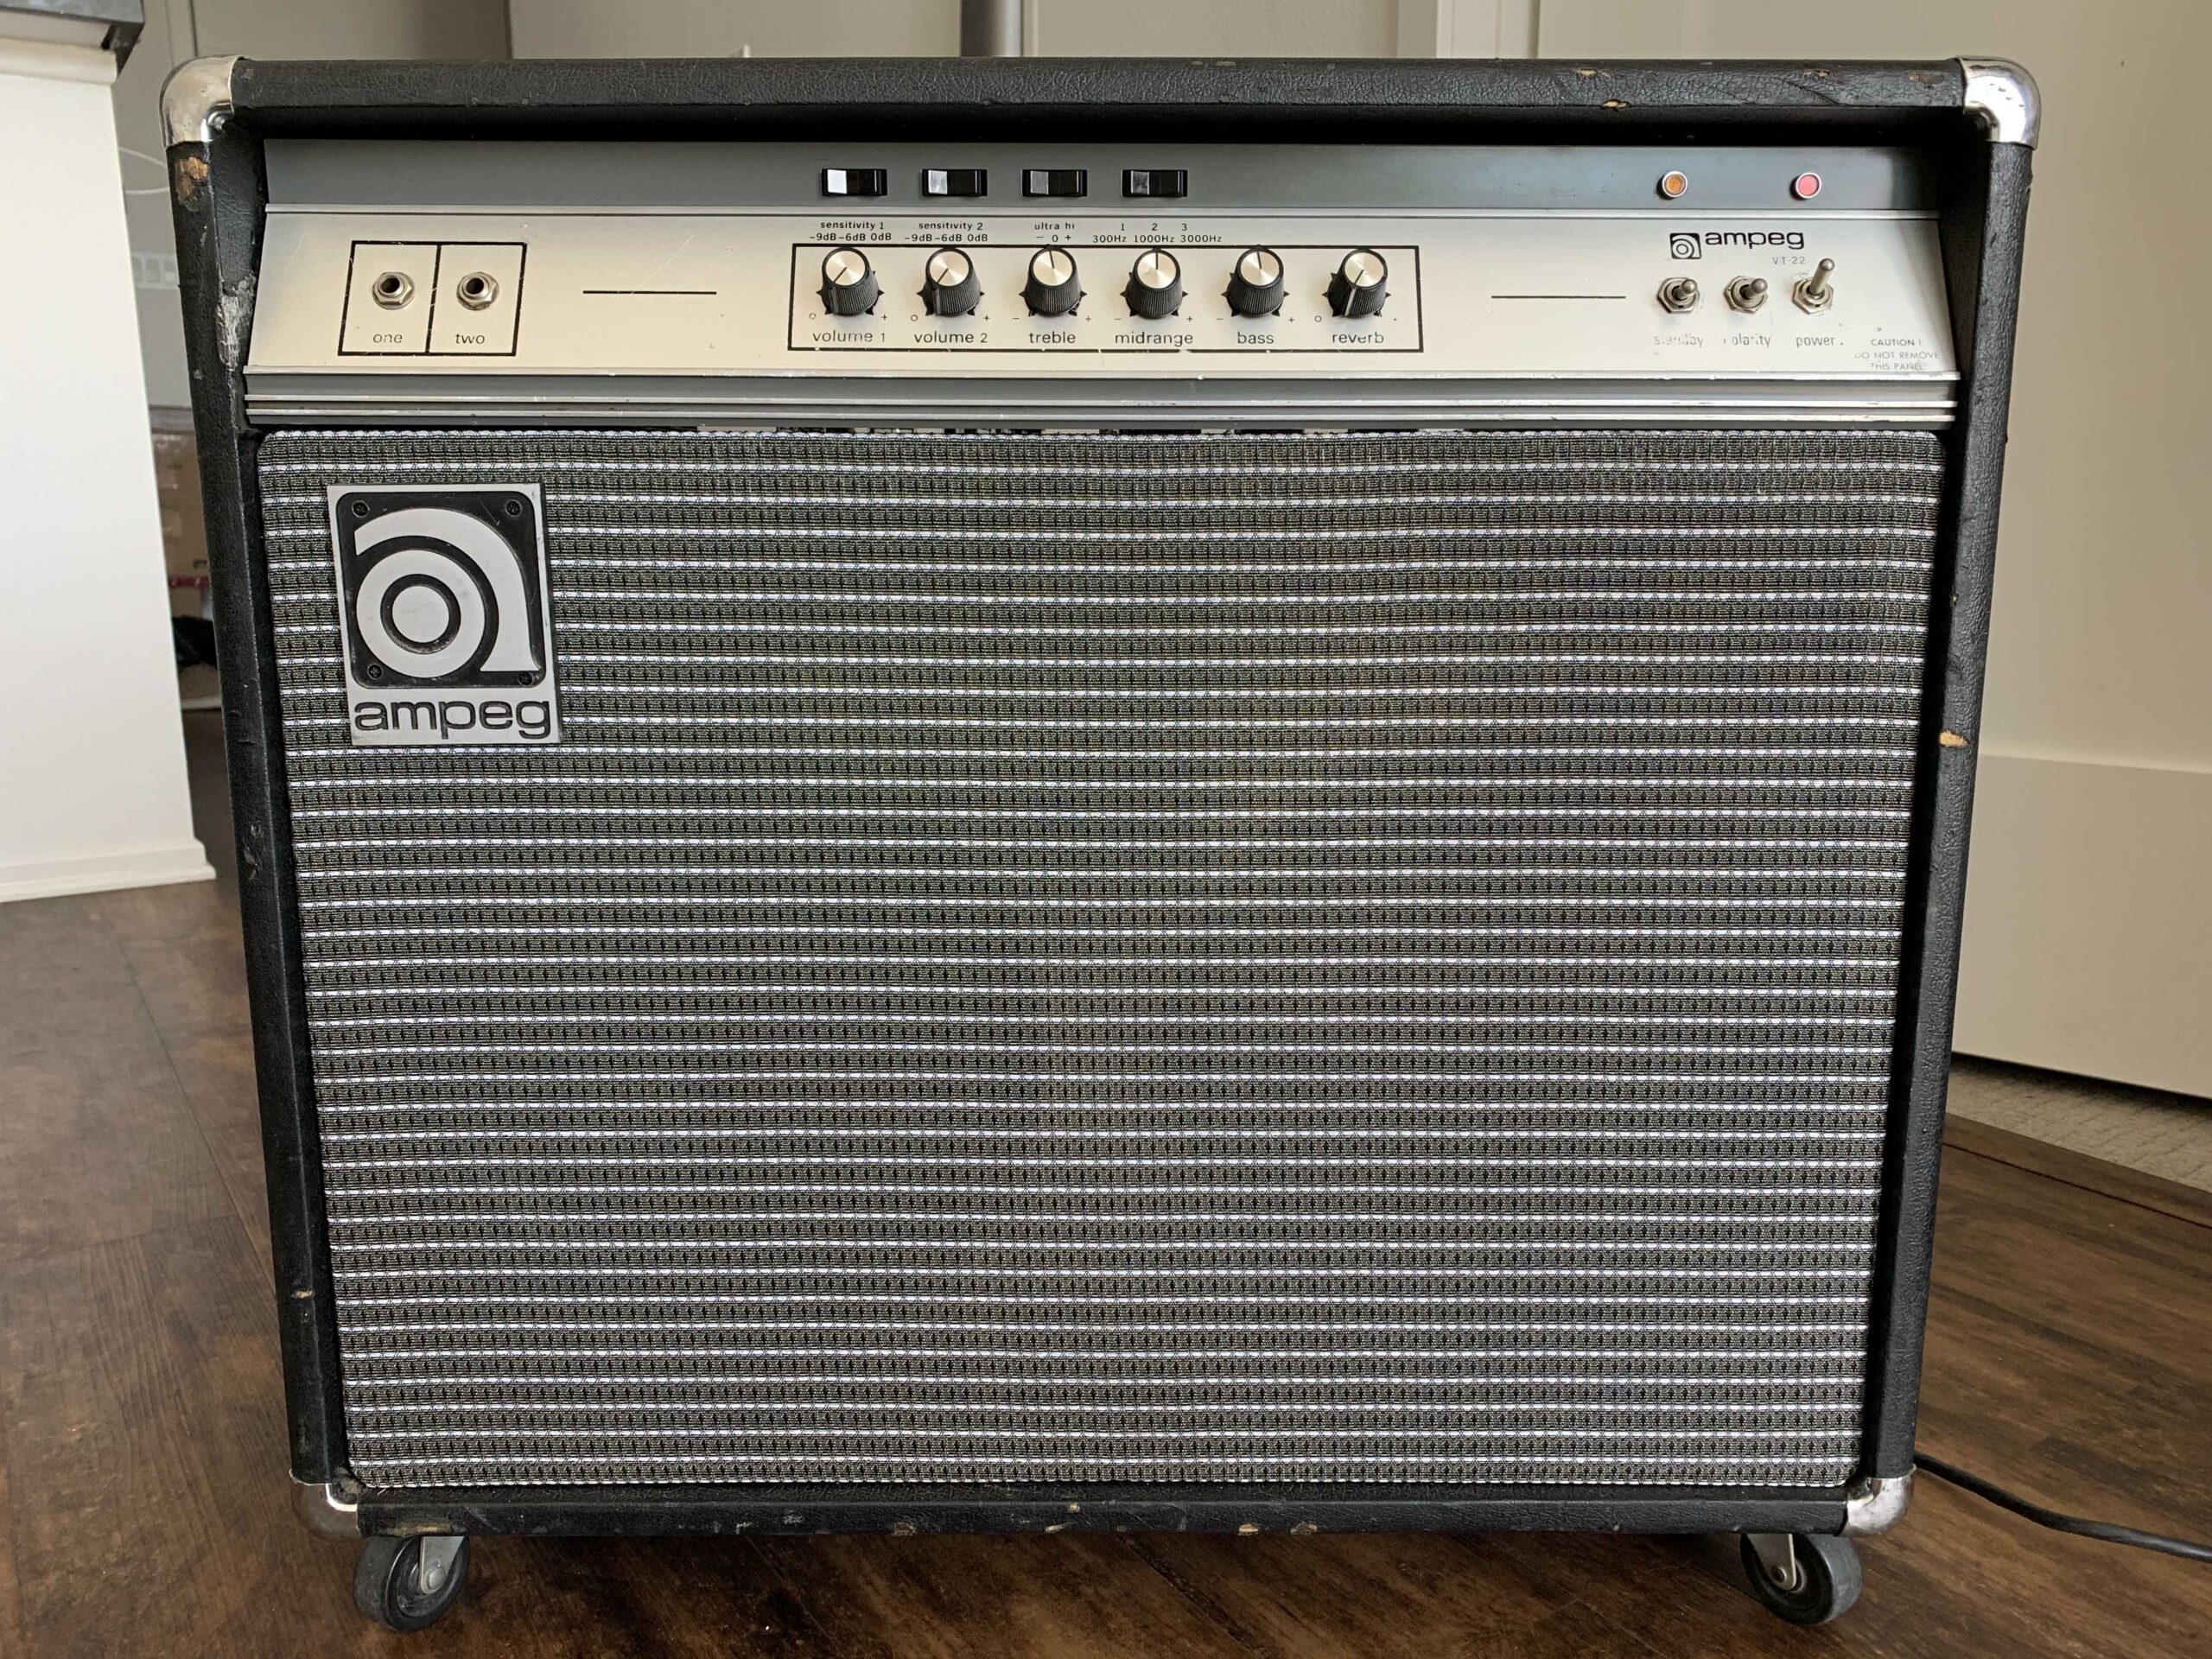
During the virus lock down I was on the hunt for a project to work on. I picked up an Ampeg VT-22 on craigslist in bad shape for $100. Unknown of it’s true condition, it sounded fun and I decided to tackle this one in stages to stay busy. Keep in mind, I decided to not power on this amp at all until the project was fully completed, a very risky action giving the unknown condition before starting to rebuild. Cosmetically it was filthy, needed a new grill cloth, new hardware, vinyl was peeling and many screws were loose. As for the speakers, one read zero ohms and the other was fluctuating upon reading, additionally a pre-amplifier and power tube was missing.
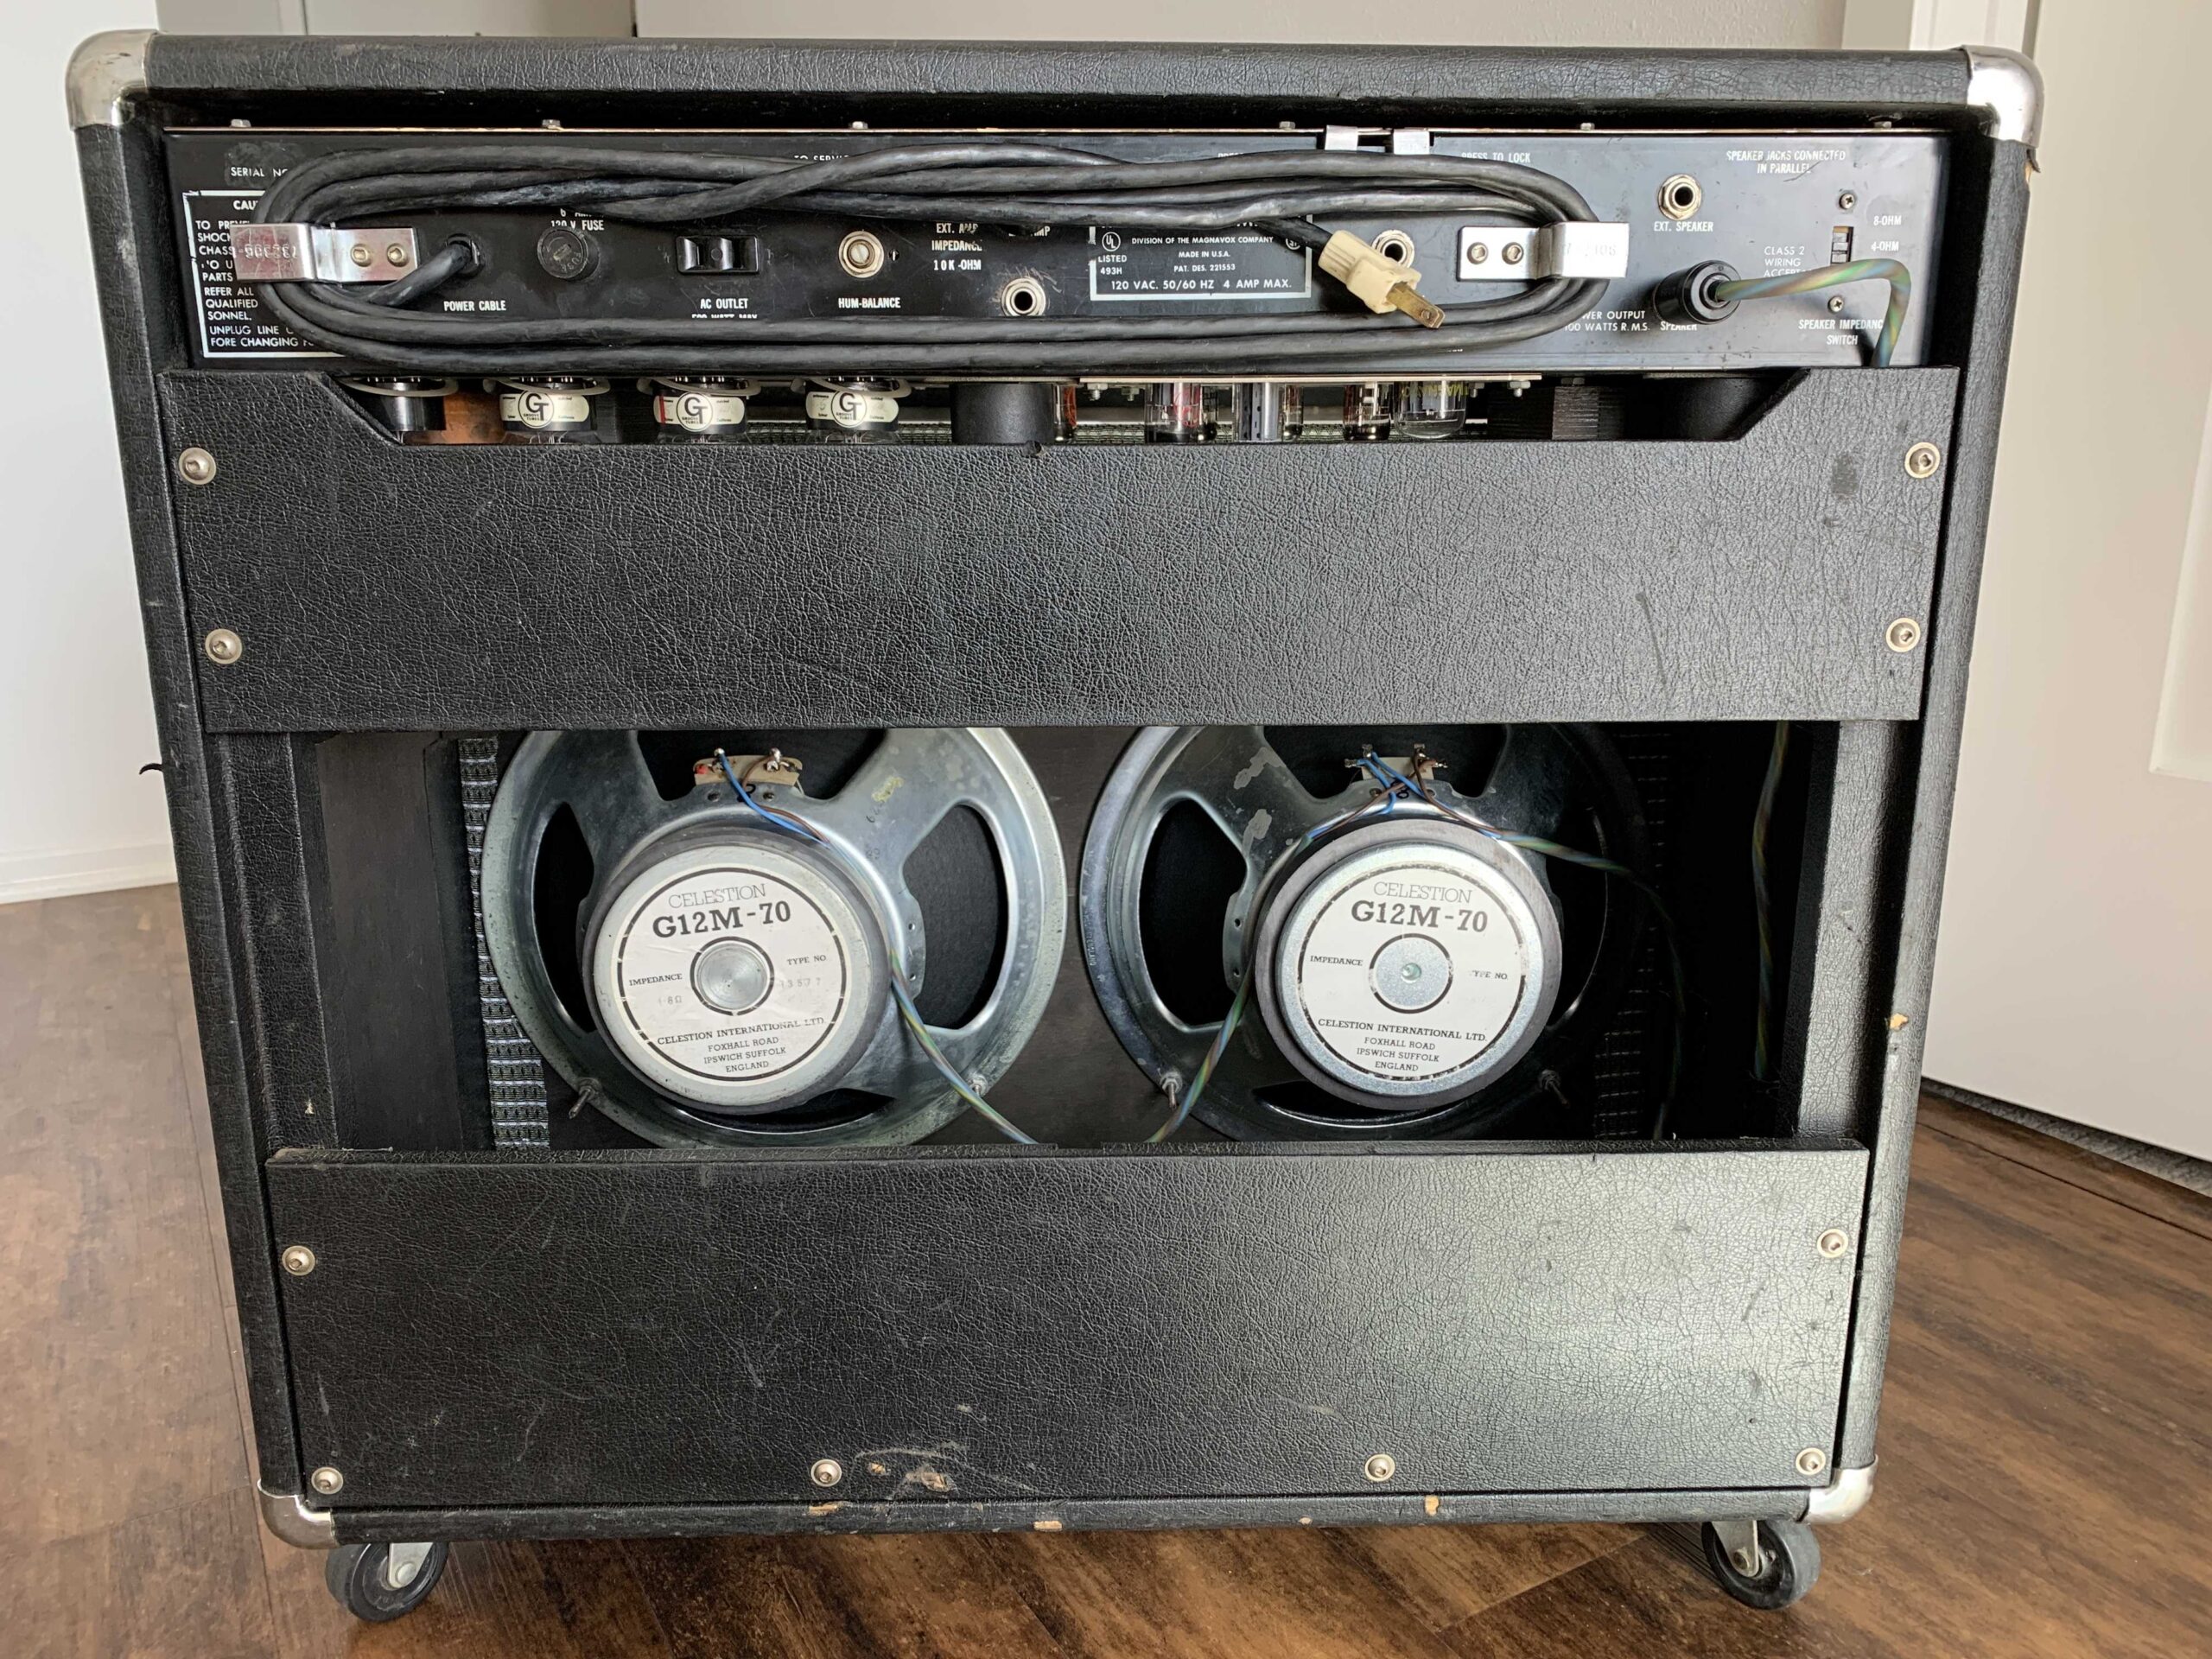
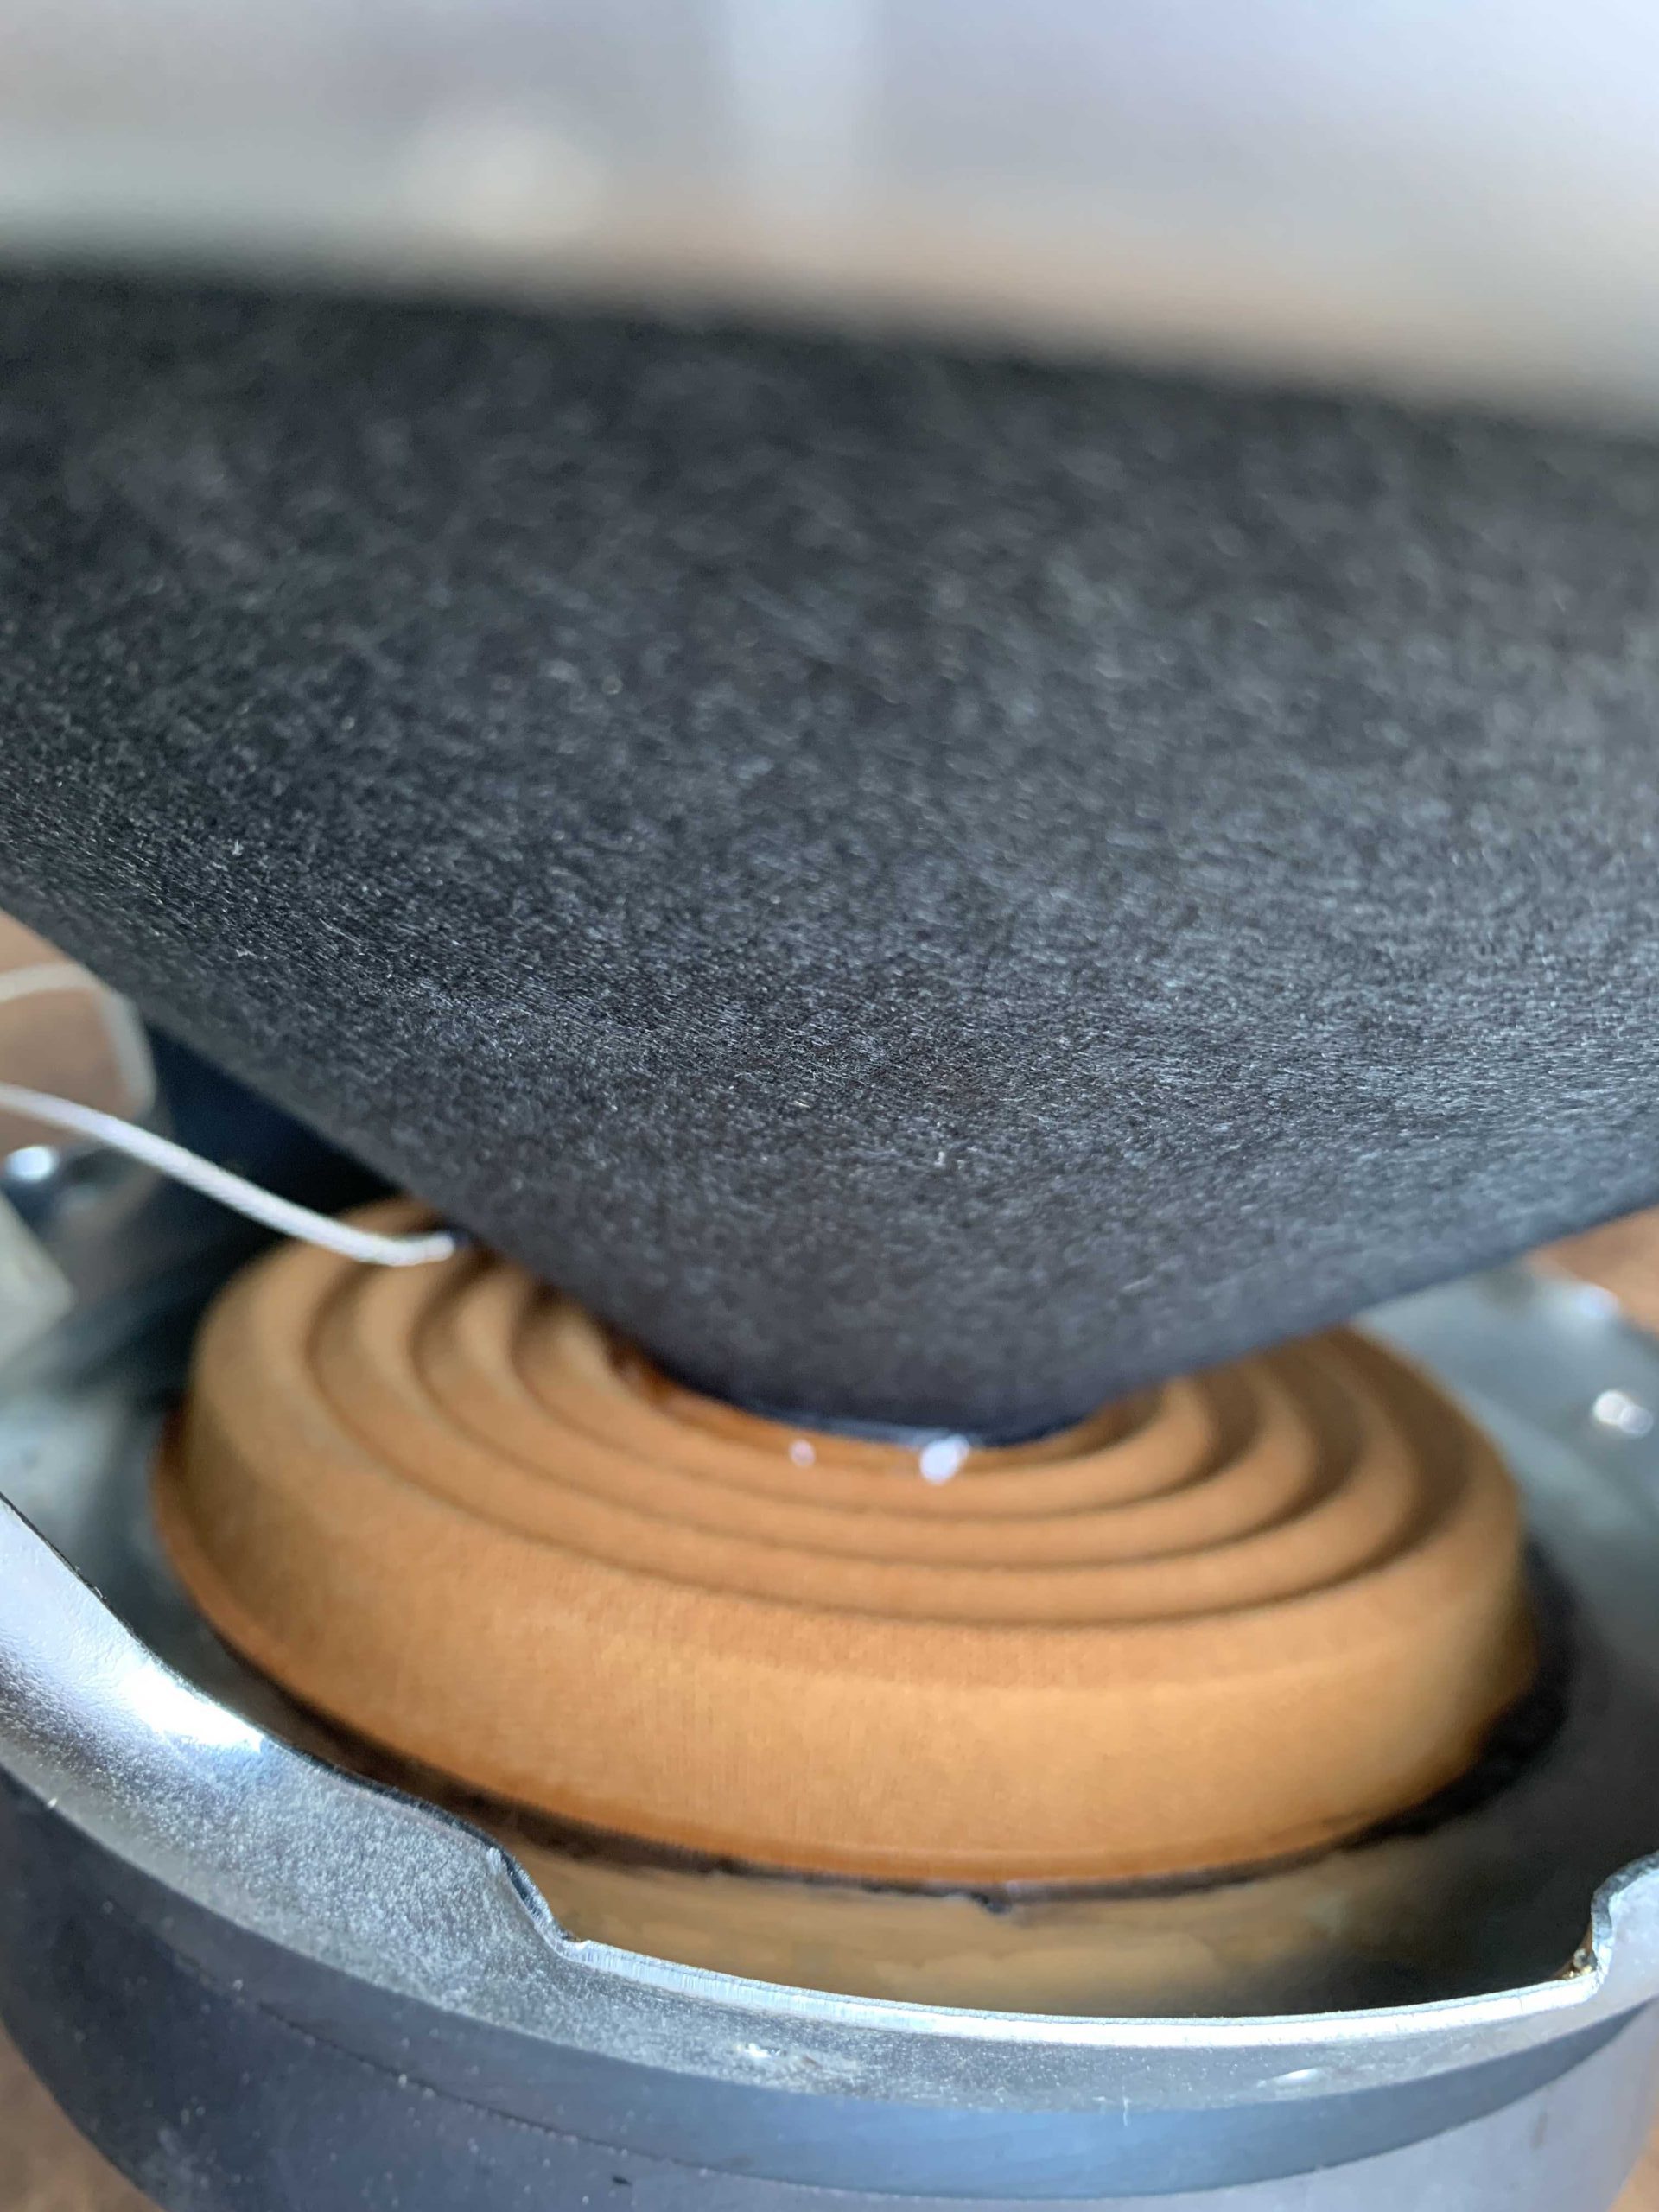
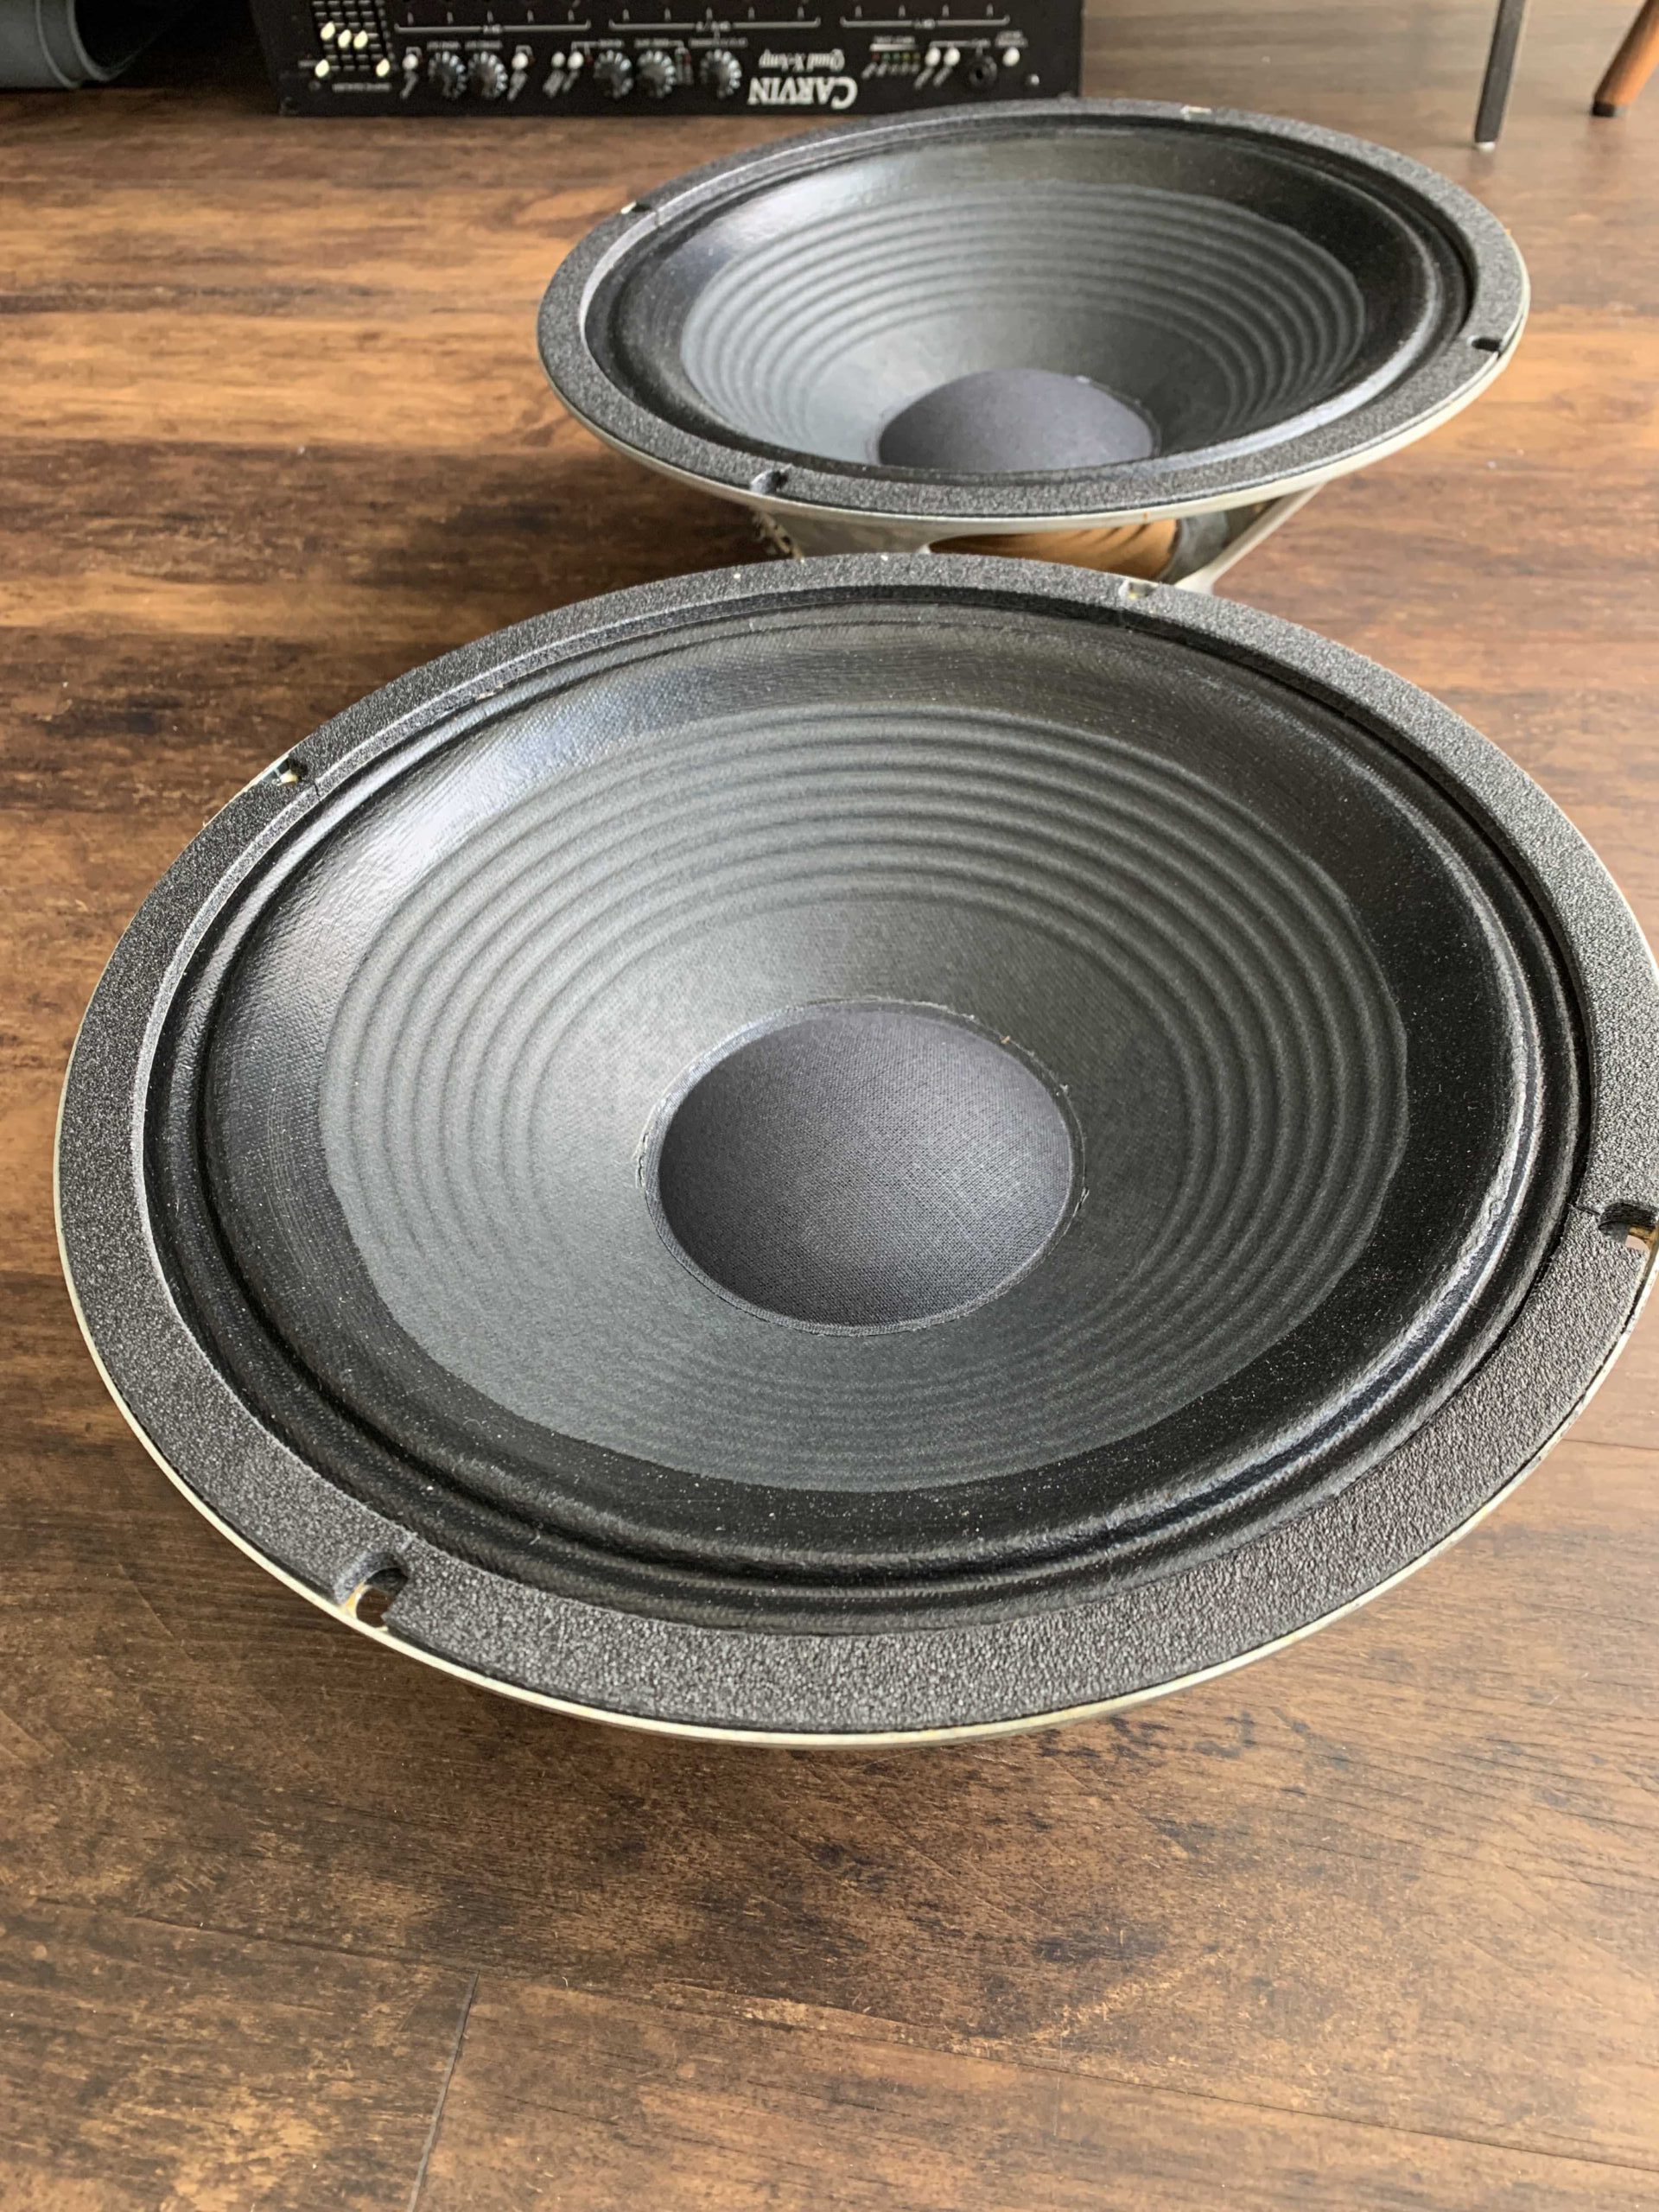
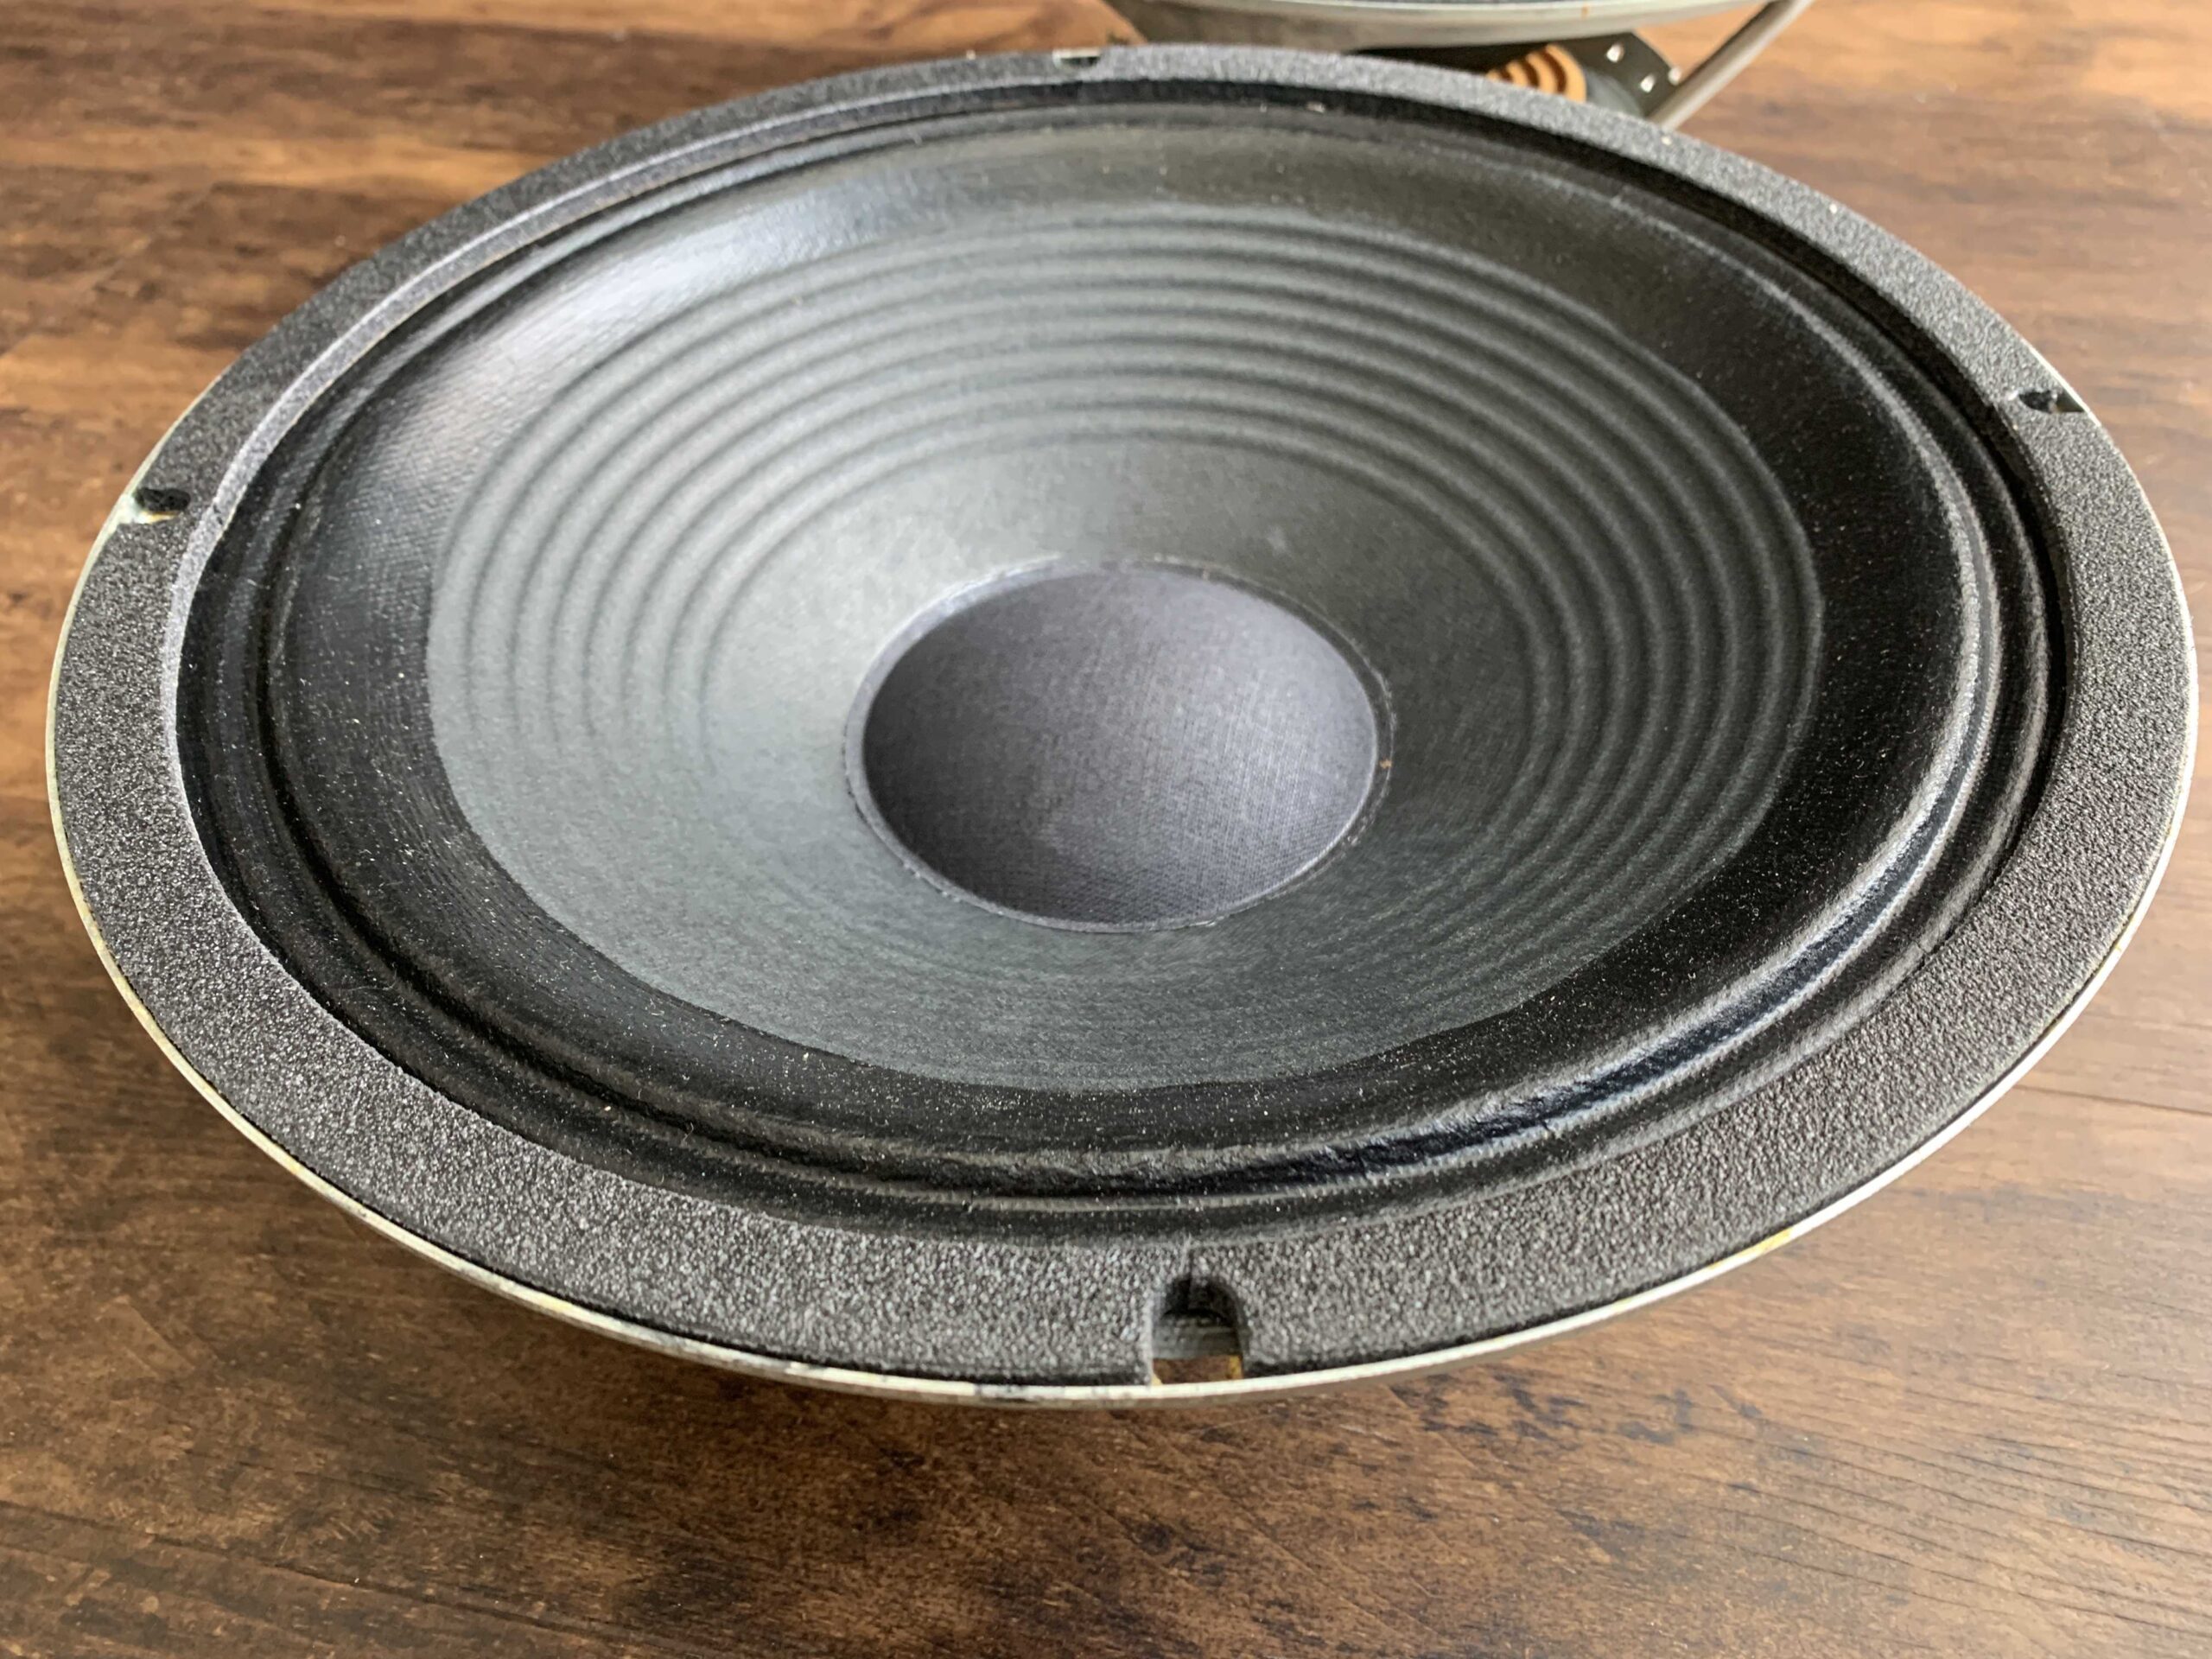
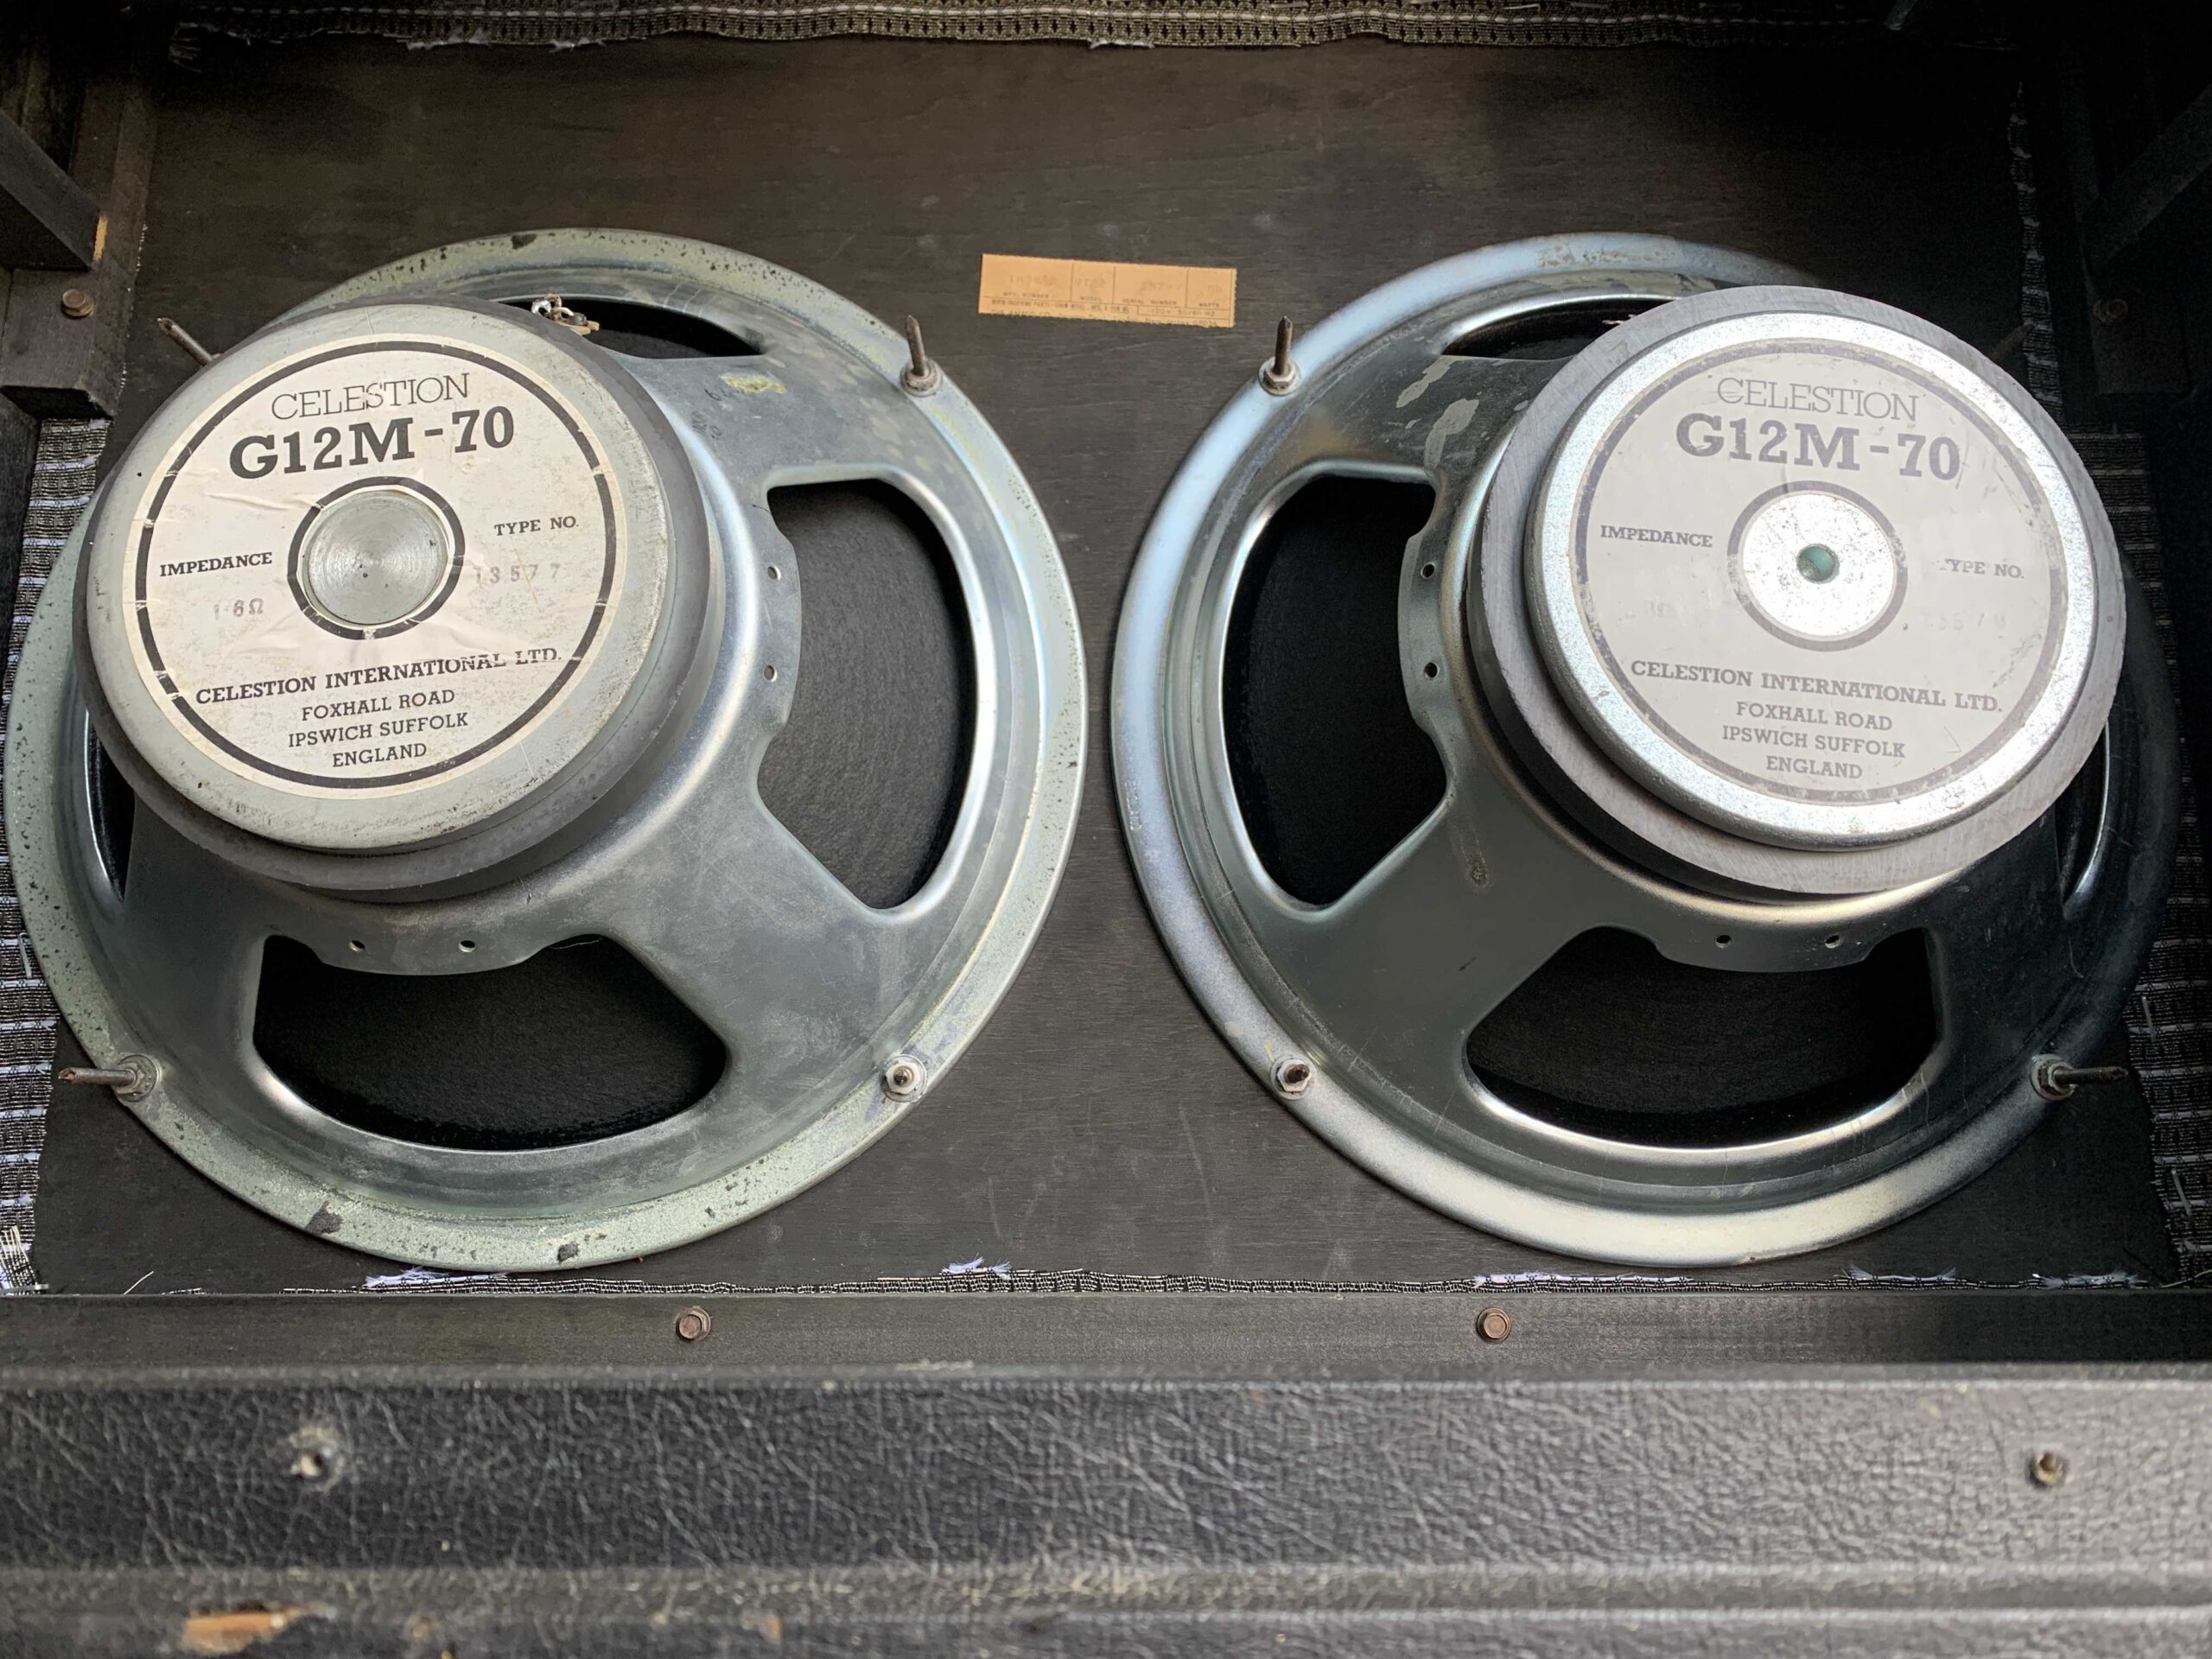
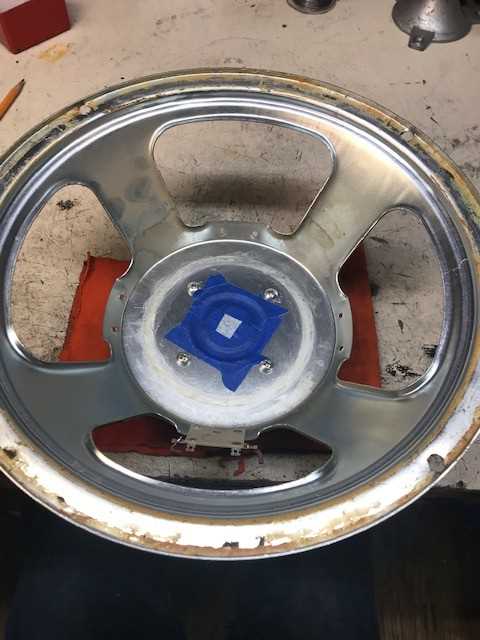
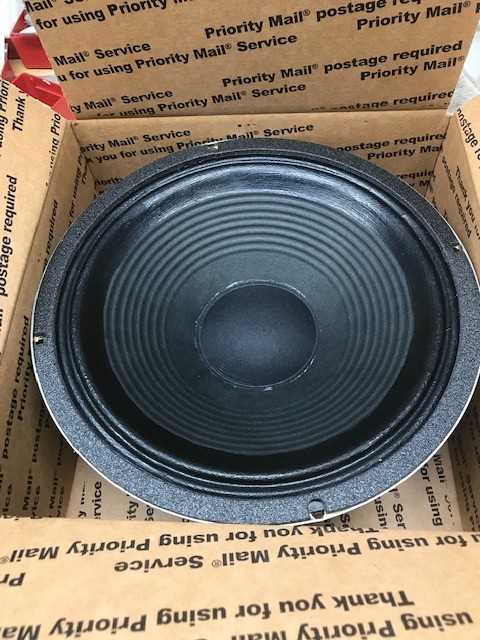
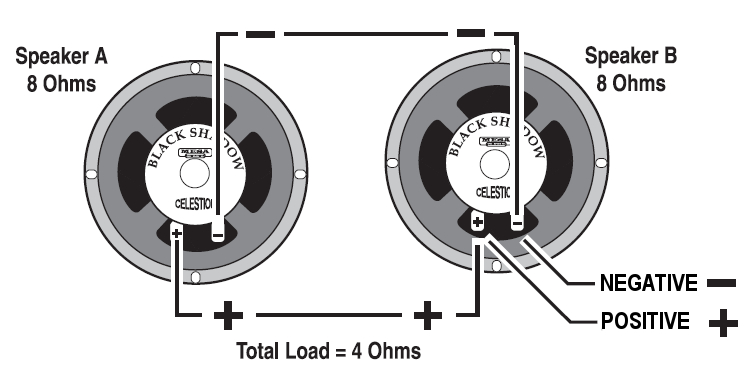
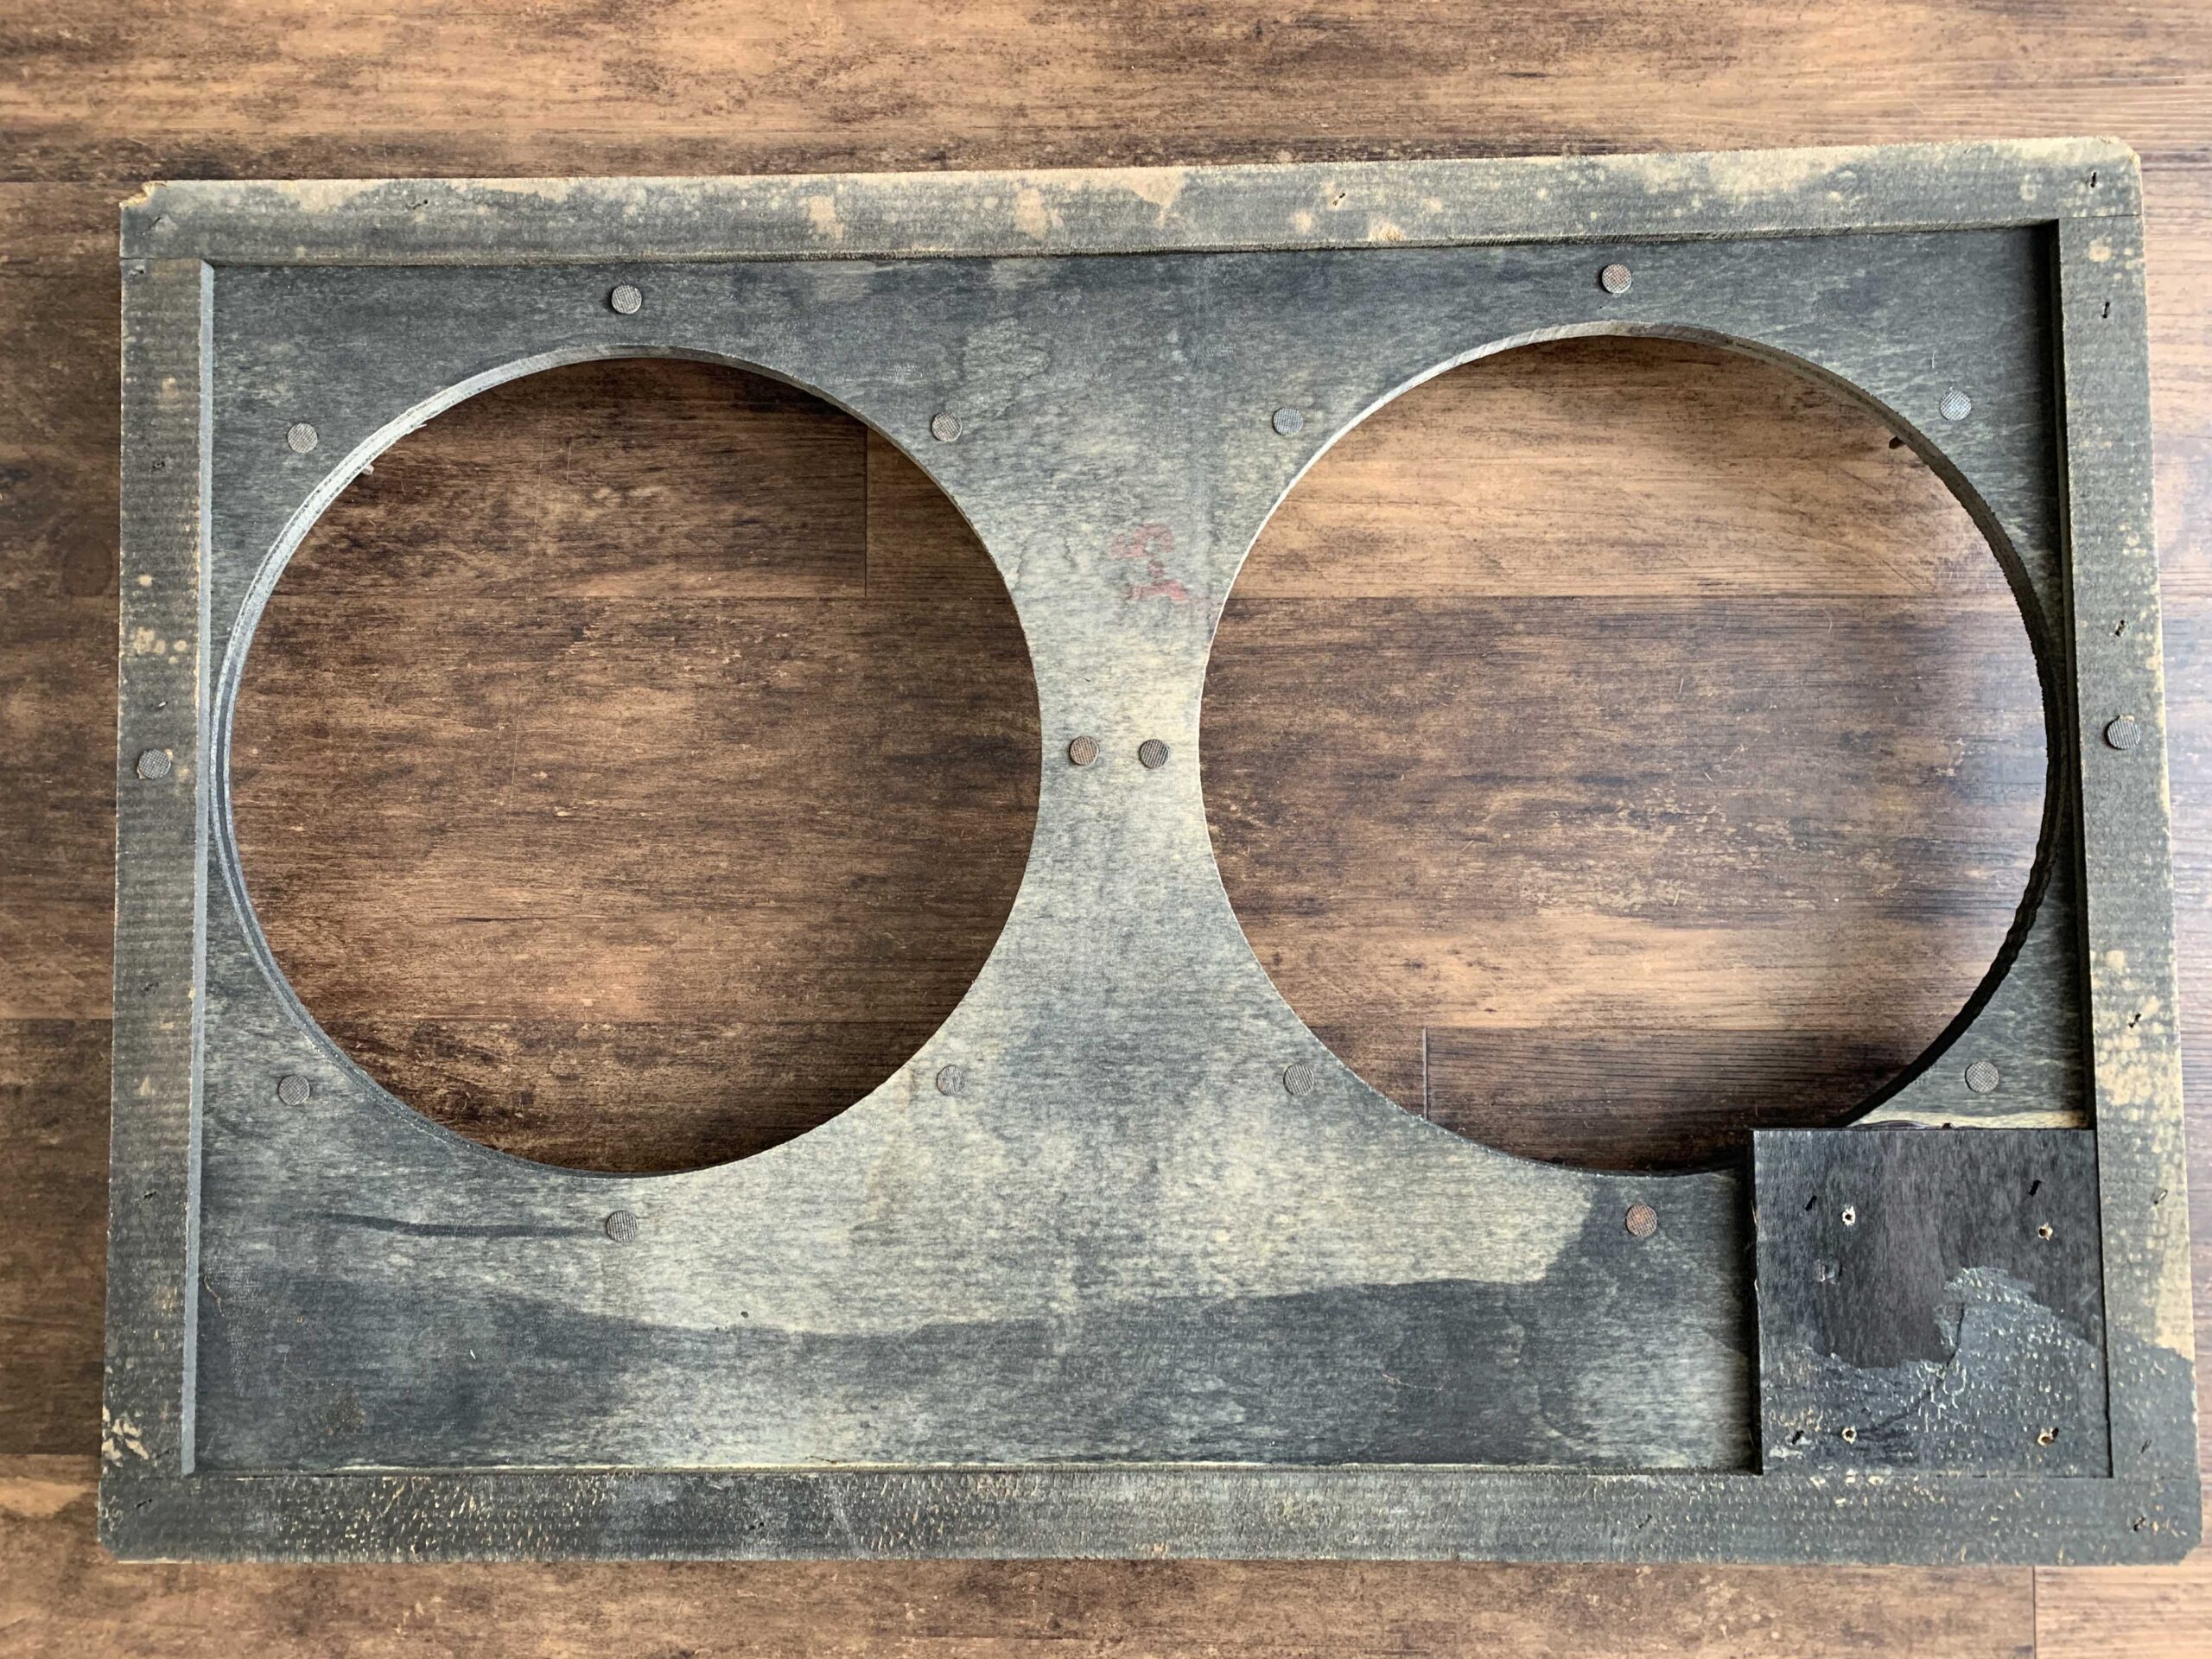
I started by cleaning the amp, inspected the circuits, and removed the speakers. The speakers I sent over to my friends at Gabriel Sound. They always do a great job restoring my vintage speakers. Check out their website https://www.speakerrecone.net/recones and the work they did on these vintage Celestian G12M-70’s. I requested to have 8 ohm coils installed and wired them up to be in parallel at 4 ohms.

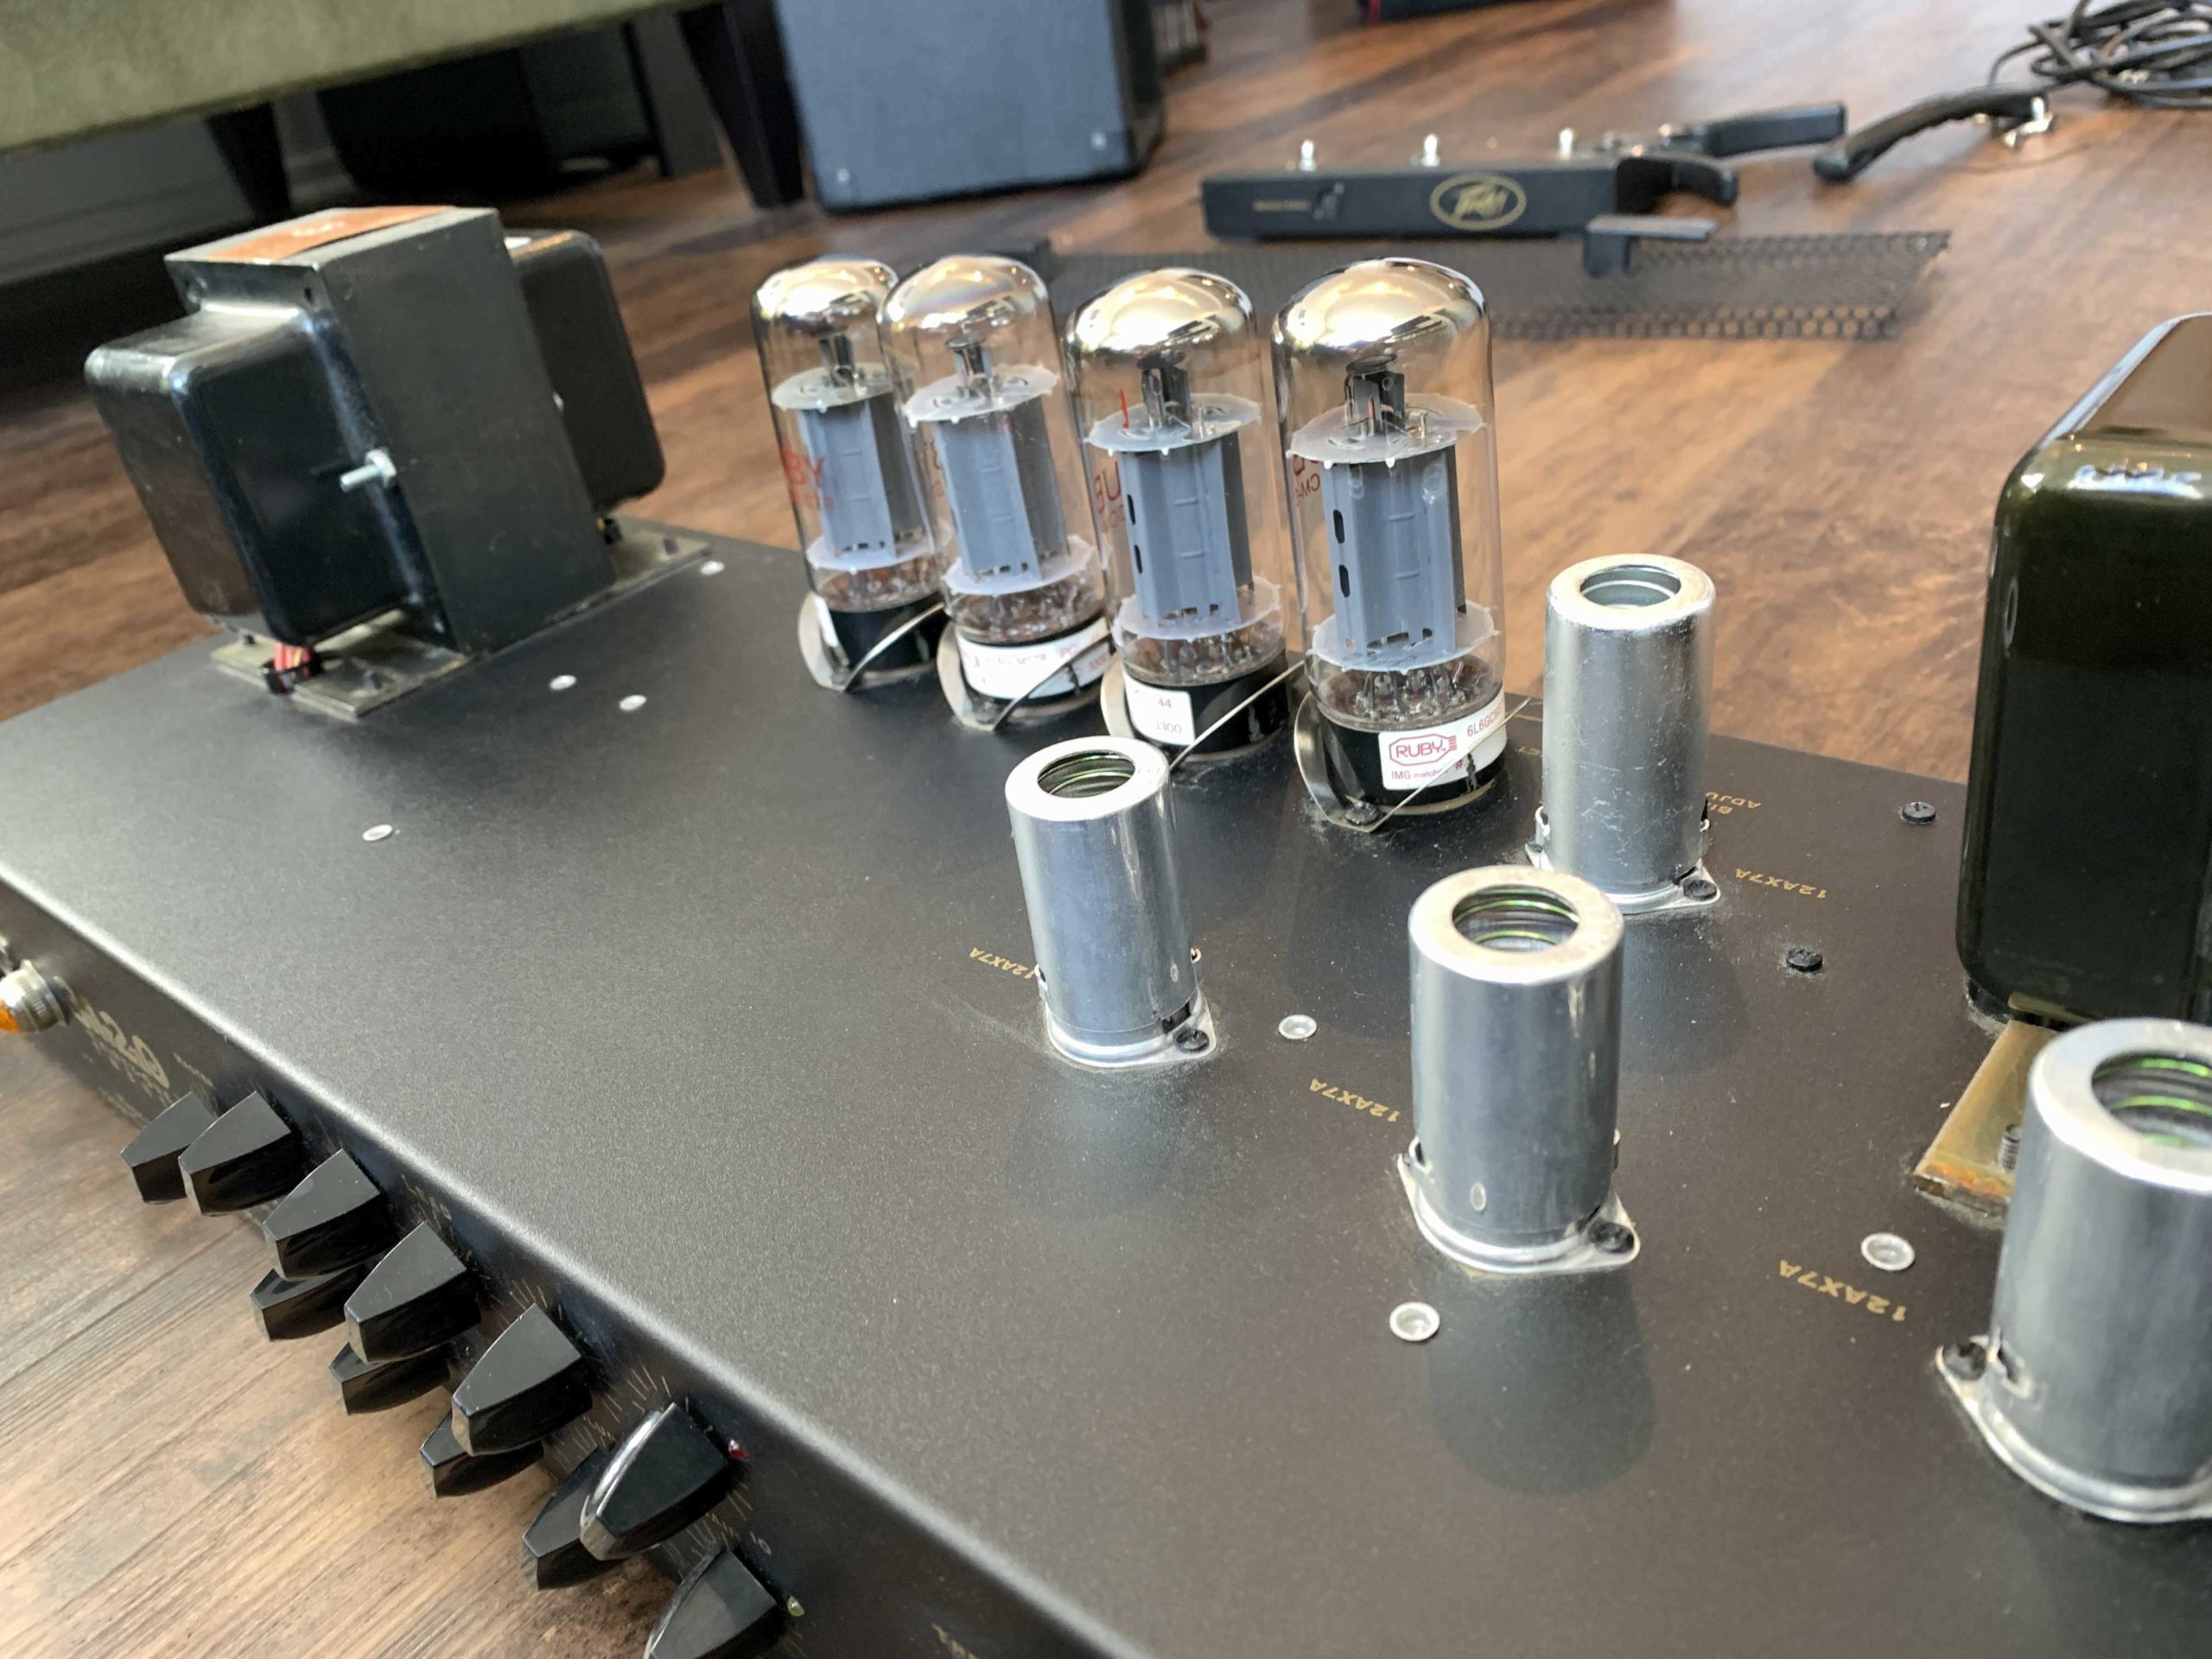
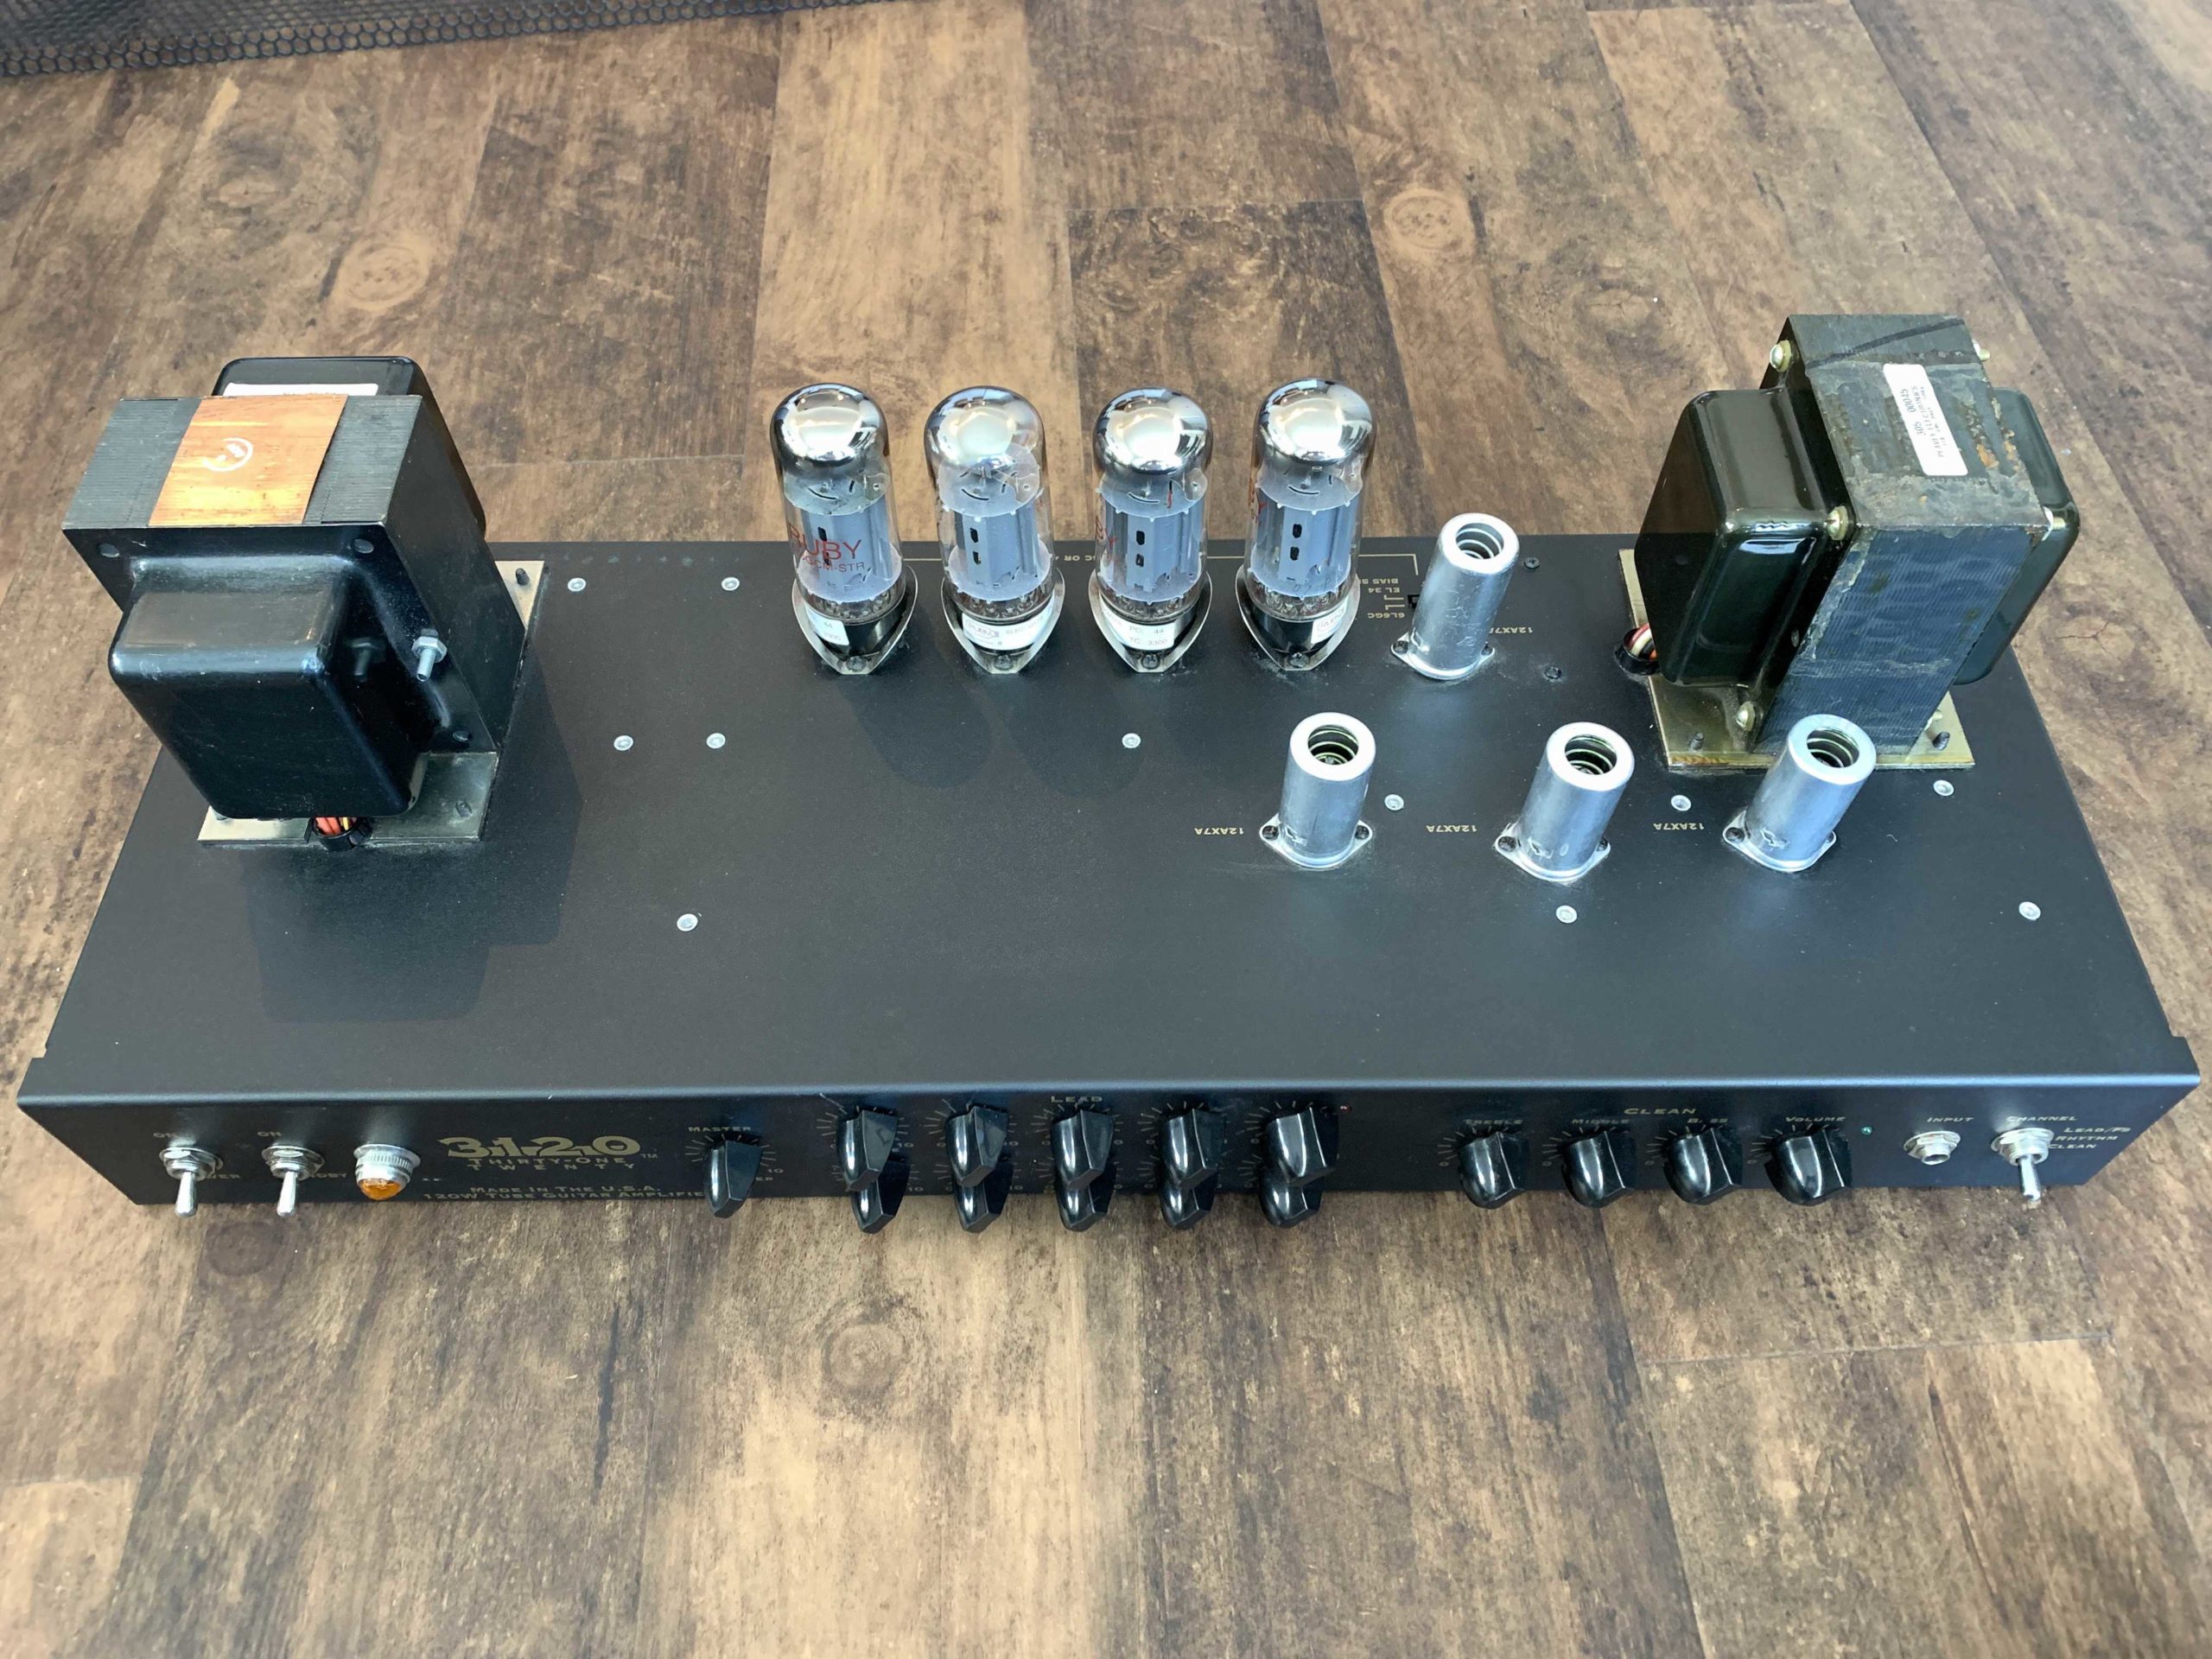
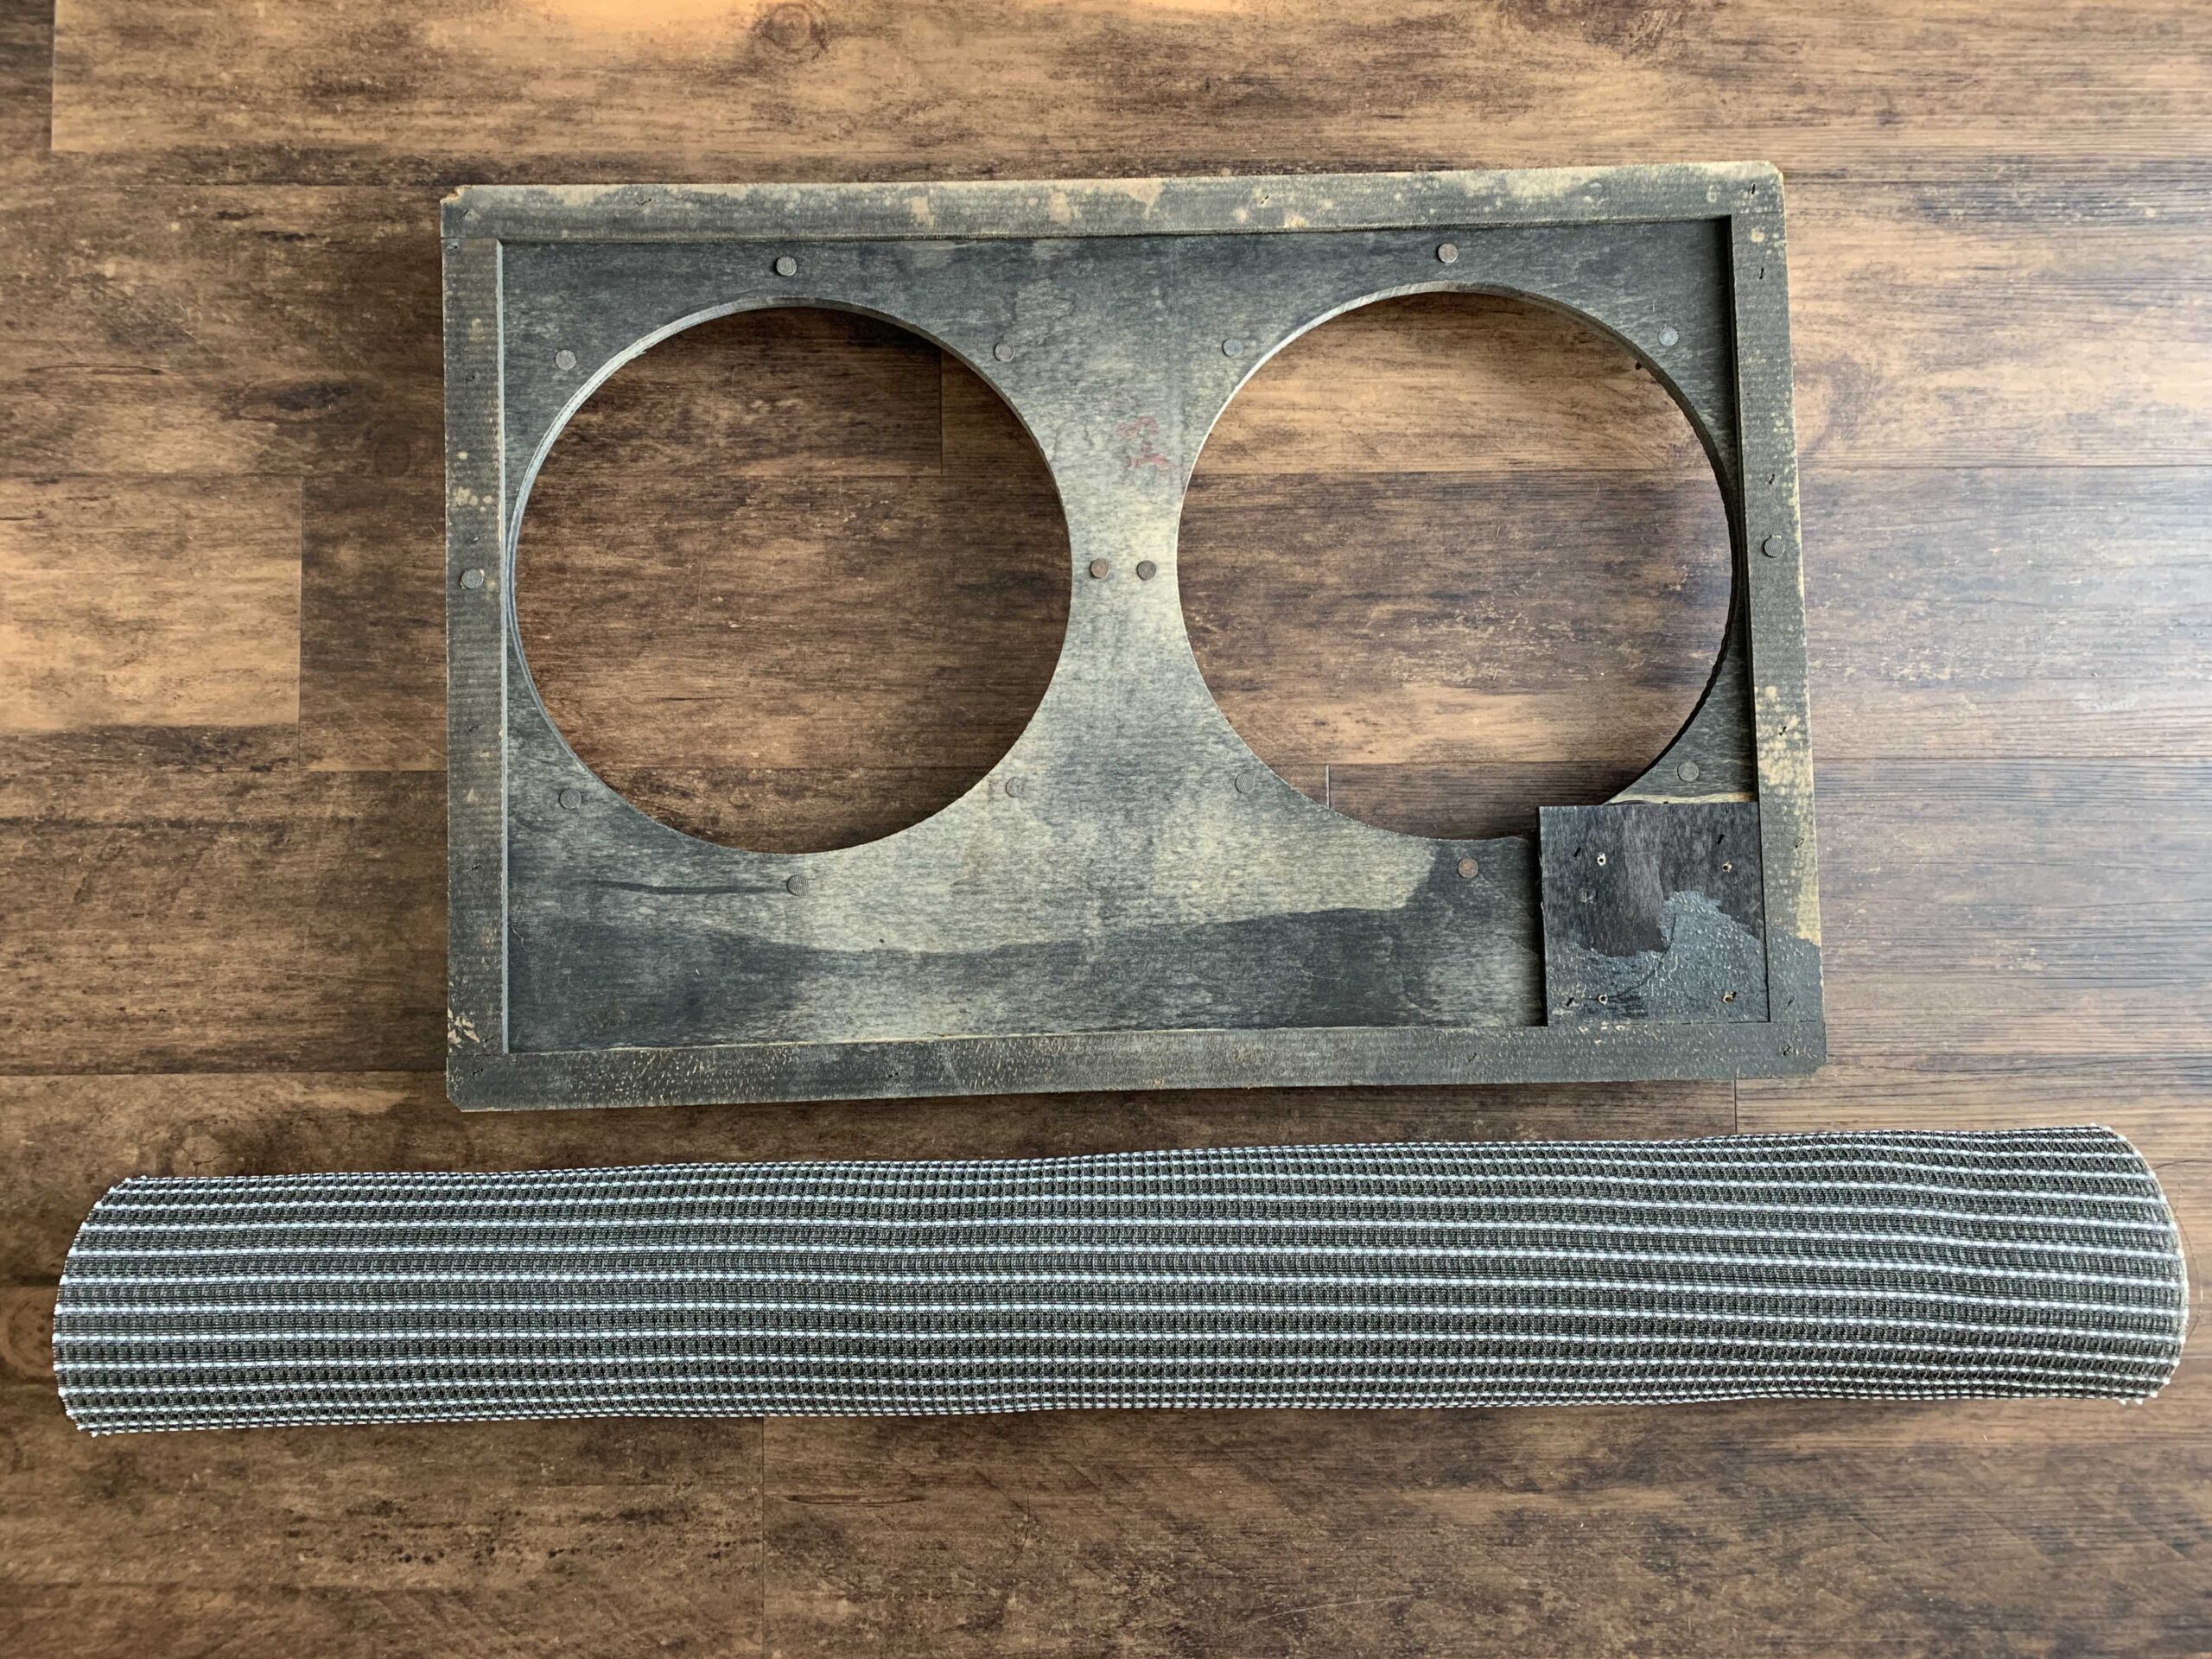
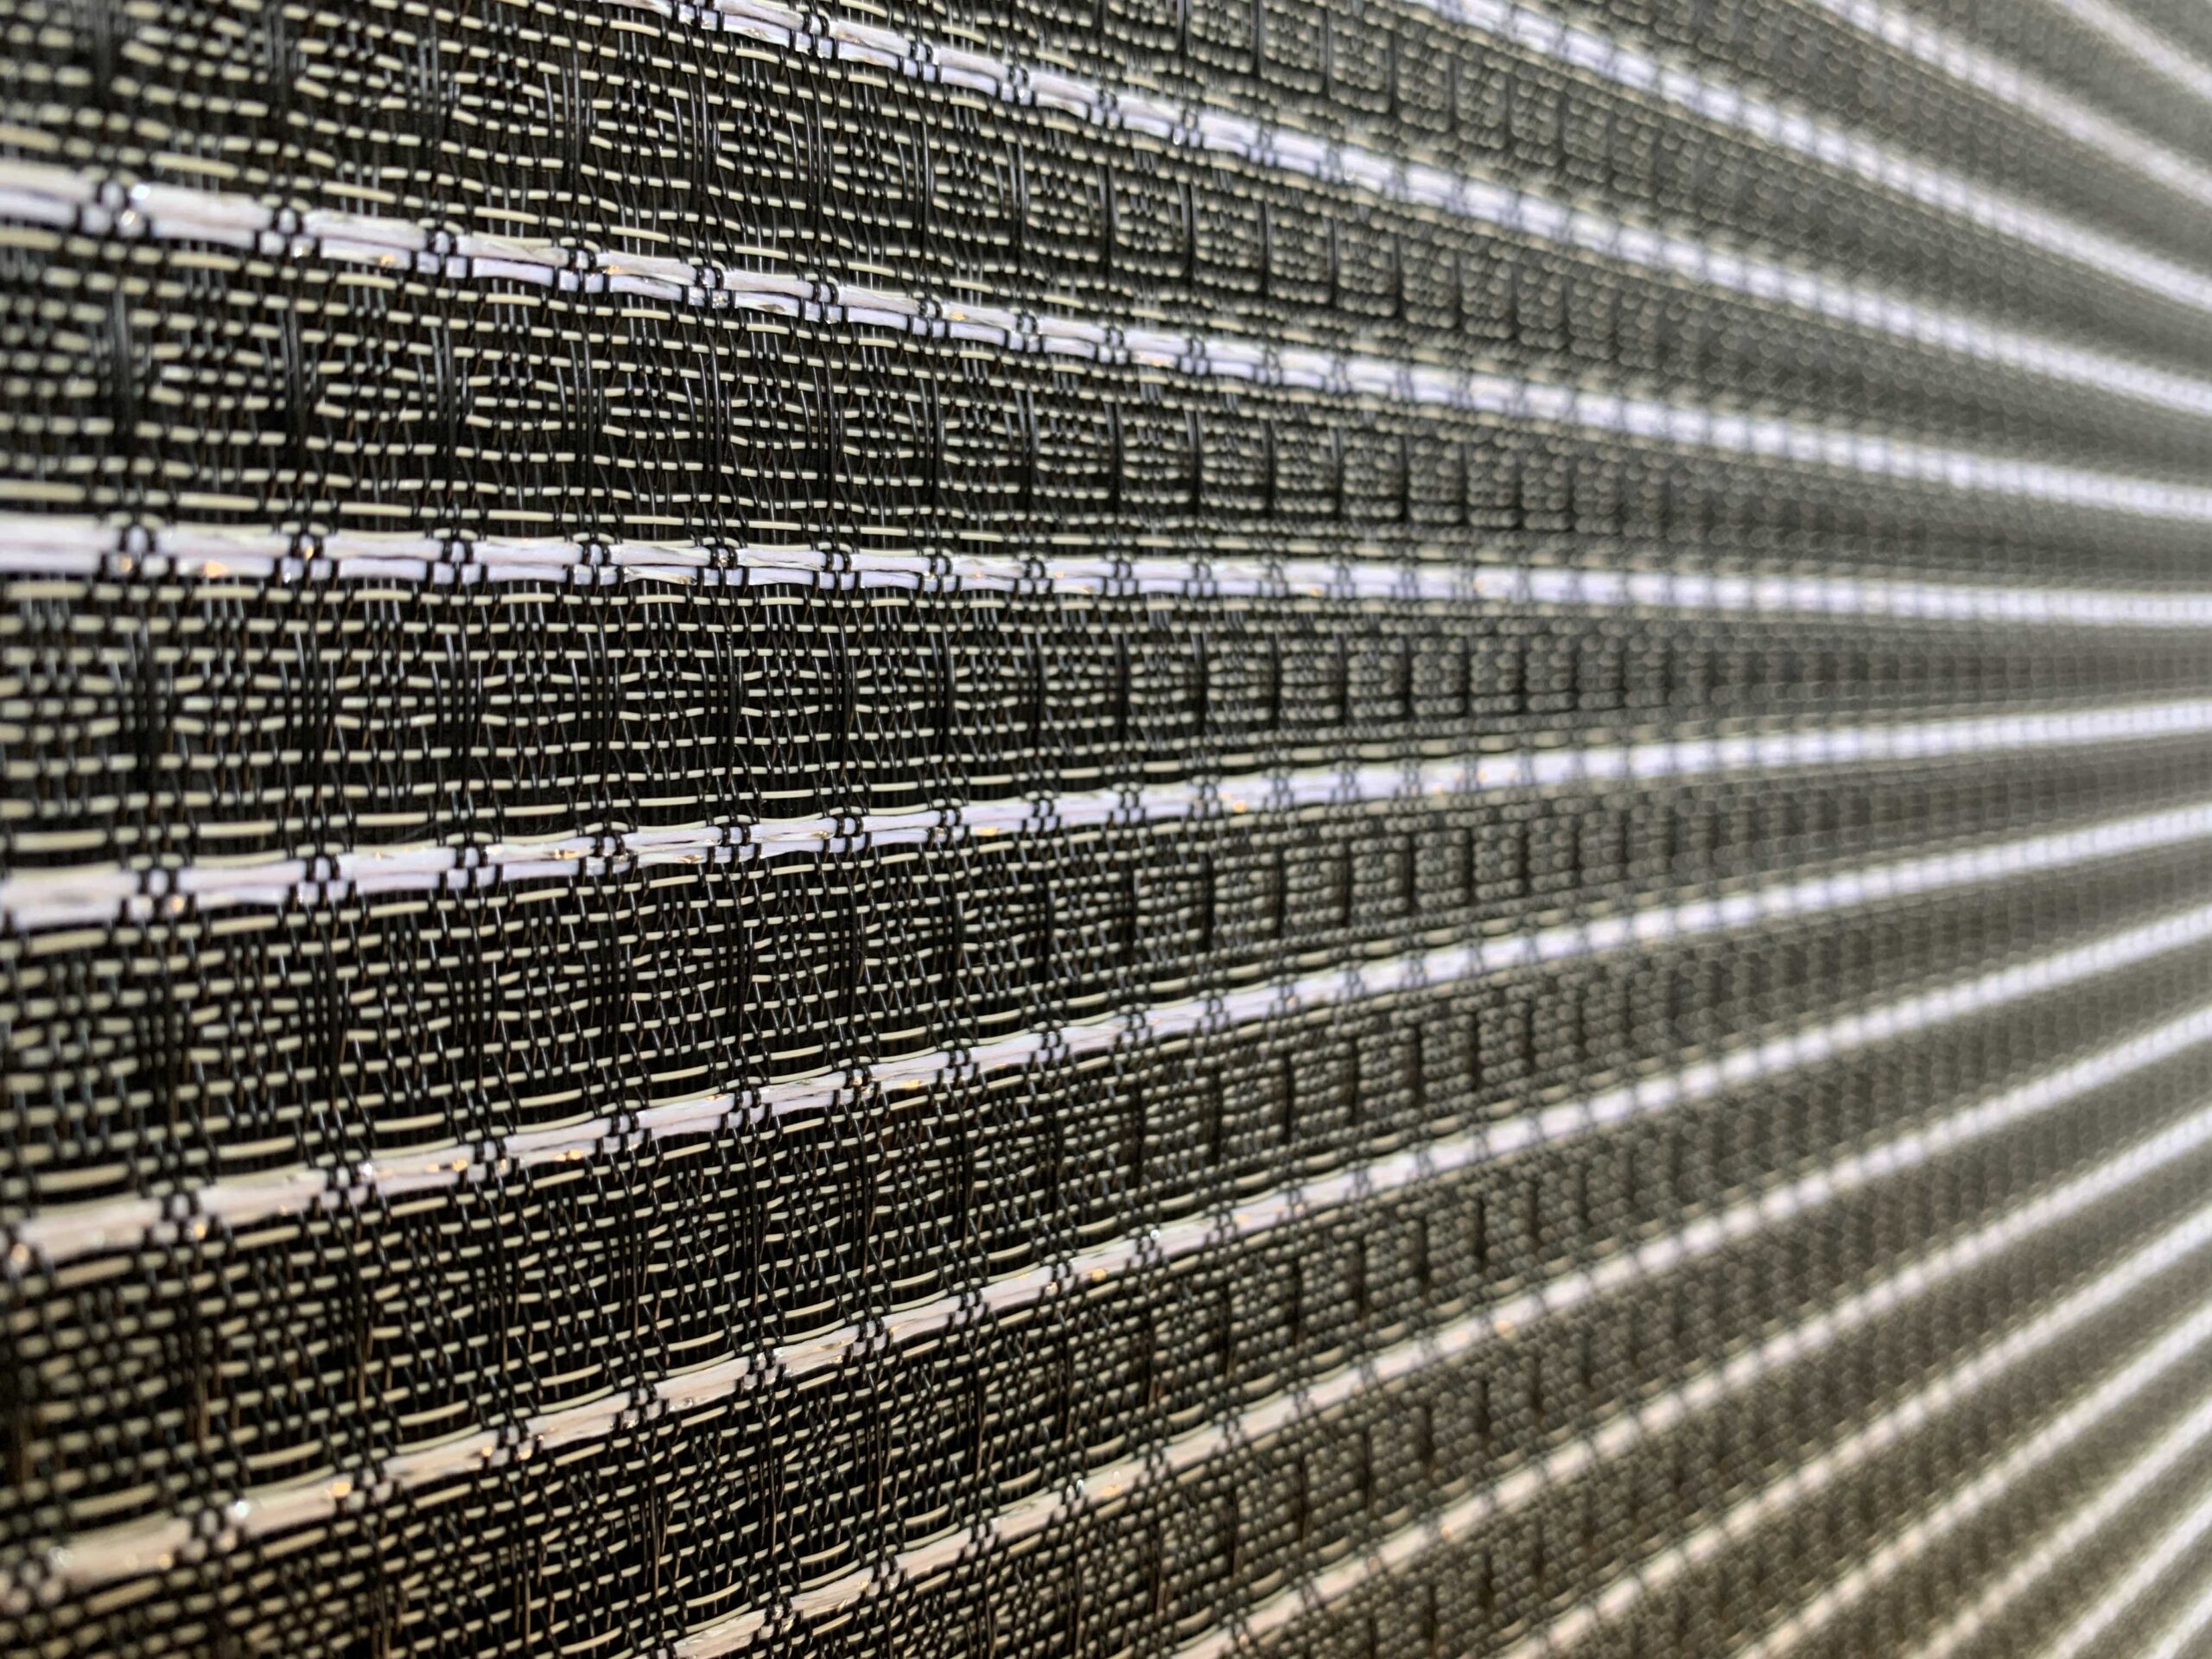
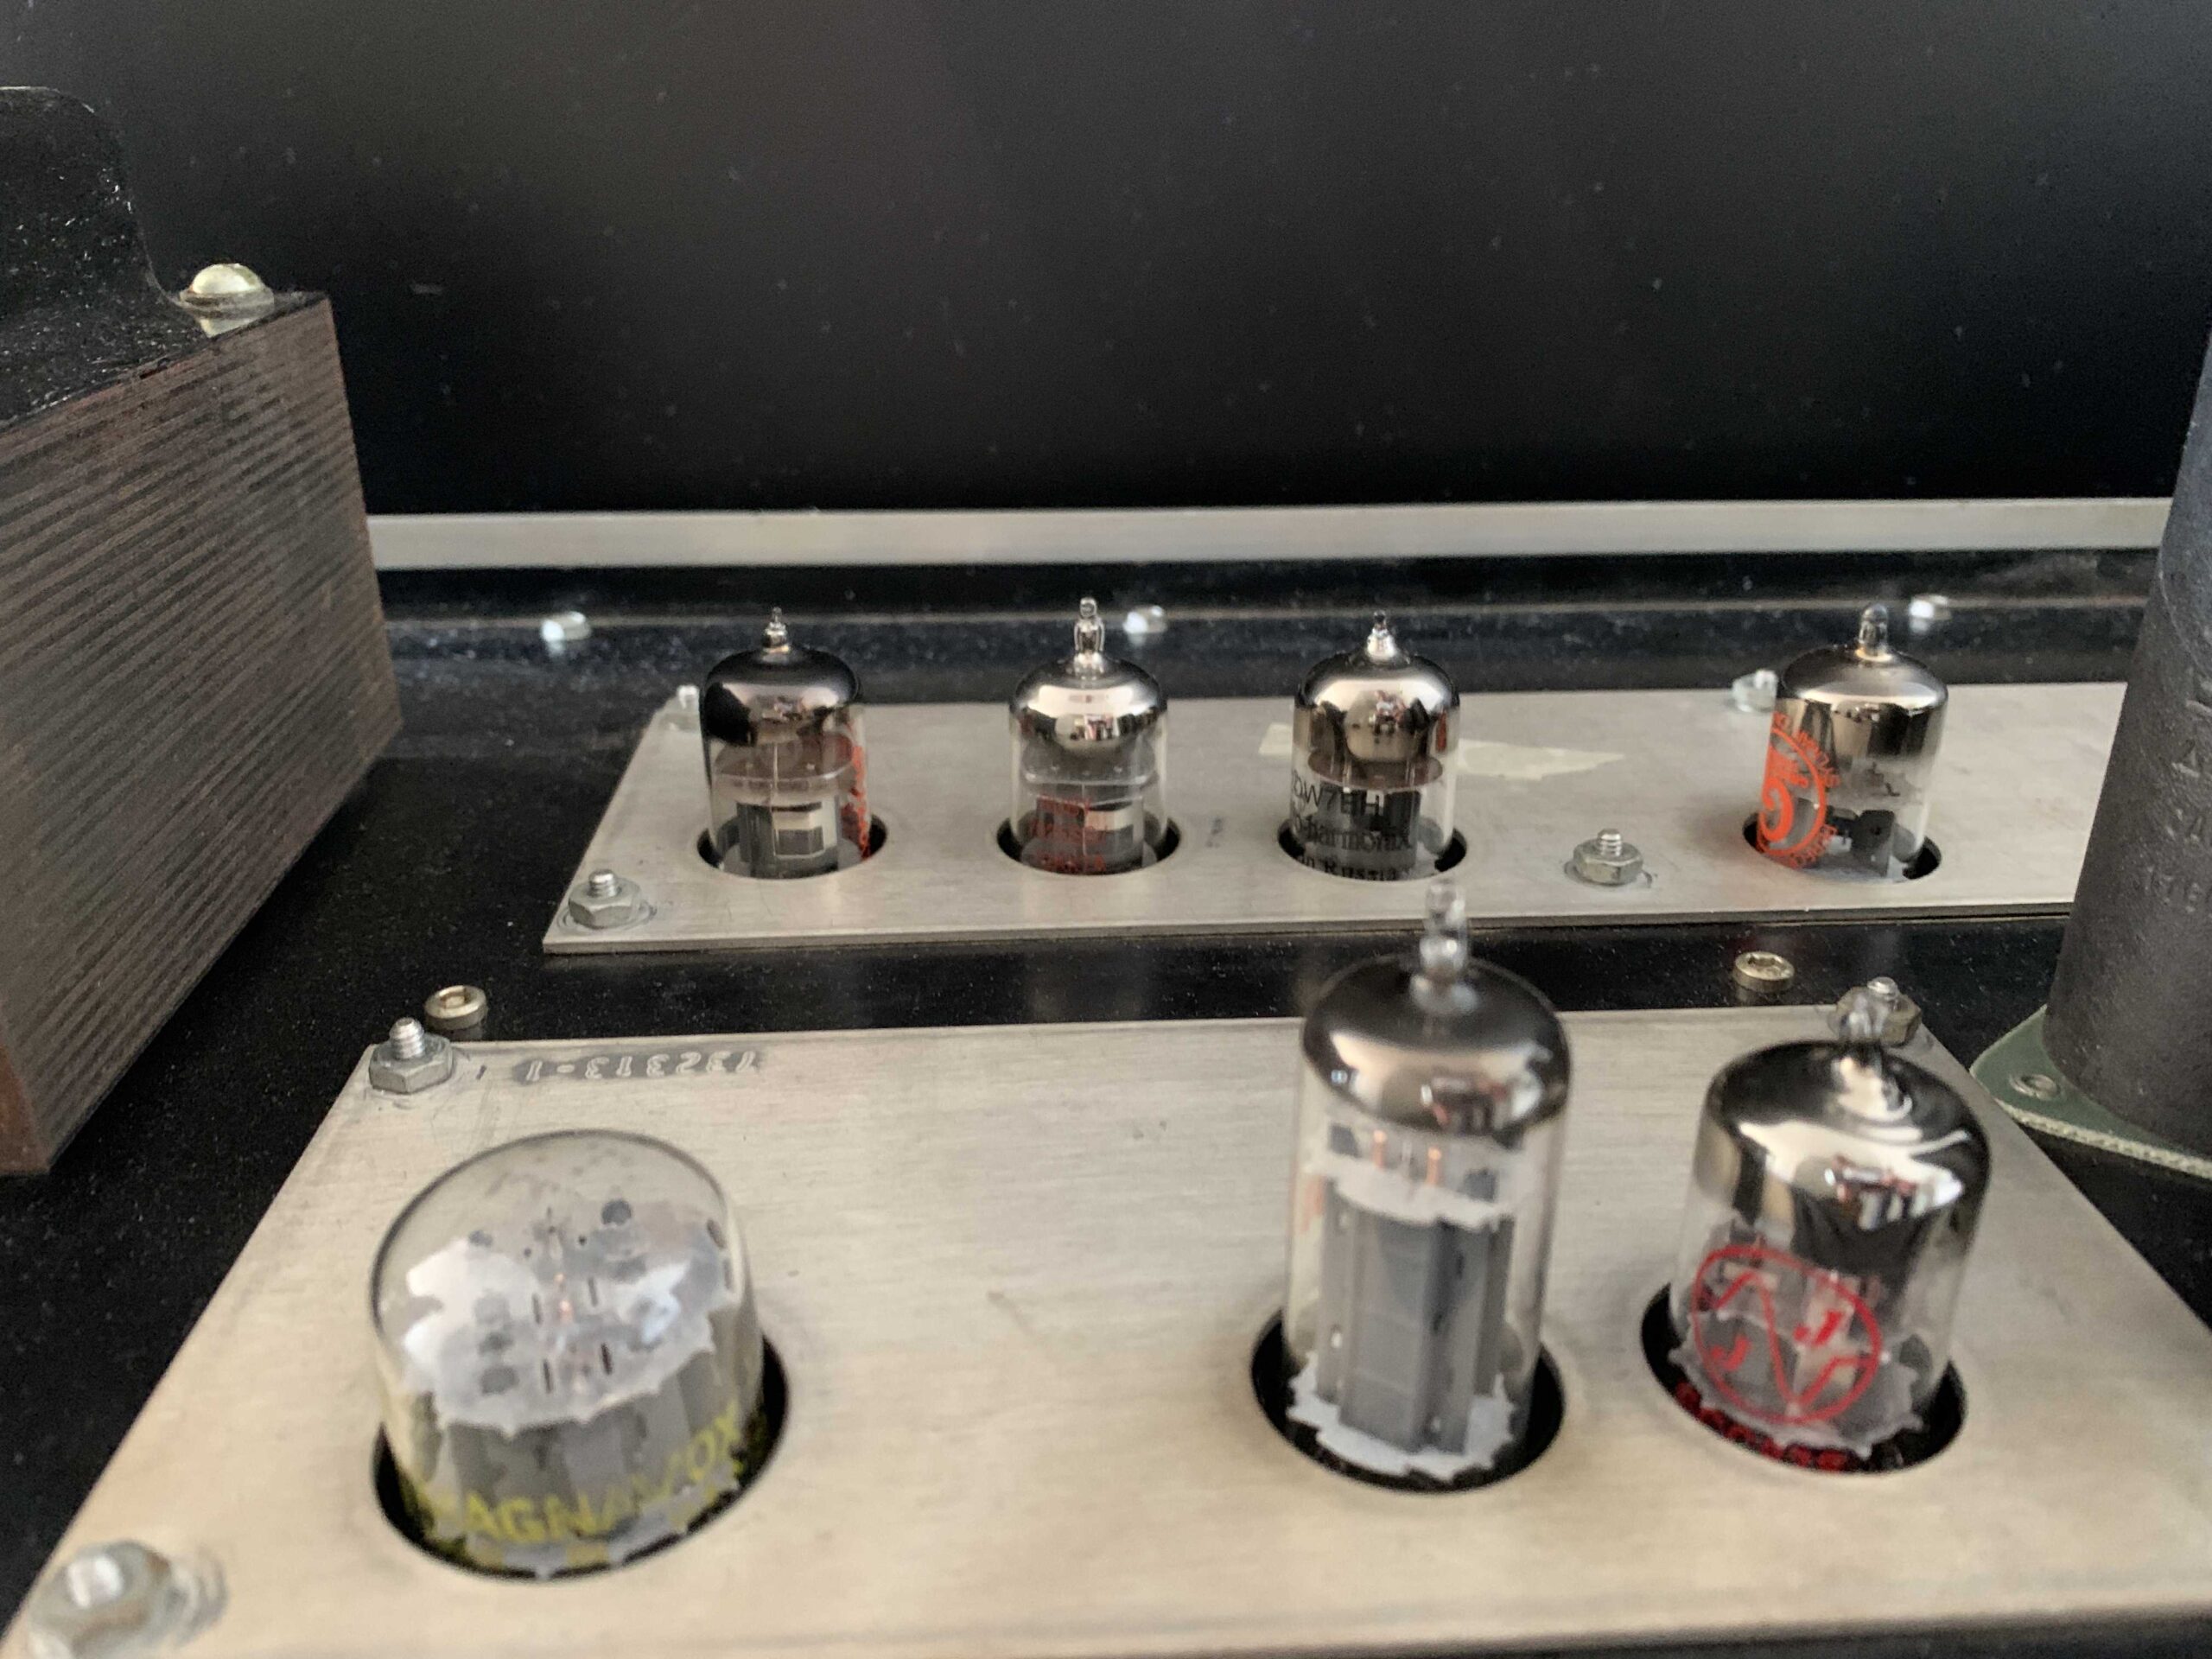
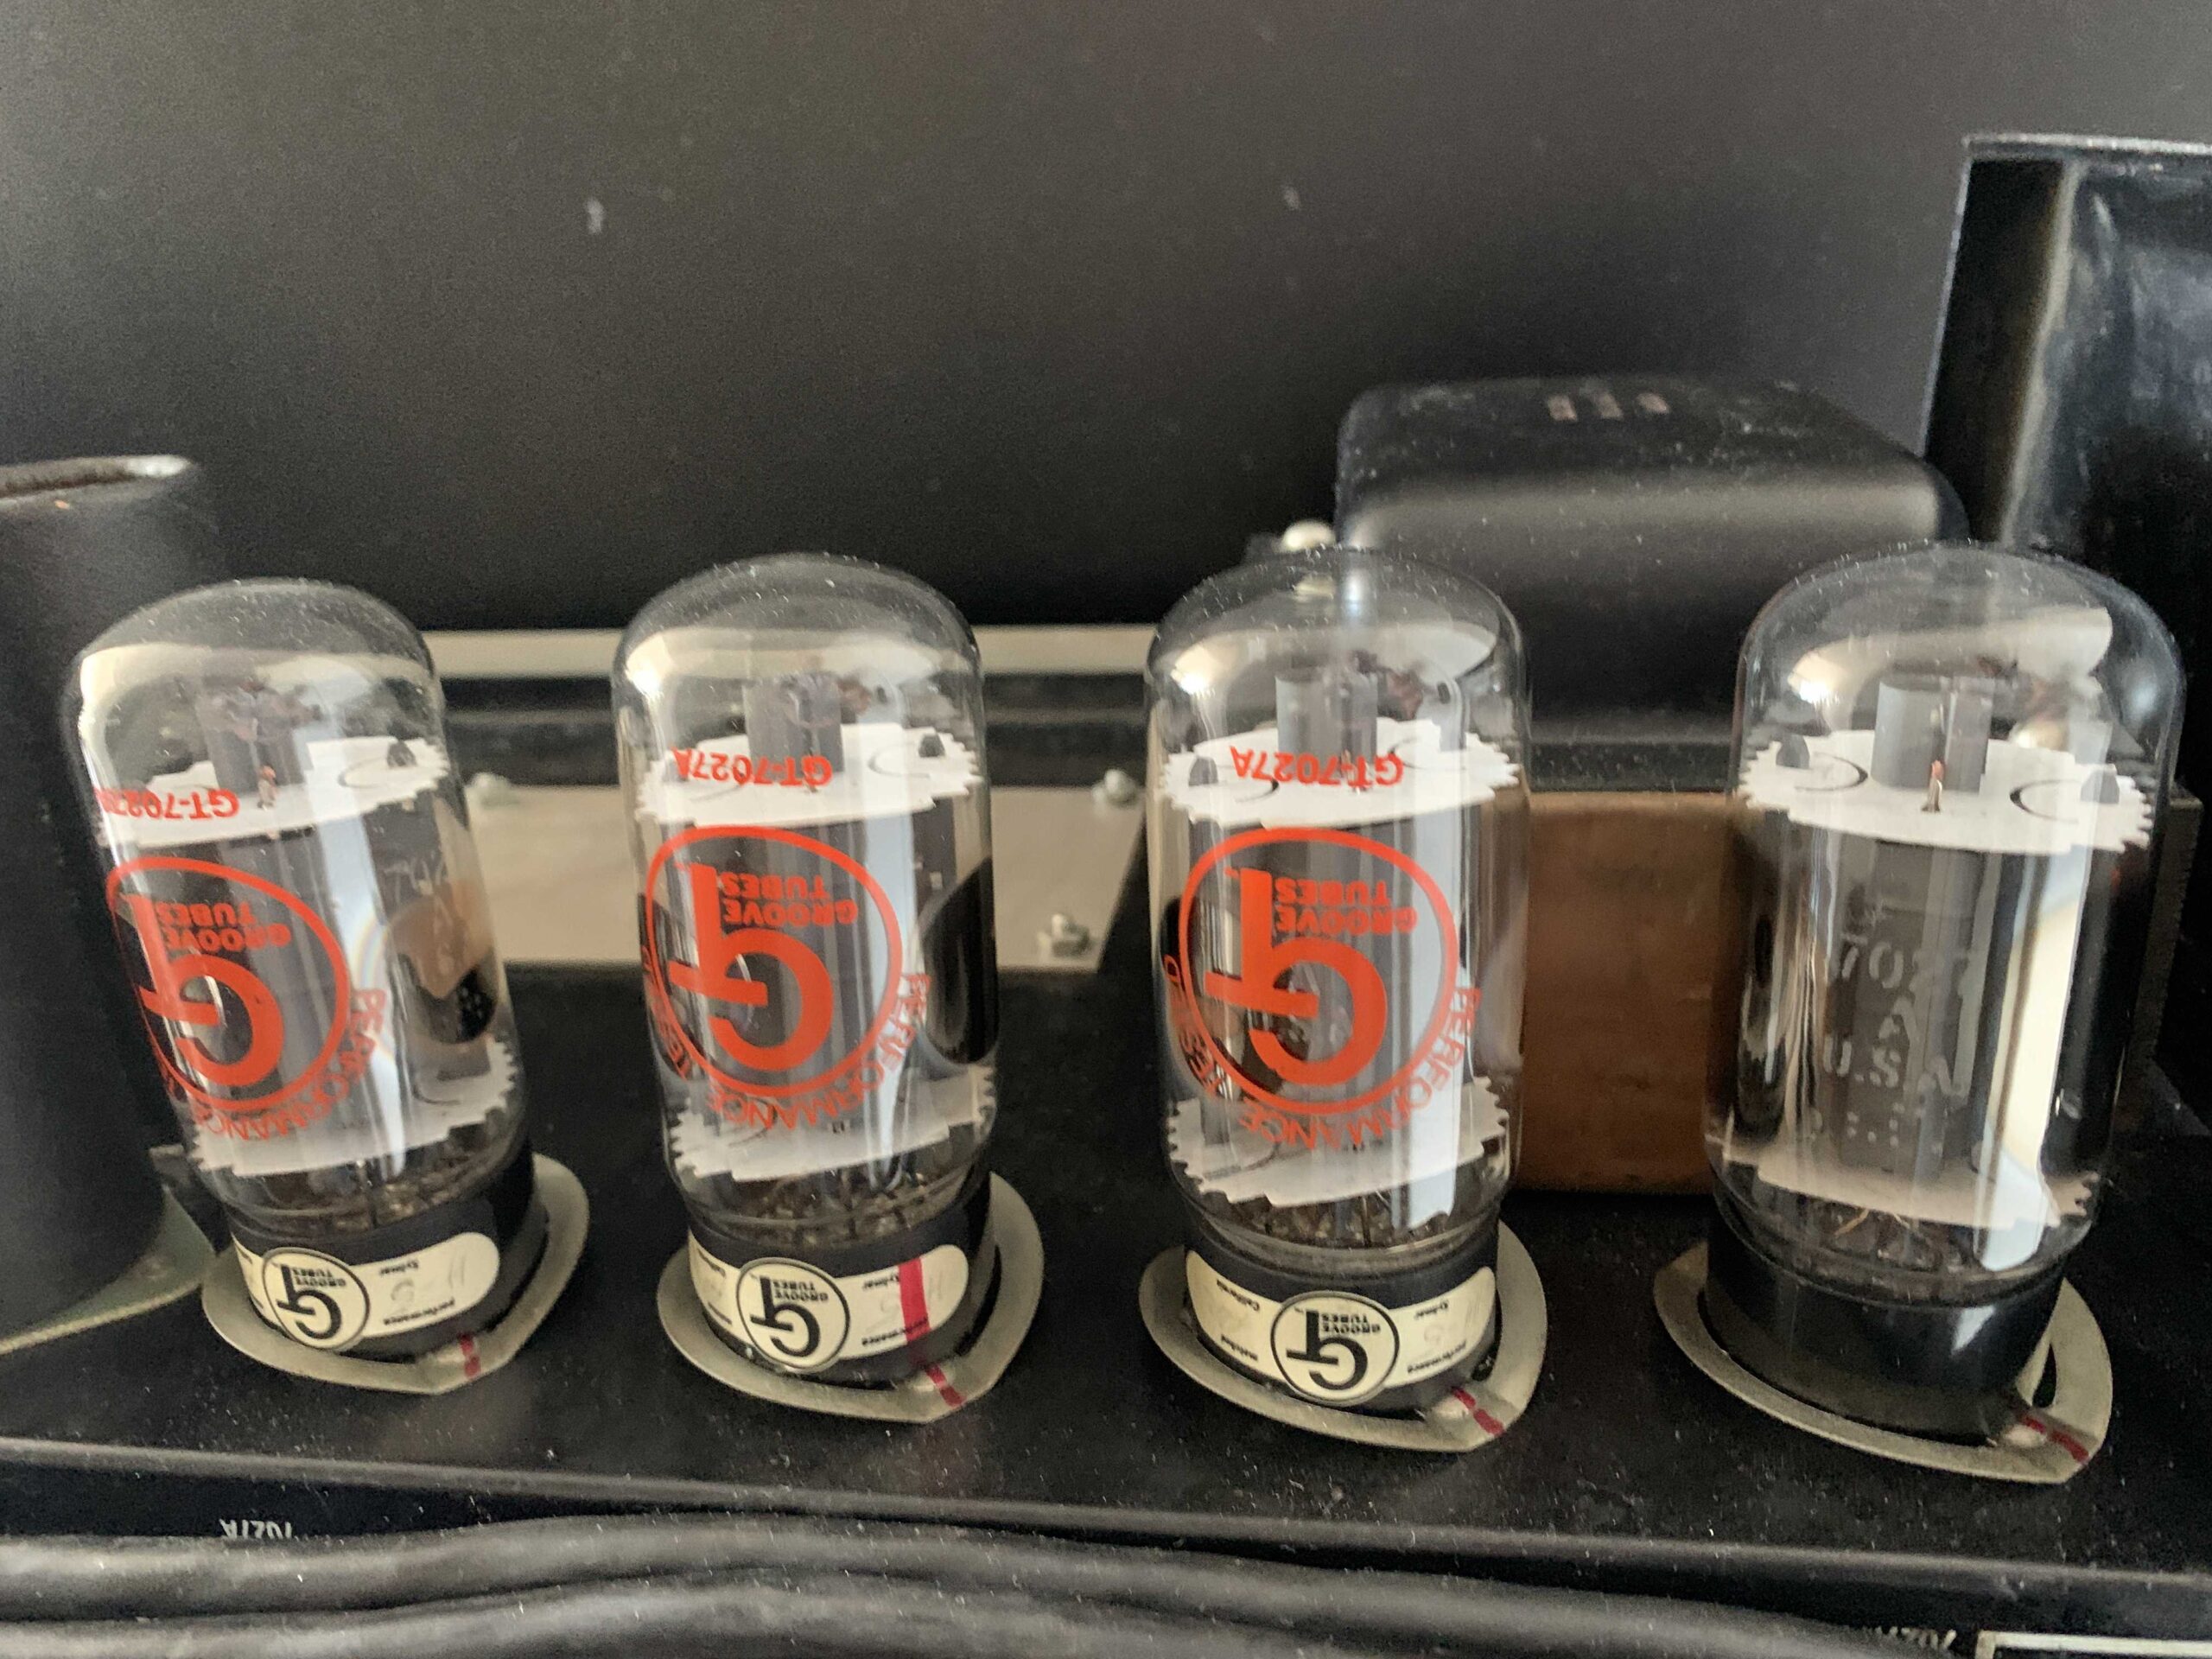
So while the speakers were out for rebuild, I started on the grill cloth and hardware. The cloth I bought on eBay for cheap and installed with a staple gun. The hardware I acquired from home depot and choose a durable stainless. I used my century 100 tube tester on the tubes and determined what needed to be replaced based on strength test. For the missing output tube, I purchased a clear top RCA nos tube to match the GT tubes that were already installed.

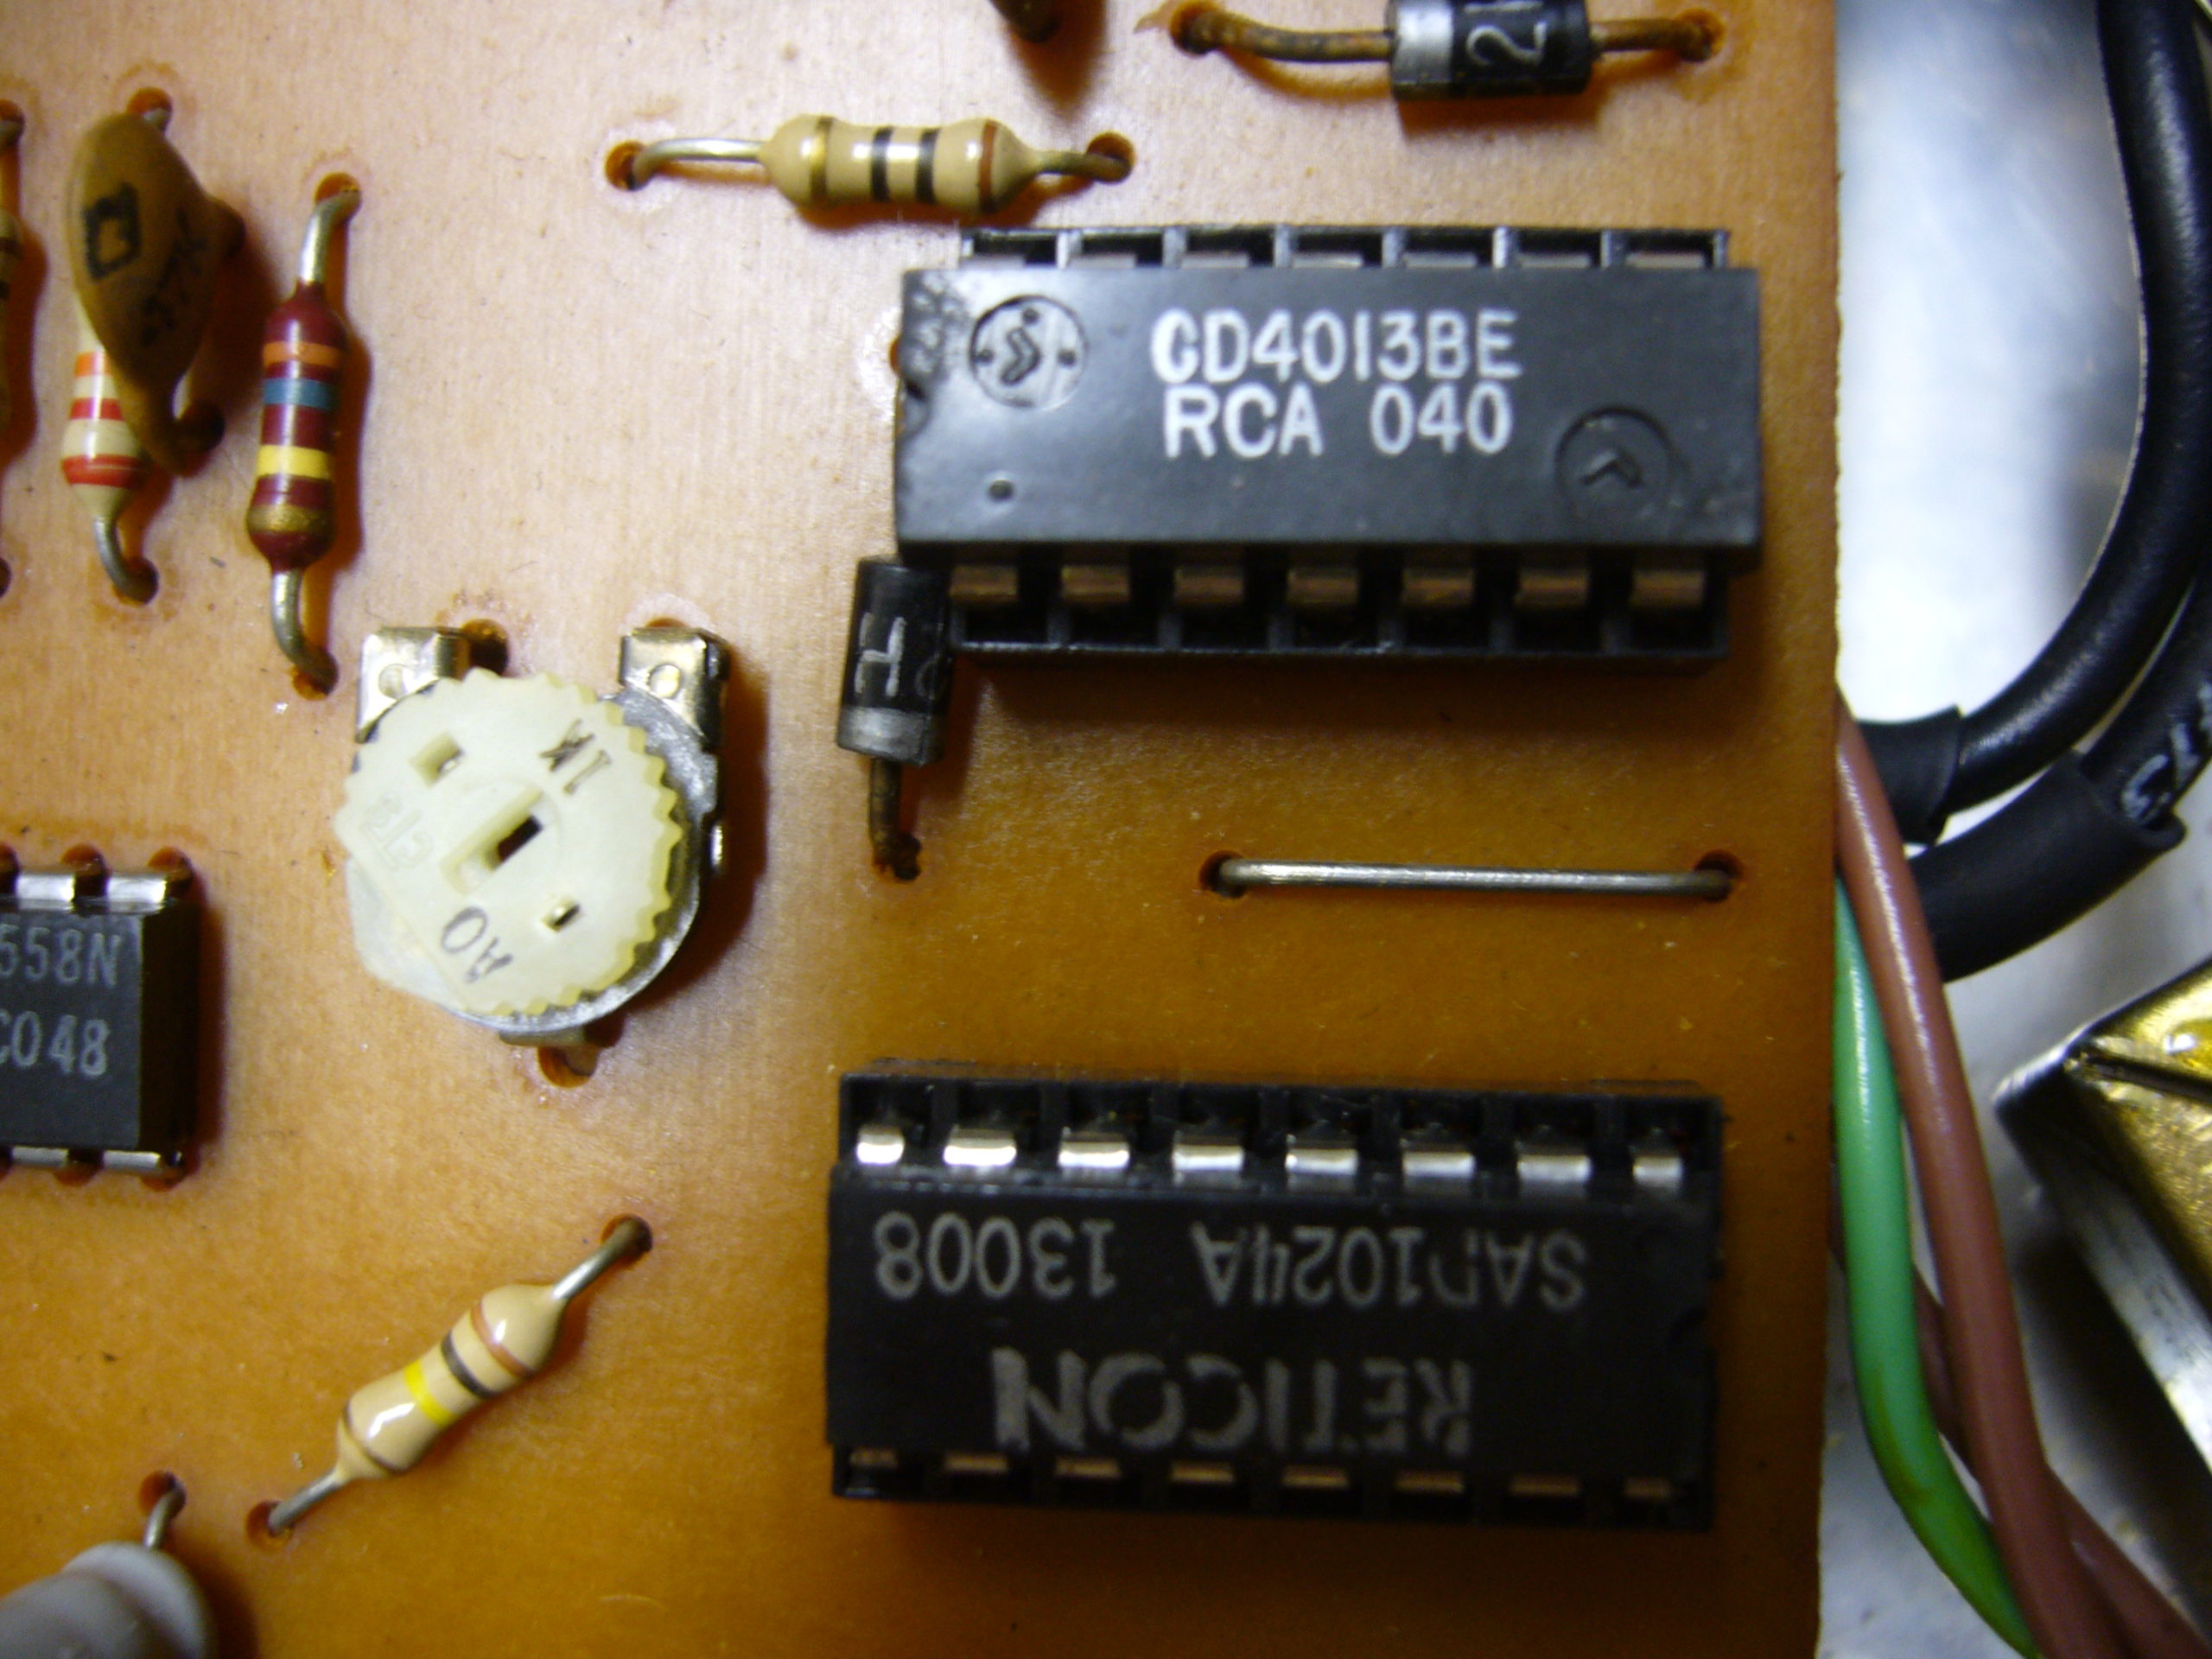
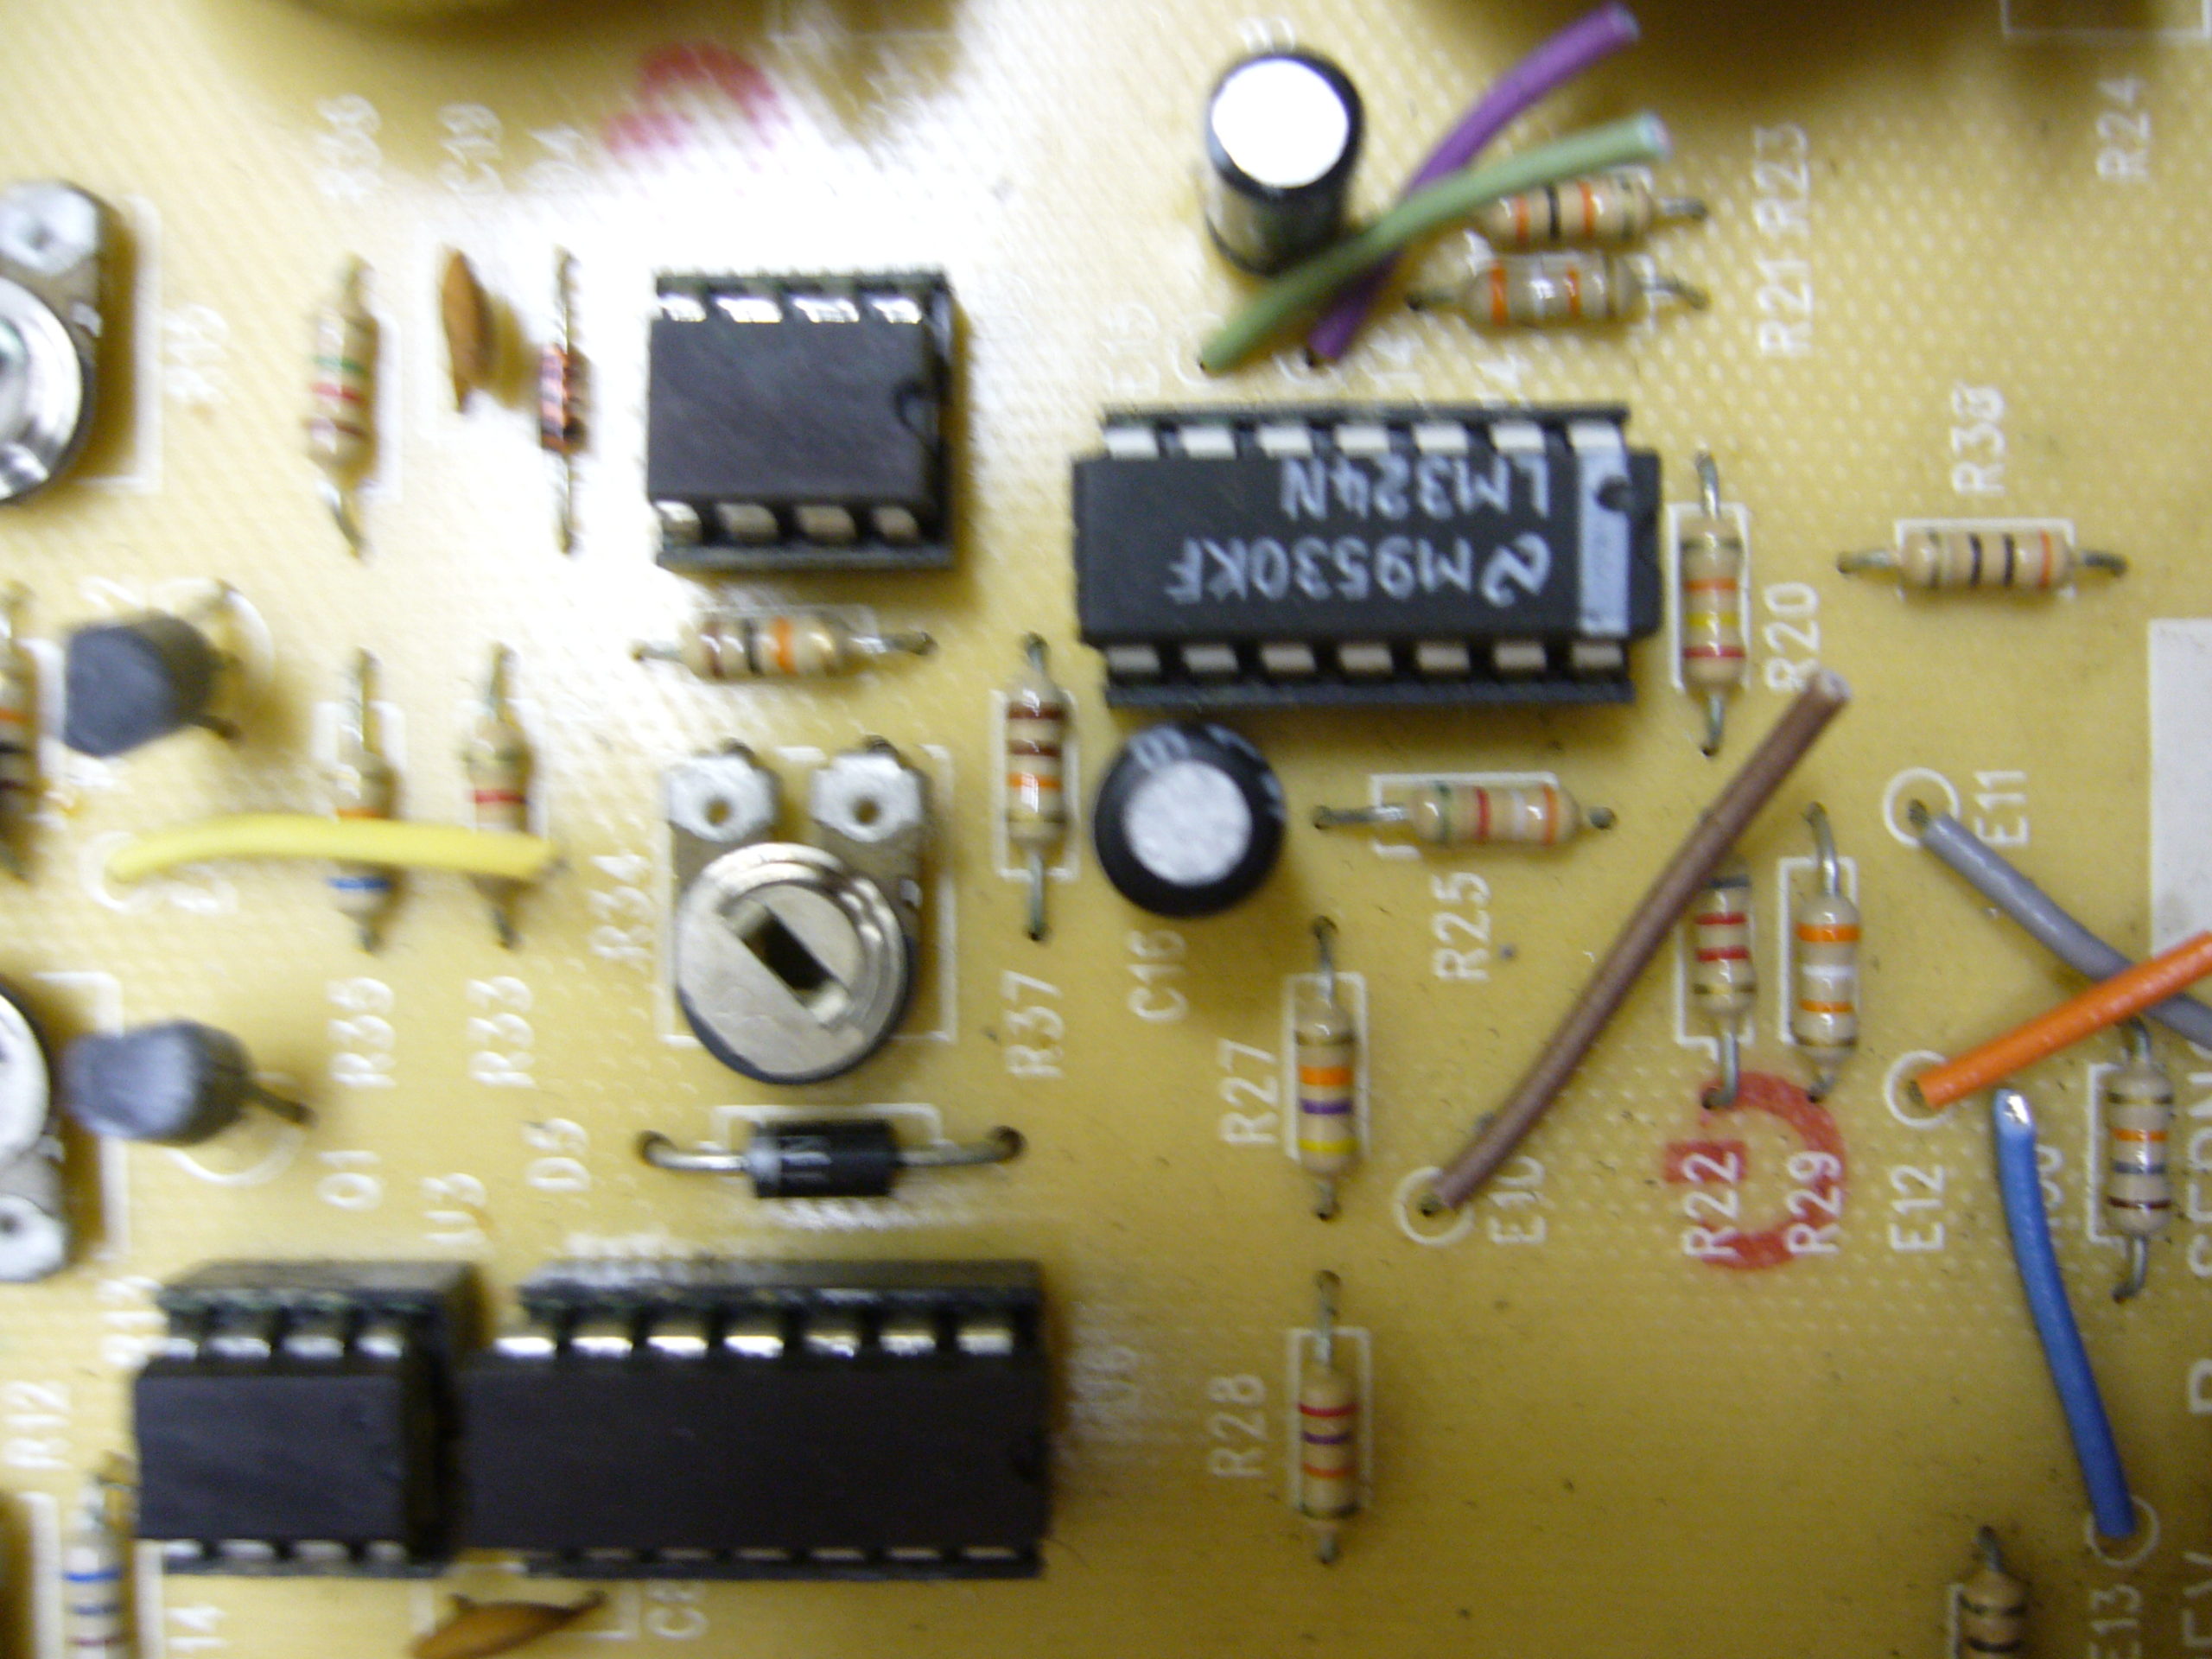
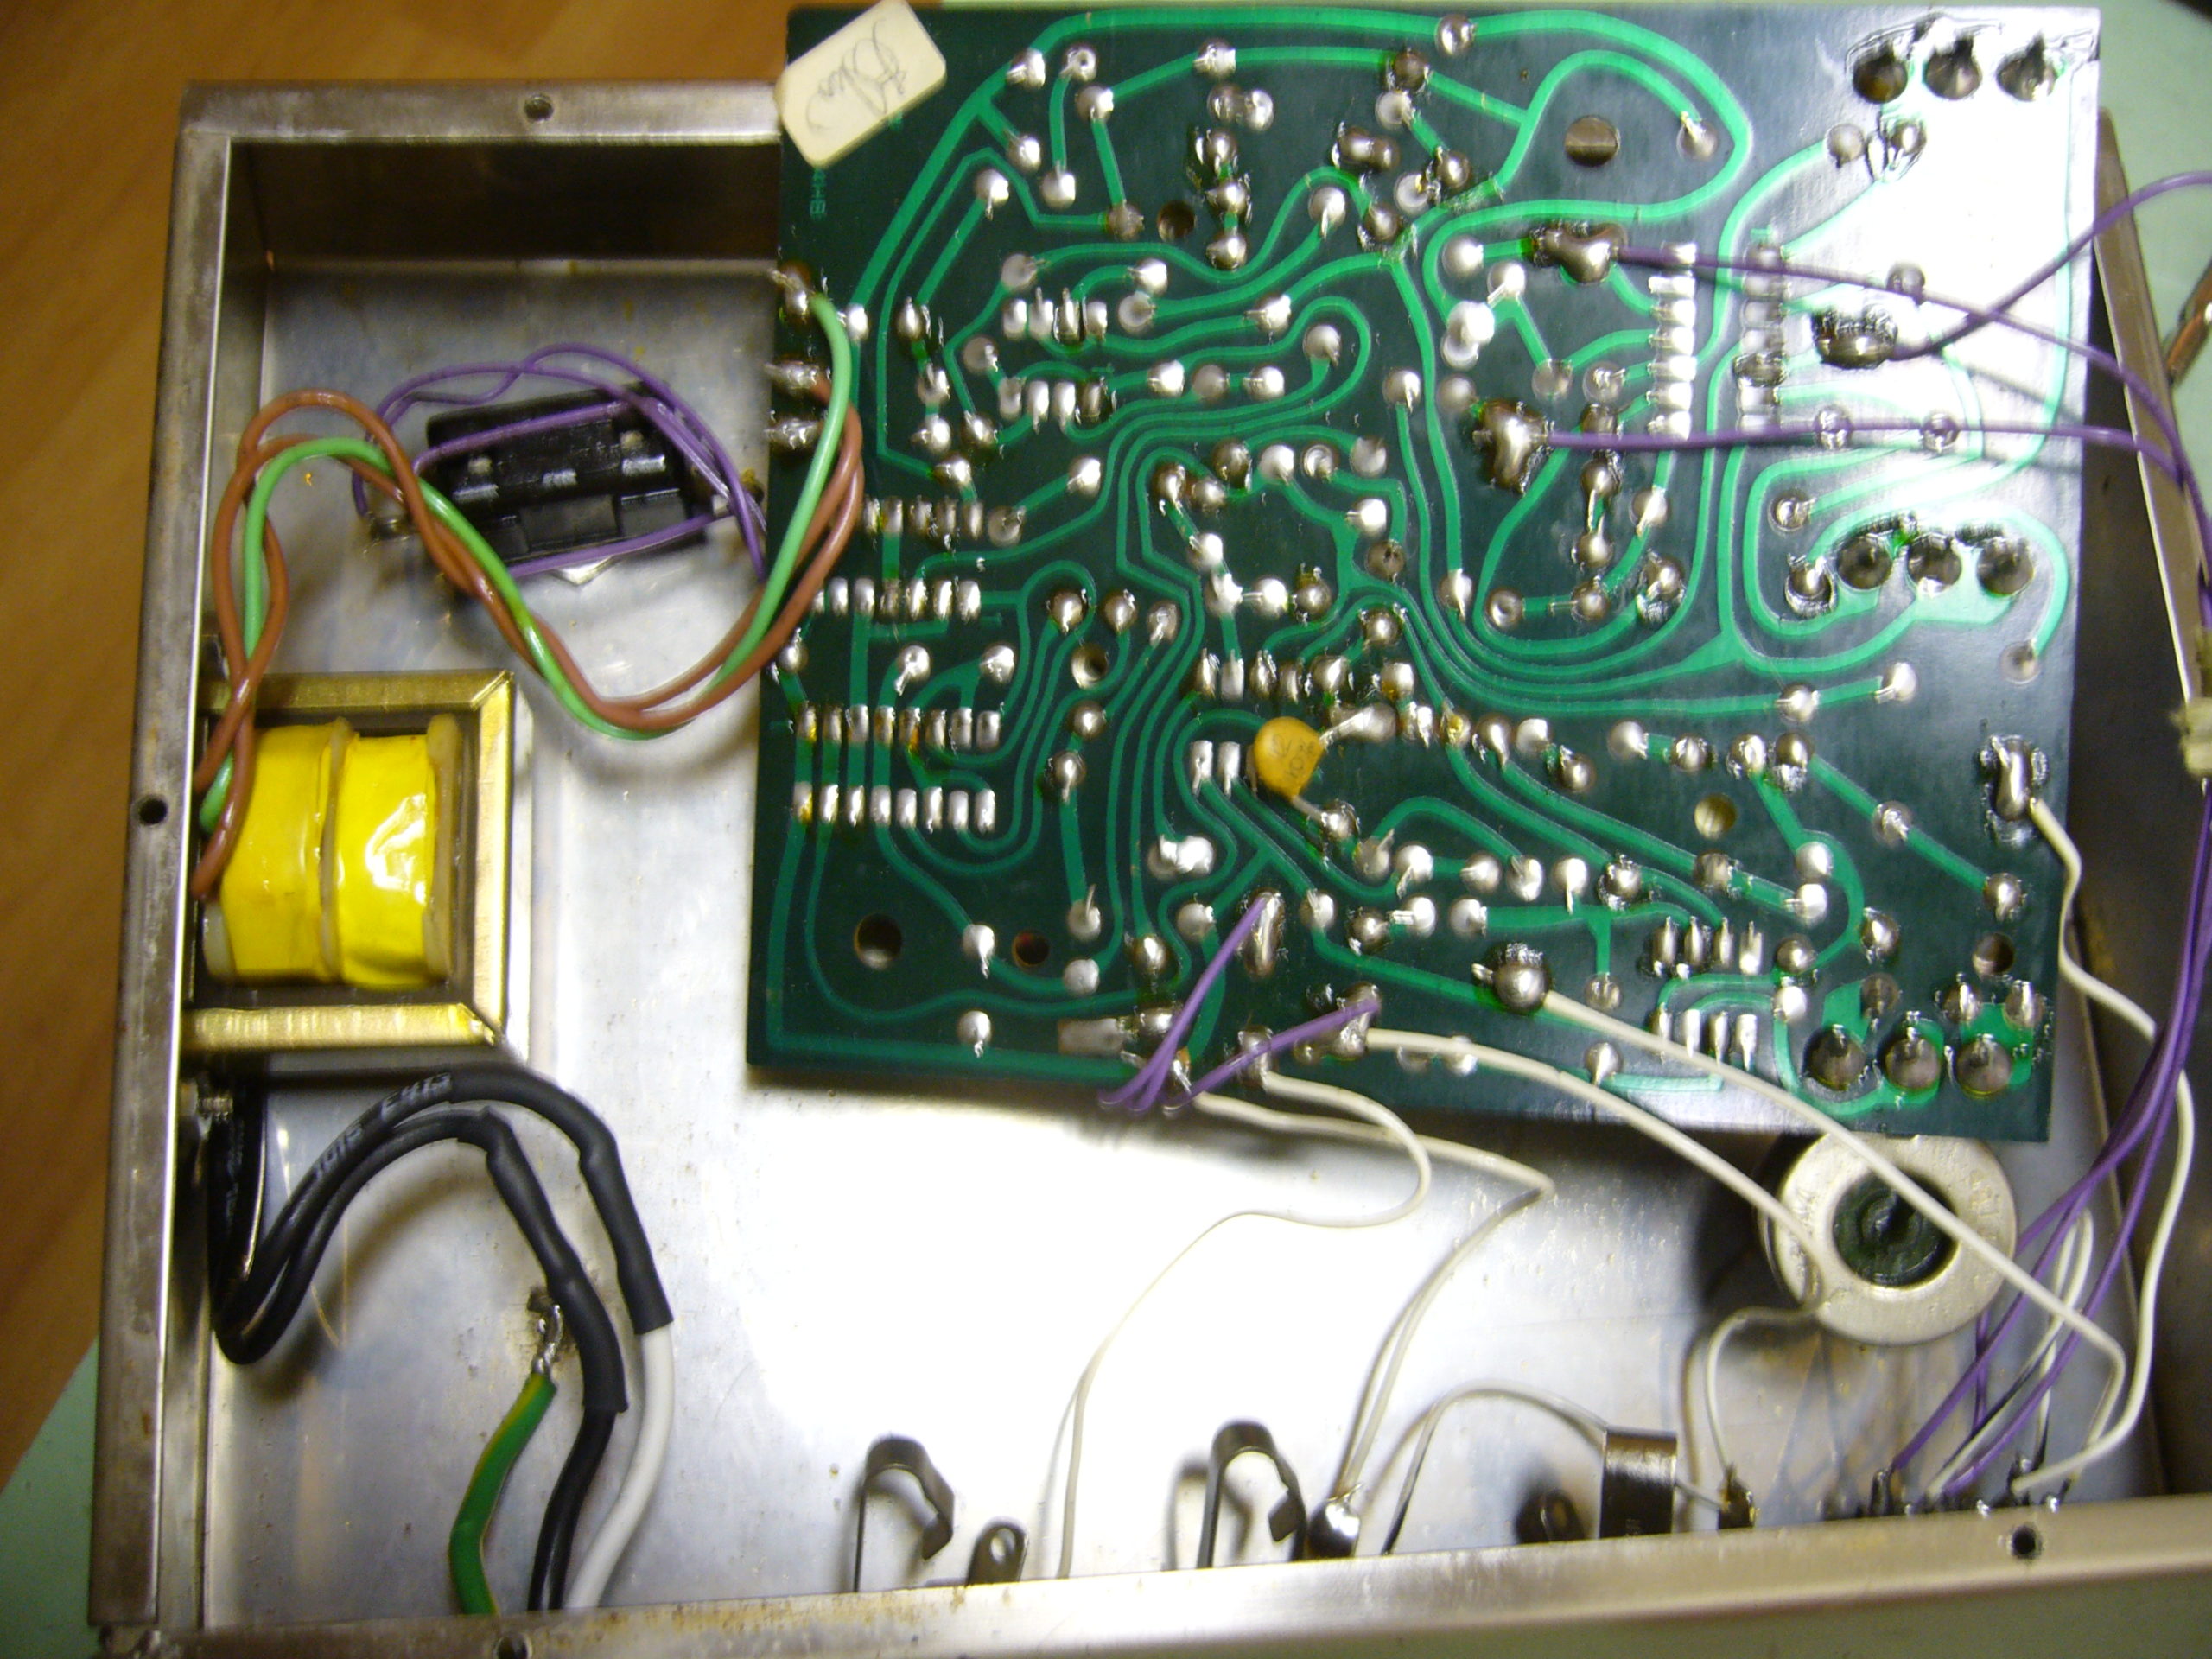
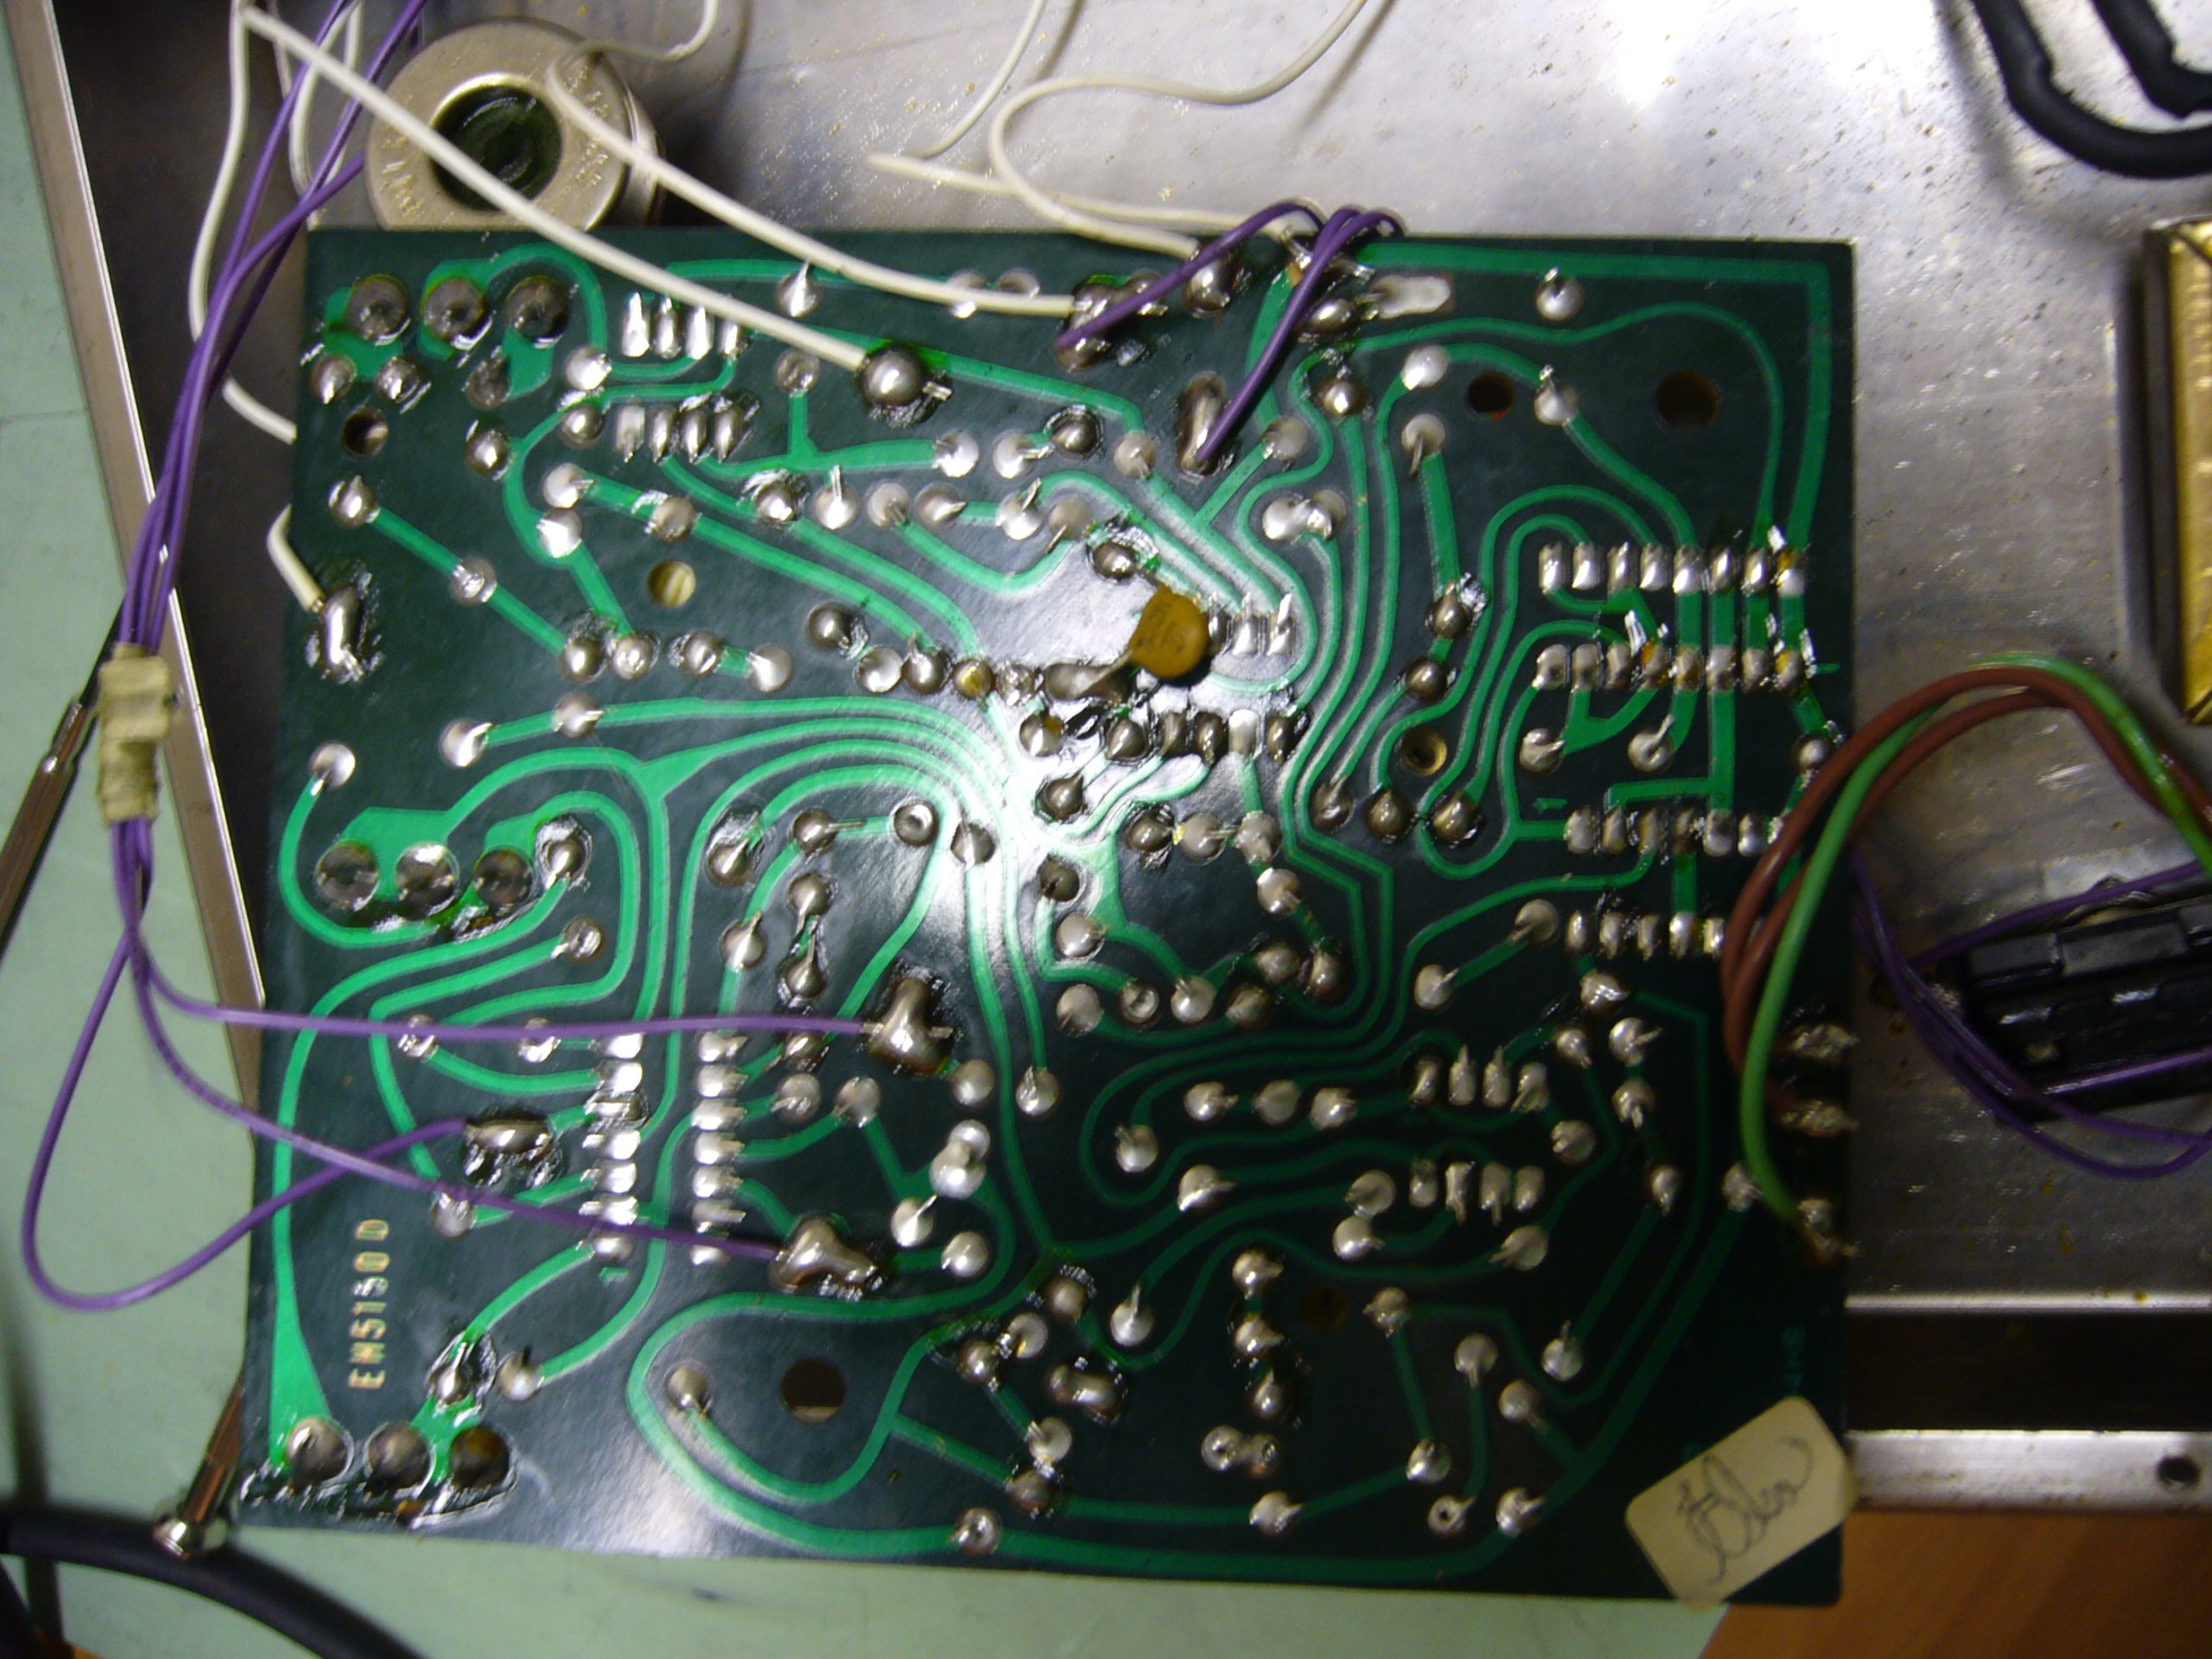
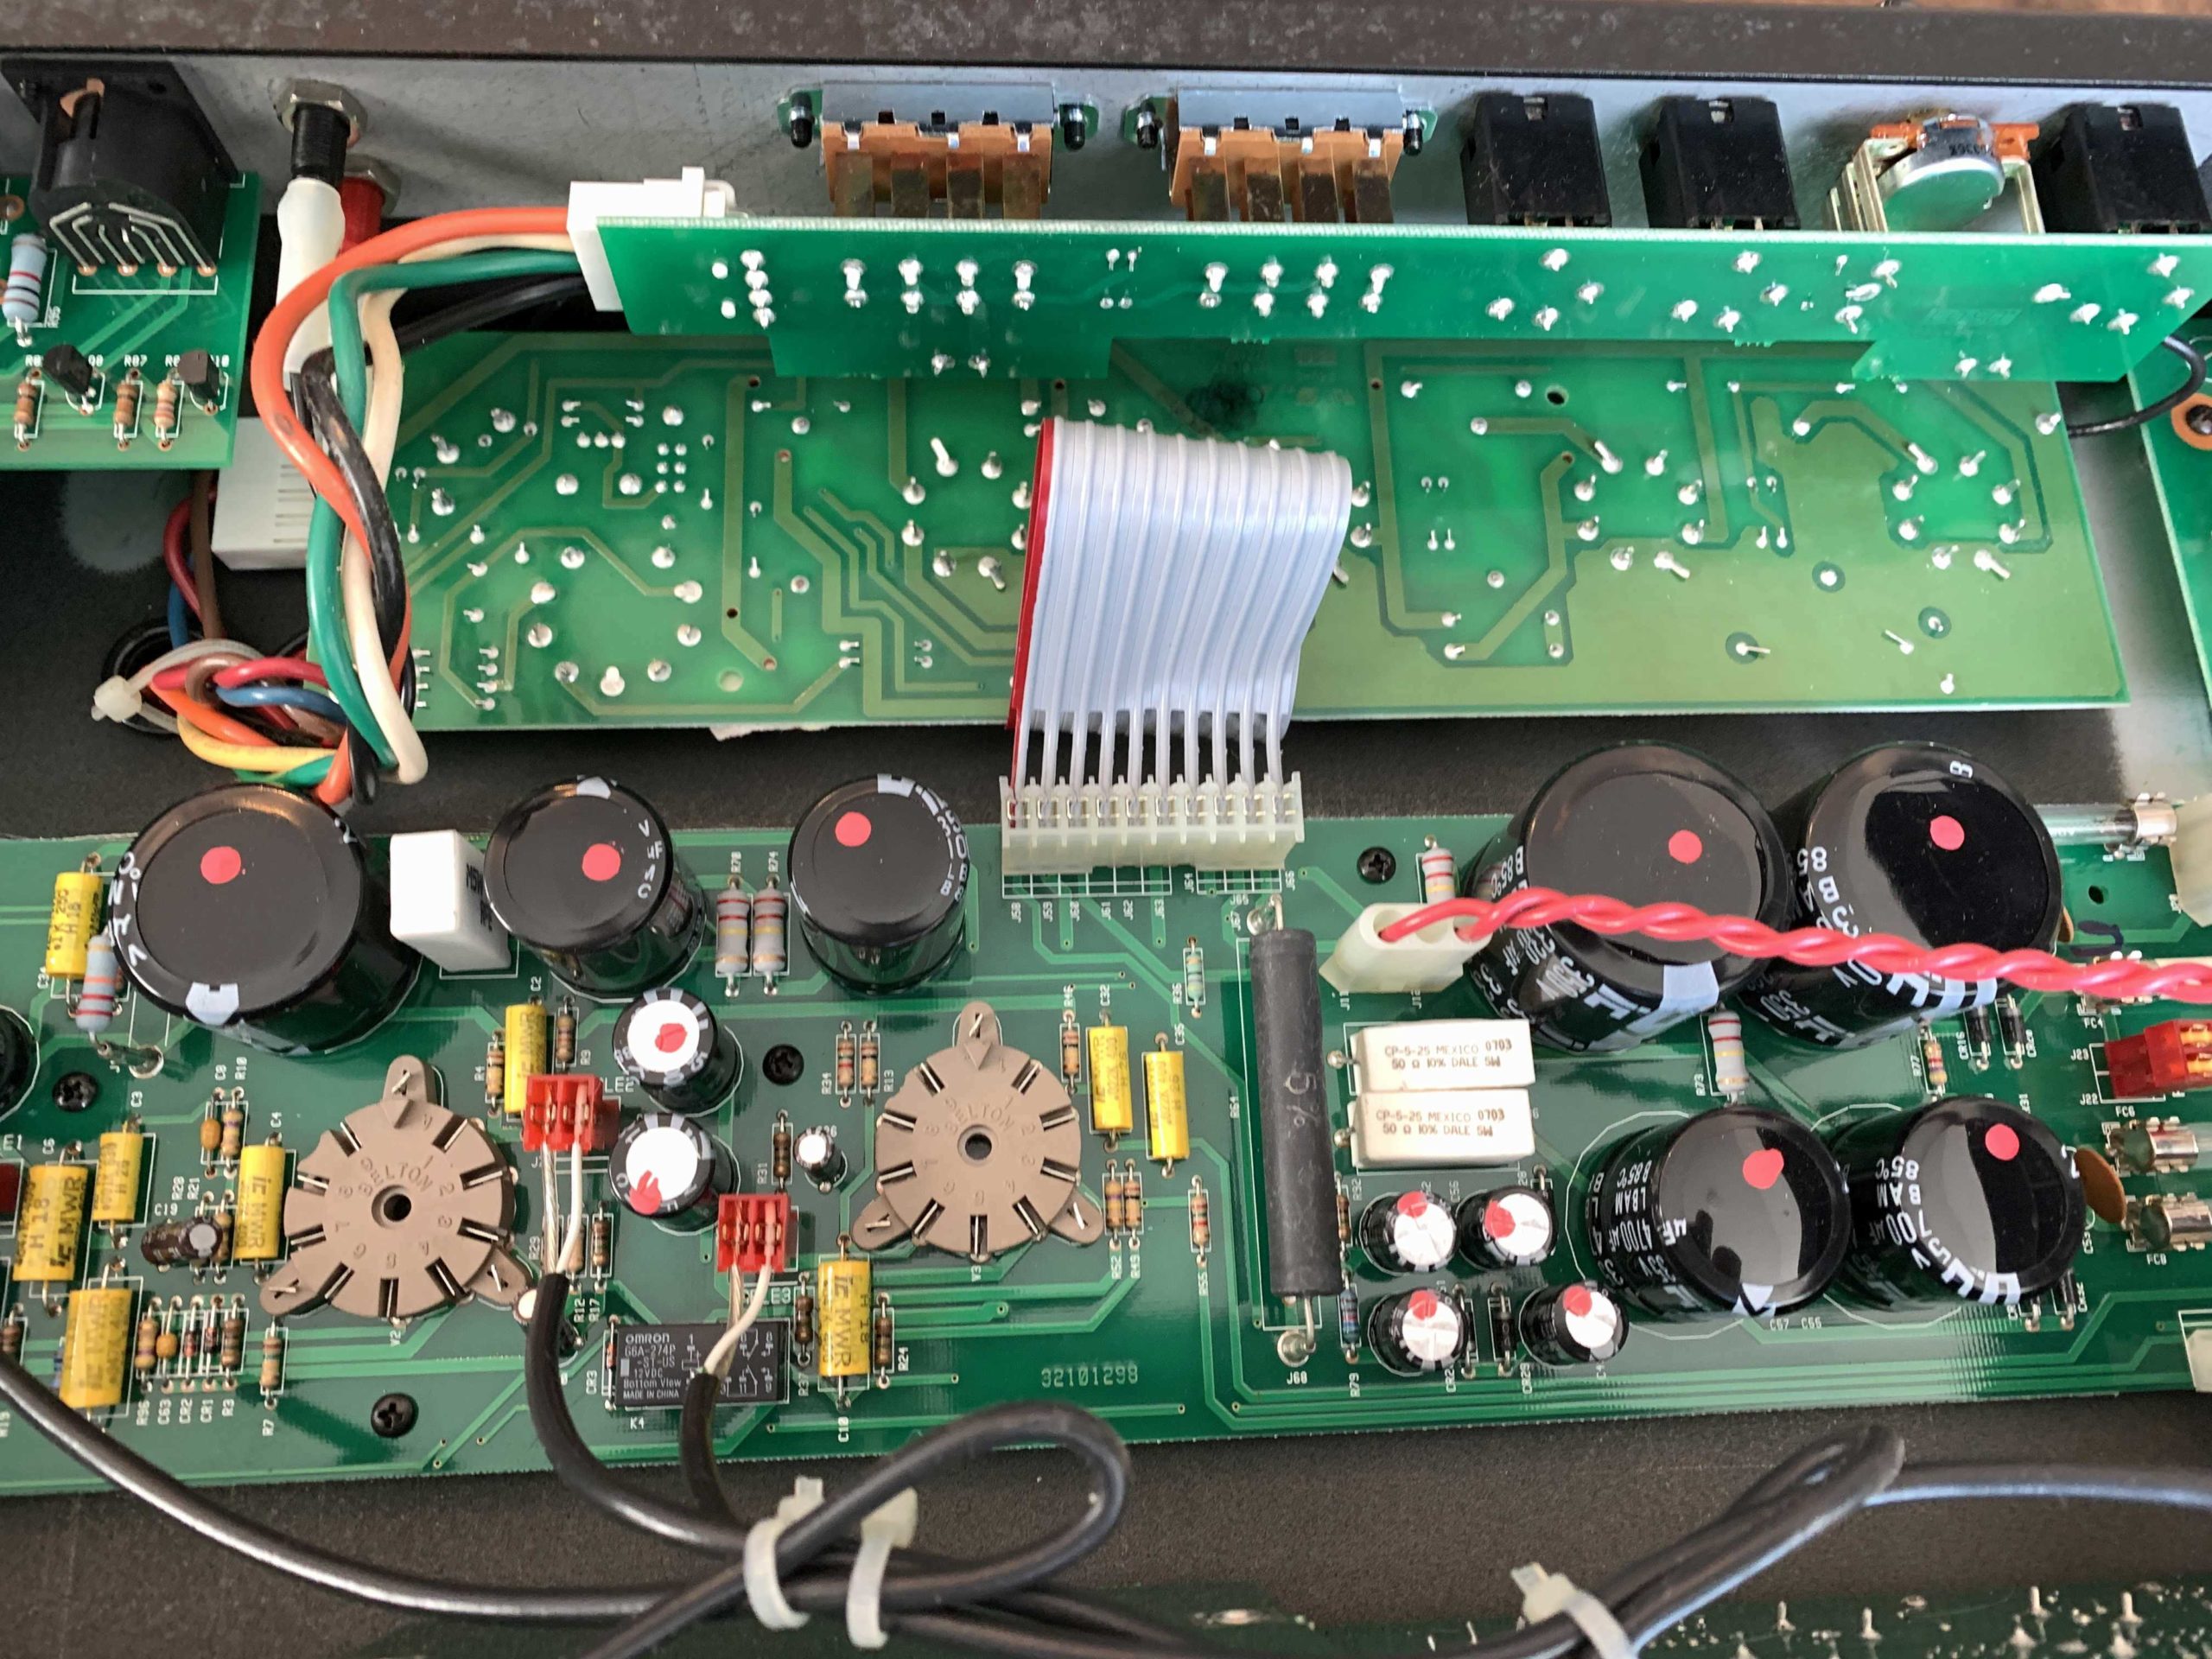
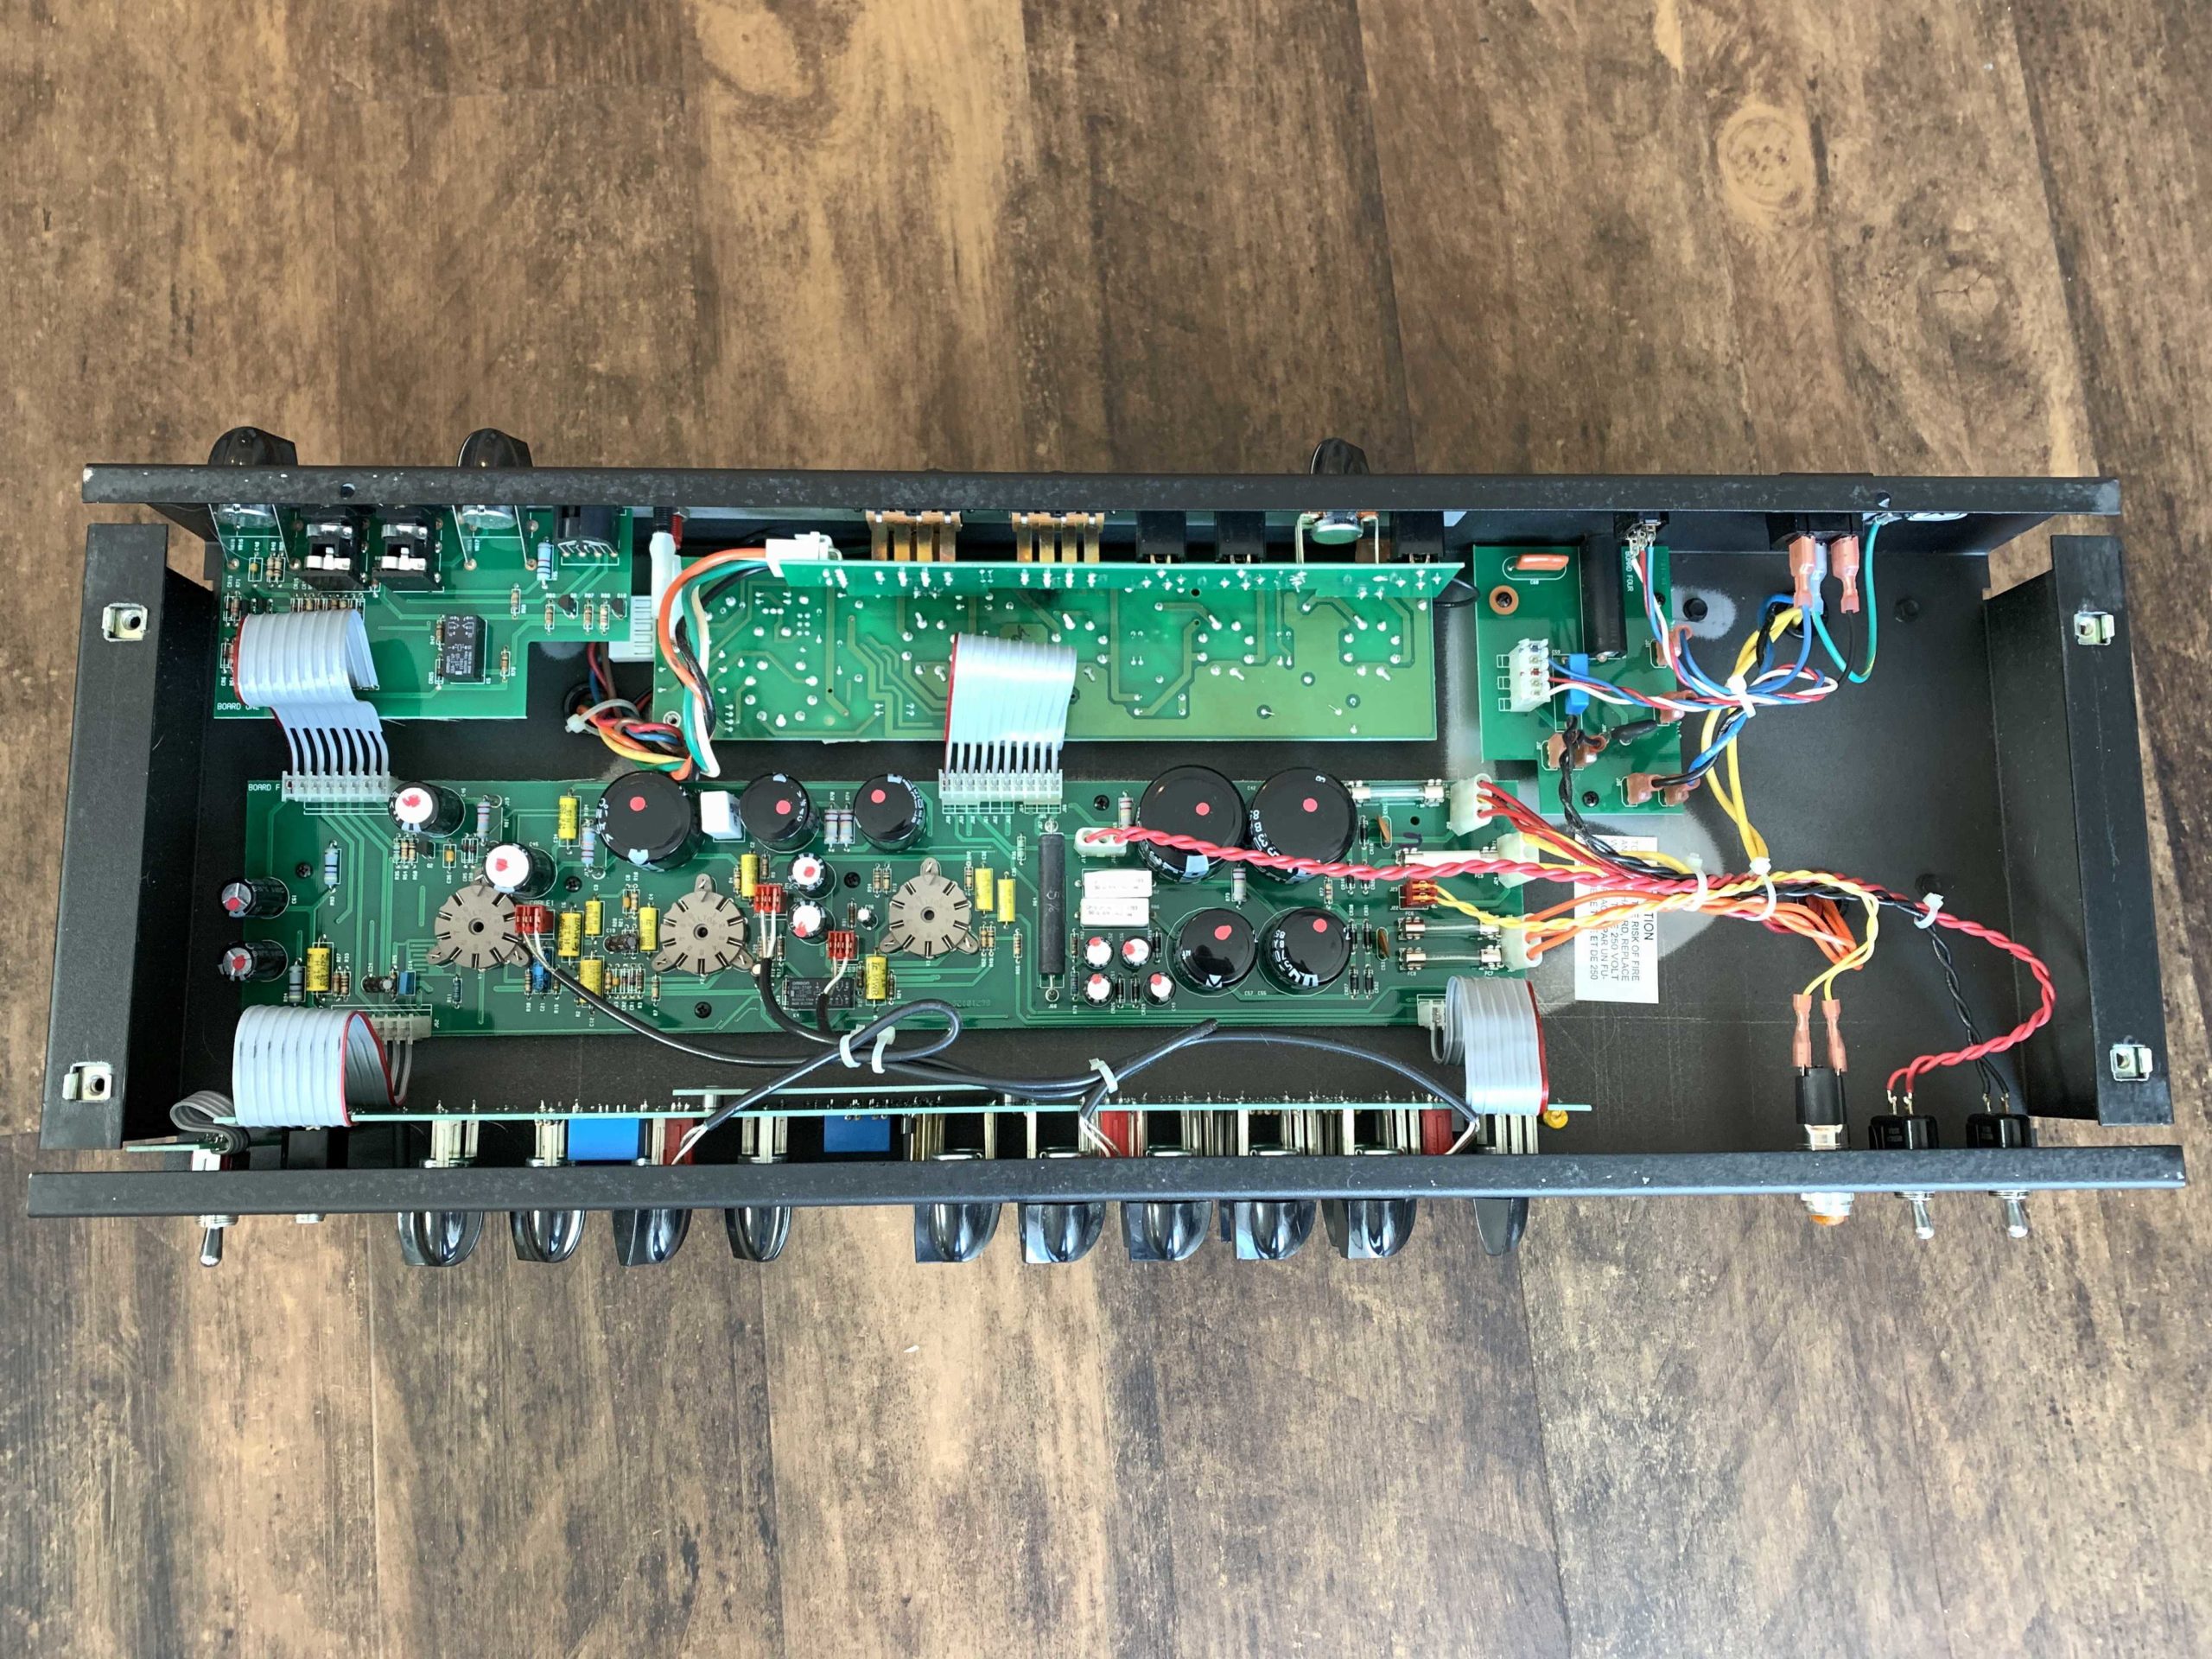
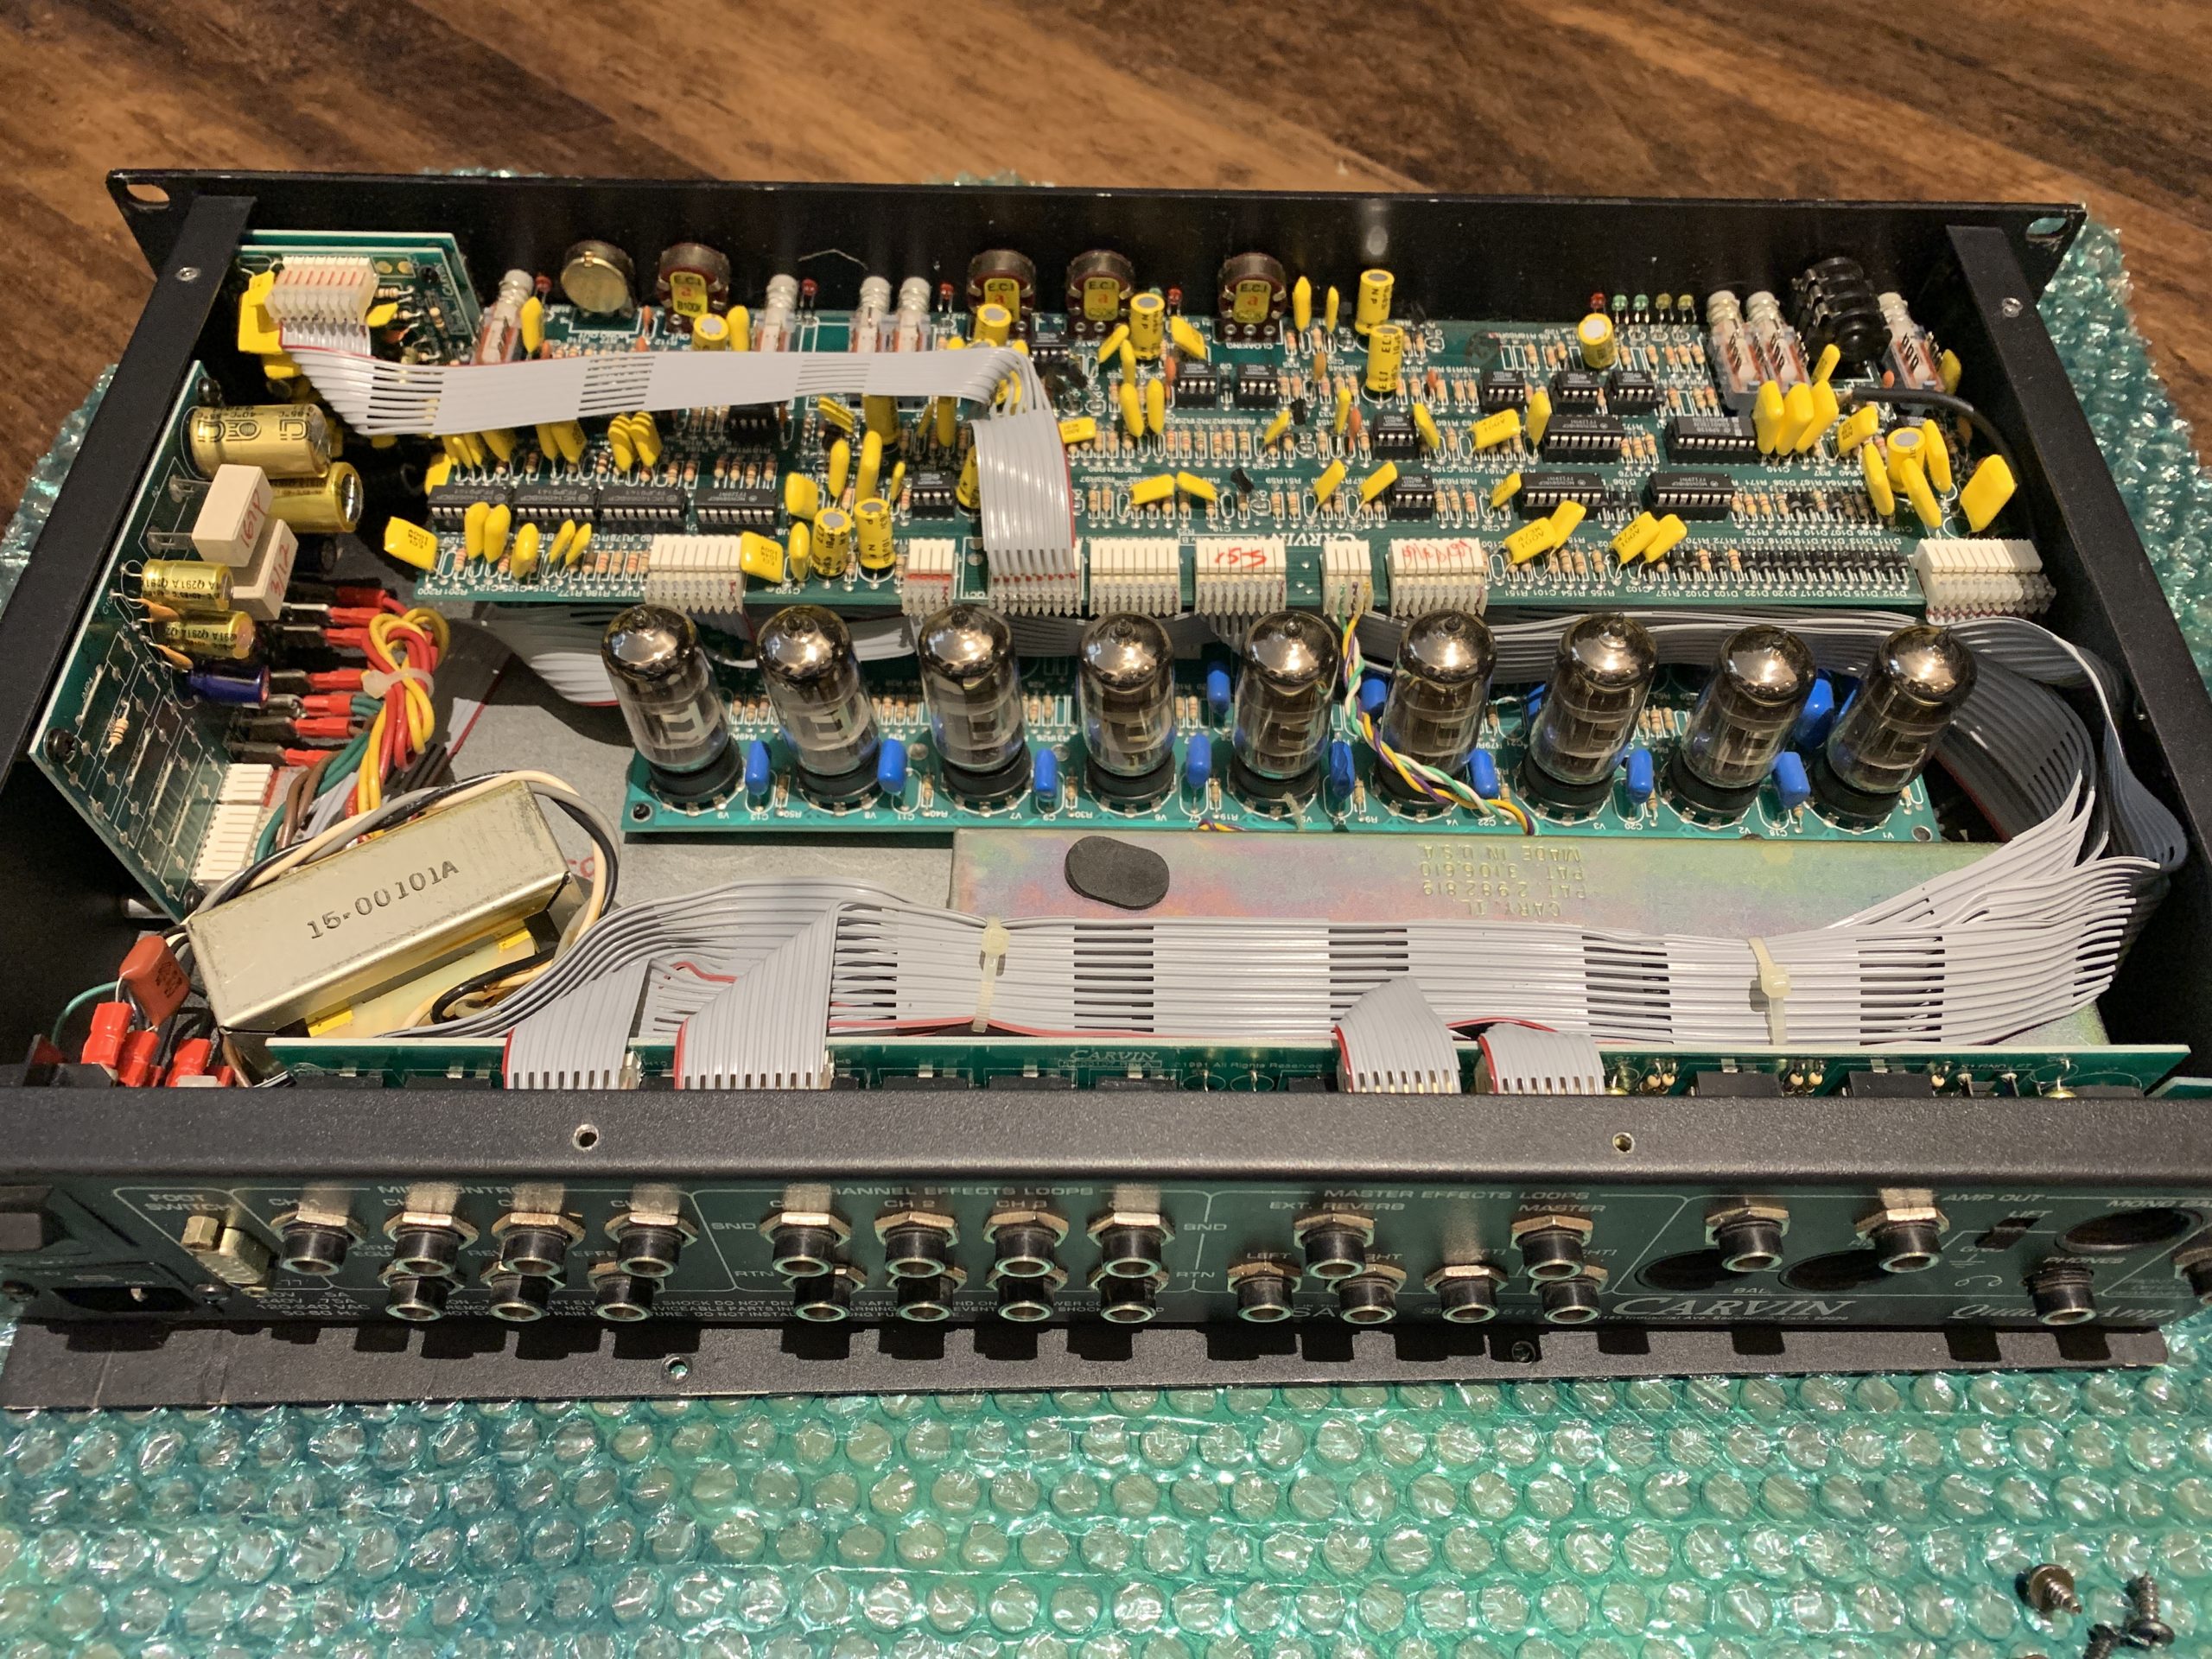
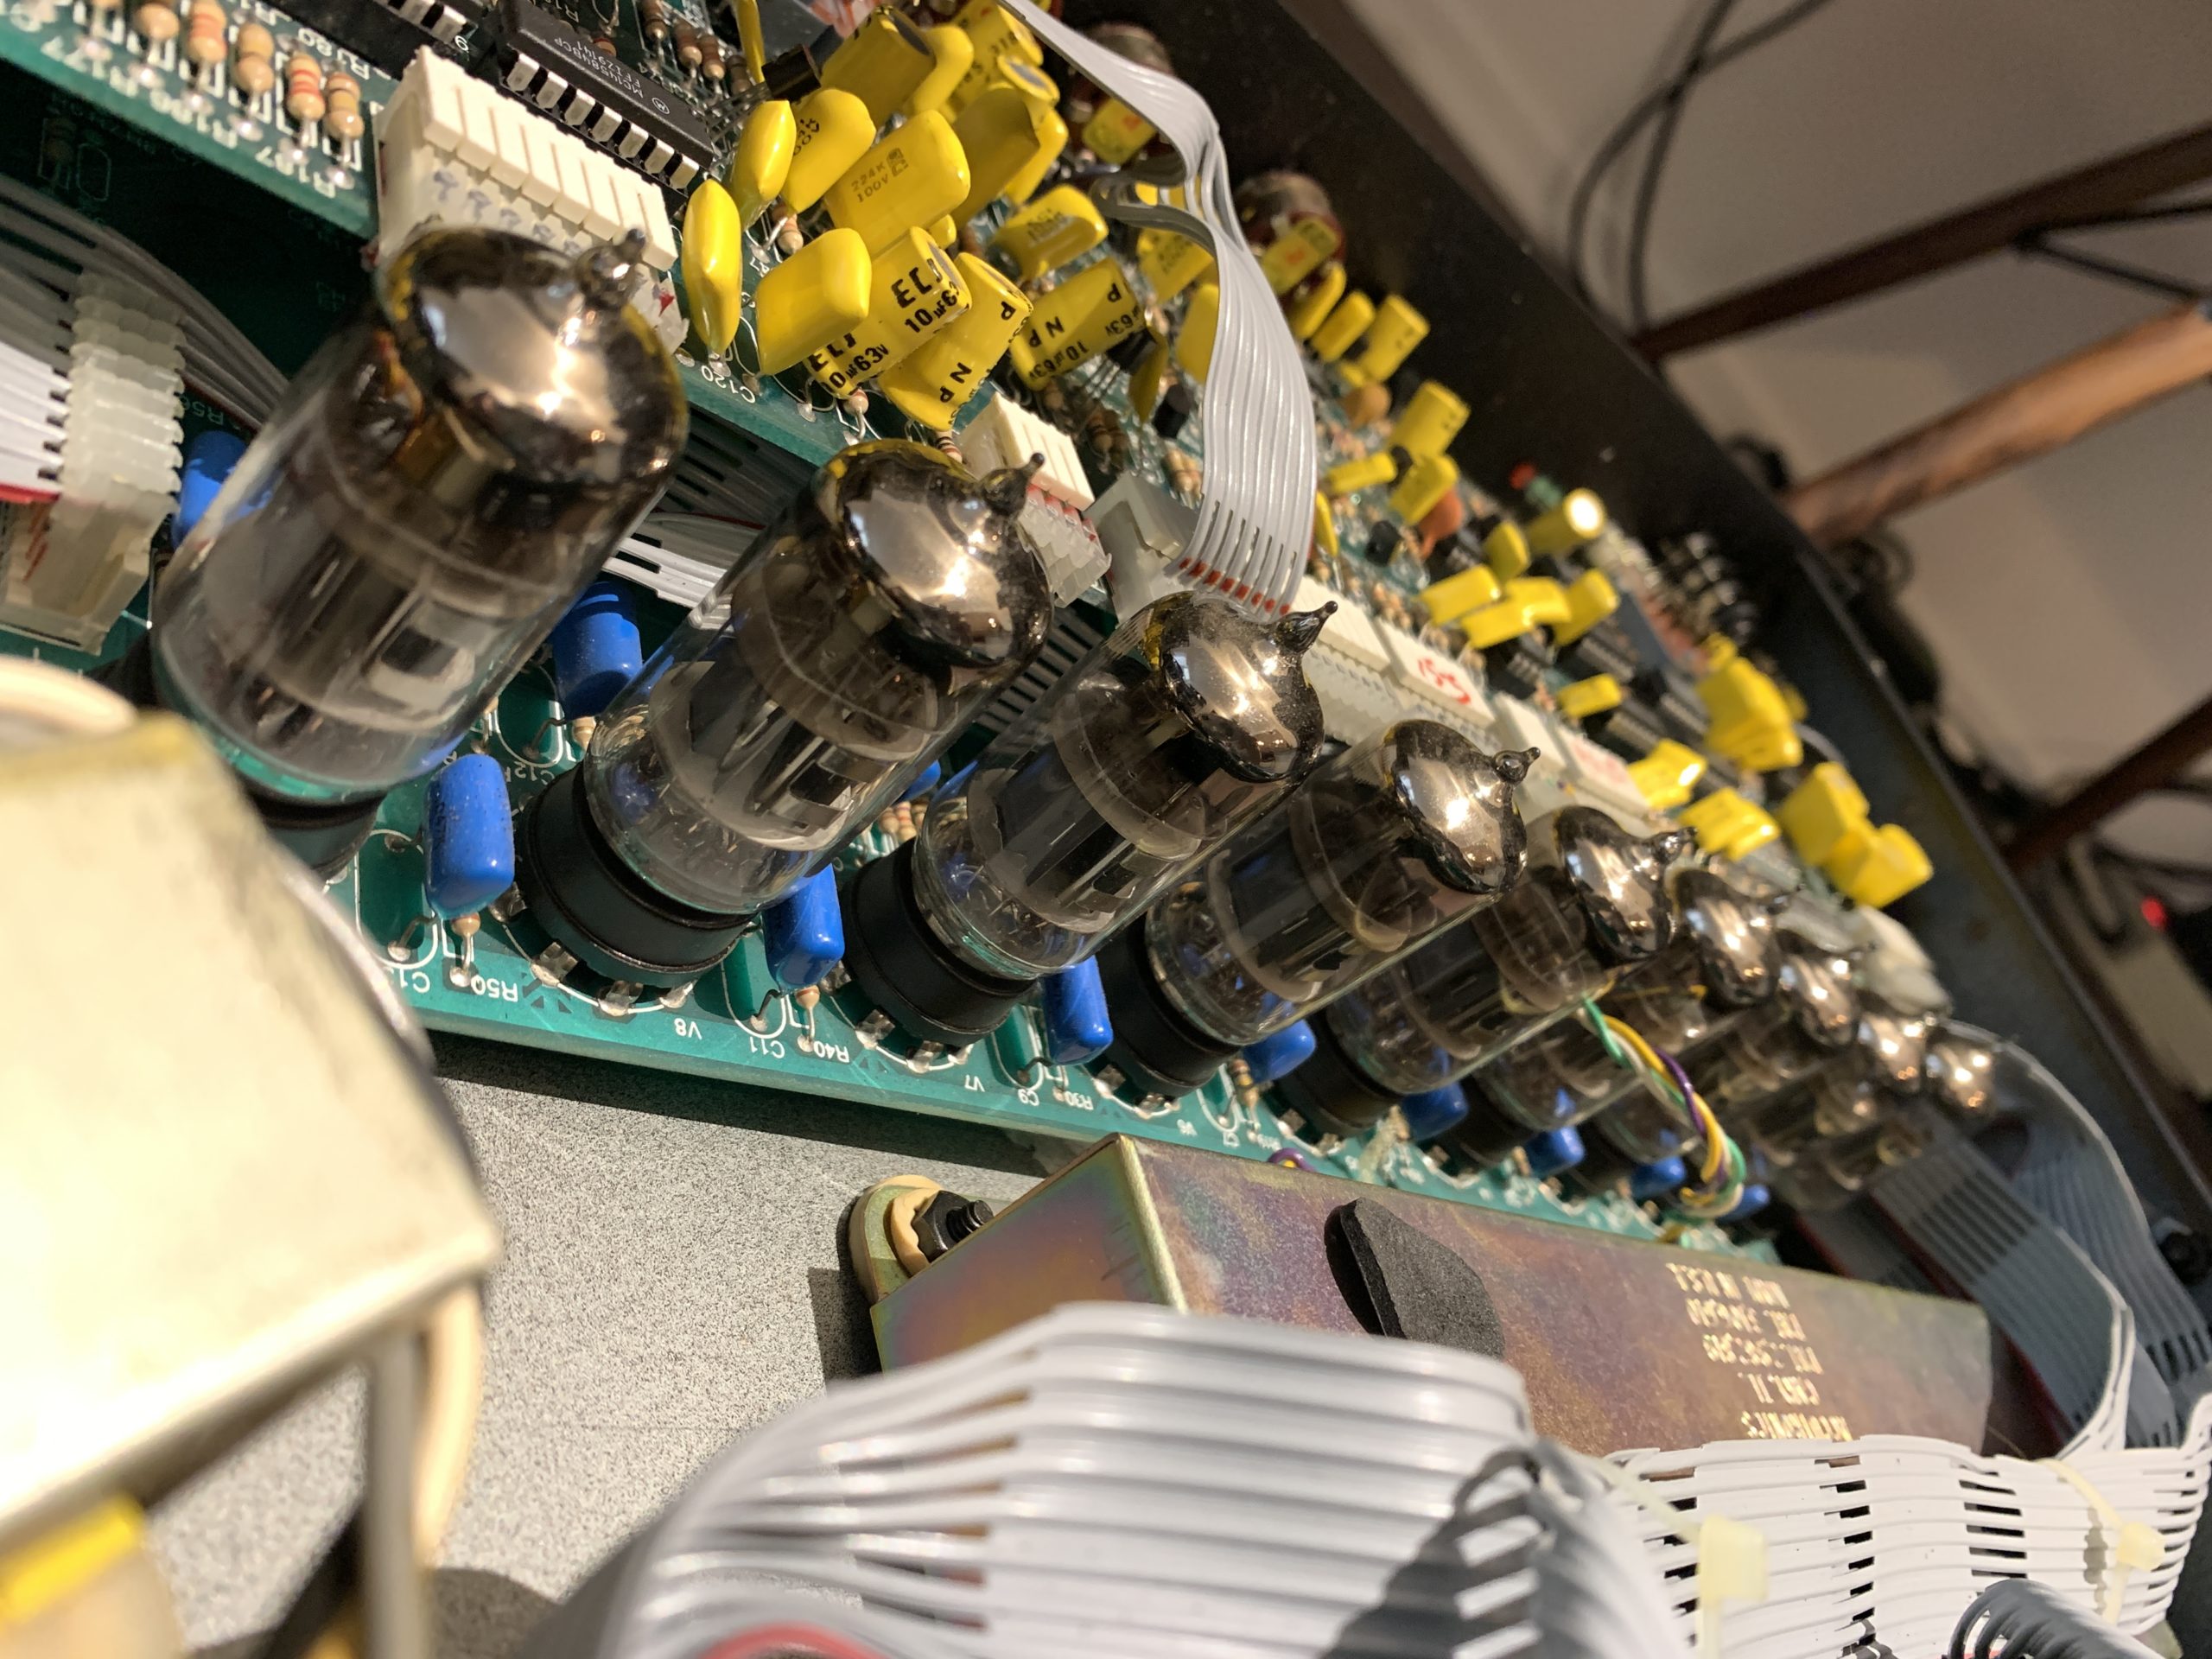
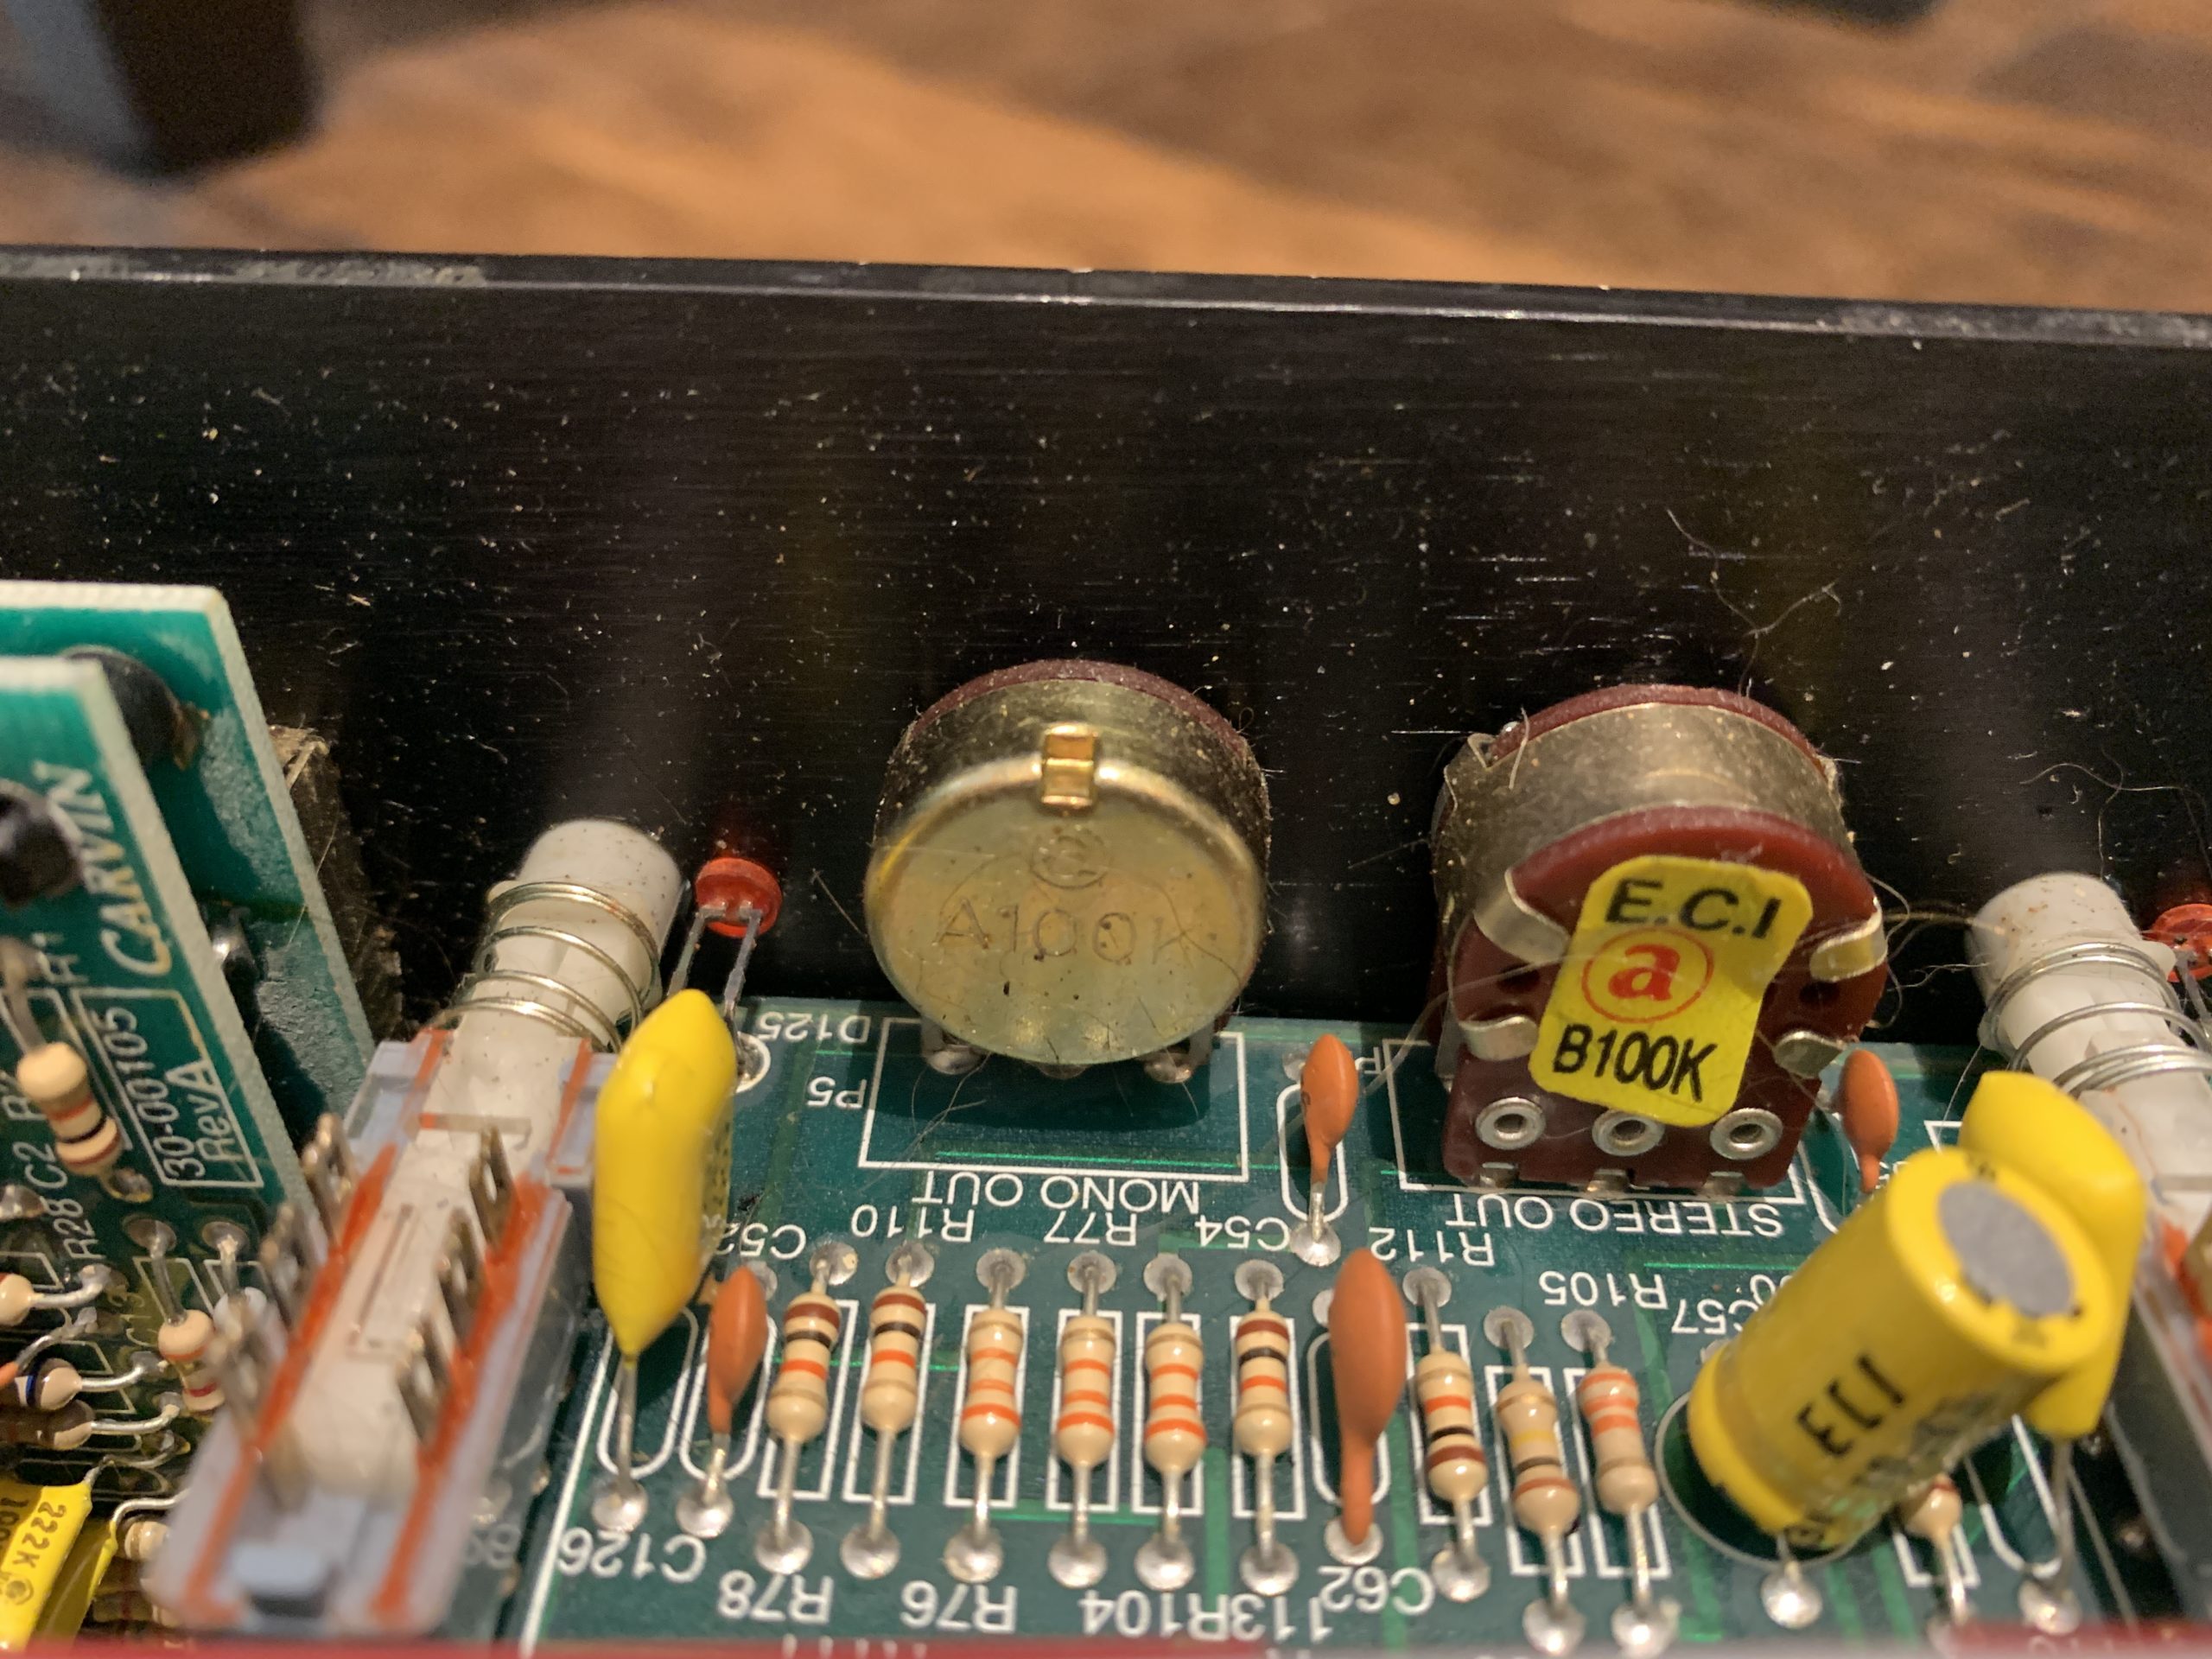
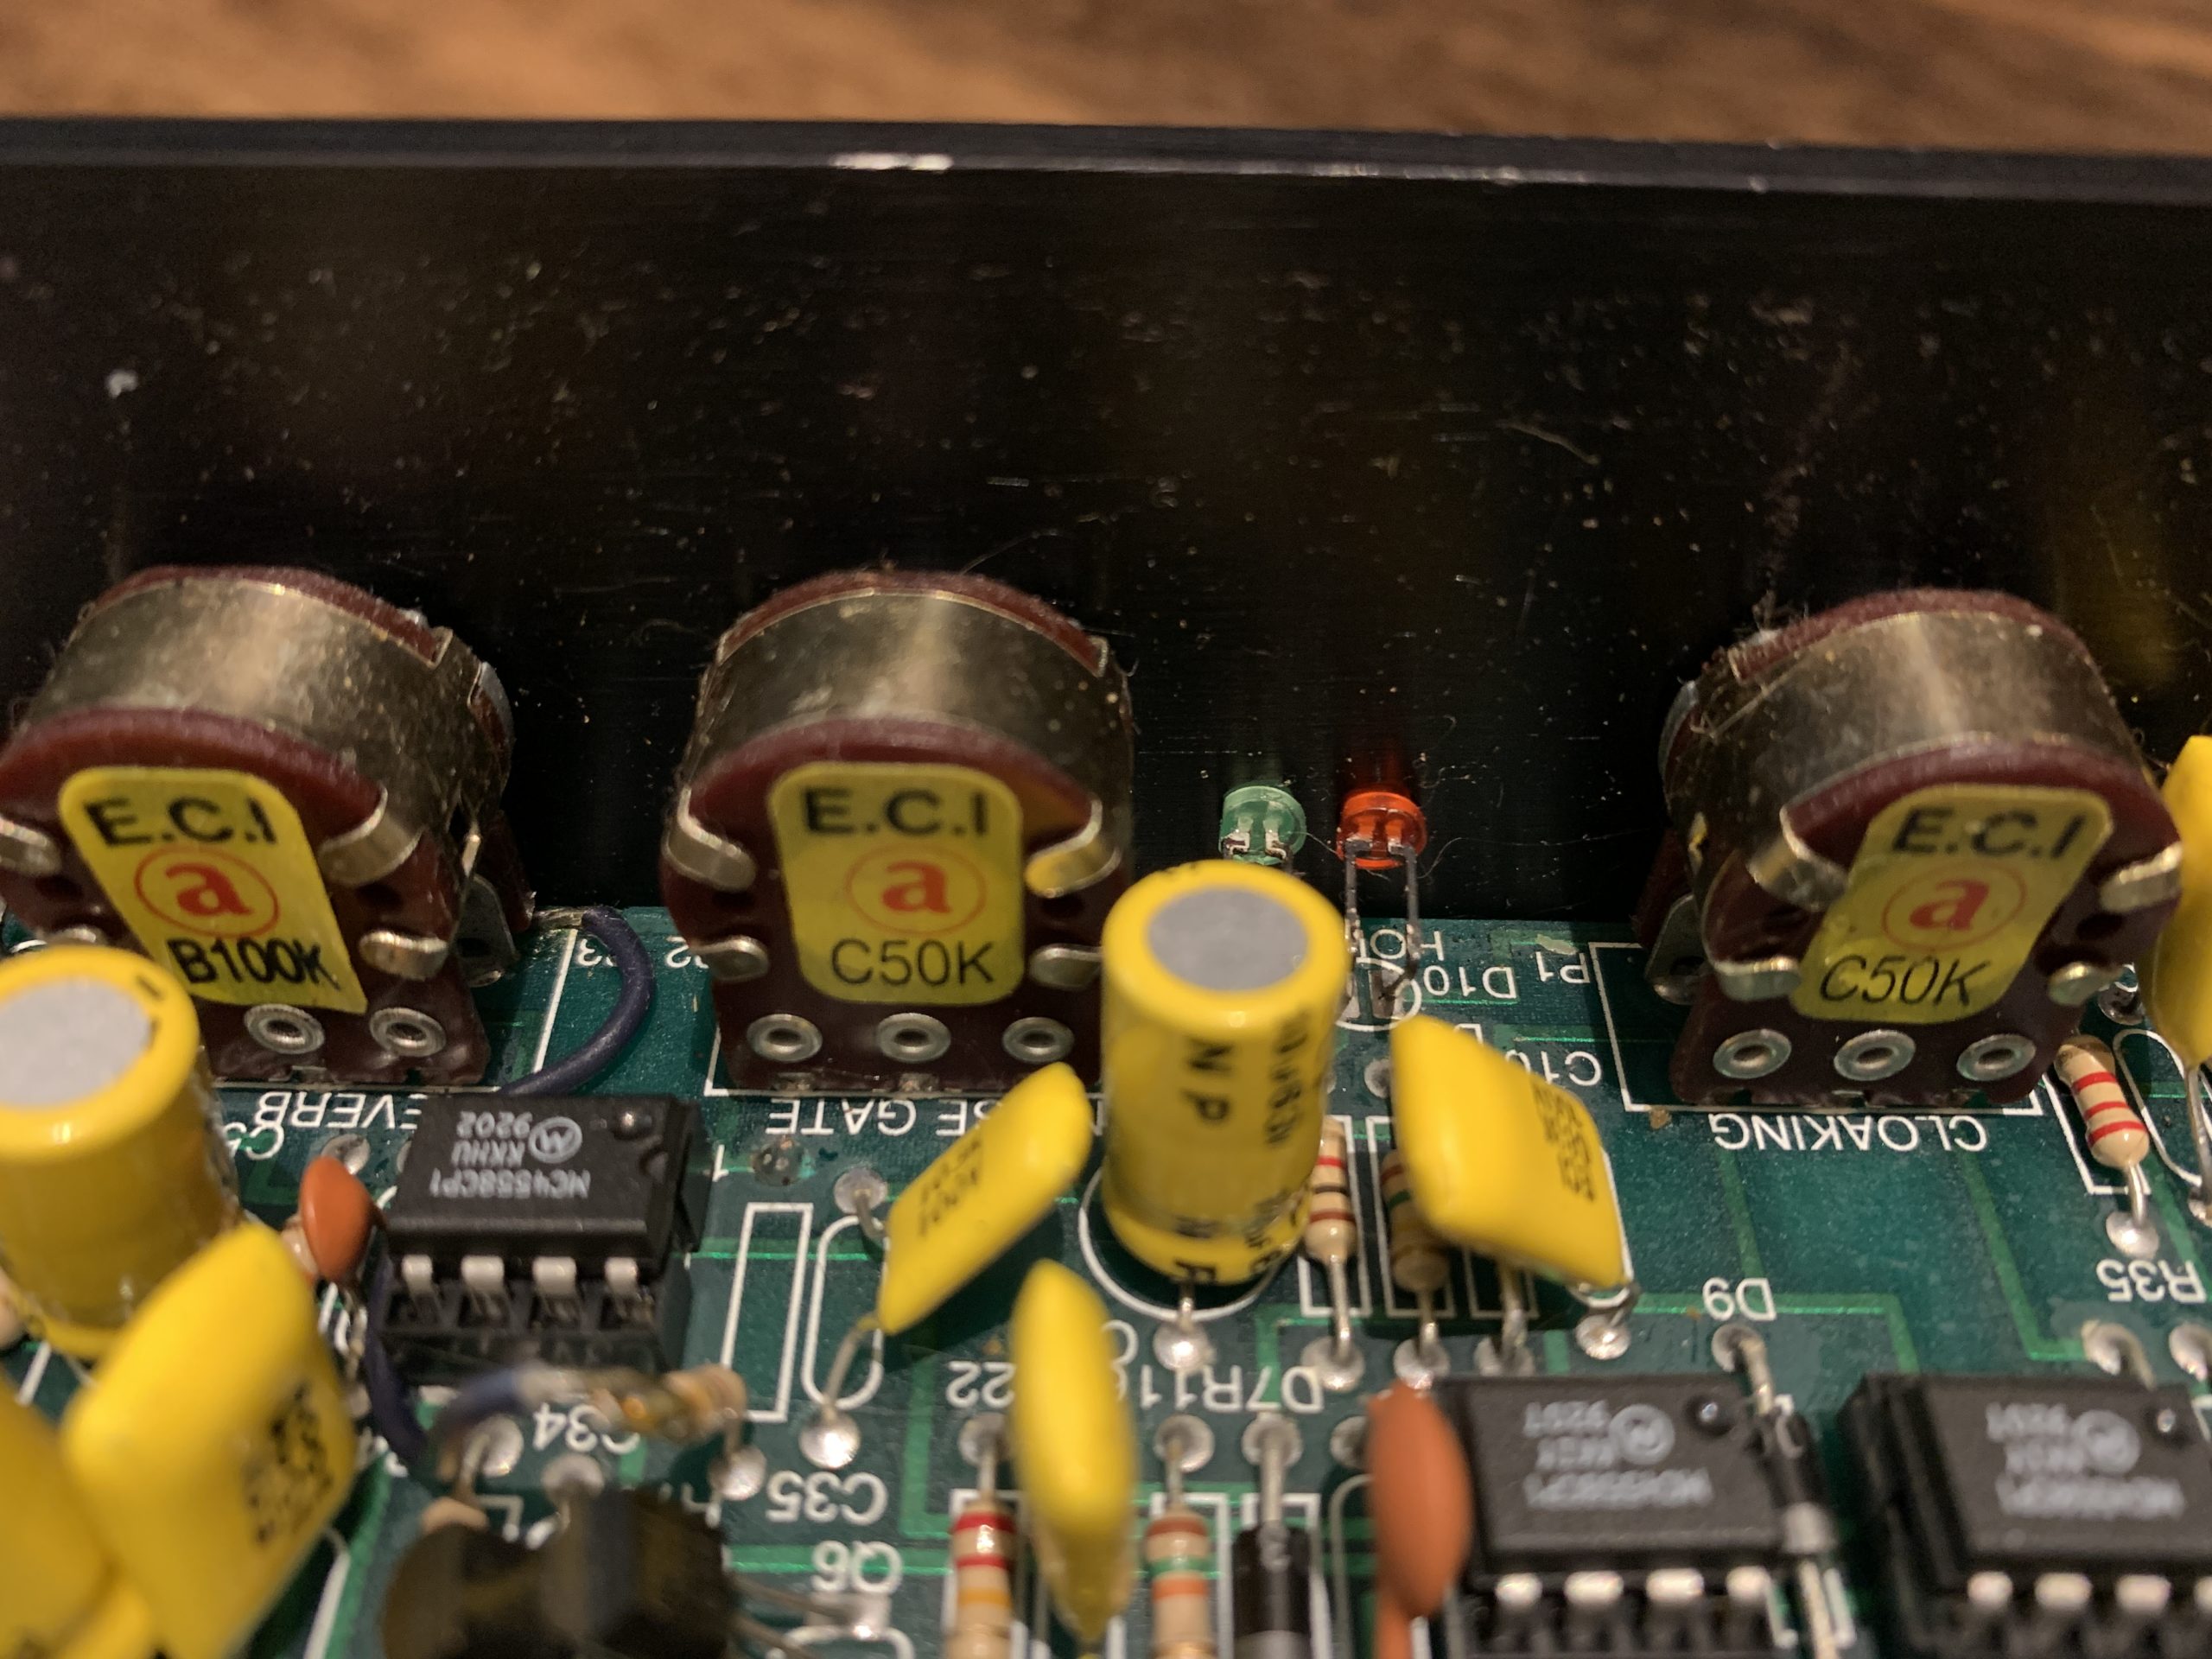
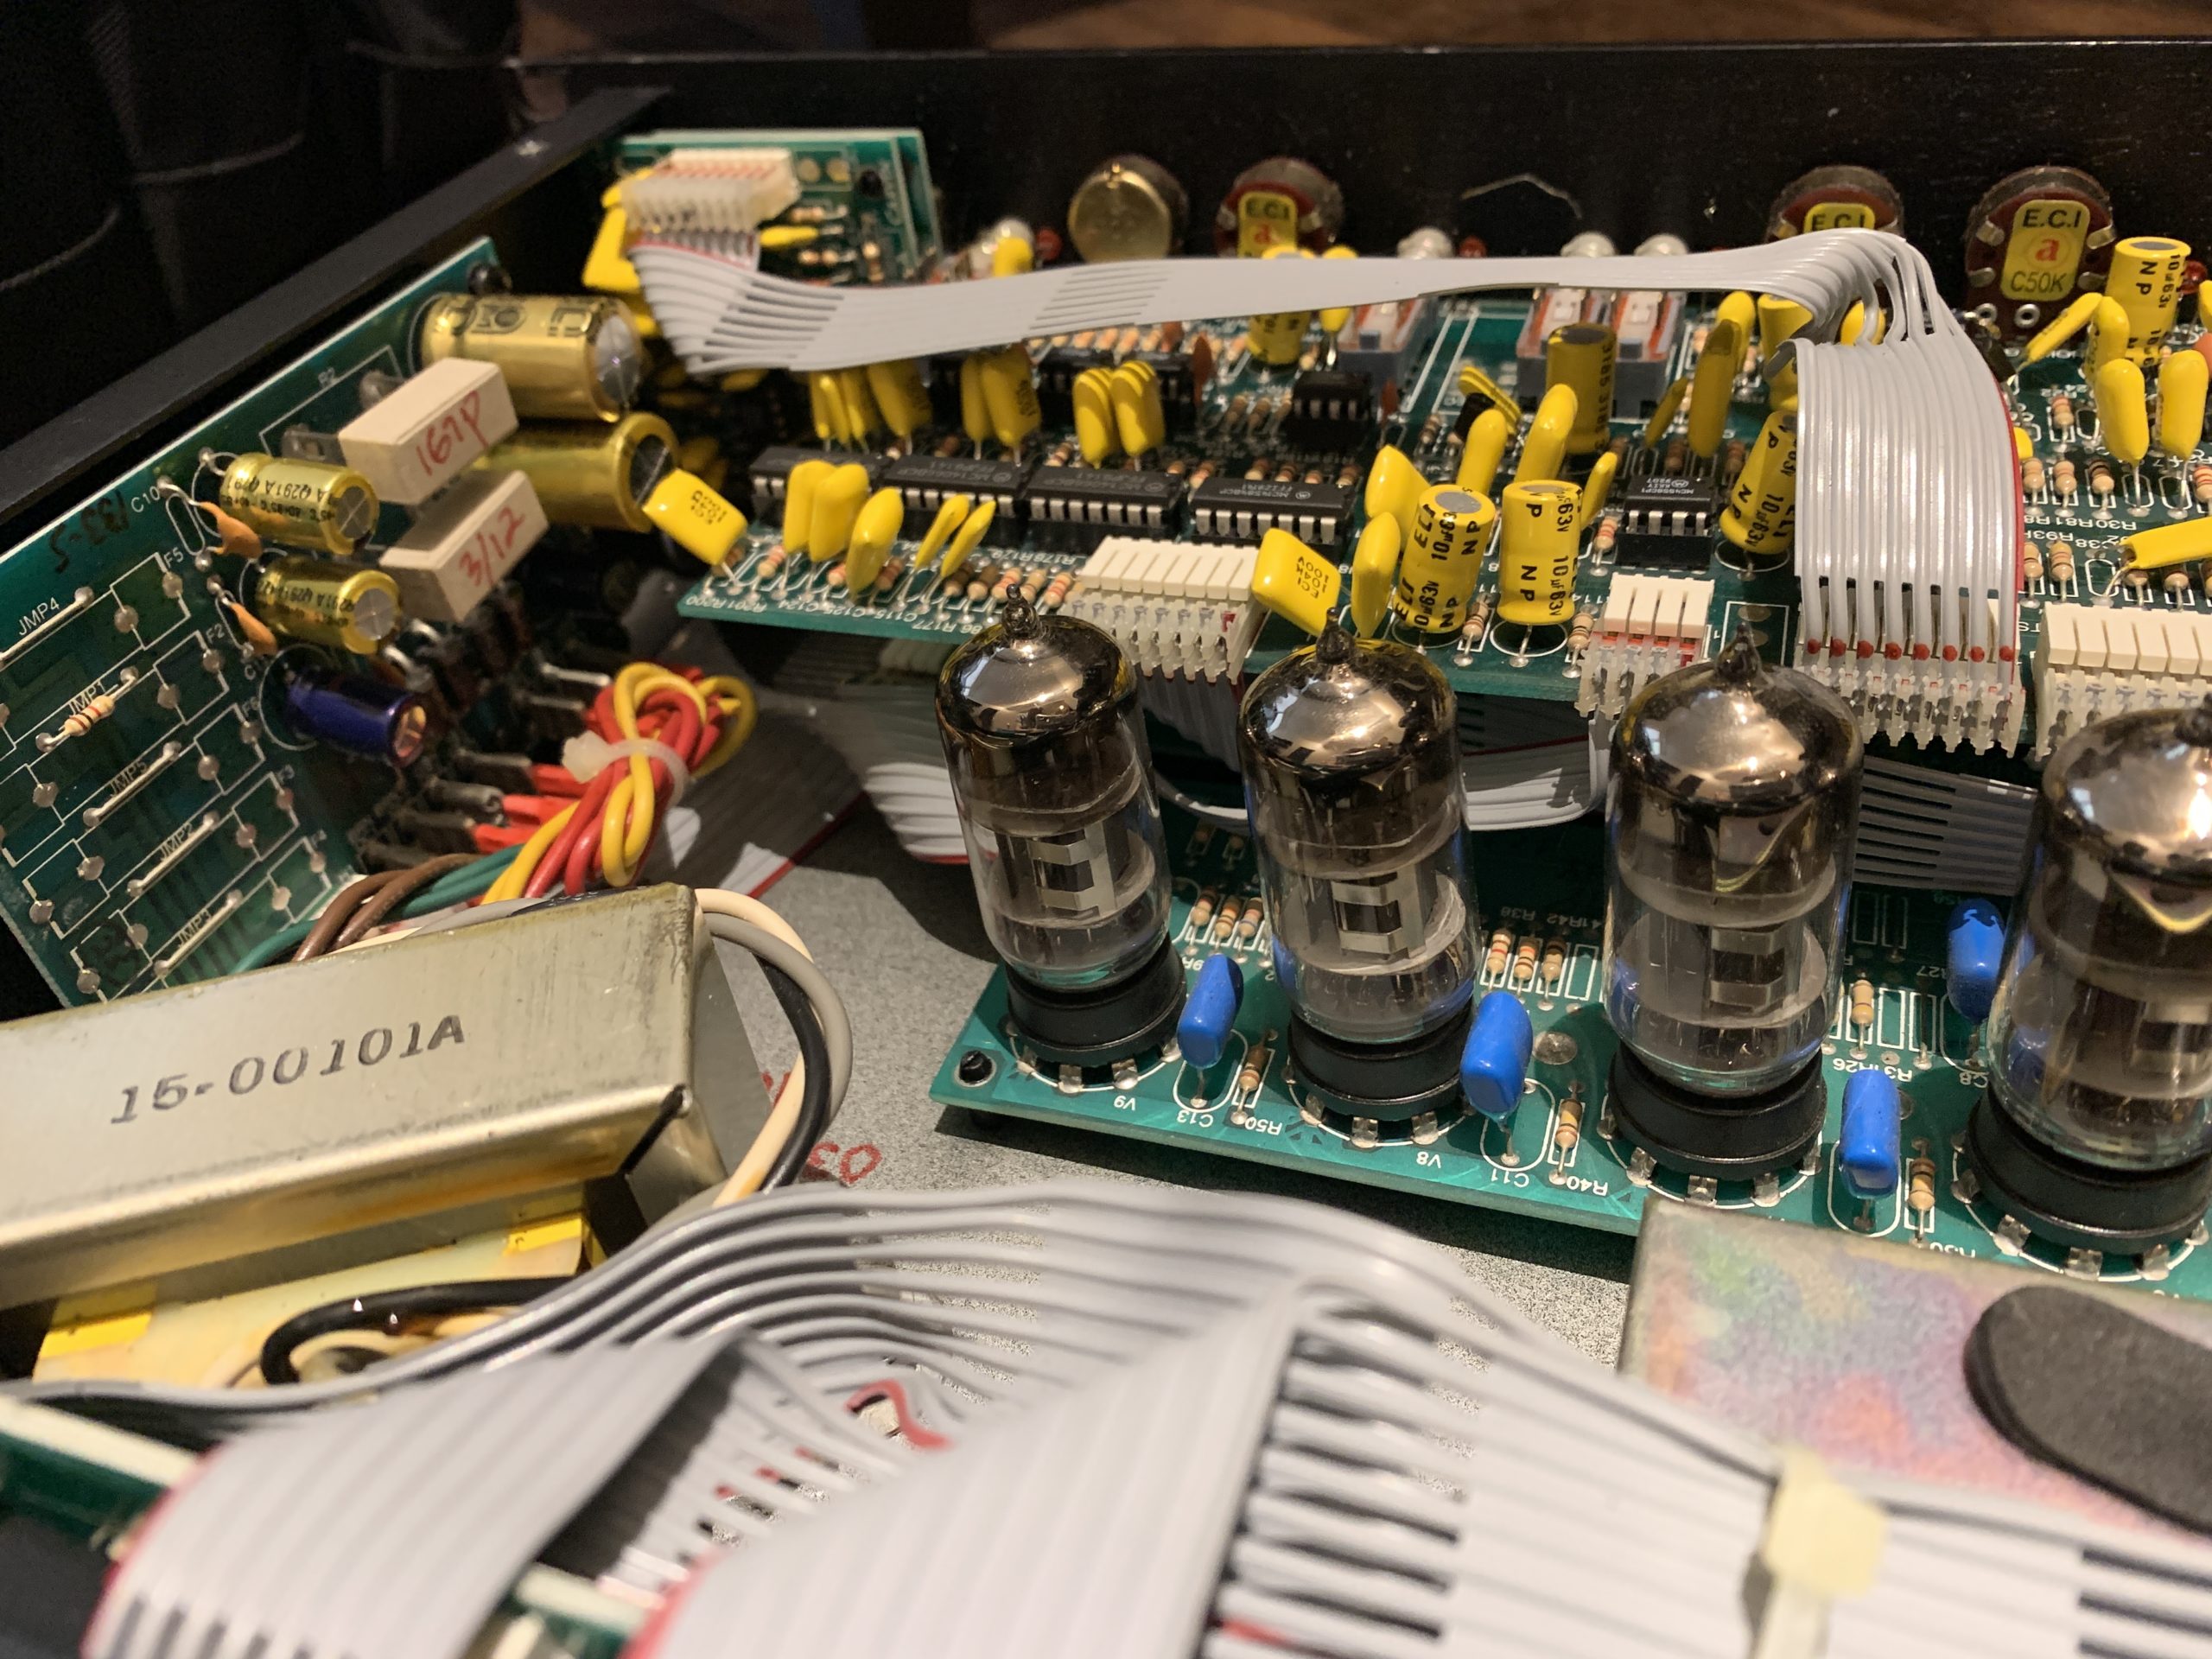
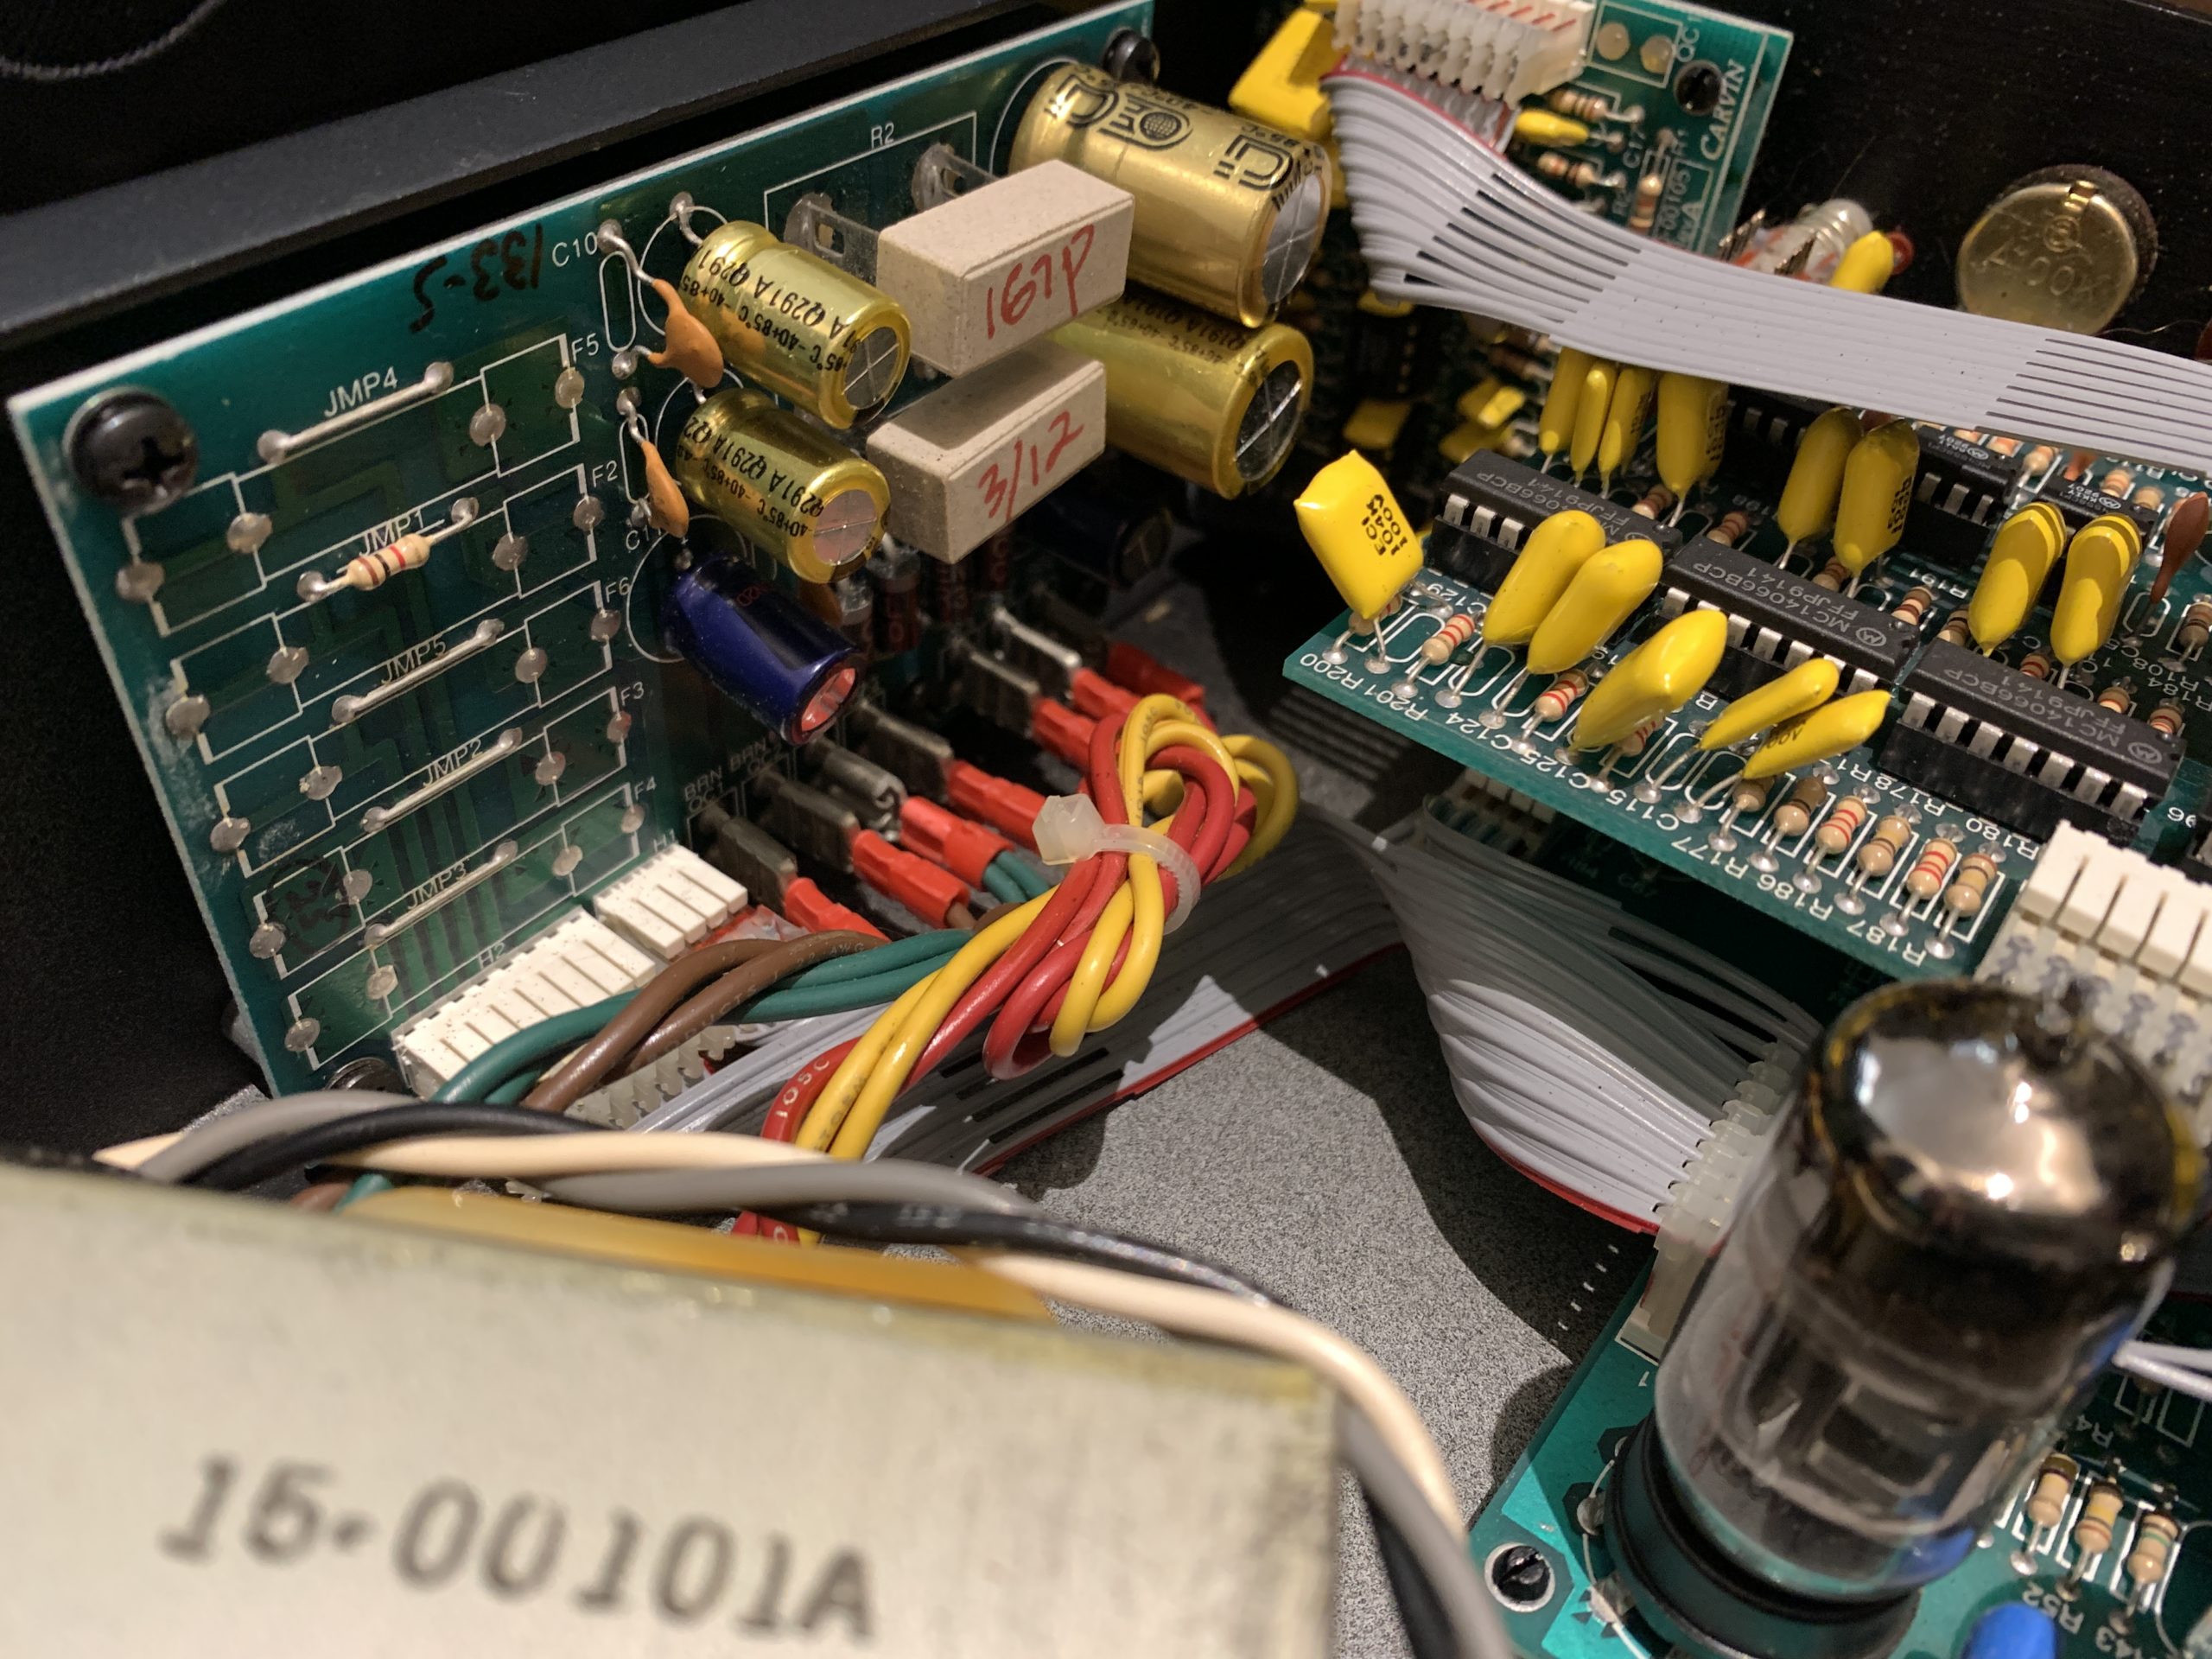
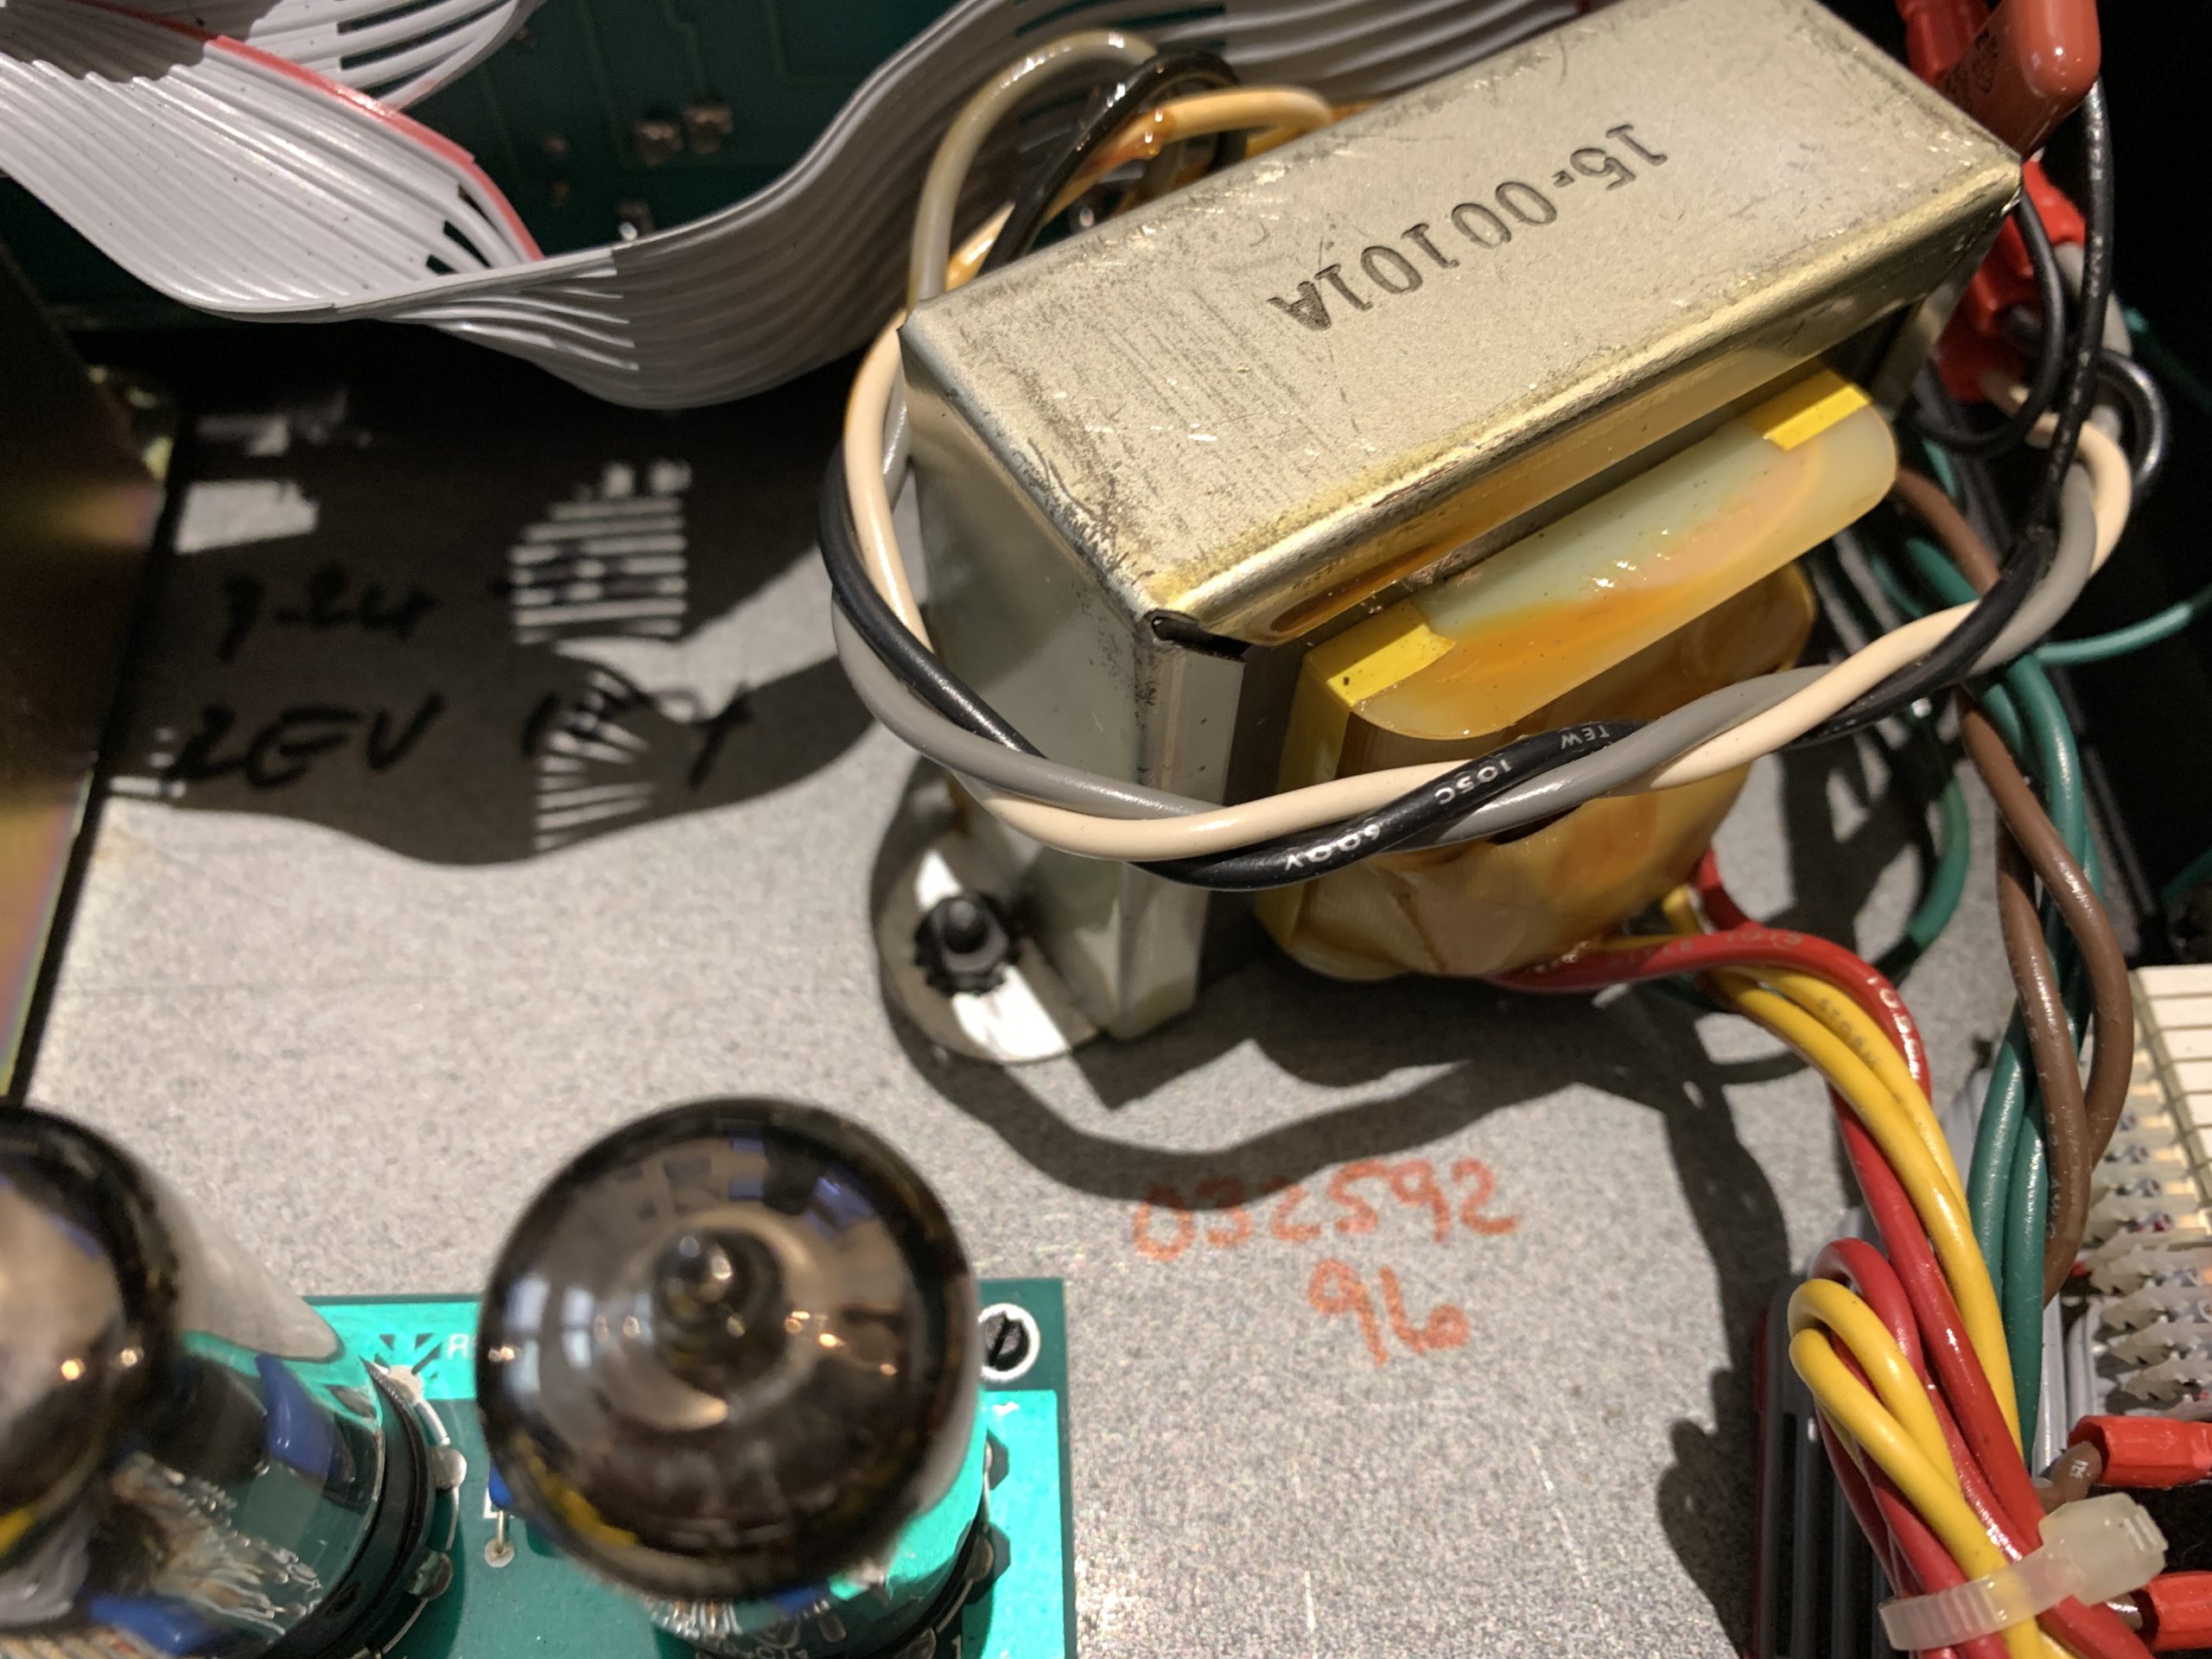
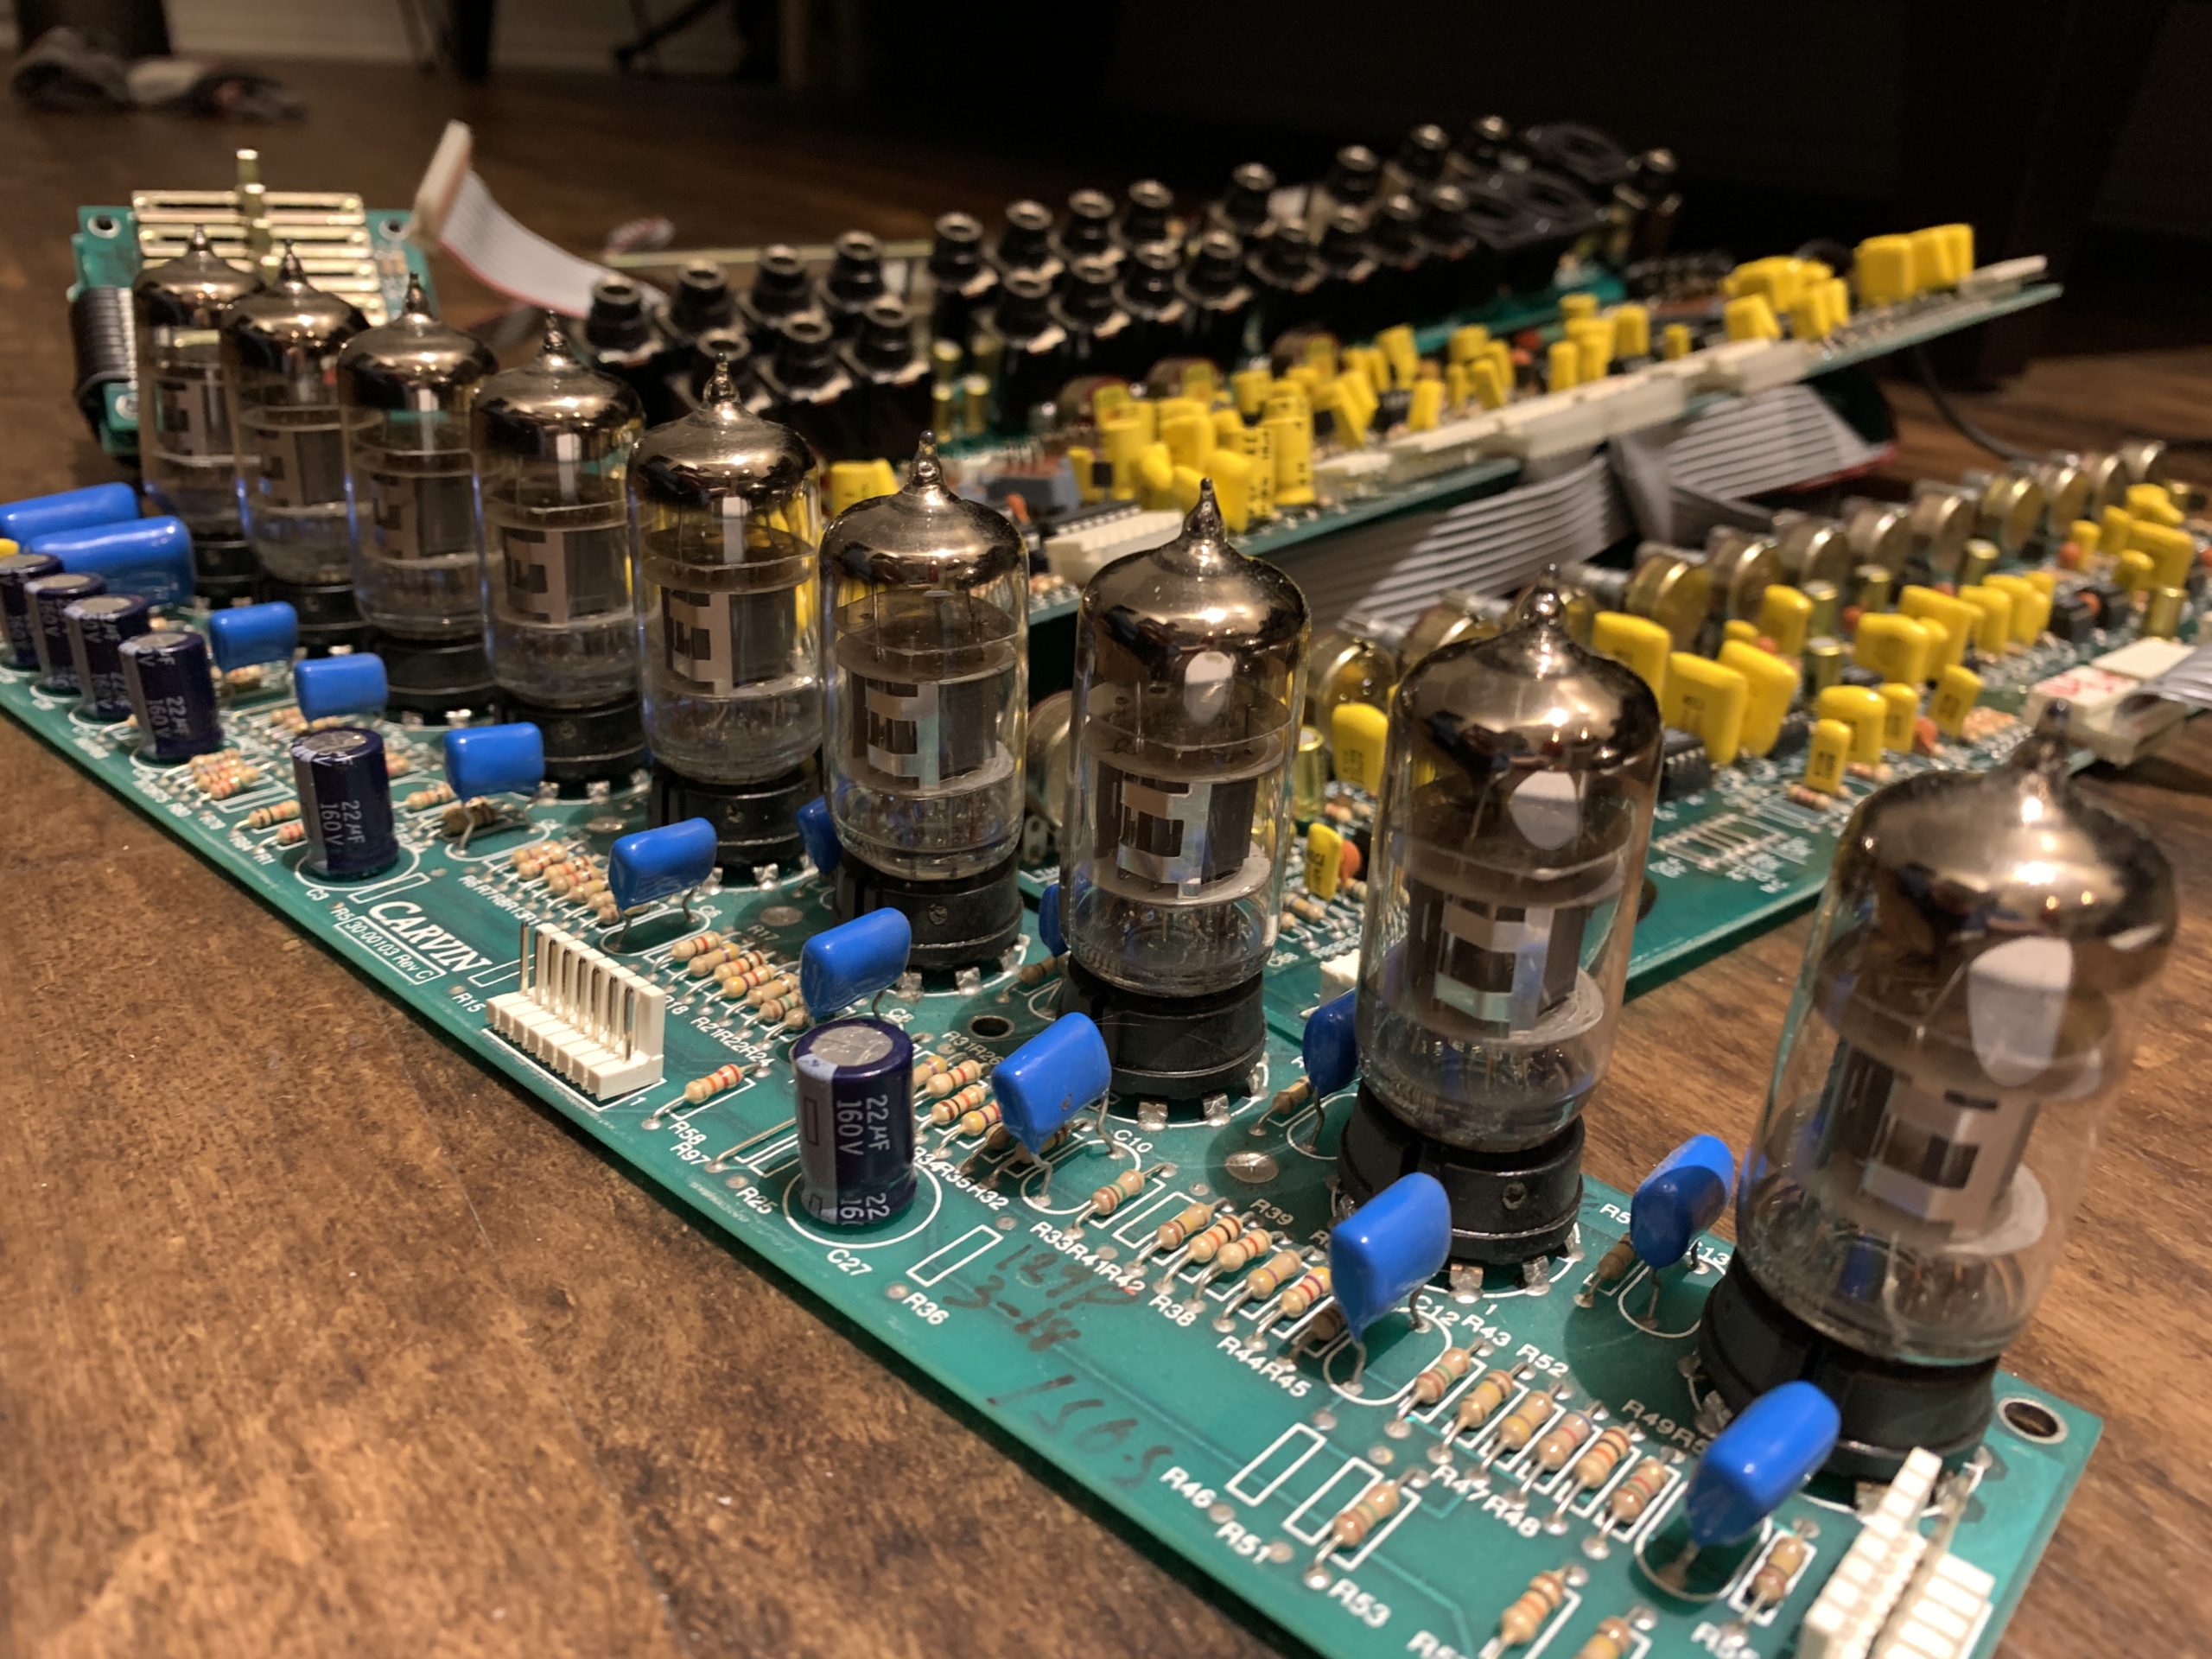
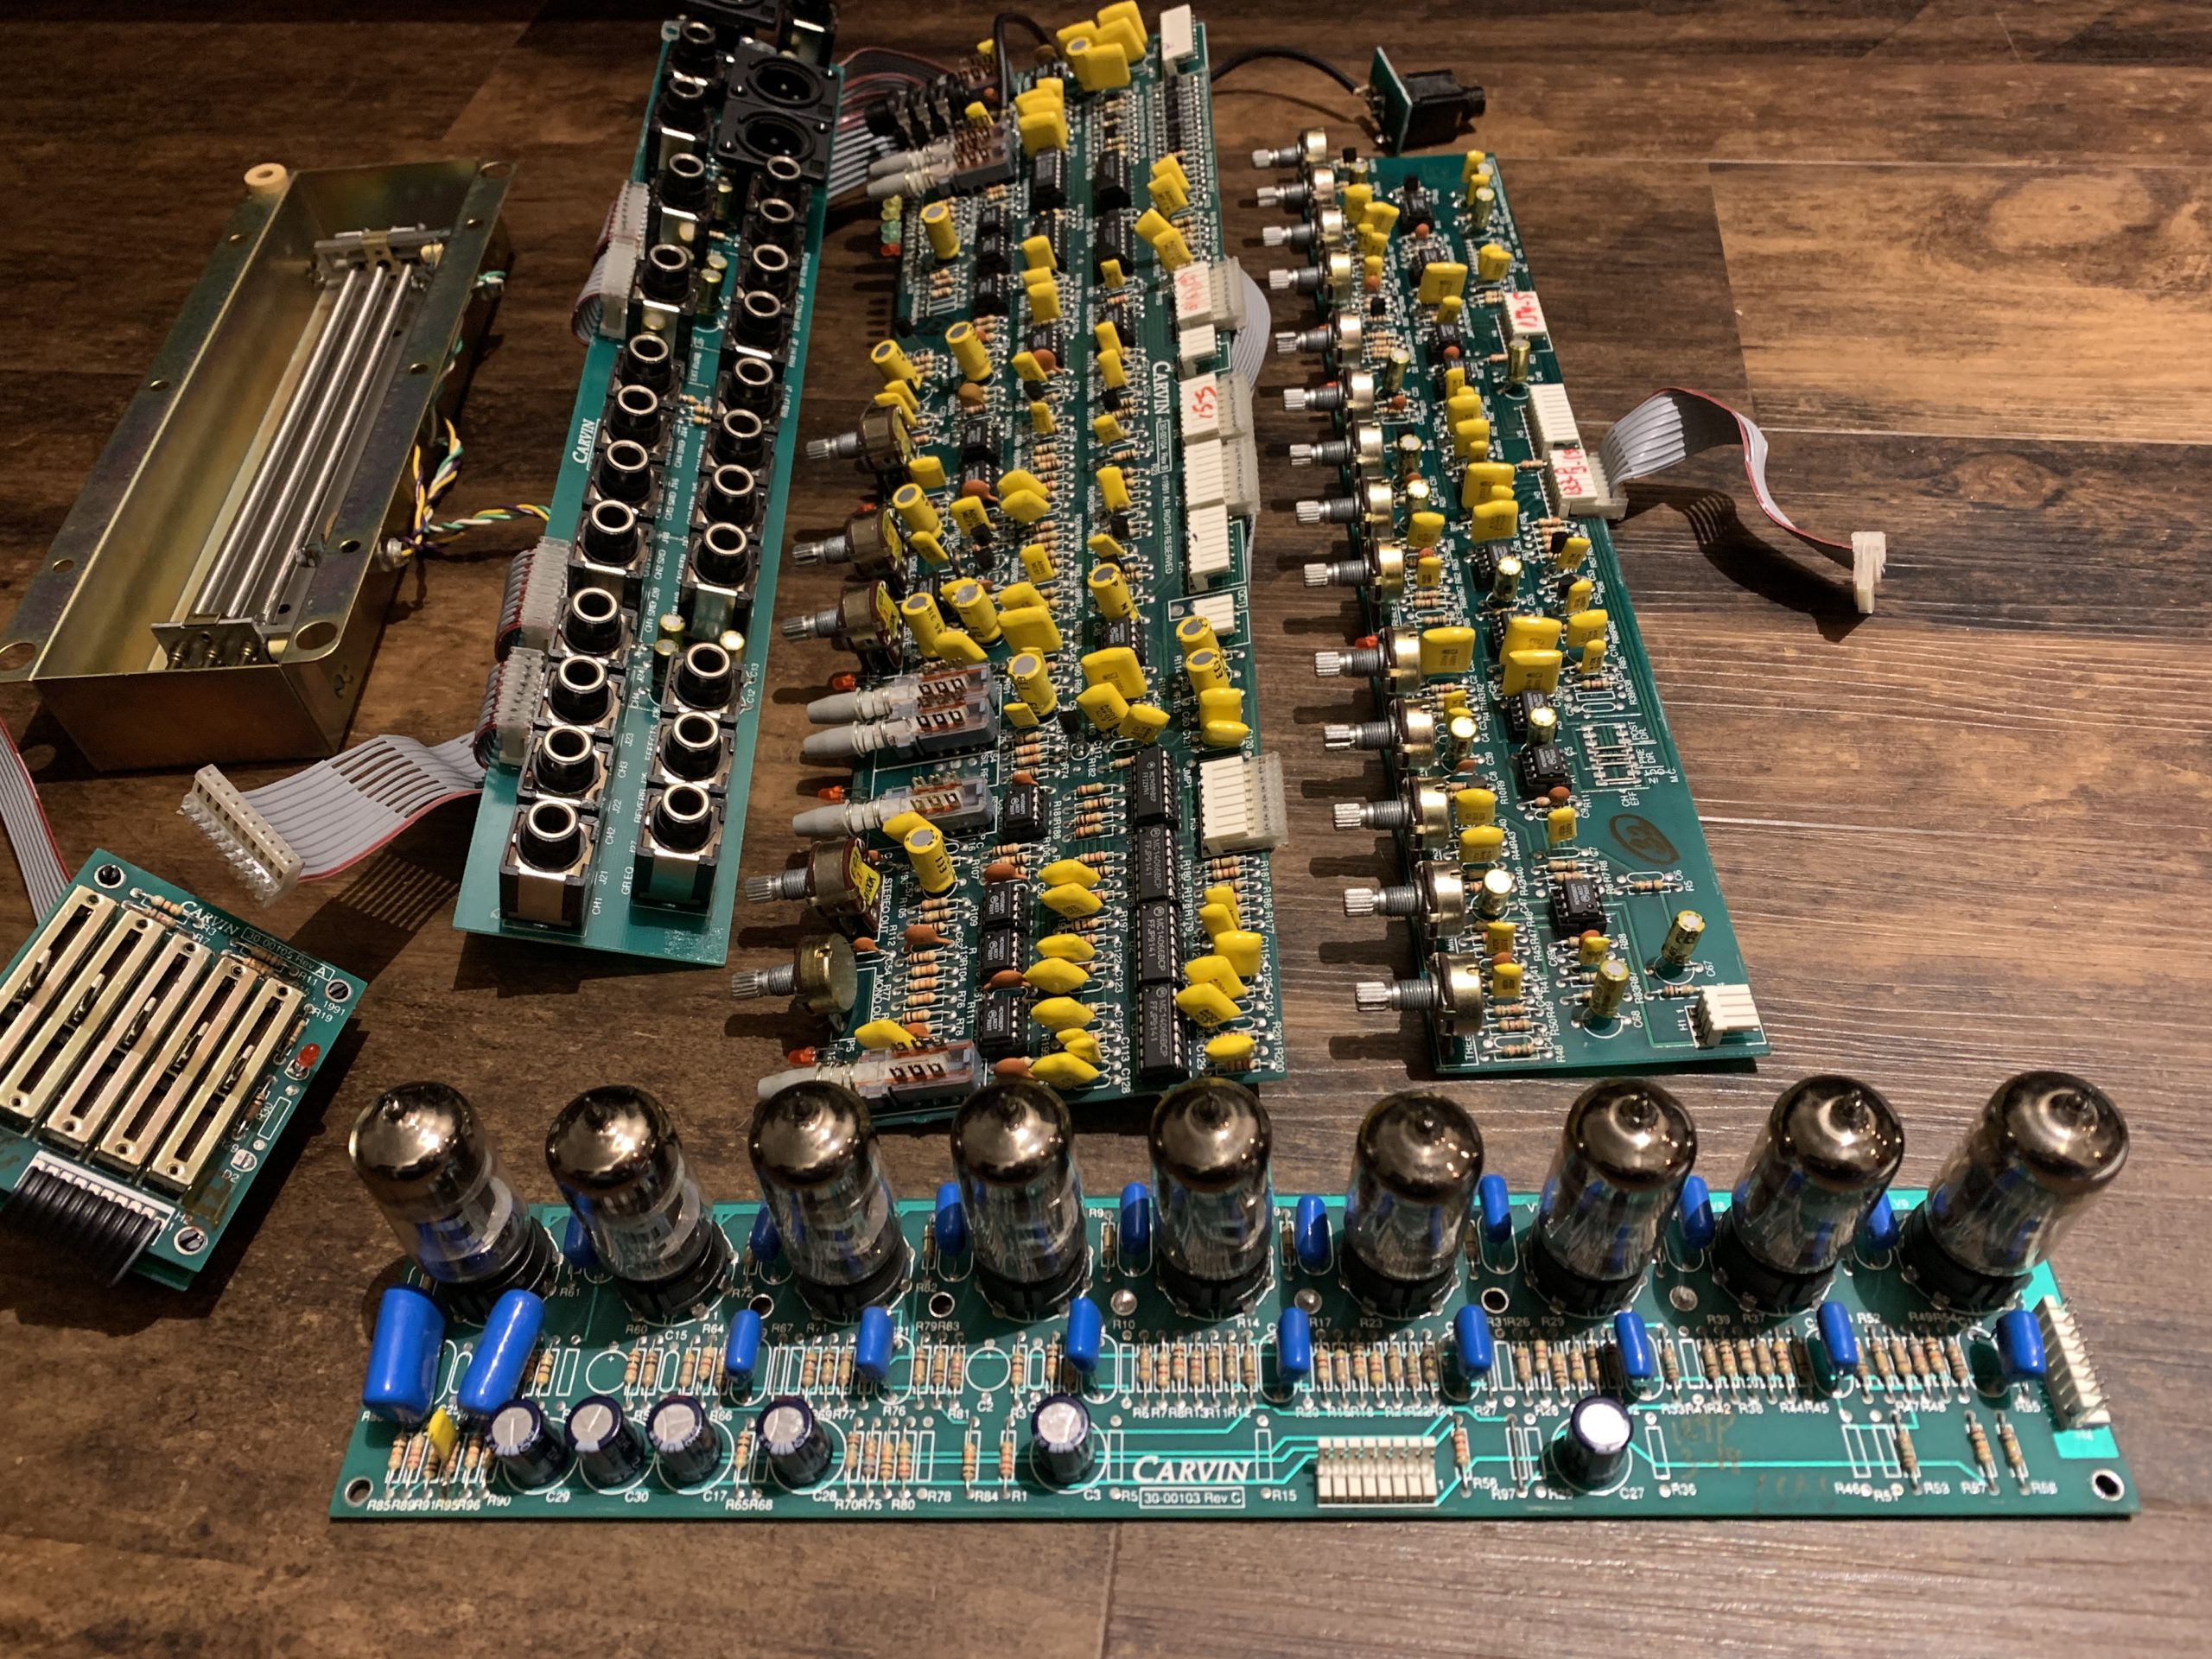
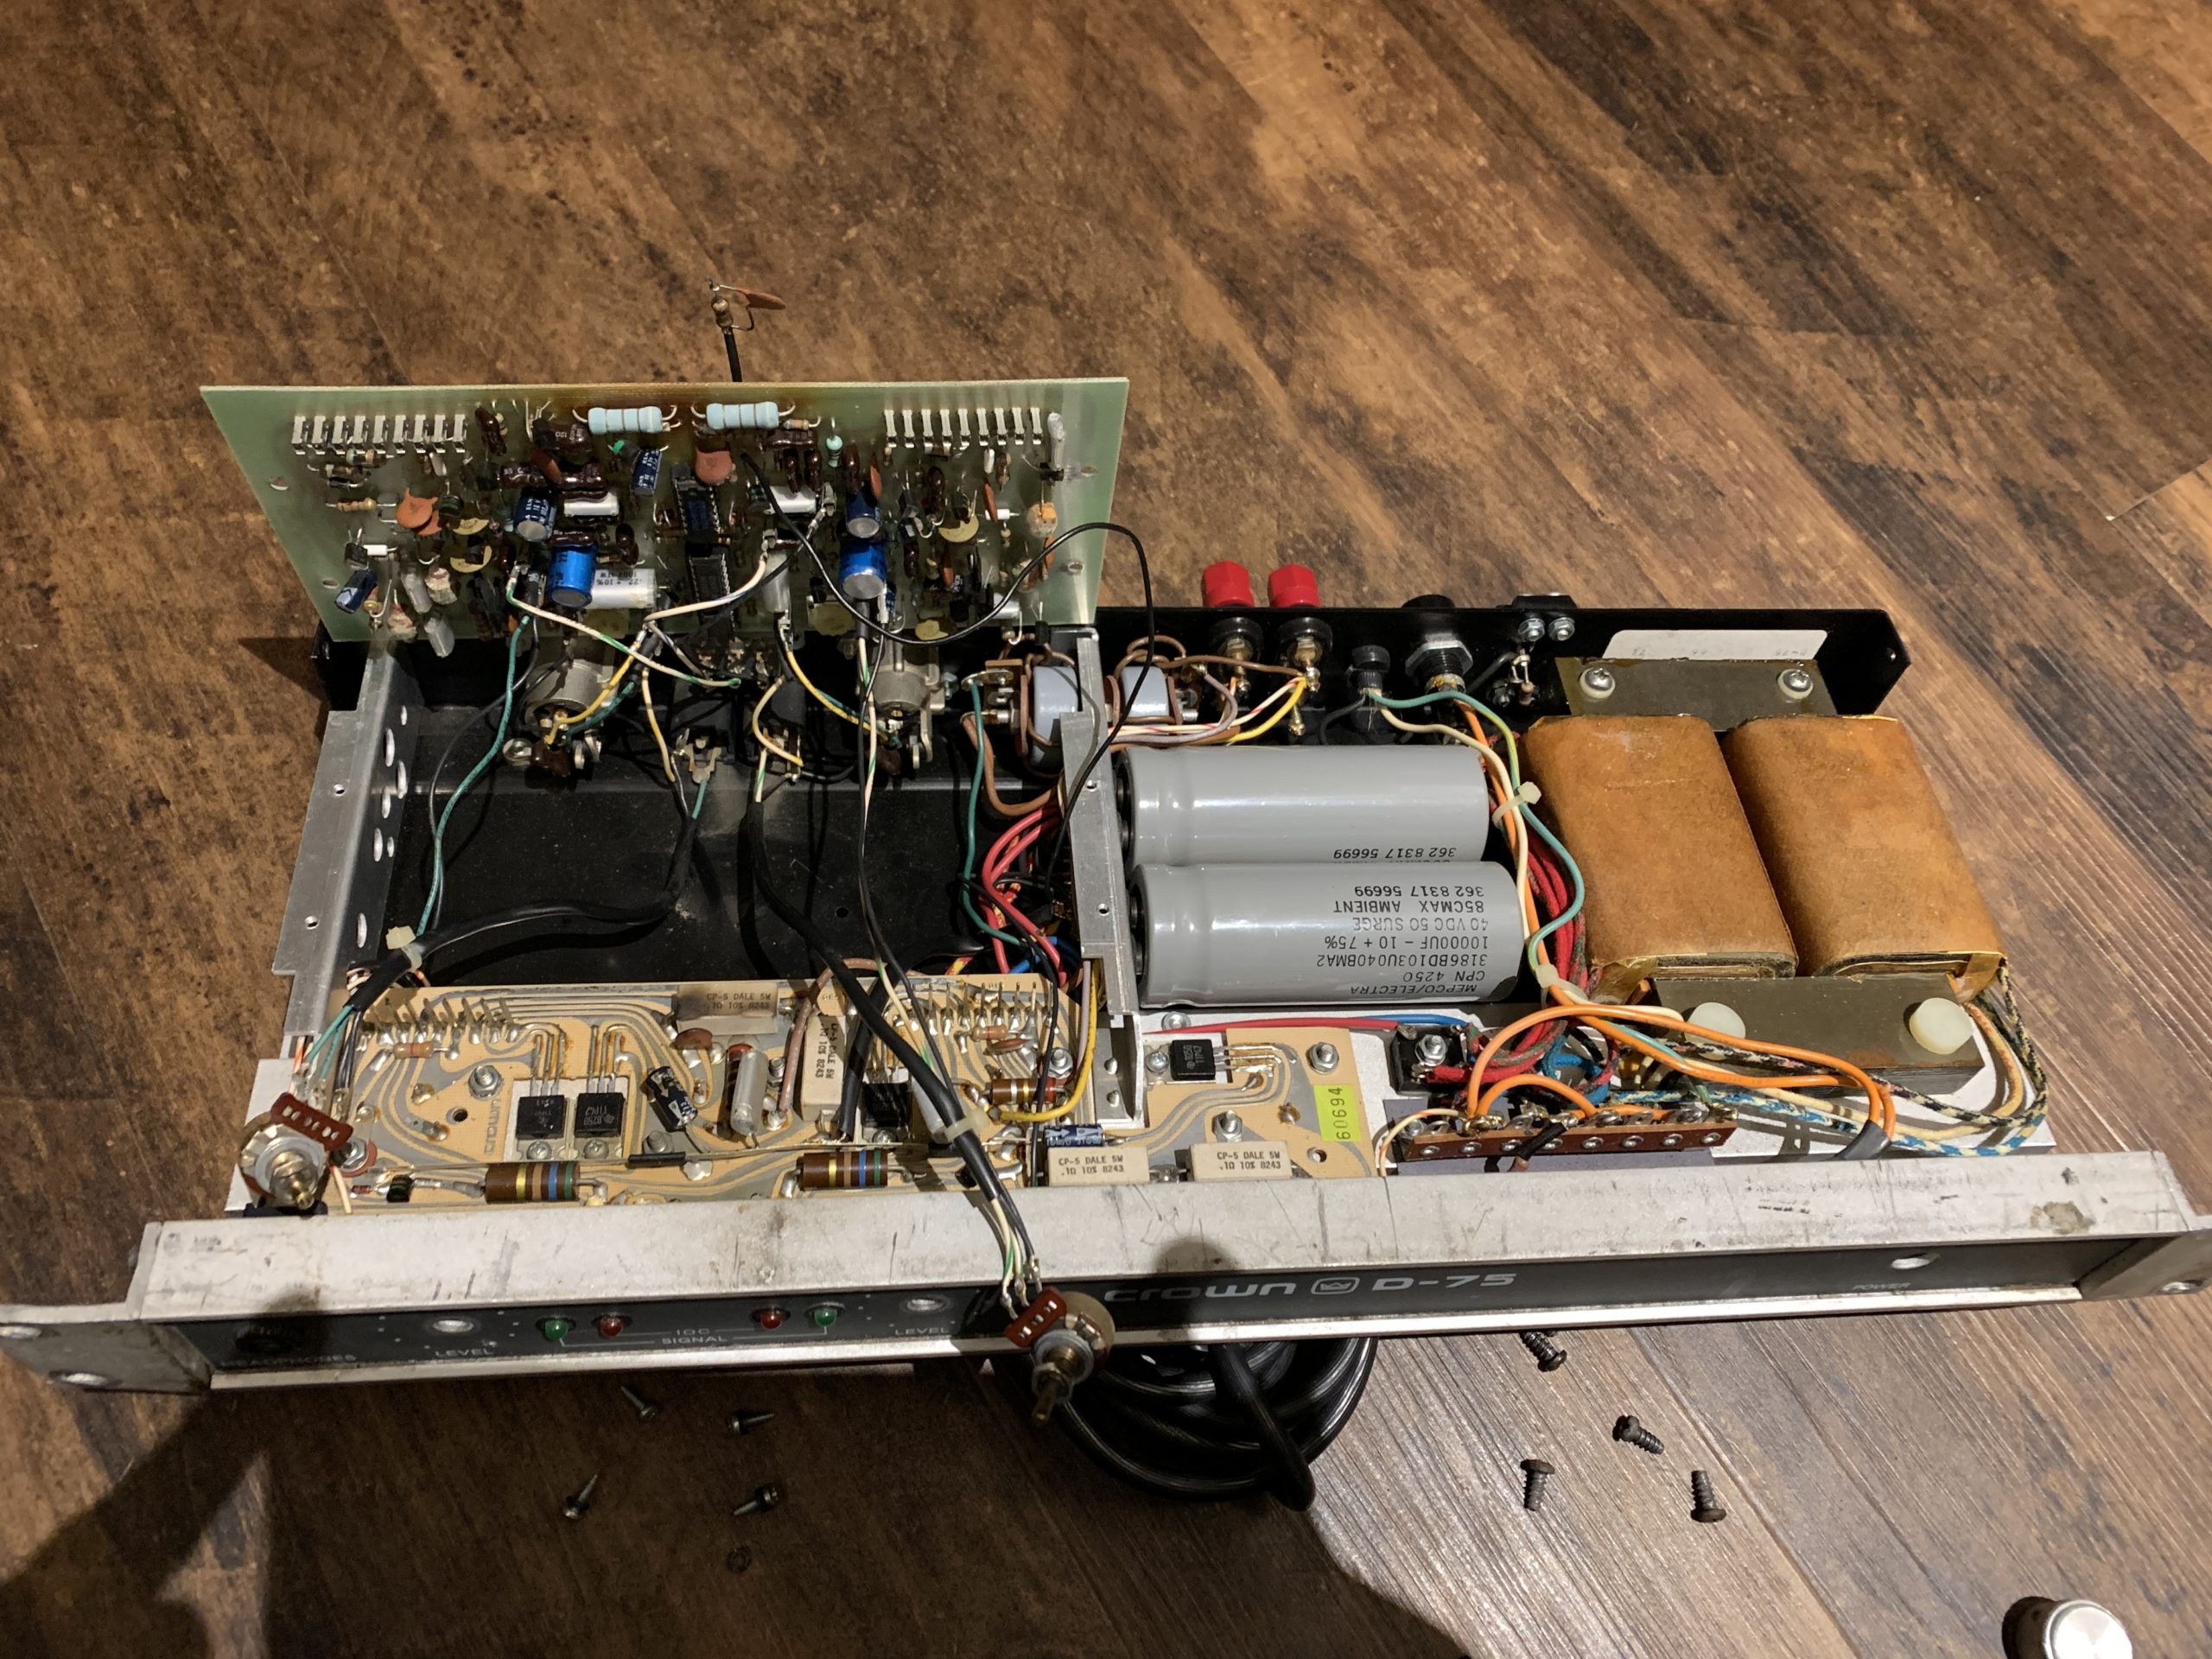
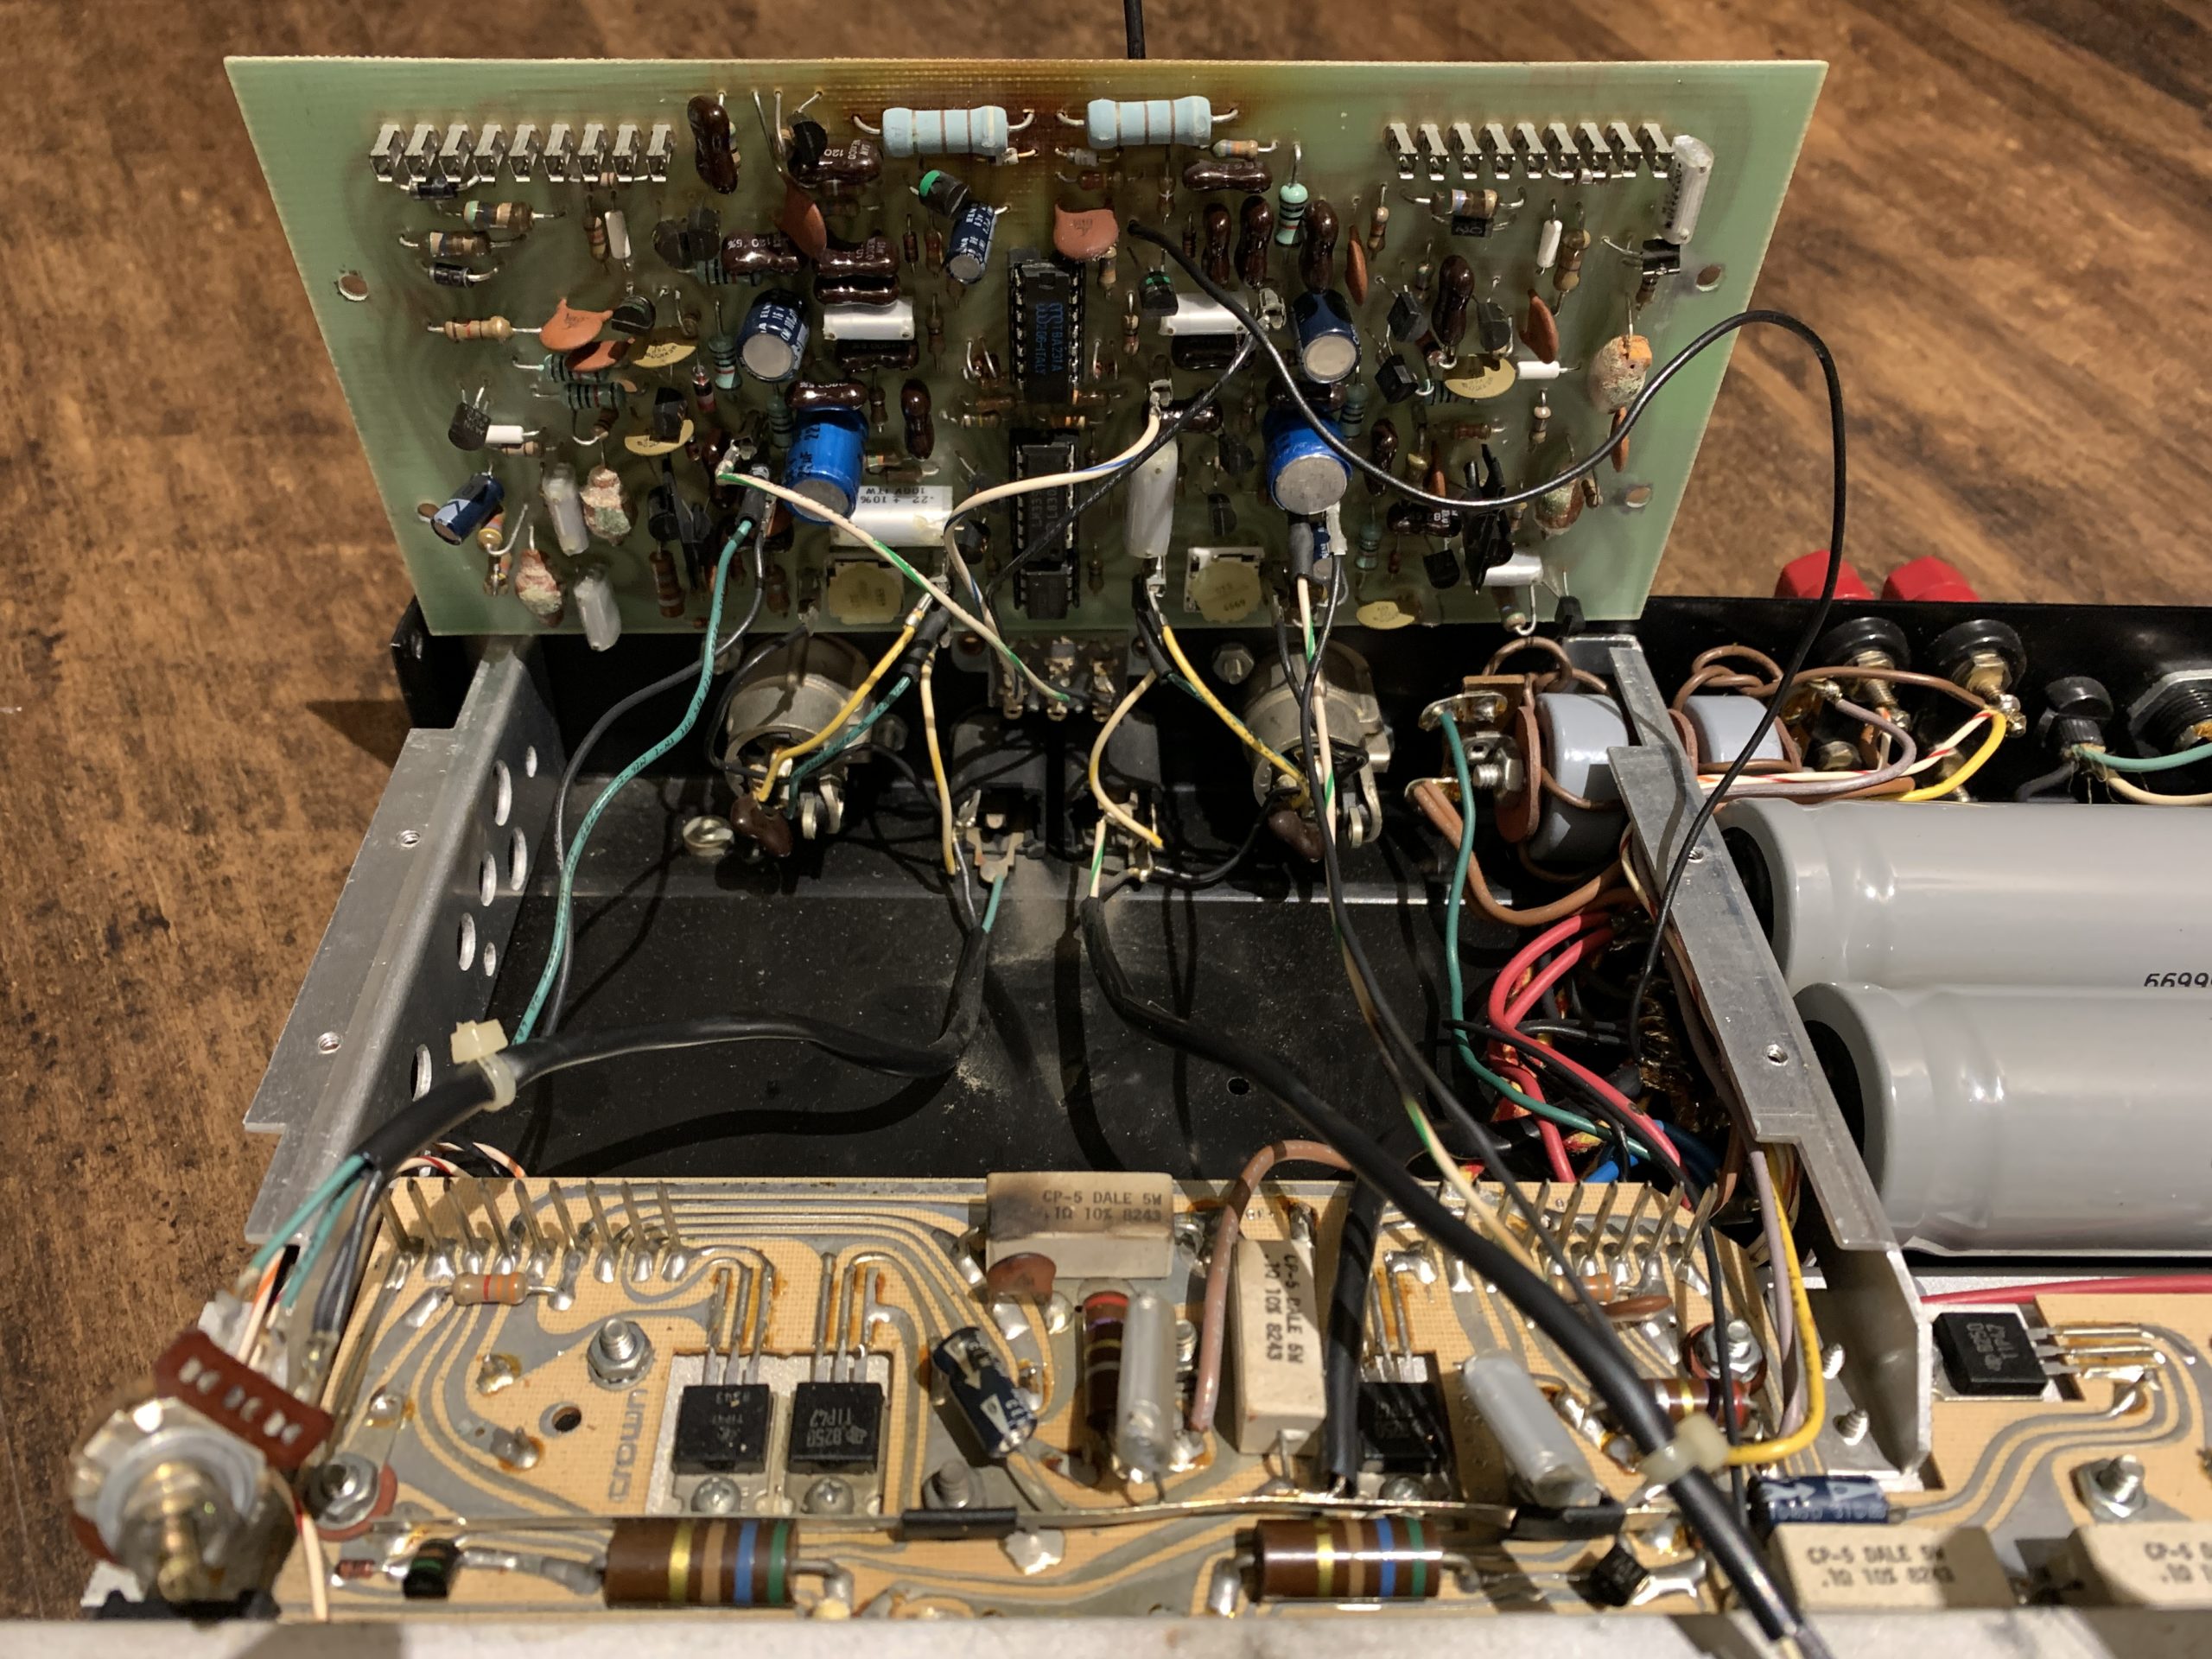
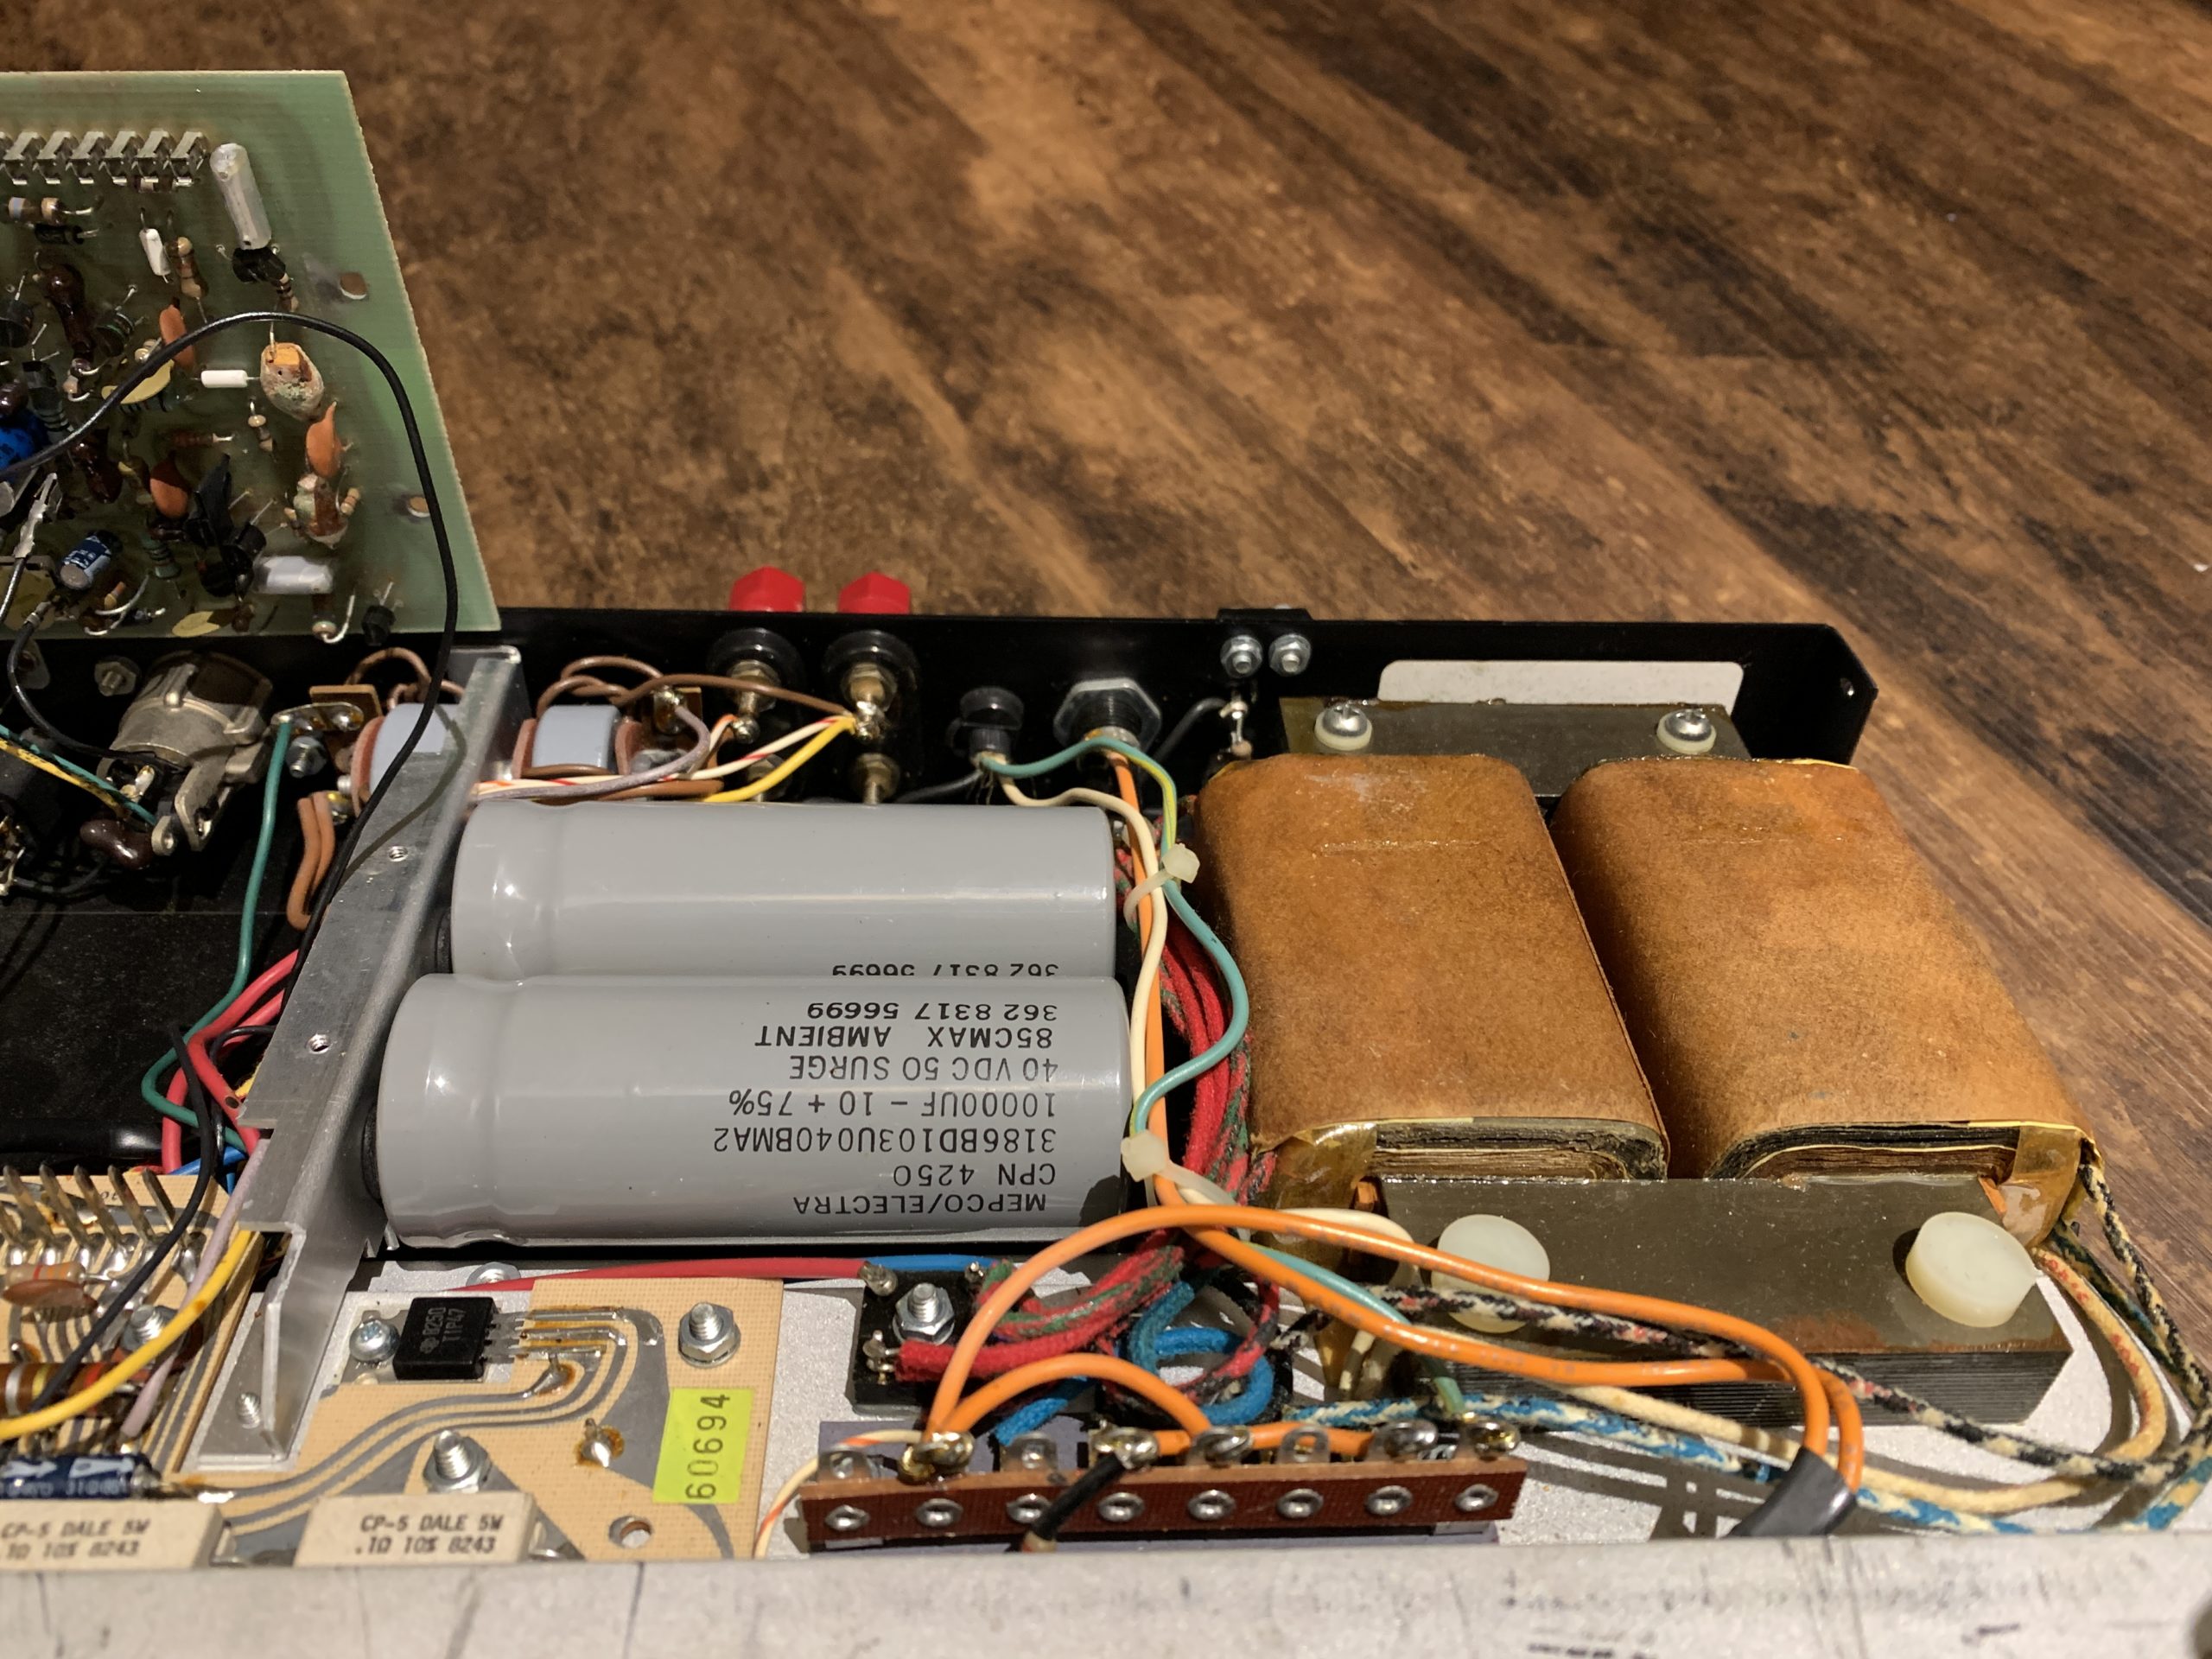
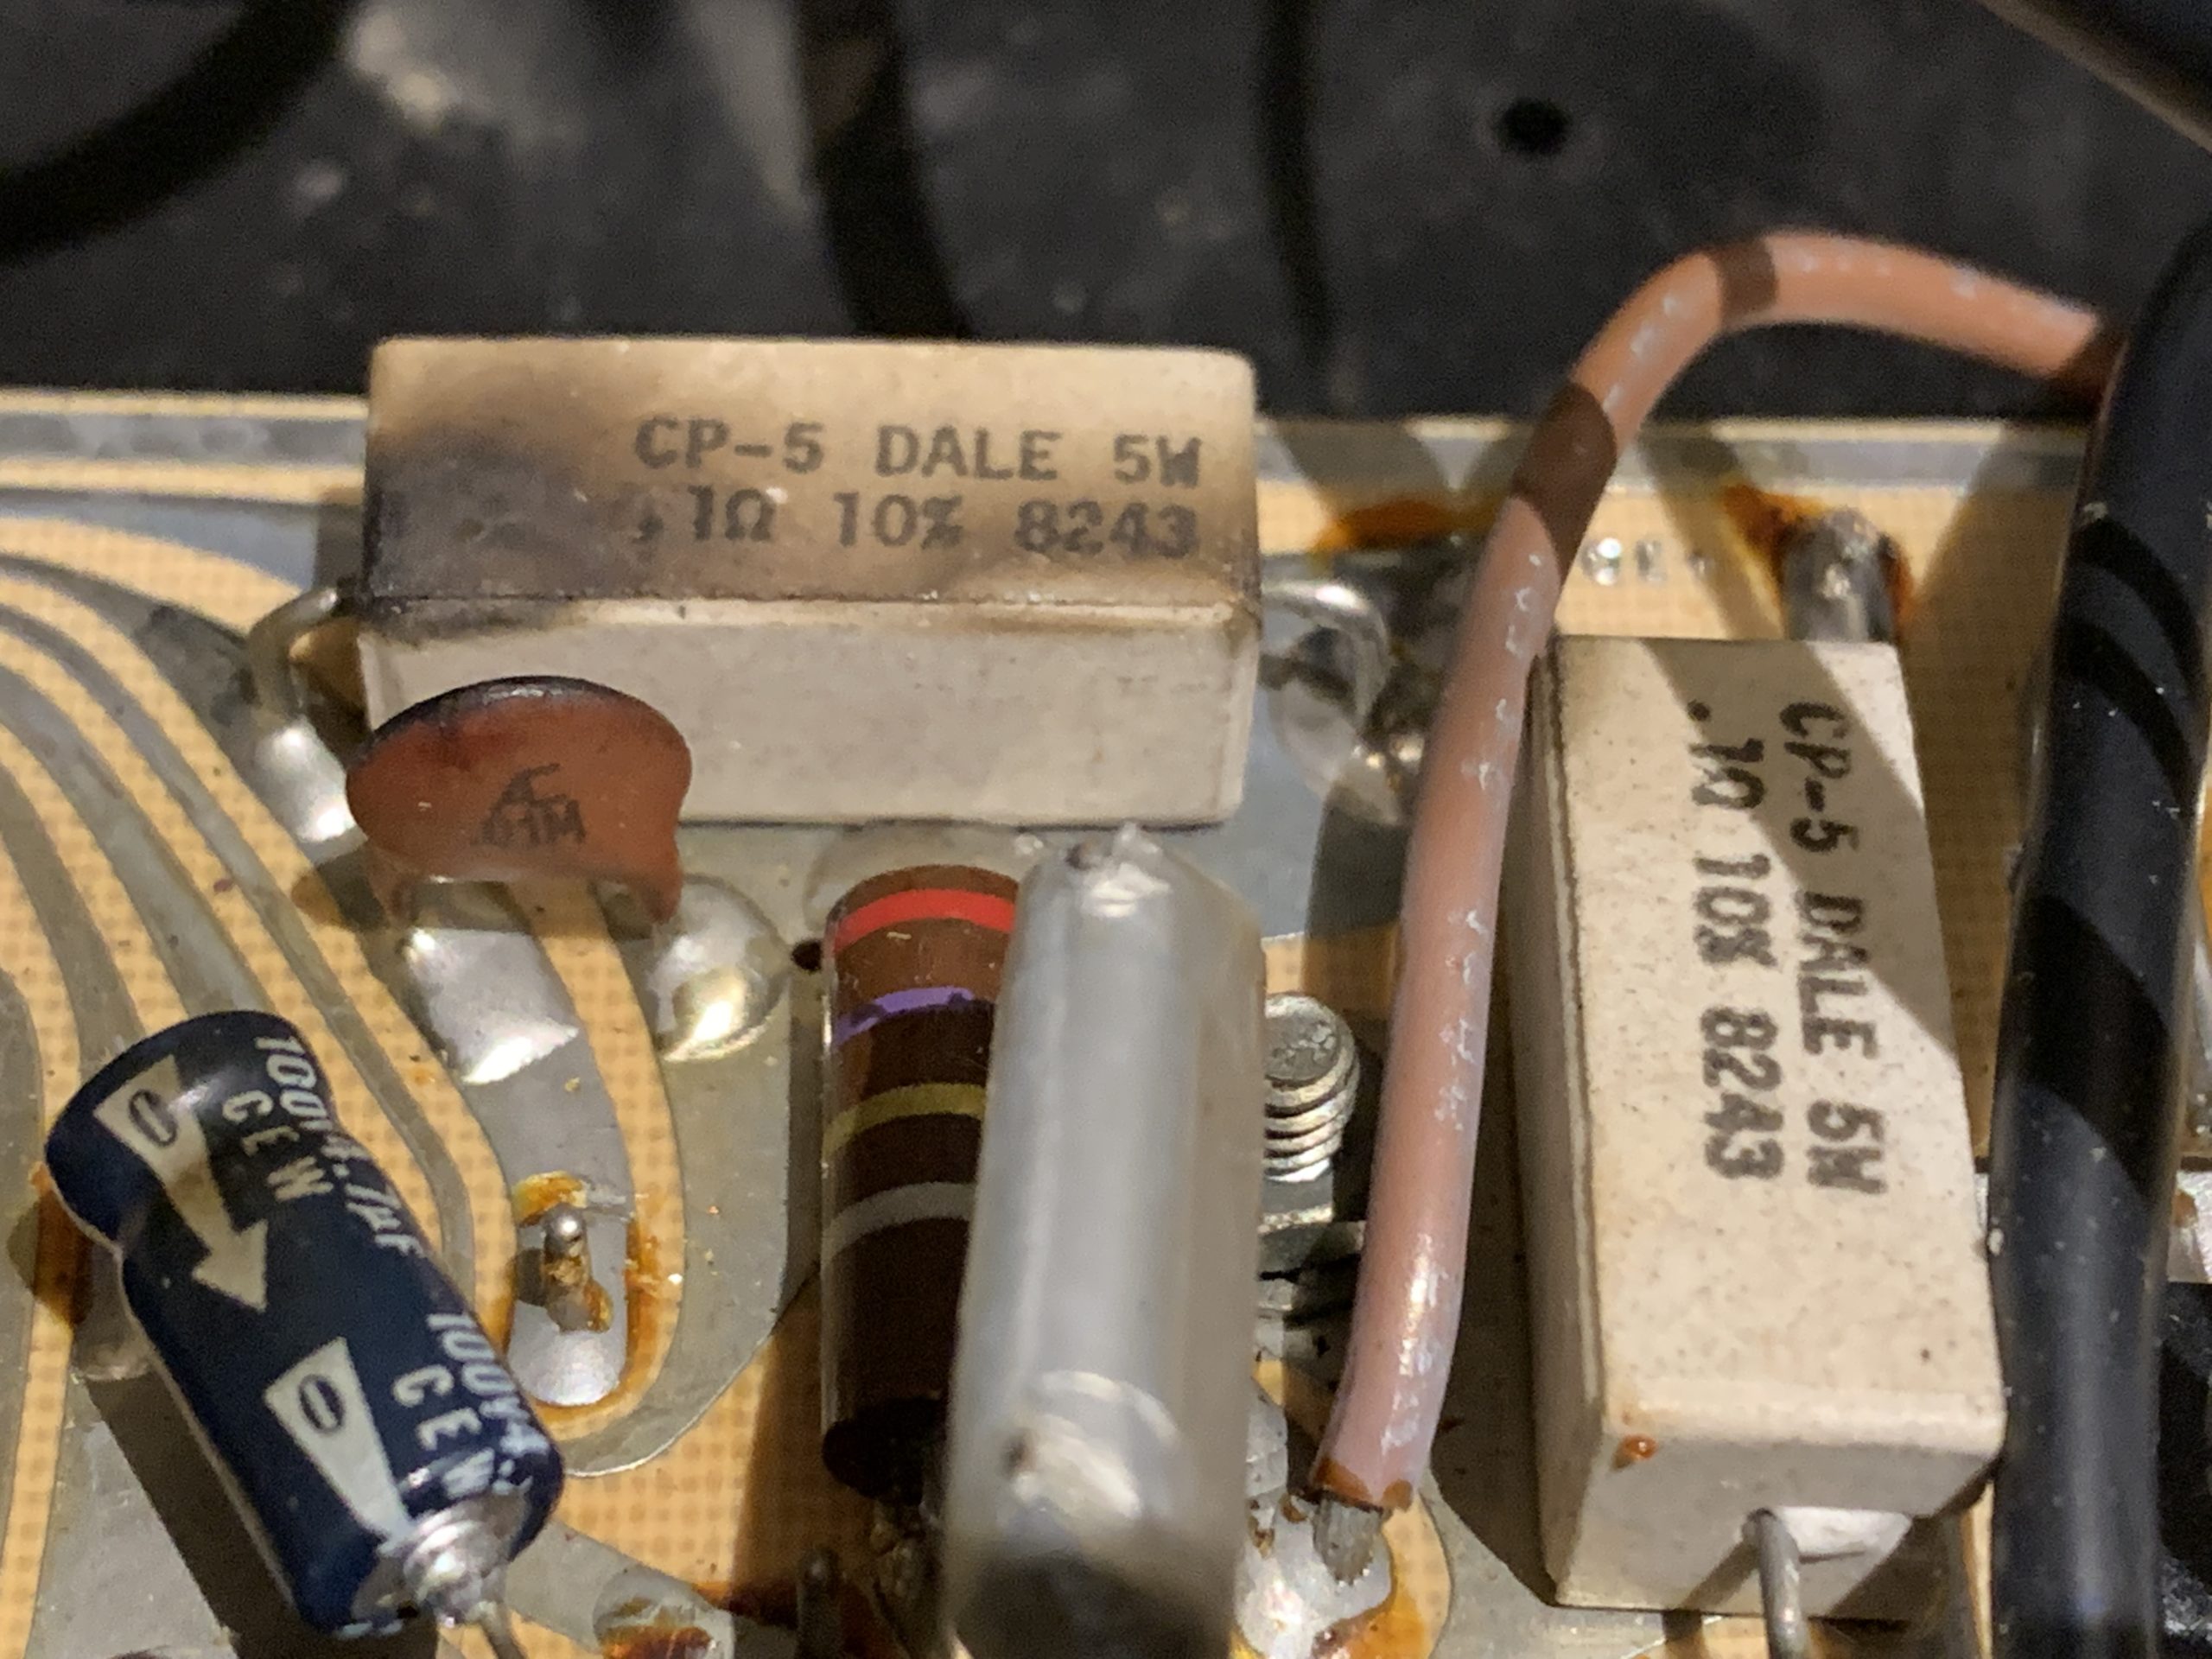
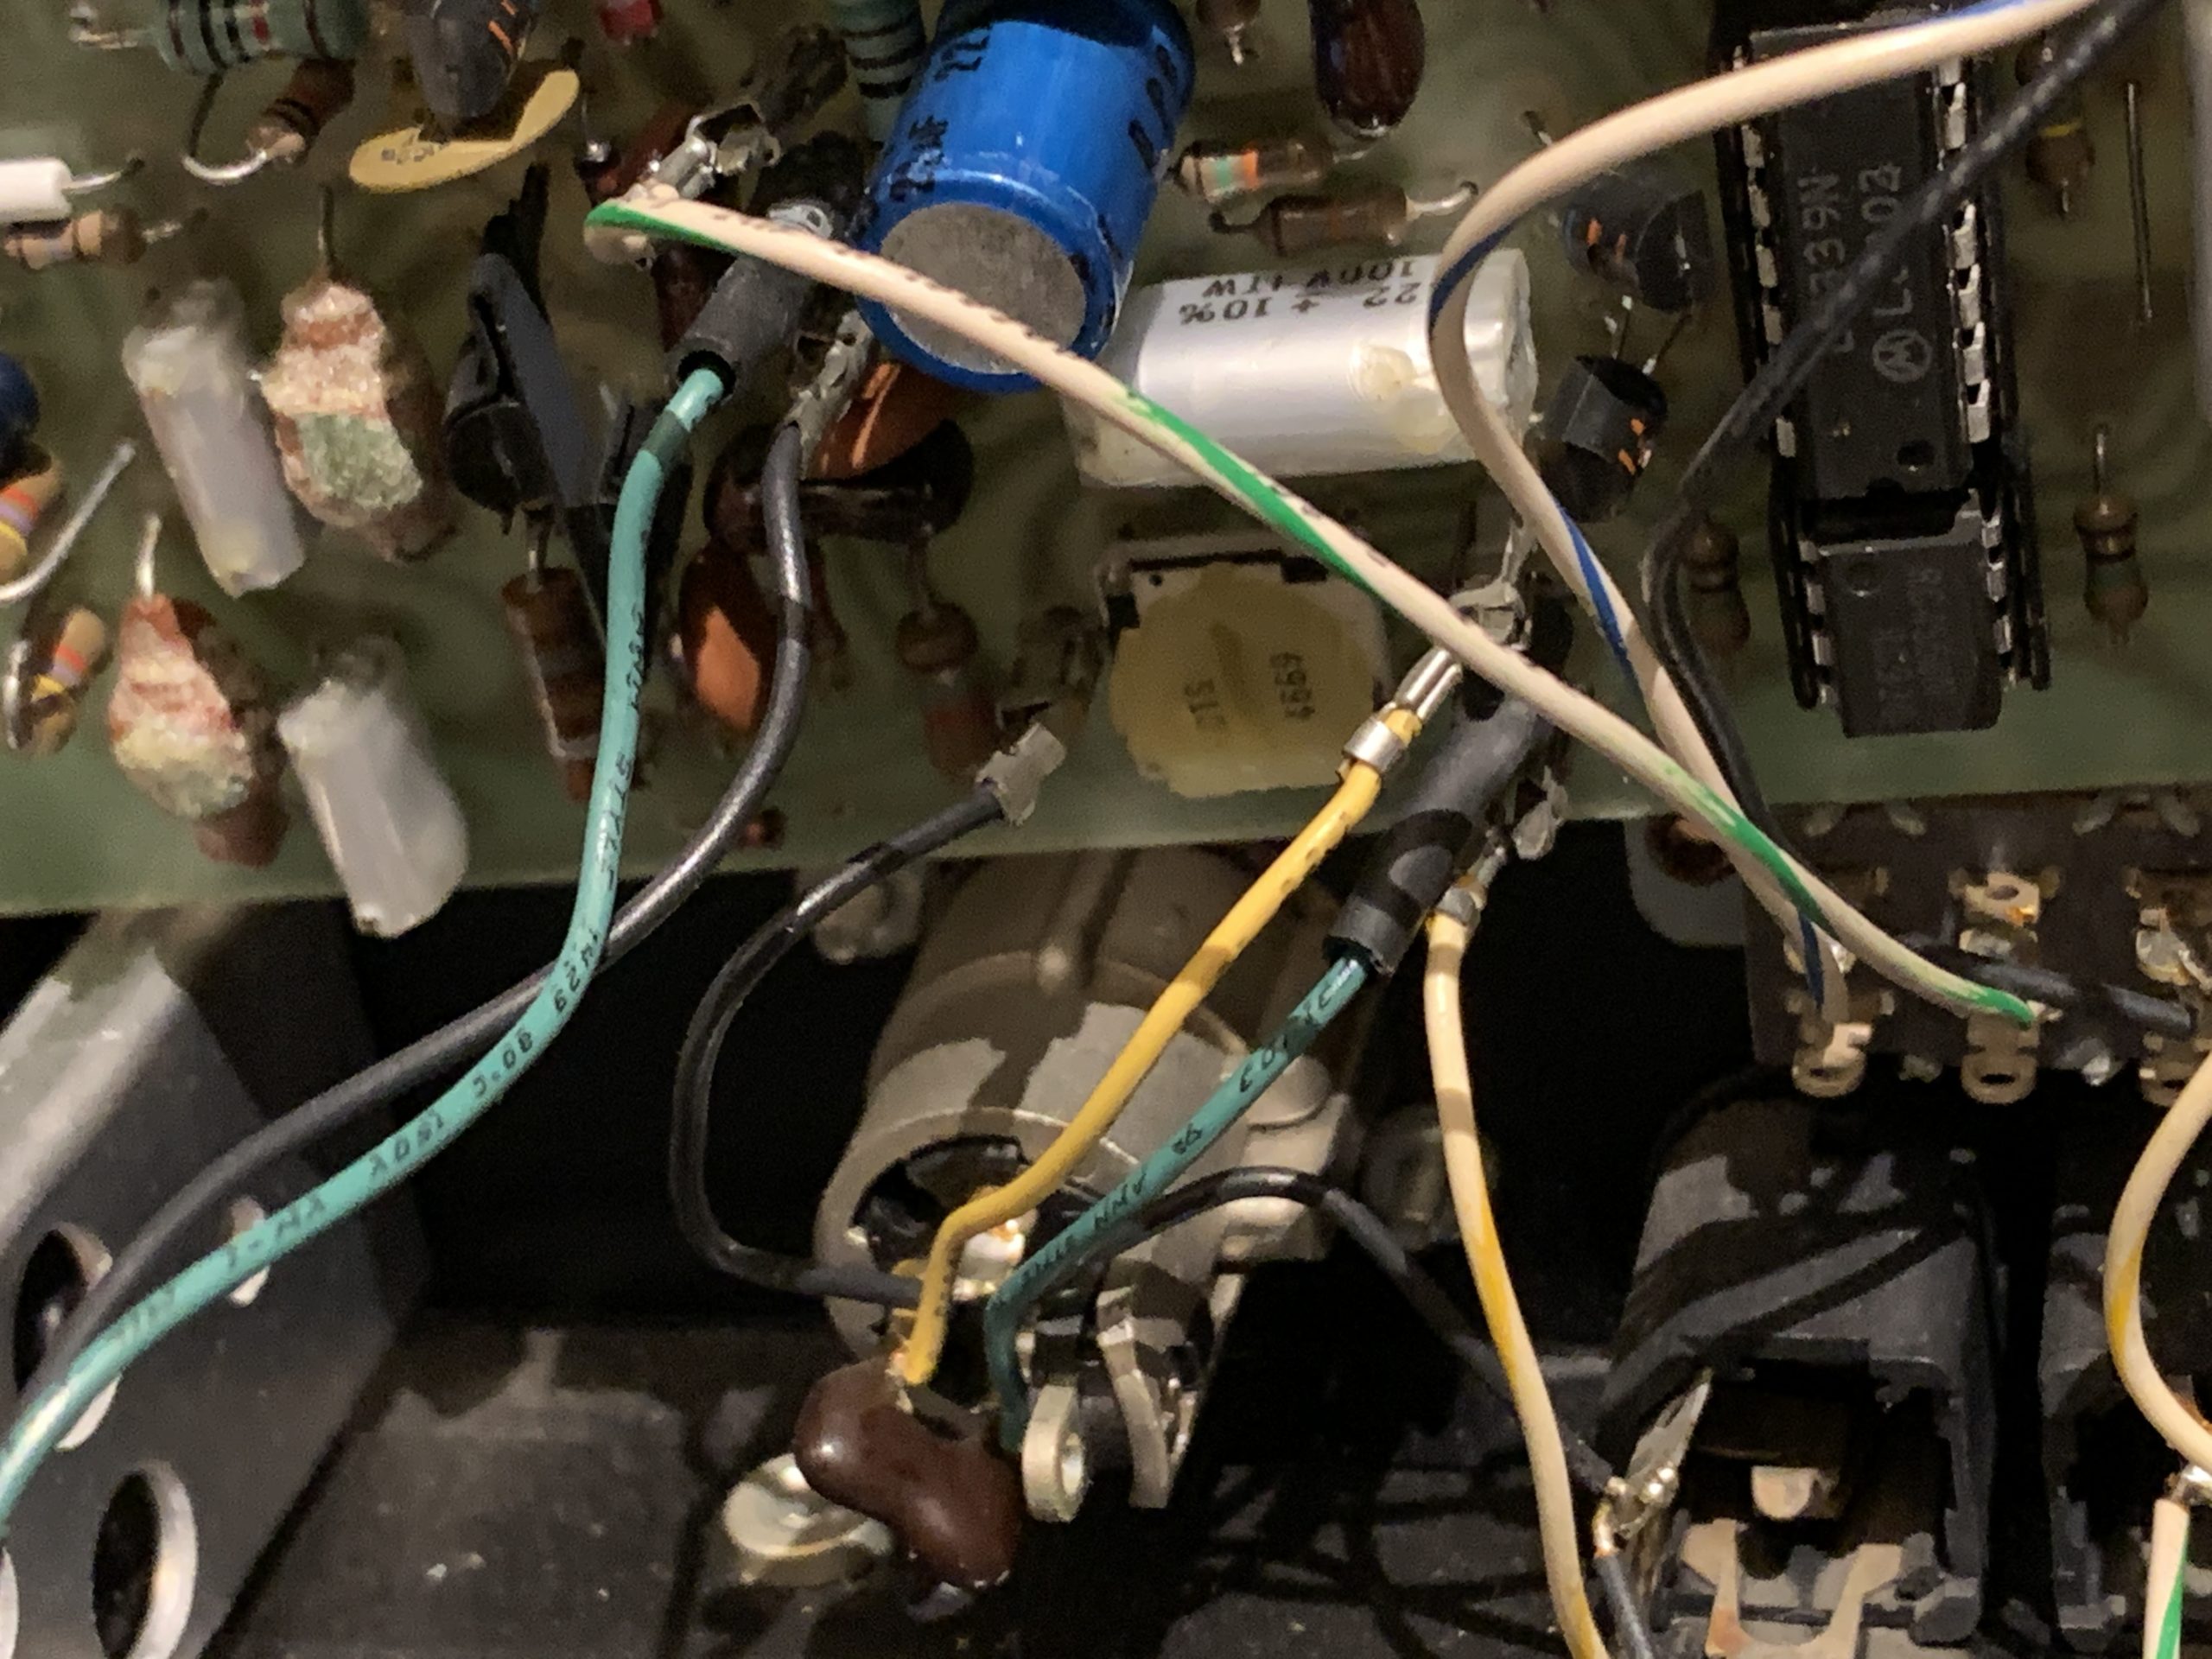
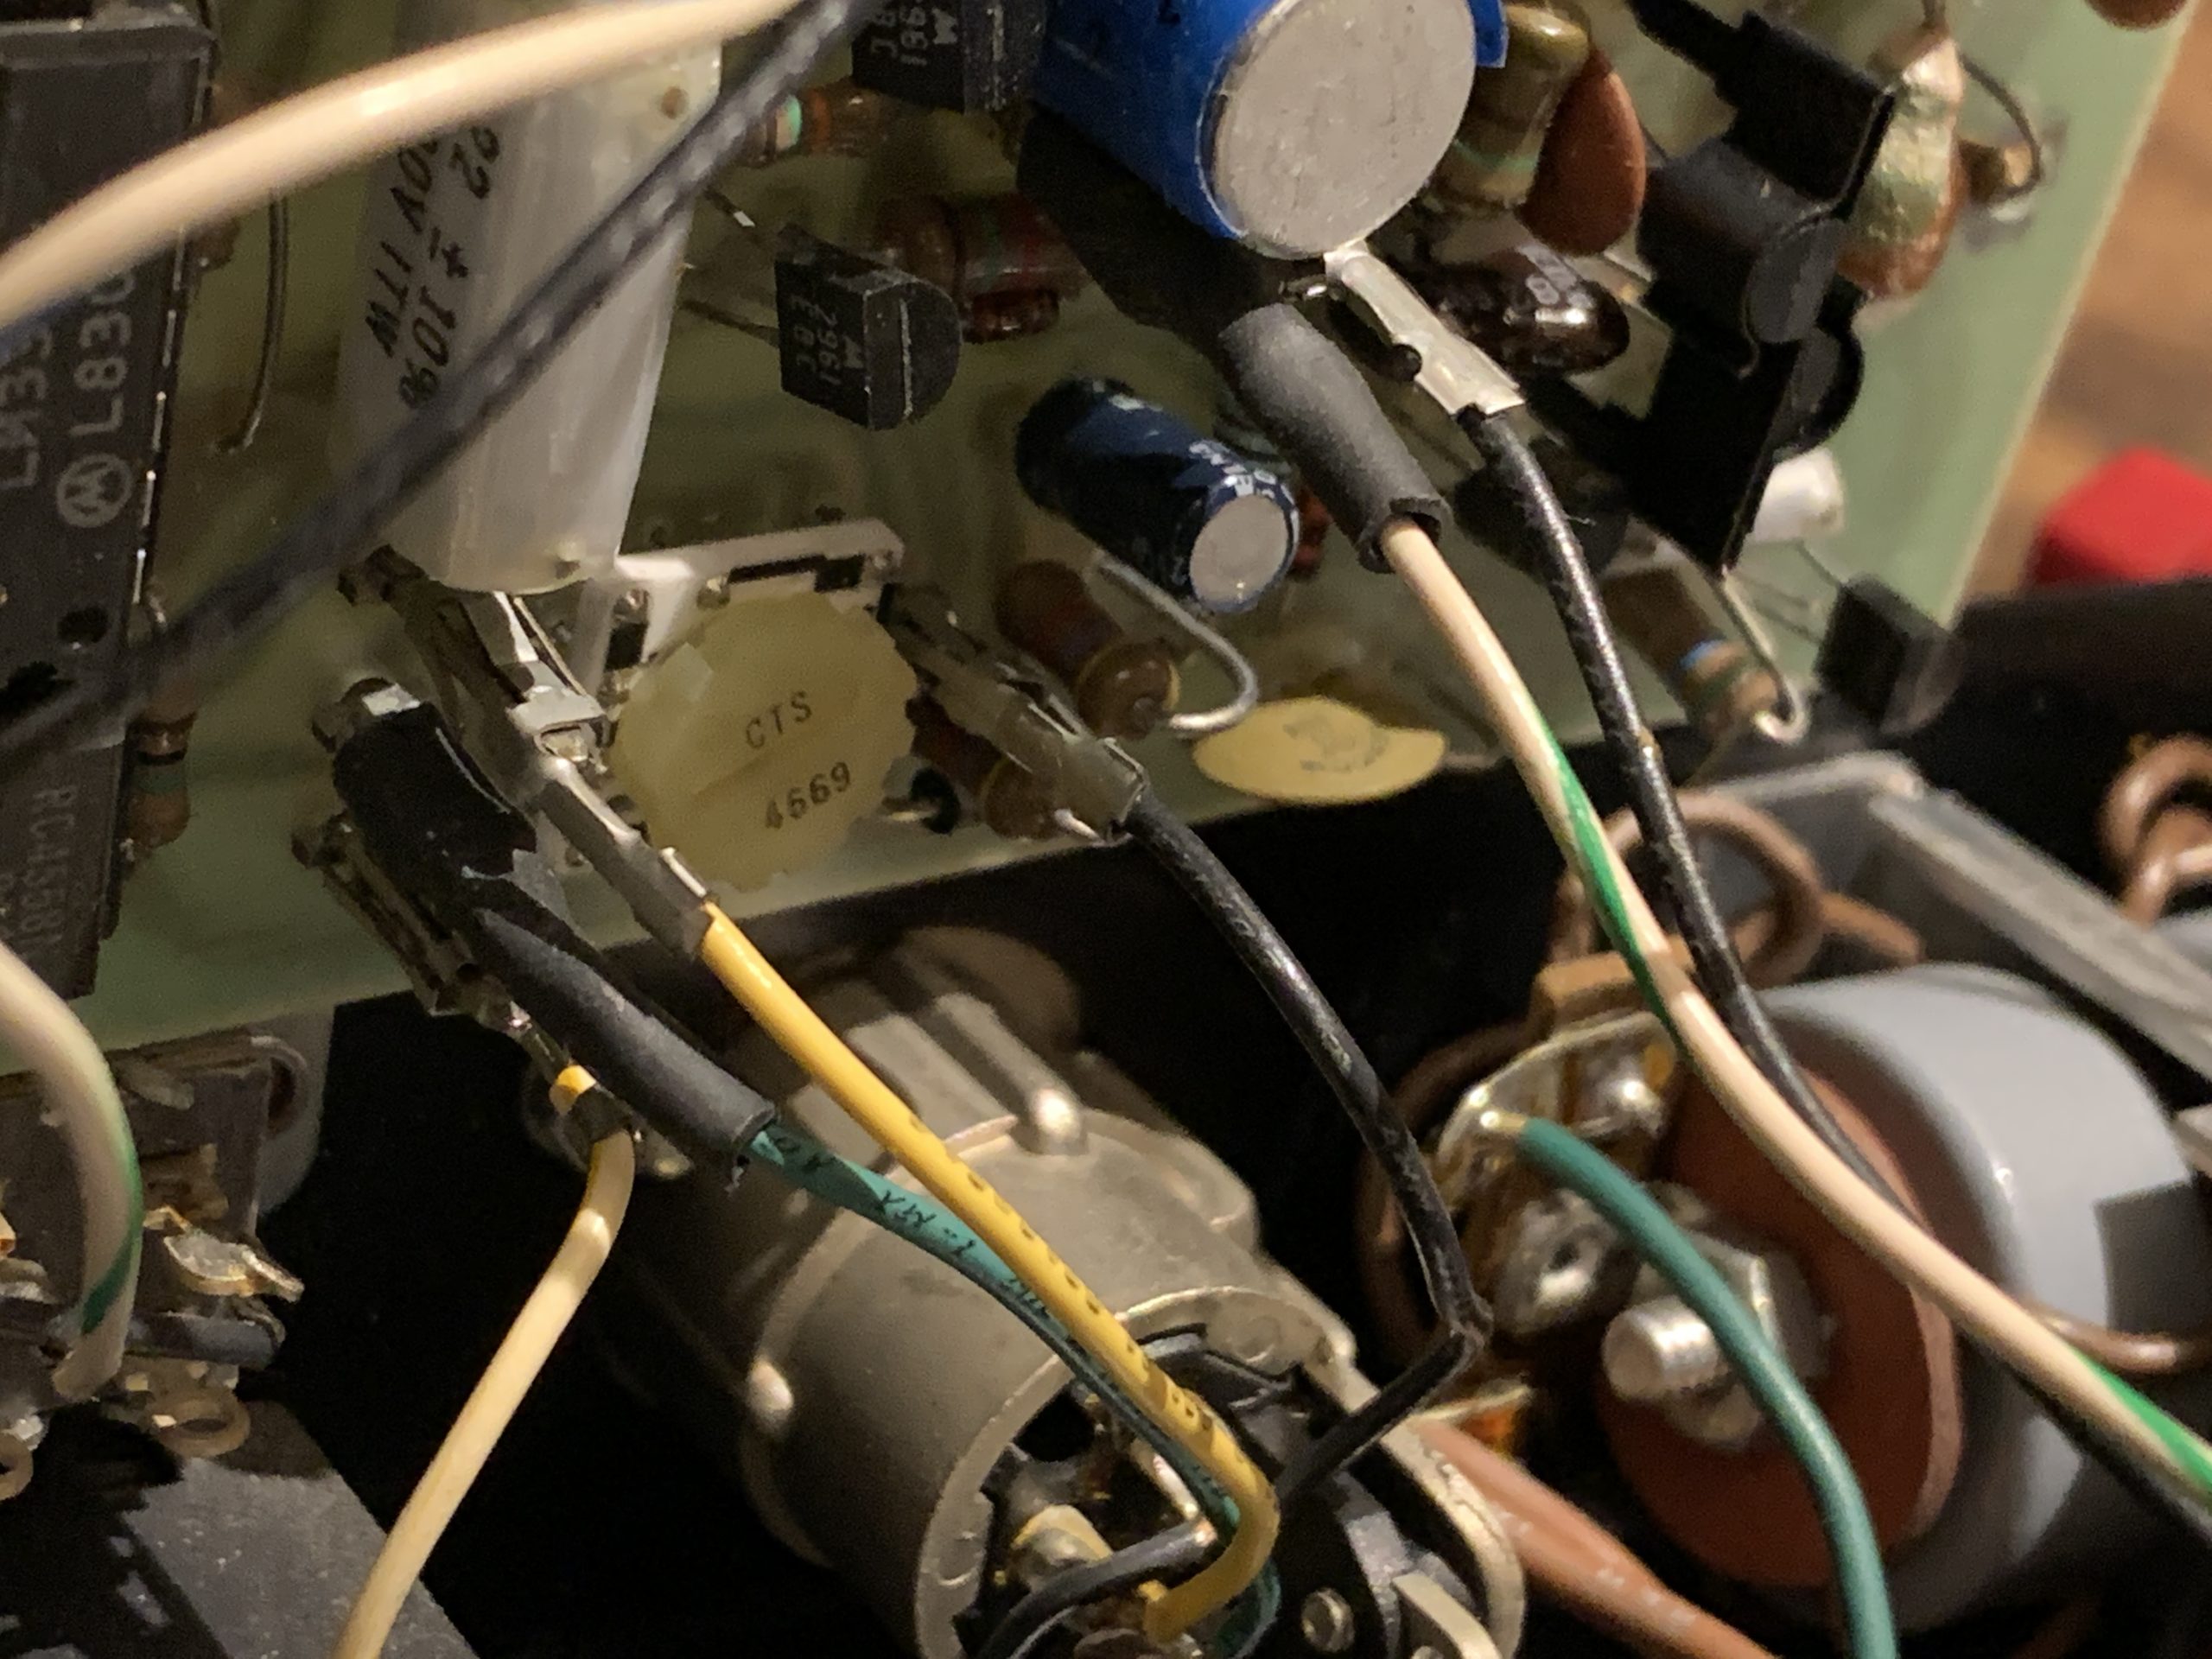
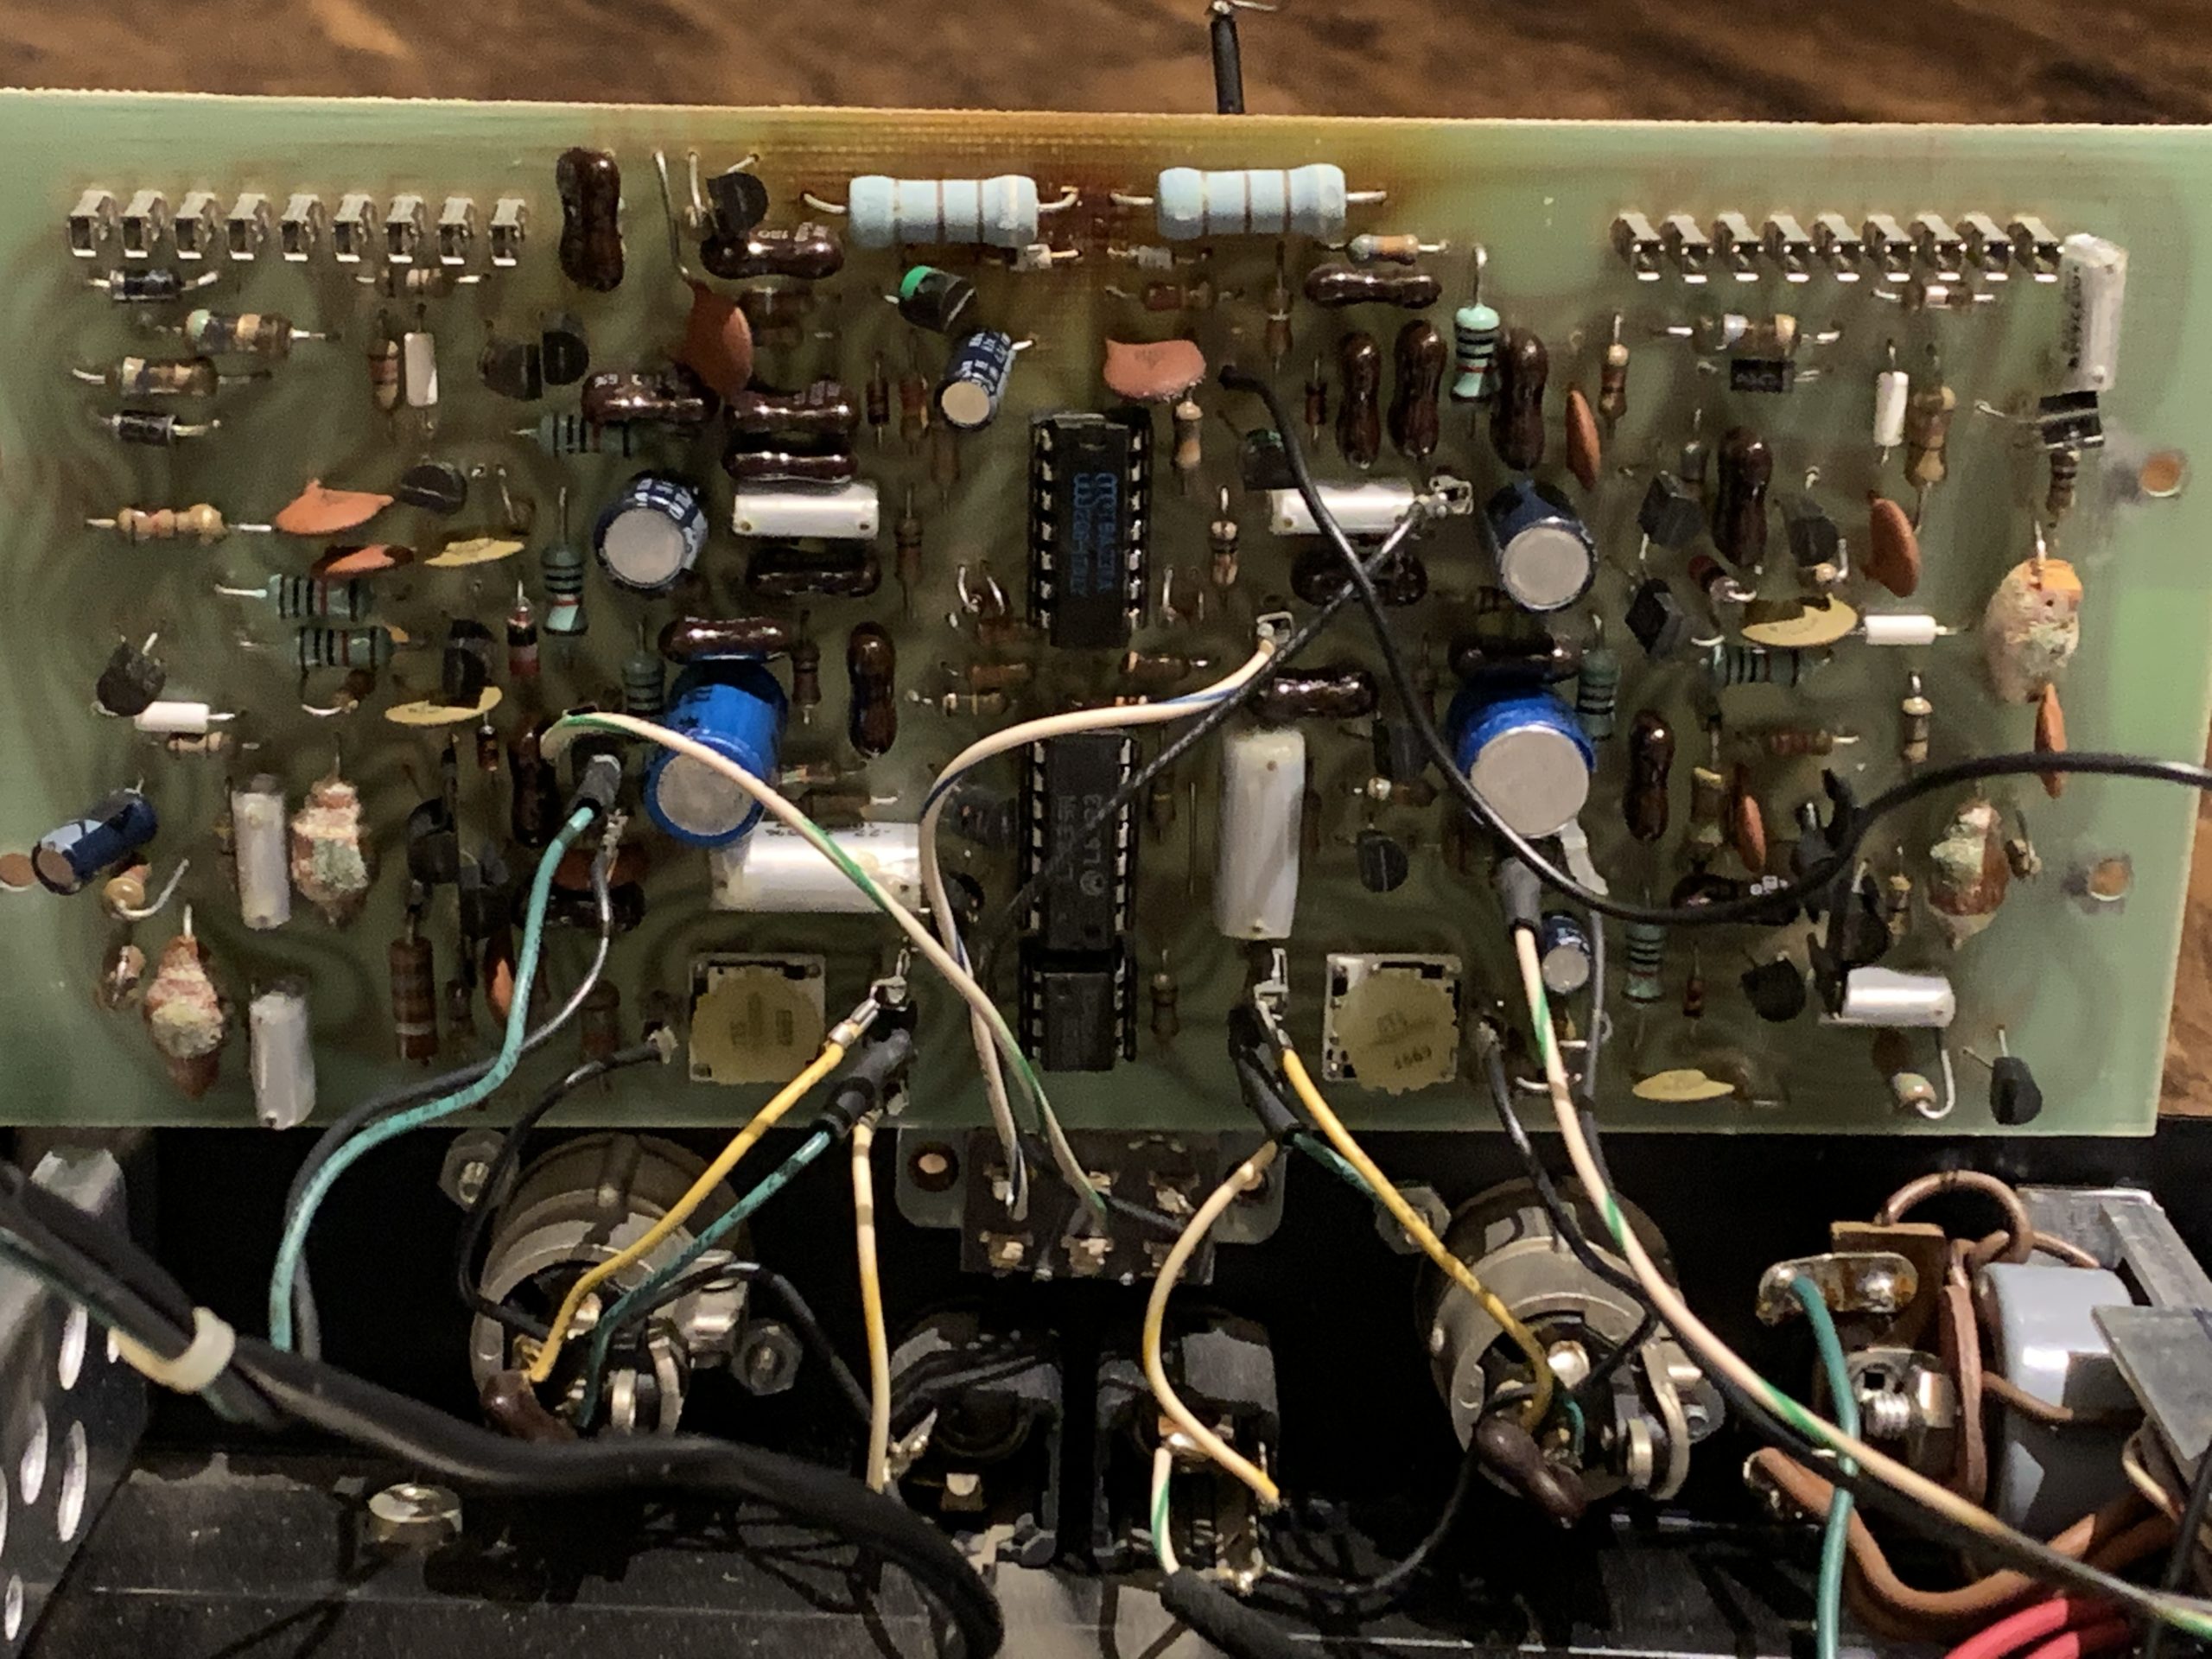
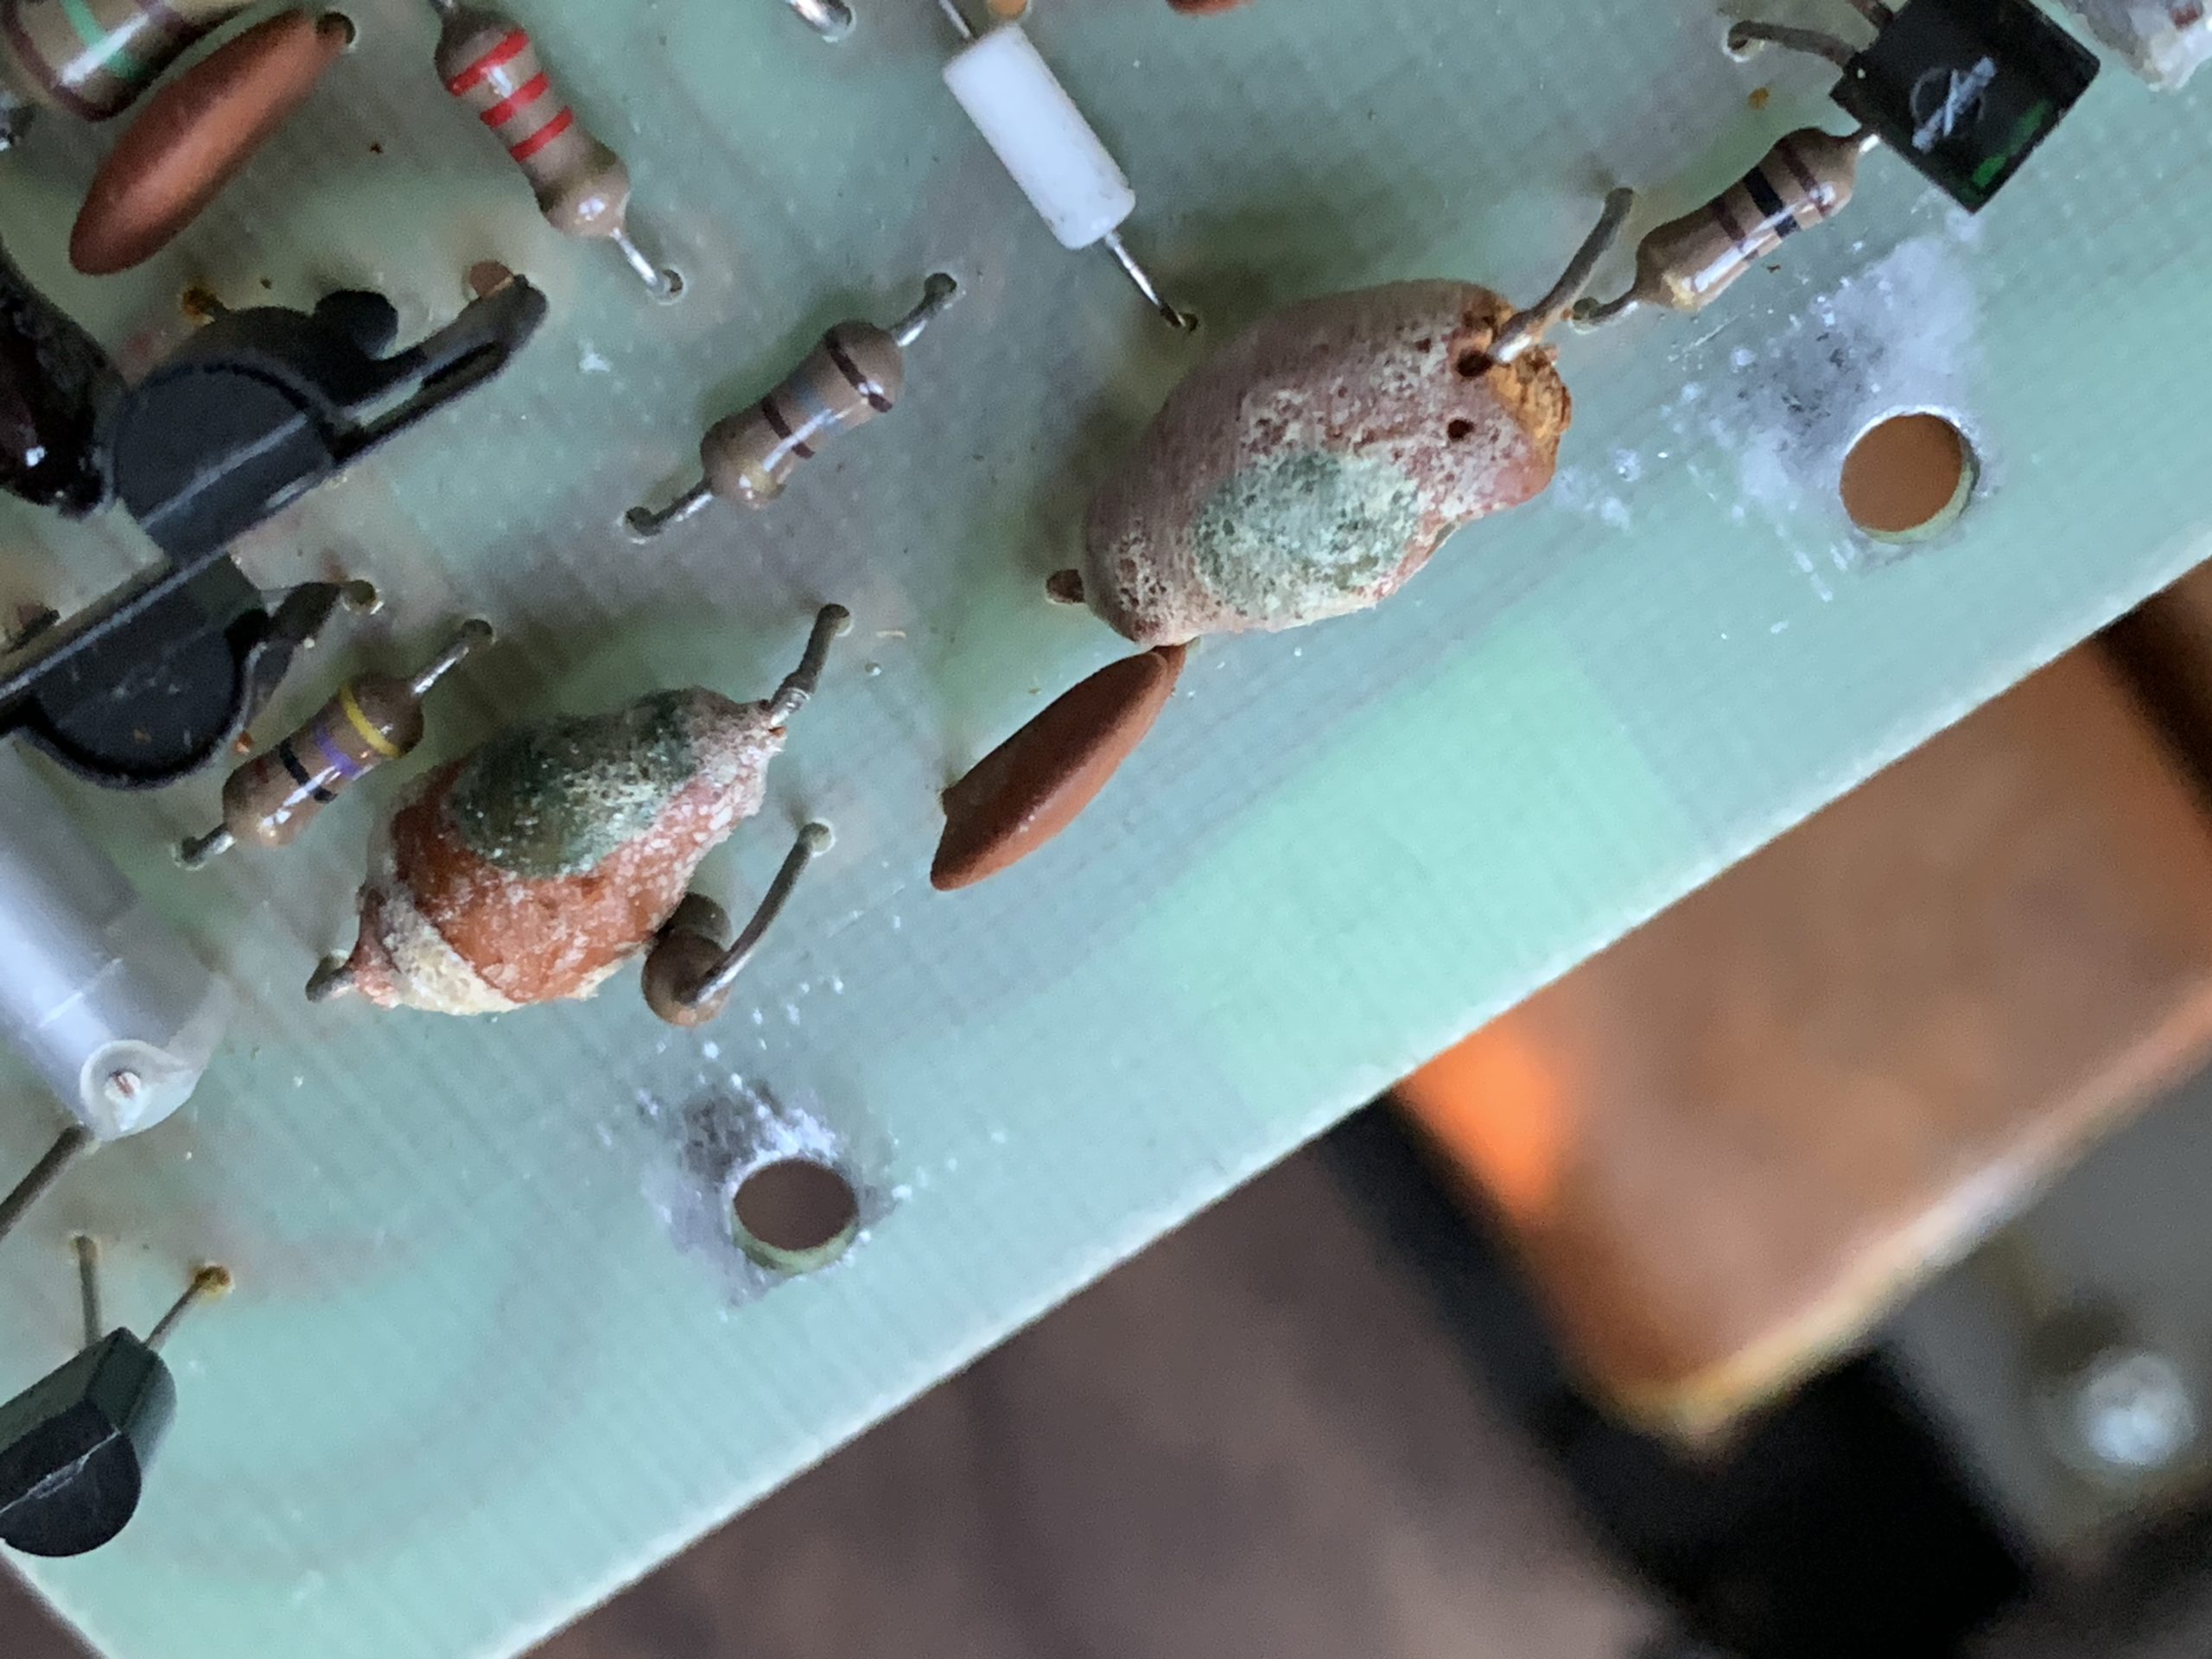
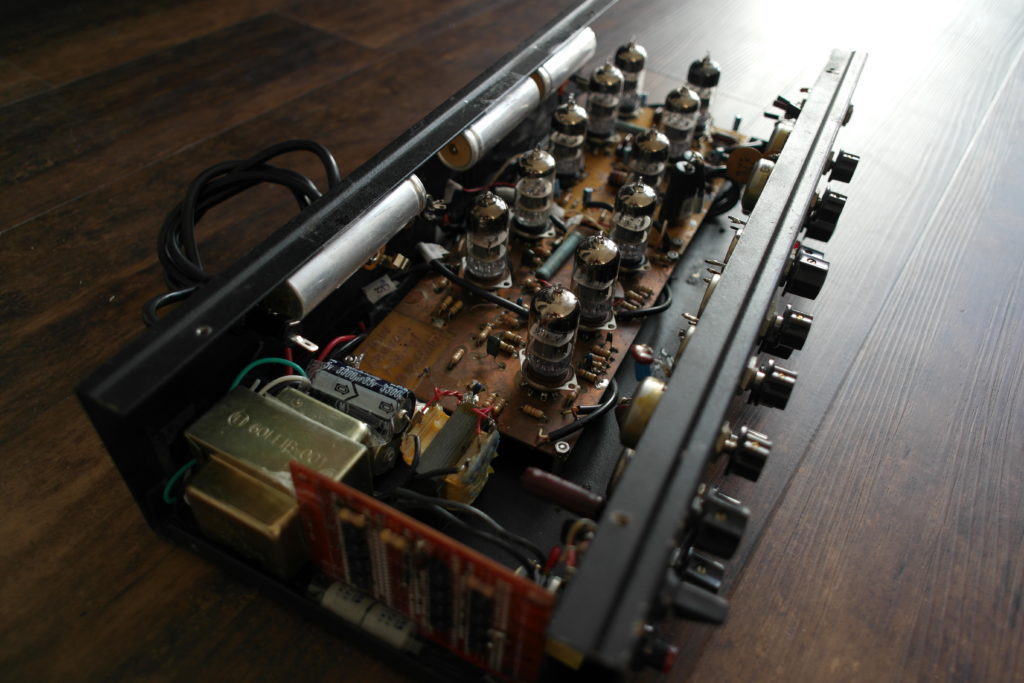
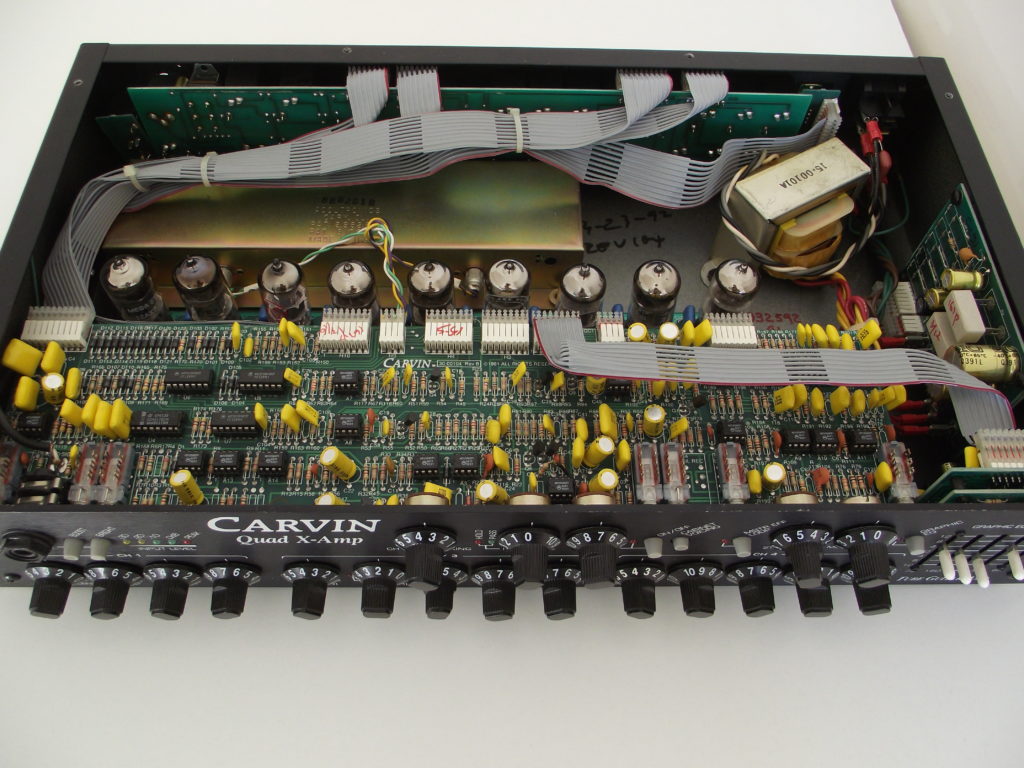
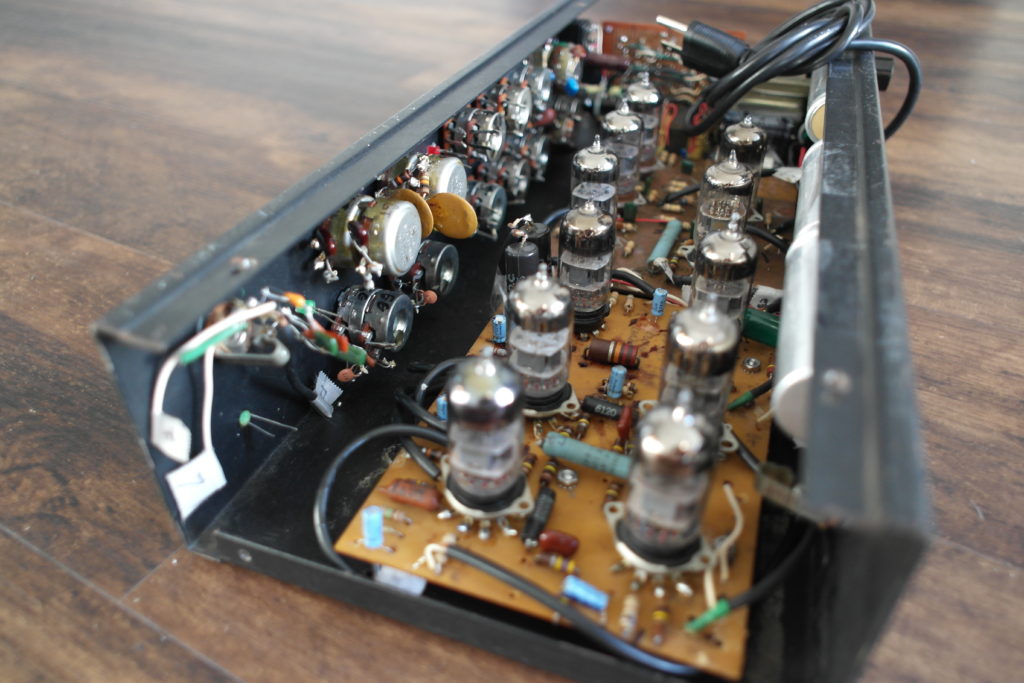
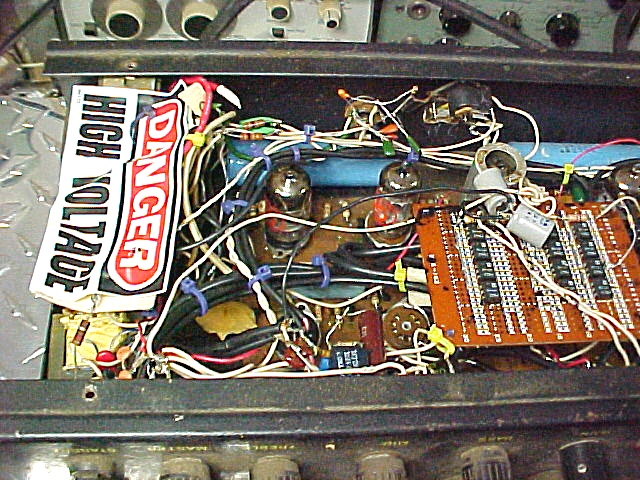
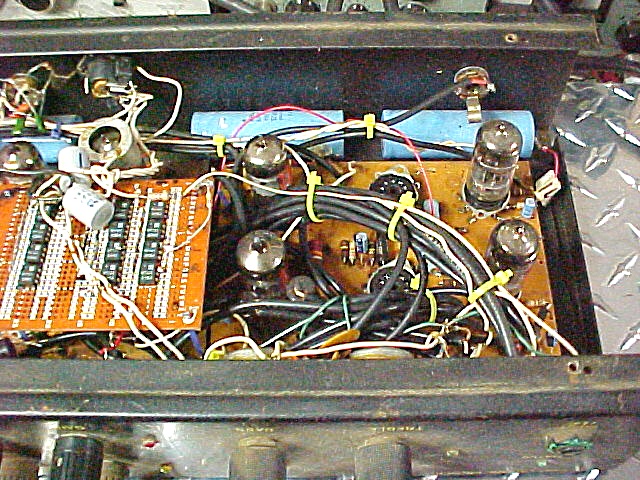
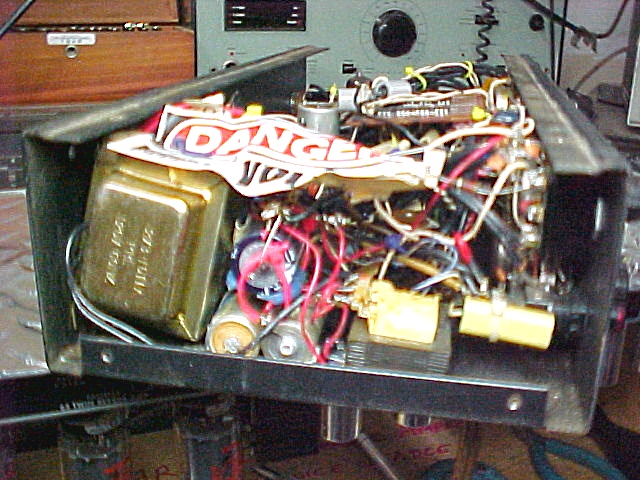
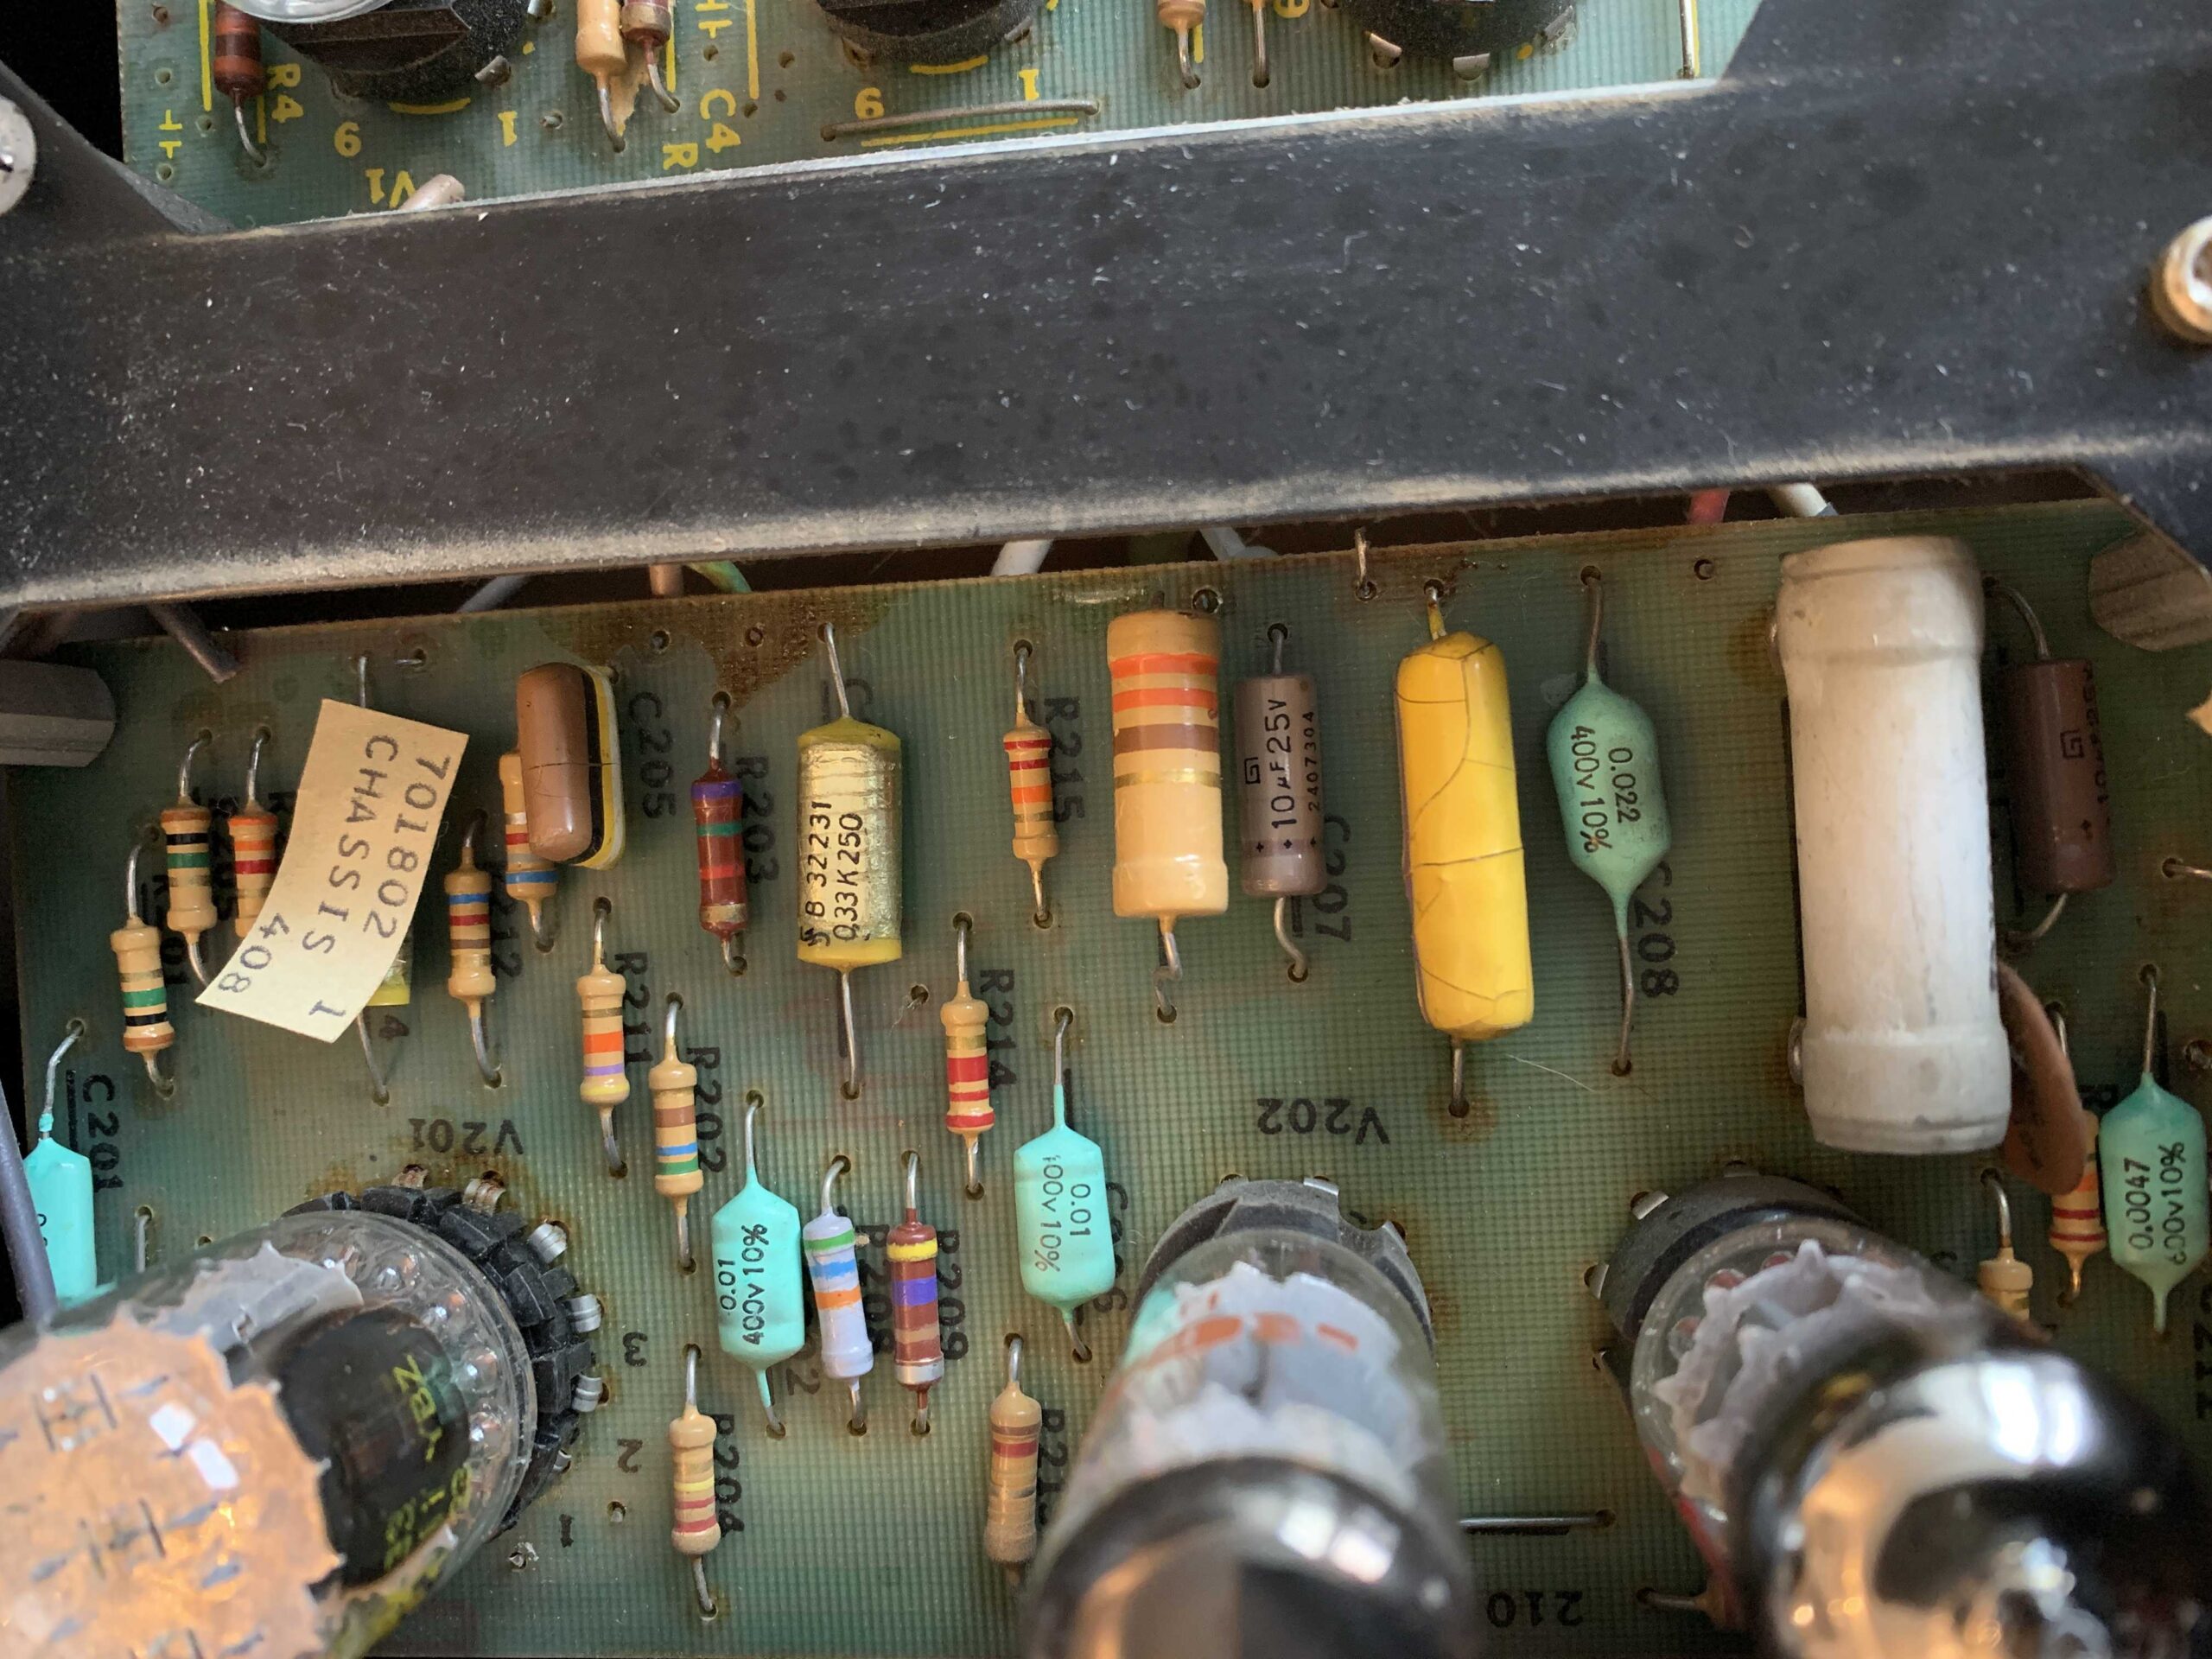
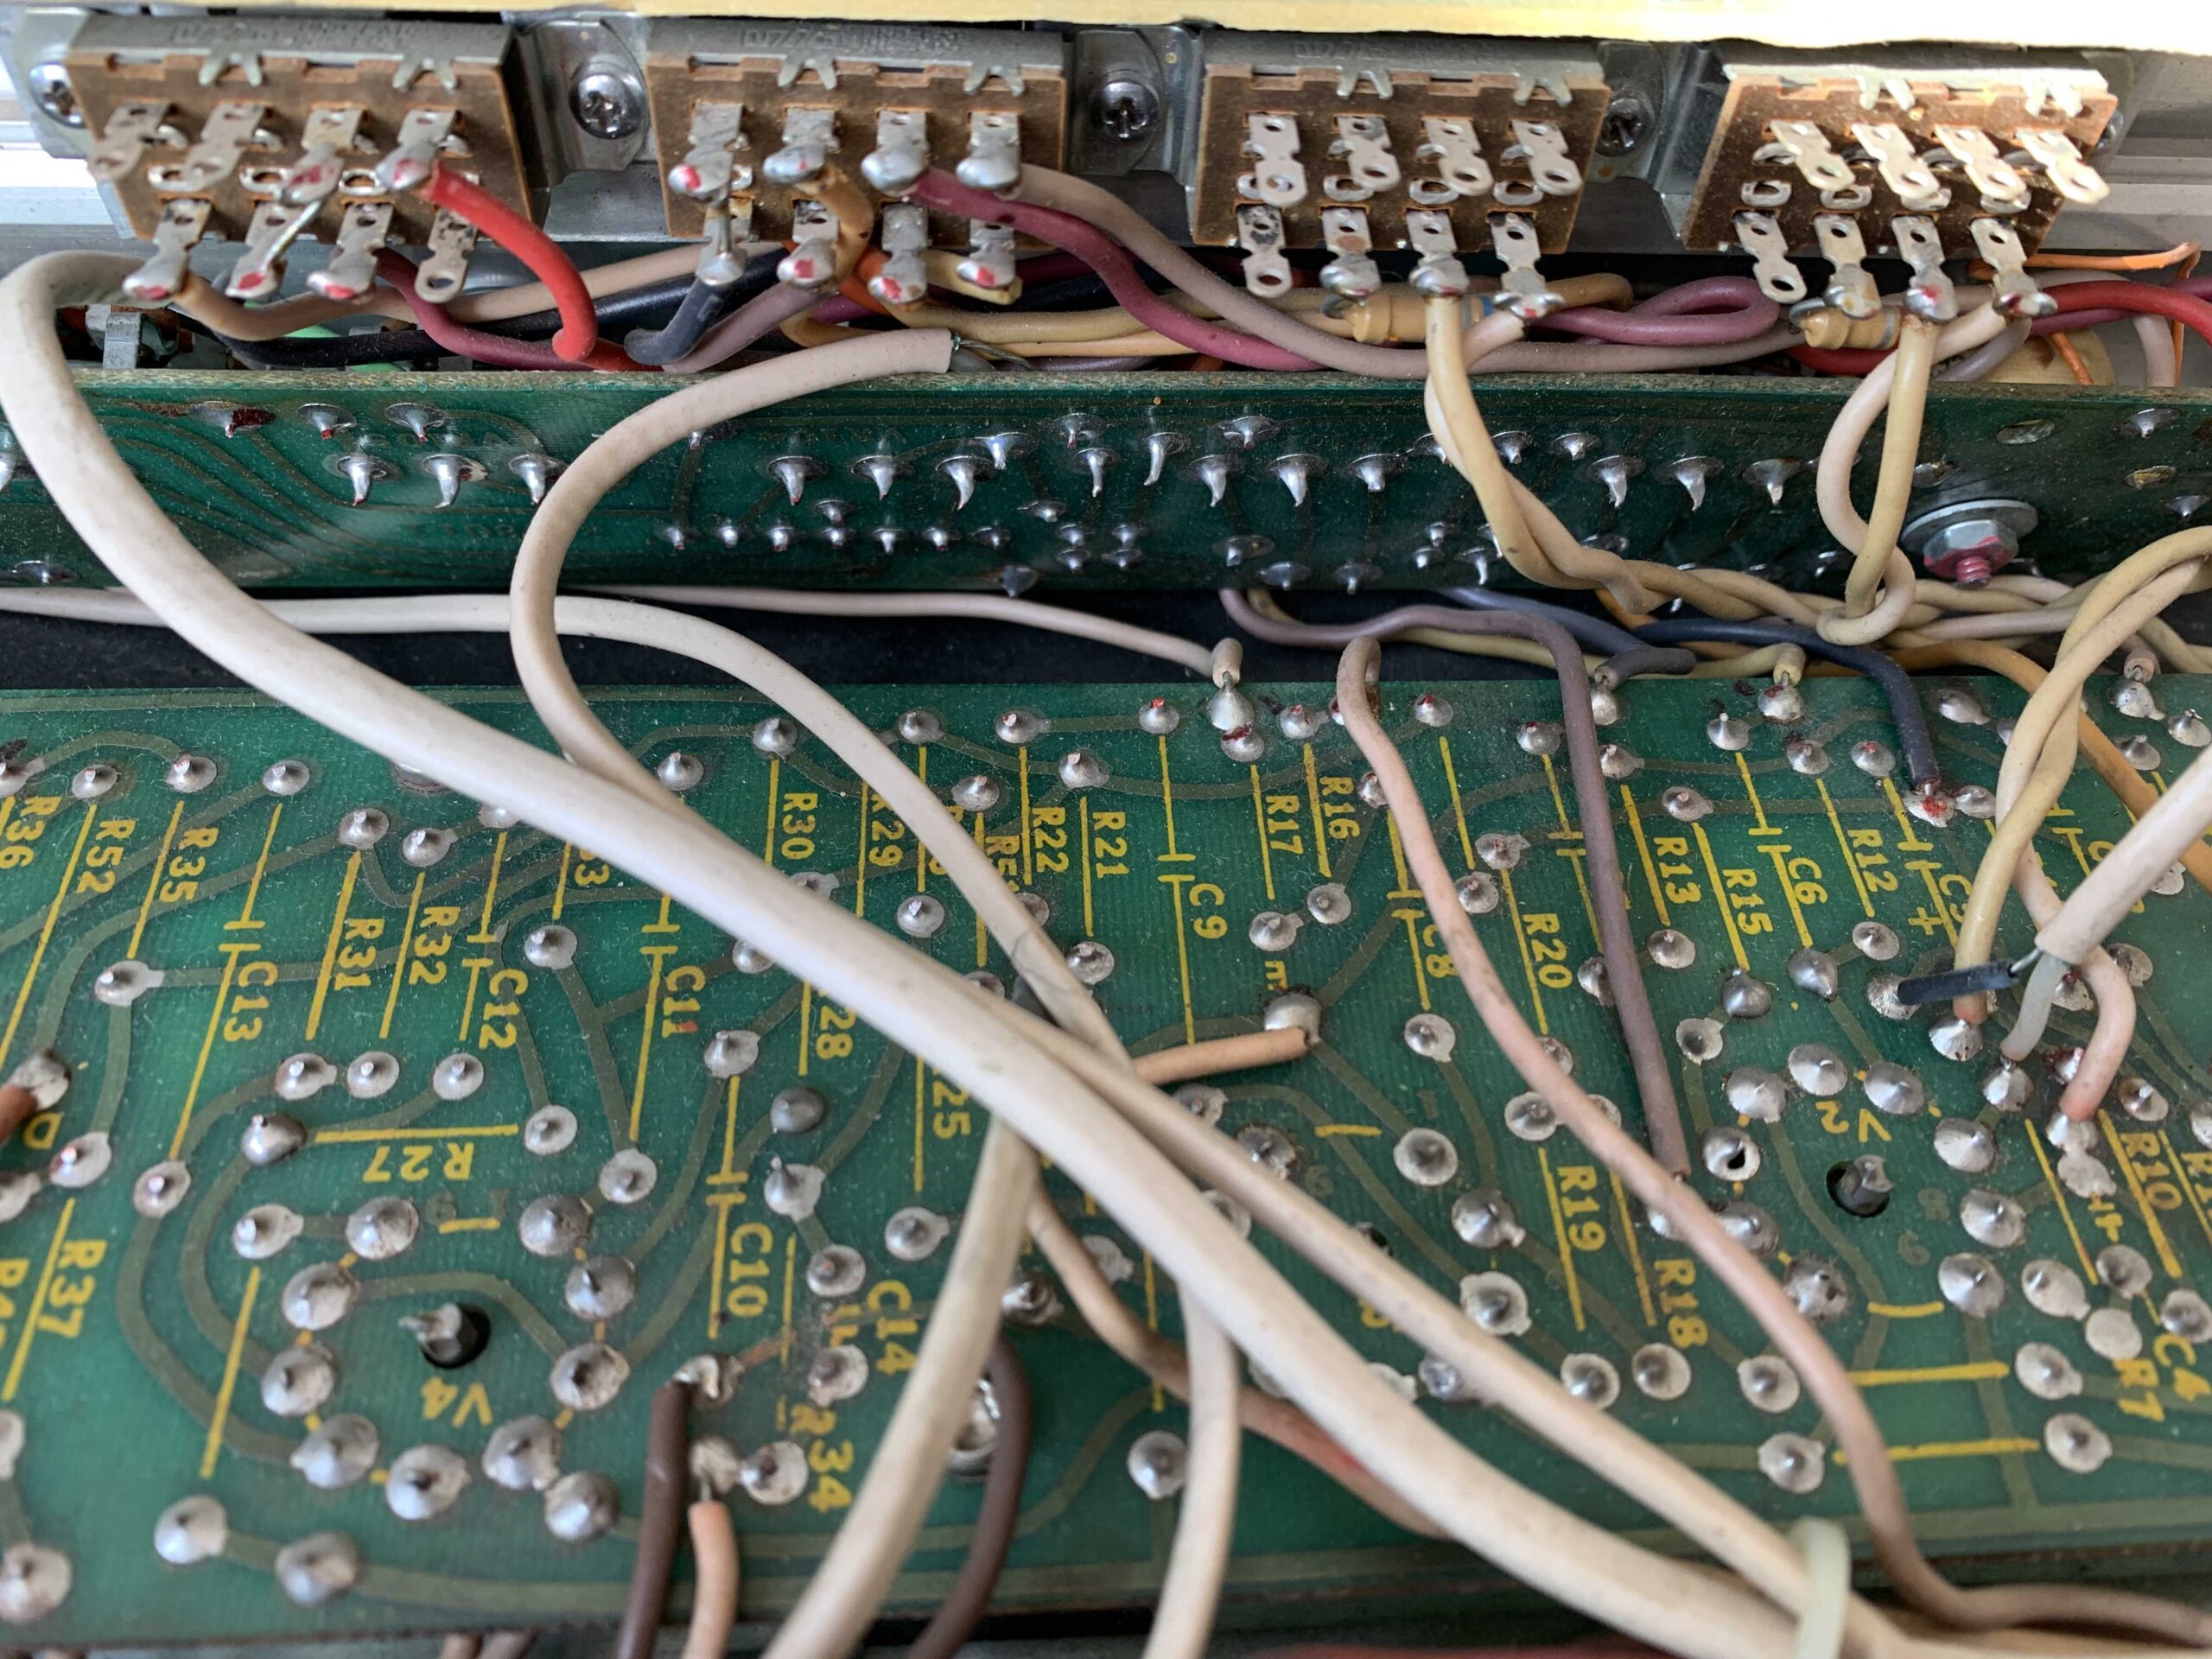
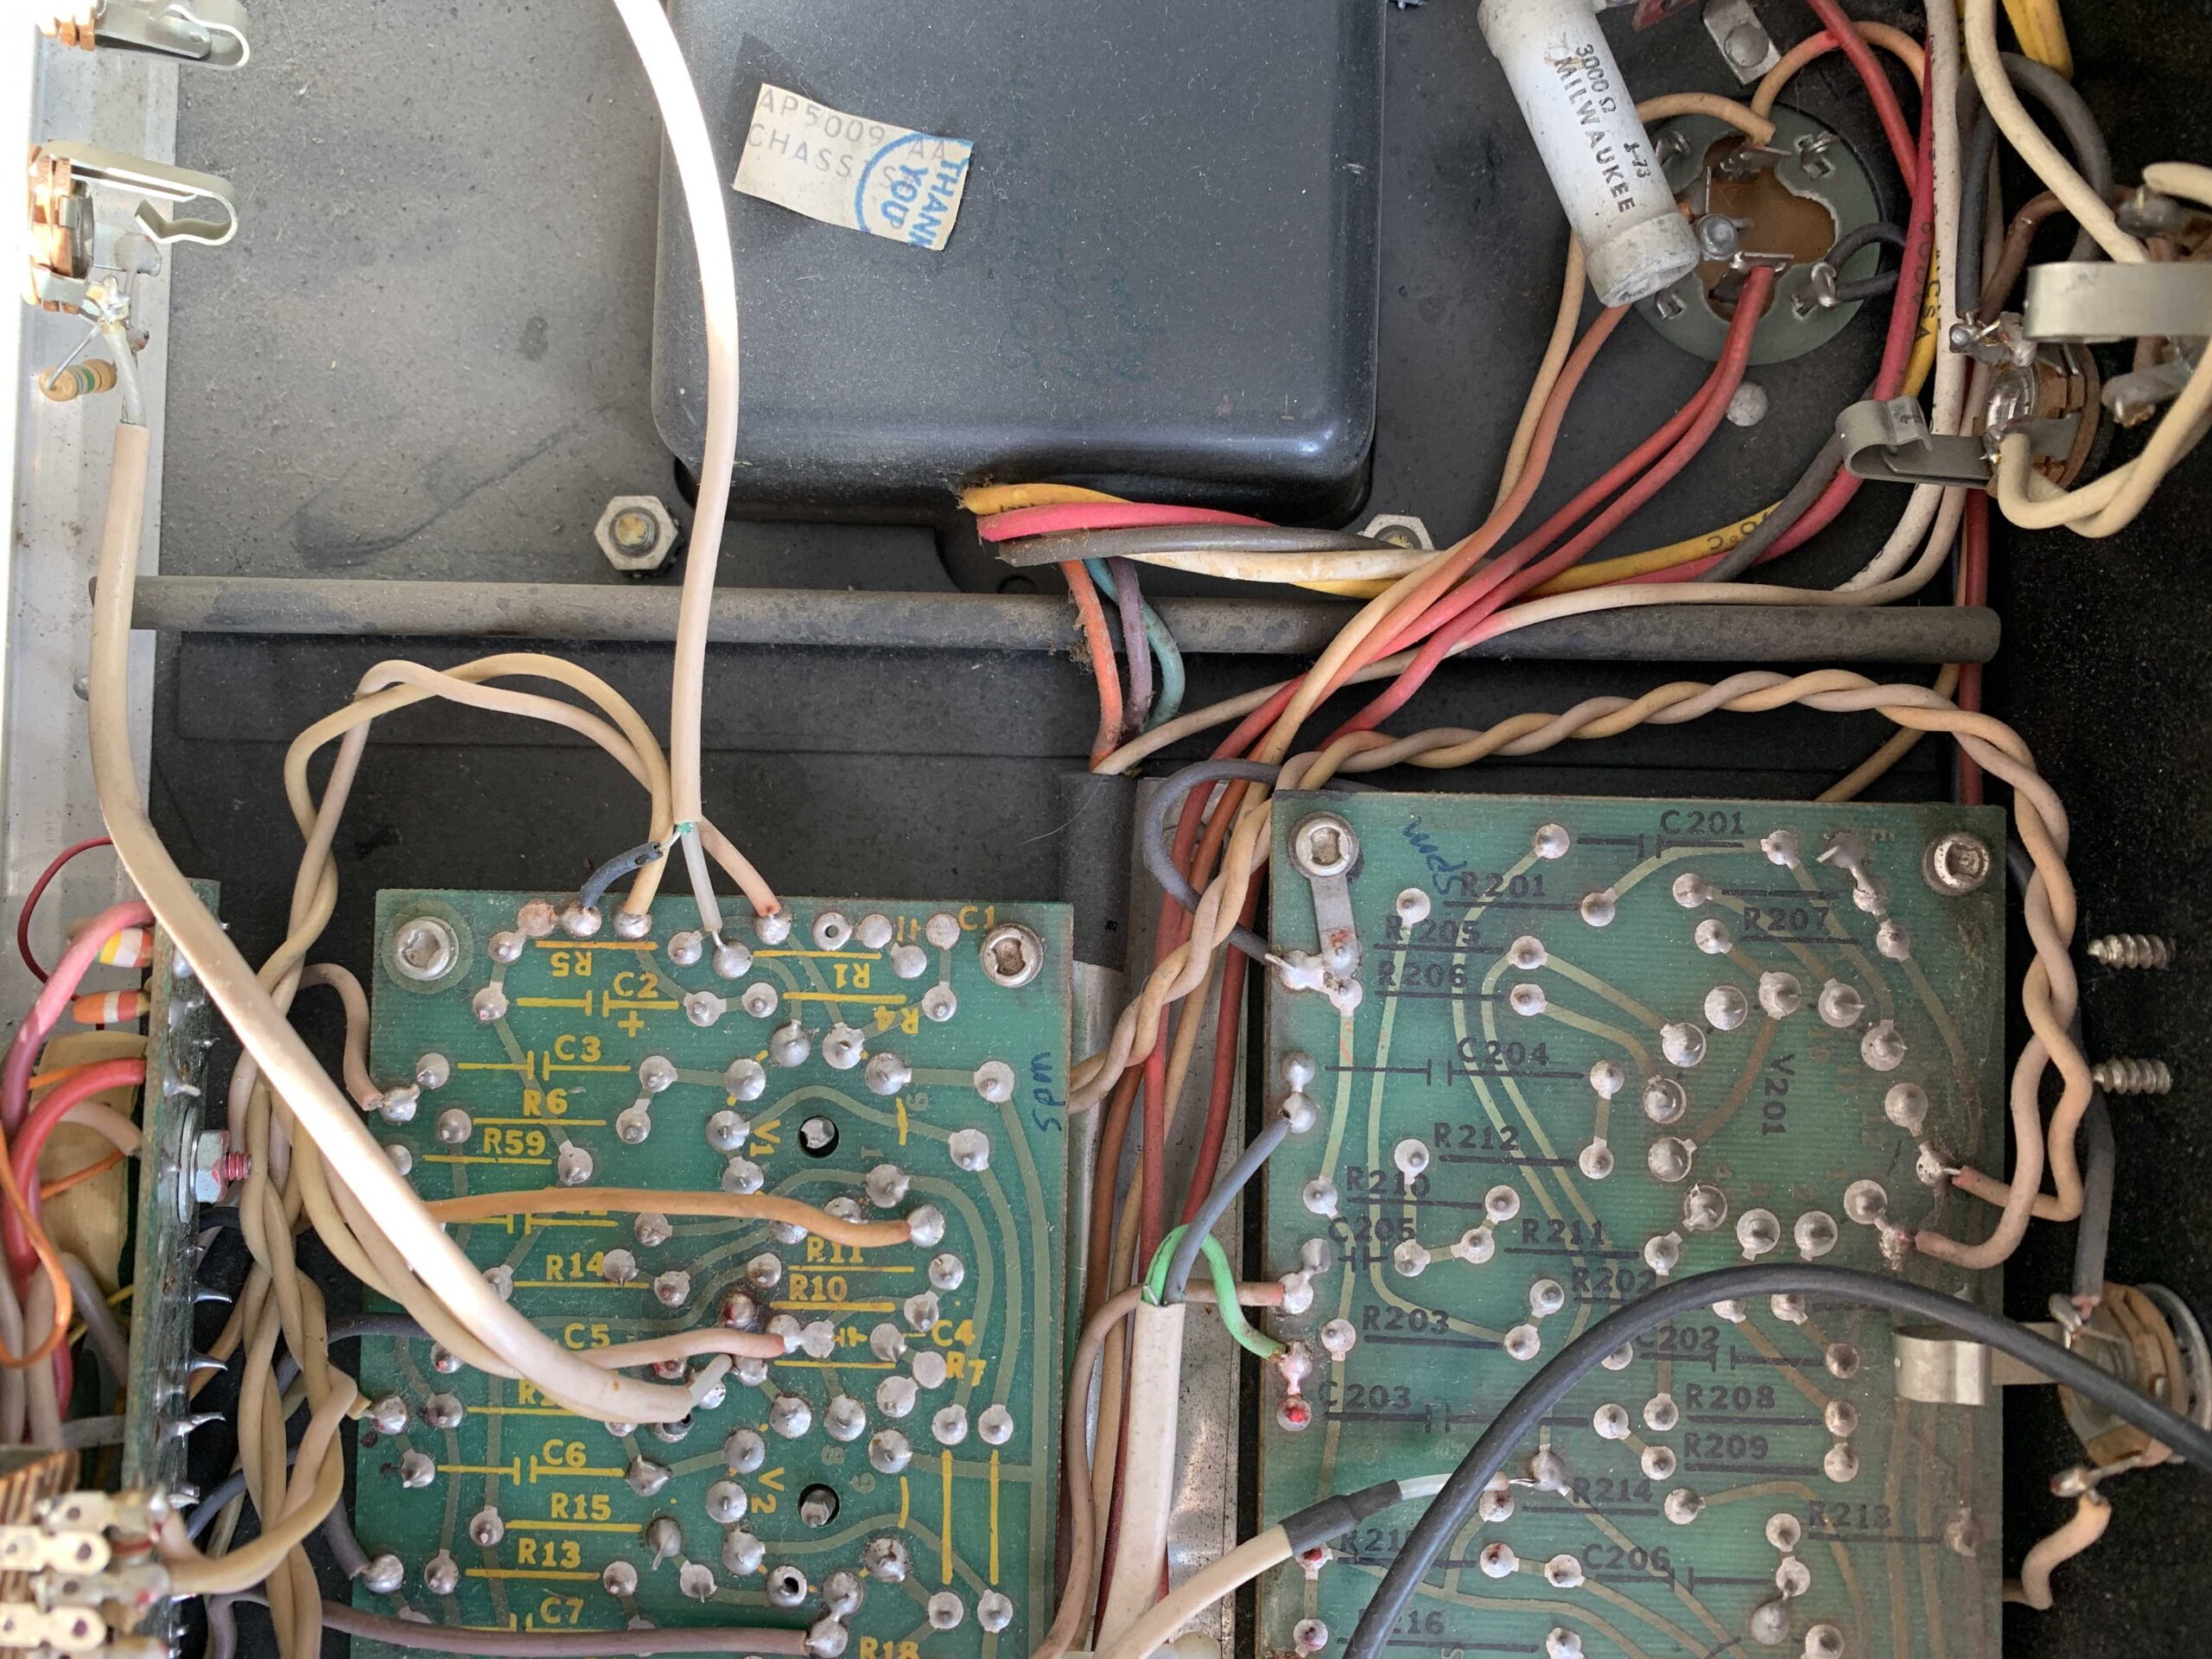
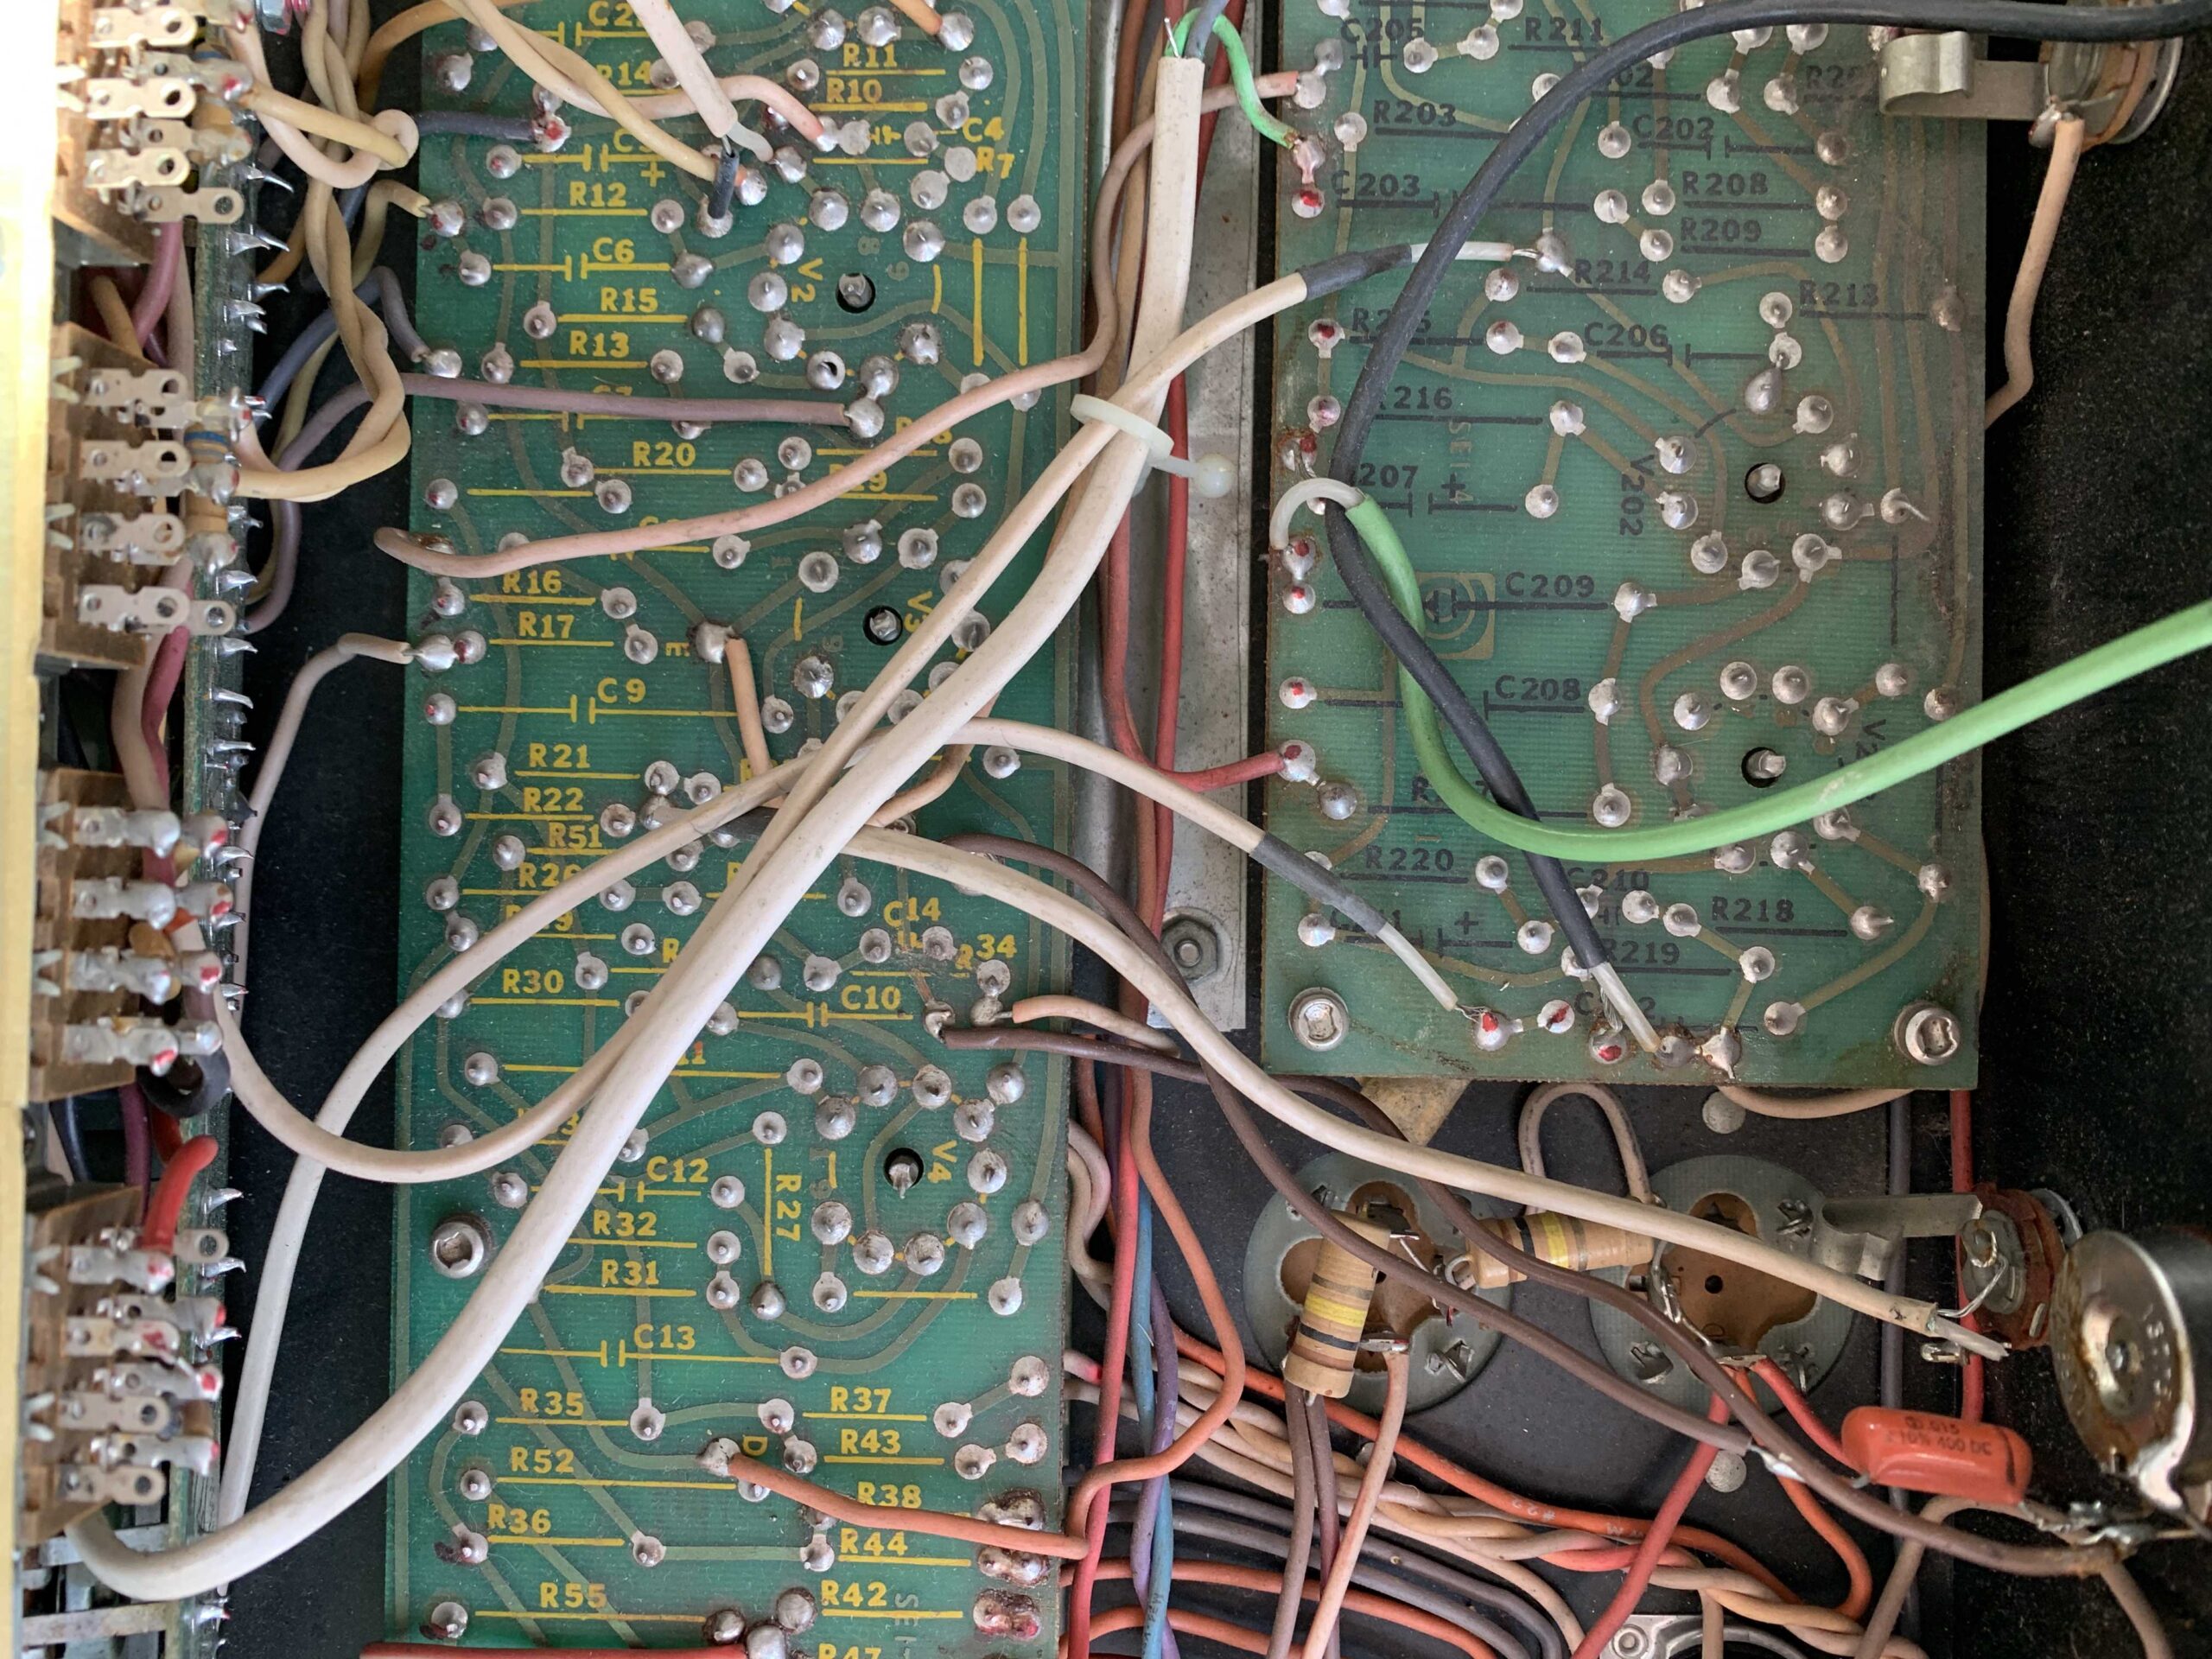
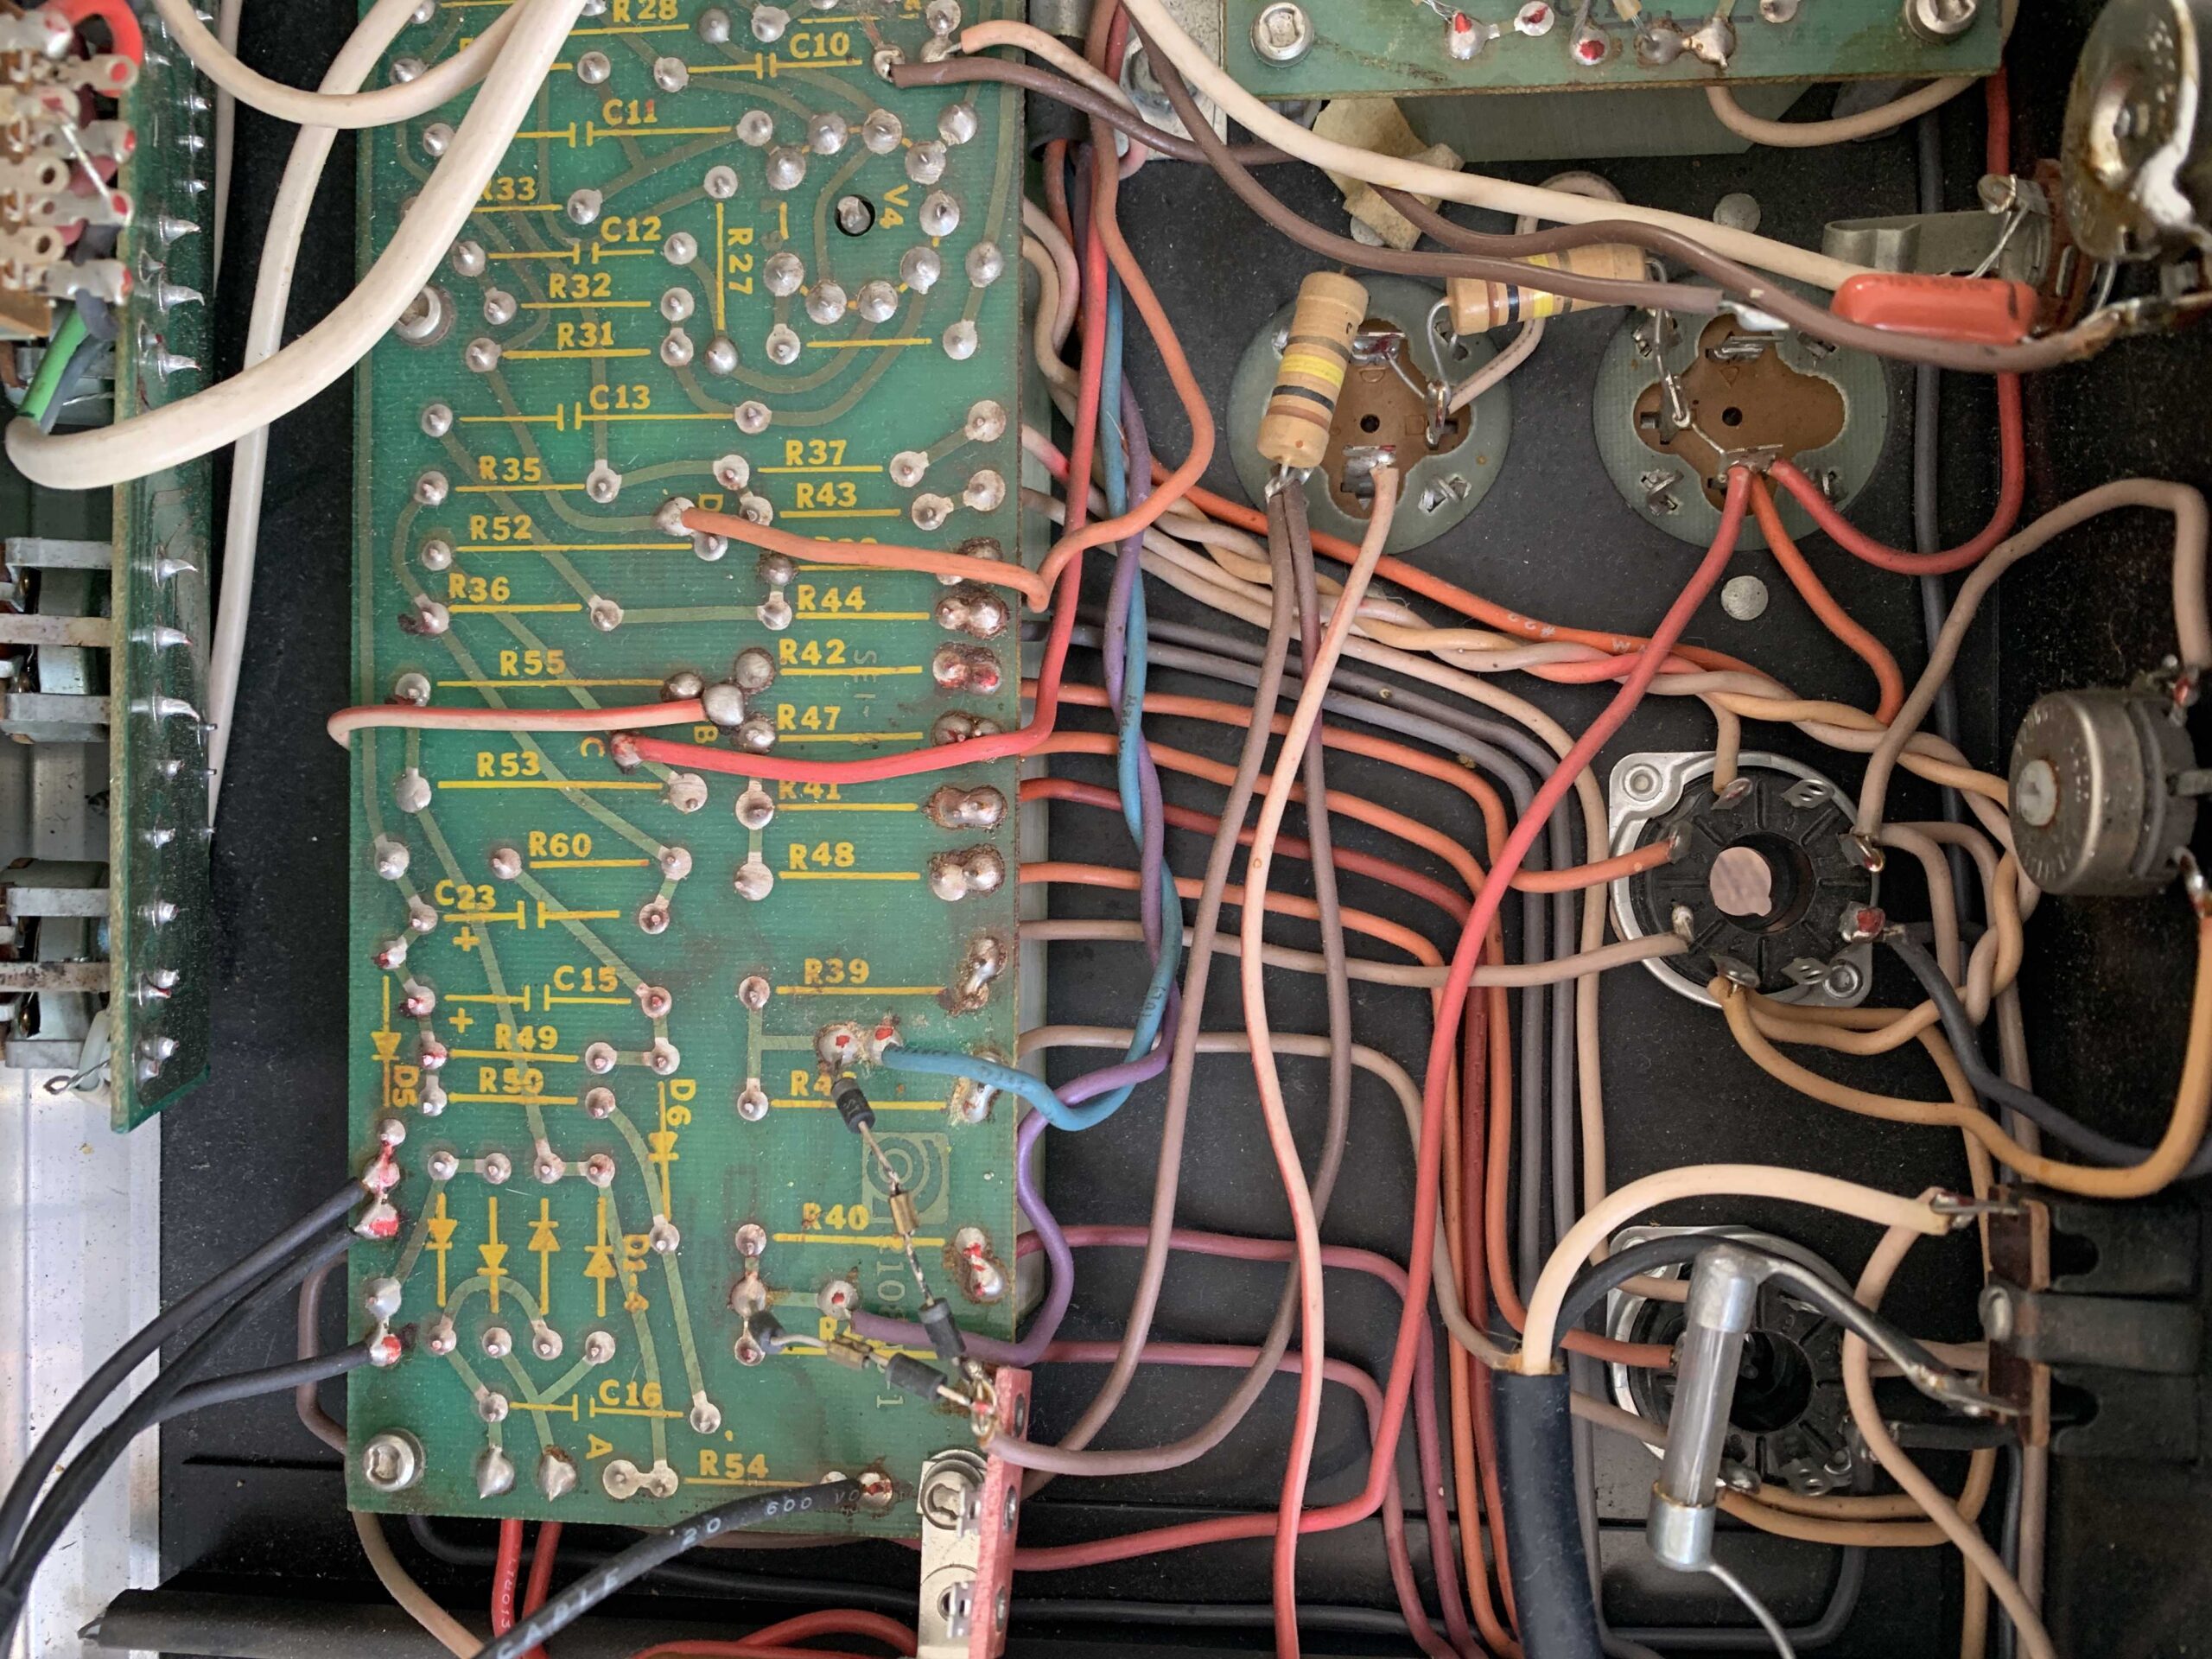
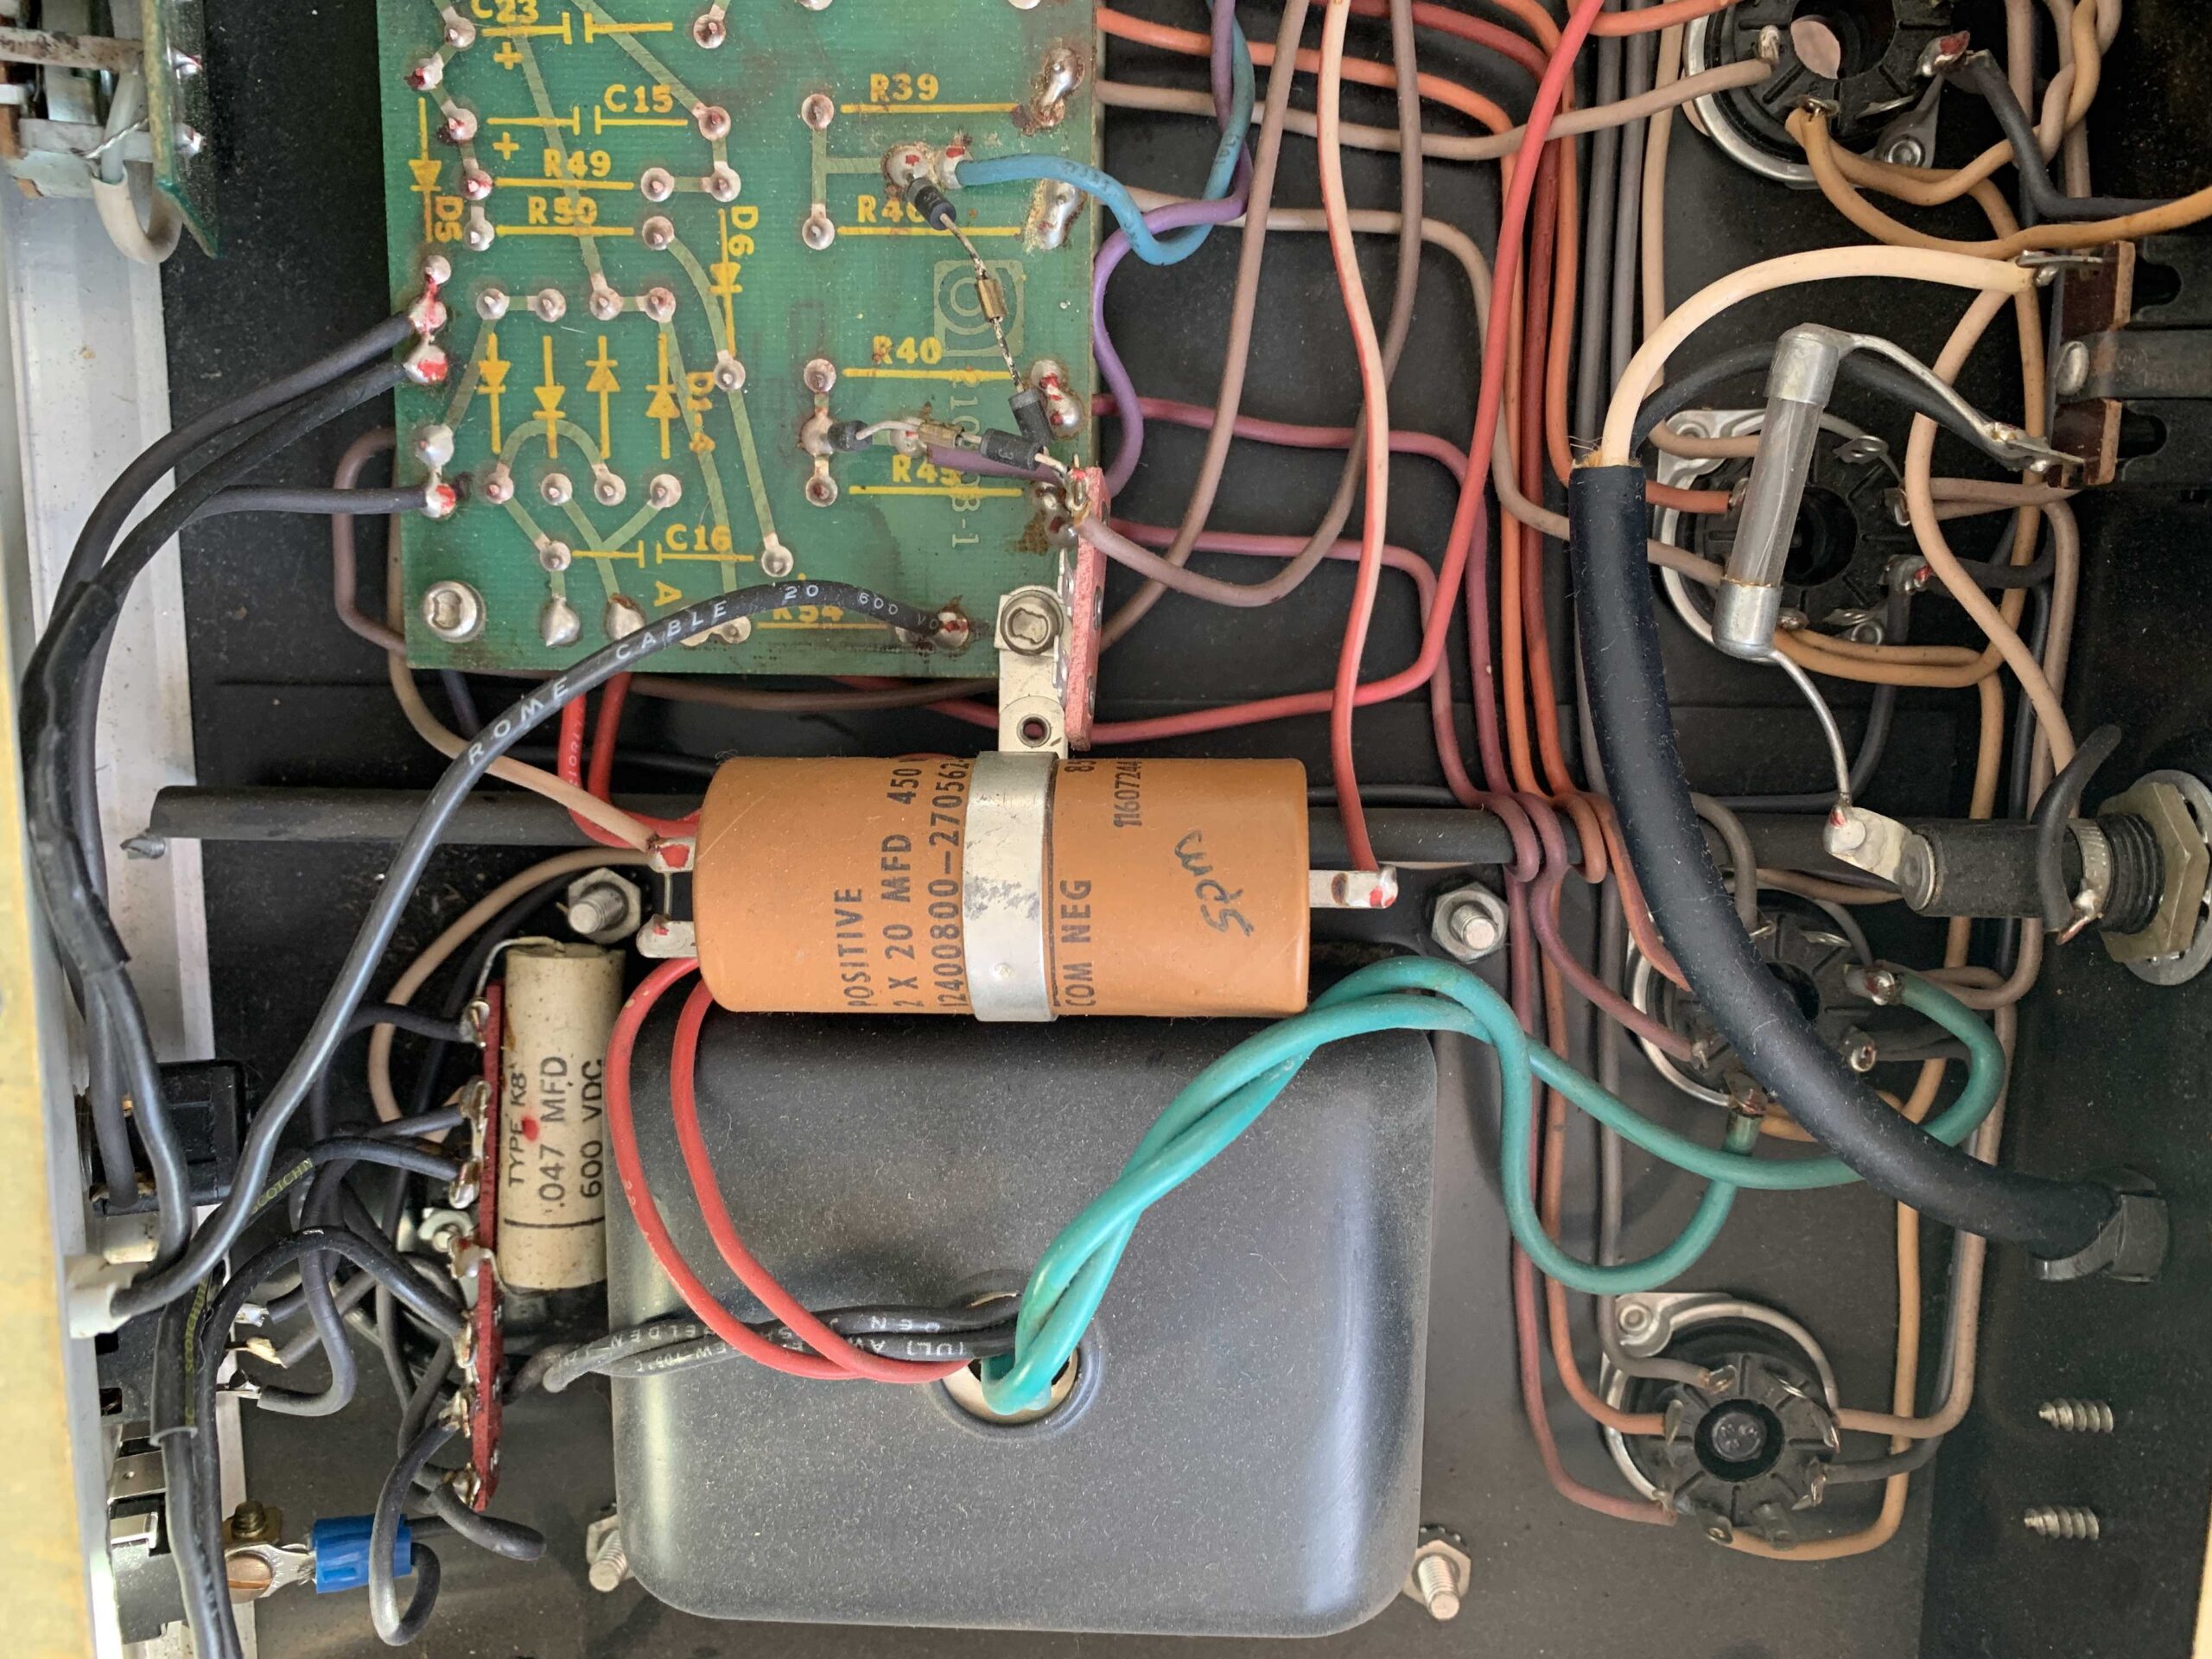
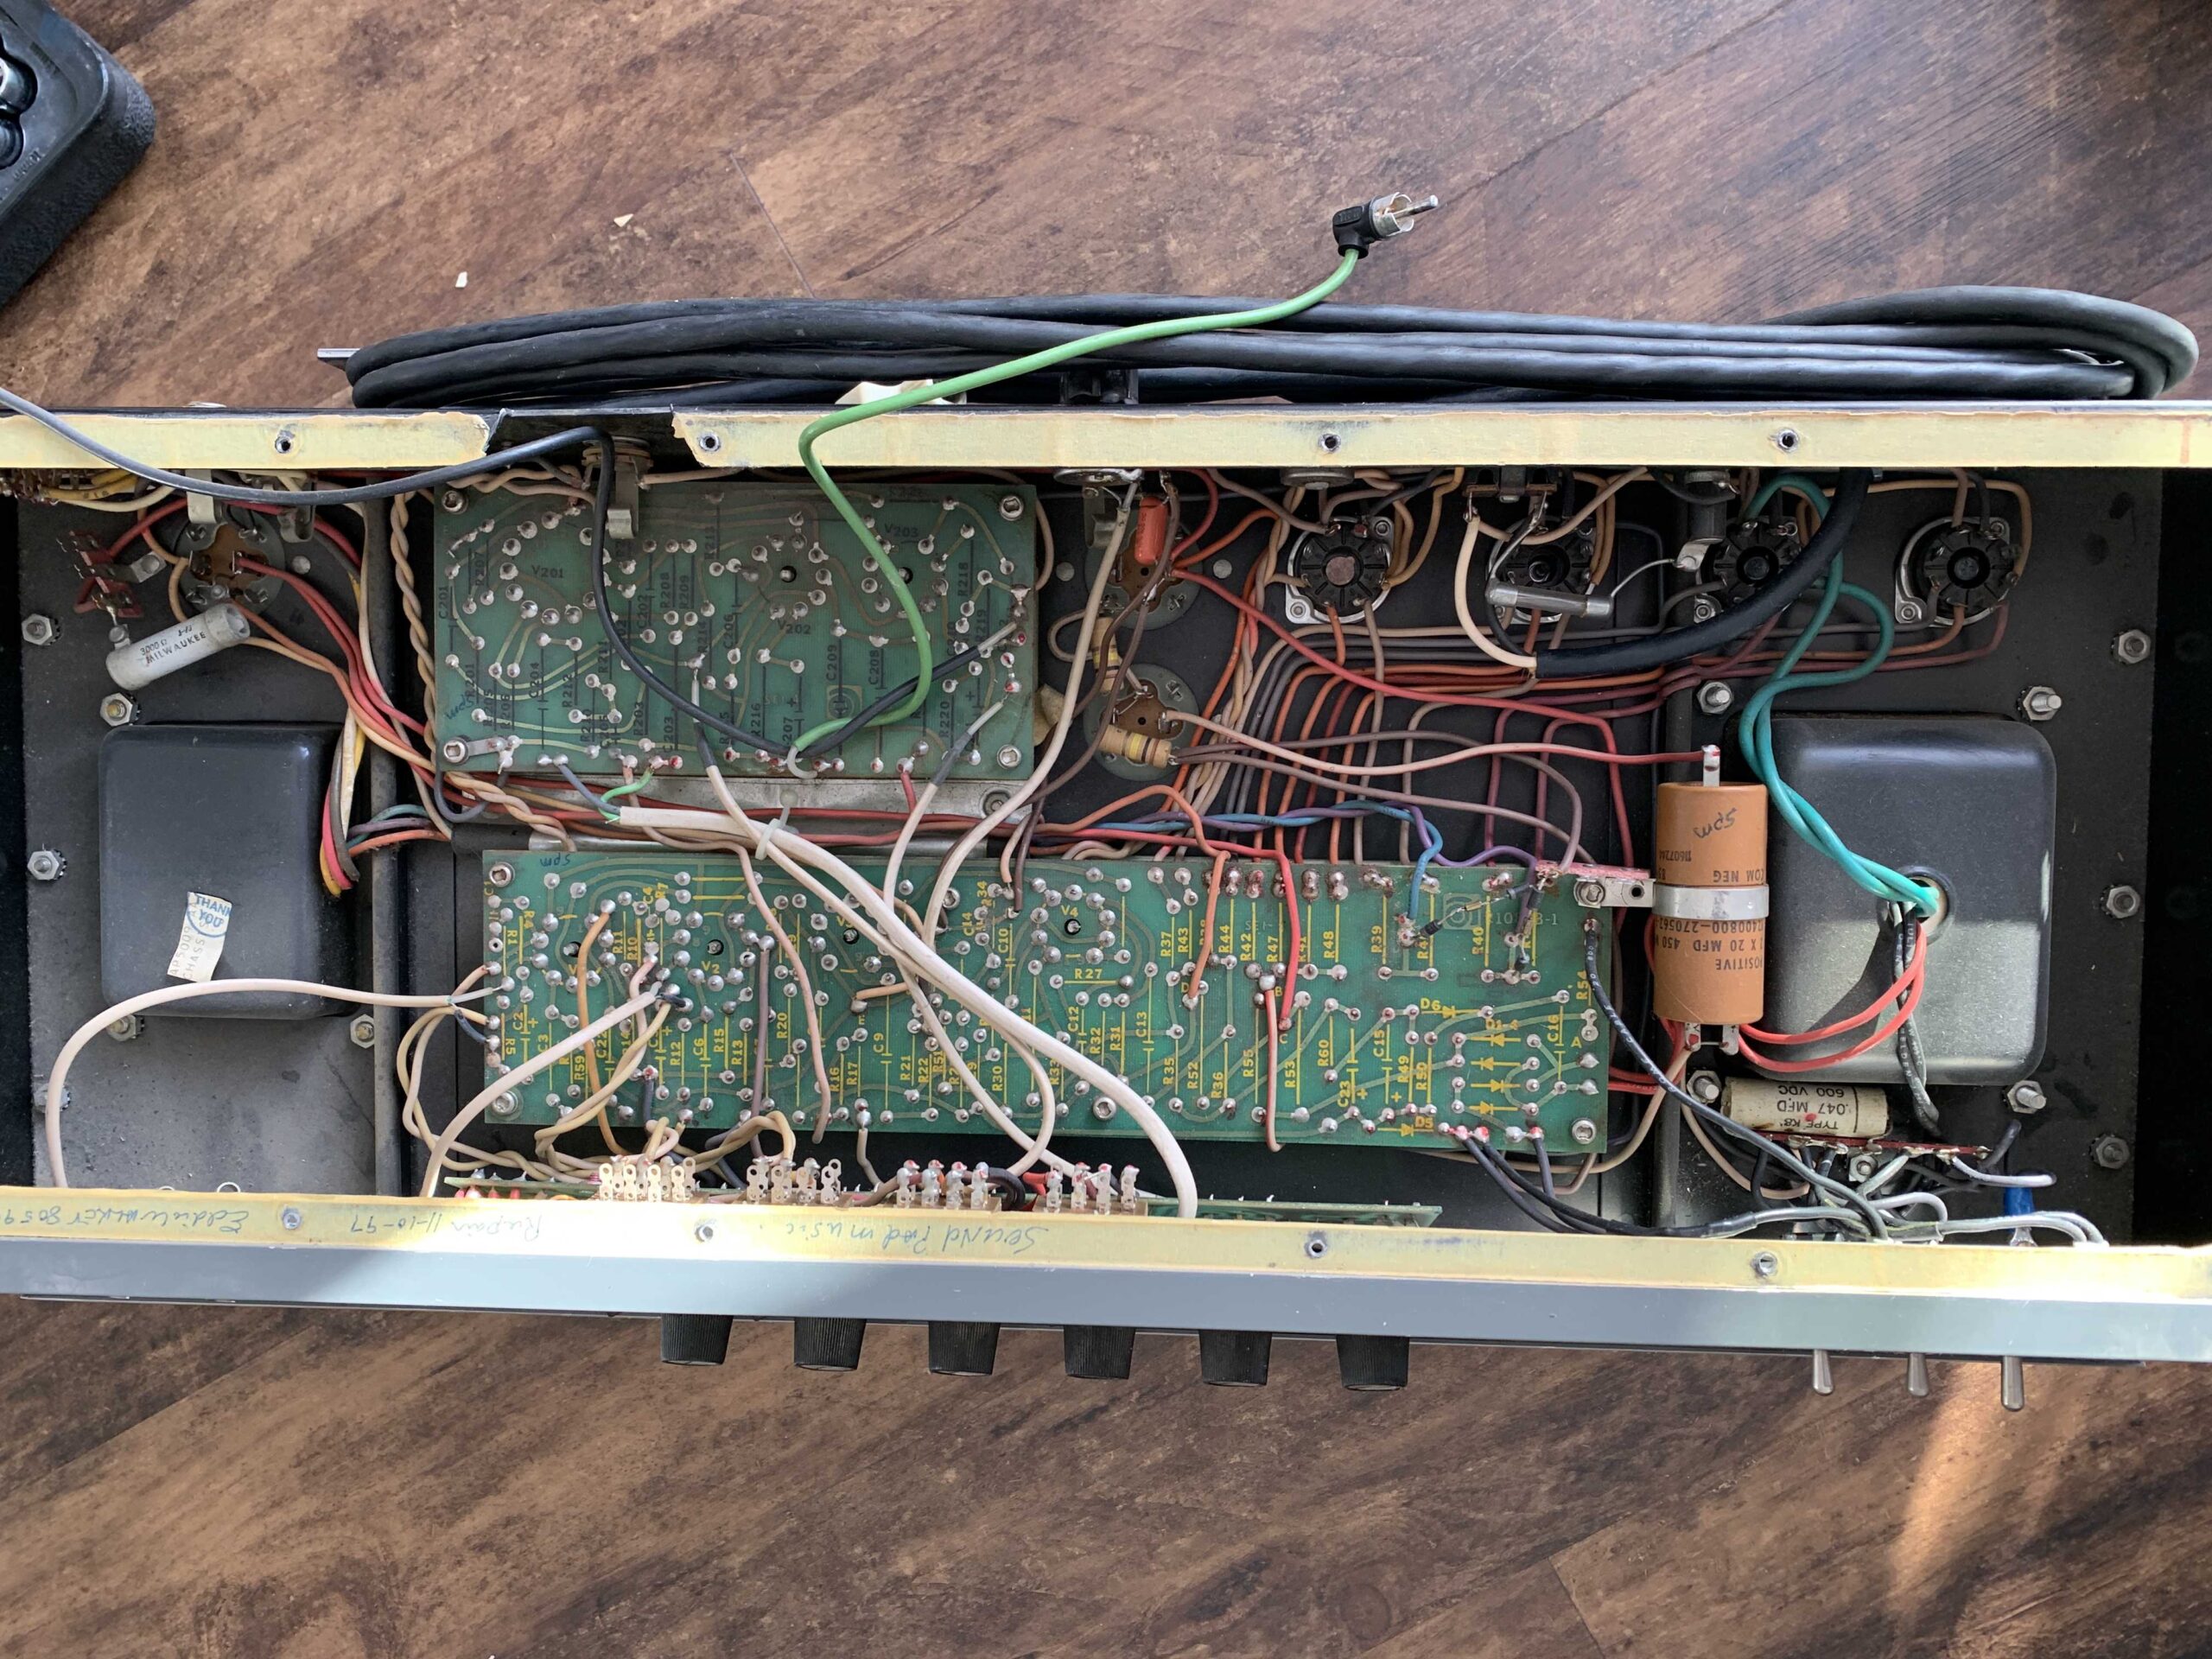
Luckily all the electronics were in good shape for their age and the only modification the prior owner made to this amp was an additional pot added to the amp output signal. Below are some pics of the amp’s insides and the tubes that I have installed.

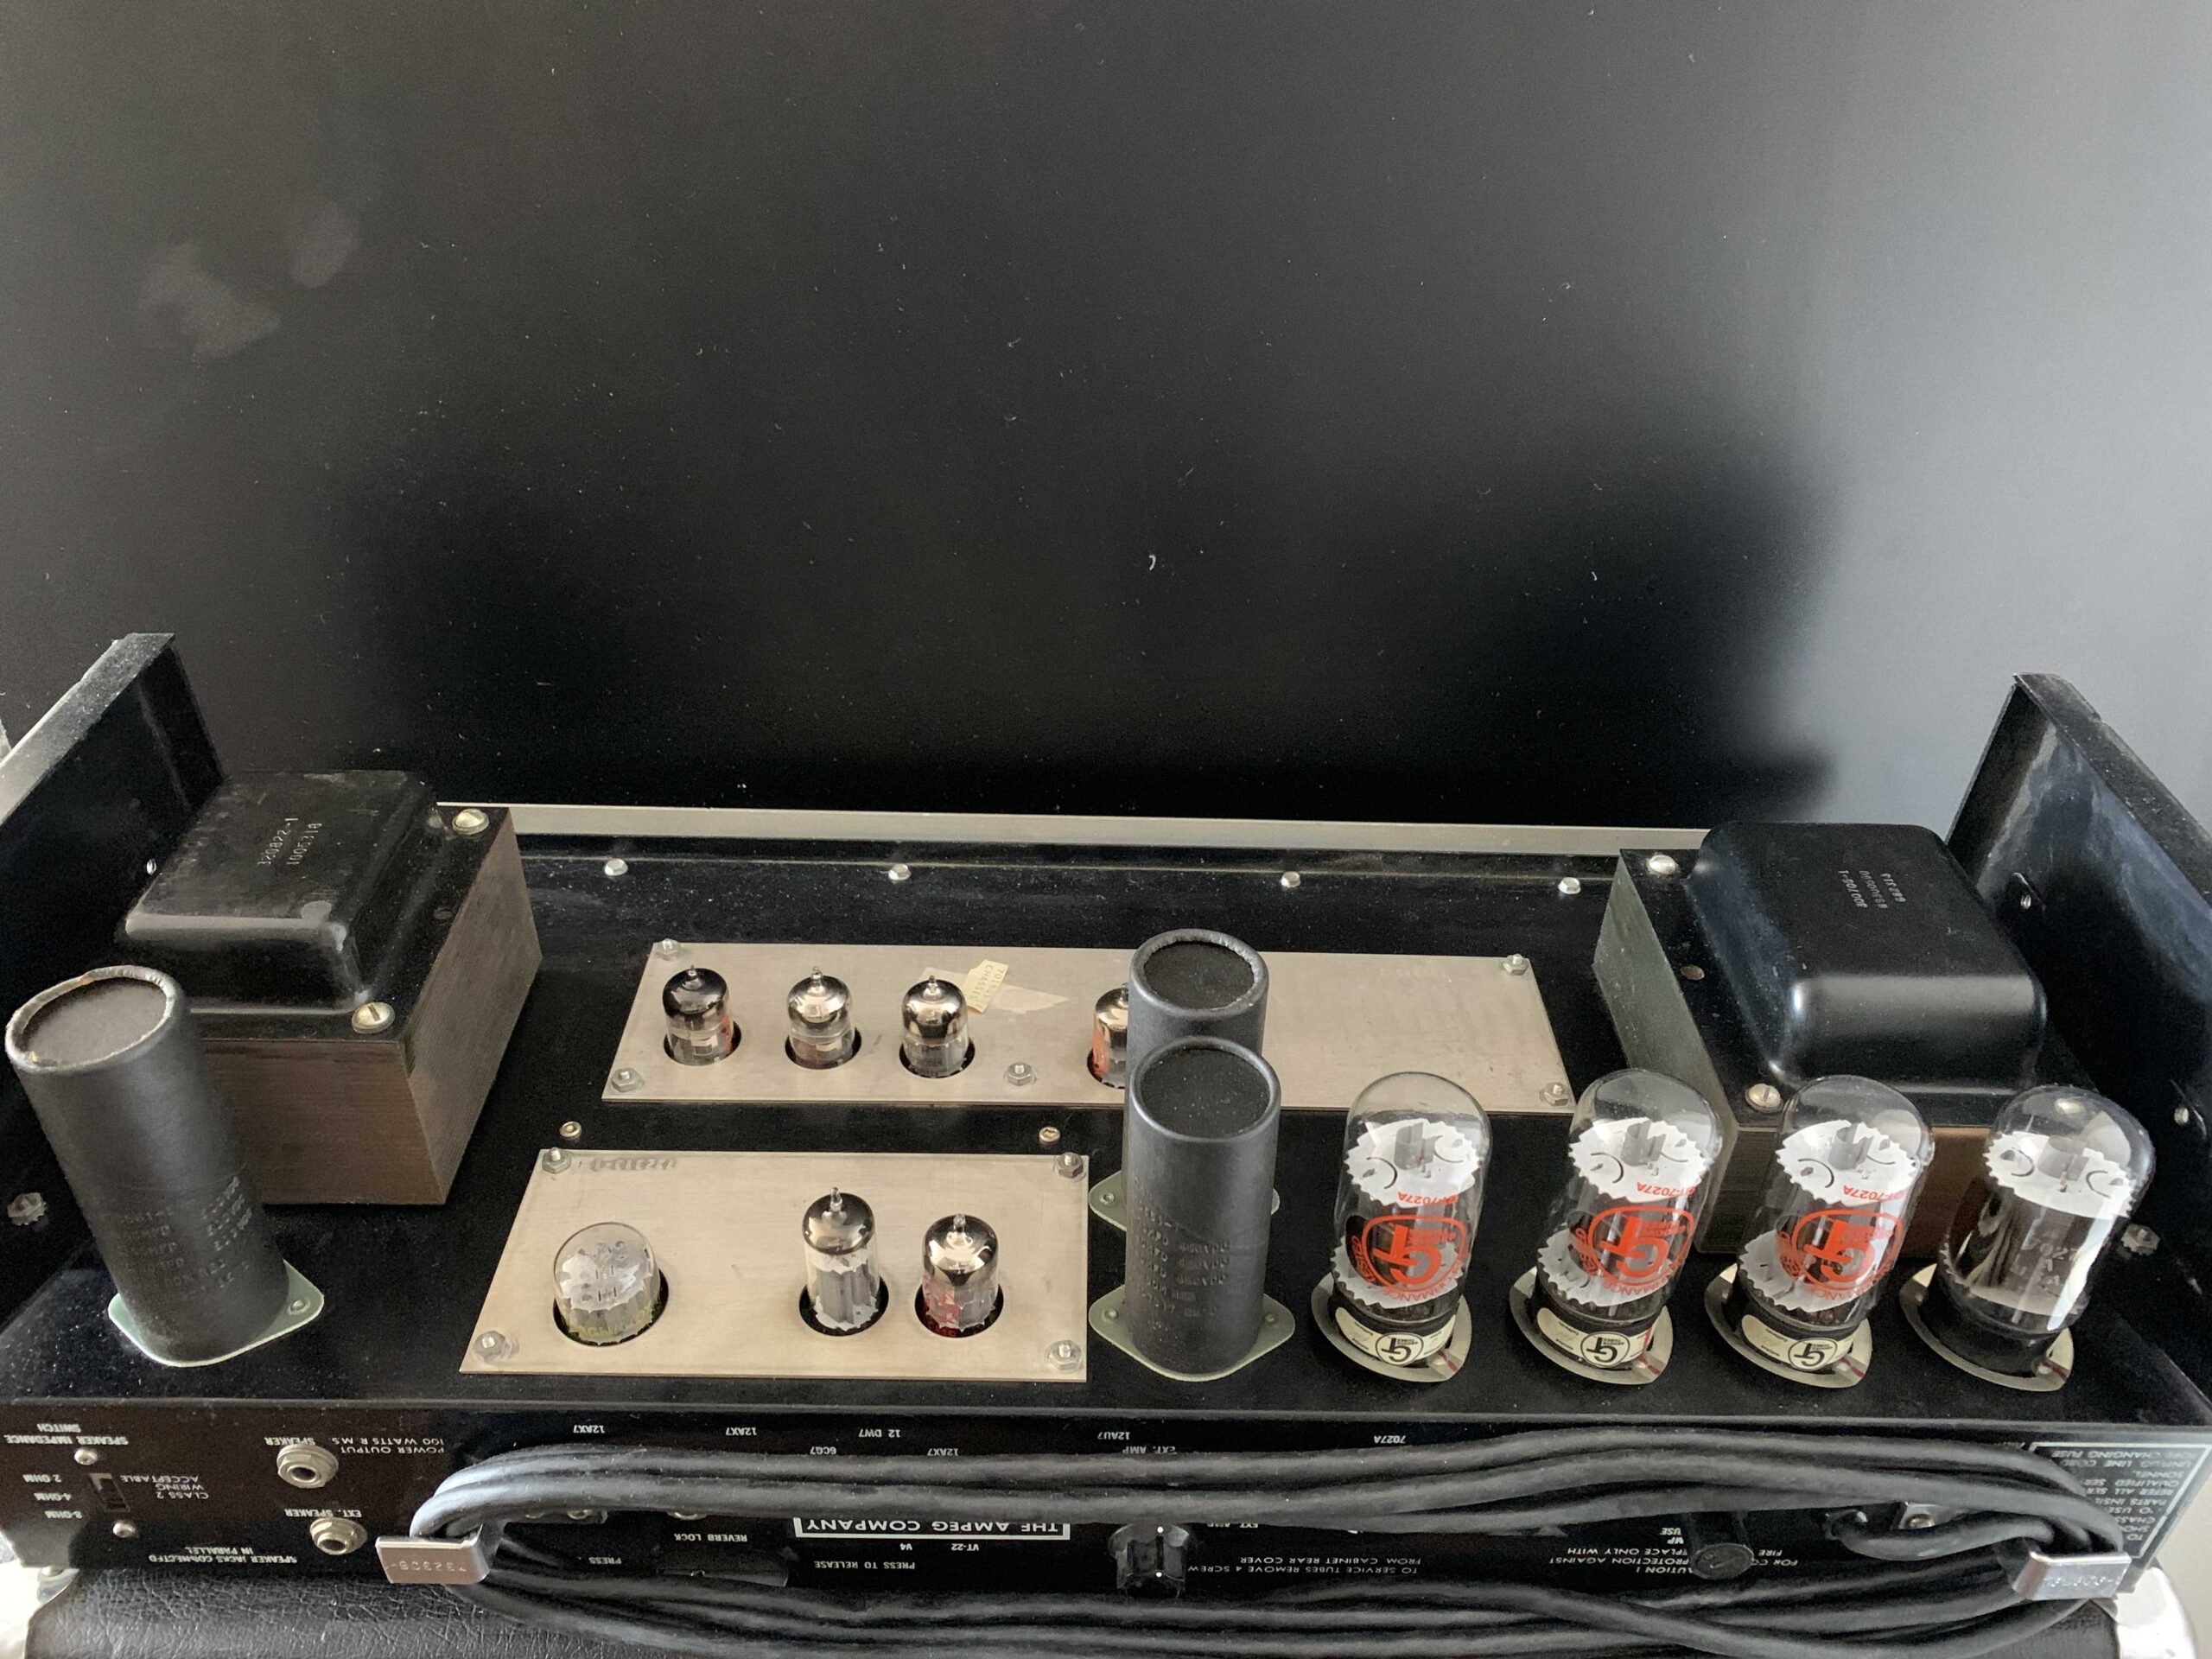
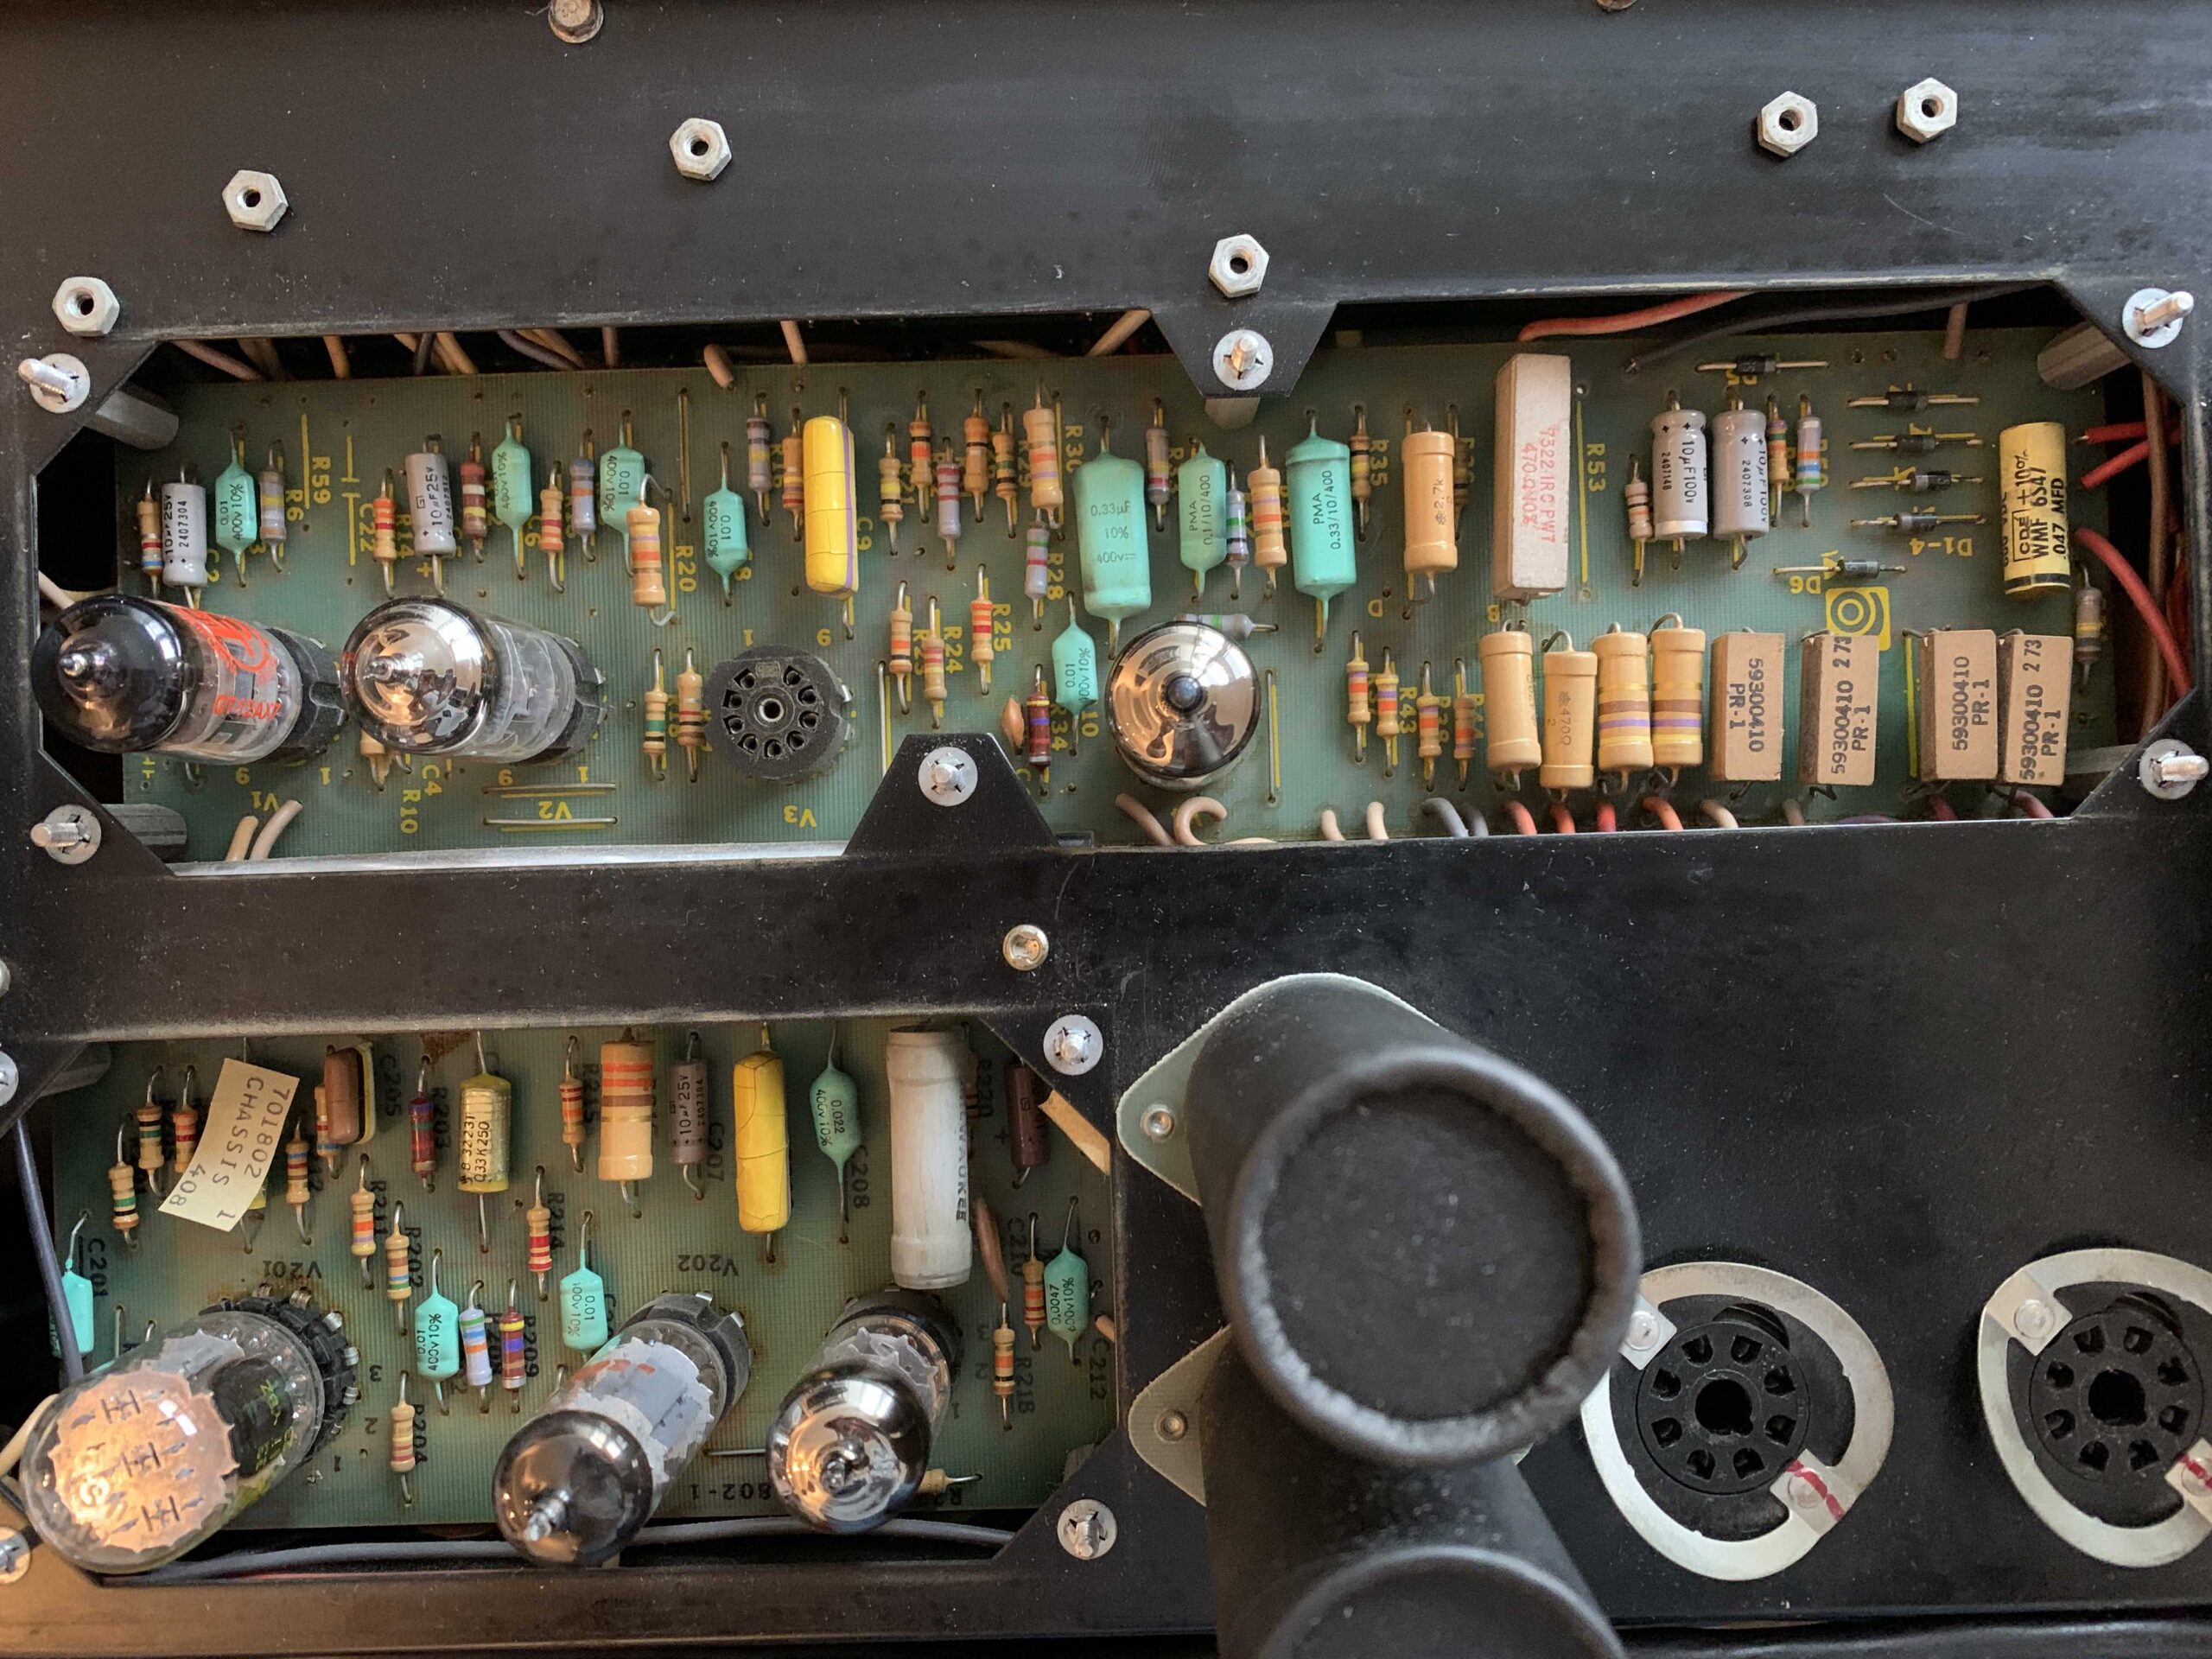
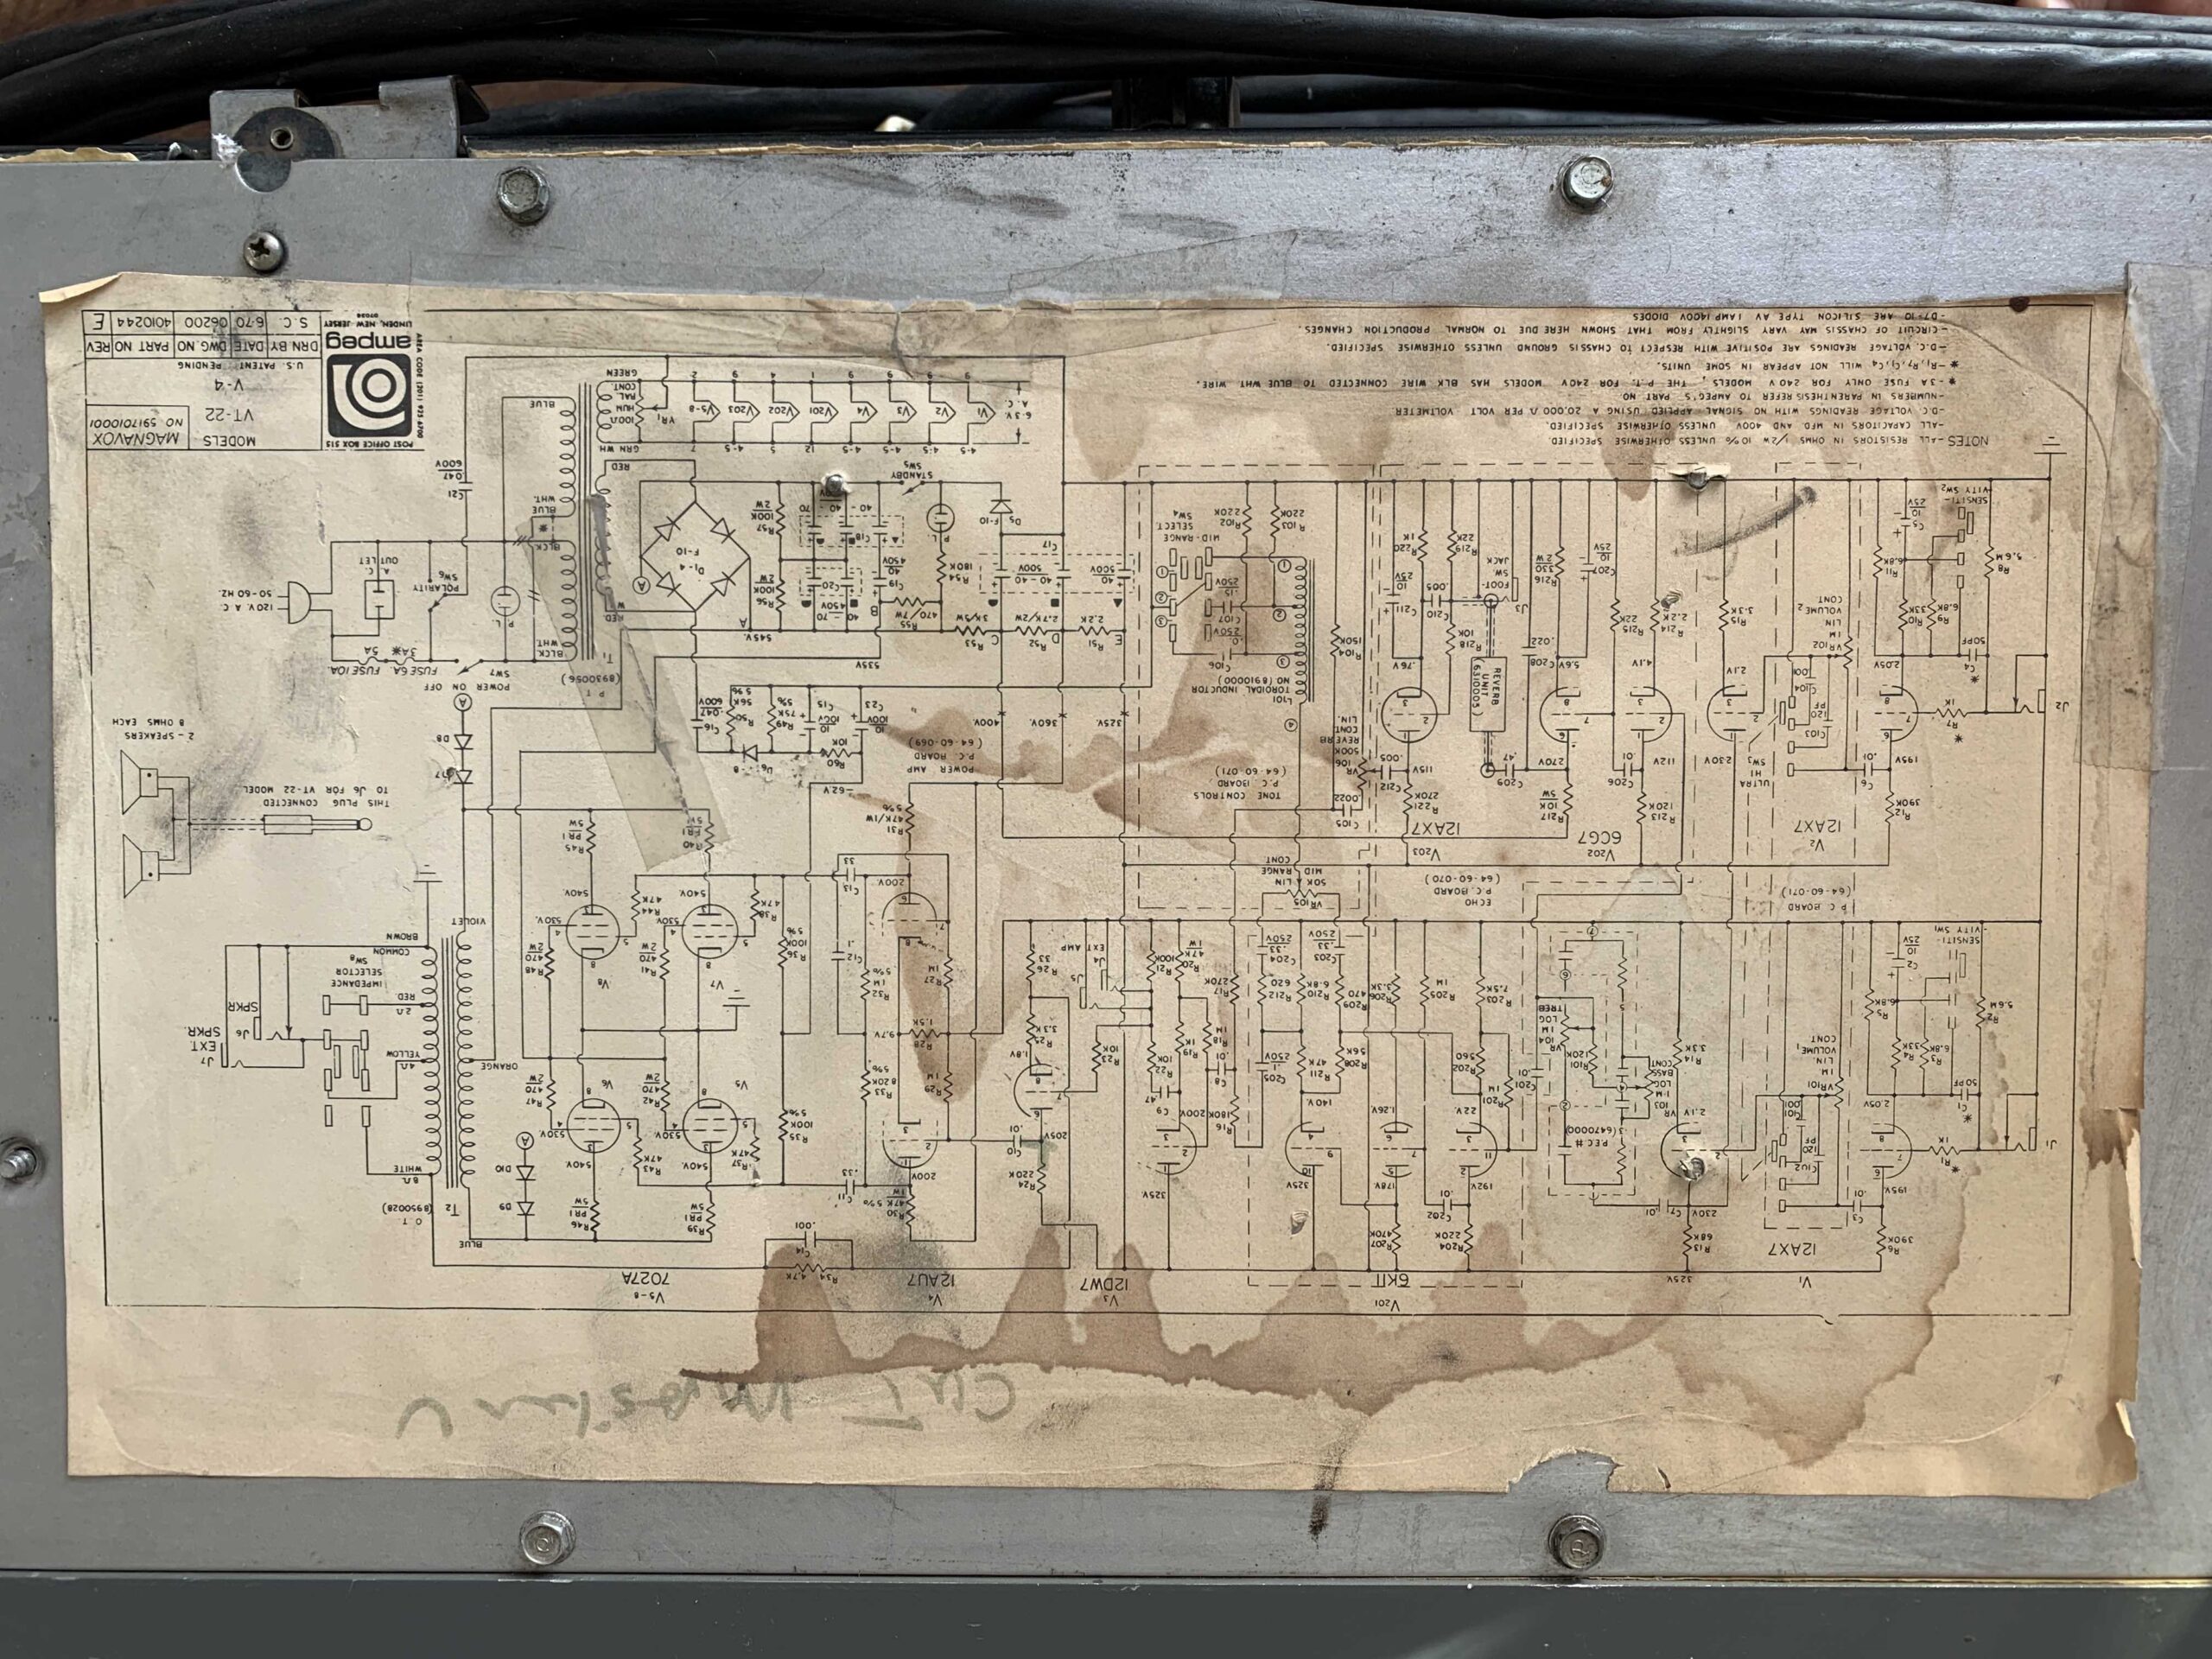
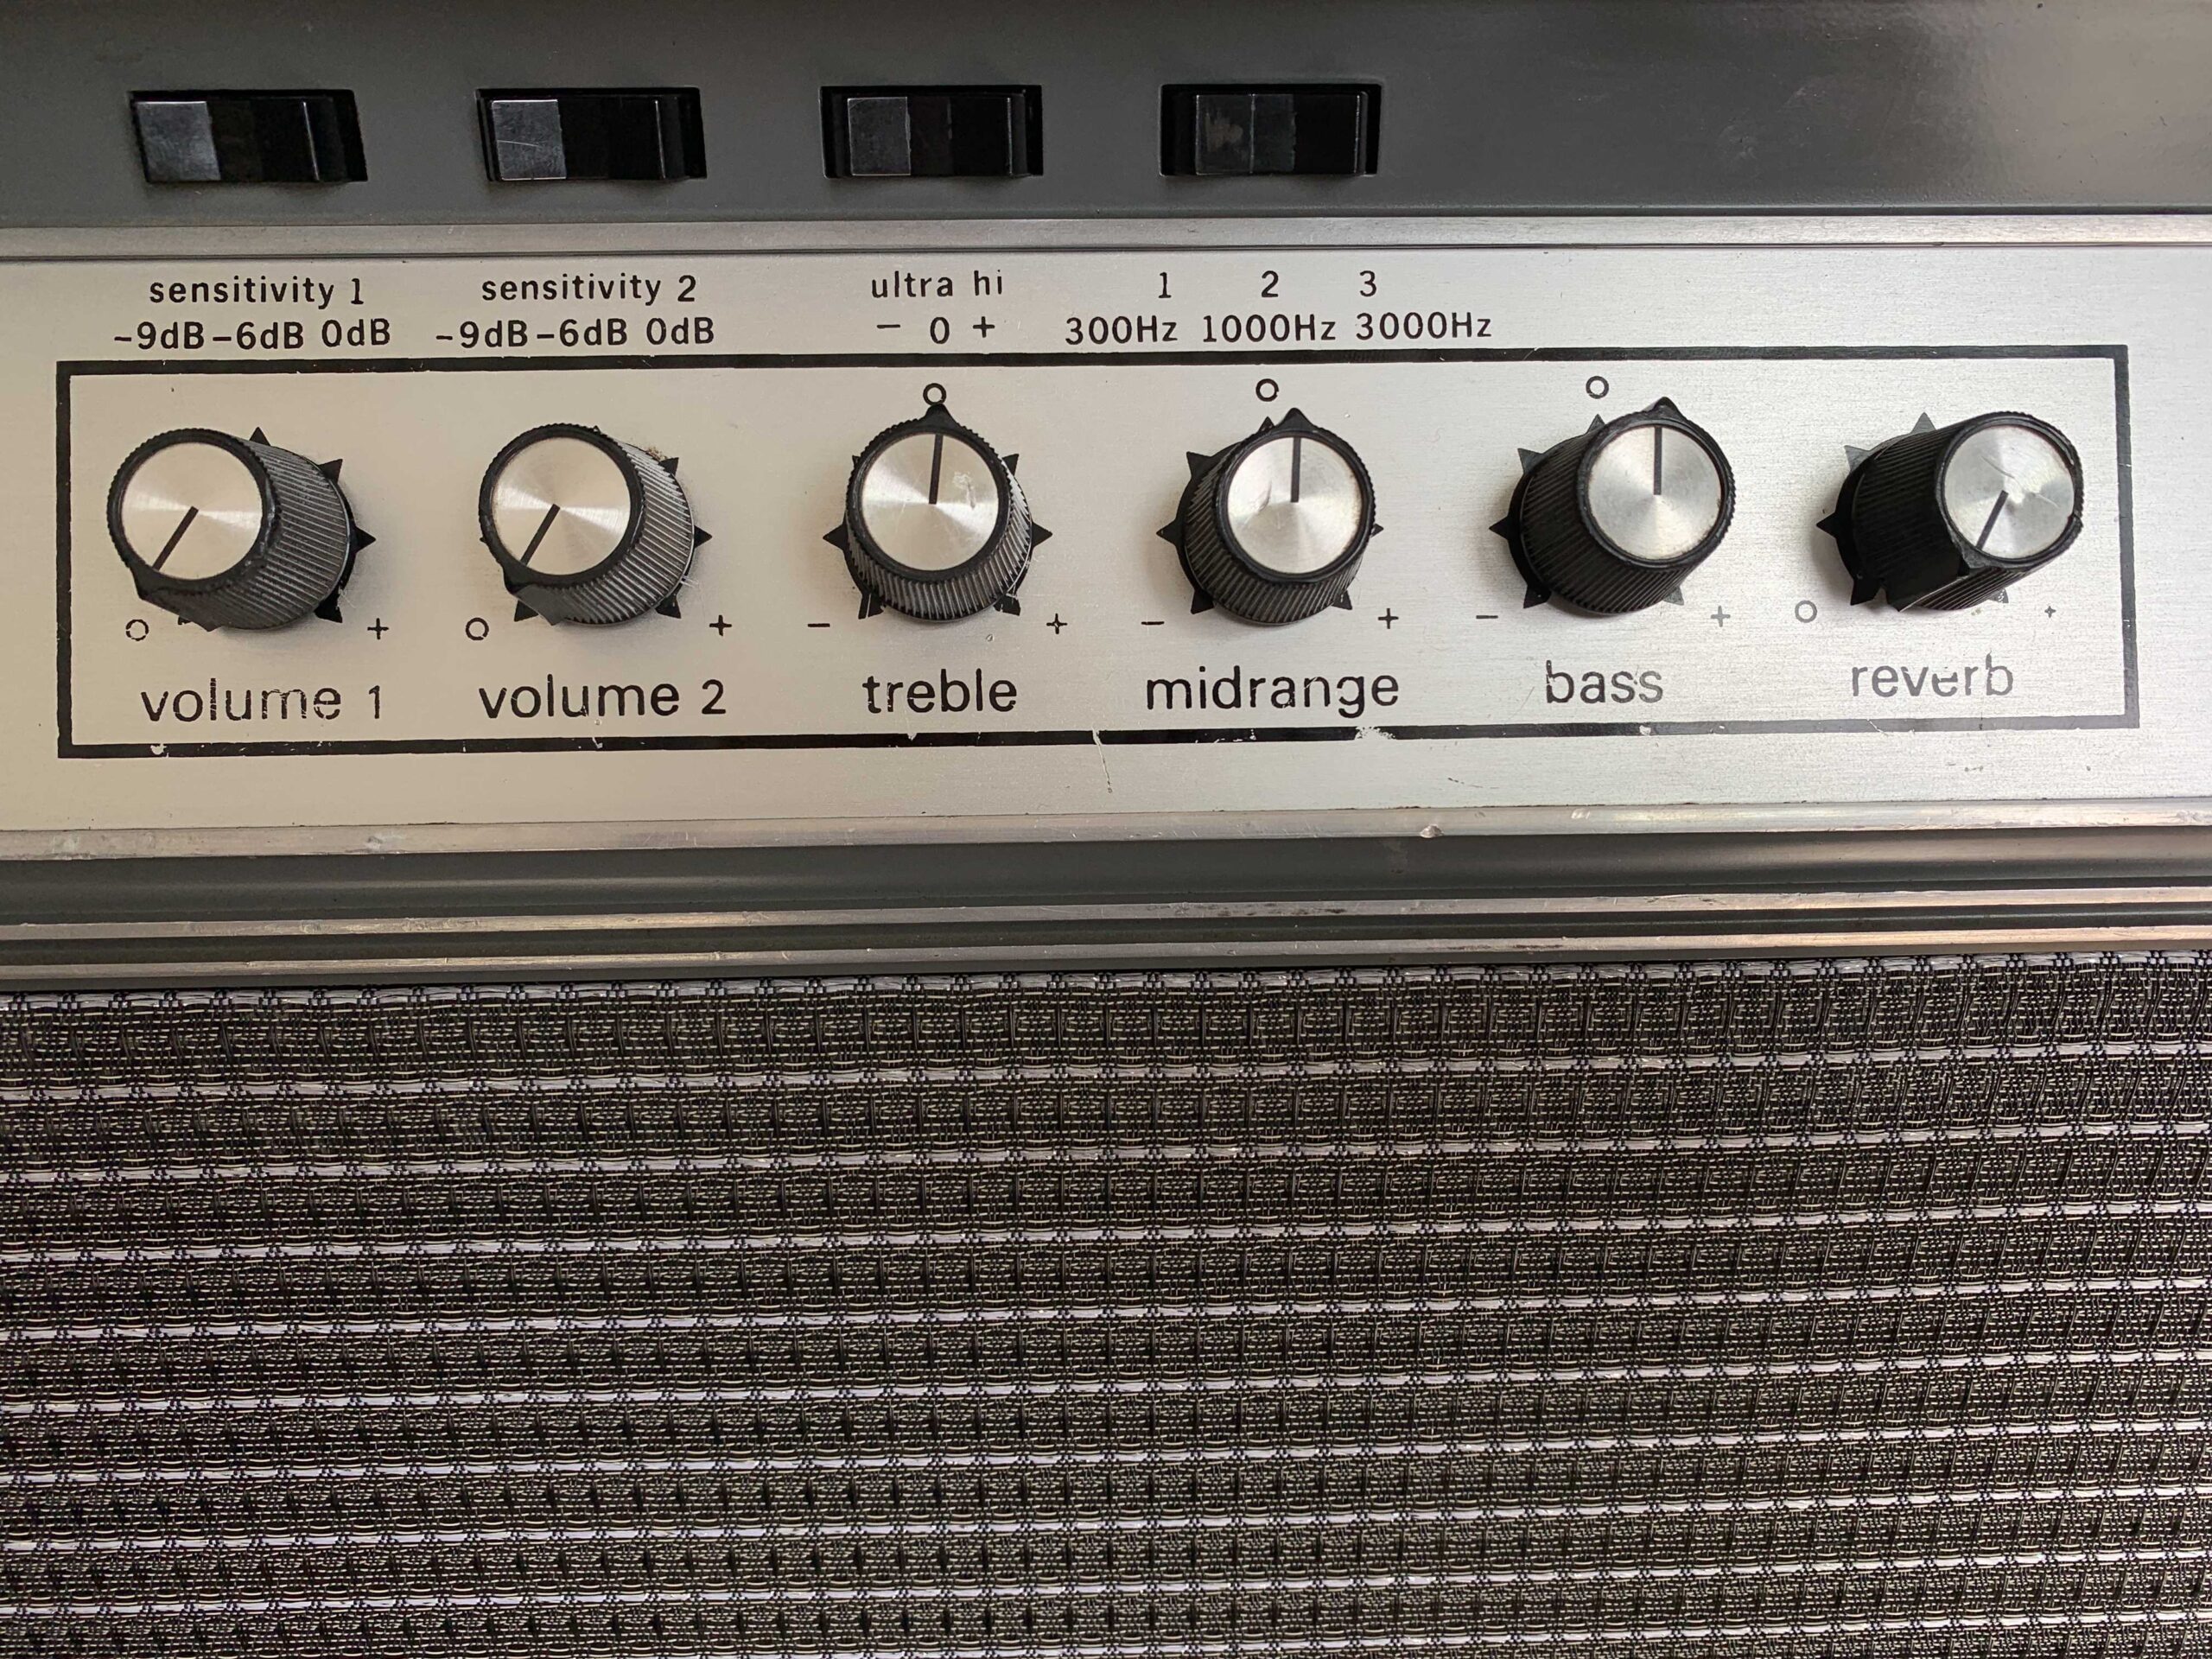
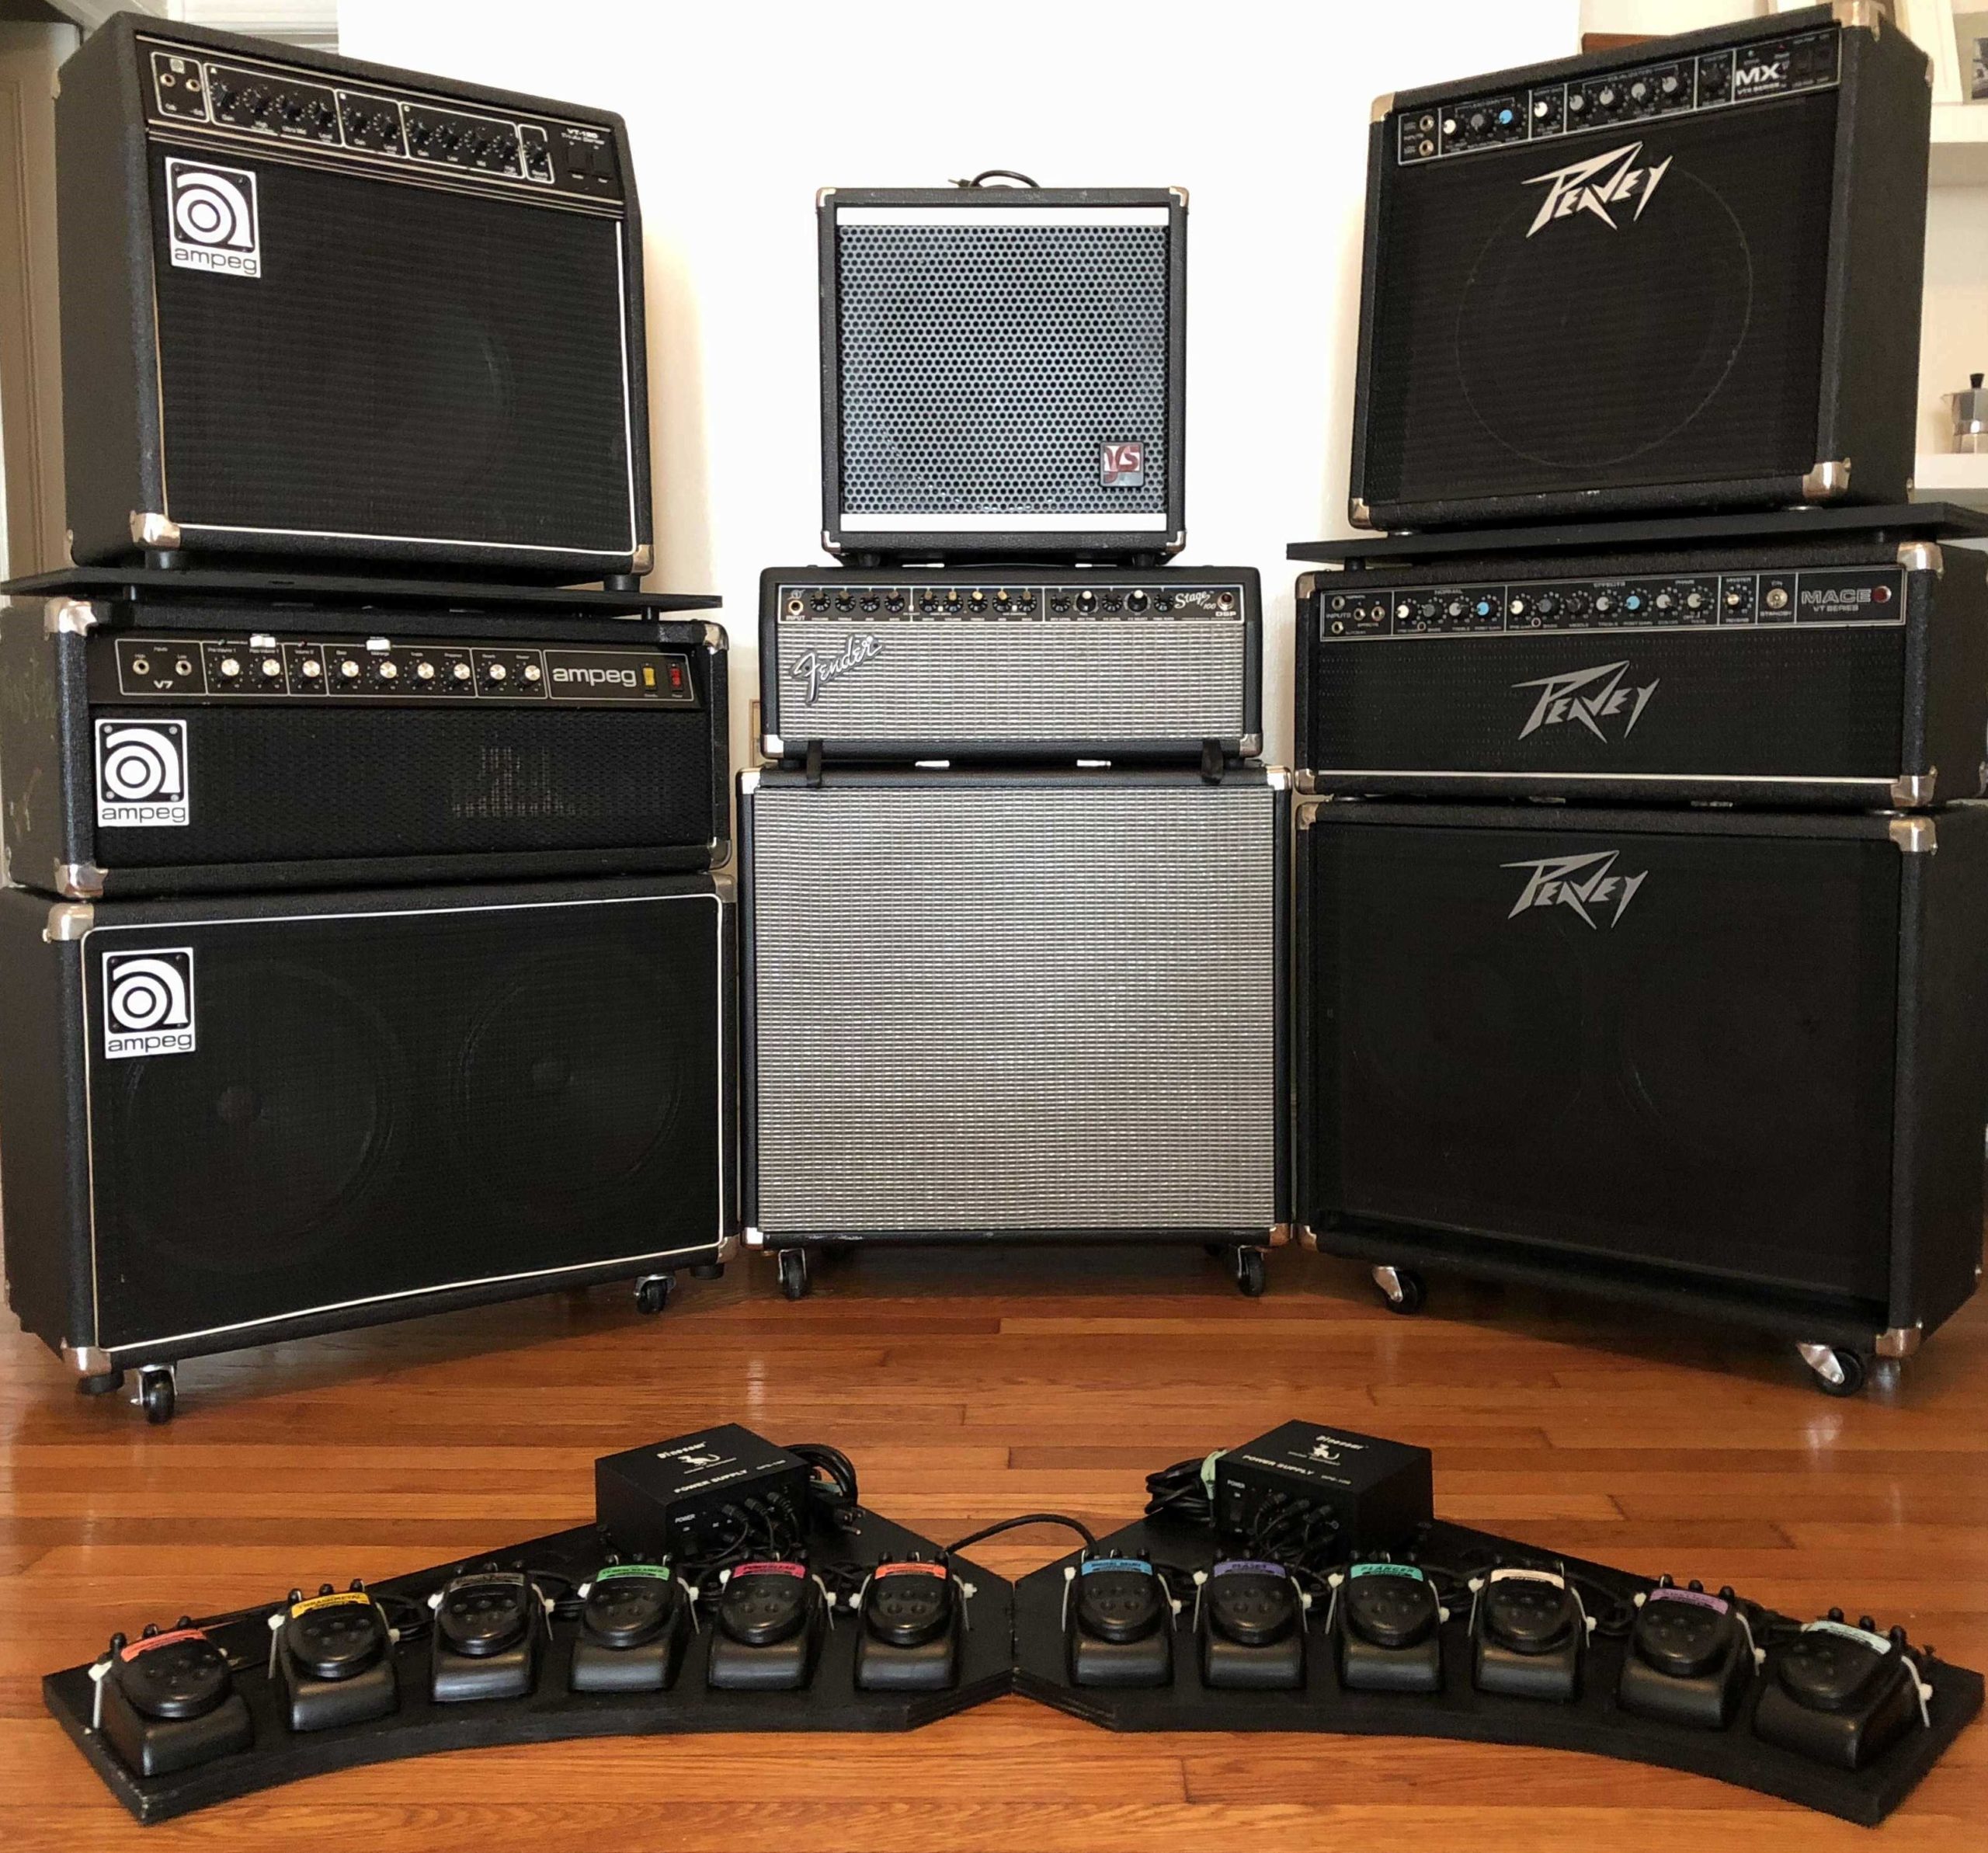
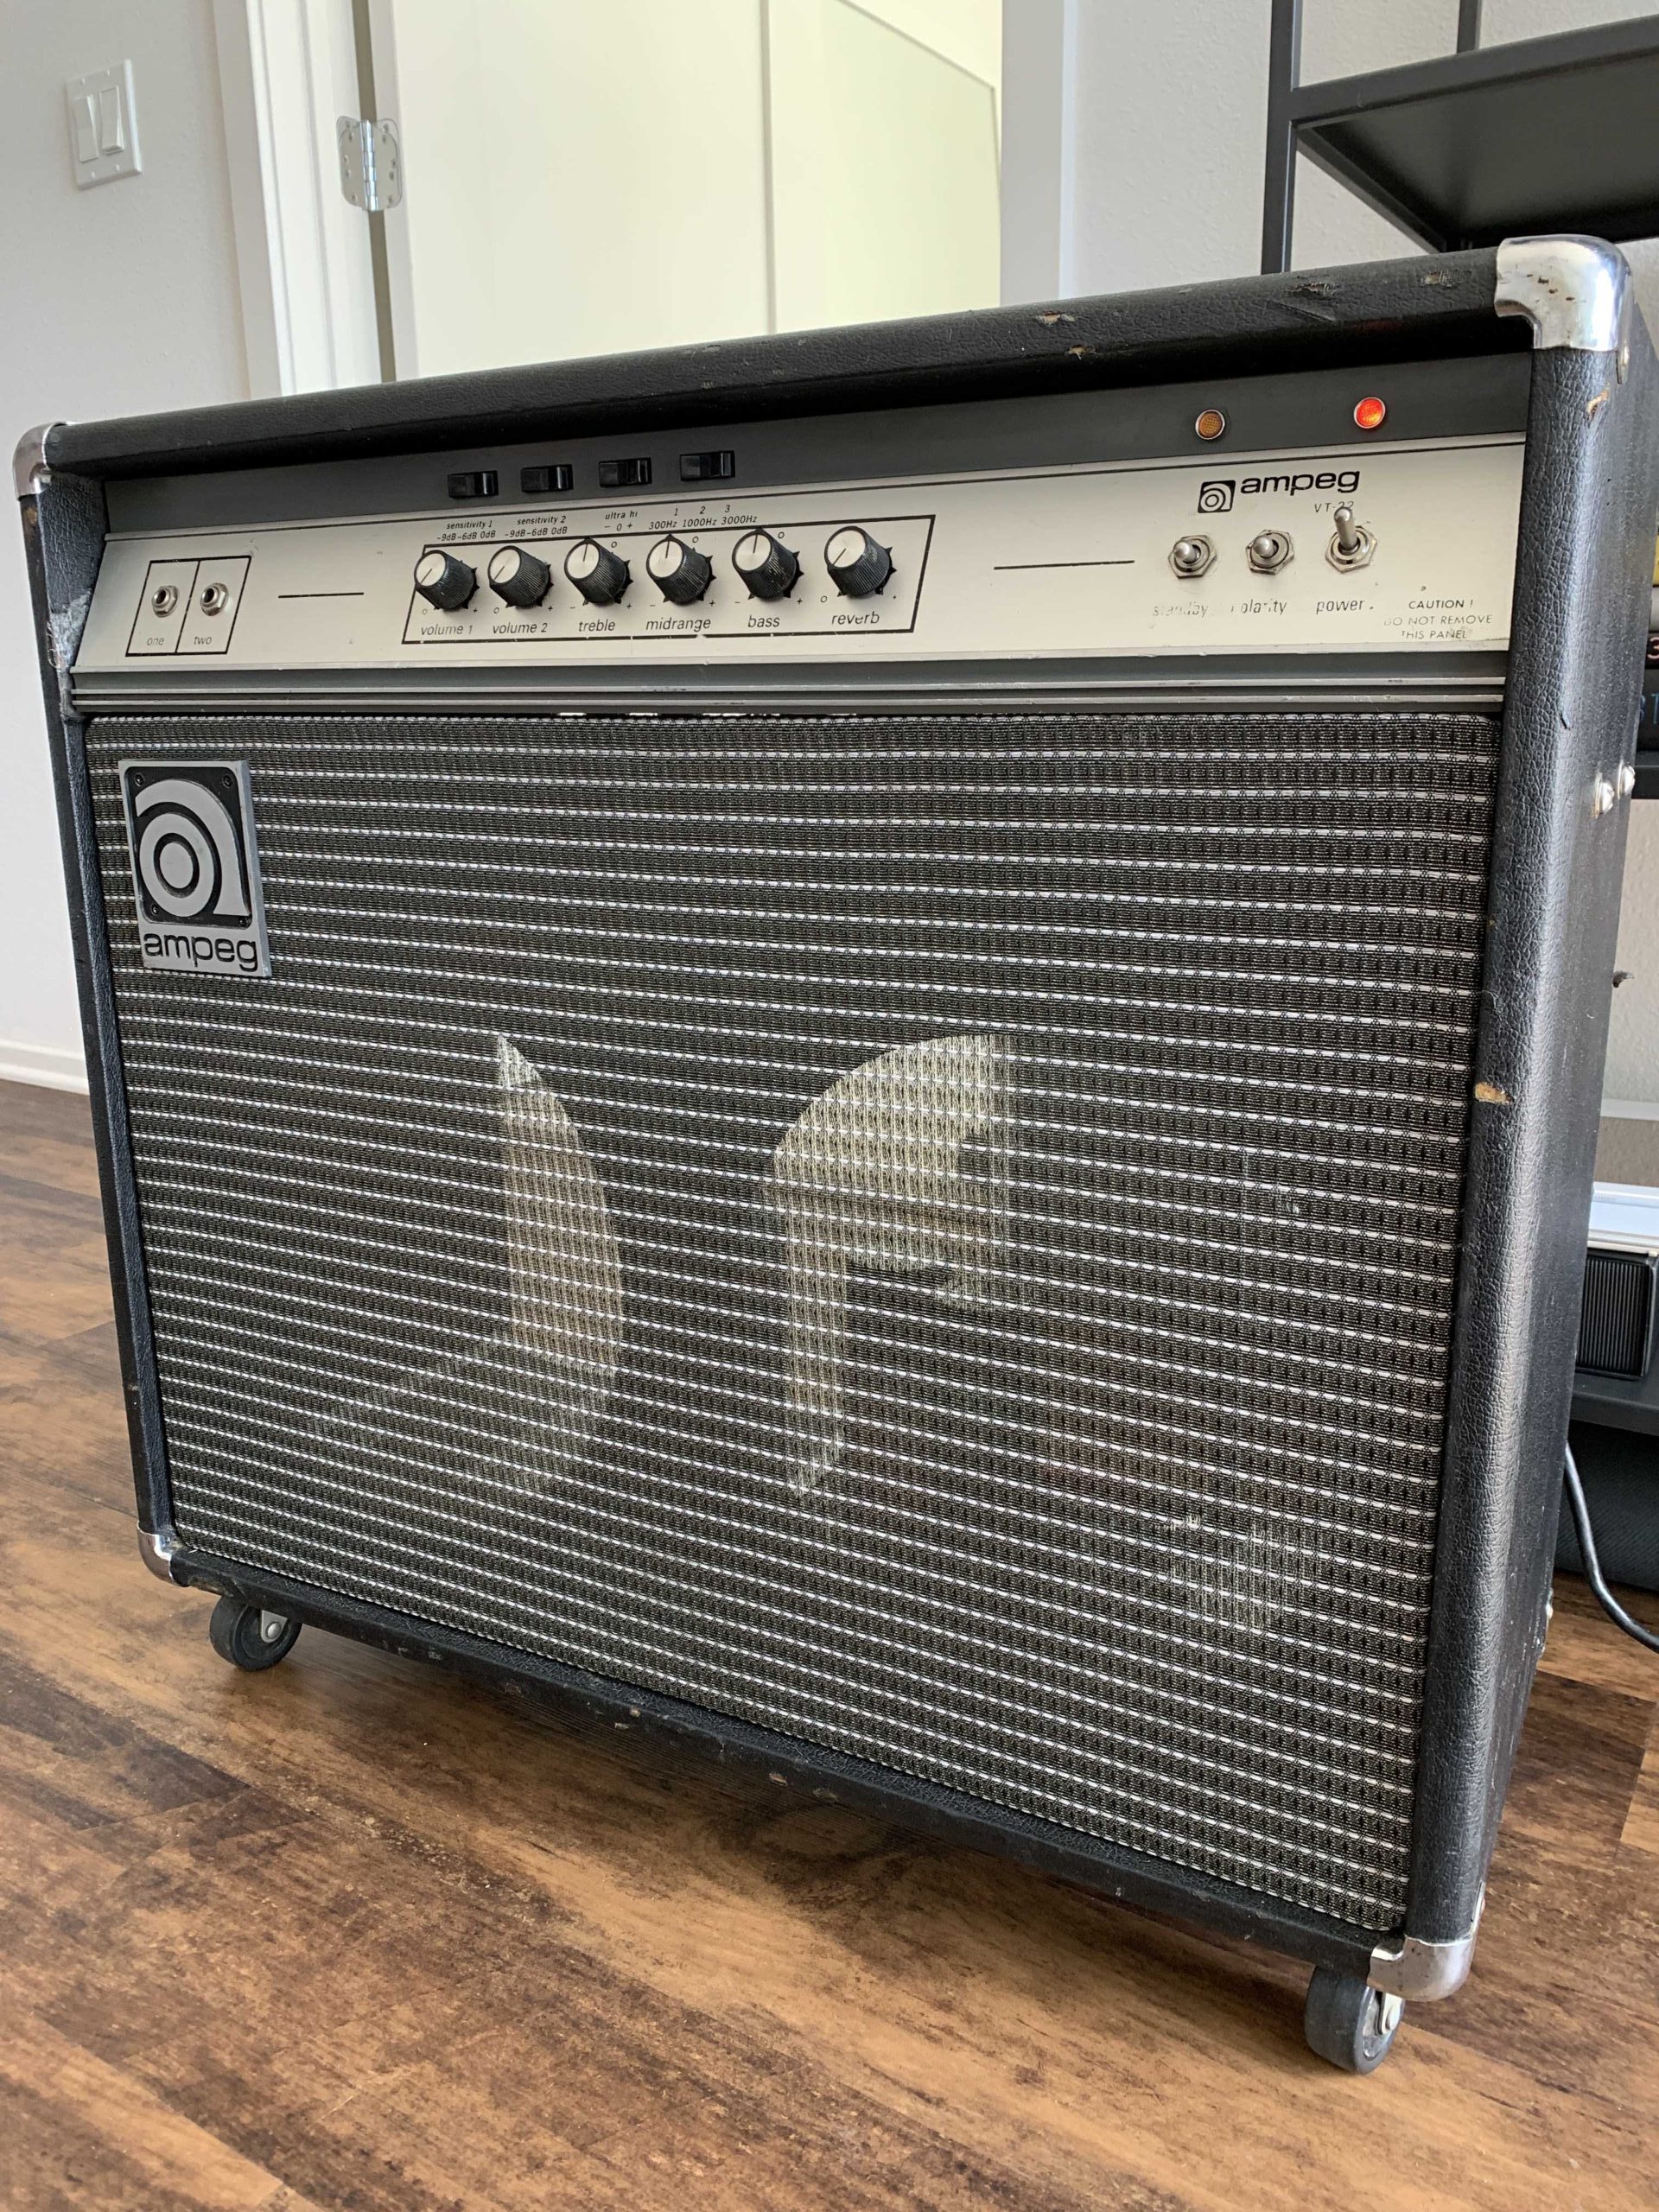
I am glad I fully opened up the amp, when I was at this stage I sprayed all the pots with fader lubricant/cleaner and used deoxidizer on all the connections. So after the amplifier was re-assembled I plugged in the unit and tested for functionality. I lifted the ground switch to reduce noise since the power plug does not have a ground plug. This amp is ridiculously loud and has the ability to sculpt any clean to mildly distorted guitar sound possible. Although there are only a few knobs for adjustment, the switches allow you to grab the correct range for your preference. The channels 1 (clean) and 2 (distortion) are blend-able and you can even send two signals in at once. This is not a stereo amp but it is very flexible and unique. I would have to say, the reverb is lush and overall I fell in love with this amp’s unique rich sound. This amp falls into that category of higher voltage plate amp and really seems alive when powered on, worth every penny in the used market. Best of all, when seeking these type of projects the gear is well documented, discussed and parts are readily available. Unlike my last project an Ampeg VT-120, the push pull pots are difficult to find and the amp guts are way over crowded. Here are some finished refurbished pictures and below you will find all the manuals plus ads I have collected.

Alesis Nano Modules

So apparently there has been a lot of buzz around these modules lately. I fully remember when they came out and no one cared back in 1997. This was the same year Antares launched Auto-Tune. In my opinion, other full rack mount units back then were pretty awesome comparatively and that was the better choice. Small is in now and the sounds within these units are usable. If you want them in a rack, you wont have that flush rack mount look but can fit three side by side. I believe they will have to be adhered to a rack or you can drill custom holes in through a 1u shelf. They were really geared for the small desk user that probably had a USB audio box interface. If I order a few for testing or modification I will open them up and post. Below is the compiled resource for quick reference.

Deluxe Electric Mistress

Well, I’ve had and tried a few of these through the years. Hands down of my favorite pedal in terms of diversity. Be warned though not all versions perform the same. And yes that is the case with many component parts from different periods. High quality parts are still being manufactured today but some combinations seem to provide a unique magic. This post is just to be quick and tell you my favorite version, why and link to all the information I have in my folder. Below you will find some real useful guides and photos by Ralf Metzger. His site is www.metzgerralf.de and the links on deluxe electric mistress versions below are his, thanks Ralf.


Version Prod. Range Identifying Feature
V1 1978 – 1980 Two conductor power cord without earth ground*
V2 1980 – 1981 Two conductor power cord without earth ground *
V3 1981 – 1984 green printing
V4 2002 – 200? “Sandpaper” surface backplate, missing i-dot on most of the models, but not all
three conductor power cord with earth ground *
V5 200? – today 24 V adapter – no main power cord,
“Sandpaper” surface backplate

My favorite version is the V4 Deluxe Electric Mistress. While the older versions have a fatter tone on guitar I was looking for a strong mid-range to high tone. The V4 version offers a nice pocket of adjustment thus delivering an organic natural sound for guitar picking and rhythm. The V5 is too bright and tin sounding. I bet the older versions would be cool for synths.  Take the time to adjust the pots inside. You will be surprised to see how they react and give you what you need. Take a few photos before you do so.


Hunting for Used Rack Gear to Enhance your Setup

Right now many people are uploading their rack gear for sale. To be honest it’s heavy it takes up space and much of it is old and many not high end grade. So you ask why would I mess with it? Well bargain hunters and repair diy people can make it bring a whole lot more for less money. Below you will find some example I was using to bring more to my keyboards, samplers and alternative track takes. Here I created two separate rack cases, one primarily for reverb/effects and the other to lift, sculpt and project my final results. I added a patch to the effects rack so I can quickly play with different settings outputting to my mixer channel aux. The other rack I added to my mixer main inserts for final gloss and lift but did also route it through a patch bay. The tube amp was used for powering my audio main monitors. Other than the tube amp most of these I bought cheap and or broken. They made fun projects to restore and most of the repairs were simple fixes. The key to picking easy fixes is not always straight forward. I collect a lot of spare parts and that always helps. I used to pull broken gear out of the graveyard all the time. Even if it doesn’t work there’s always parts on it that still does so save or sell.

Vintage Wall of Sound (500W Tube + 260W Solid)

Here is a nice pic of my war machine. Believe it or not, in the center a Bloc 100G by Traynor/Yorkville and the Fender Stage 100 DSP head (same as the Fender DSP Stage 160…depending on the ohm load) has plenty to play a stage. Then you have the other tube monsters that were in other posts. All tube Peavey Mace, Peavey MX VTX, Ampeg V-7 & Ampeg VT-120. This is a general showcase pic of some other posts I had made. On the ground is the Ibanez soundtanks.

Peavey 3120 Metal Head

I recently picked up a Peavey 3120 head on craigslist for a great price. This head 3120—a name that is based on the amp’s specifications of three channels and 120 watts of power is a great diverse head. I paired this with the Peavey 212-6 cabinet. I am able to get rich clean sounds to all the way max kill distortion. Totally underrated and super powerful head, I was surprised. Maybe the name threw people off since it’s a lower number than the 5150 or 6505. Lower numbers in this case don’t mean less. What a great pair with the 212-6 cabinet, because of the lower power rating I get great clipping but totally can blow up this cabinet if not careful. I wish I could have added the Invective cabinet but it costs a fortune. I contacted Peavey parts and got the matching Metal head plate to add to the cabinet, very cool and will post a pic later. Here is a peek inside, nice clean layout and quality parts, solid construction, both the head and cabinet.

Below are some vintage Ad’s for the Peavey 3130 Guitar Tube Amplifier.

Keyboard Lights

If you would like to maintain a nice atmosphere in your keyboard room while having the lights out or ambient lighting in place try this easy add. In most dollar stores or online you can find these battery operated led lights. They have magnetic backs and led intensity slide adjusters on them. For older keyboard as in this example the keyboard chassis are made of metal. I just stuck one under each keyboard to provide a quick light to see the keys for performance in a multi-keyboard rack.

Carvin Quad X-Amp Guitar Preamp

I have now had a chance to dive into the Carvin Quad X. I have provided some photos I noticed that no one has been showing, that elusive bottom board. The unit I picked up had alot of scratchy pots. They are all coming from the cheap pots on the bottom board. I disassembled the entire unit and cleaned all the connections and pots. This helped dramatically but ultimately I would like to replace all the pots on the bottom board. After I do that the unit is ready for another 15 yrs. or so. From what I have read it is a common problem on this amp.
I connected this pre-amp into a Marshall stack right into it’s input. I kept all the setting on the amp neutral but ideally I wish I could have tested this on a plain stereo tube amp. So my first take was quite disastrous. I had a very hard time getting the sound to be fat crisp and properly distorted. I didn’t want to give up on this pre-amp. I removed the unit and tried just guitar and headphones plugged in. Actually this was a great move, it gave me a chance to tweak the knobs such that I can see where all the break points are for the tubes. I found that most of the best settings were when the main volume knobs were between 3-4 or 5-6 and the drives between 6-7 or 7-8. From there I adjusted the stereo out listening for bad distortion (like tonal loss) and lastly the cloaking if using those channels.

Overall I believe I may be able to coax so great sounds out of this preamp. Understanding the sweet spots is really key and not have any external sound influence other than the Quad X. Once dialed in then I would add effects. Please see below for additional documents.

Year and Version

Crown D-75 Power Amplifier

I was on the search for a small 1U reliable power amplifier that I can use to power my audio oscillator. Together I take these 2 units in a small road case and use them on the go to test speakers or speaker cabinets. When you send the sine wave through the speakers 20hz to 20khz in a sweep you can use this to identify issues with the speaker cone, coil or spider. Abnormalities will produce a rattle, hum or distortion. It’s a good check also when buying second hand speakers/cabinets. I didn’t want to spend a lot on this amplifier since it’s only used for testing.
I choose the Crown D-75 because it’s has been an application monitor amplifier standard for many years. Typically used in broadcasting it will serve it’s purpose for my testing setup. I found a real cheap one online that had some issues. After opening I found corroded chokes, a burnt ceramic resistor, missing power switch and a bad audio pot.
This is the version that does not have any labels on the main board so make notes when you open (very carefully) before all the connections pull off of the board. If lost please use the photos for reference or the attached documents.

So a really quick repair, removed all bad chokes and installed new ones (.5mH RF Choke, same as 500uH) Removed any burnt ceramic resistors and replaced with CP-5 Dale 5W .1 10% ceramic. Changed the rotary power switch with a standard toggle, replaced the R101 R201 with a 25K audio level taper pot. This unit is rugged so the main components are solid. Notes: keep in mind there are 2 grounding wire that will need to be de-soldered from each board before you lift. Use a deoxit spray on all connections since the unit is older. The hardest item to find is the RF choke. I bought these on ebay for a reasonable price (see photos).

Captain Crunch Guitar Tube Preamp Prototype

This is a very interesting rebuild project I acquired. It’s is in terrible shape but it is one of a kind. A prototype unit from B. P. Smith Stereo Tube Guitar Preamp. It has three channels and is a nine vacuum tube design built into a stripped out Tapco Intersound enclosure that was gutted and modified for prototyping. The faceplate was drilled/modified and silkscreen over with the brand name “Captain Crunch” 2×3 Stereo Tube Preamp. I remember many years back when I asked a tech wizard what was the ultimate in guitar distortion they told me to hunt for the illusive “Captain Crunch”. Well here it is but no schematics, no information is located anywhere until now. The only similar 9 tube preamp design from this period I could find was the Carvin Quad X but this unit is a circuit board design and not point to point. I am slowly rebuilding the design and tring to mount boards and rewire the unit but I feel like my next purchase will be the Carvin Quad X. I am so curious to see how these two tube hogs hang together in a battle. Captain Crunch utilizes nine vacuum tubes across two main boards. Clean Channel Stereo #1 designed 1-16-91 and #1 Kill Channel Prototype Board. There are loads of vintage components including Black Cats, Mallory’s Caps & Allen Bradley Pots.

This is how the unit arrived at auction before the tear down, what a mess. I documented the wiring but this rebuild is going to take a long time.