Roland PMA-5 Backlight Installation

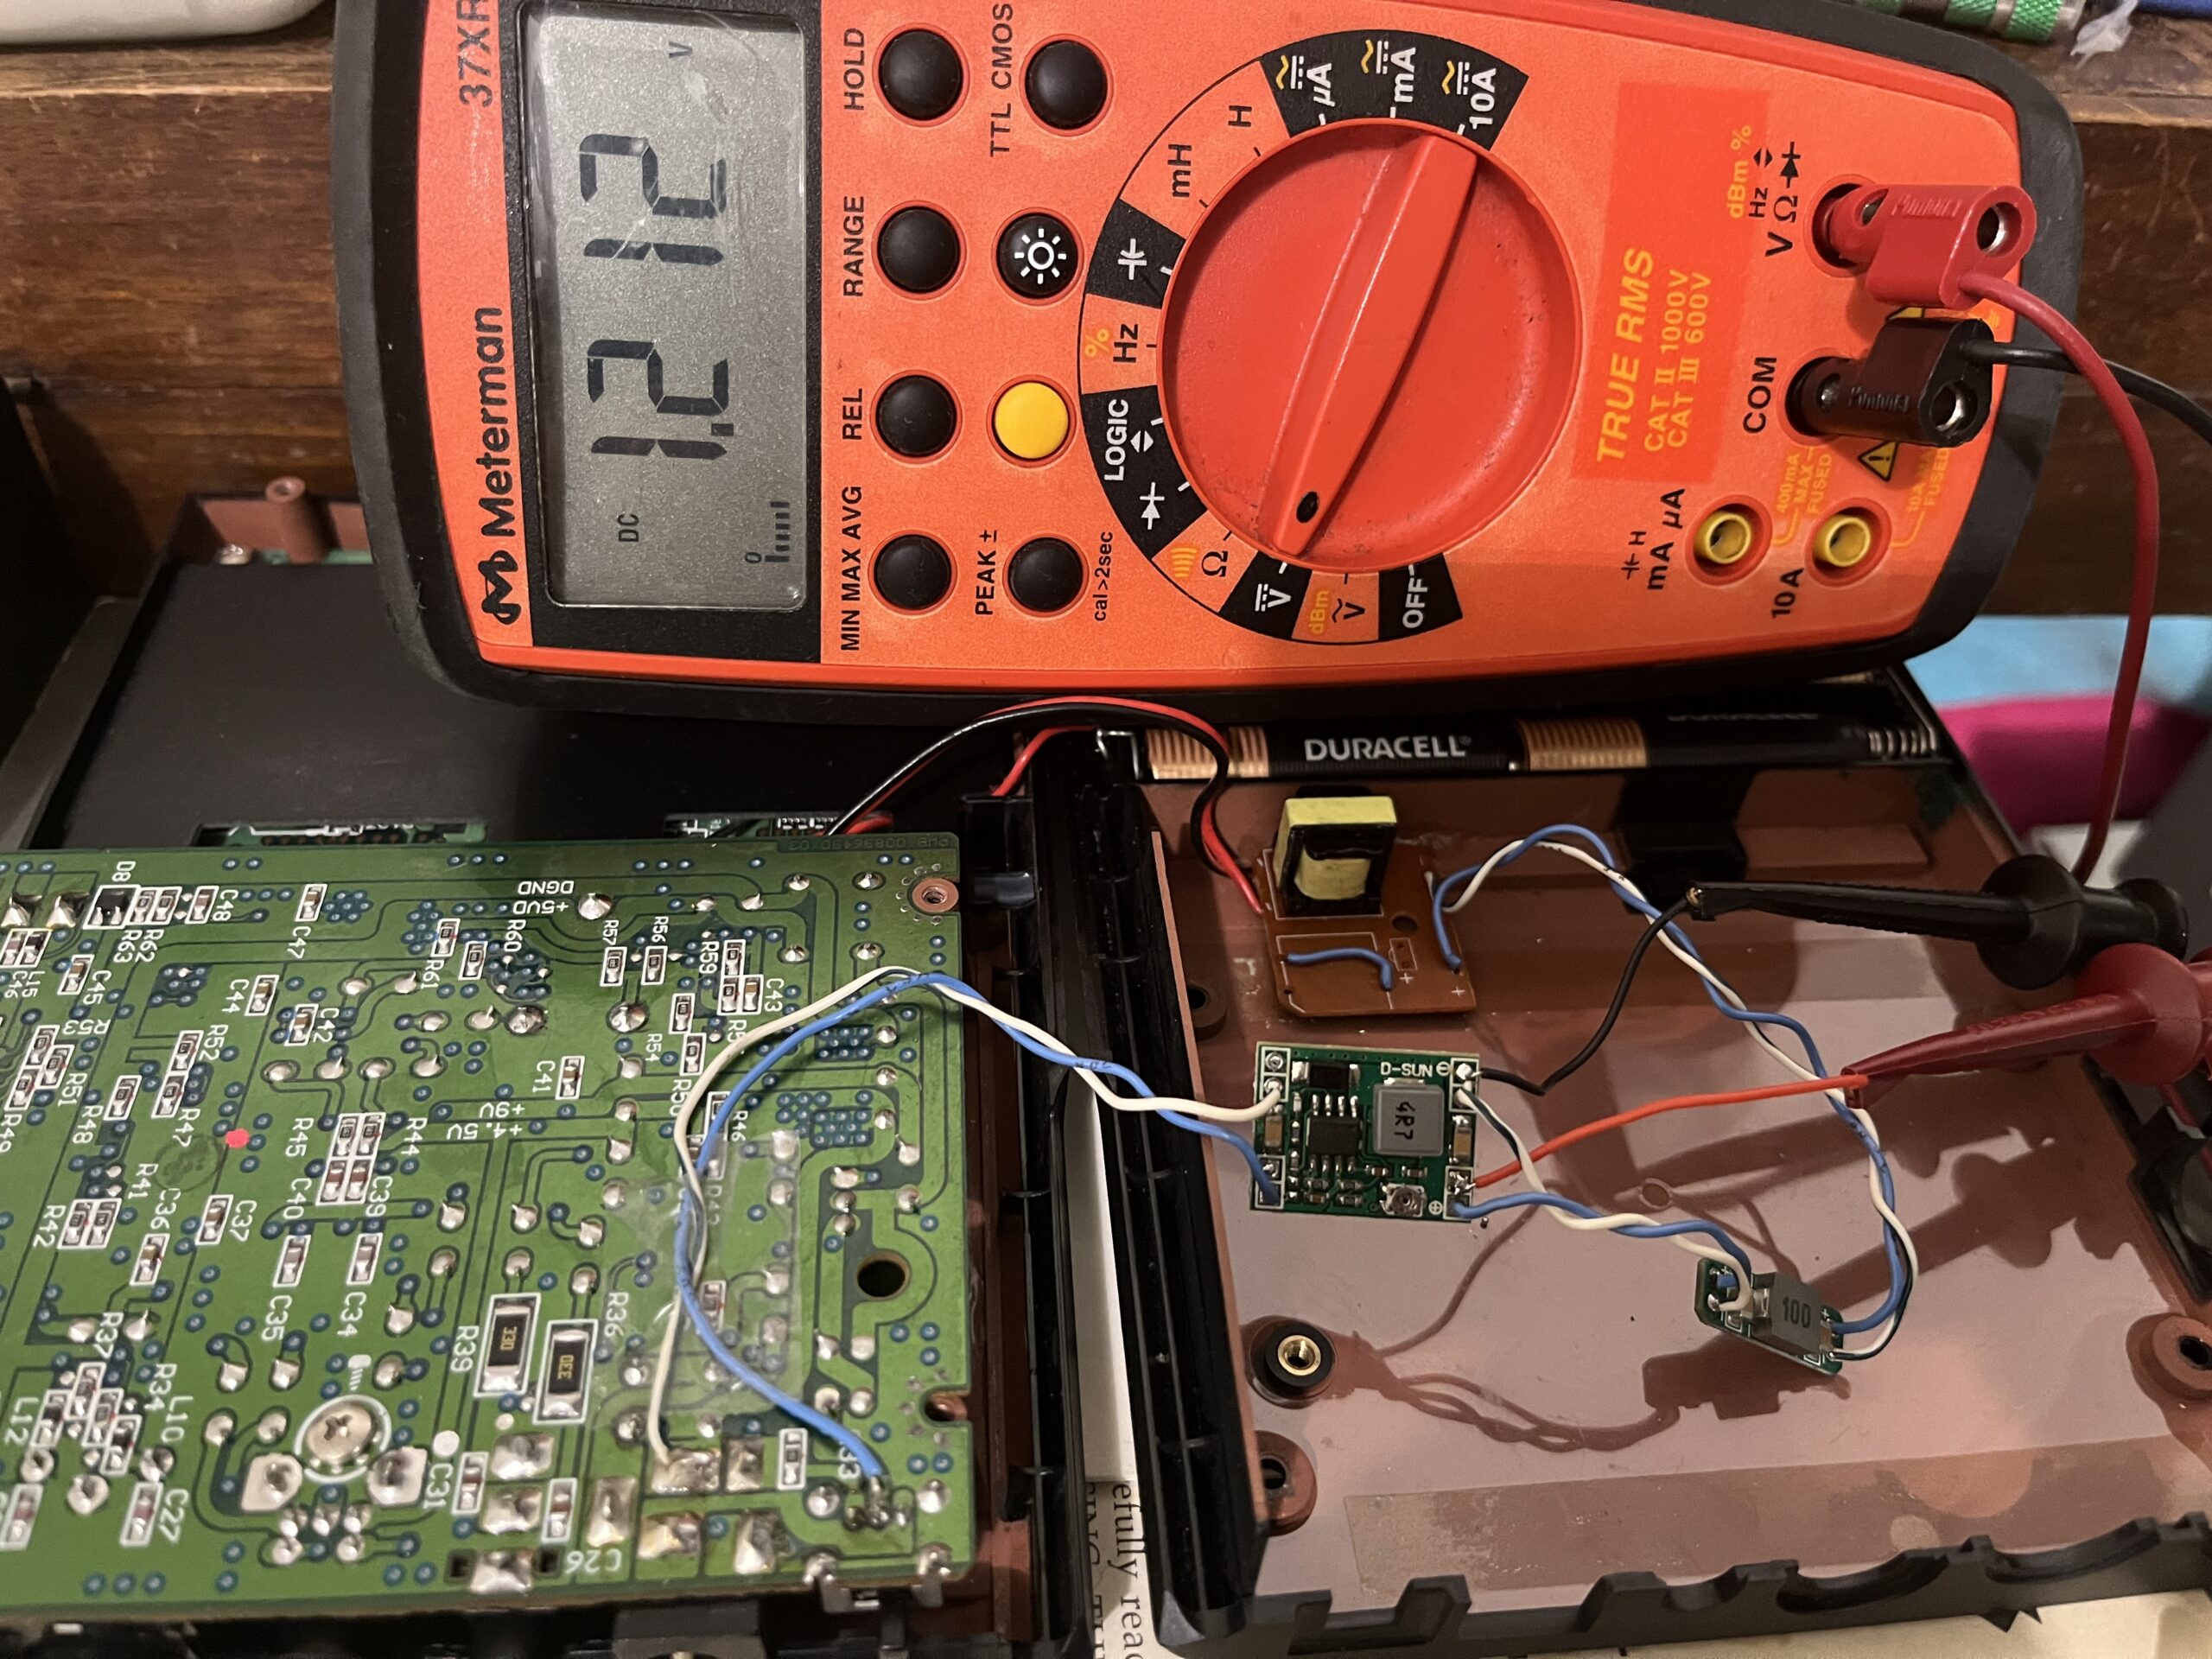
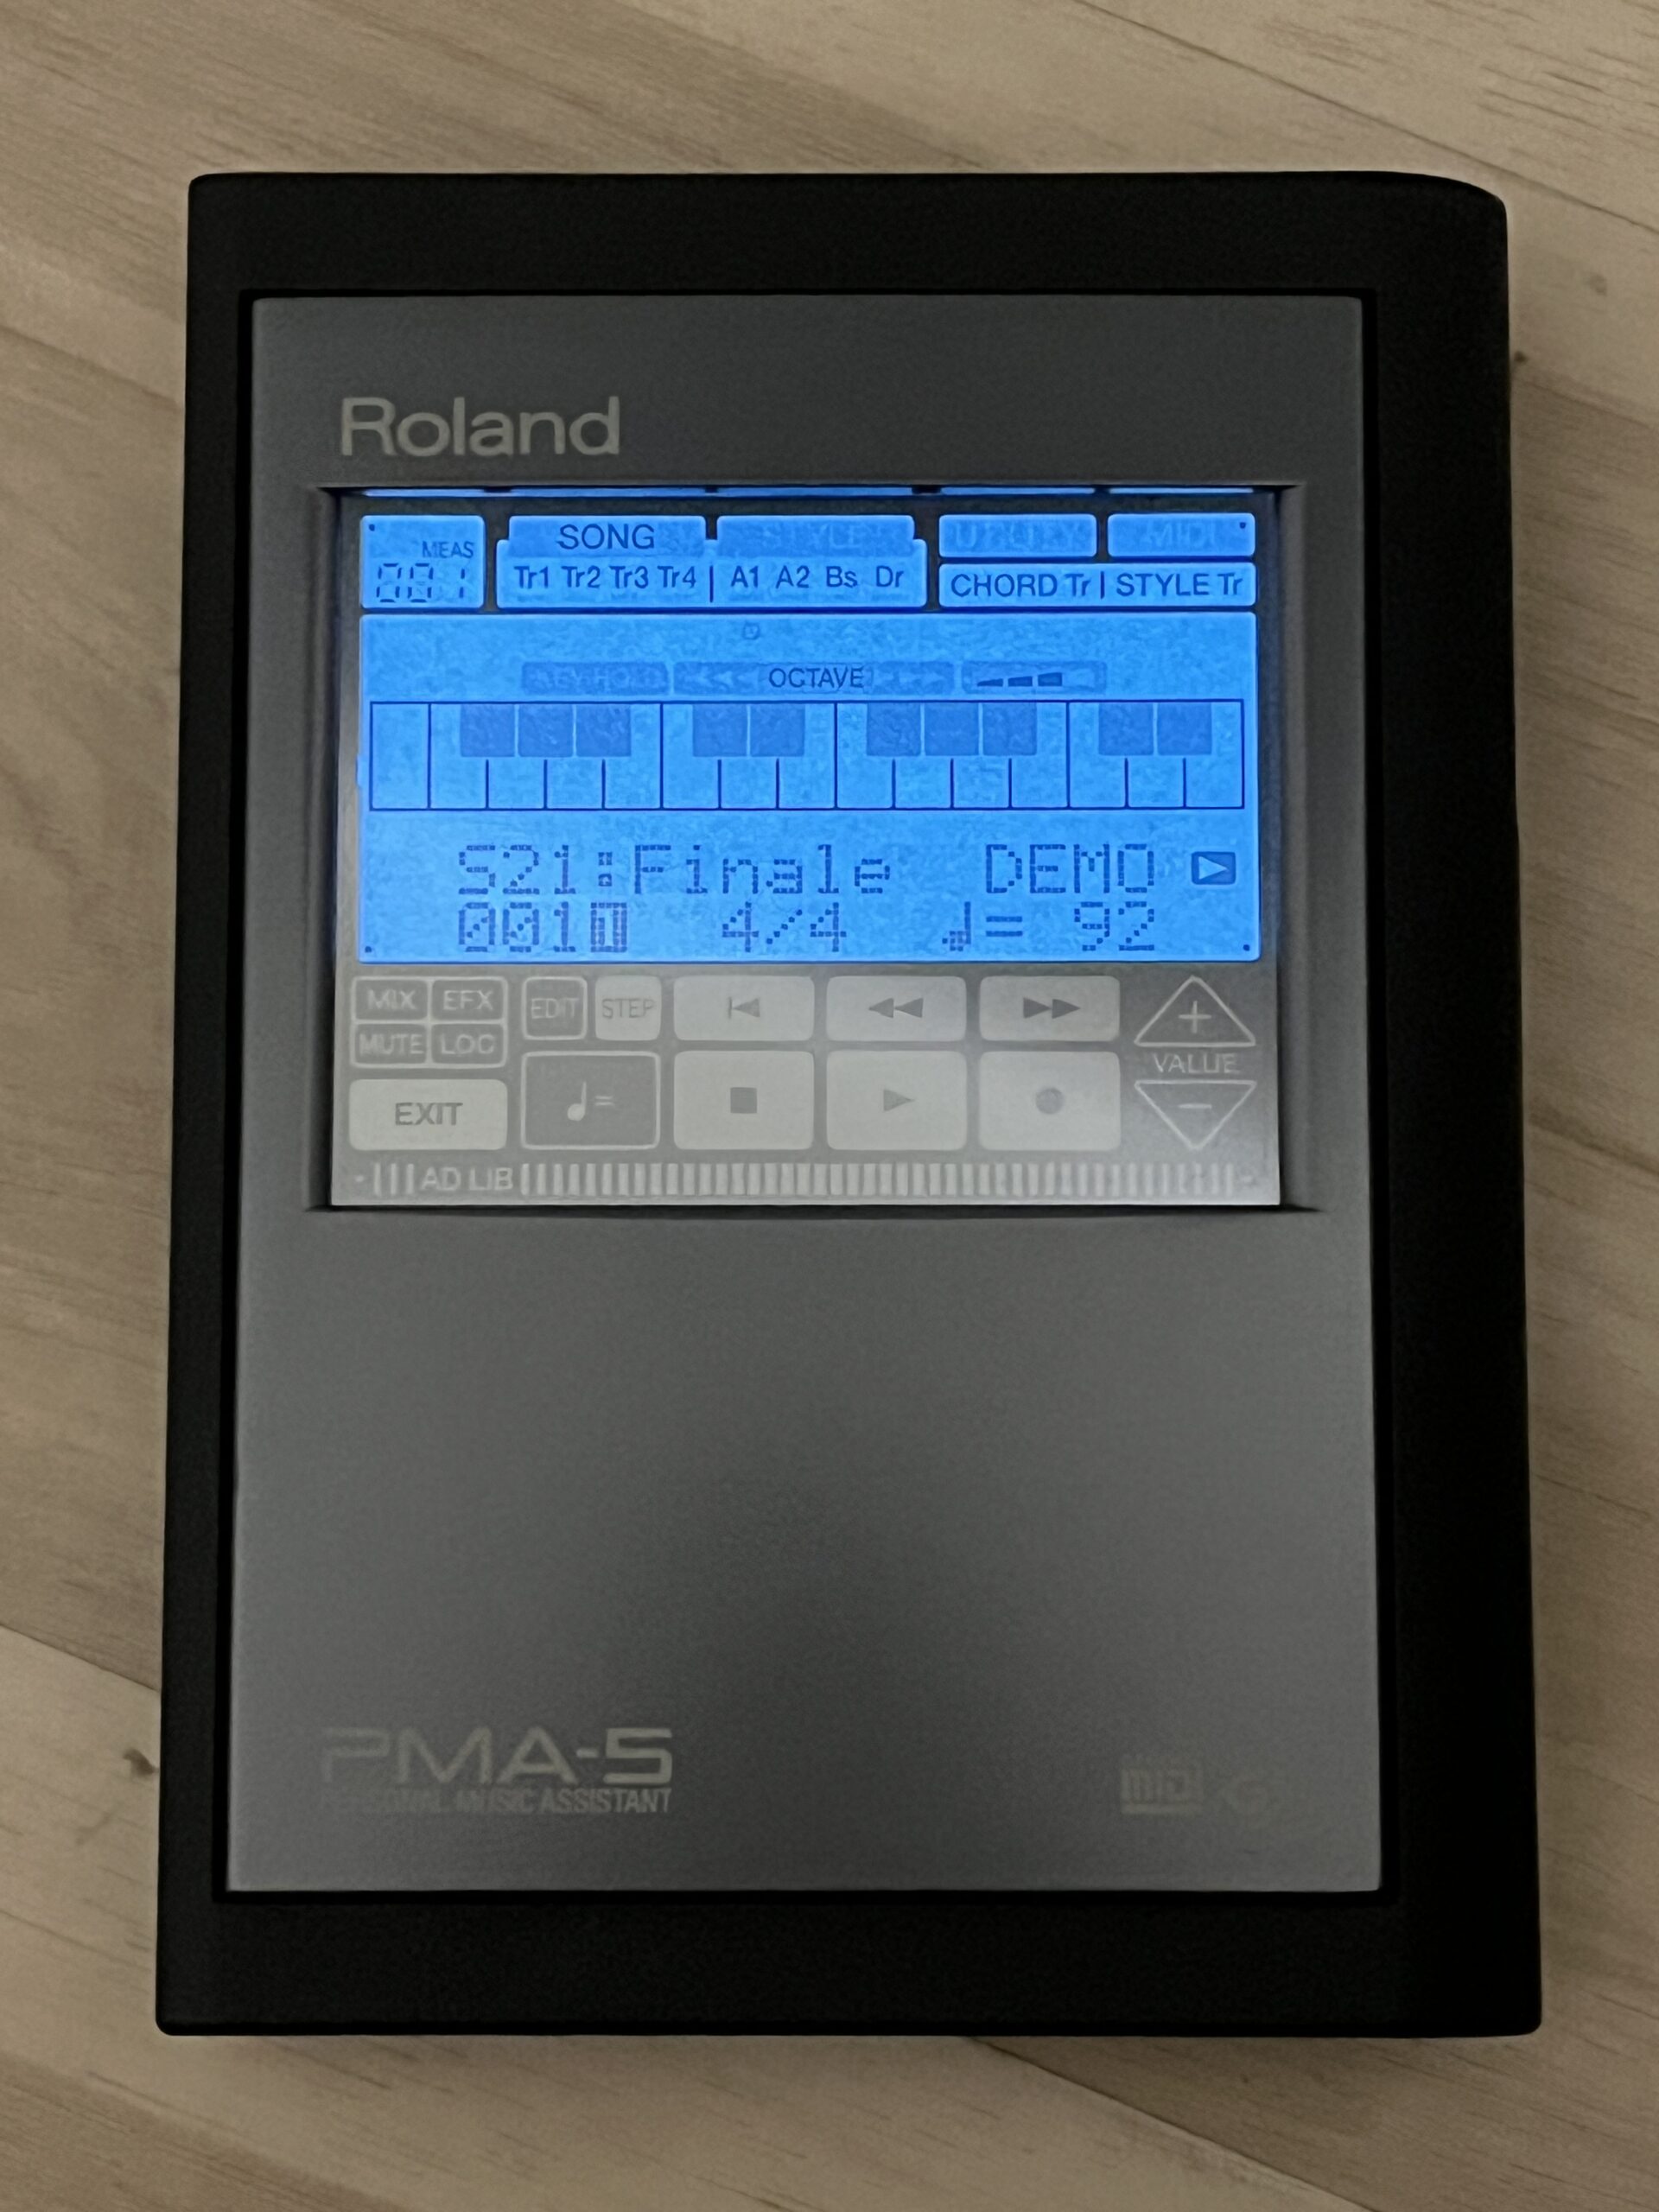
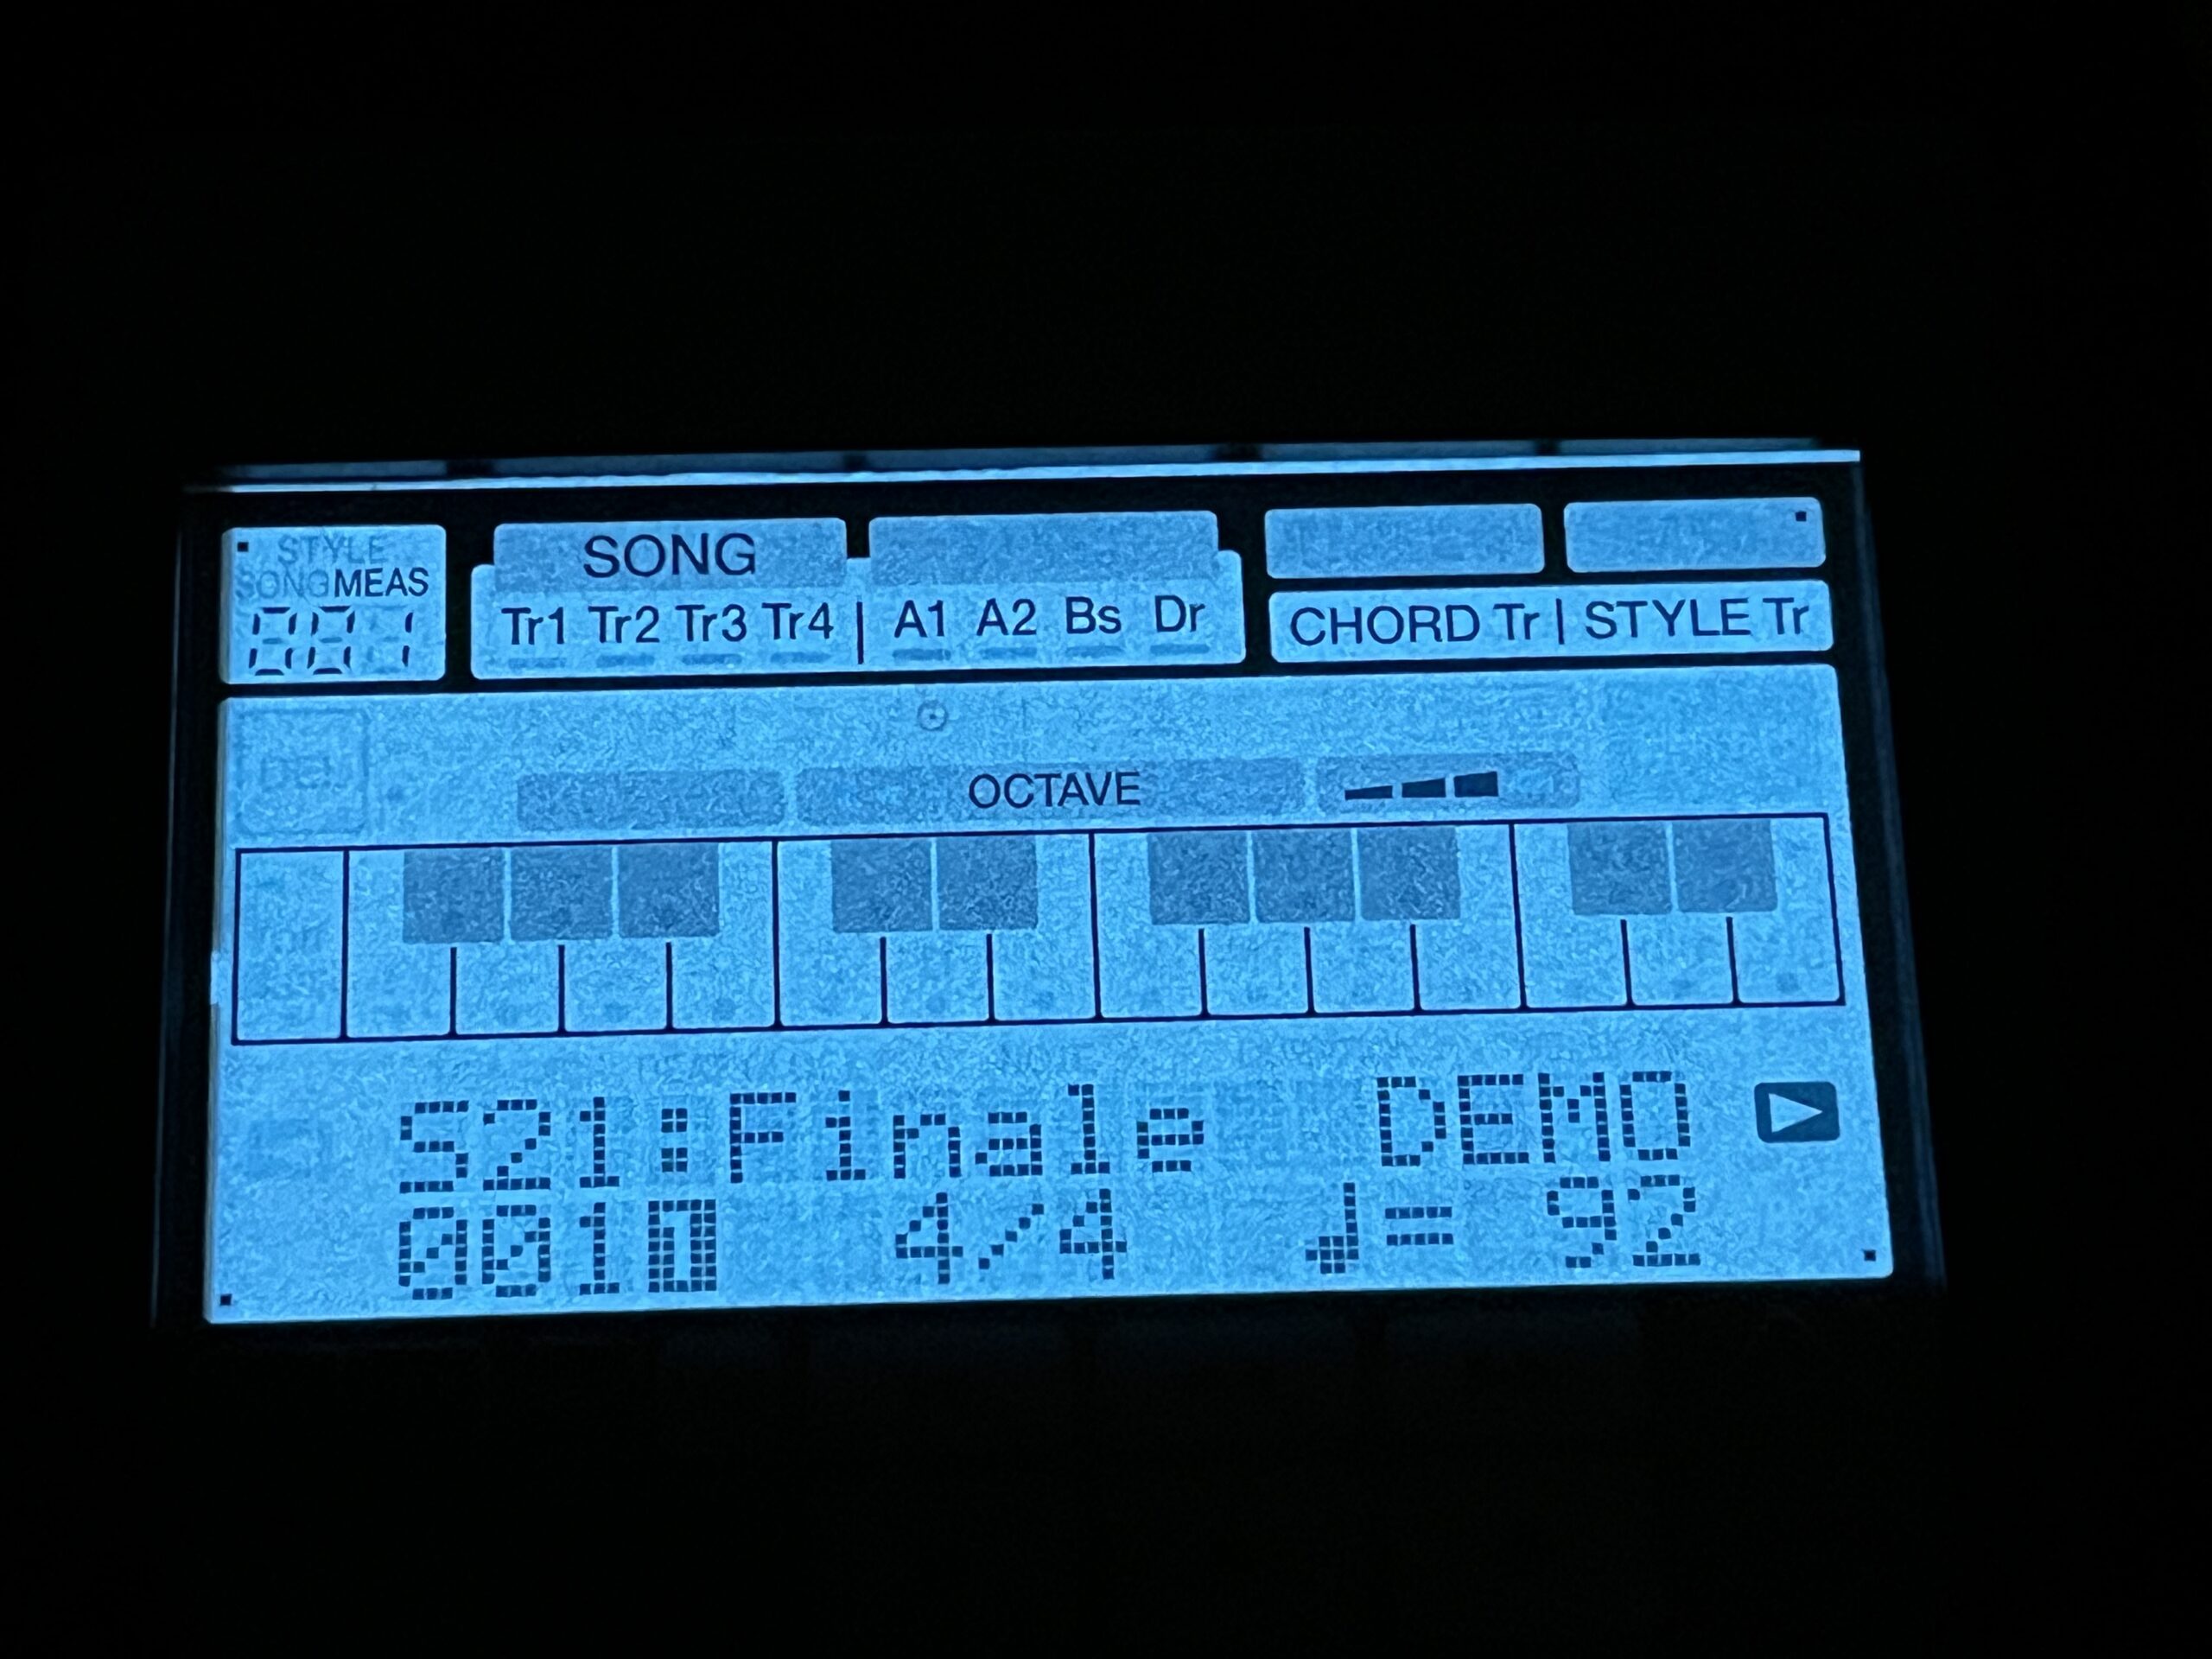
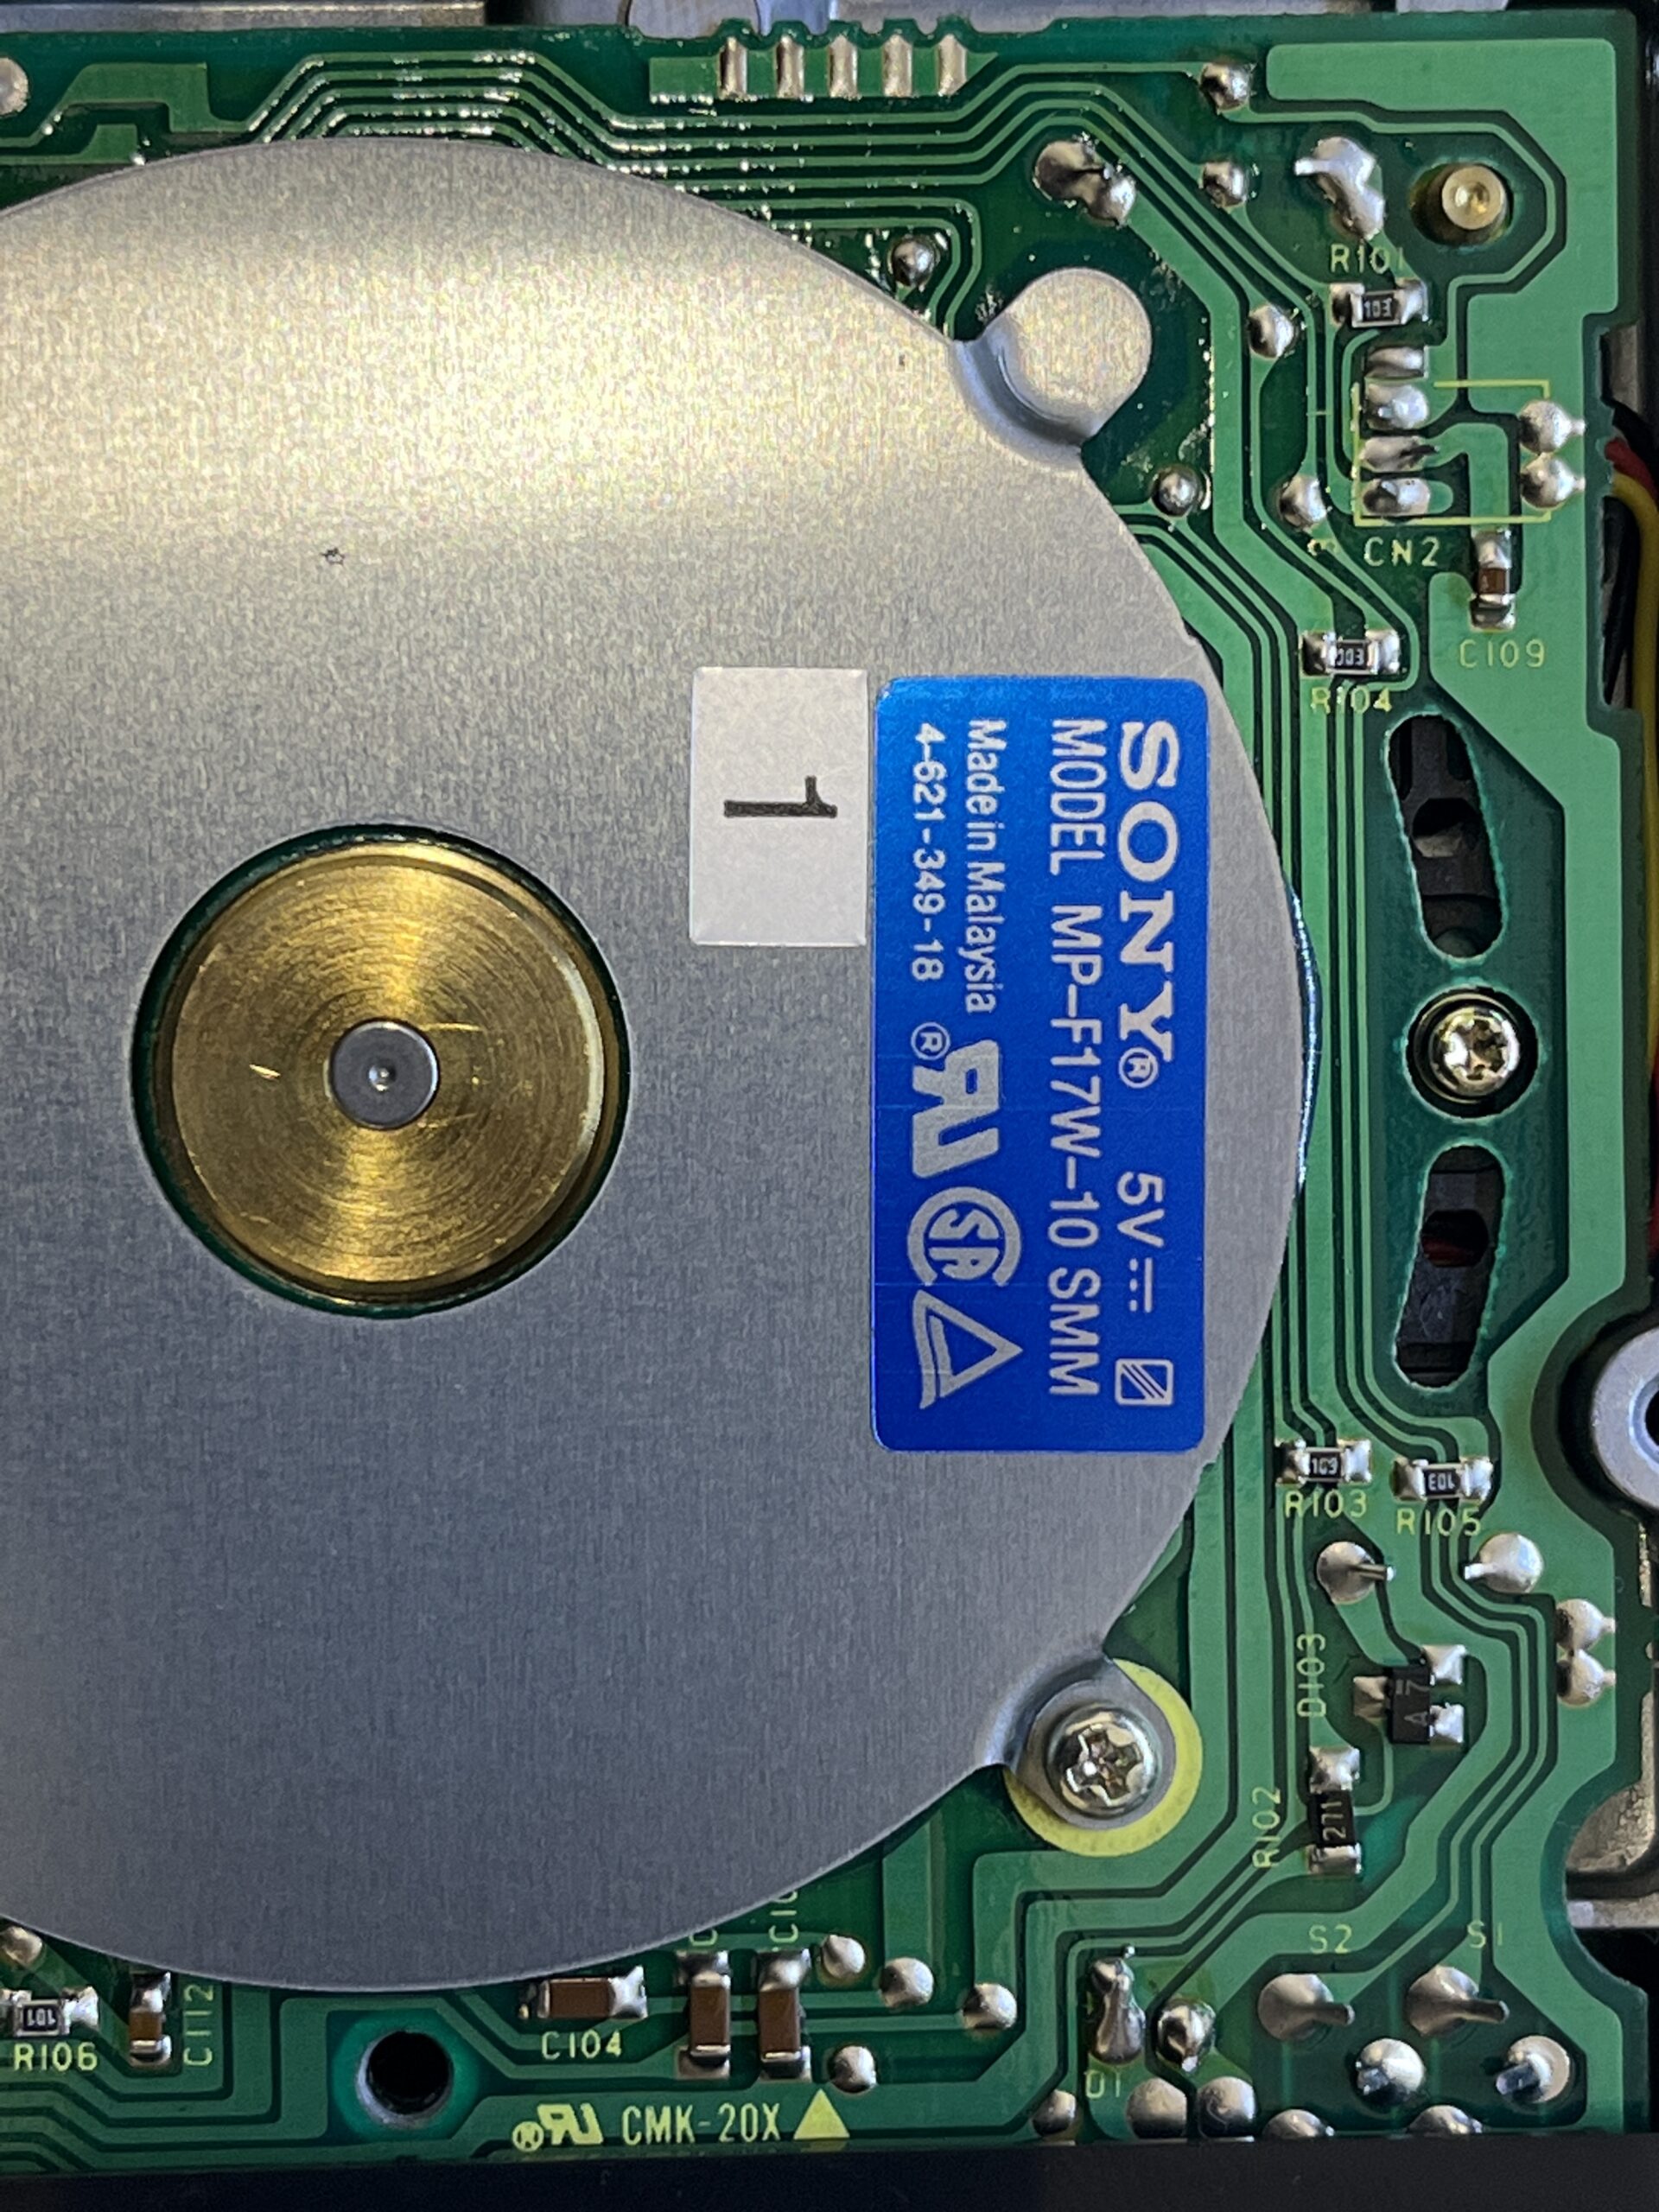
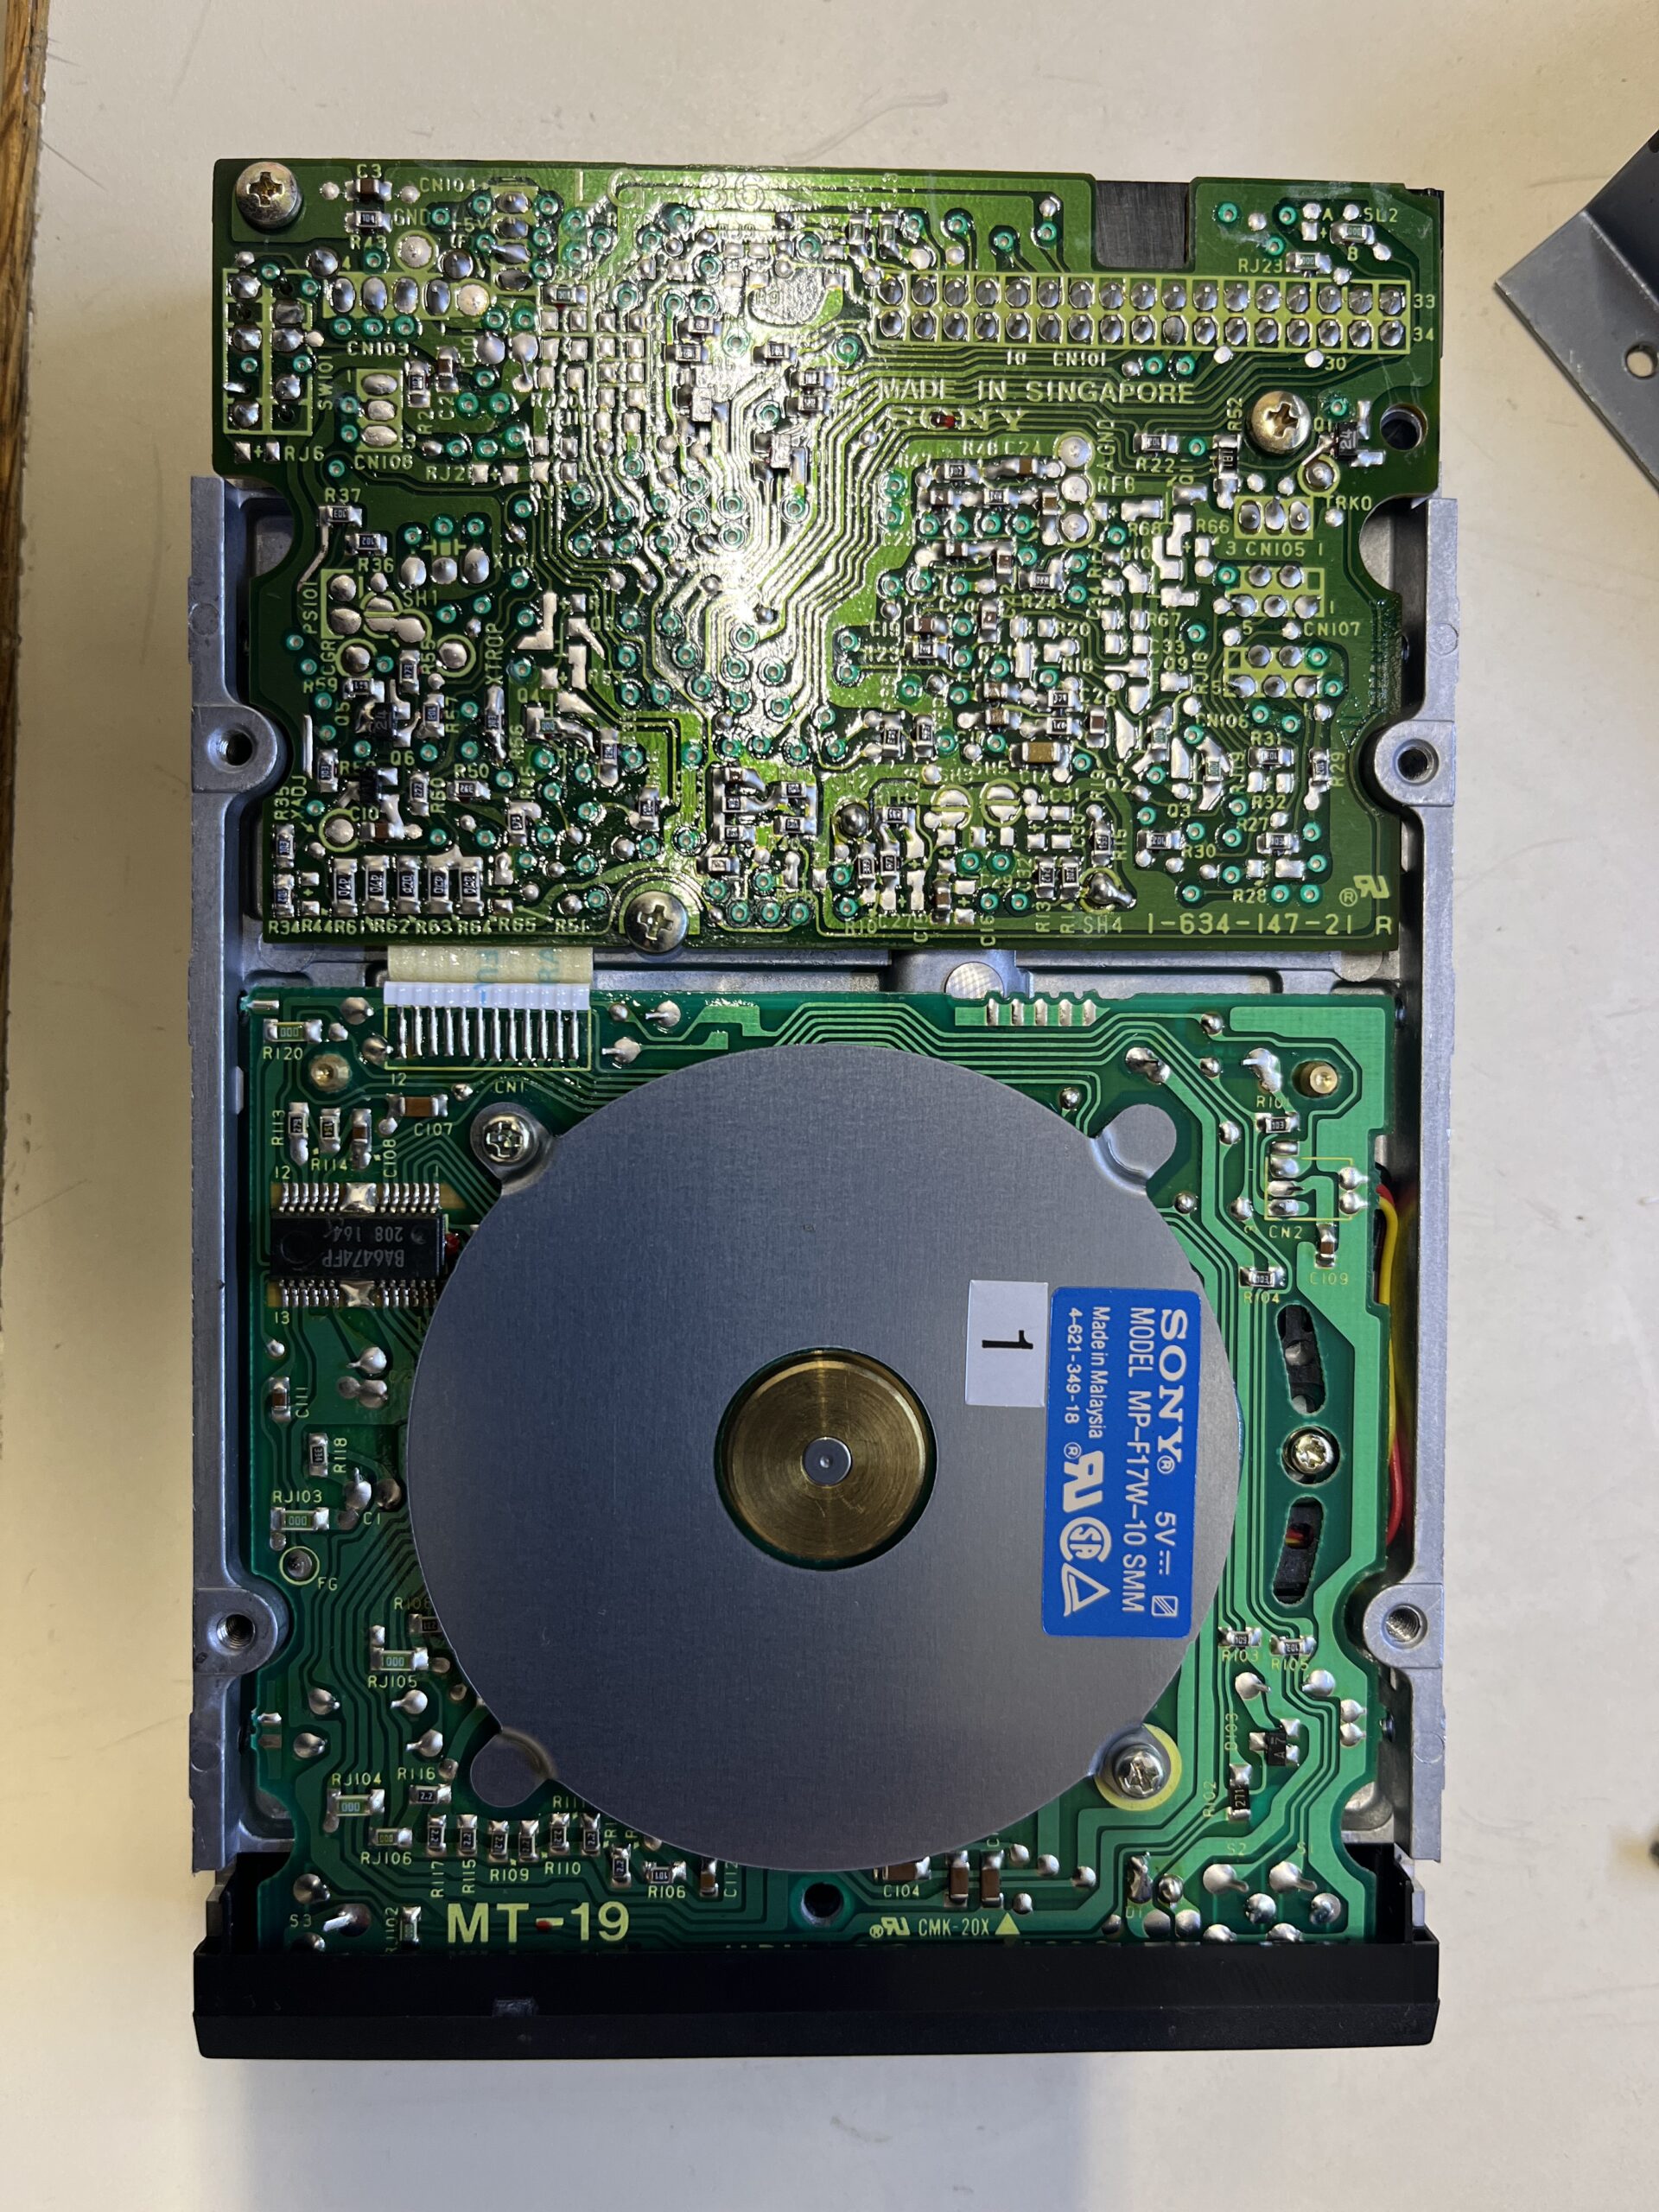
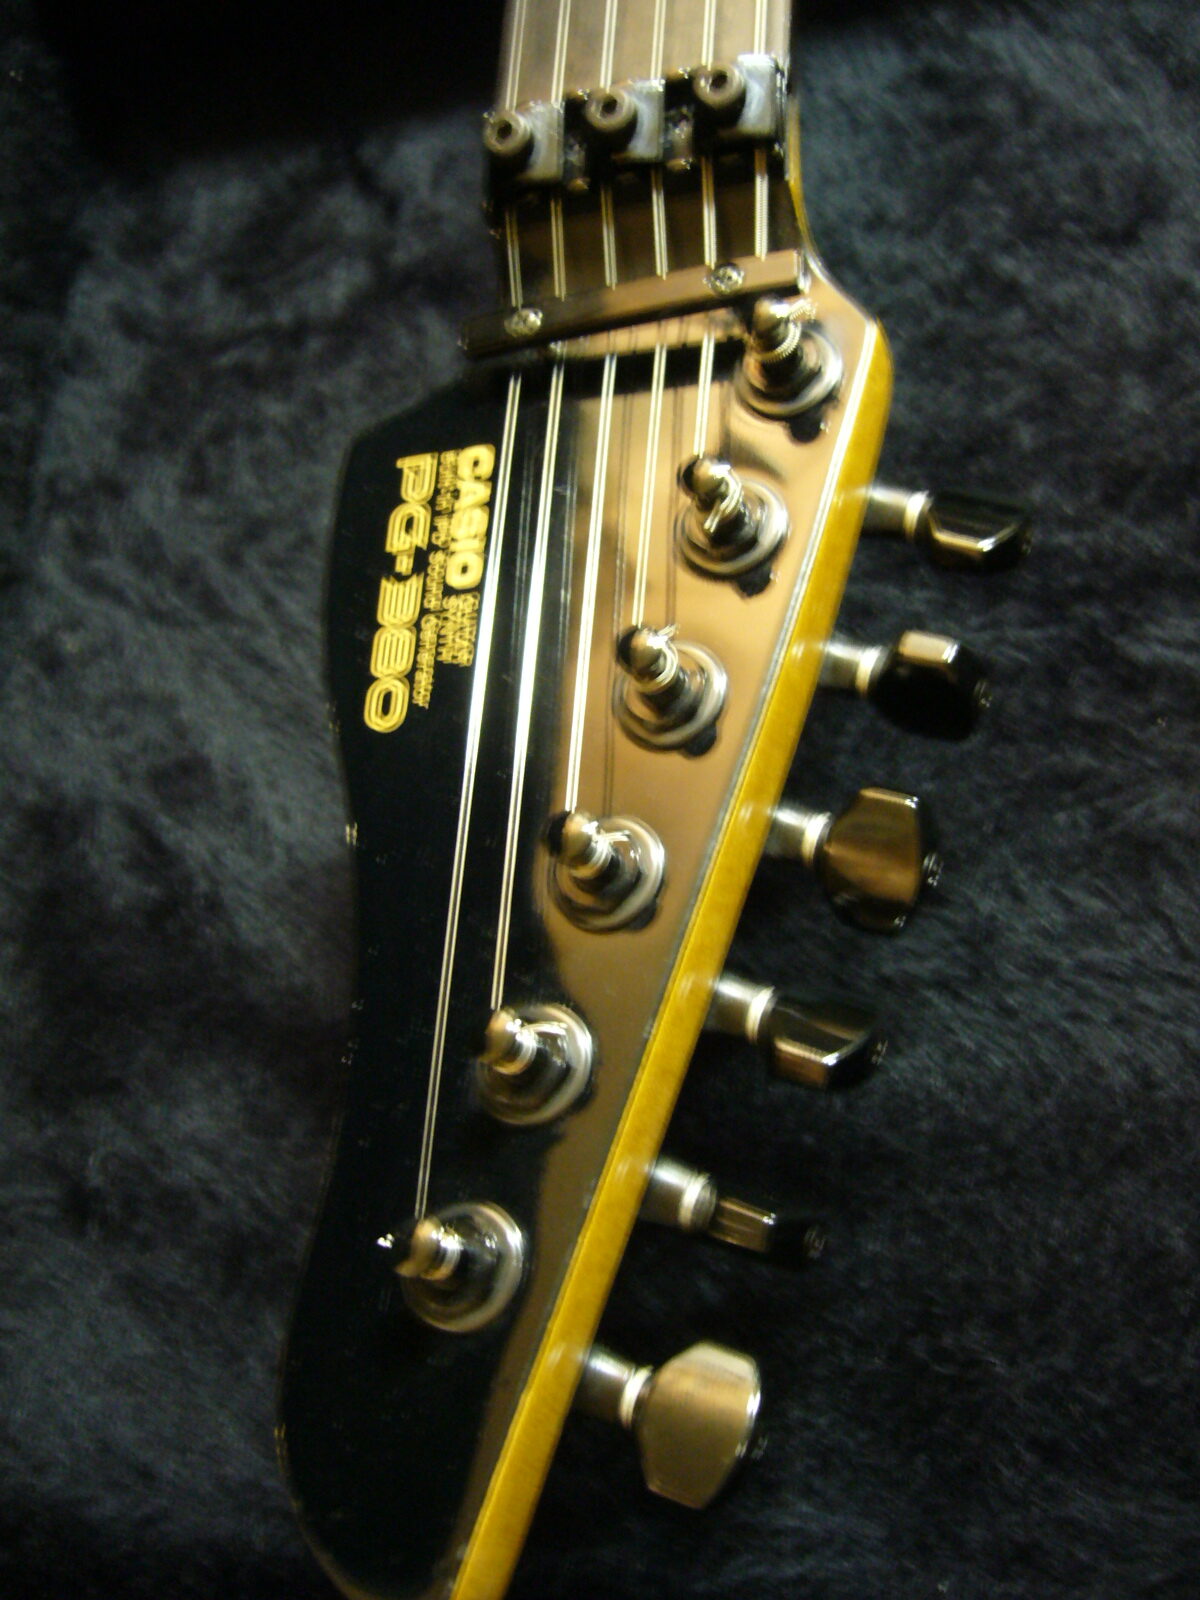
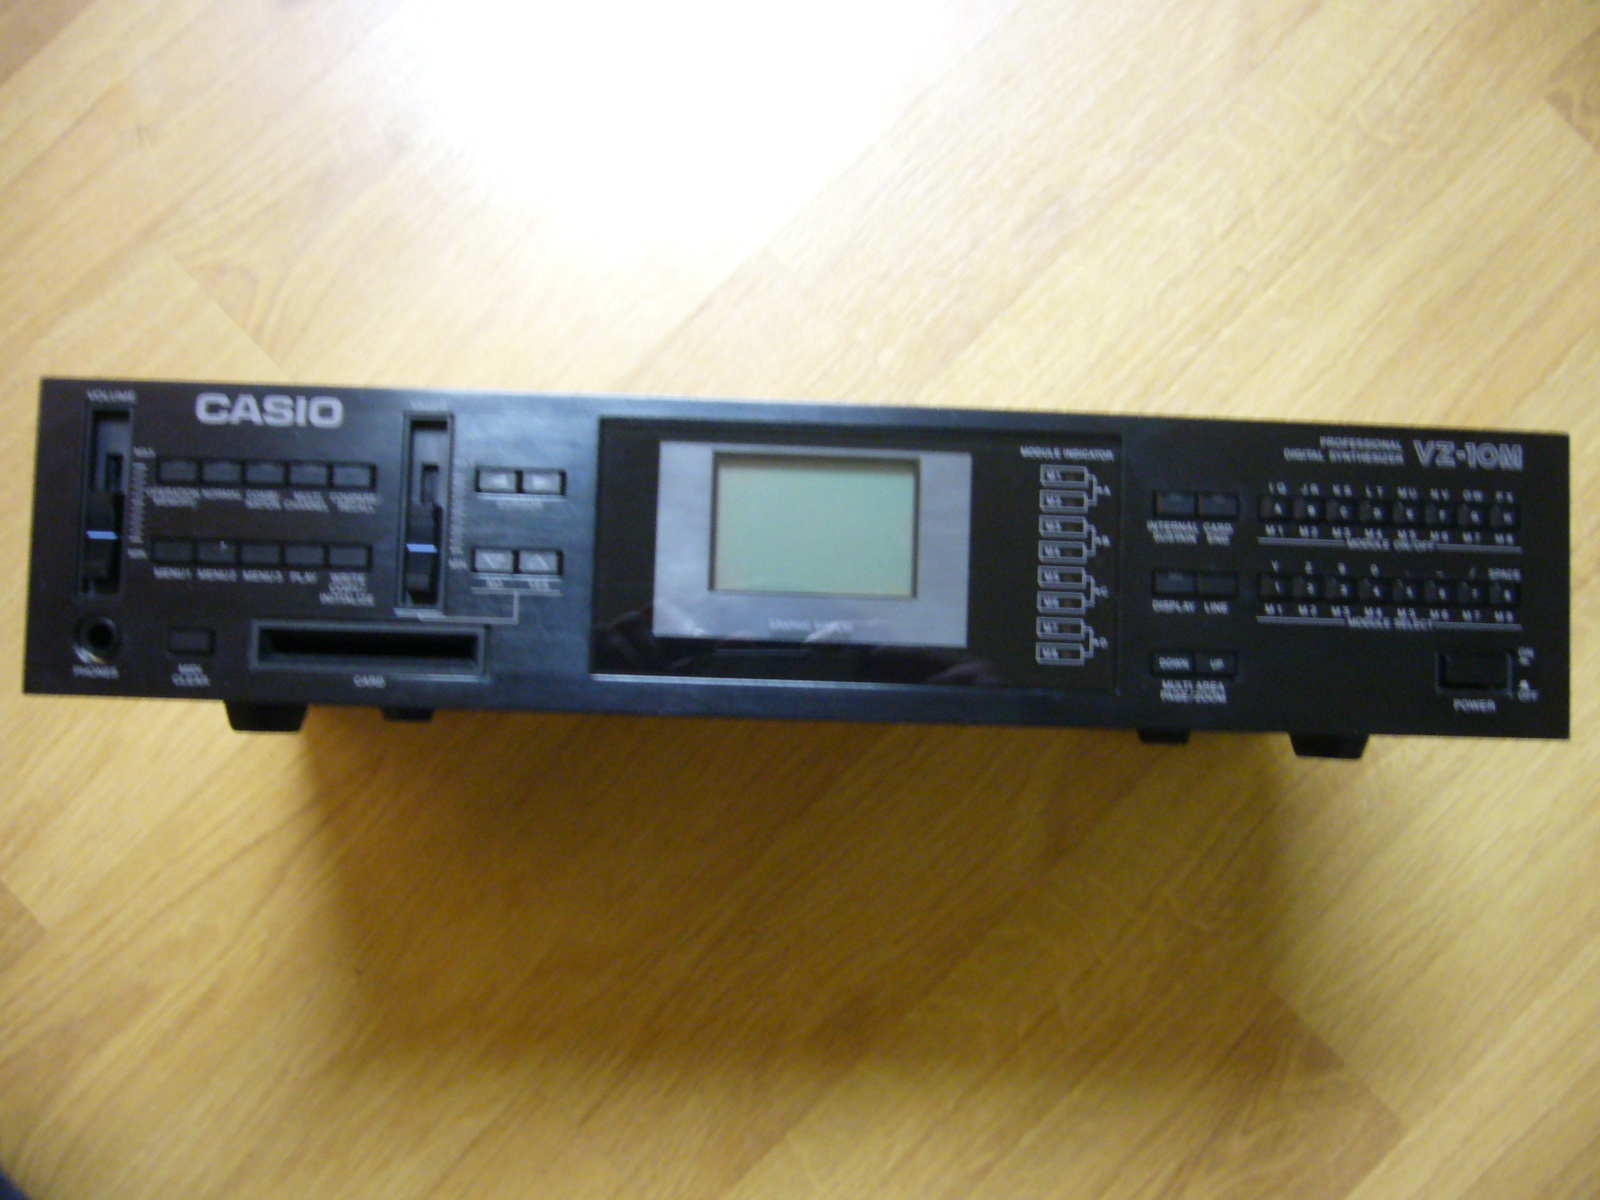
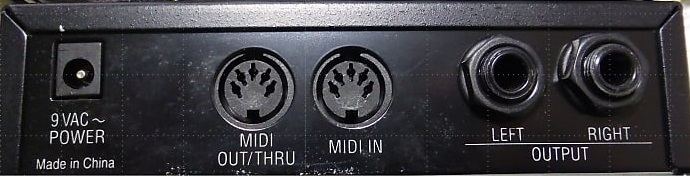
This is a backlight mod for the Roland PMA-5. It has been tested and really looks awesome. I had to work through issues such as, dimension constraints, power variances and transformer noise. LED backlights are too thick for this application. An EL panel, DC/AC transformer, buck converter & dc power filter was used. Except removing the LCD mirror, original shell and unit operation was left unmodified. The EL transformer operates between 1-4VDC and the unit power is 9VDC.


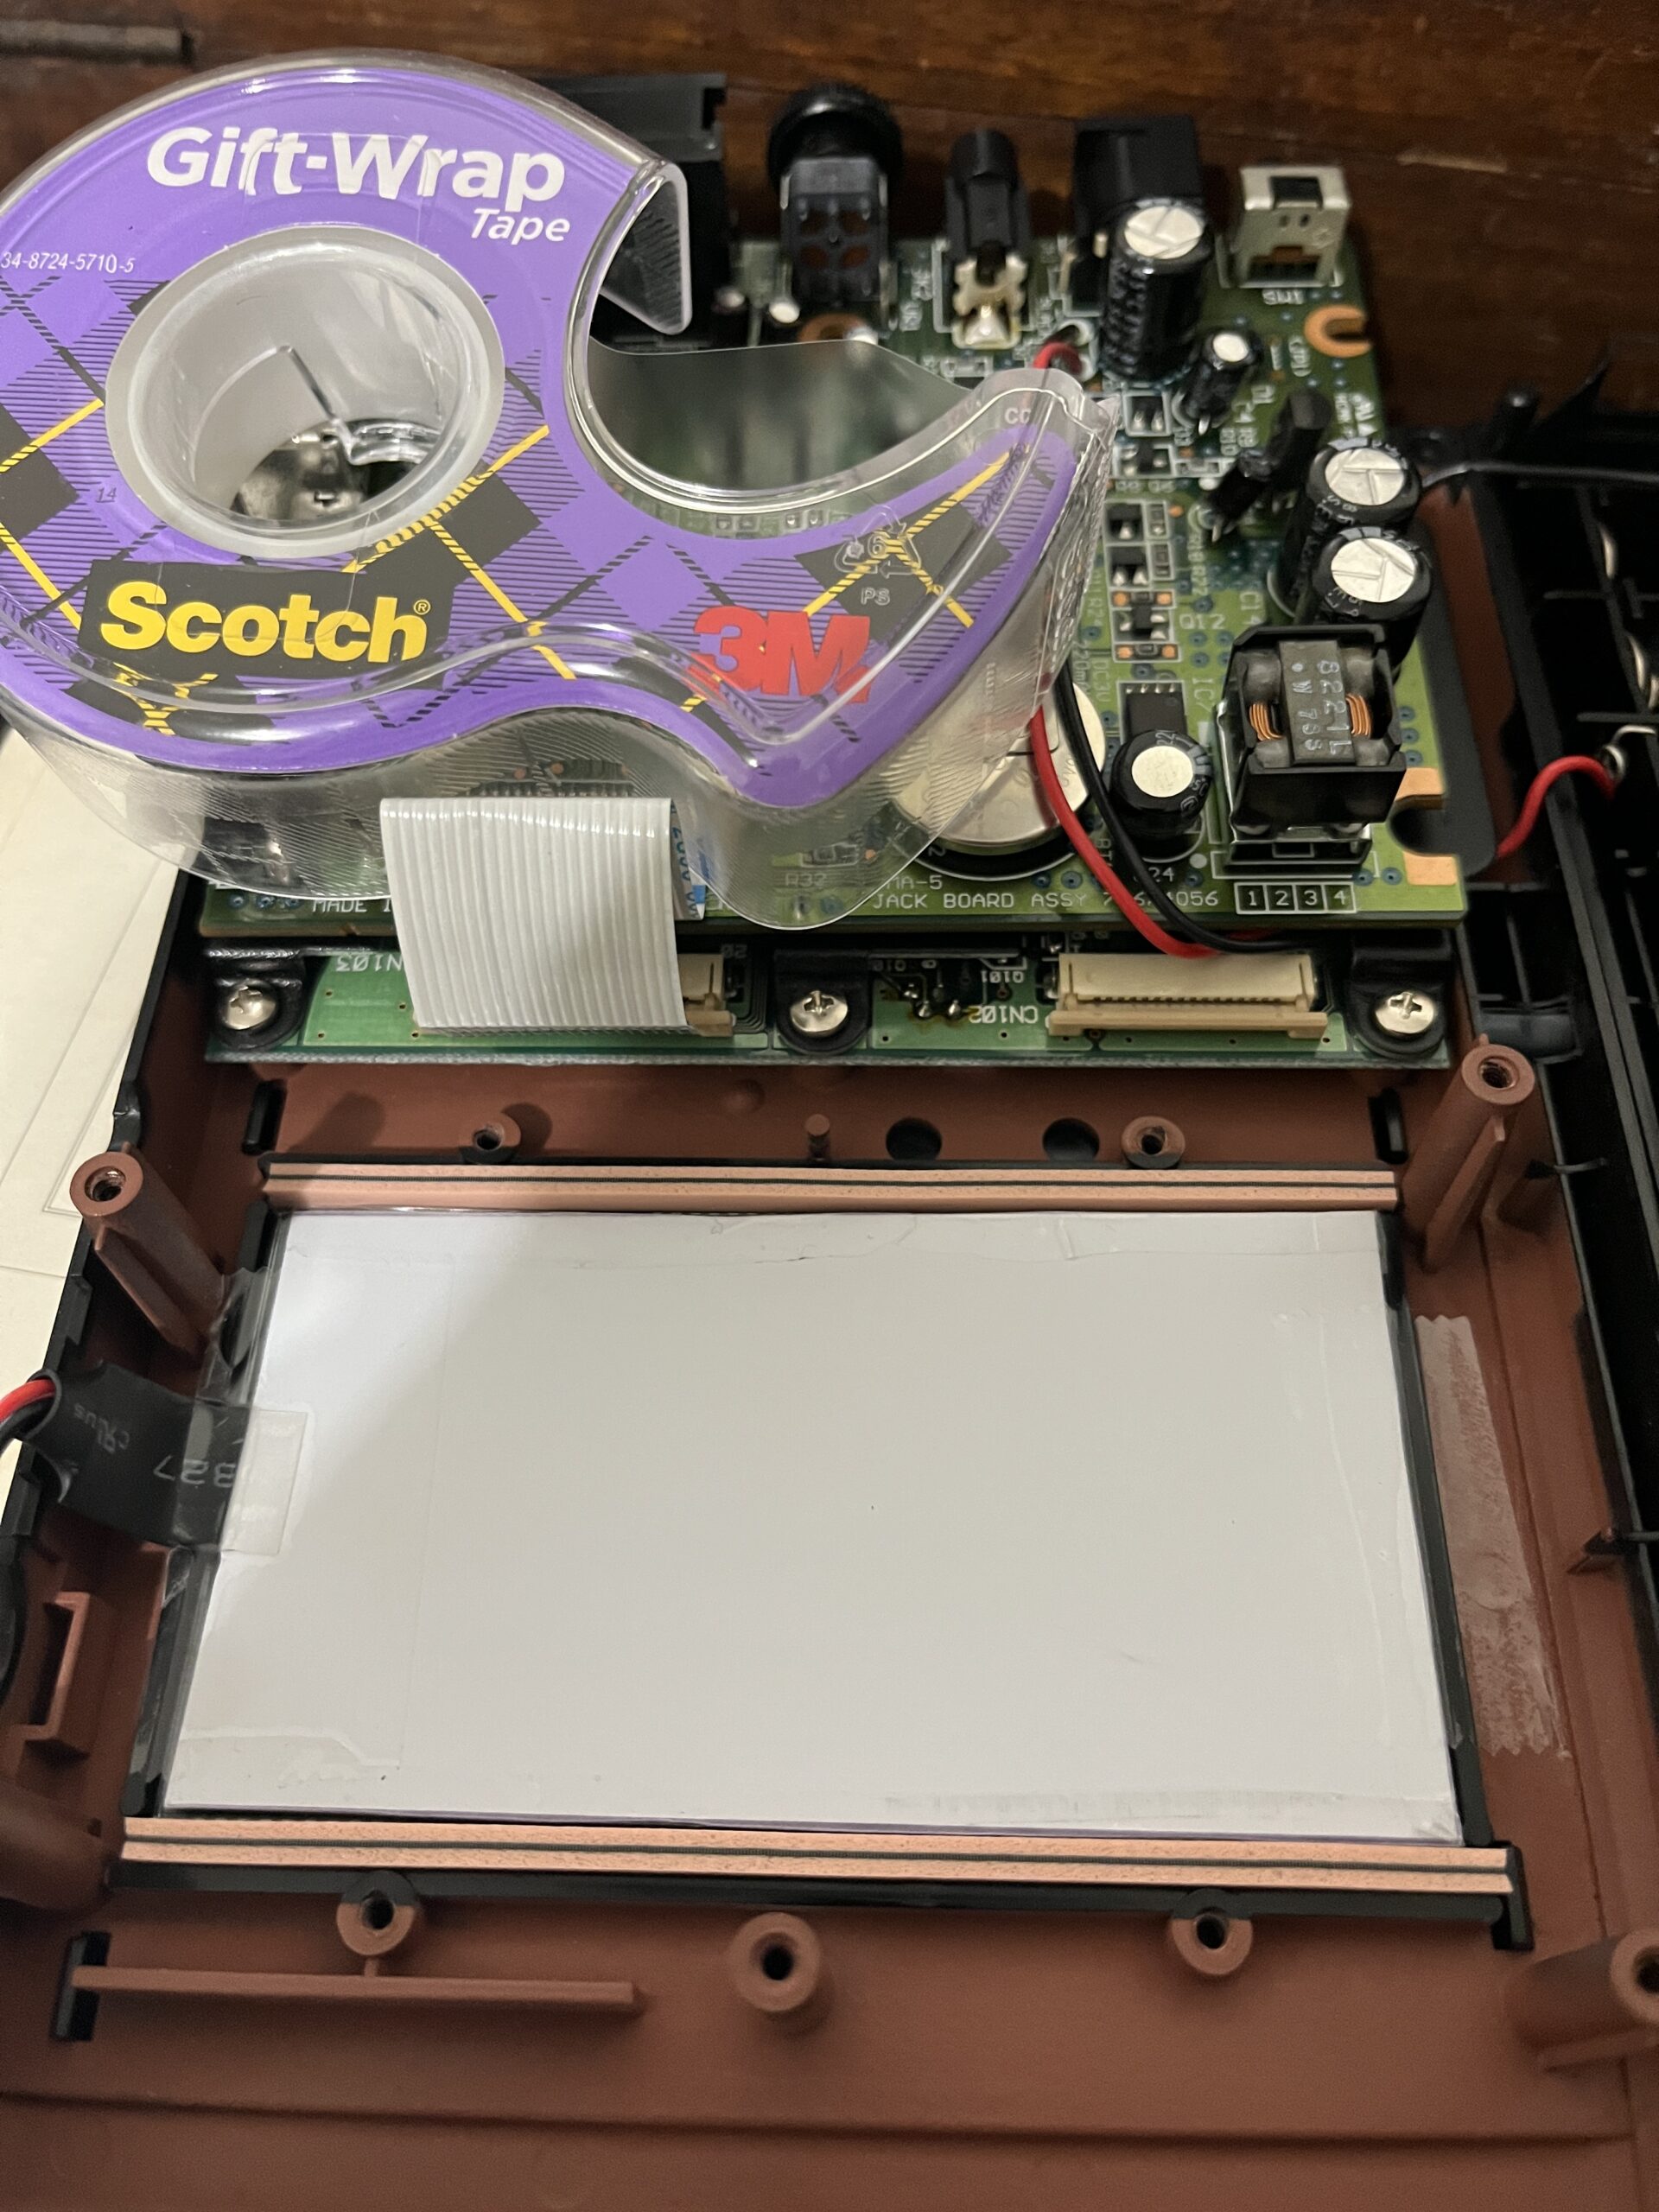
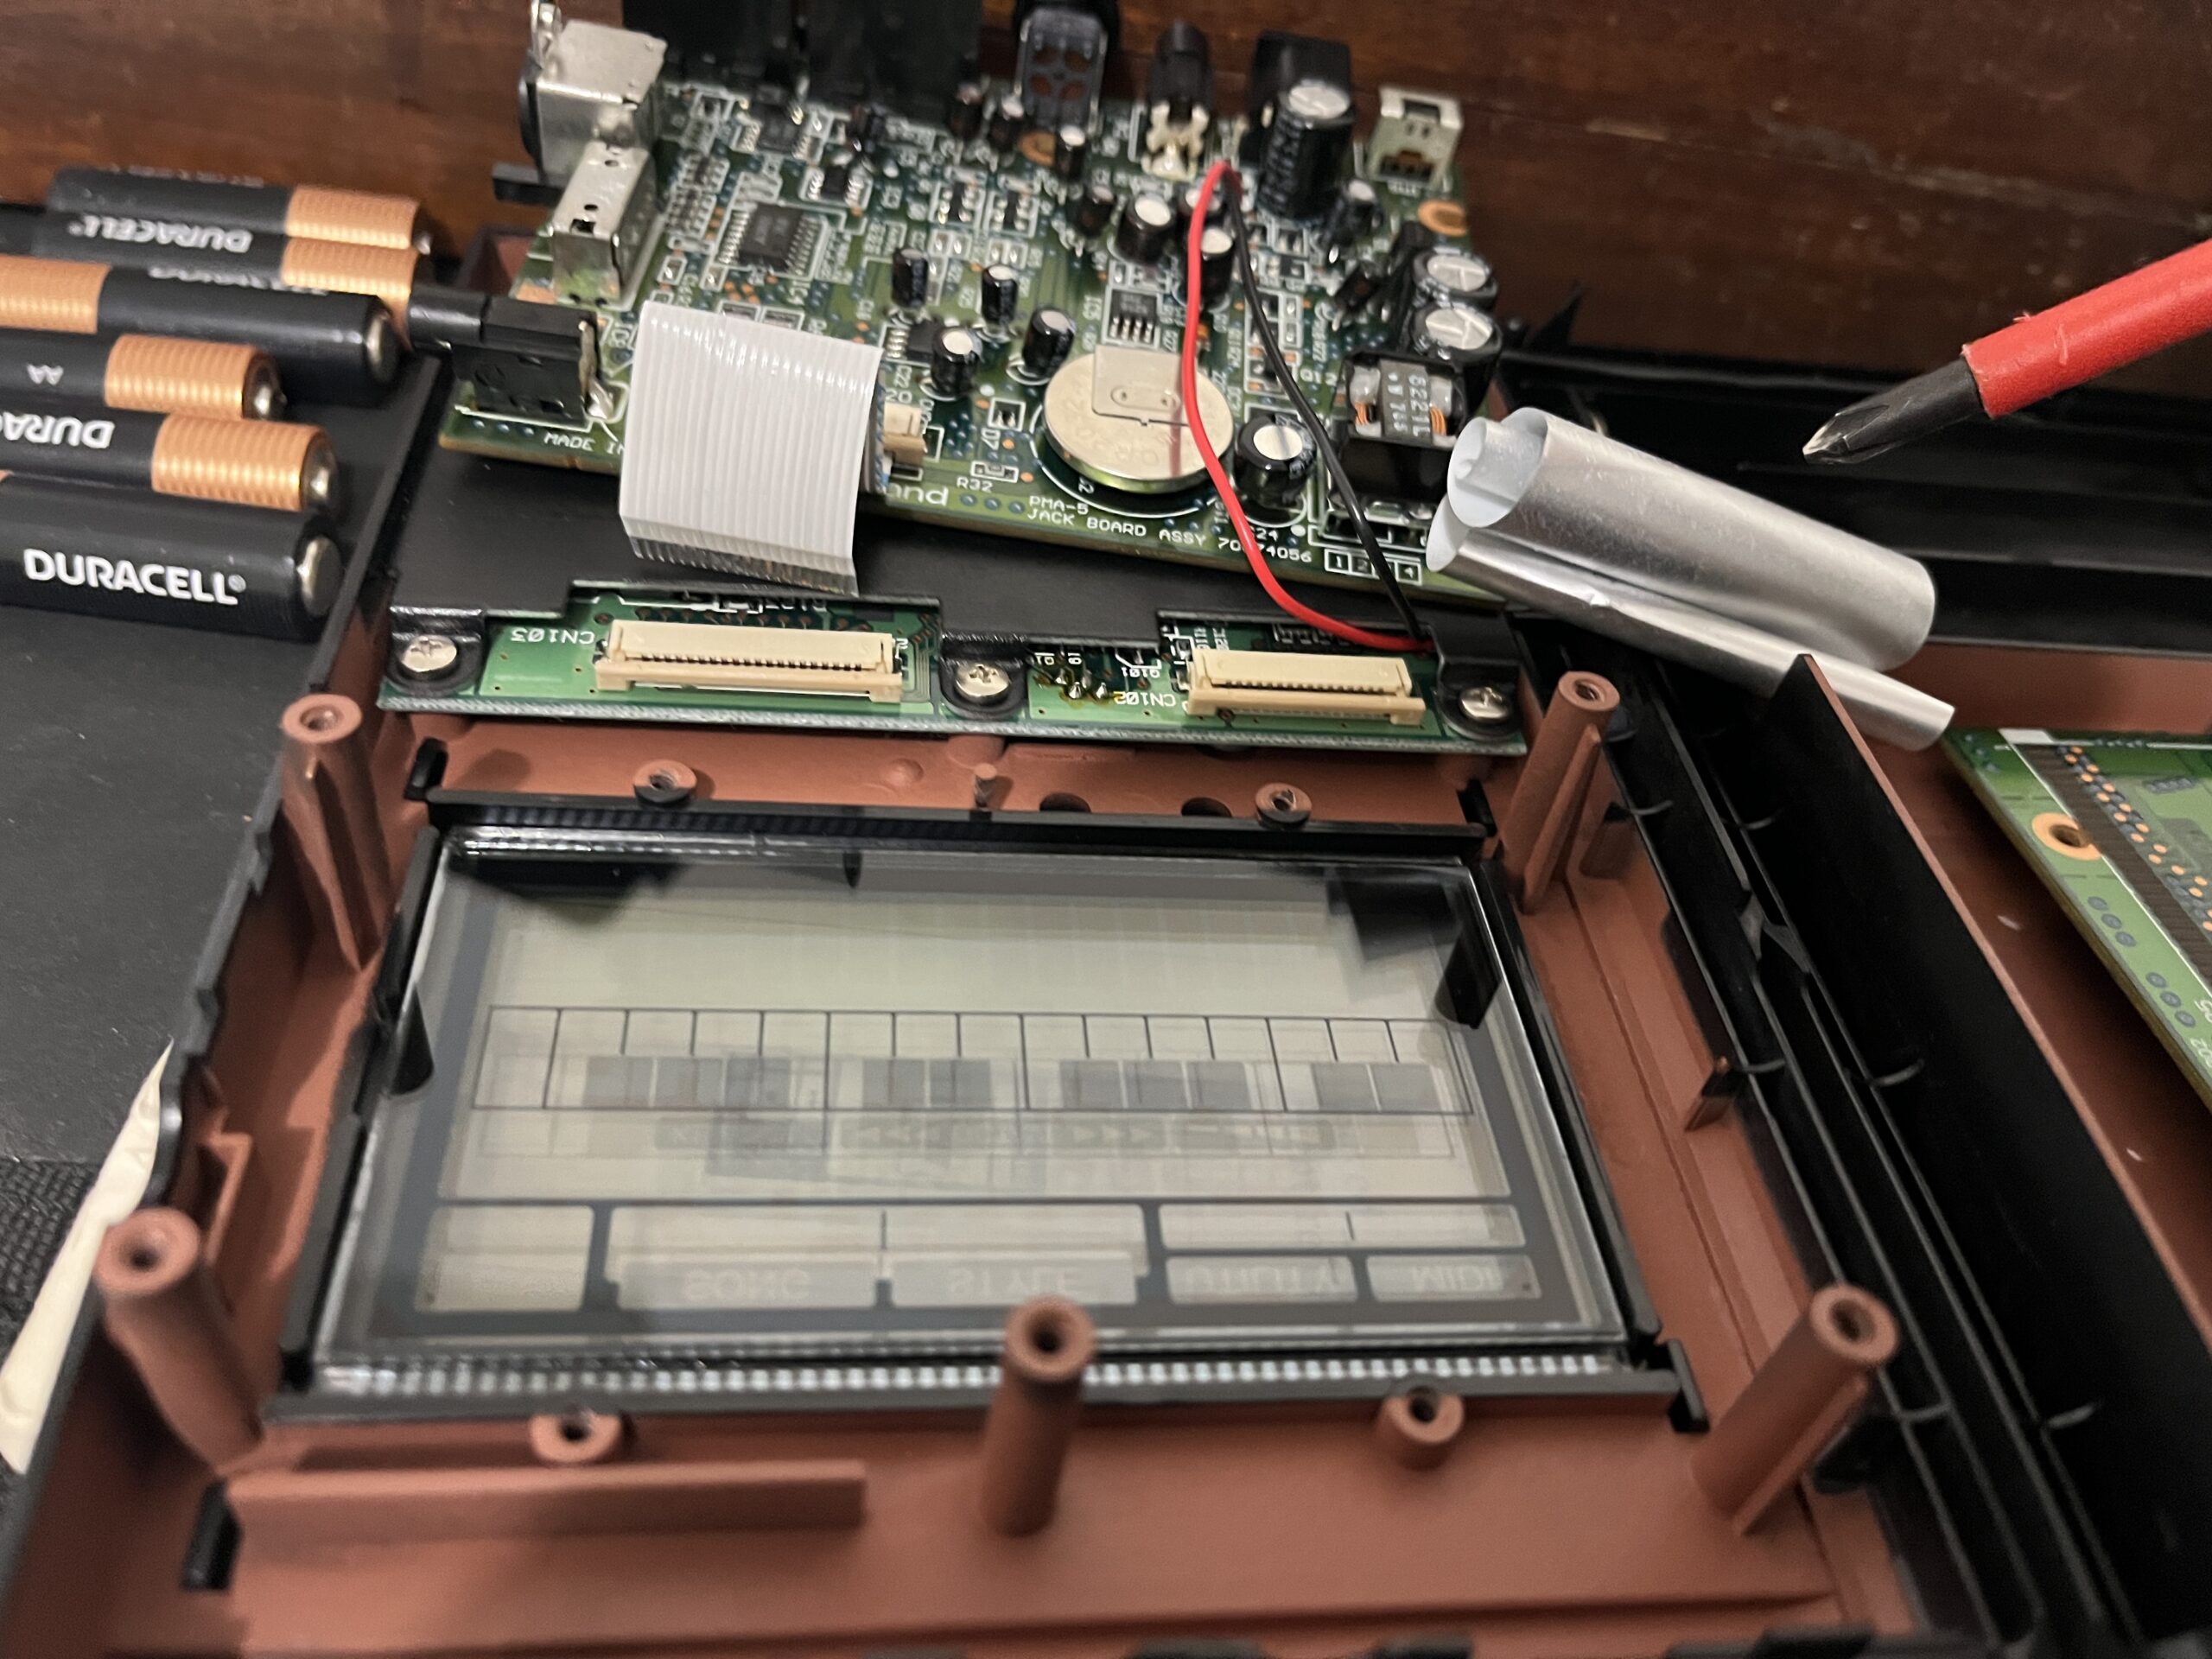
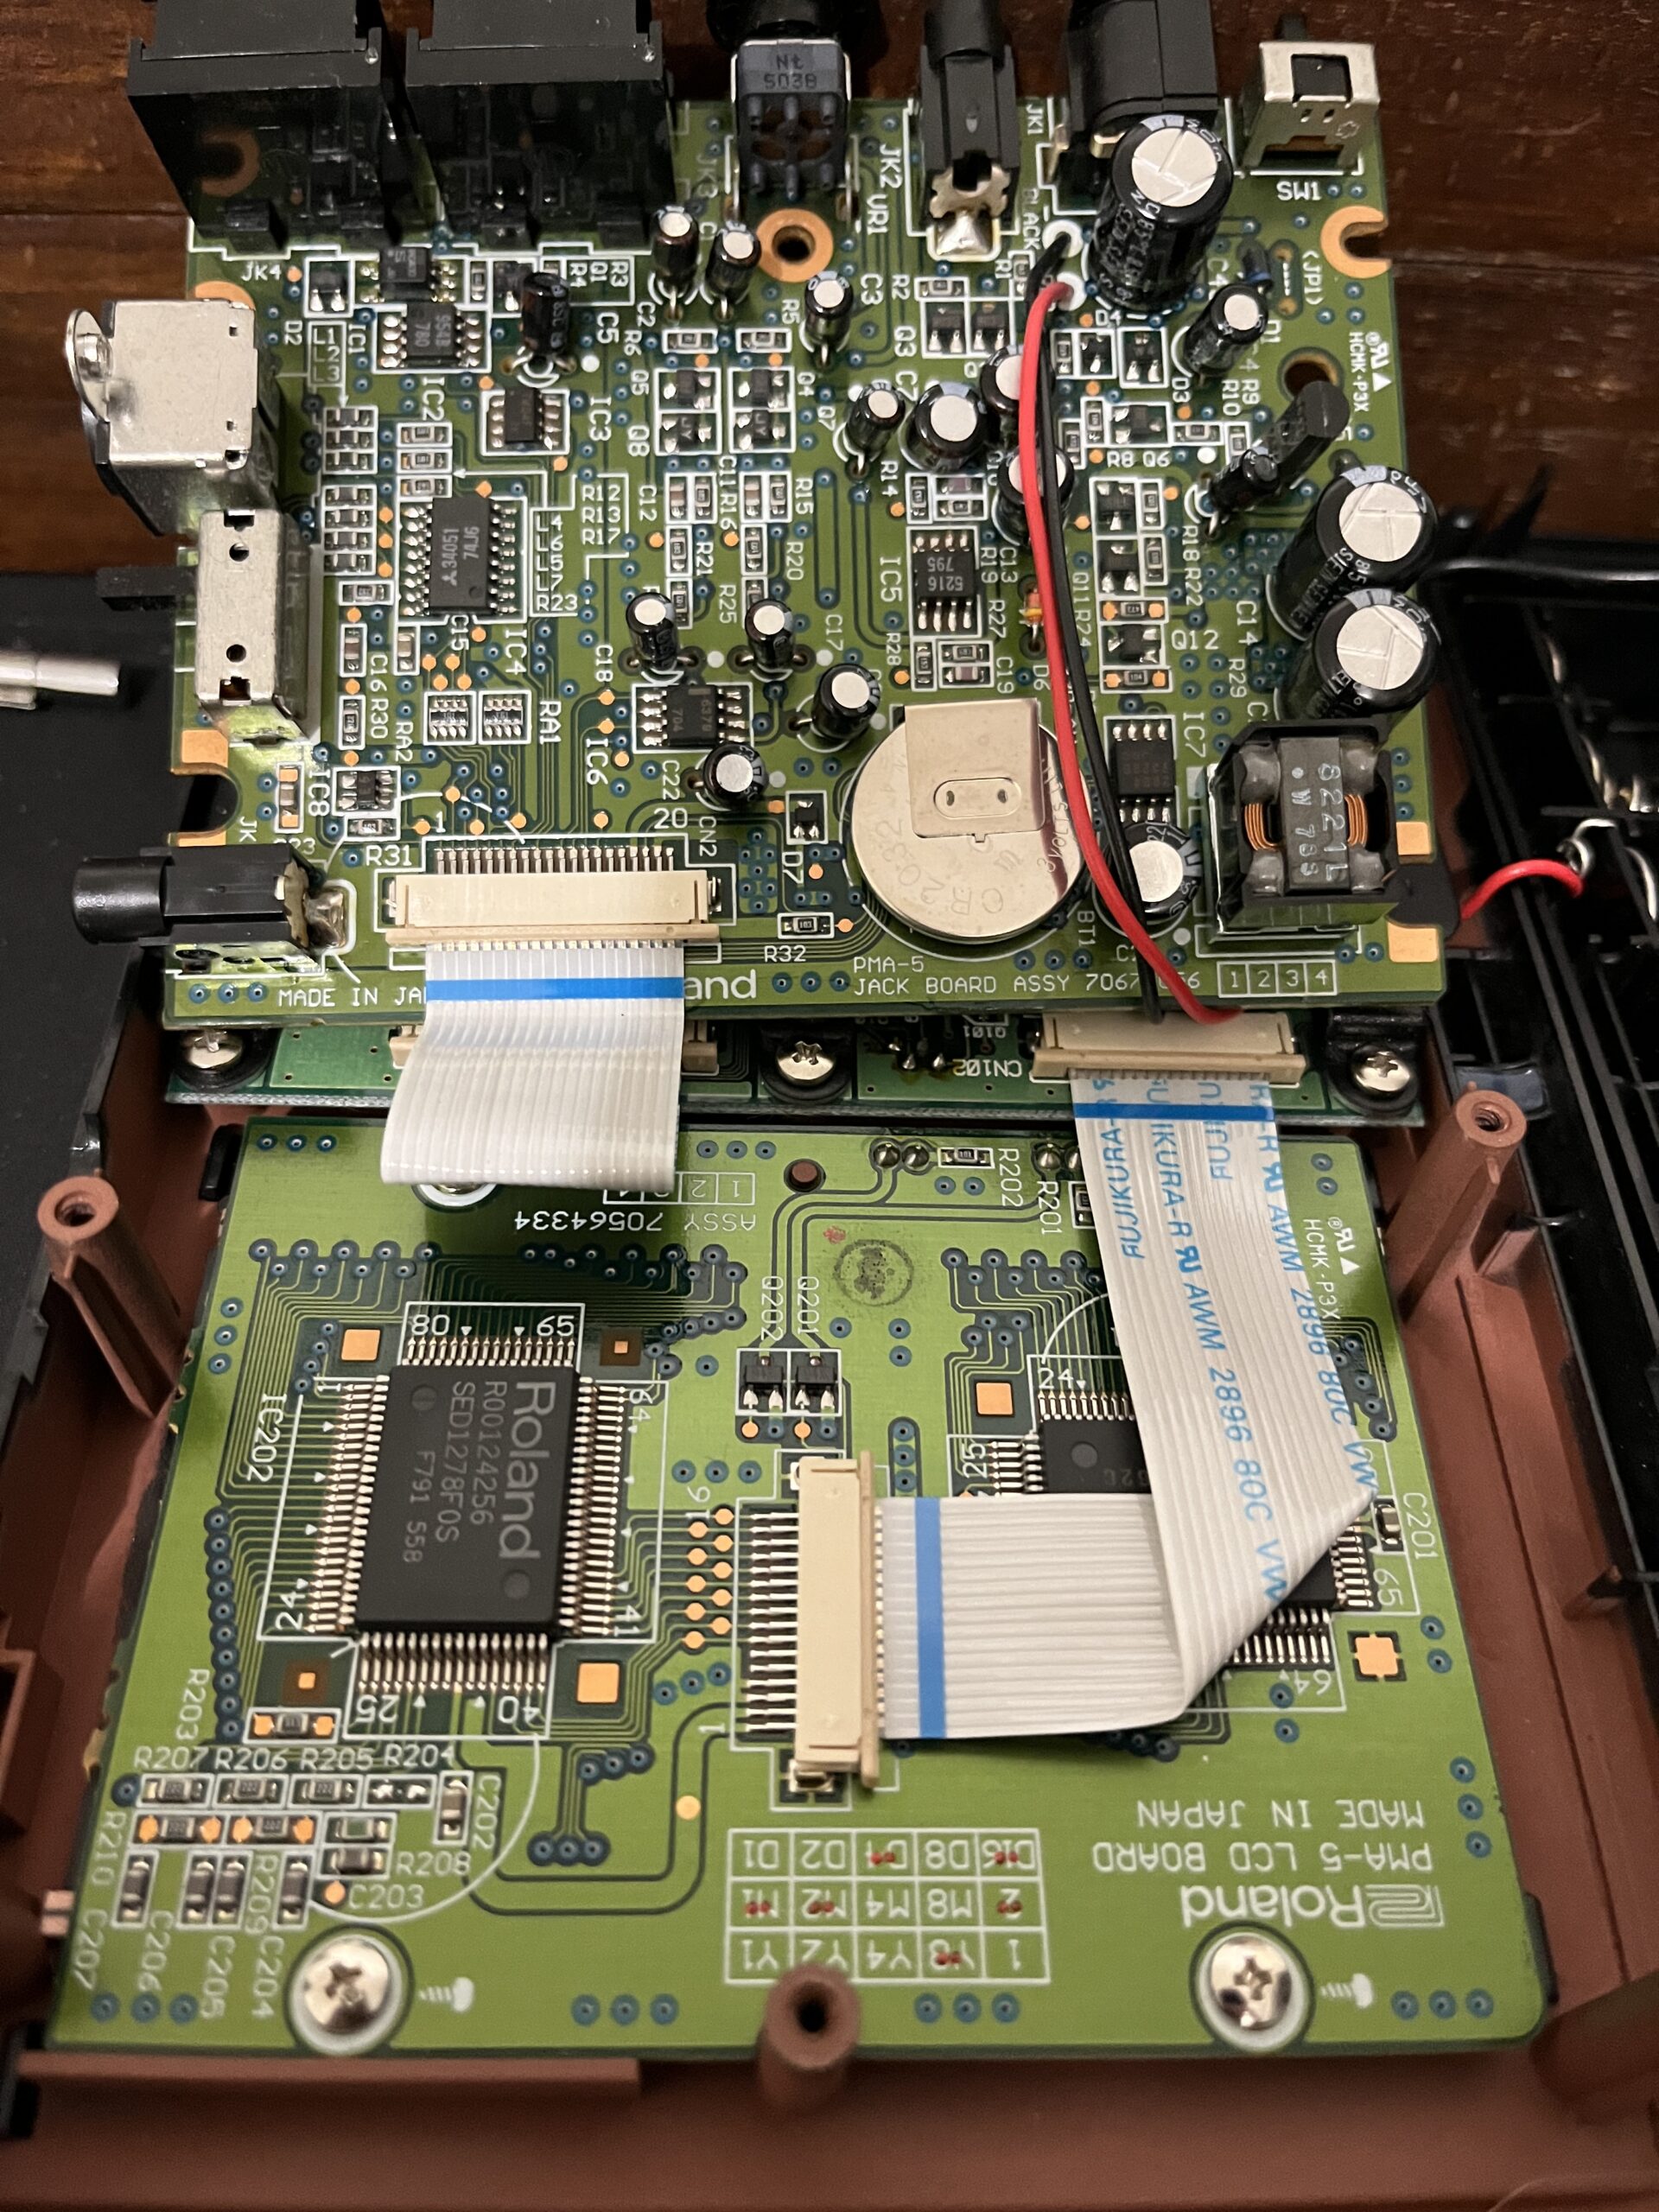
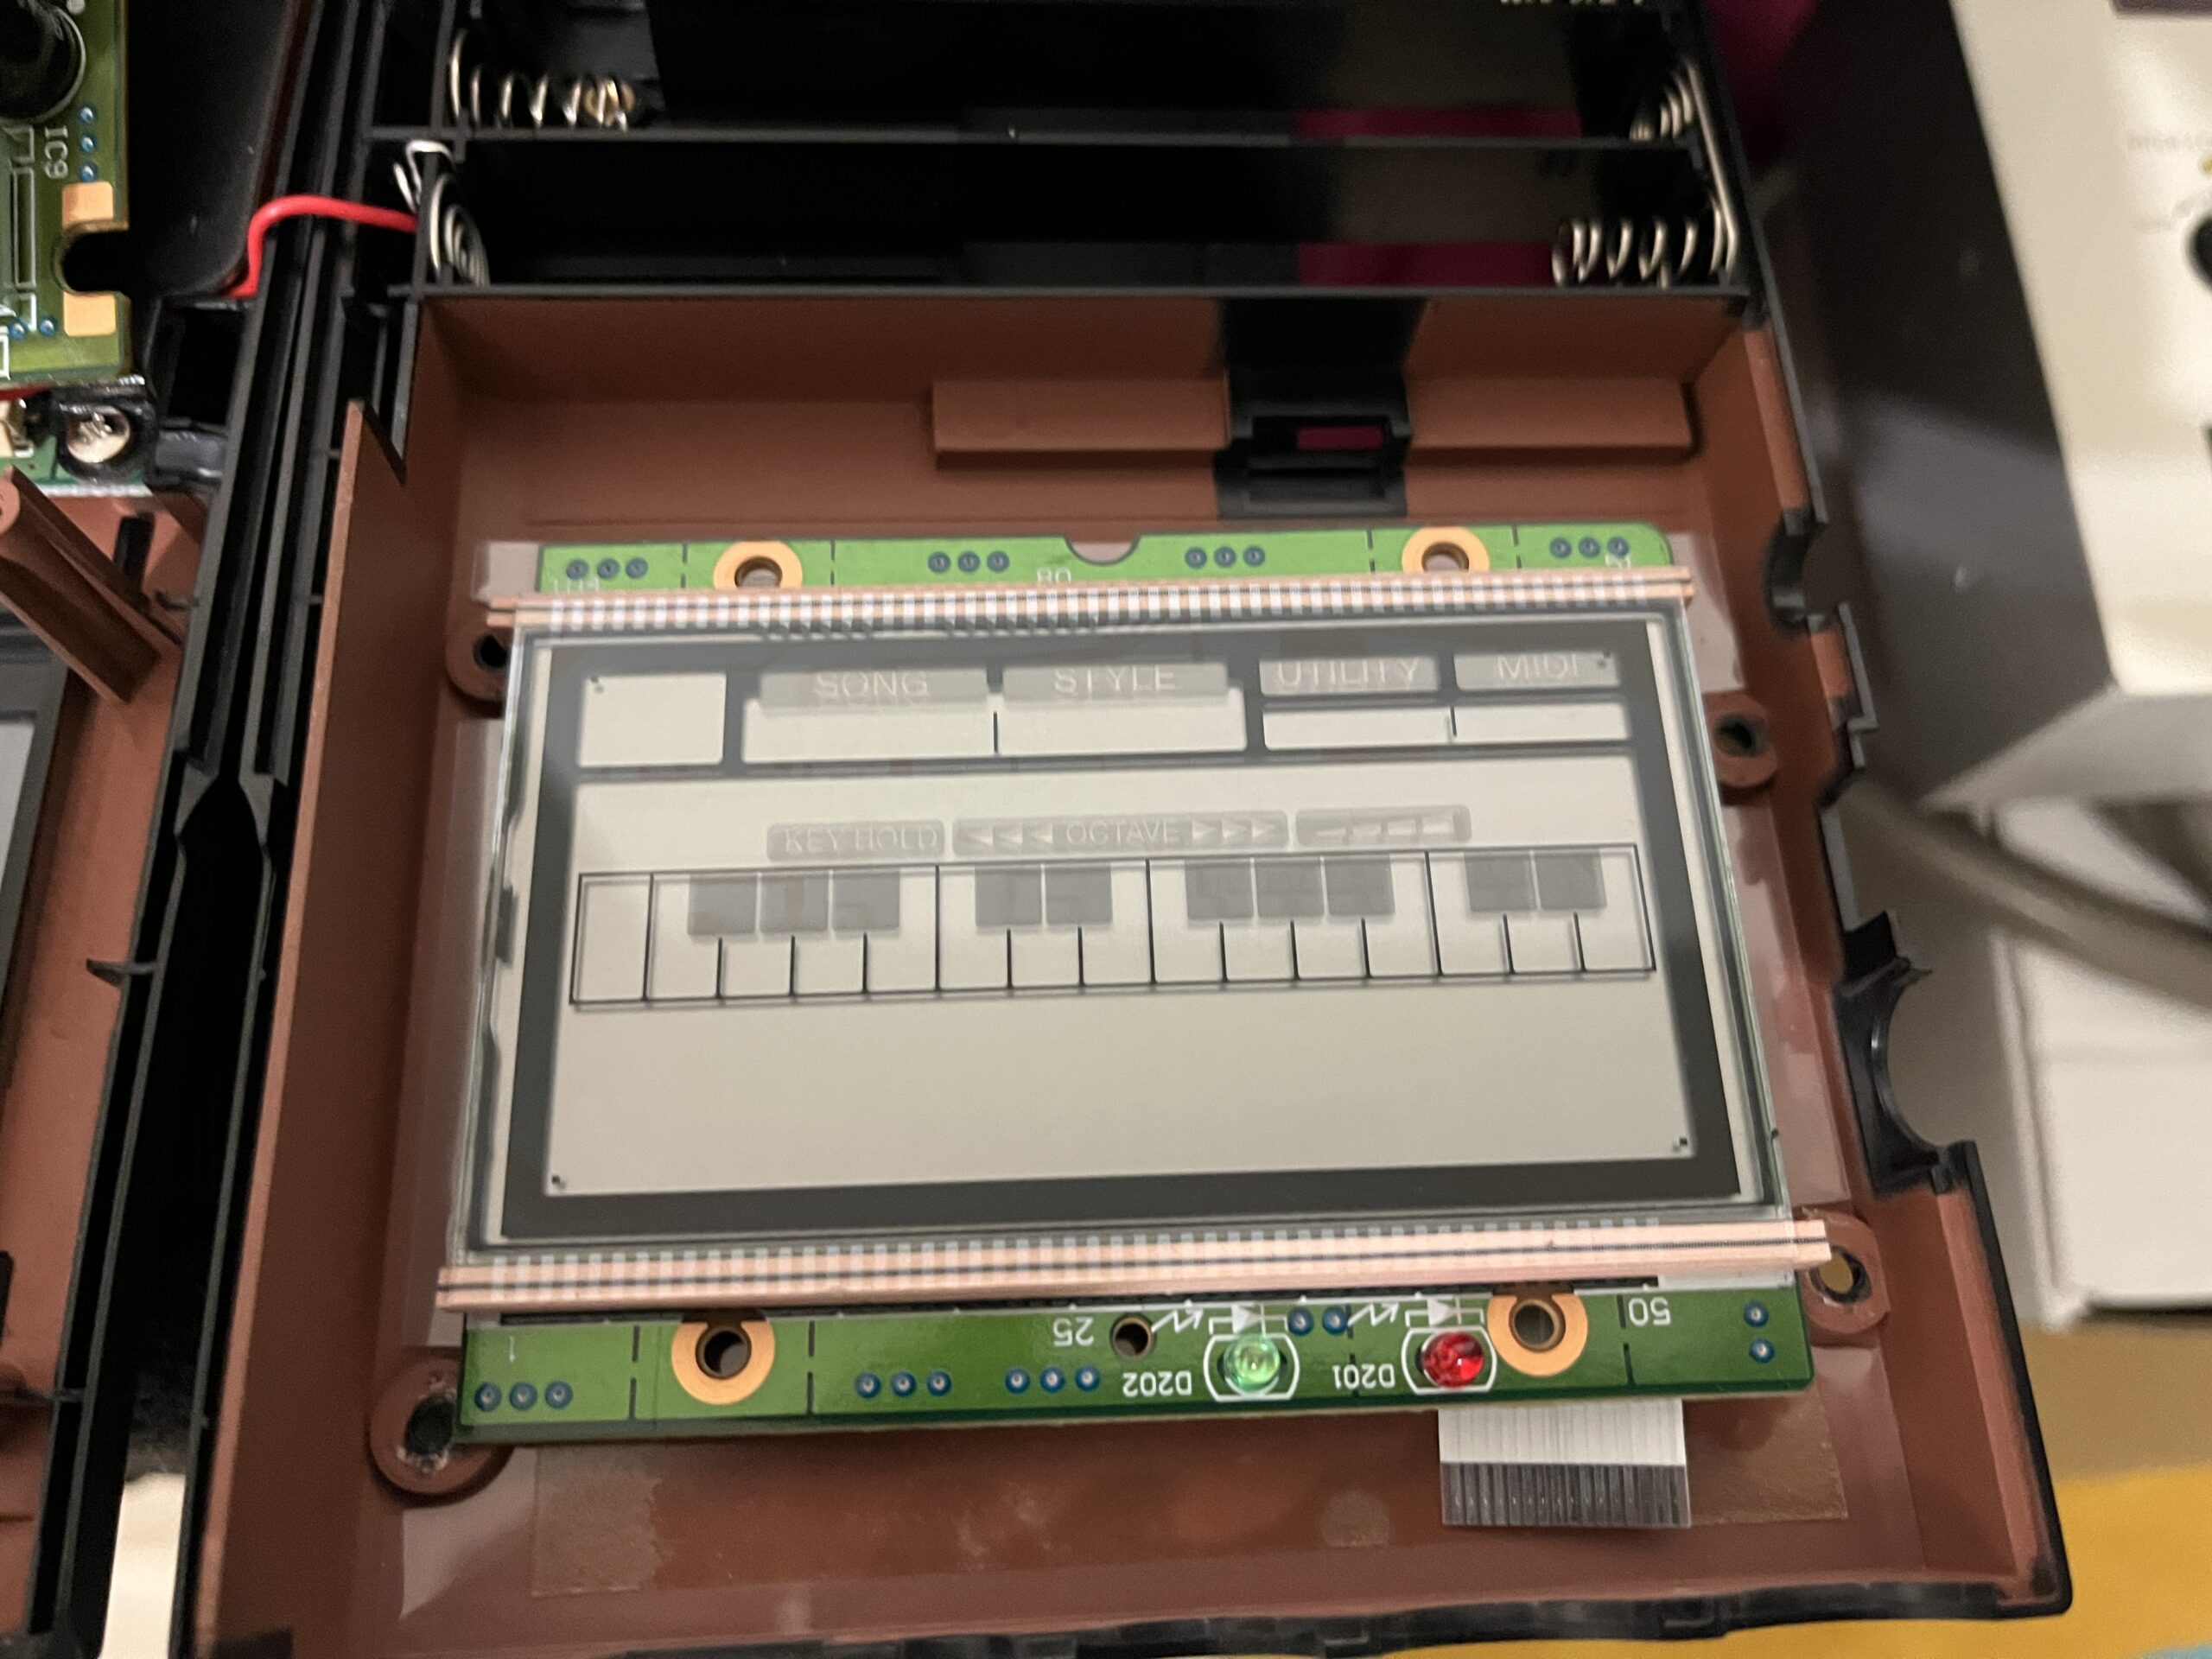
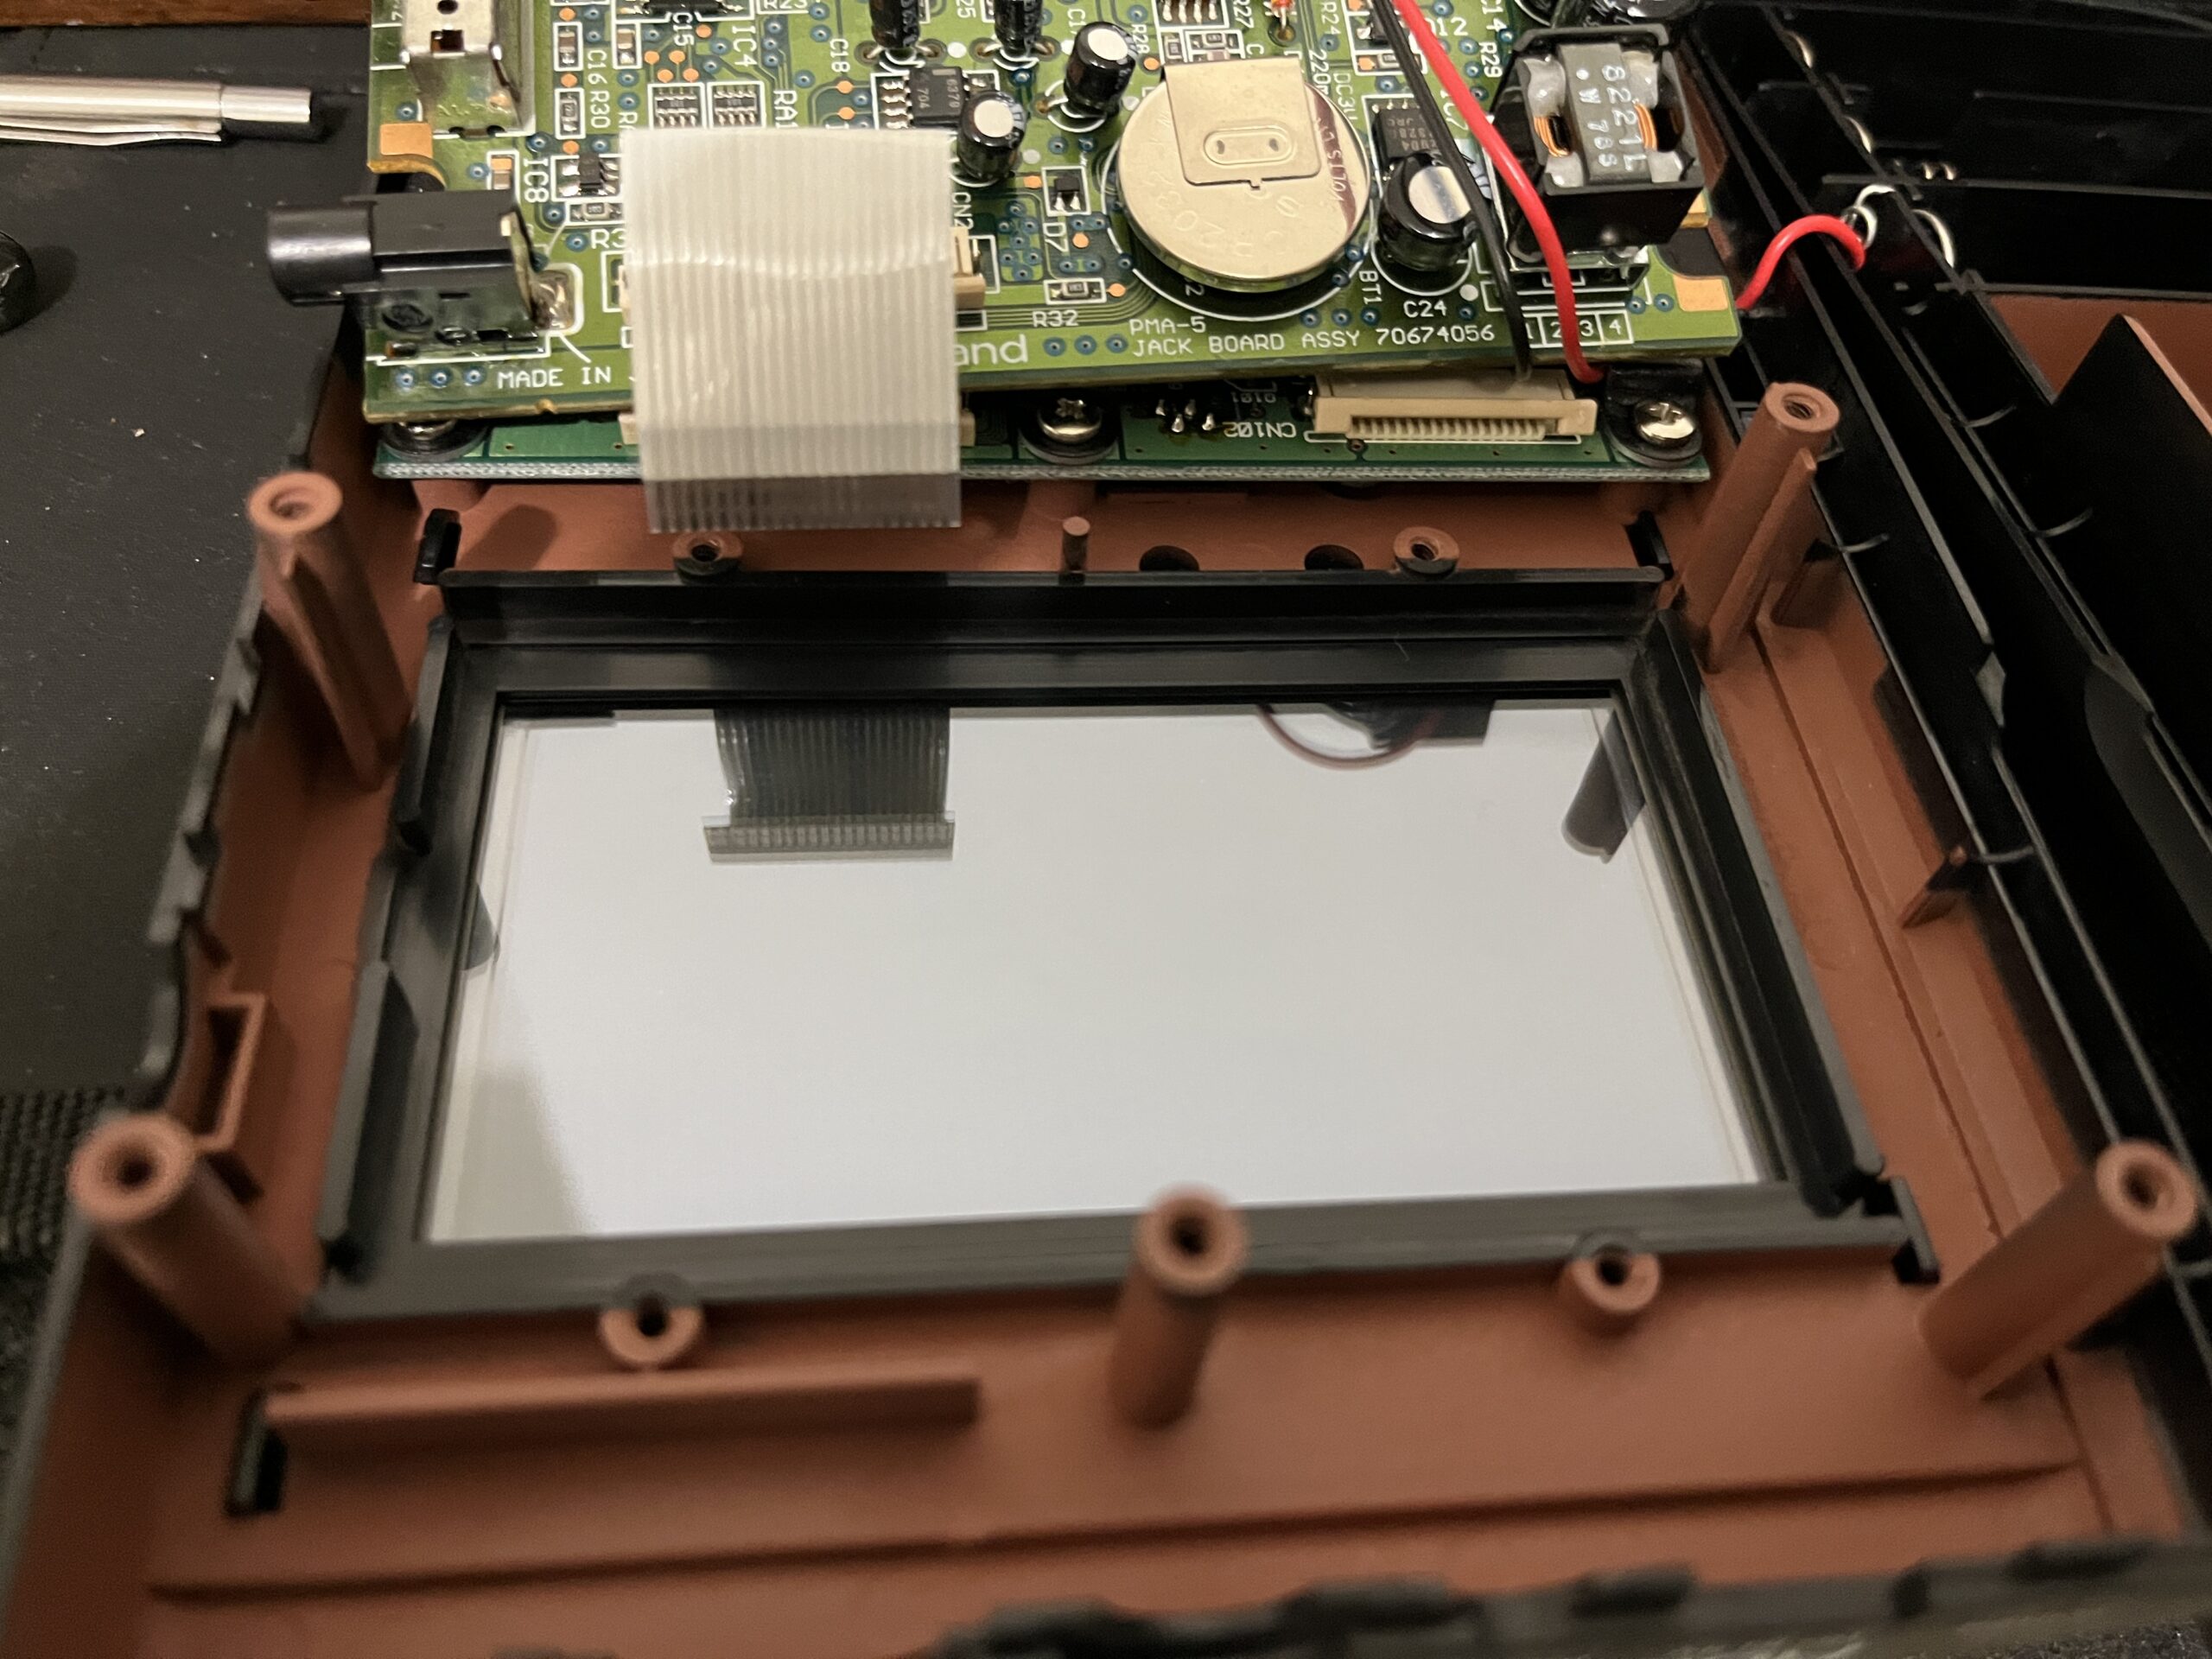
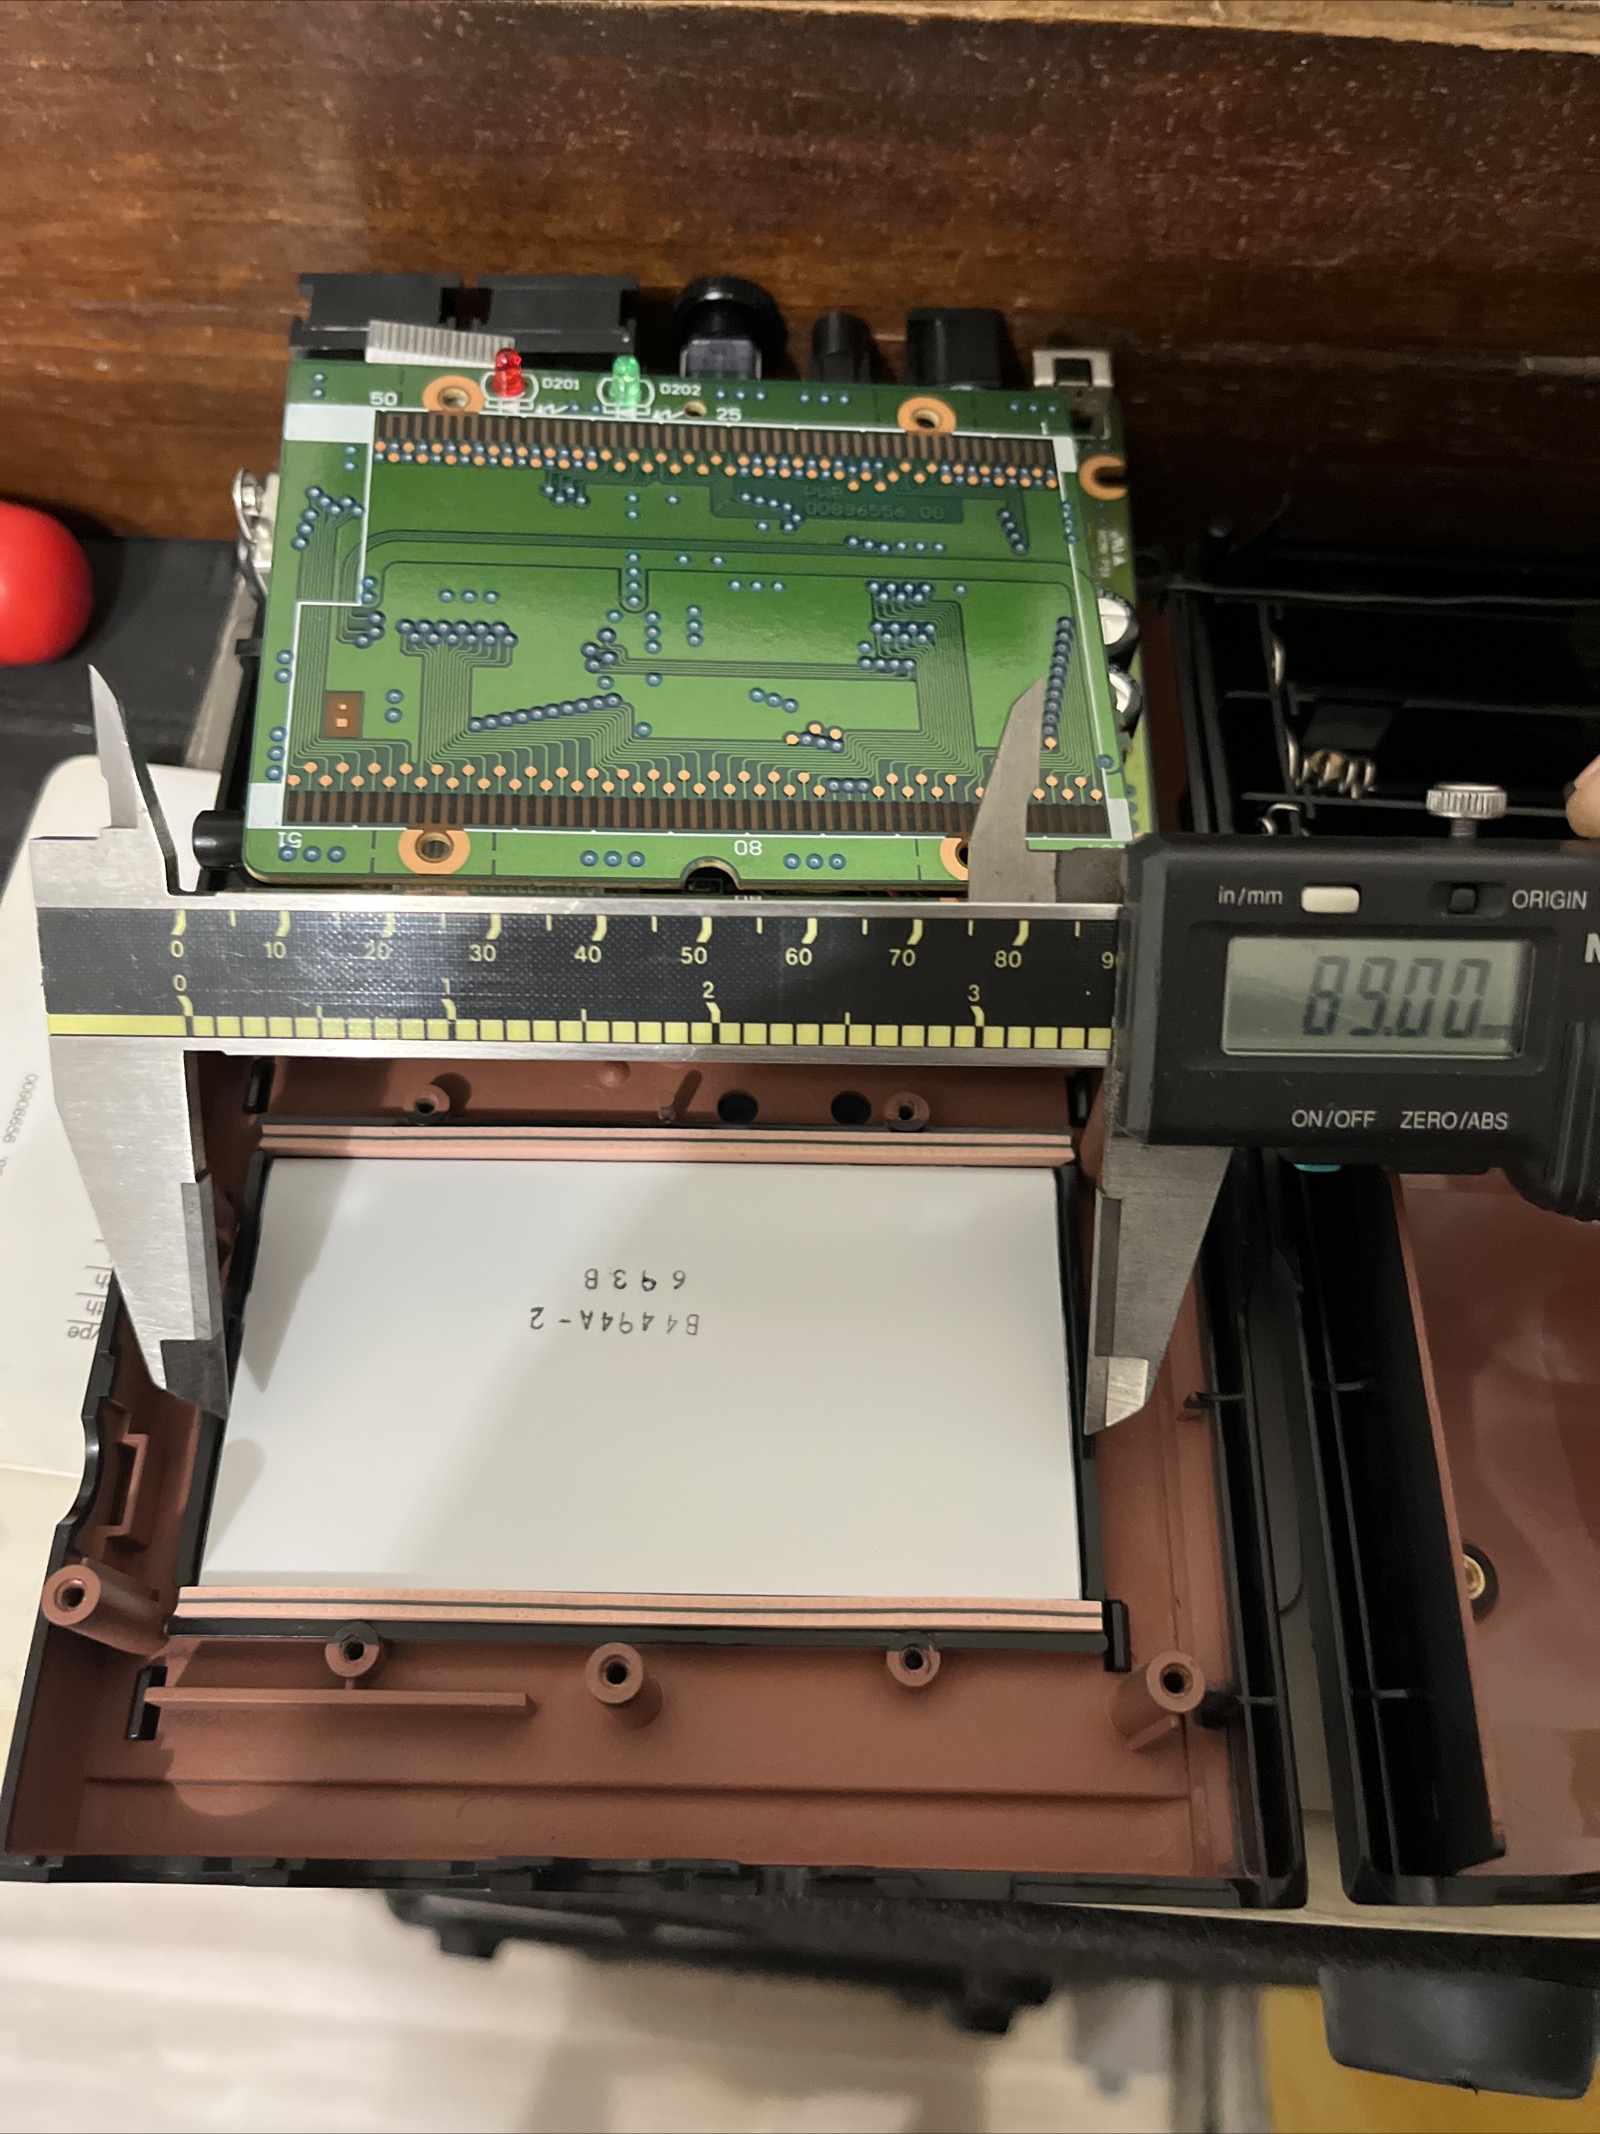
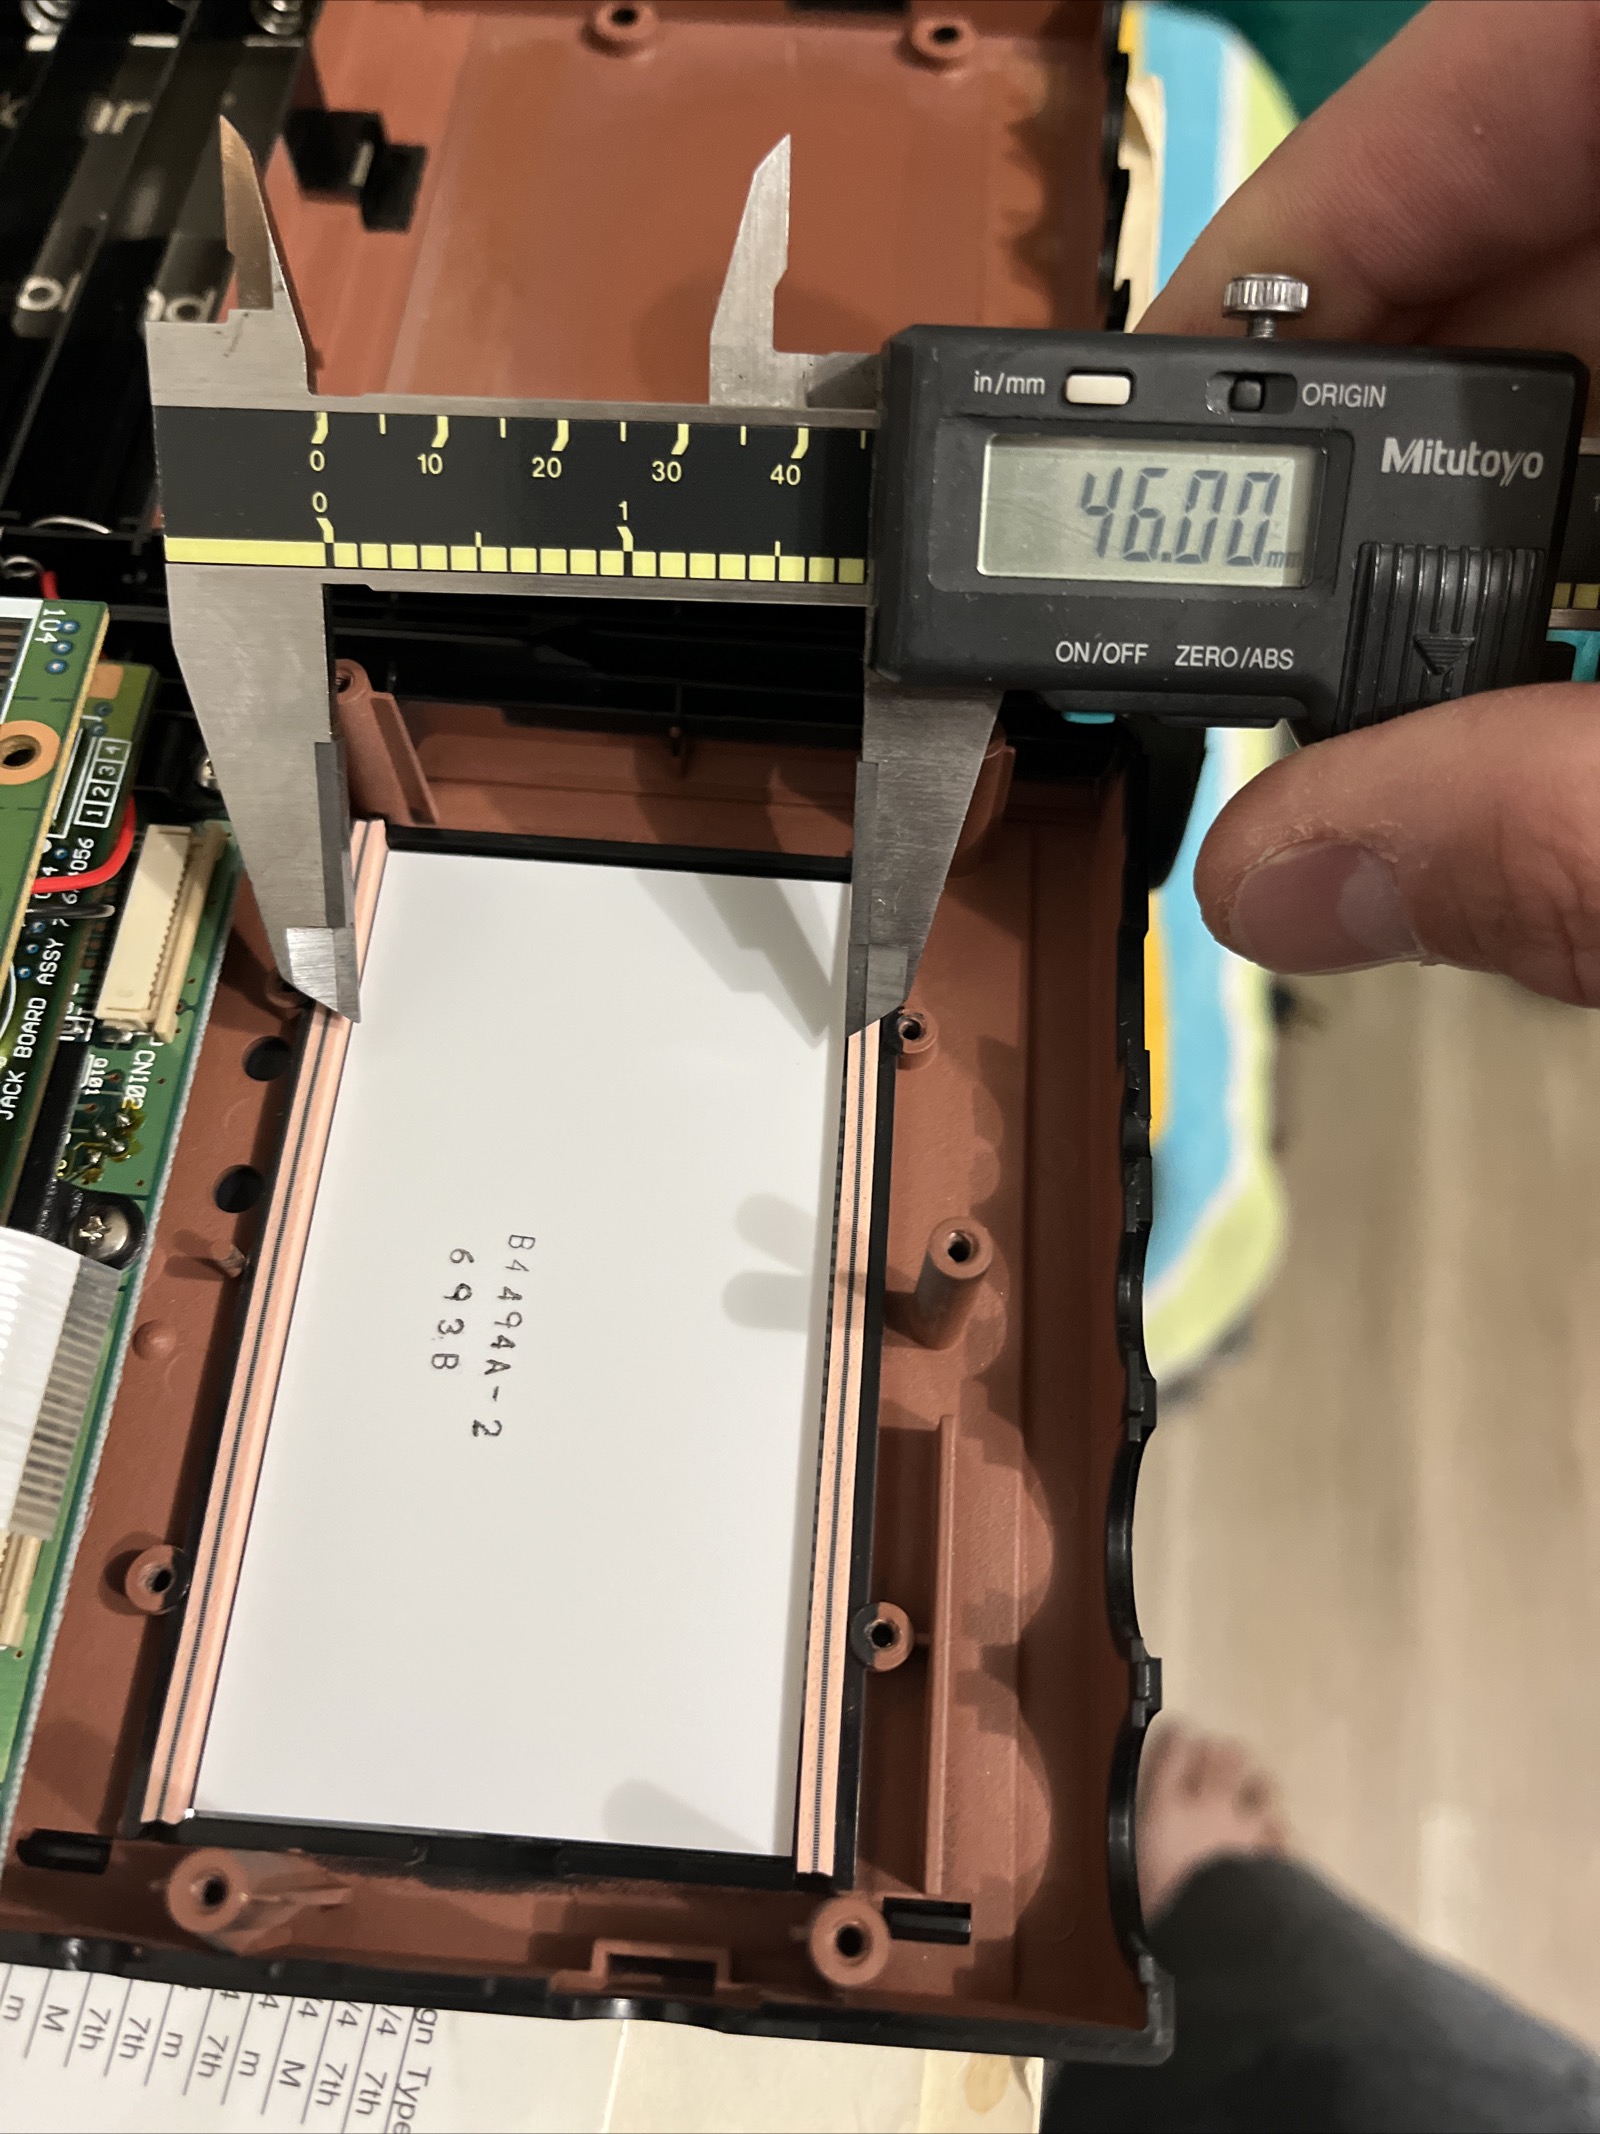
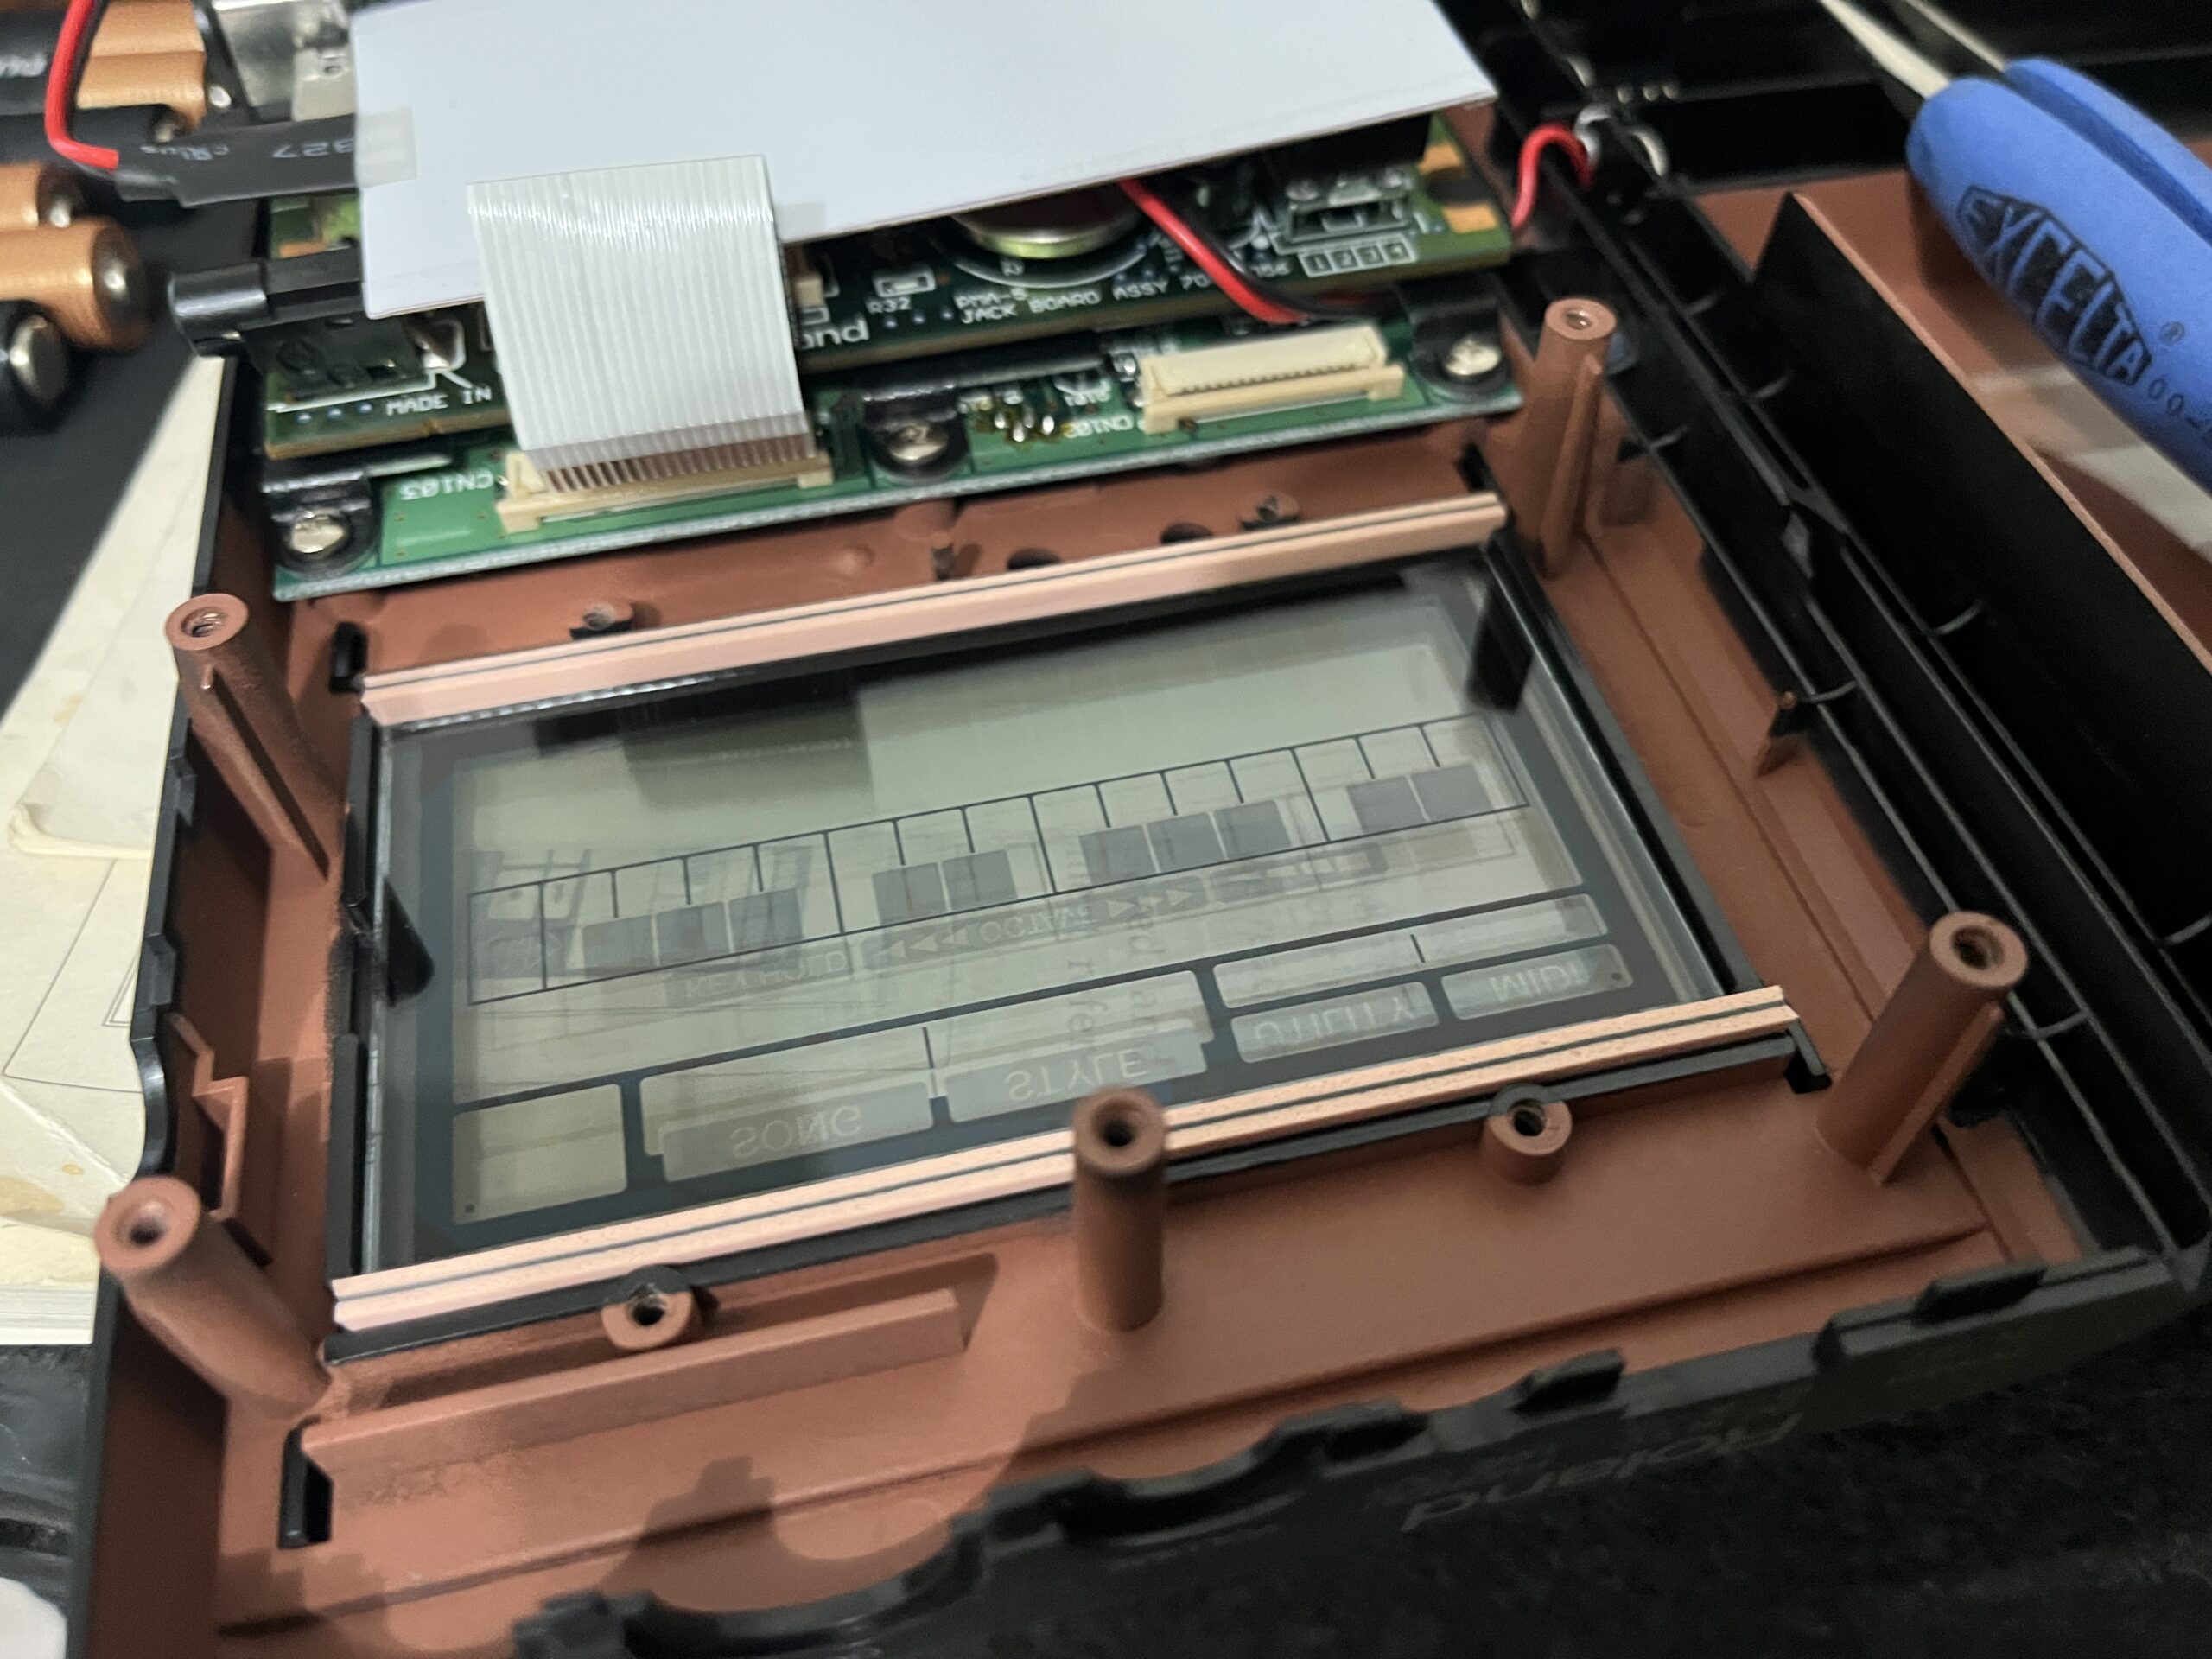
First obtain an operational unit. Tear down the unit to access the LCD screen. The rubber contacts probably will be stuck to the assembly. Carefully peel apart the assembly and remove the mirror sticker on the back of the LCD screen. Clean the screen from sticker residue with IPA. Clean all the rubber contacts, glass contacts and PCB contacts gently with IPA and a cotton swab. Remove any dust or debris.


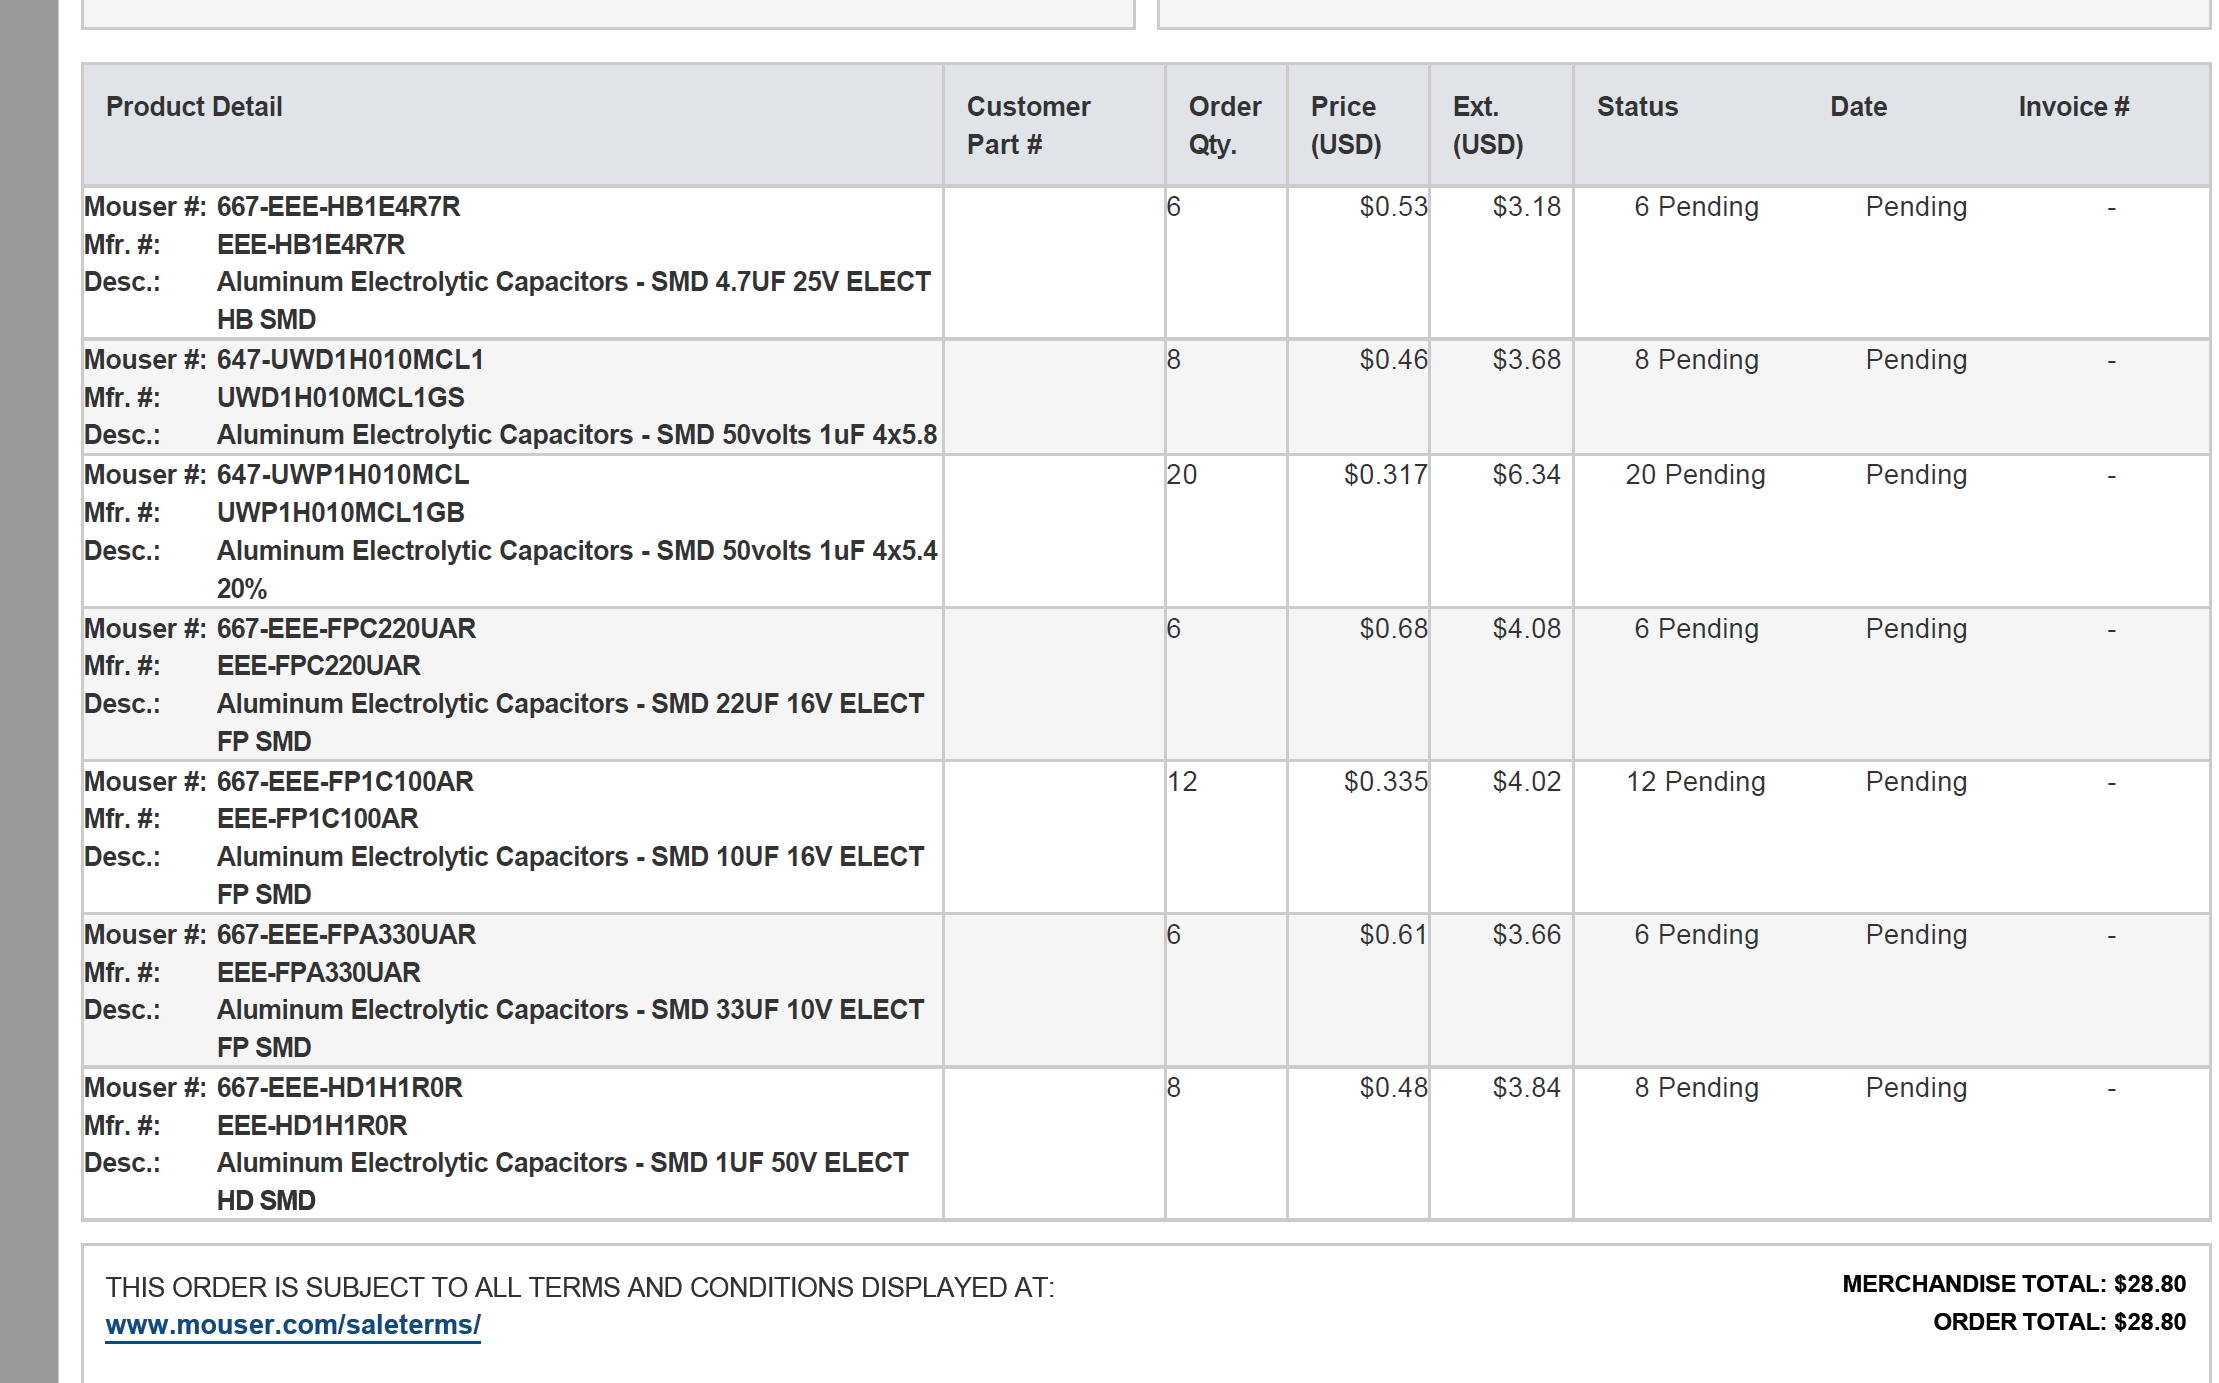
Next you will need these parts.
EL Panel and Transformer
DC Buck Converter
DC Power Filter


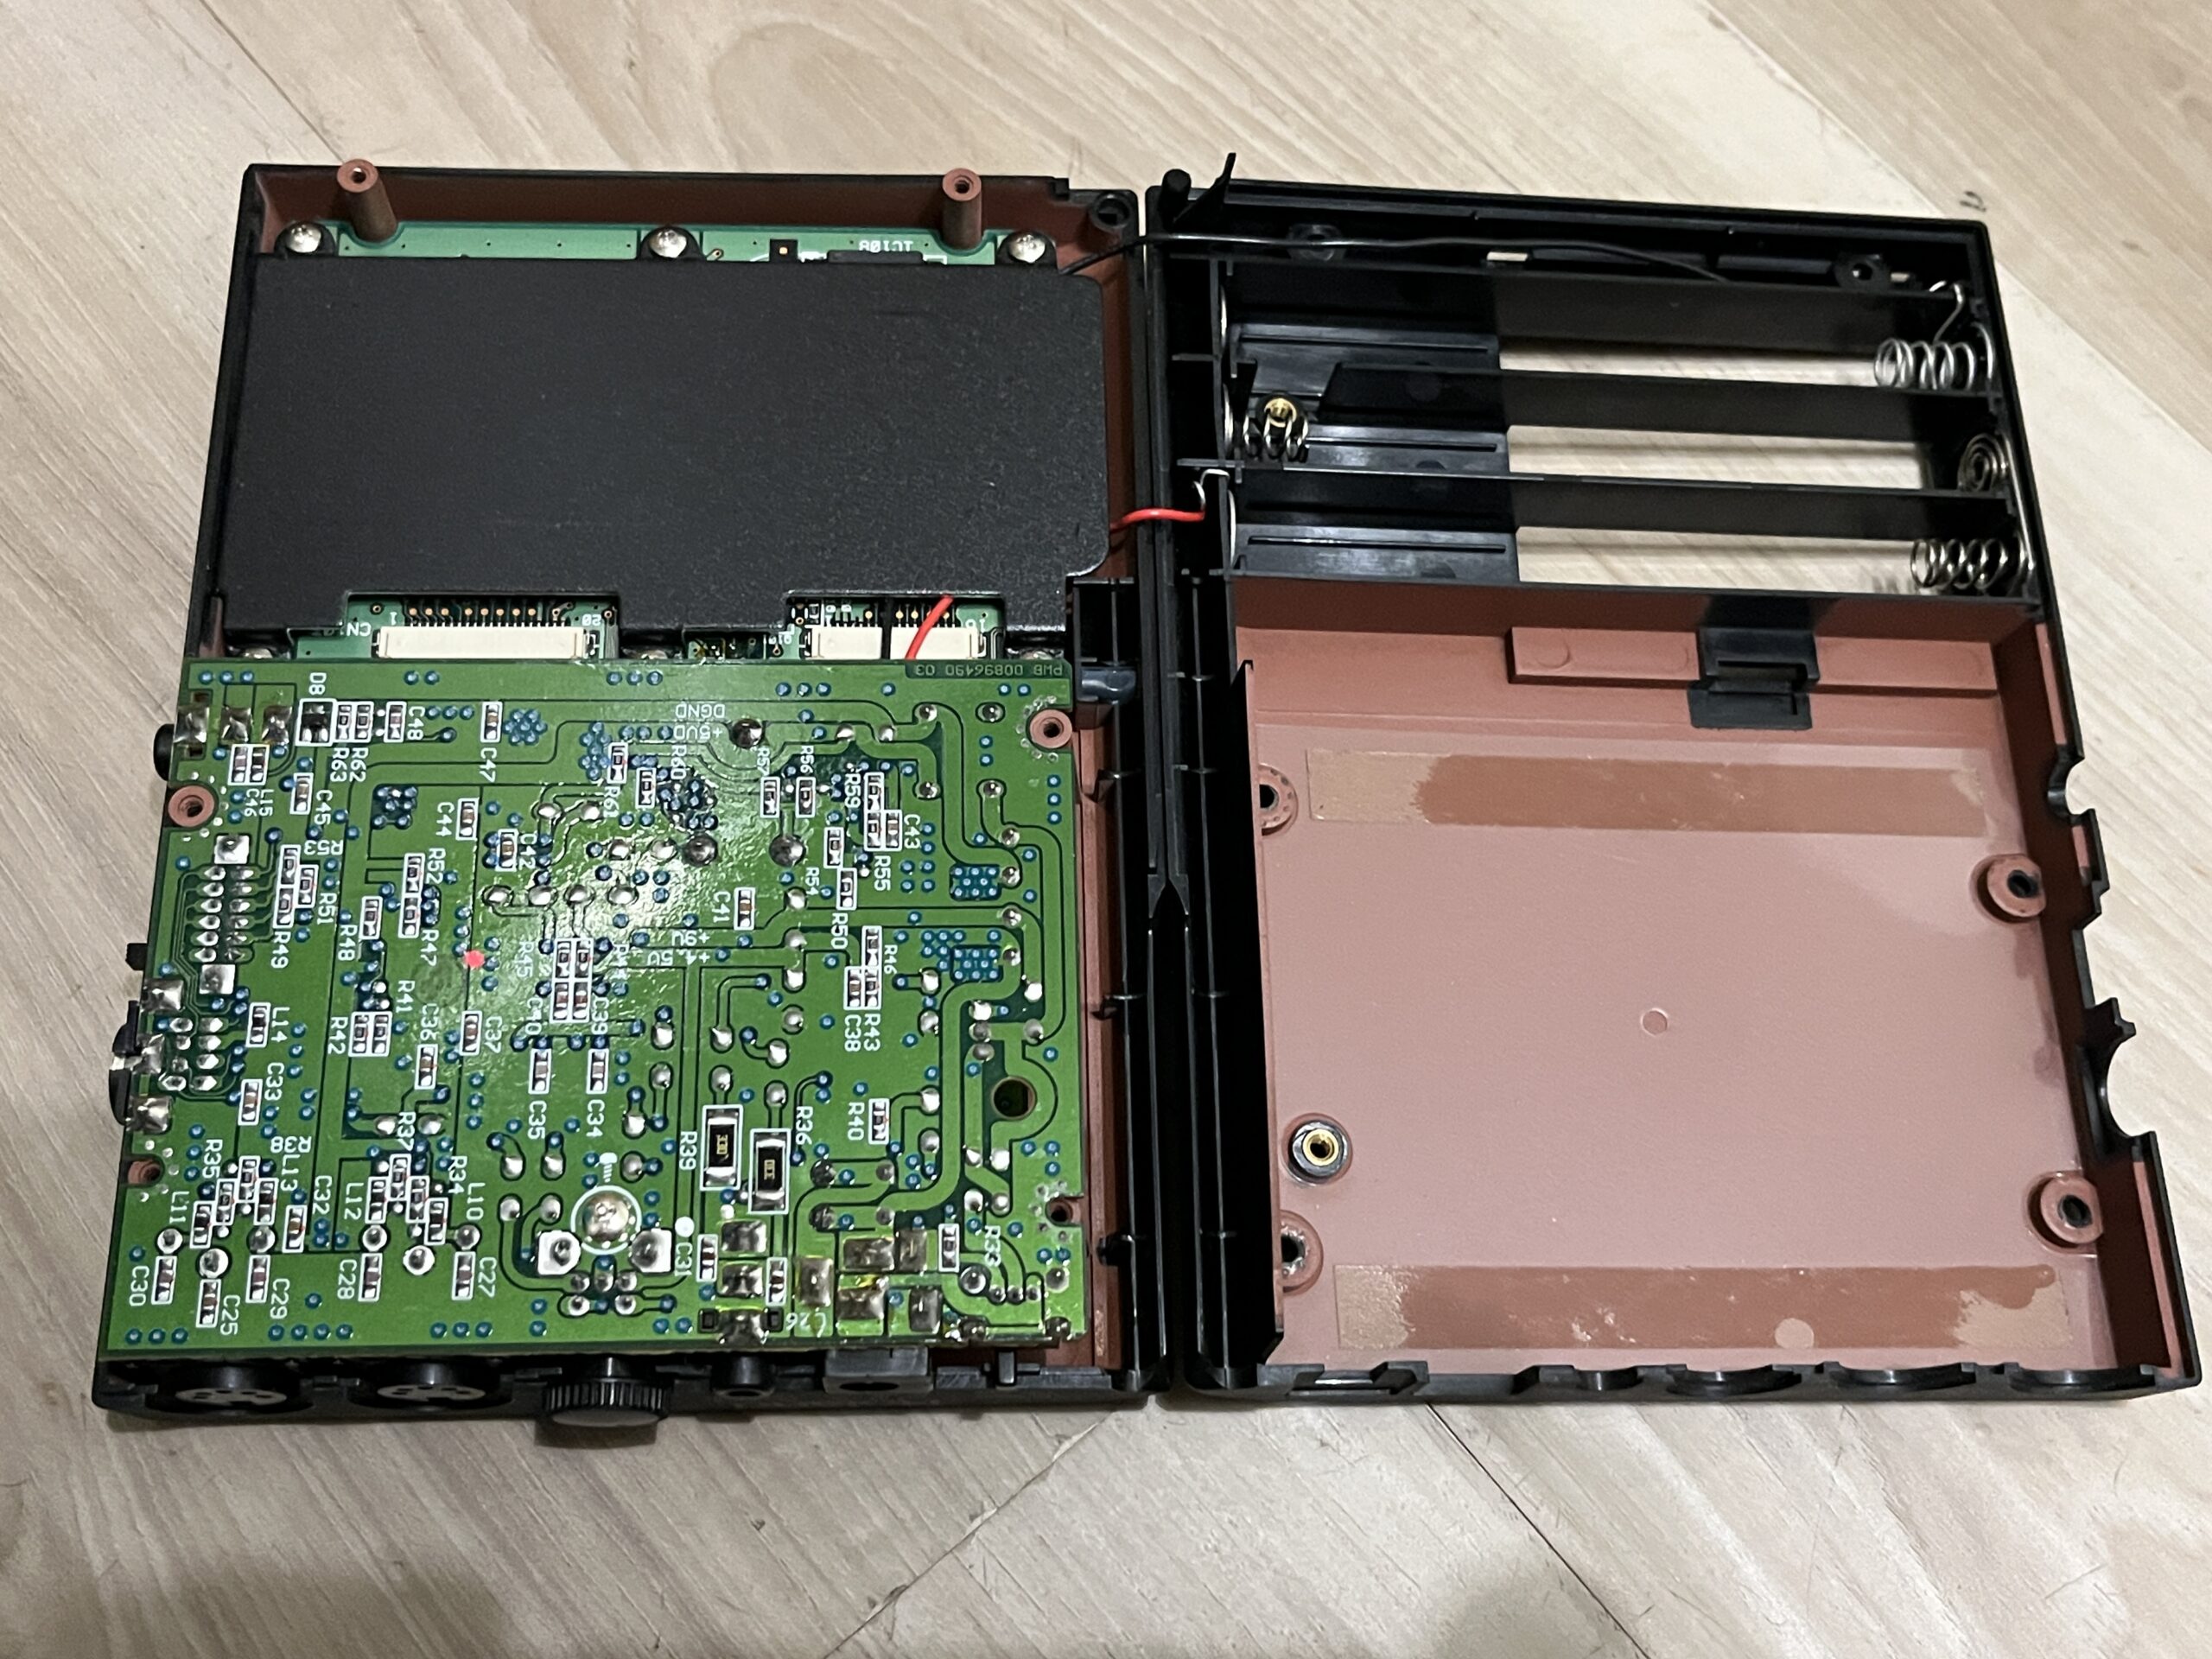
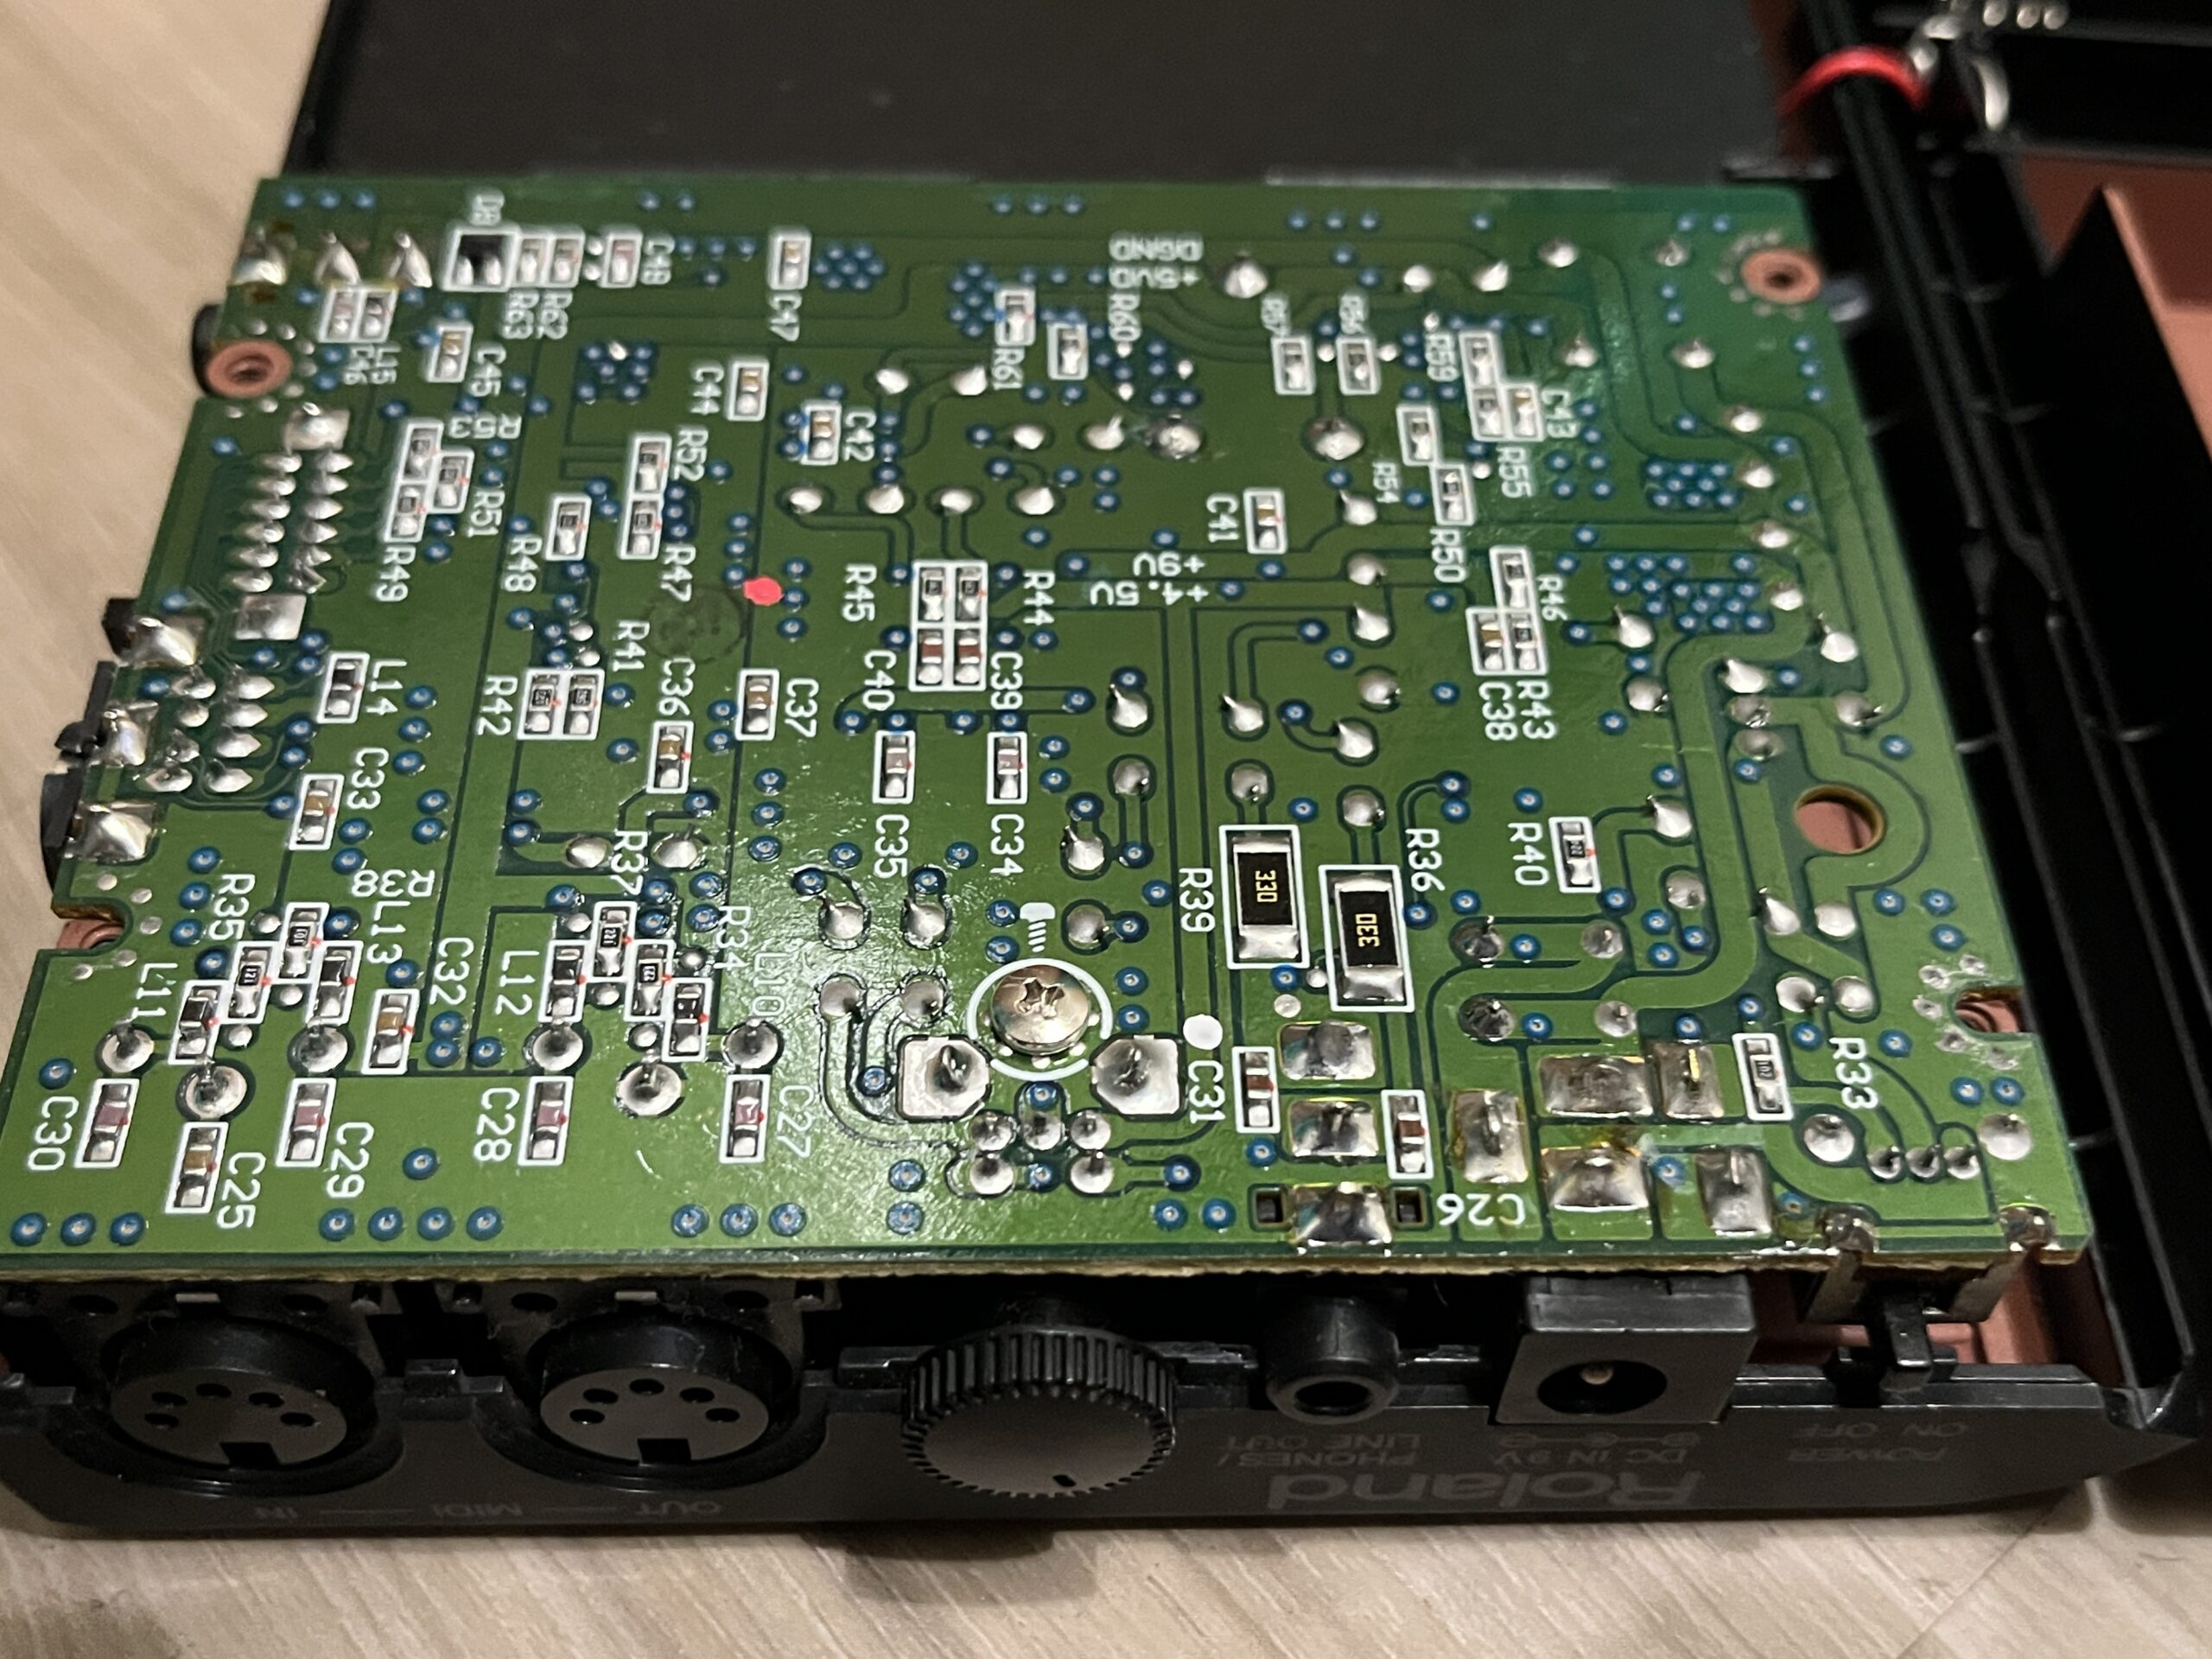
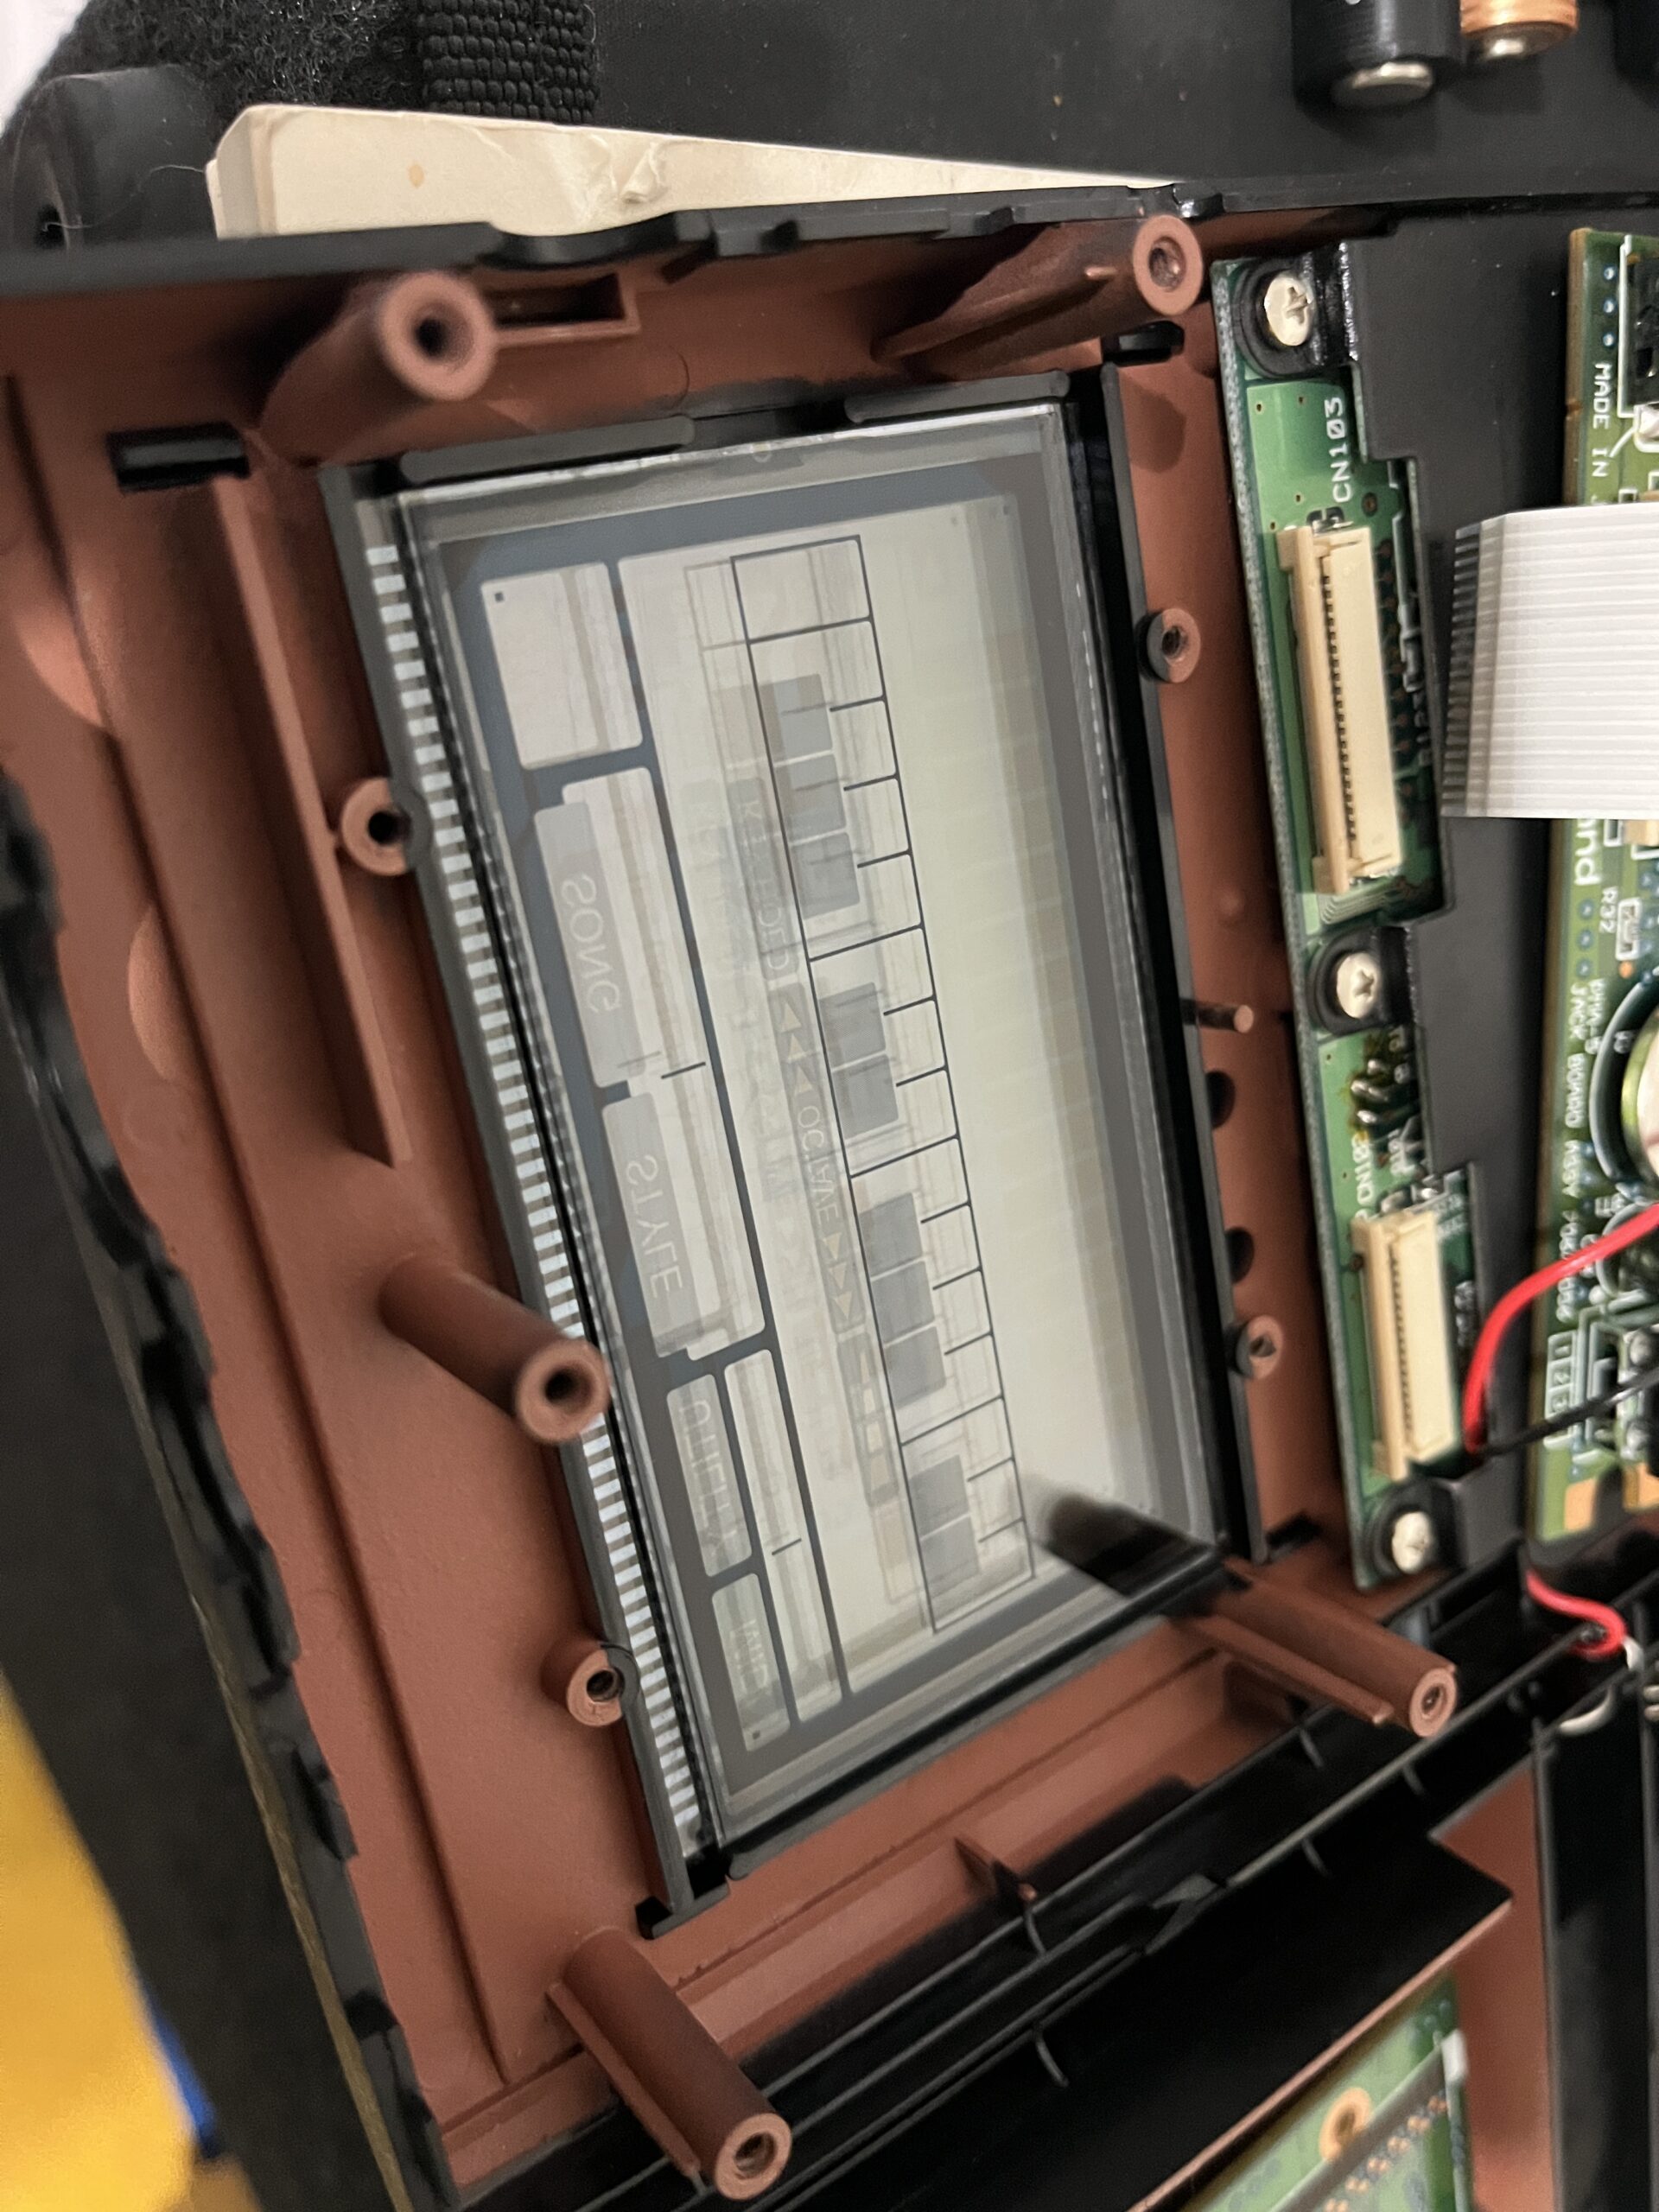
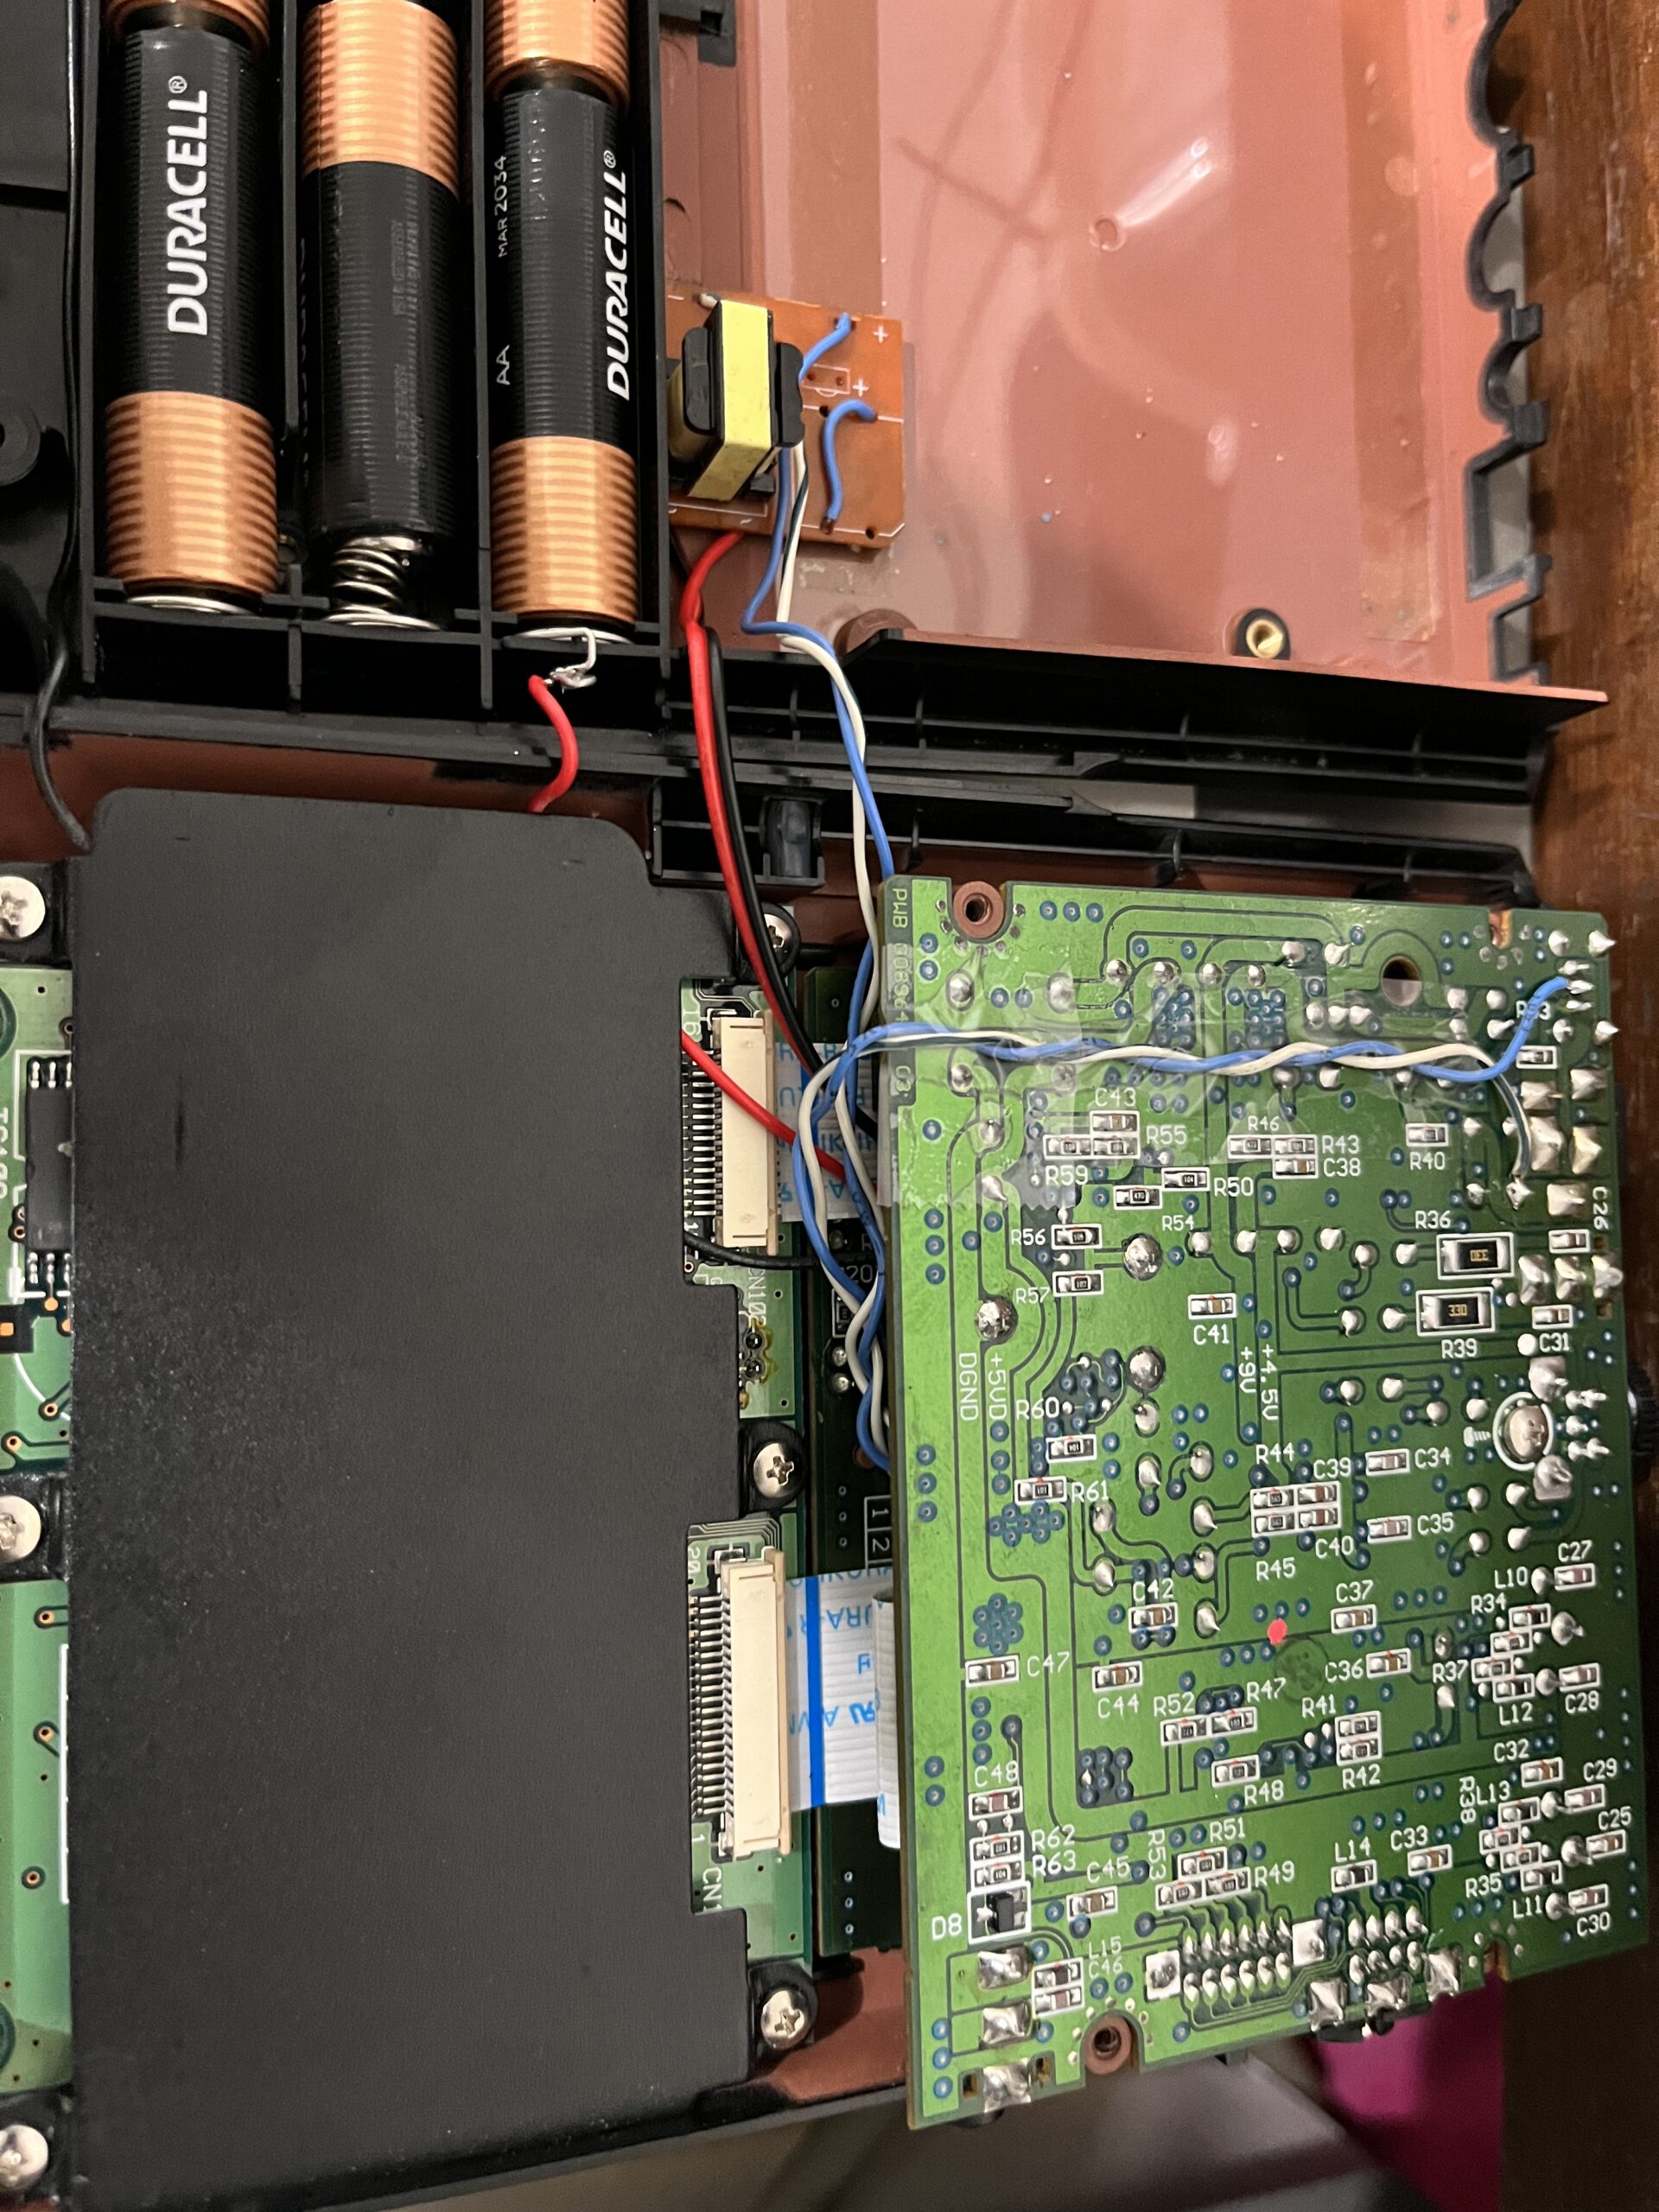
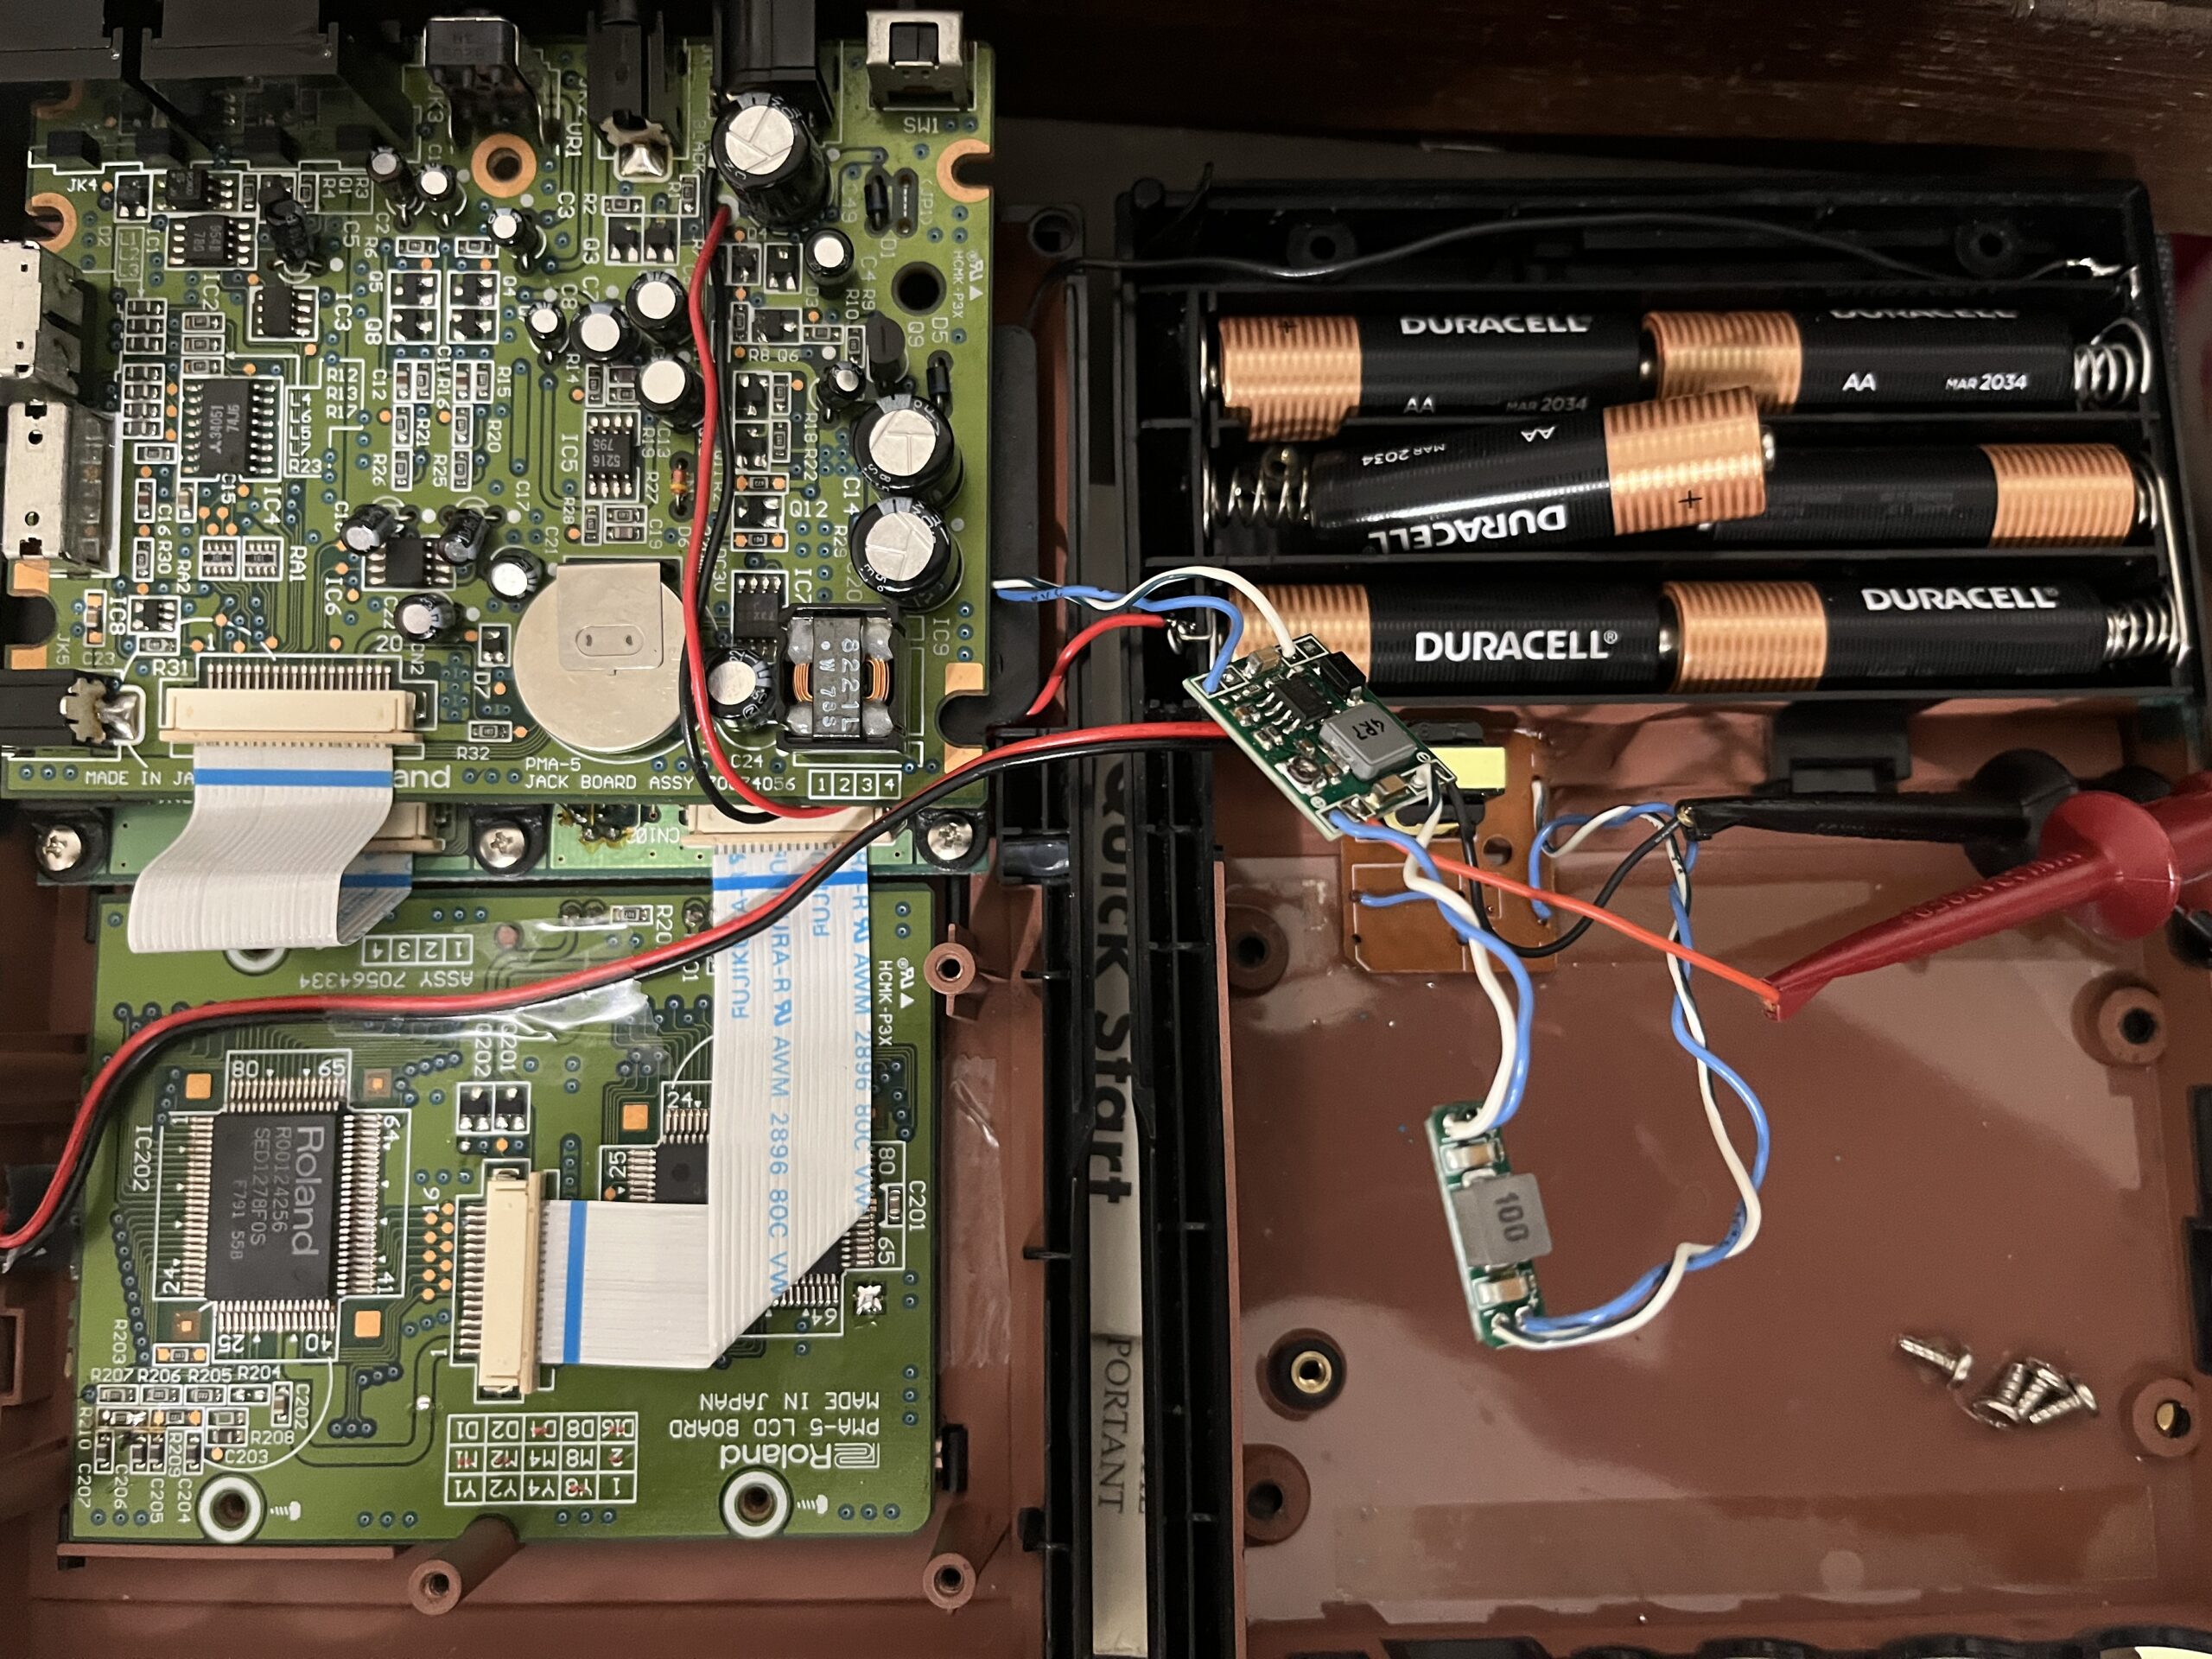
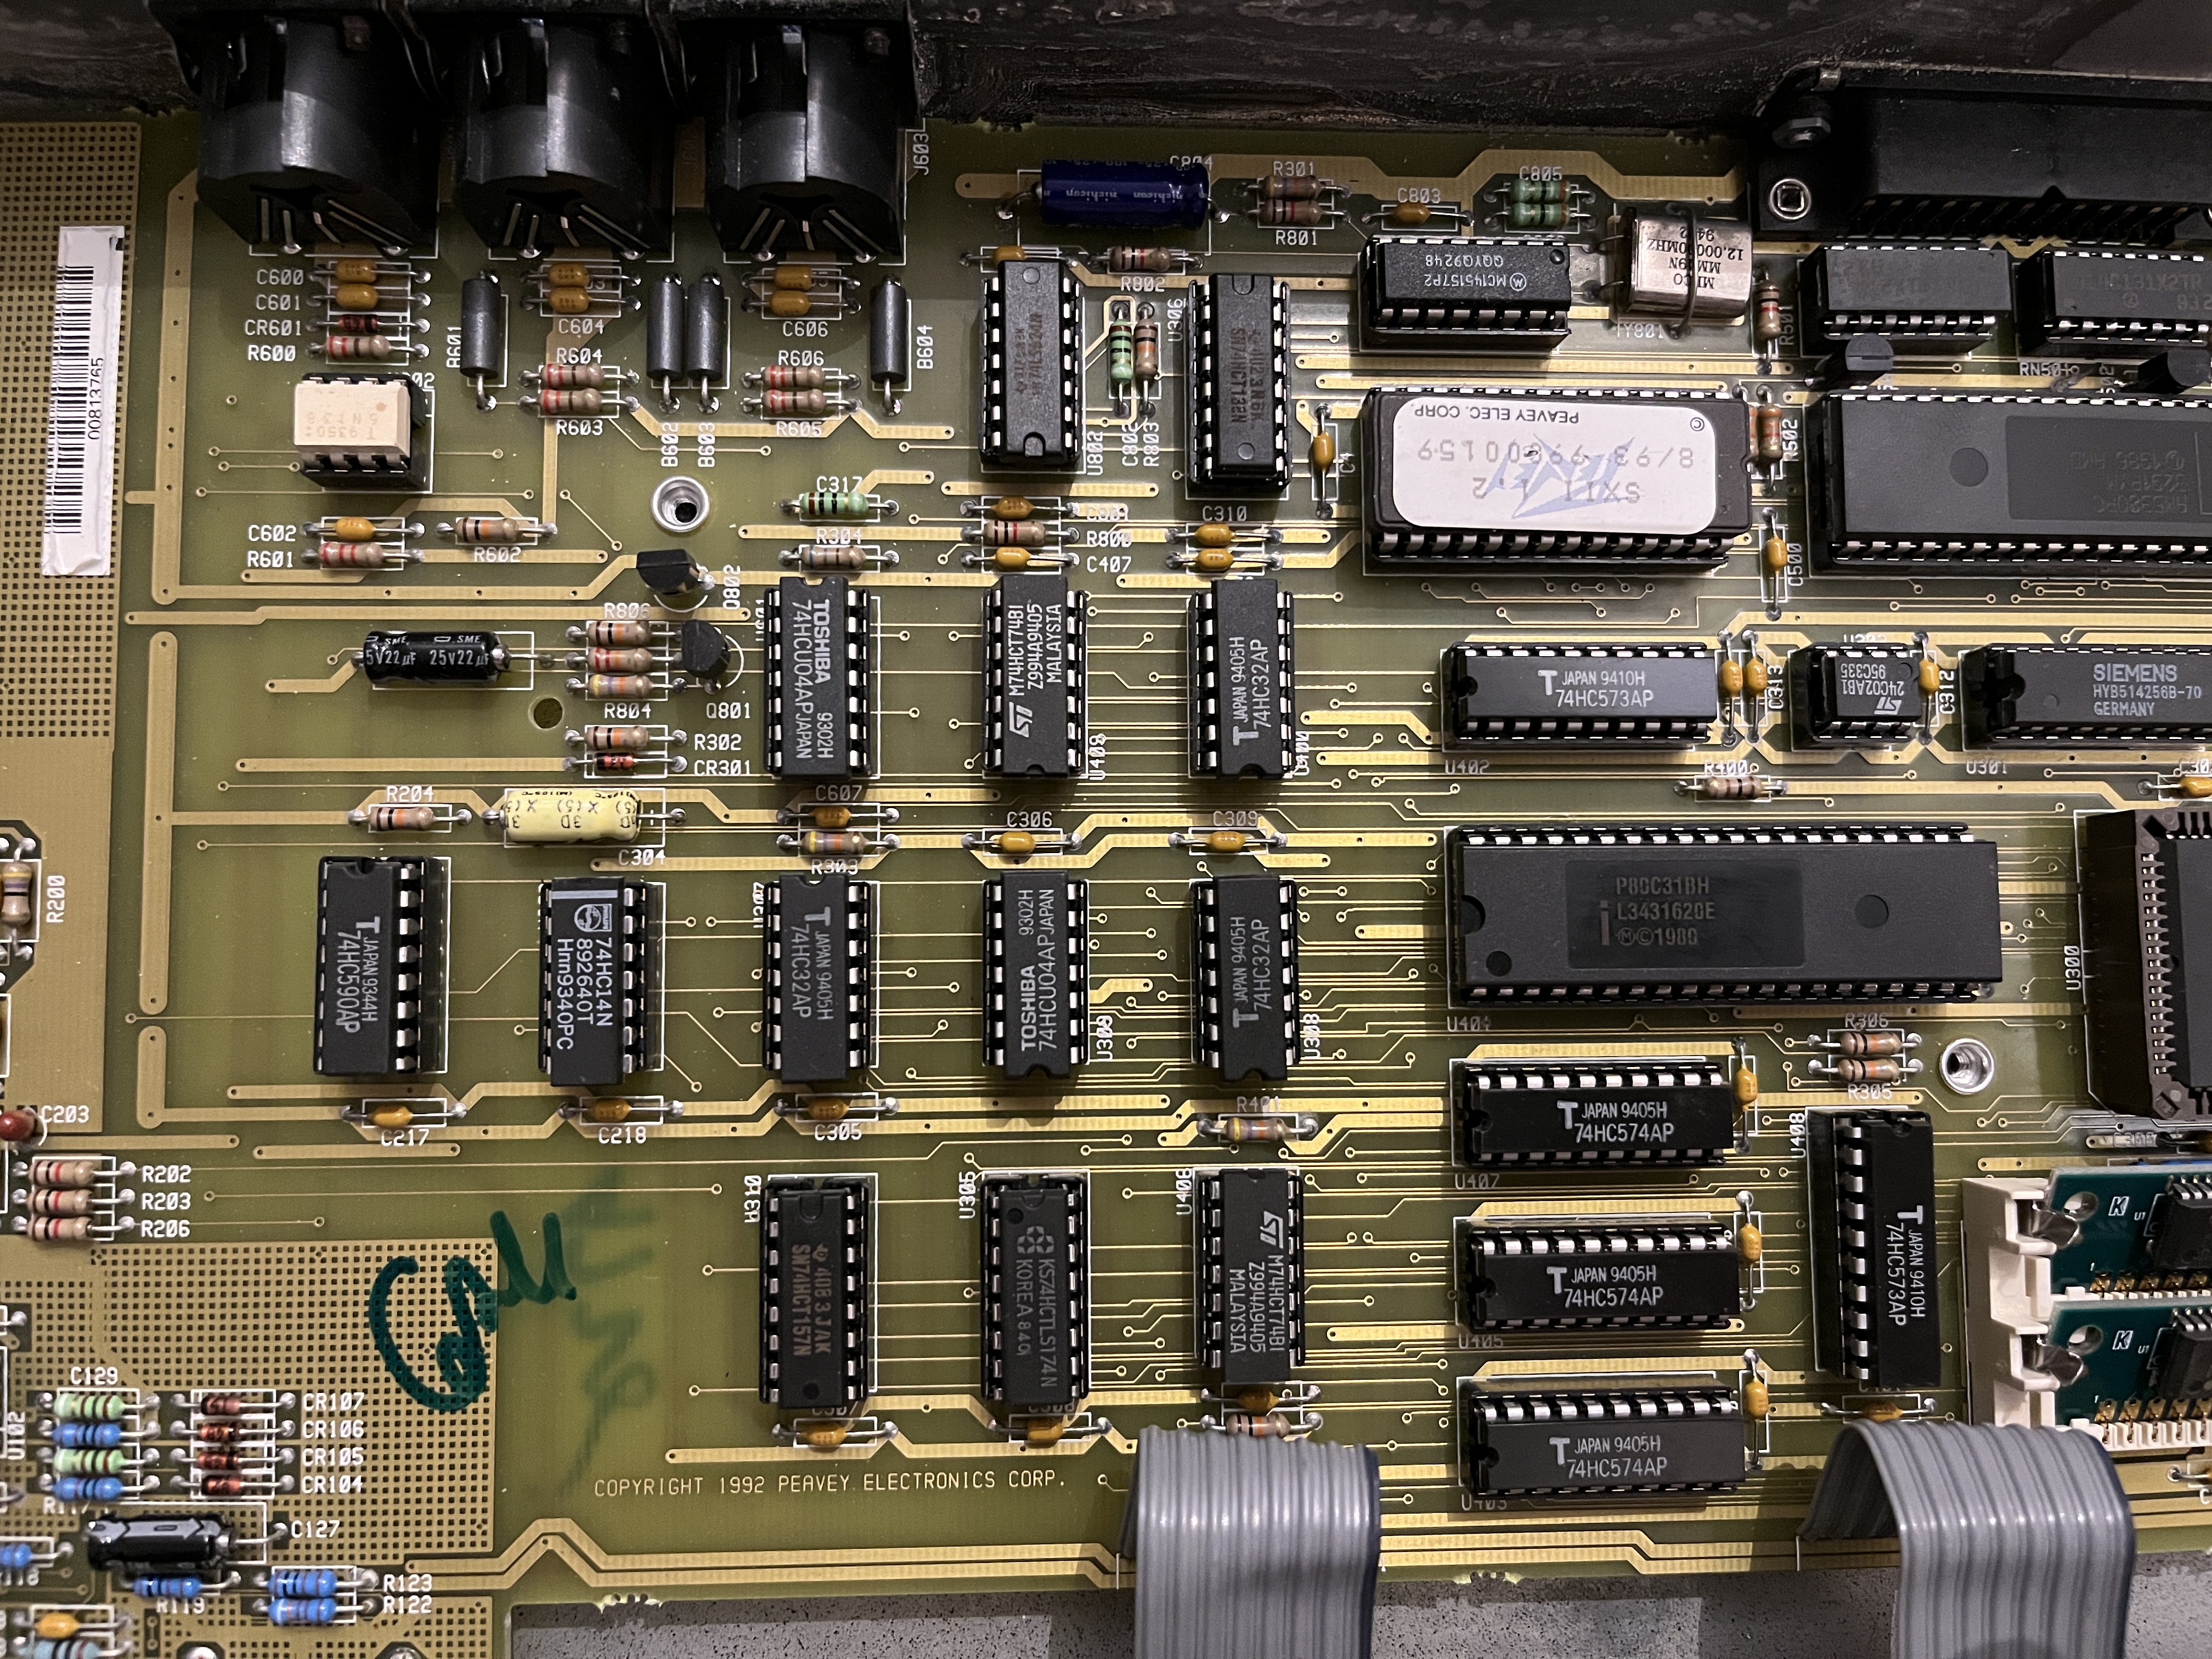
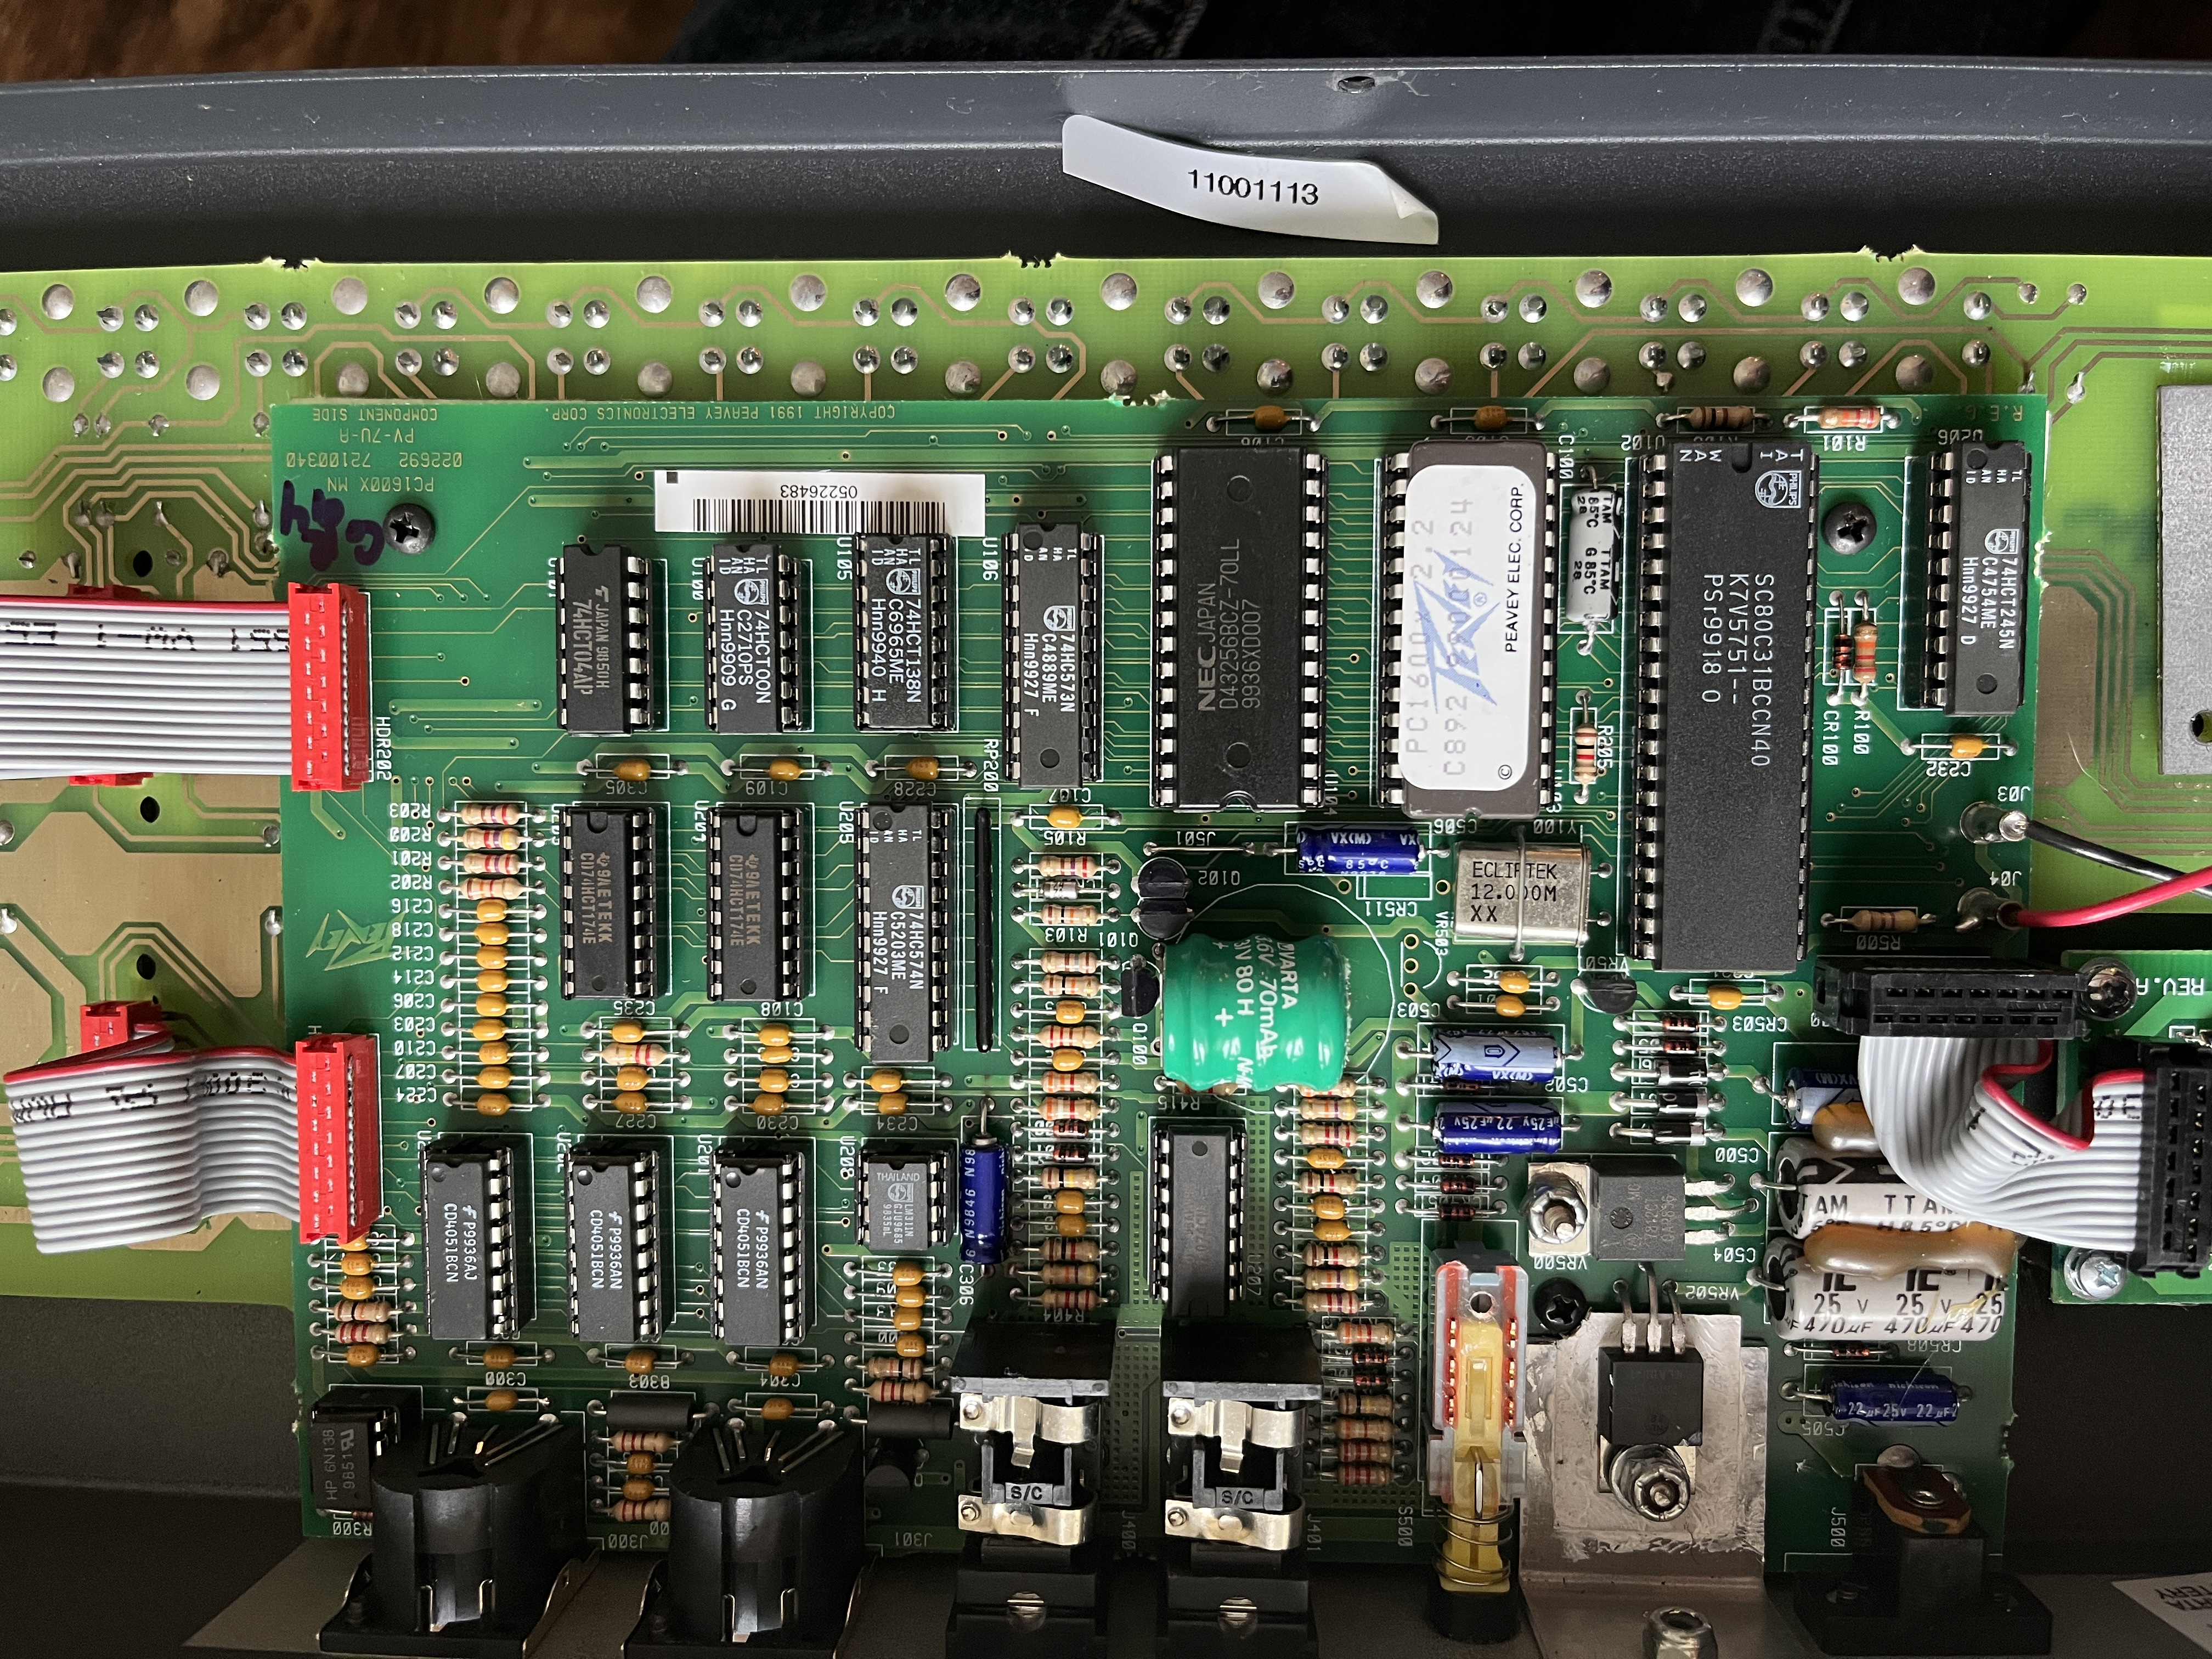
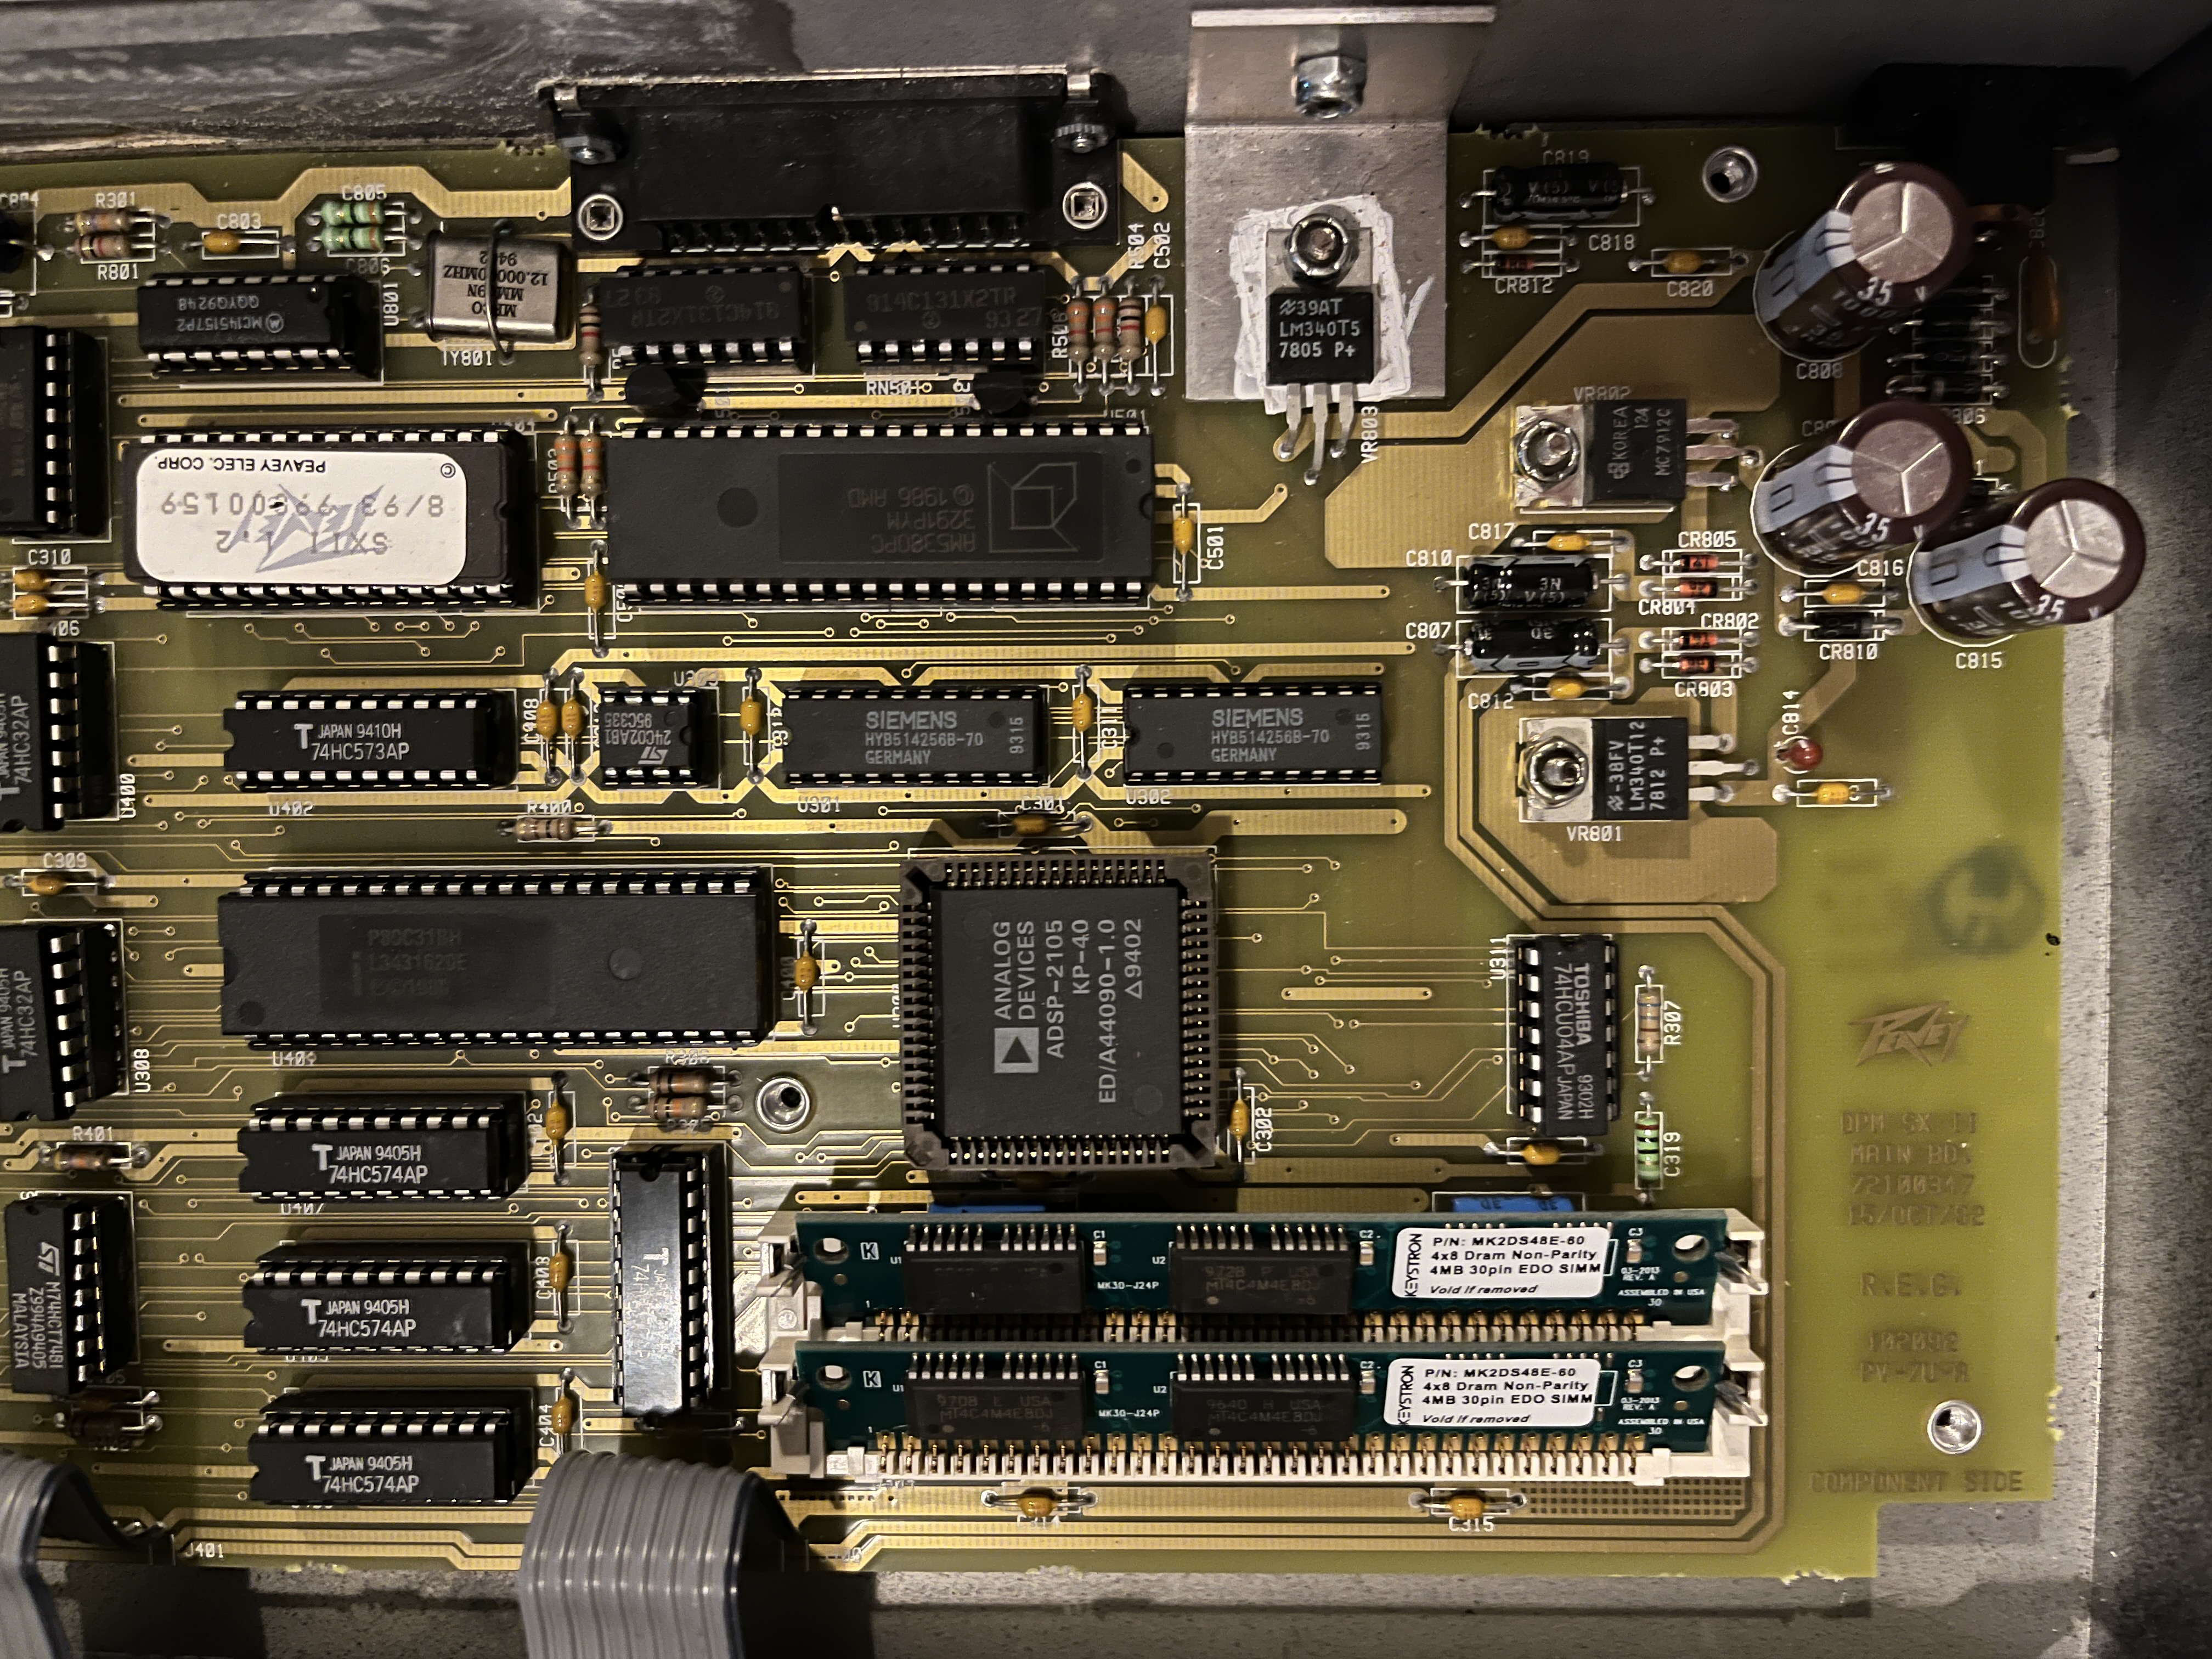
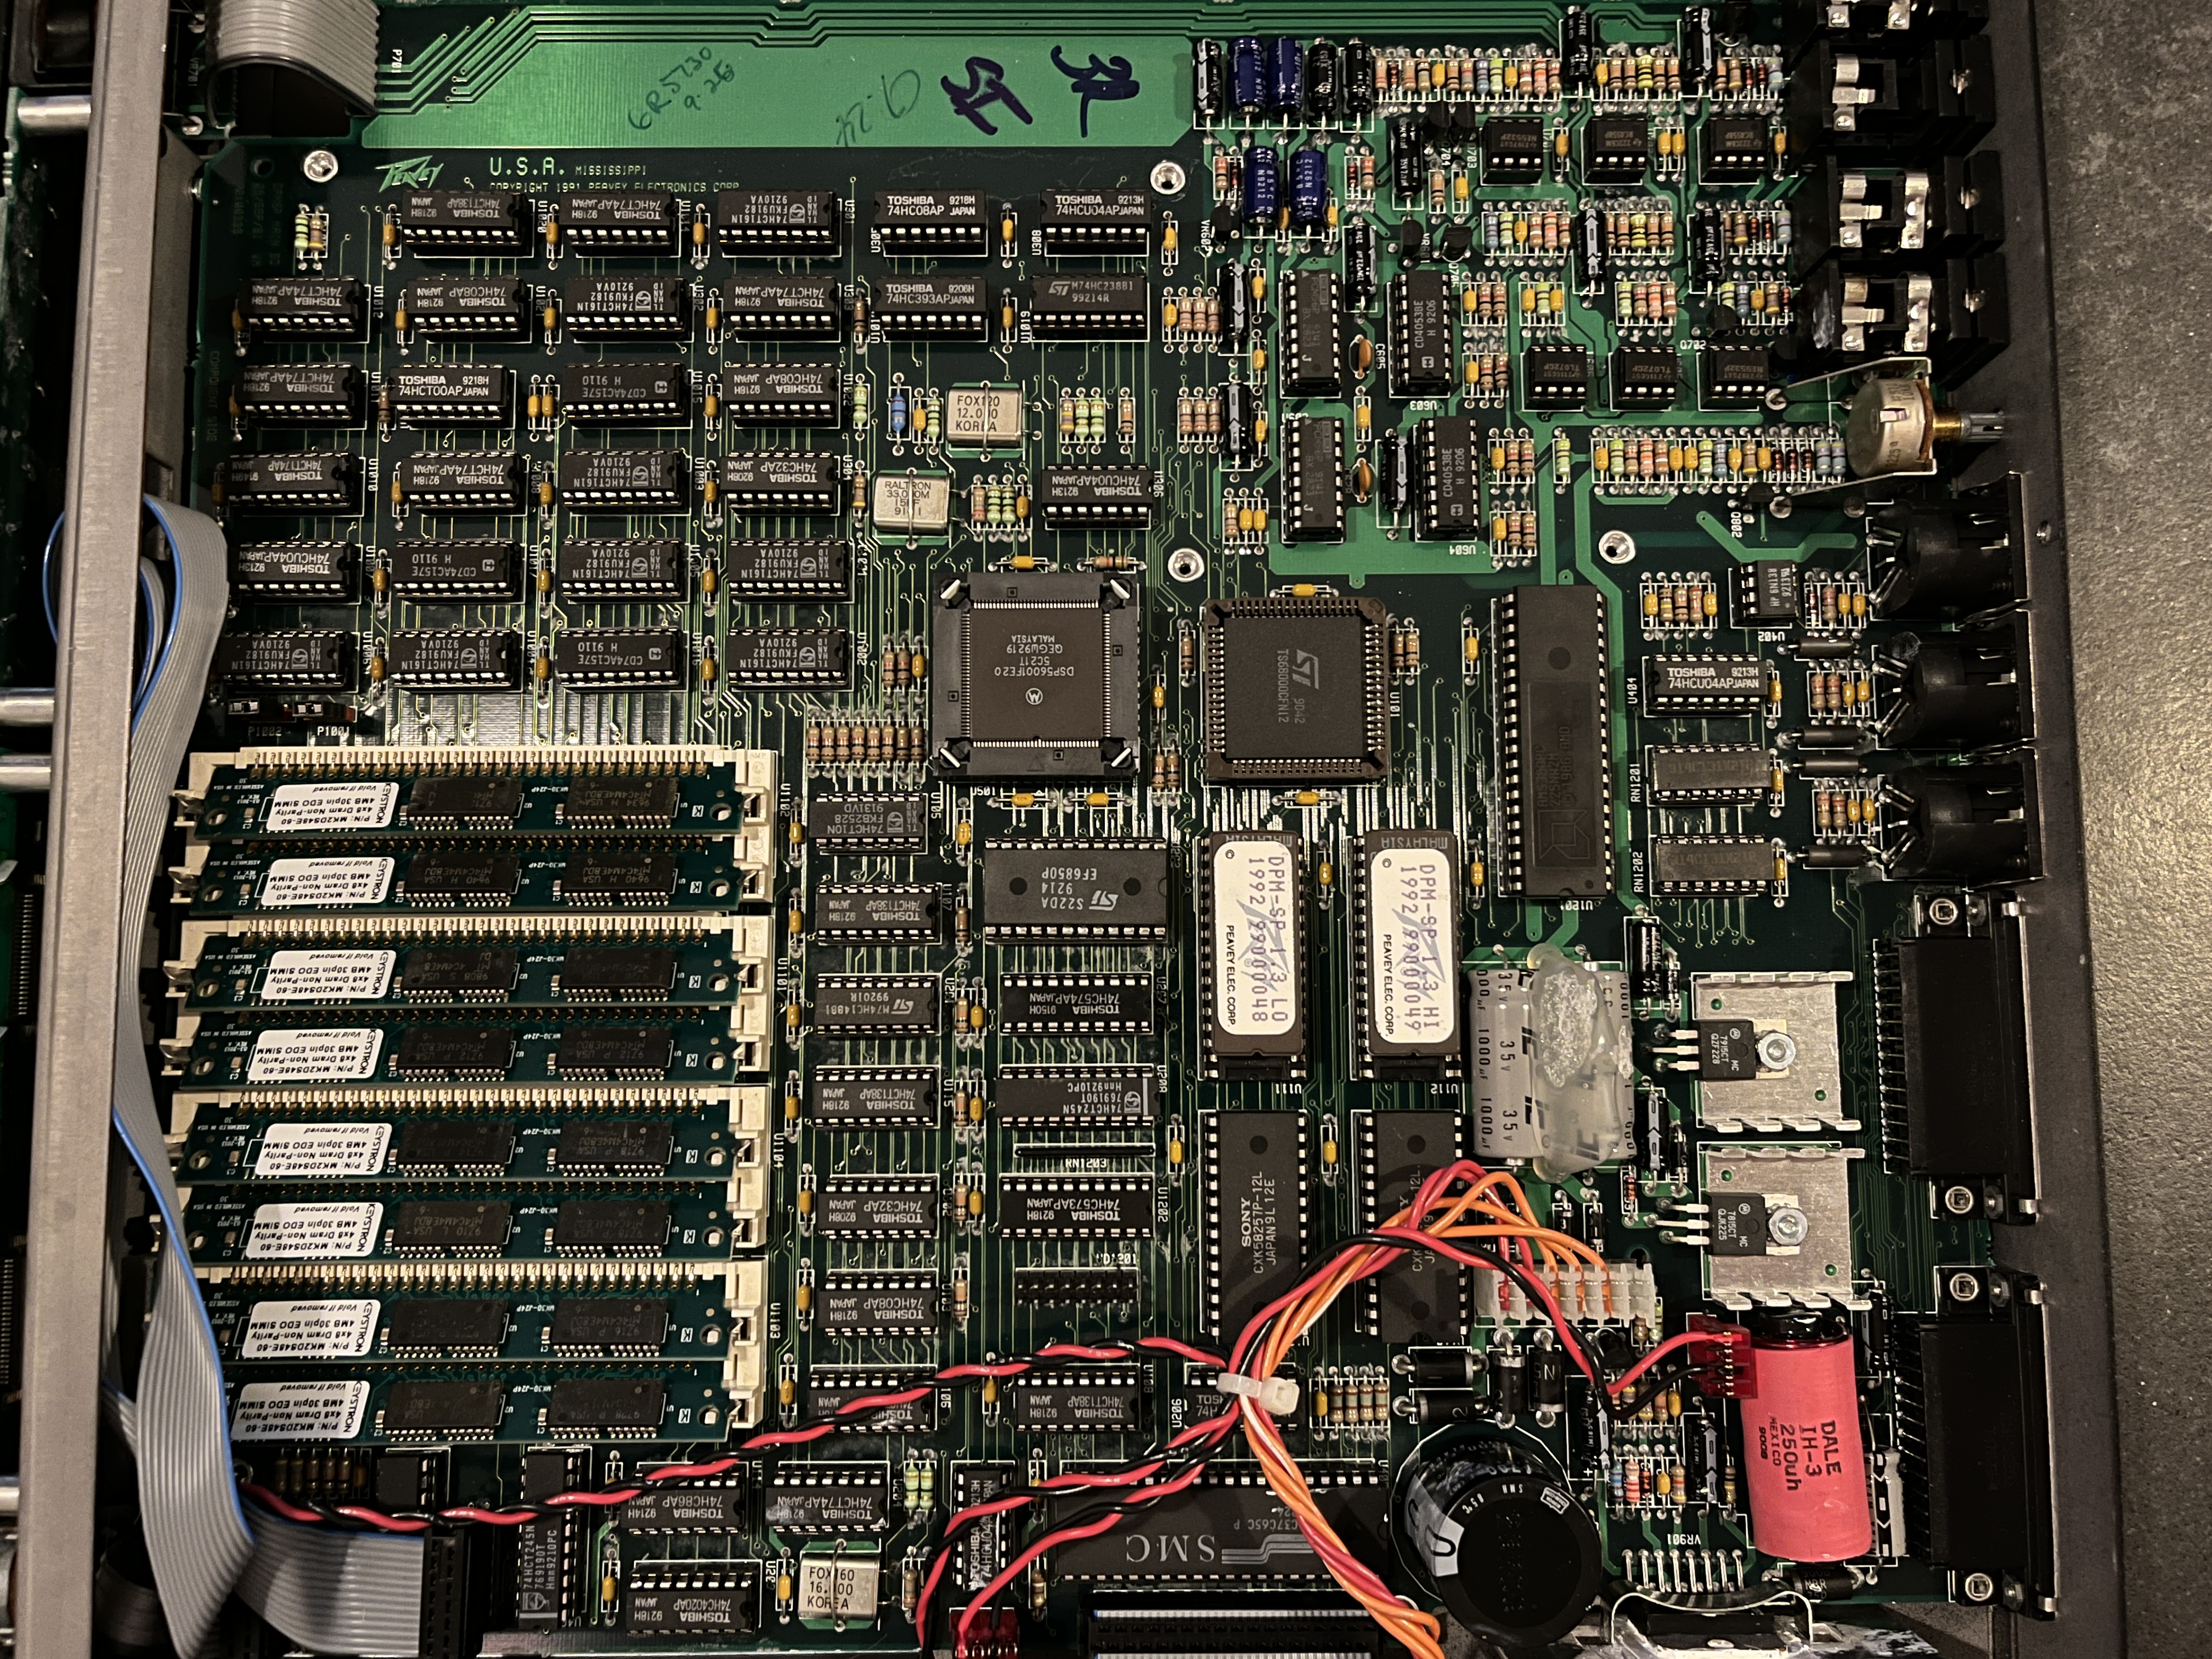
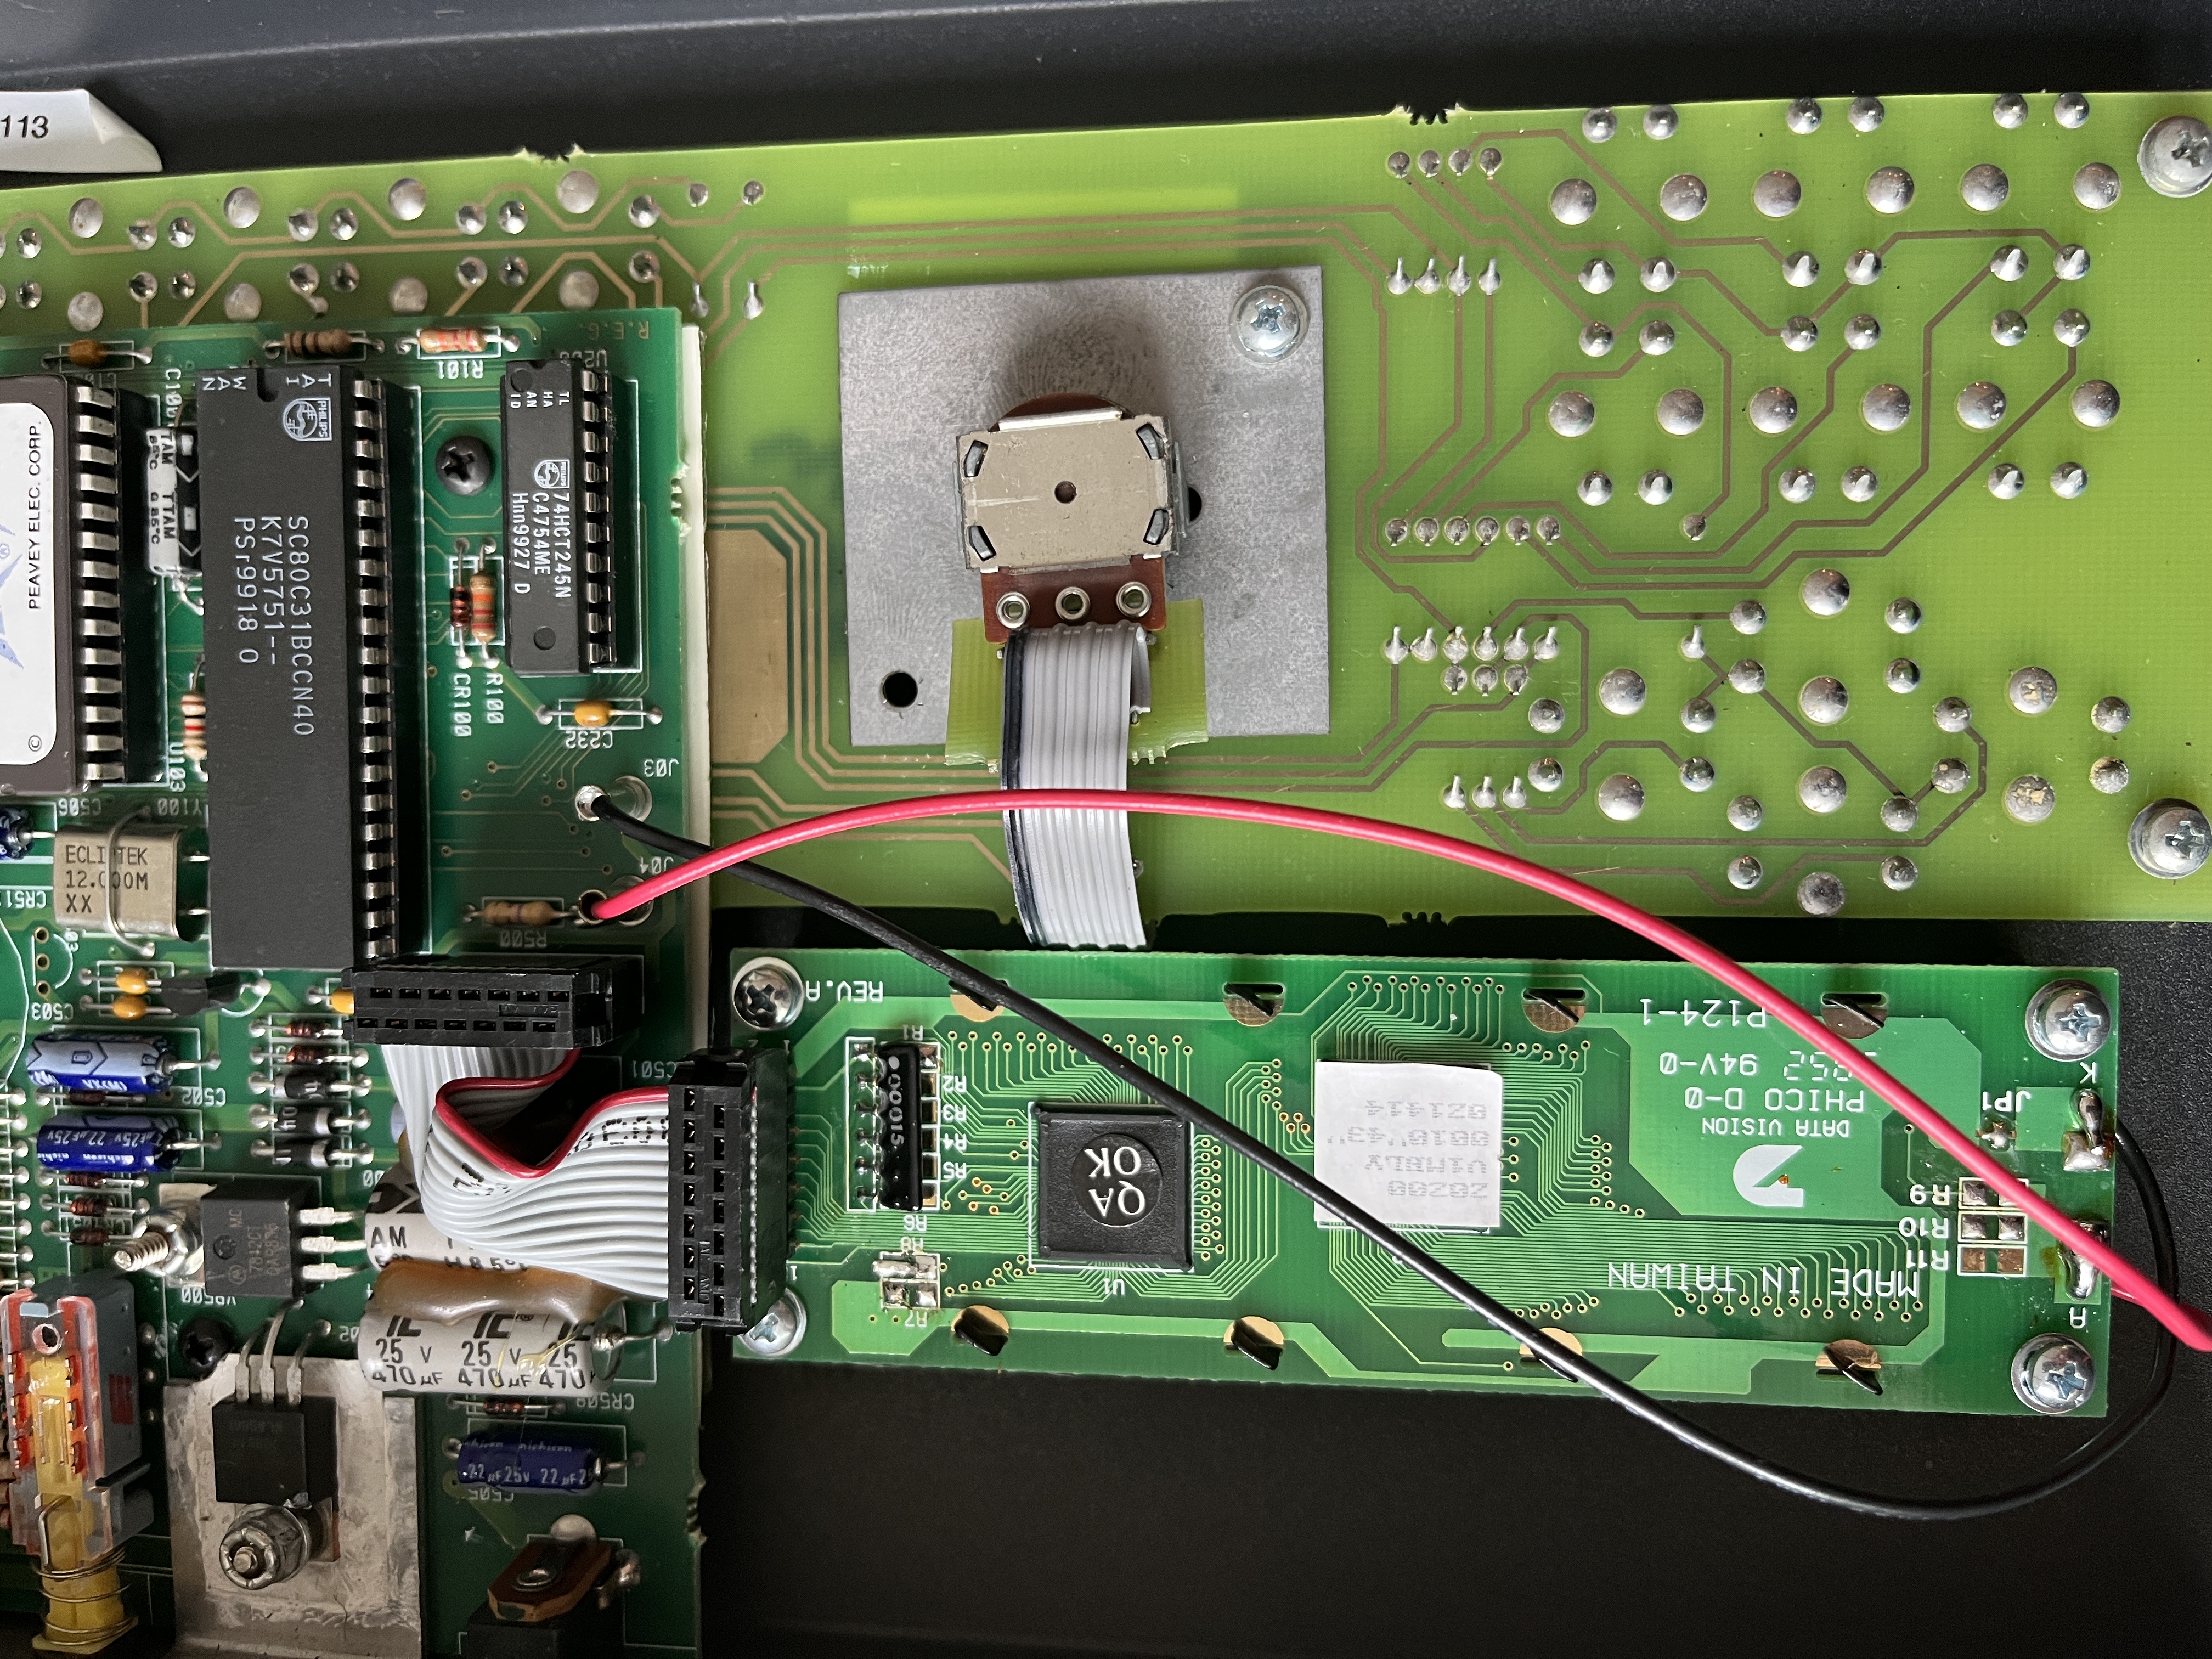
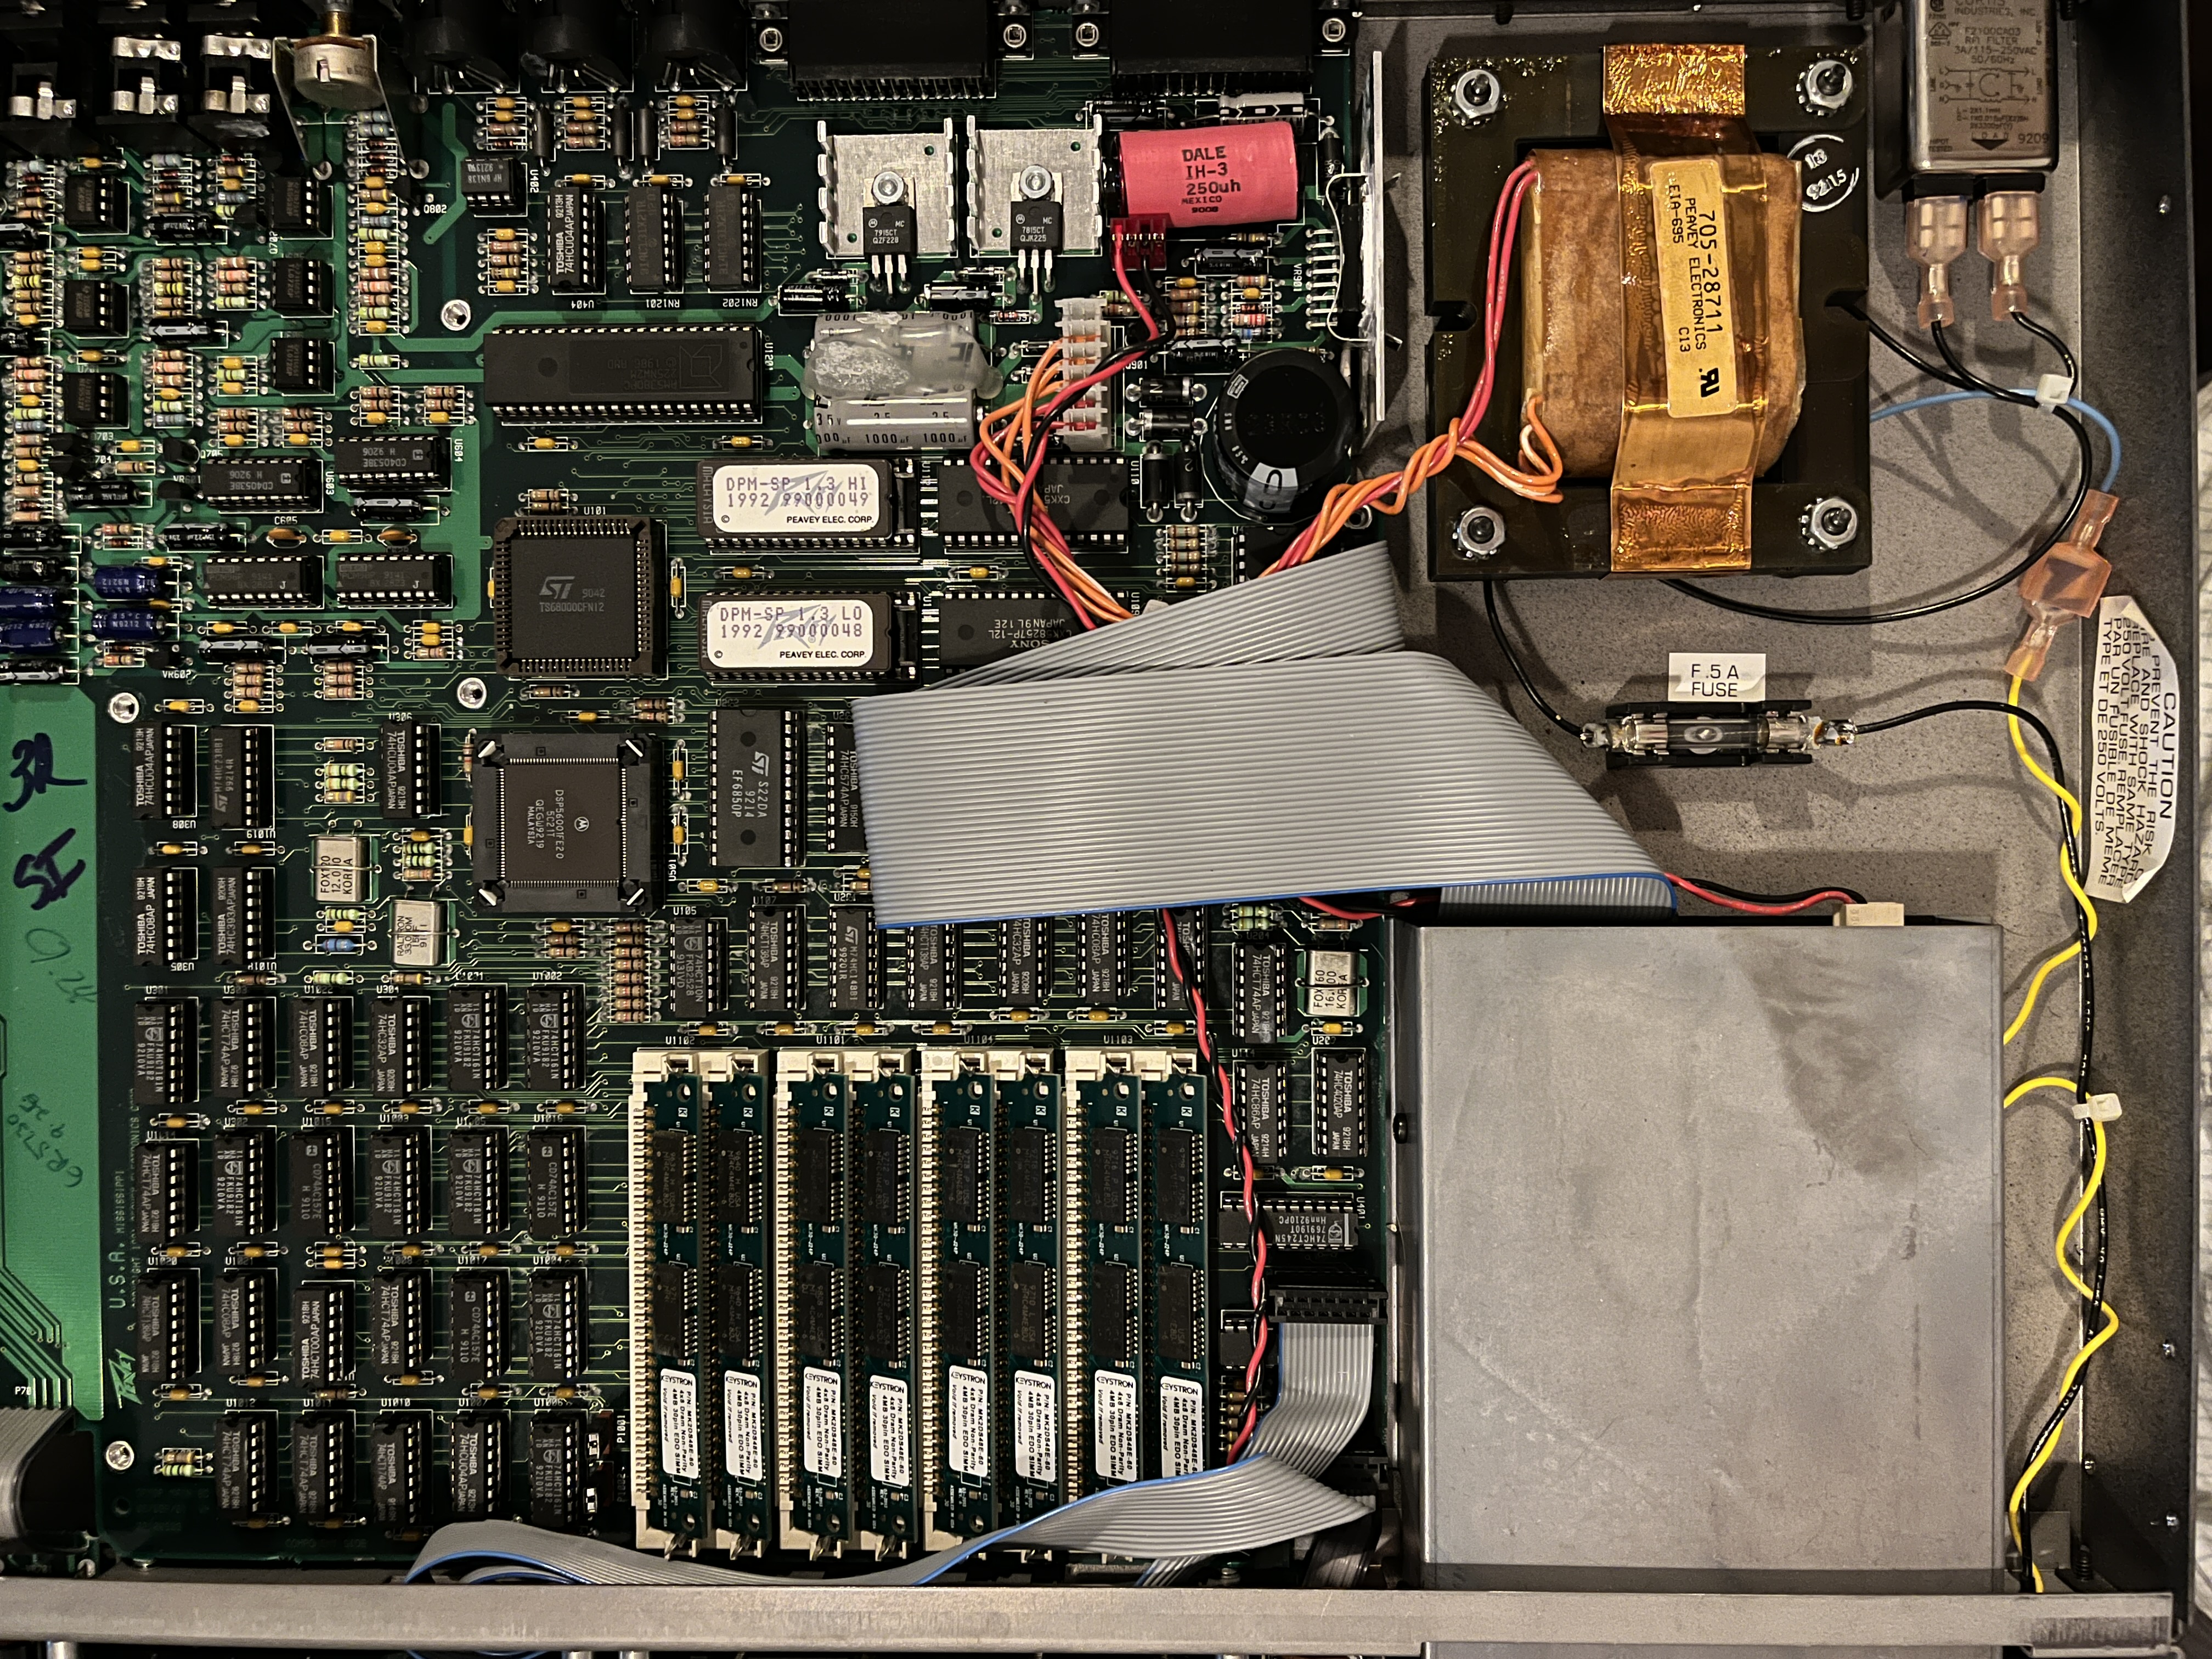
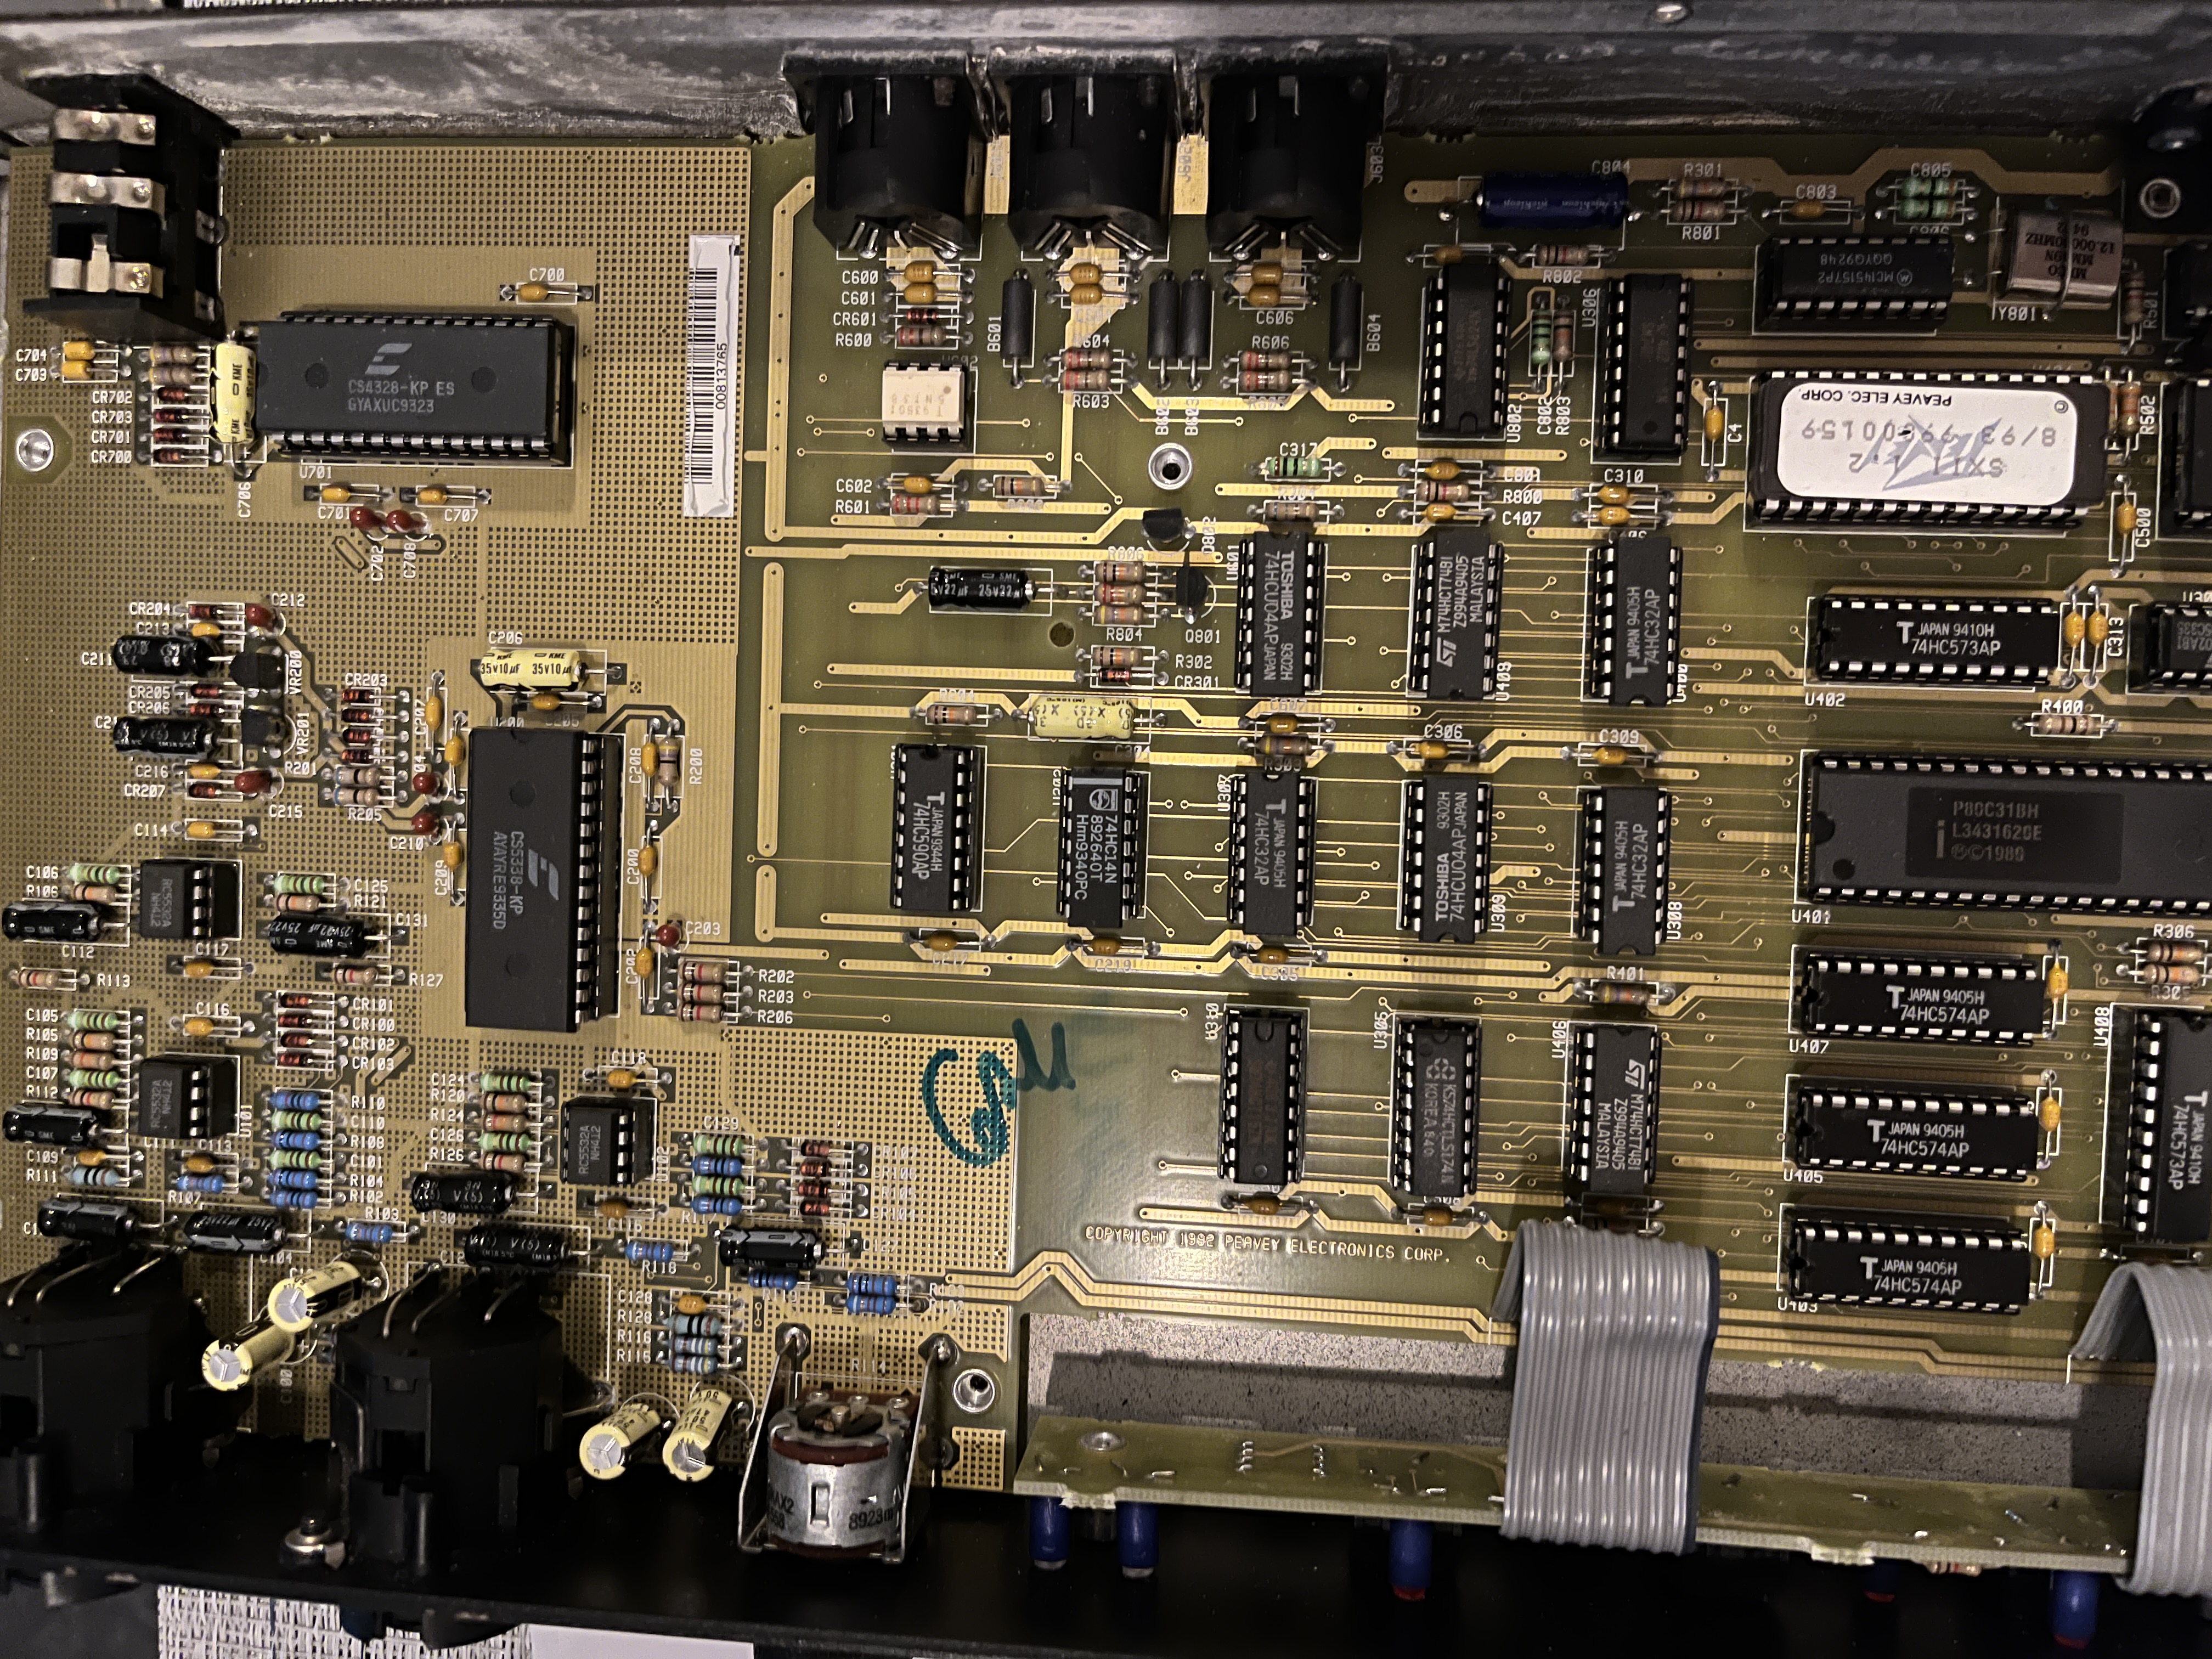
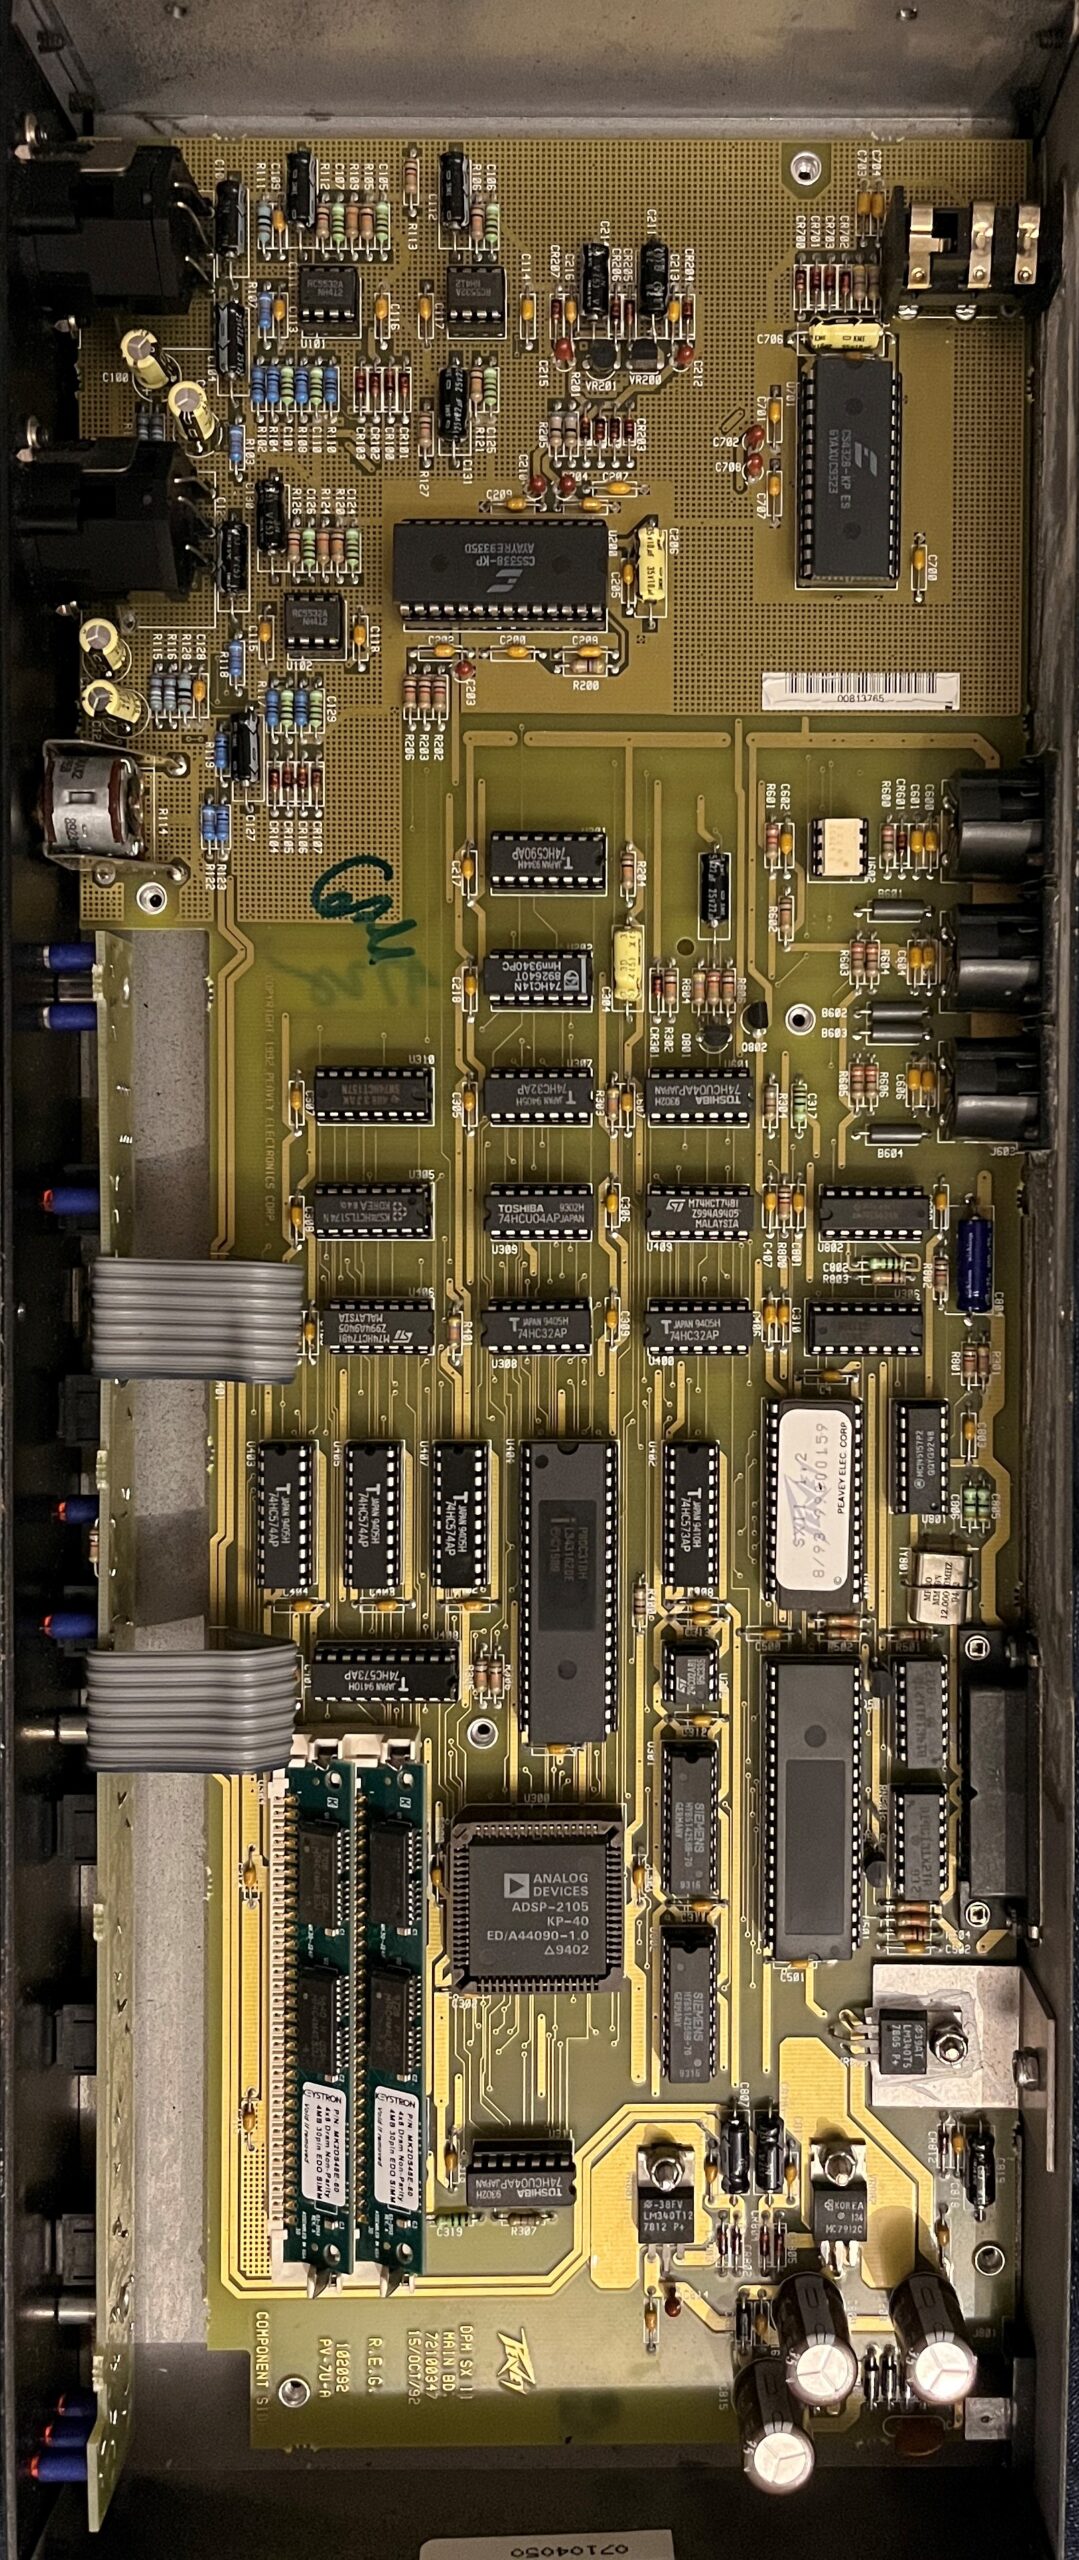
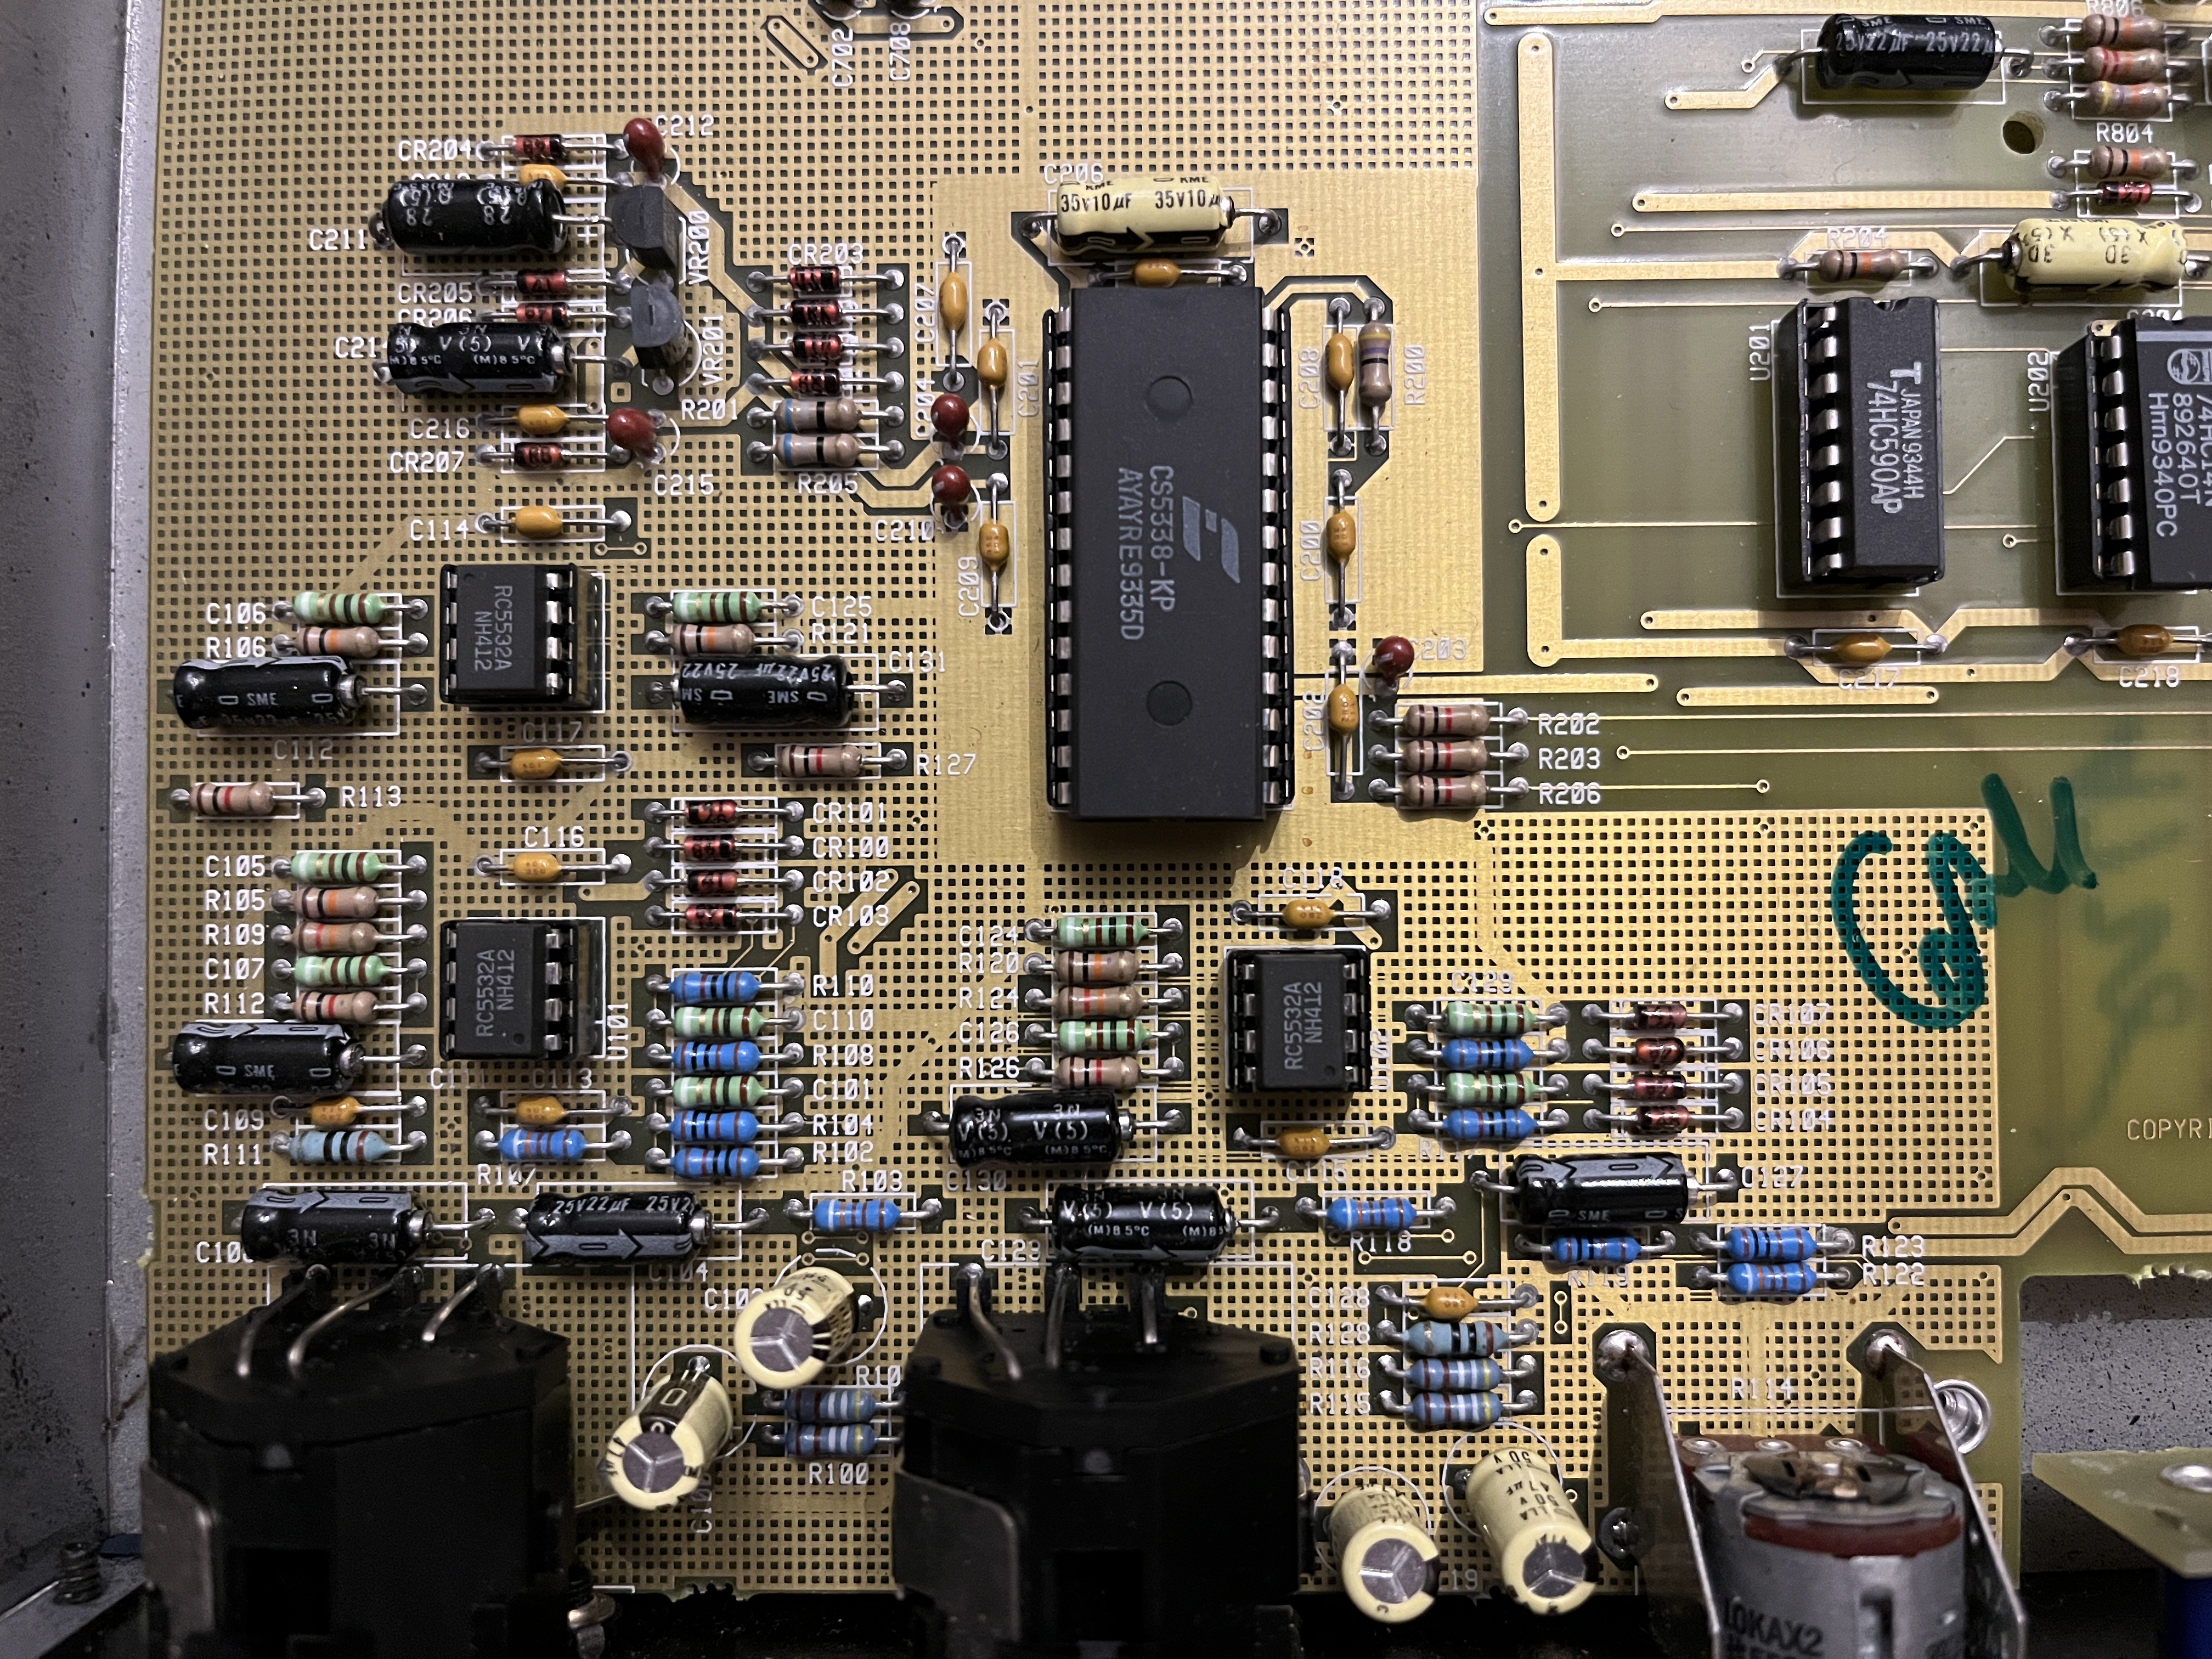
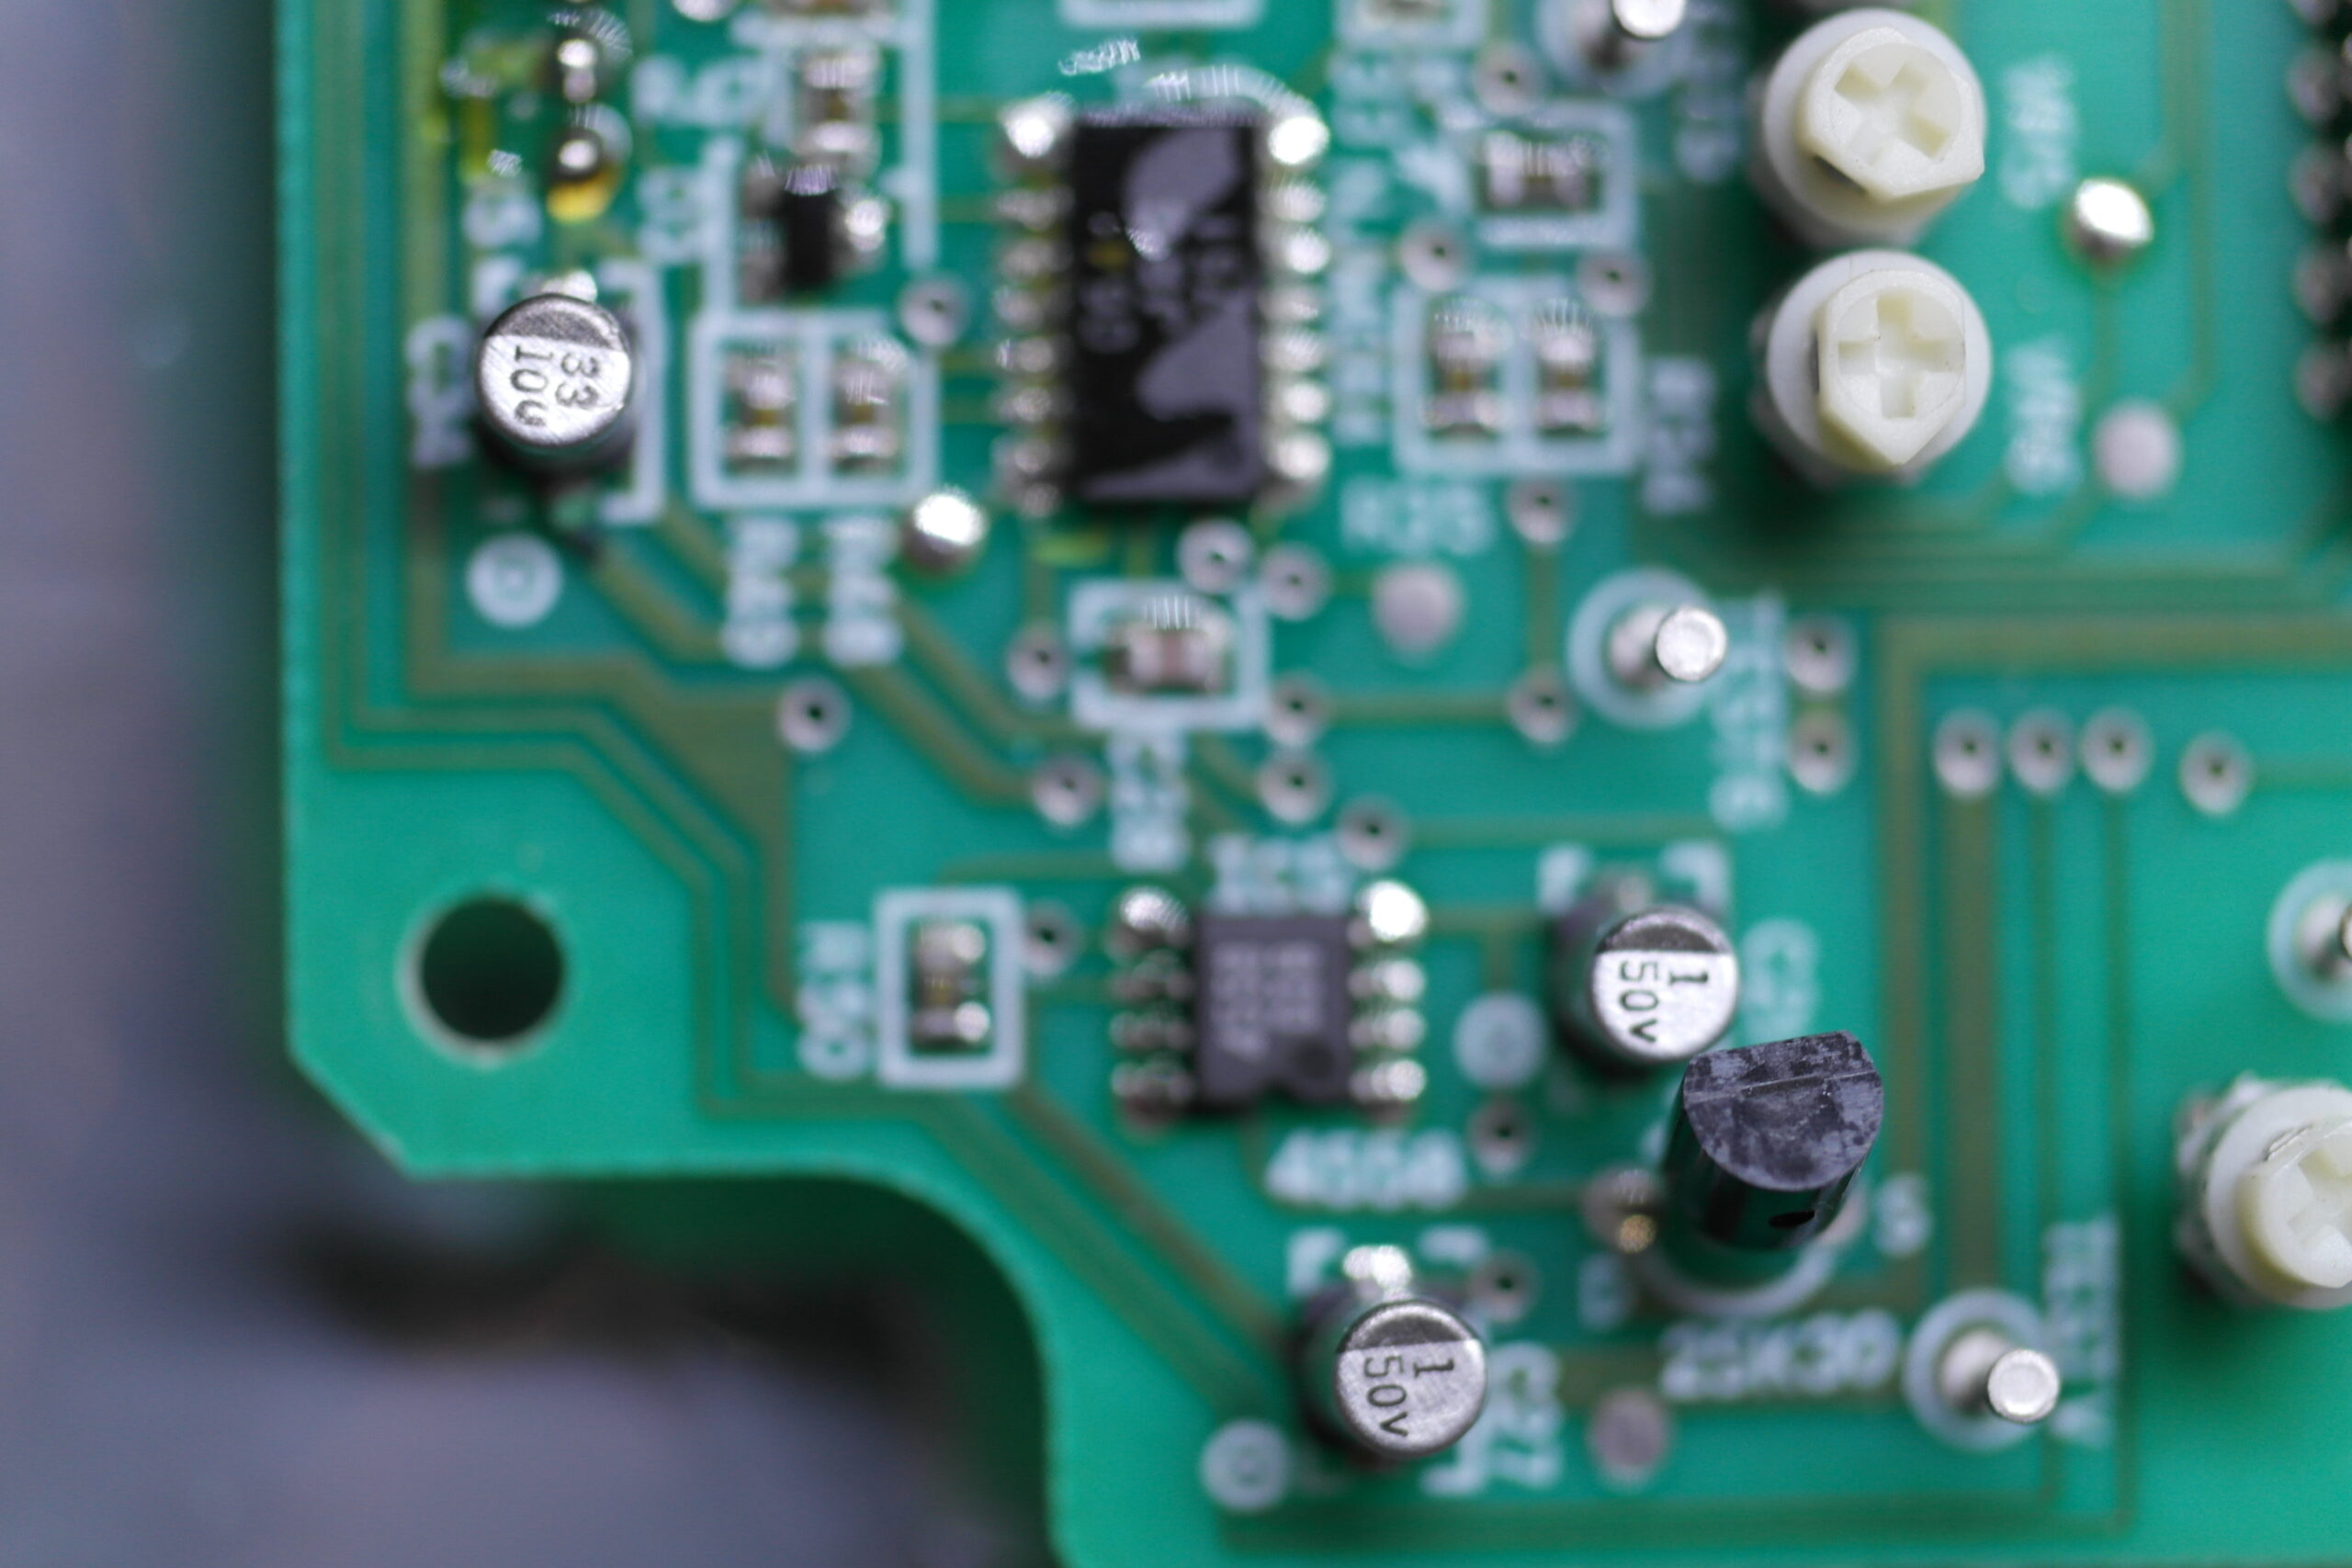
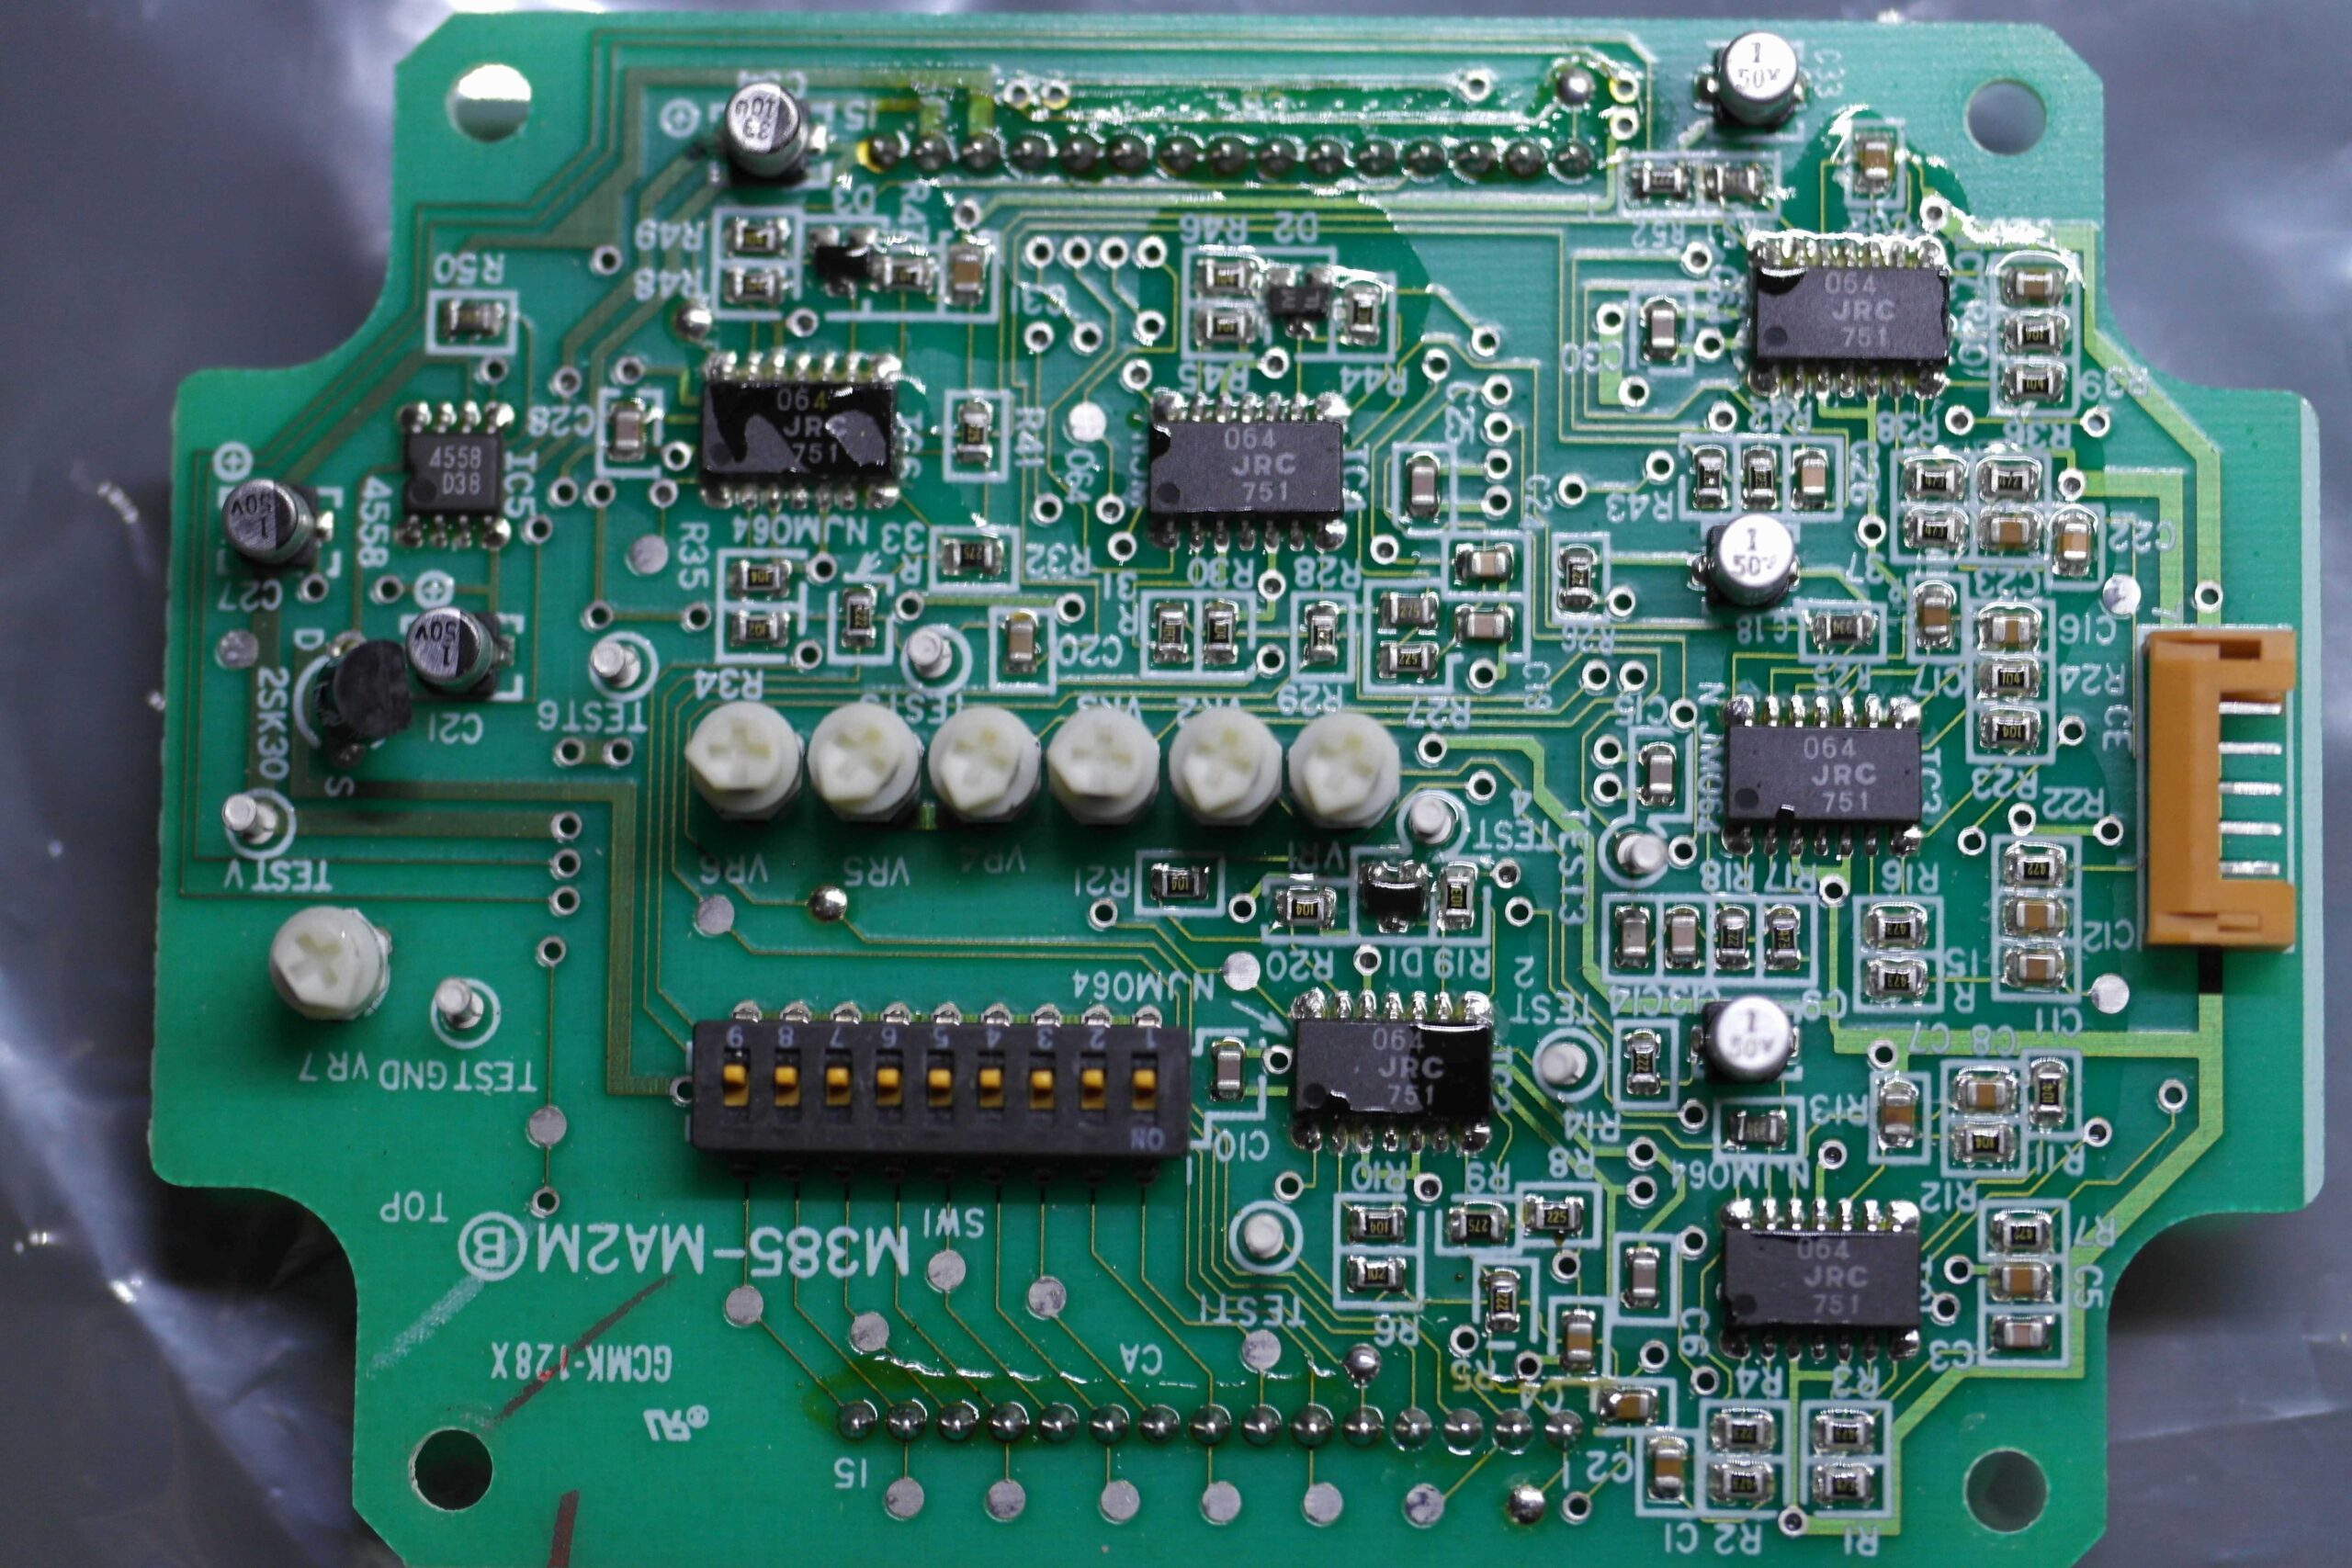
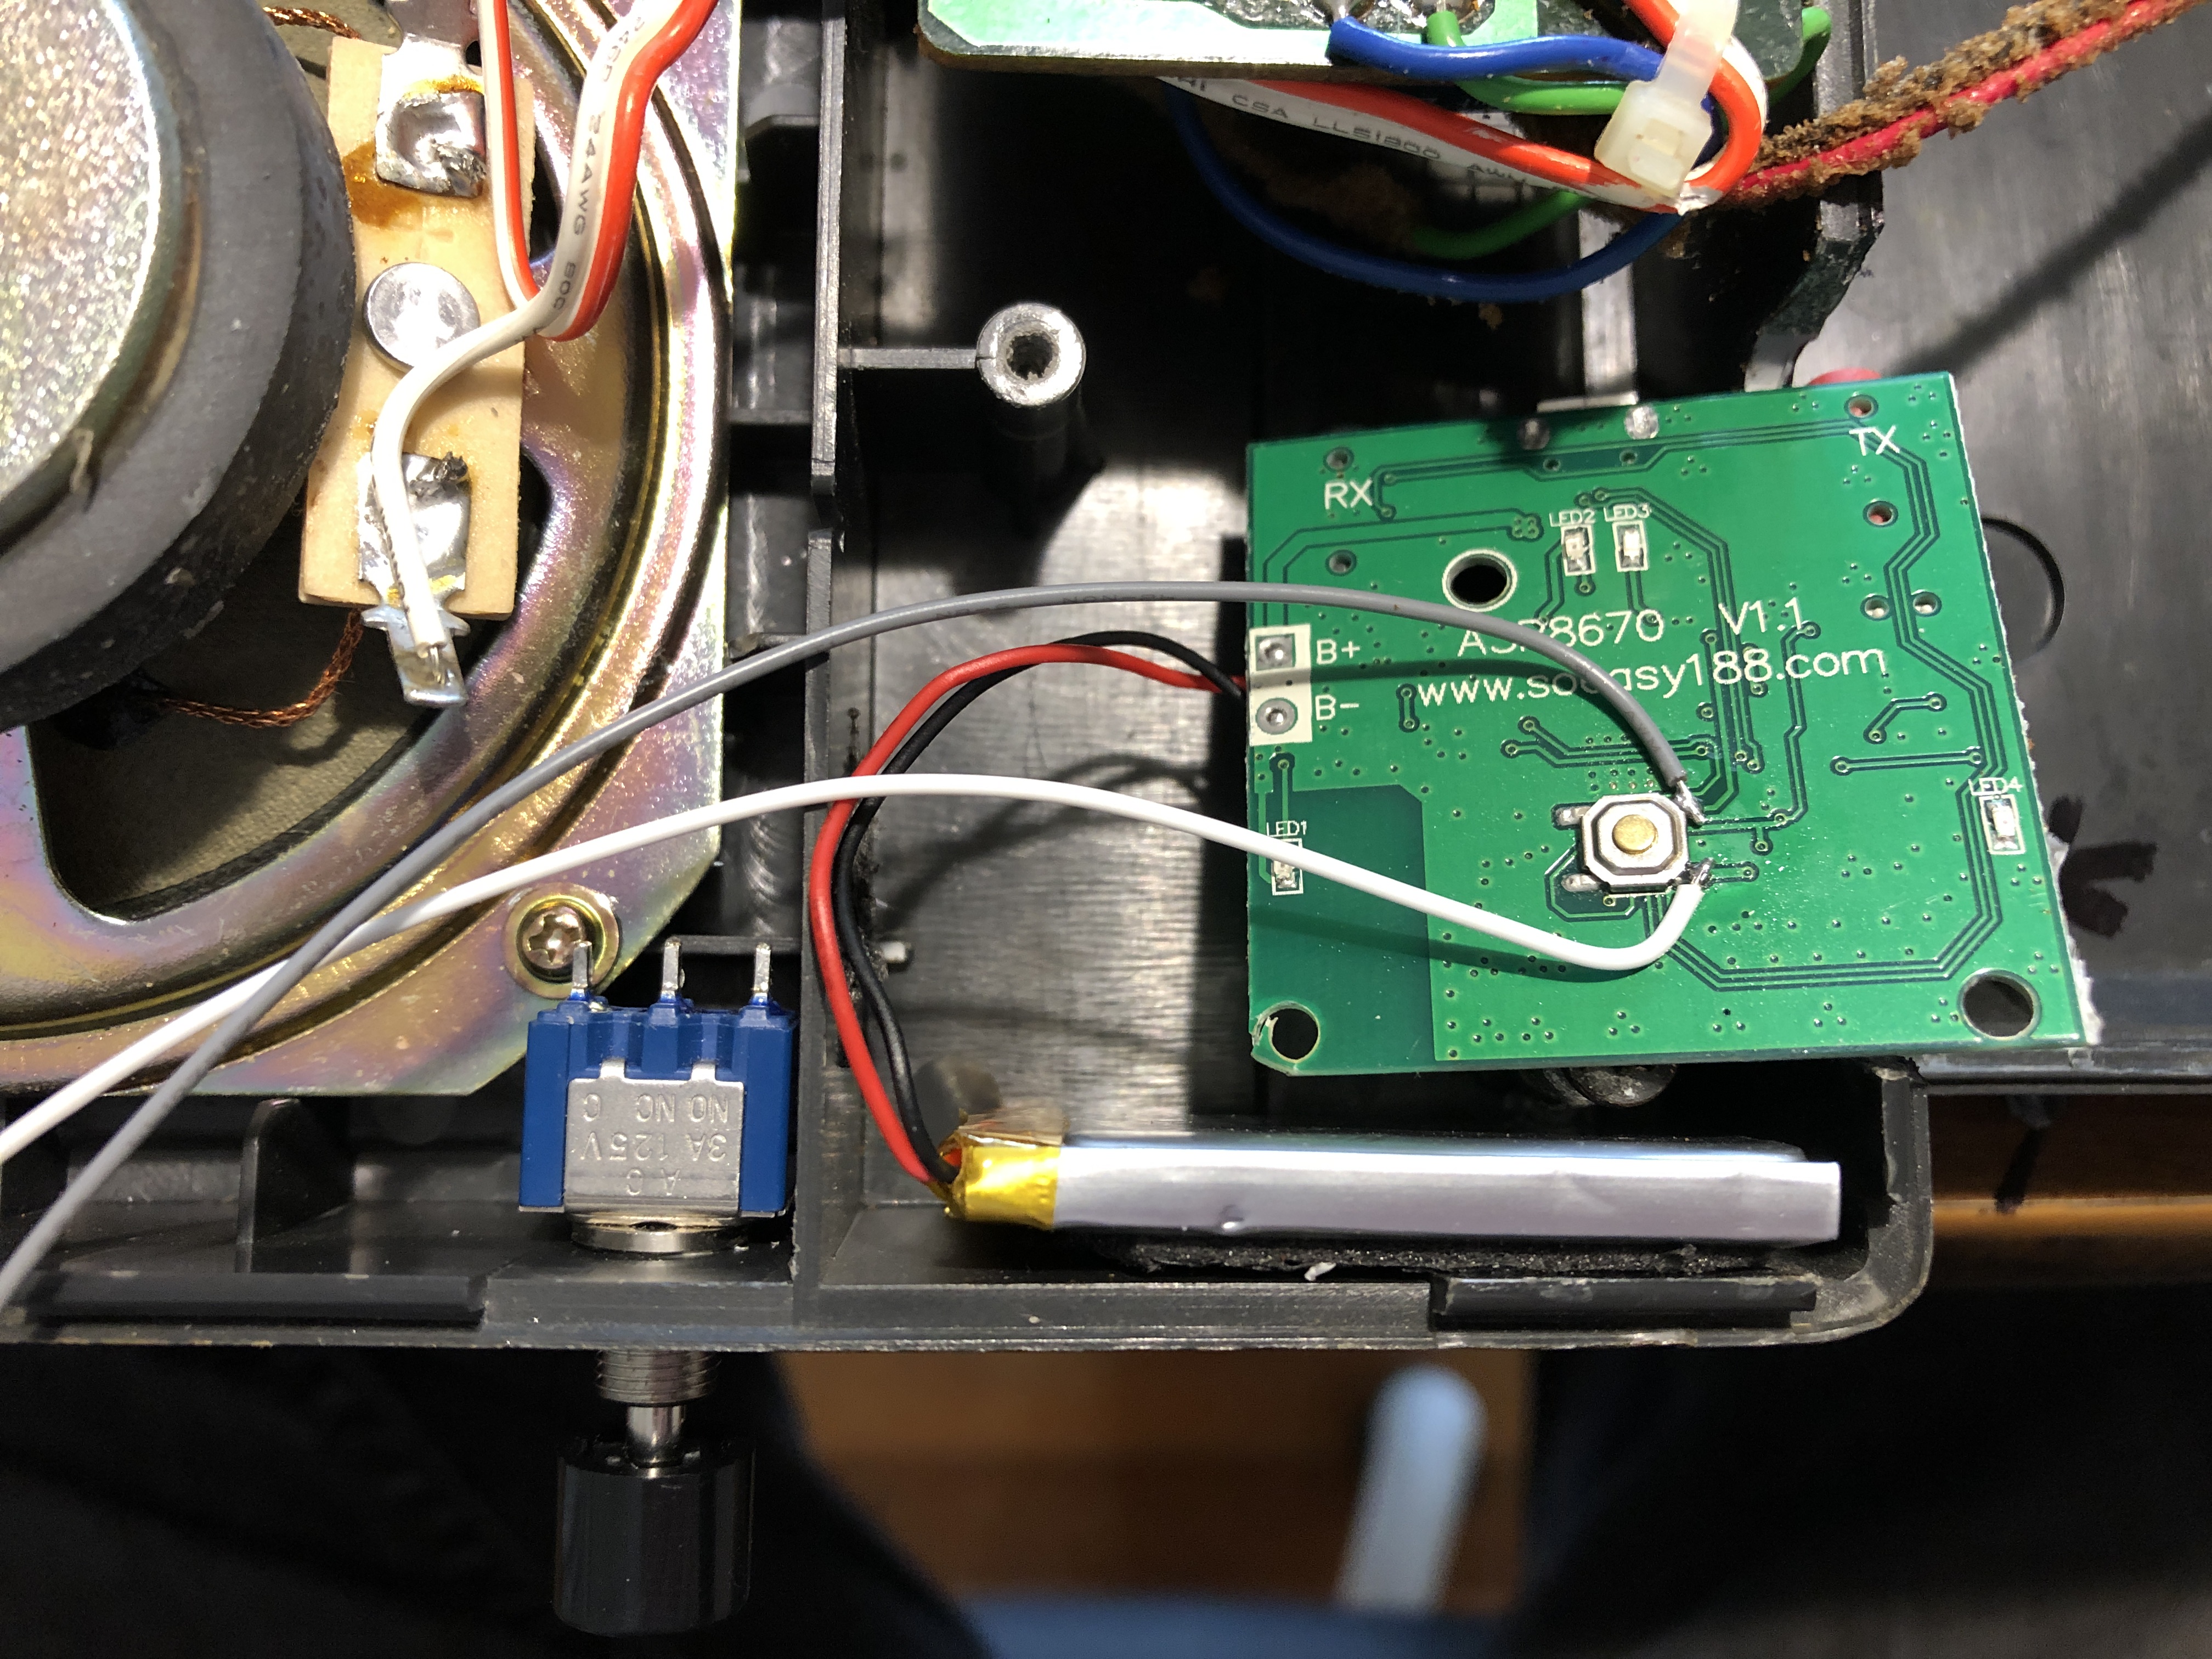
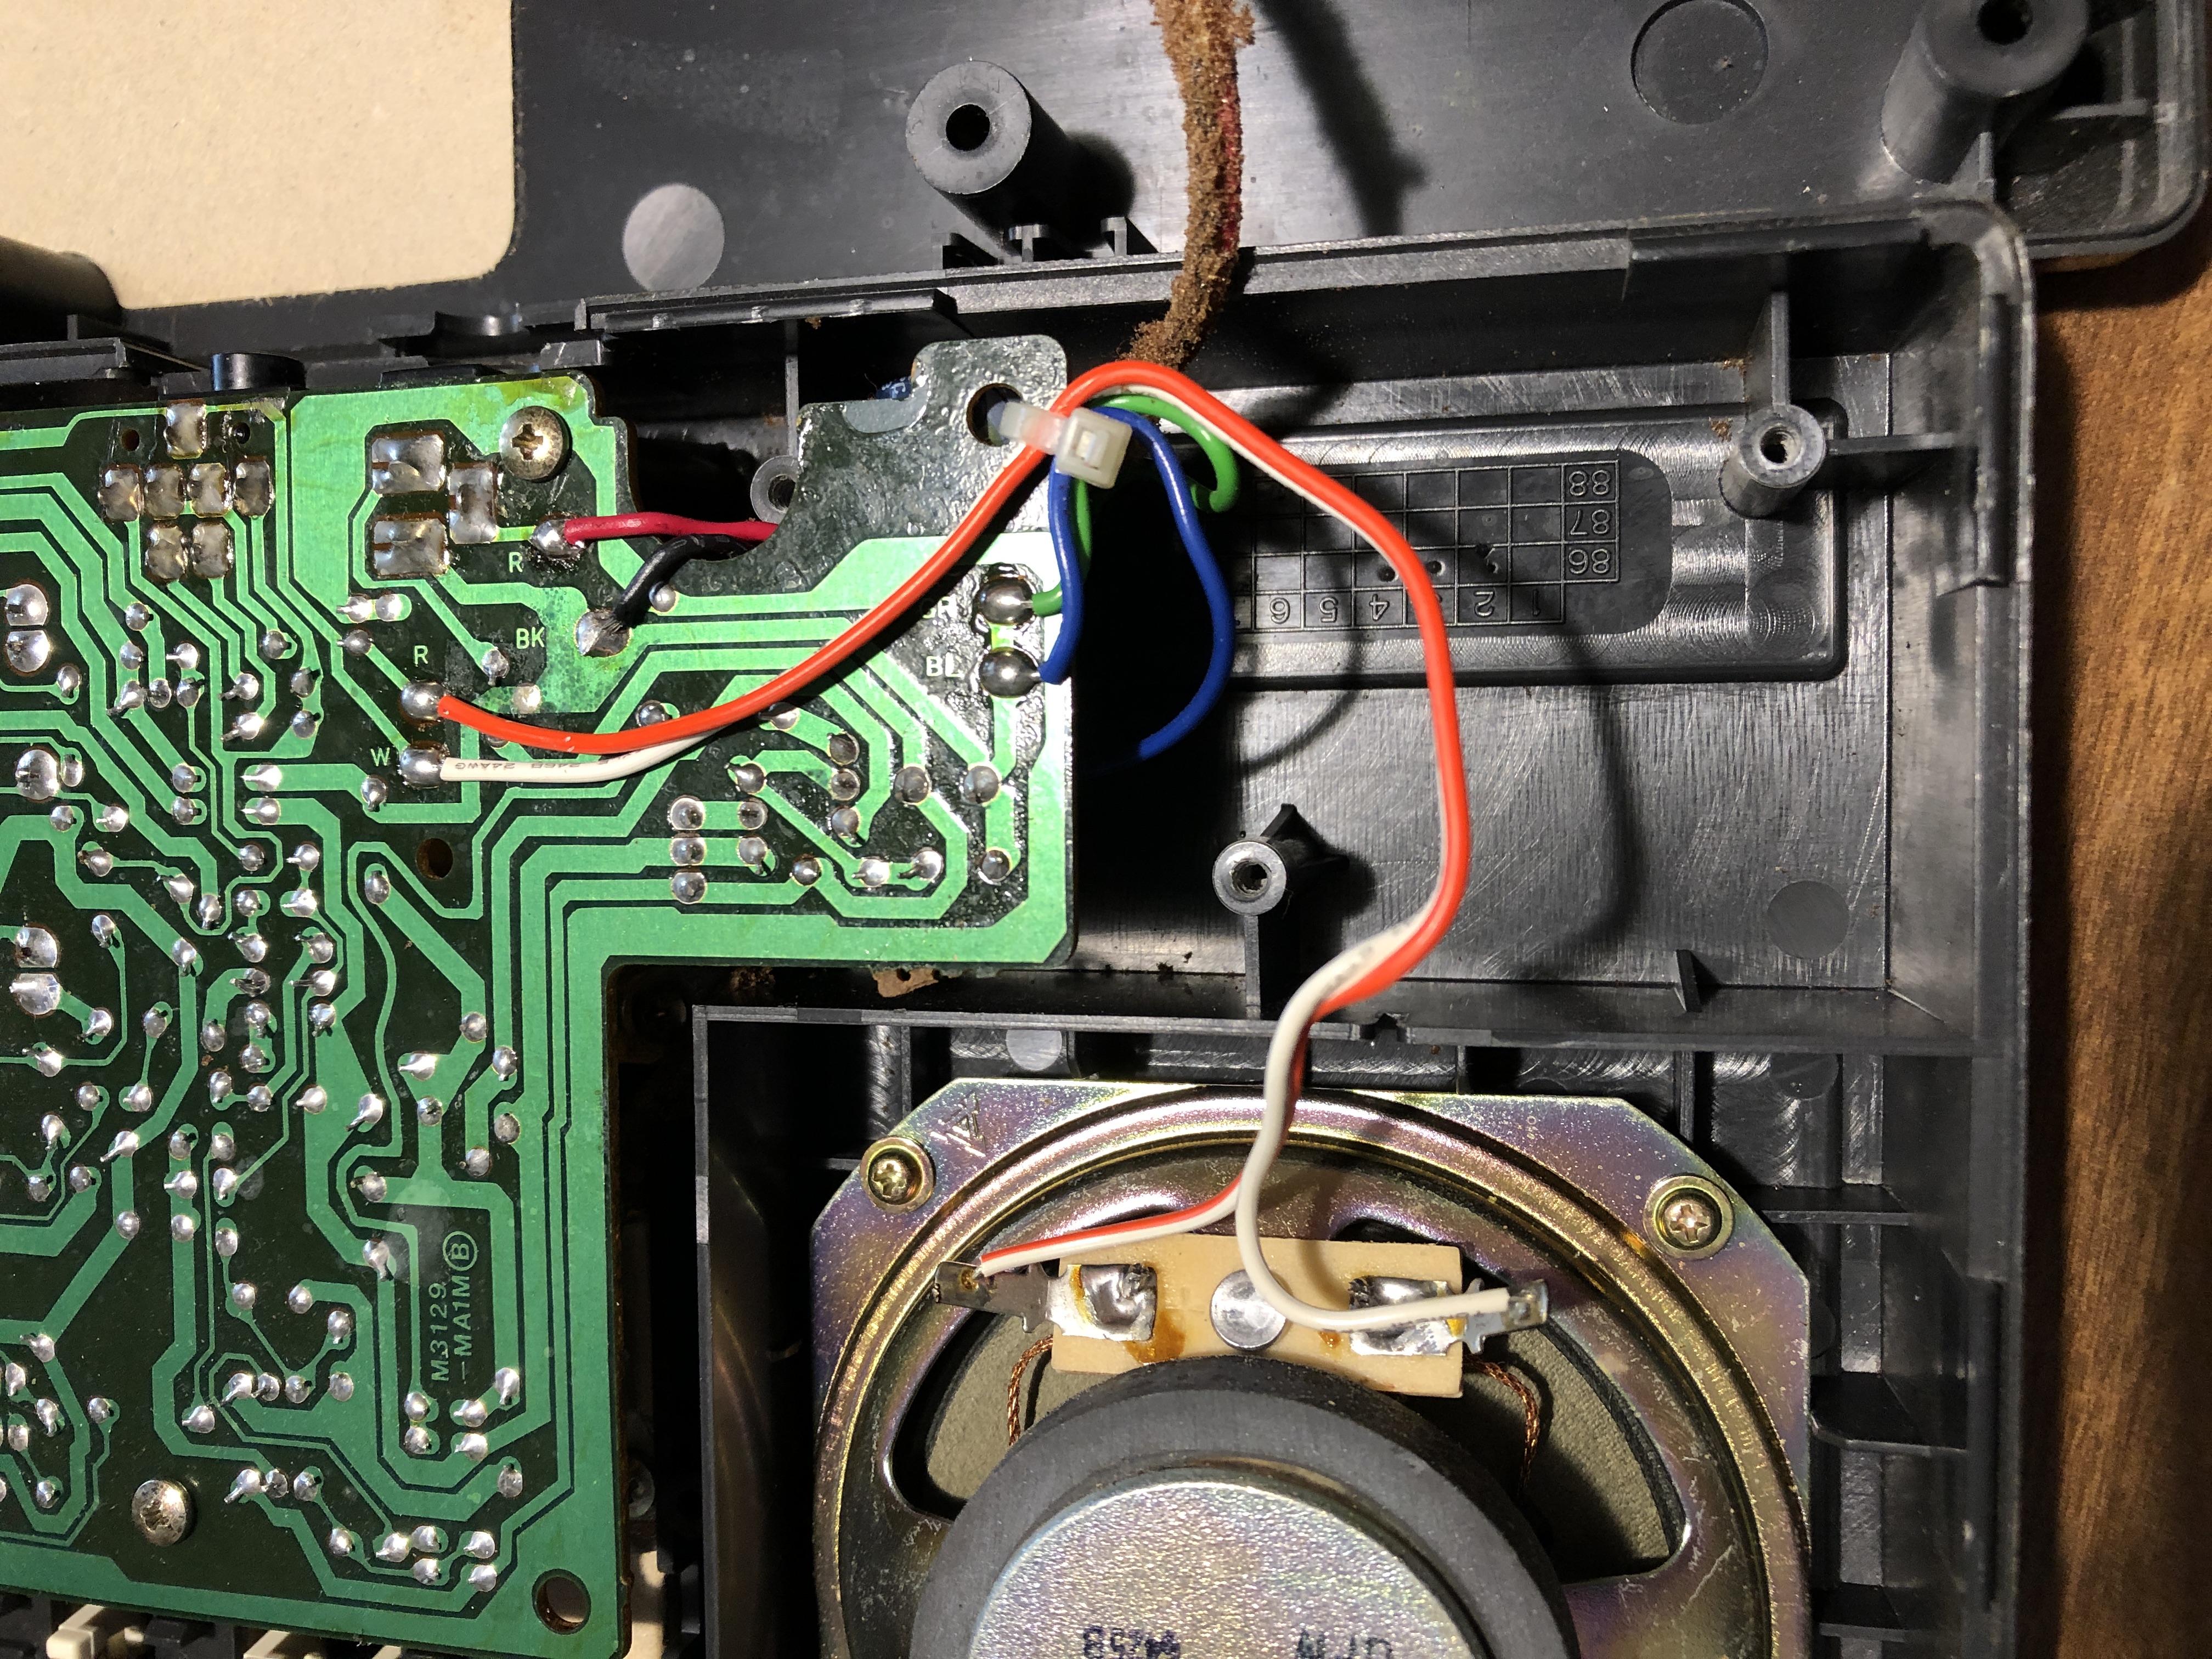
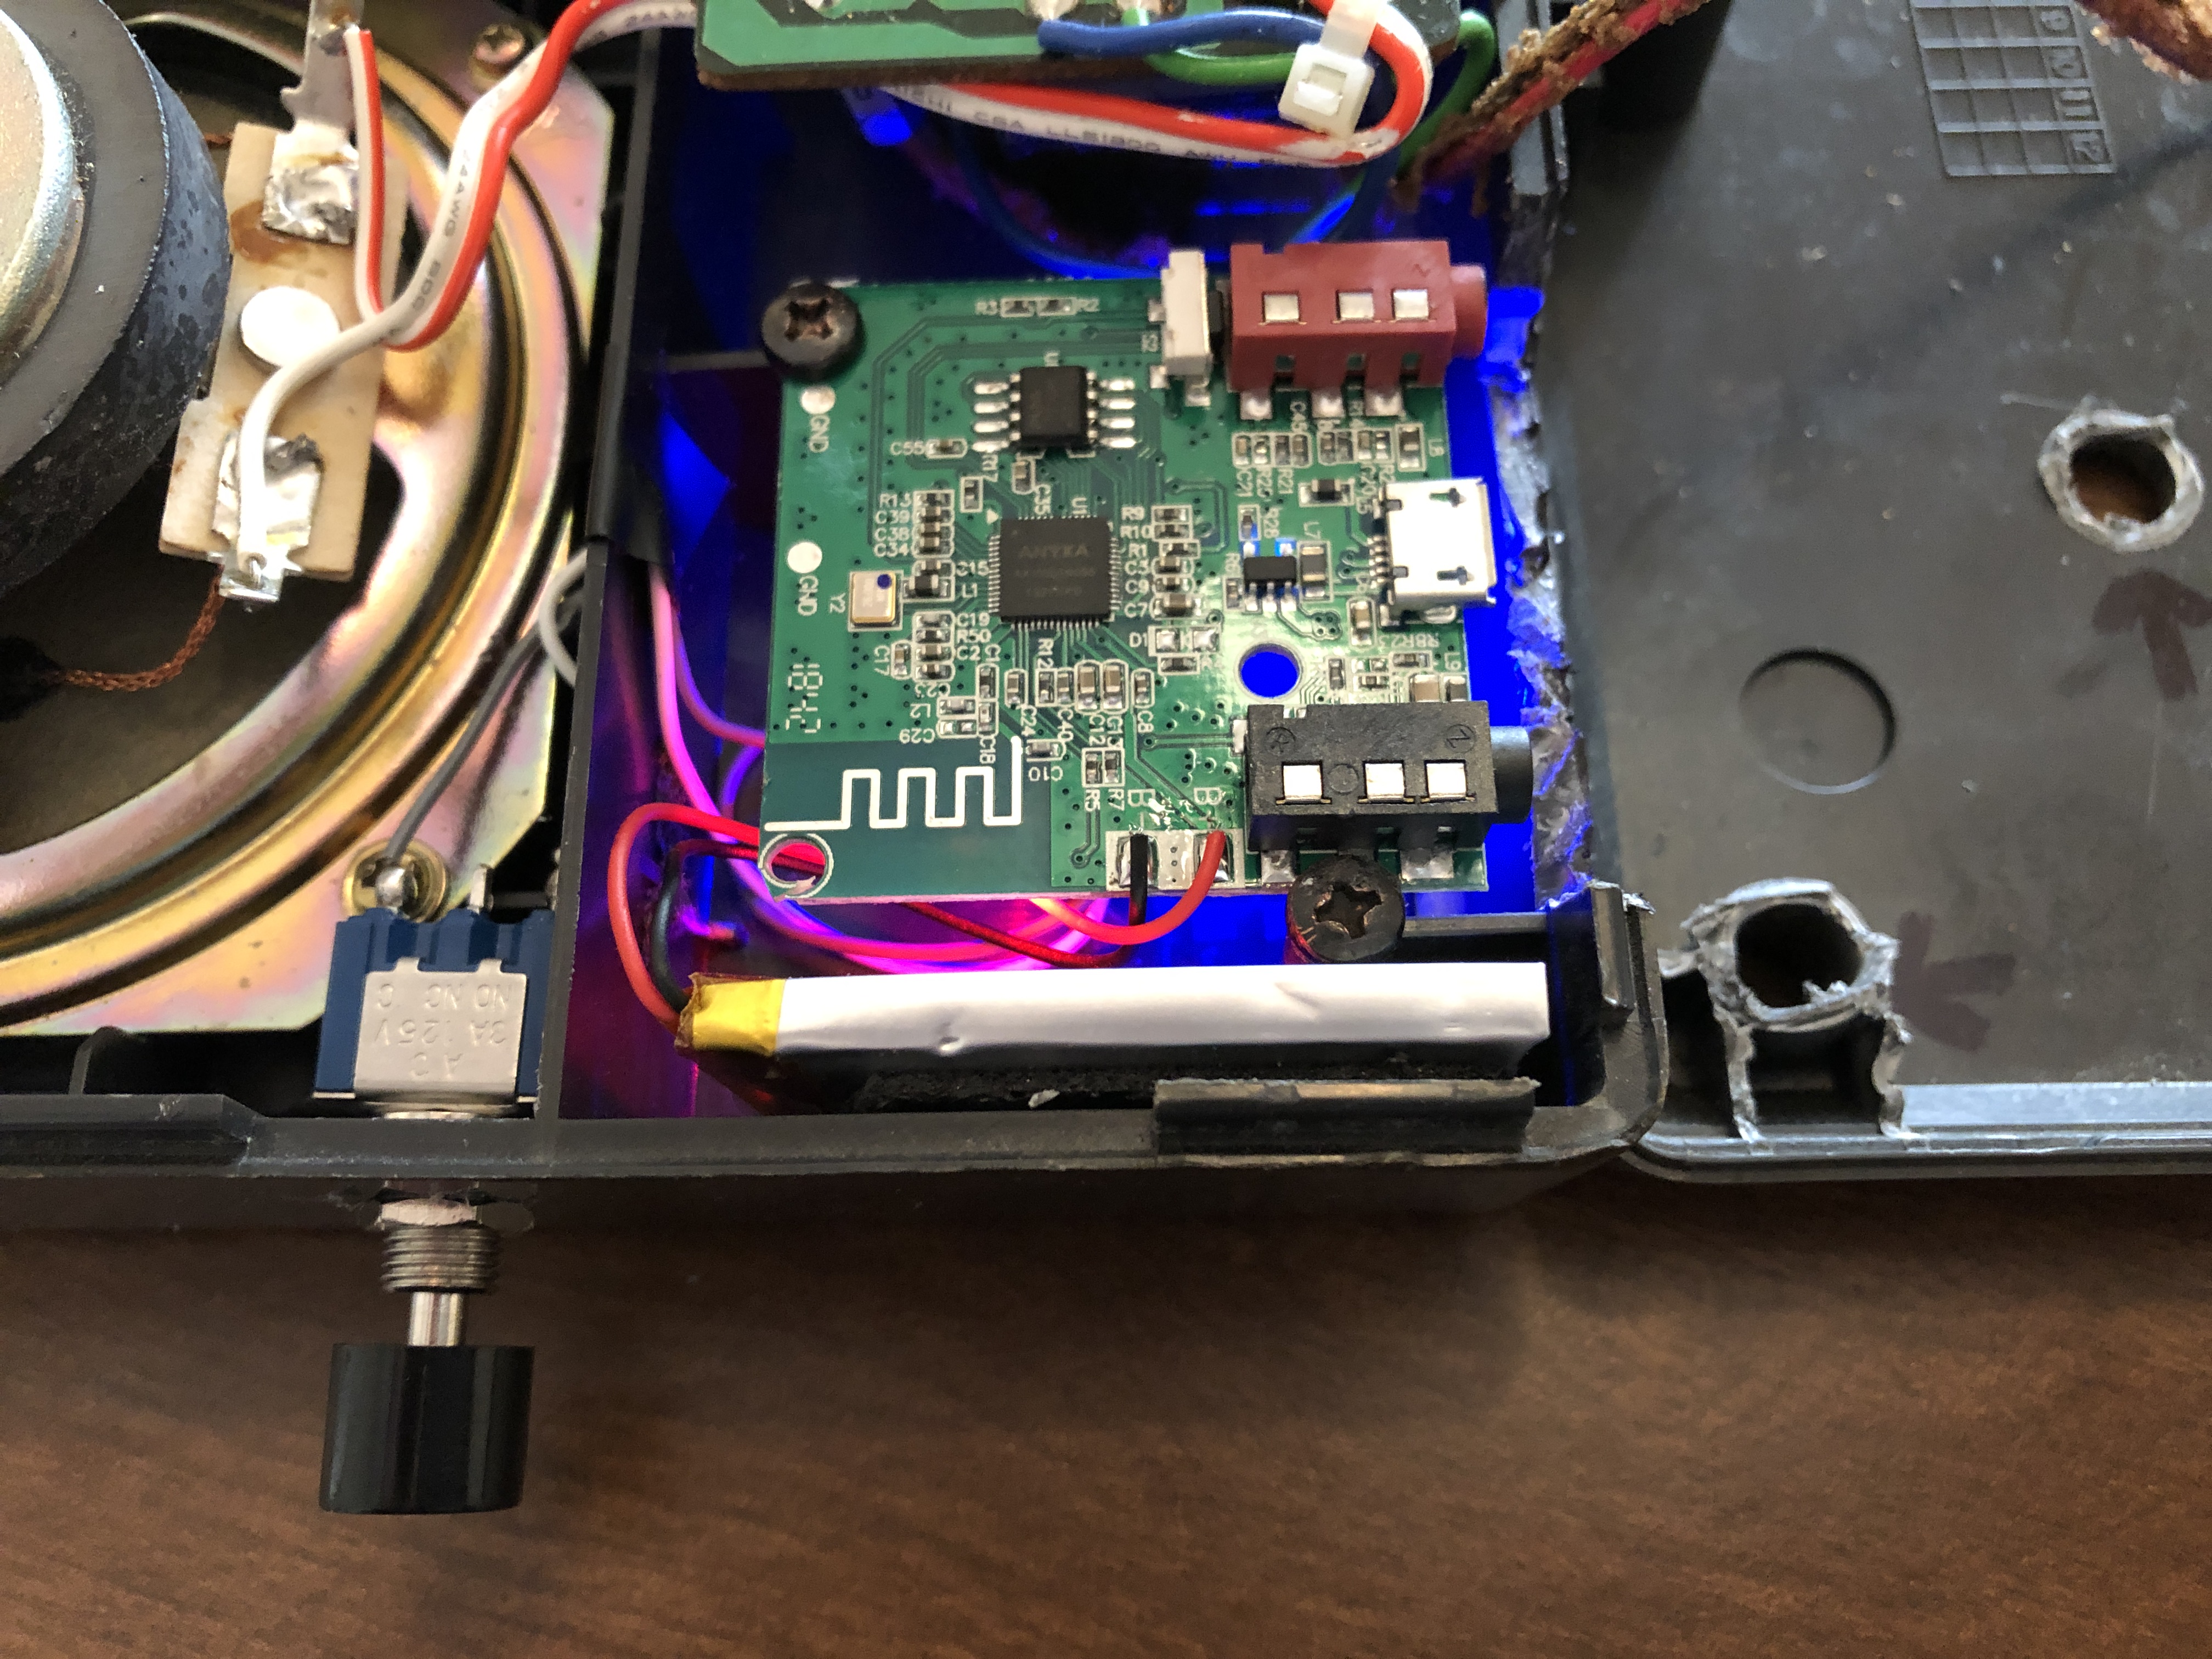
The El panel should be cut to size and then the sides taped. I dismantled the EL transformer box and de-soldered the switch and led from the unit. A wire jumper was used in place of the switch so that it turns on when the unit is switched on. I then found that the optimal DC output of the buck converter should be at 2VDC. The transformer should be mounted in the exact location as the photo posted. I used tape to cover the electronics and placed then between the main PCB boards of the unit. Noise to the headphone output will occur if you route the EL AC wire across CPU chip on the board. Tape this wire to the board above the chip, do not cross this line over chips.


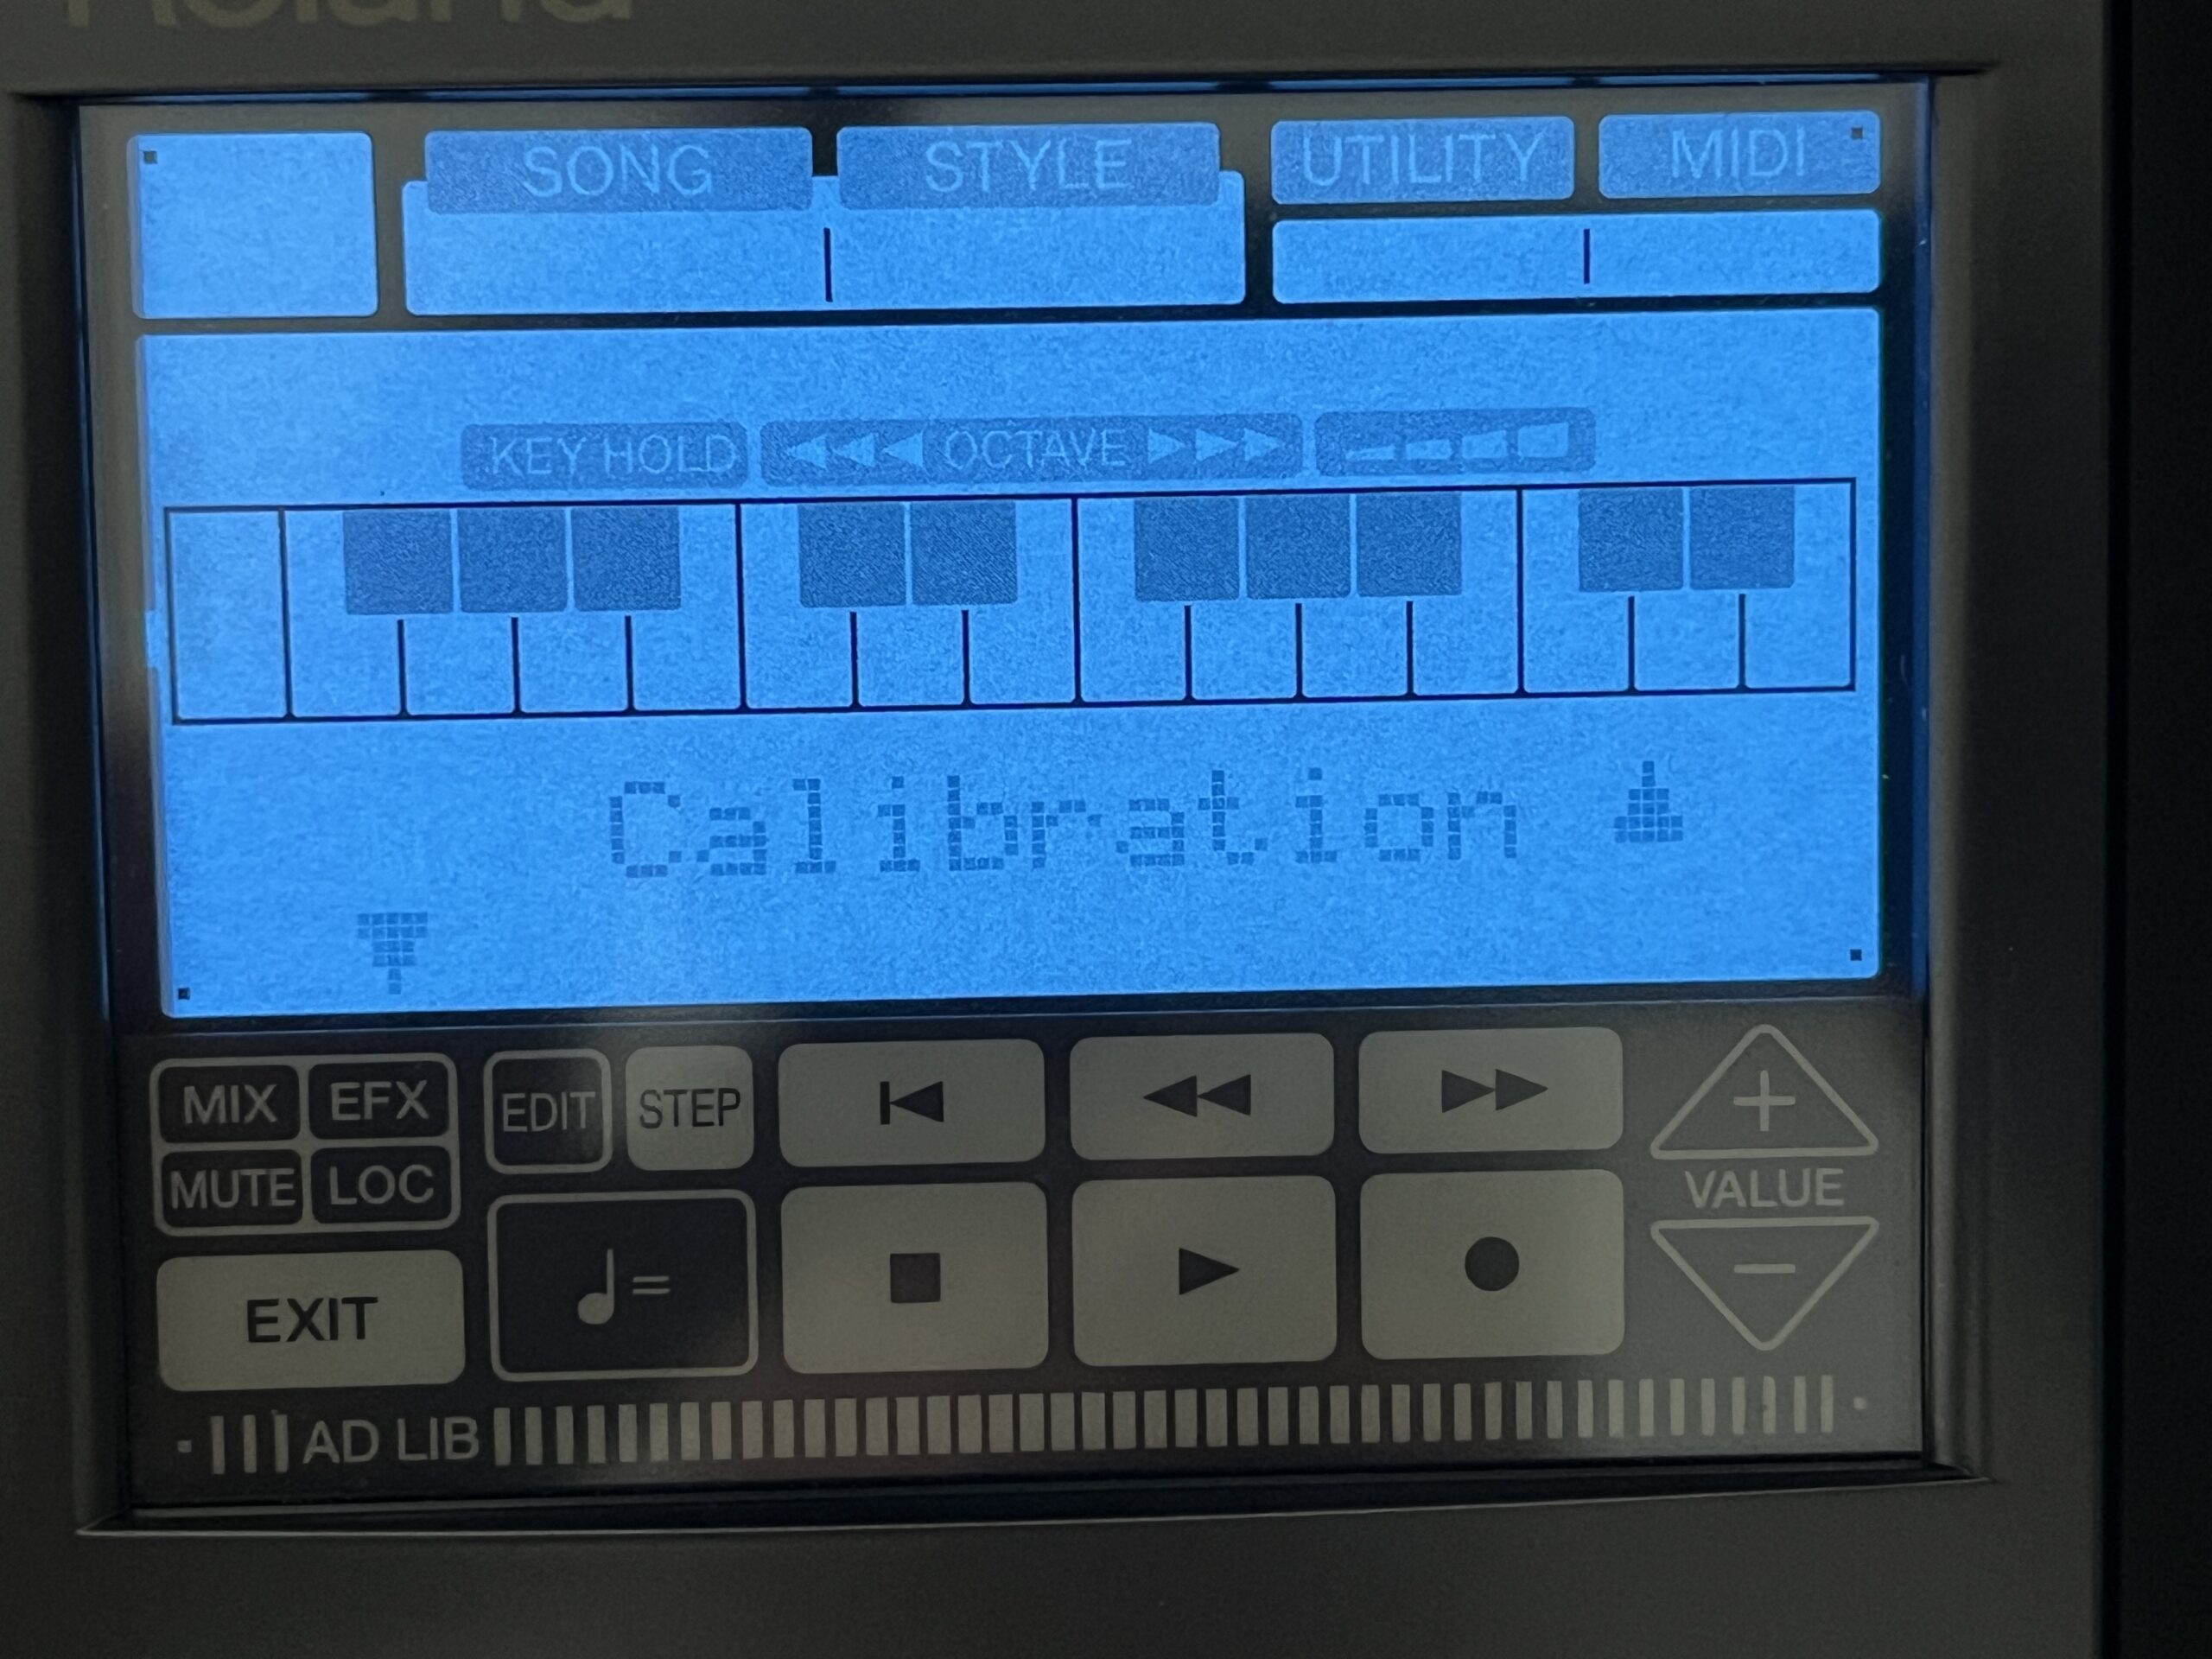
Regarding Dim Display:
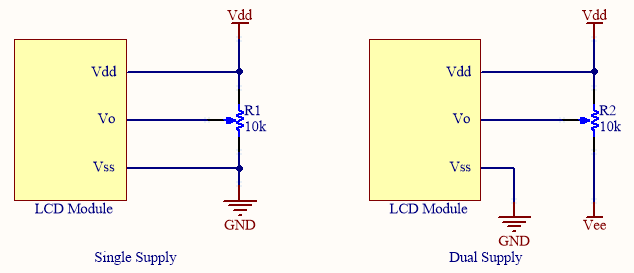
The device was set to have a 45 degree viewing angle with either a fixed resistor or controller. If your display is dim try angling the display to view it better. I can not locate the schematics for this unit, without this it is very difficult to locate the pins for Vdd, Vo, & Vss or the fixed resistor. With this information I could add potentiometer to adjust the viewing angle by controlling the Voltage to the LCD.
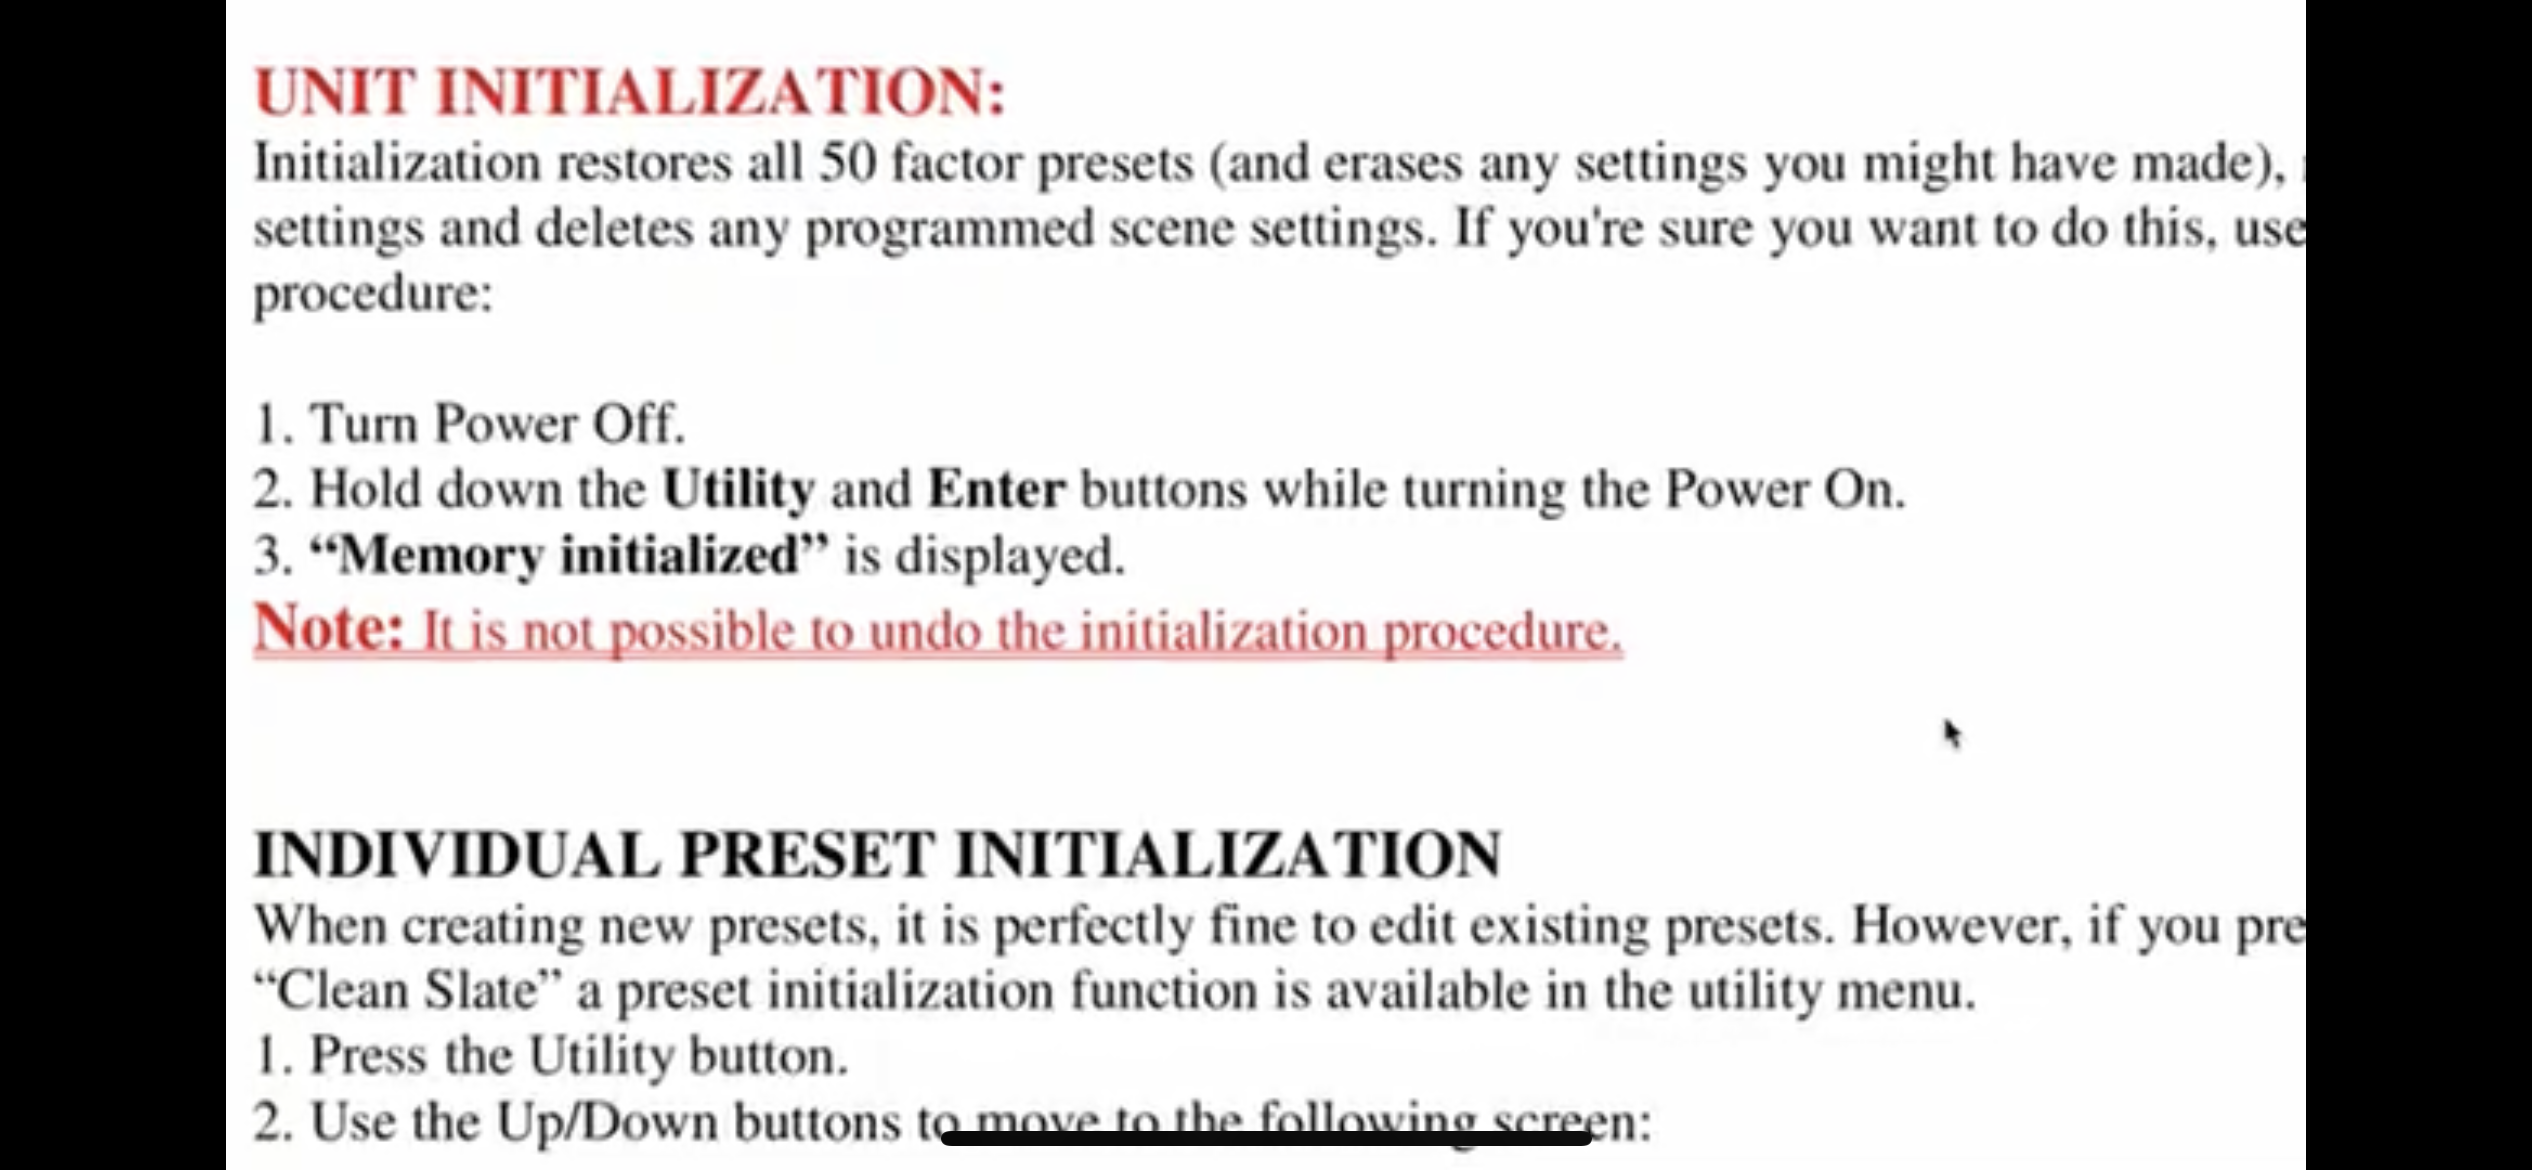
Vintage Peavey Sampler SP SX II PC1600 & Kurzweil K2000R SCSI Zulu Emulator Build

I am working on a vintage sampler build. This rack set will include fully expanded Peavey SP, (2) SXII and a Kurzweil K2000R. Added control will be used by a peavey PC1600X. These Peavey units take the old apple ram modules and on the SP you have to set the jumpers correctly on the main board to enable the full use of the ram.


UPDATE: I have decided to move away from external storage rack units and run with the Zulu emulators.
Rabbit Hole Computing. It turns out that you can create .iso files using Power ISO of the Akai S1000 disks you have. Then you can set the configuration files of the zulu to read each scsi drive as a cd. For the Peavey gear, I had to order a scsi selector switch to jump between SXII and the Zulu drives because I kept getting out of phase errors. The selector box has the SP connected in the middle, and the two zulu boxes and SXII are connected to remaining locations. Doing it this way, I can have everything powered on and not worry about phase errors.

Inside the K2000R I fully upgraded it with Expansion Sound ROM and PRAM from https://sampler-expansions.dxp.pl/ Then I added an internal Zulu drive and configured it, this machine is loaded with sounds, plus I copied all my floppy’s to the emulator as well as the internal disk drive… pretty awesome.
So, keep in mind if you have the current OS installed in K2000R it wont read the Zulu. Zulu emulation is working on a fix for this problem with an update soon. I was able to move forward by rolling back the OS of the K2000R to V3.54.

Above are some examples of how I set my configuration files of the Zulu. Each folder can house the set of scsi drives. To make a change you just edit the pointing directory.

Below are some pics of adverts from the time period by Peavey.


Below are some internal pics from the internals of the Peavey SP, SX and PC1600.

I am adding an update here for those who may be confused about how the architecture of the Peavey SP is set up. Please remember that it is all apple based so the ram and the floppy is reflective. It will not accept standard floppy drives but need to be apple based. Here is a model of a verified floppy drive that will work with this unit. Sony MFD-17W-10 or internal label of MP-F17-10-10 SMM.

Don’t forget that you can stack SP rack units to add polyphony. Here are the instructions, additionally I am posting some photos of factory disks.

Ensoniq MR61 Synthesizer Upgrade

Recently I picked up this great vintage synth that was in good shape. I noticed that the midi jacks were pushed in and replaced them with new ones for just a few dollars. After playing on this synth, I found that it’s ease to create complex midi sequences was it’s strongest attribute. I felt like if I had some more patches on this unit I would be able to create some awesome songs. After digging on the internet, I found this guy in Poland that took all the expensive expansion boards and recreated them into one module for a very reasonable price. I decided to take a shot and paid through PayPal, sure enough arrived quickly with tracking provided. You can find his link here> MR61 Expansion by Raddek

Ensoniq 3in1 MR Series Sound Rom Expansion Board

The installation was super easy and didn’t require any soldering. The expansion pack showed up in the database of patches. This particular card does not have the drum patches. You don’t need them when installing into the keyboard MR61 because they are already in the unit by default.

Casio PG-380 & MG-510 Synthesizer Guitars

Technology has developed quite a bit since these synth guitars made their debut some 30 yrs ago. Now there are interface boxes that convert your audio signal out to midi and allow you to use your standard guitar to control a synth. I certainly wish these concepts really developed further for guitars with onboard synth engines. There are two main concerns when seeking this type of equipment, polyphony and latency. Unfortunately if you were to acquire a guitar like this today you would probably end up replacing the sum of like 20 smt capacitors. Not the headache I want again but I’d like to share these cool guitar pics I had that were actually pretty advanced for their time.

When I had these guitars I changed out all the capacitors which really helped the performance. I do recall the PG-380 lets you blend the synth and guitar sounds. What I remember the most was how smooth this guitar played as an instrument, super smooth. What you really need to understand before seeking one, is that it doesn’t respond super well if you shred, bend notes past the set midi bend range or play a lot of rhythm. What is does well is add unique parts, solos or ambient parts to your live sound.

Alesis Nano Modules

So apparently there has been a lot of buzz around these modules lately. I fully remember when they came out and no one cared back in 1997. This was the same year Antares launched Auto-Tune. In my opinion, other full rack mount units back then were pretty awesome comparatively and that was the better choice. Small is in now and the sounds within these units are usable. If you want them in a rack, you wont have that flush rack mount look but can fit three side by side. I believe they will have to be adhered to a rack or you can drill custom holes in through a 1u shelf. They were really geared for the small desk user that probably had a USB audio box interface. If I order a few for testing or modification I will open them up and post. Below is the compiled resource for quick reference.

Eurorack-Modular for Guitarists and Beyond

For the longest time I’ve always been a traditional effect pedal fanatic for guitar, keyboard, bass and vocal rig setups. Recently I was intrigued by my friend Tada at BPNYC, explaining to me the flexibility, compact size and capabilities found in today’s modern eurorack-modular options. For a list all all boutique gear across the board including eurorack-modular please visit http://www.boutiquepedalnyc.us/ As a pedal board layout enthusiast, I was always faced with the problem of manufacturers custom sizing their brands of effects pedals. This always became challenging to find the correct layout for transport and live situations. For many years we have used standard 19″ racks in studios to stack our expanding collections of gear. The Eurorack format calls for modules of 128.5mm (slightly over 5″) height. Horizontal width is measured in “horizontal pitch”, where 1 HP = 5.08mm (exactly 0.2″). 3.5mm mono phone jacks are used for interconnection.

The physical specification is based on the Eurocard standard of:

  • 3U (133.4mm), where height “U” is measured in rack units, rounded for a lip.
  • 1HP (5.08mm), where width “HP” is measured in horizontal pitch units, rounded down. A card width is integer multiples of 1HP.

Eurorack modules may be further characterized by depth: shallow modules (2.5cm to 4cm[1]) can fit into “skiff” cases.

So through the past couple of years, musicians have been migrating away from laptops on stage using VST plugins to complex stompbox pedals in various shapes and sizes. Now that Eurorack-modular suppliers have grown and the new smaller standard has been adopted + quadrupled in complexity will we soon see musicians wearing their controls for live gigs into the expanse of this ever changing music technological period?

Below is a video clip of Tada from BPNYC demonstrating the possibilities of a eurorack-modular guitar rig setup. It was exciting to see the ranges and depths with just a few of the possible units that one can aquire to expand their musical inspiration. http://www.boutiquepedalnyc.us/eurorack-modular/

Casio SK-1 Bluetooth Mod

This is a very simple mod to make your Casio SK-1 even more functional. This add on allows you to transmit and receive audio from your phone or device to your SK-1. In this setup the board assembly I used fit in easily and came with a battery source. You will need to make a small cutout on the back and remove 2 back panel plastic mounts. I soldered wires to the momentary switch for on/off/pair control and mounted it to the side. Alternatively you can solder wires to the in & out of the Bluetooth module and attach them directly to the terminals of the SK-1 in/out jacks thus eliminating the hole in the back.

AKAI AX-80 SYNTHESIZER

This is a unique synth that reminisces through a time of particular circuitry. The unit itself looks the part, but it’s true glory in design relies on how you interpret the controls to master it’s depth. This was the video I watched before I saw it’s potential for what I sought.

It is my main controller via MIDI. Note: Reflow the solder of joining connections to membrane button boards. Inspect with a loop. Never should you have to press hard on the buttons unless the tact switch is bad, I did this fix and the my problem of intermittent control went away permanently.

In edit mode you select a number which corresponds to the illuminated bars above, adjusting the level of the parameter. This feature can be simplified (finding your tone/characteristics) by running a midi-in arpeggiator sequence while adjusting your parameter/s. After you like your sound, save it and try playing without the midi.

I route my tape-out midi dump straight into a DAW for archiving. Attached you will find patches 1A, 1B, &1P.

This is the eprom replacement info:

EpromAX80-L NEC Japan D2764D 8S23XXD42


Now you can get this awesome synth as a vst plugin. Here is a link to the site where you can buy.

https://www.uvi.net/en/vintage-synth/uvx80.html#

Stereo Rackmount Mixers

For this setup I ran all the 16 synth’s into two 8 channel stereo mixers using 2 16ch snakes. I took the stereo mixes of each rack mixer and ran them into 2 stereo channels on the main mixer. Using the mute buttons I can easily select which synths to blend for unique single tracking sounds. This is helpful if you don’t have 32 available inputs for all your synths. During Installation custom ears were made to double mount the two mixers on the underside of this table becoming part of the main mixer sub mix controls.

About to mount the 2 units with an extended plate.
Outputs of these synths are going to the 2 rack units pre mixer.