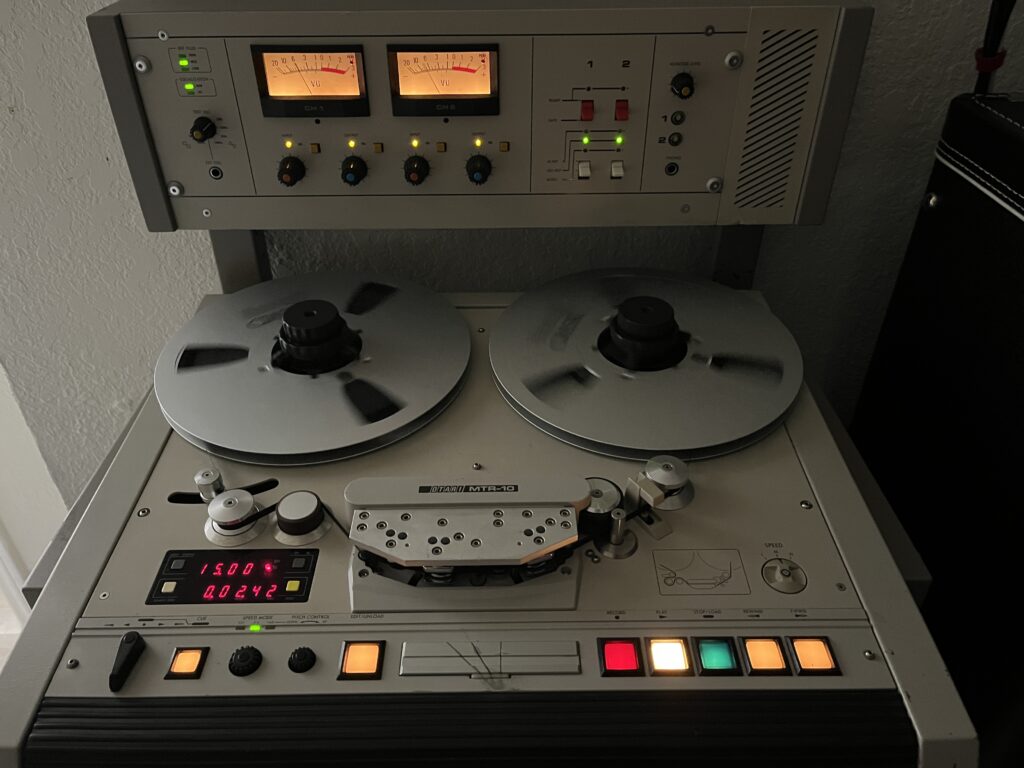
This post will cover a restoration for the Otari MTR-10 II reel to reel 1/4″ tape master recorder. There are many posts about this unit but I feel it lacks some key information that I will cover in this post.
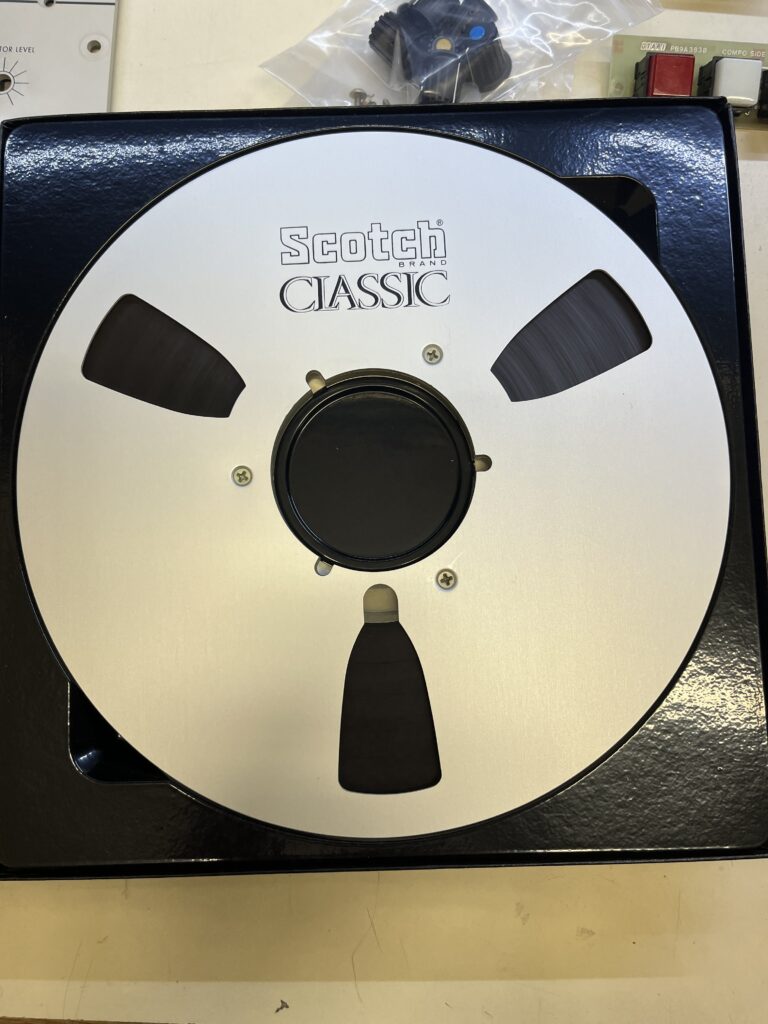
First lets talk about tape. I am not an expert by any means regarding the subject but I want to pass along some information that I discovered. Many people discuss the issue of sticky shed on tapes but there is also another annoying problem, flaking. I have used some newly manufactured tapes and they seem to all have this flaking problem in which little dry bits of tape shed off during transport. Personally I prefer to use the Scotch Classic tape and here is the technique I run. I purchased some new in package tape and spooled it up. Pressing the Edit/Unload button and Fwd button I run the tape through the guides. It runs at a slower speed and the tape does shed strands but they are easy to remove from the guides. Then I repeat the process back to the spool. After that I clean my guides and apply Last Factory Tape head treatment. The reel runs smooth and it doesn’t shed any more residue. BTW the original Otari reels look way cool but I could not find them anywhere.


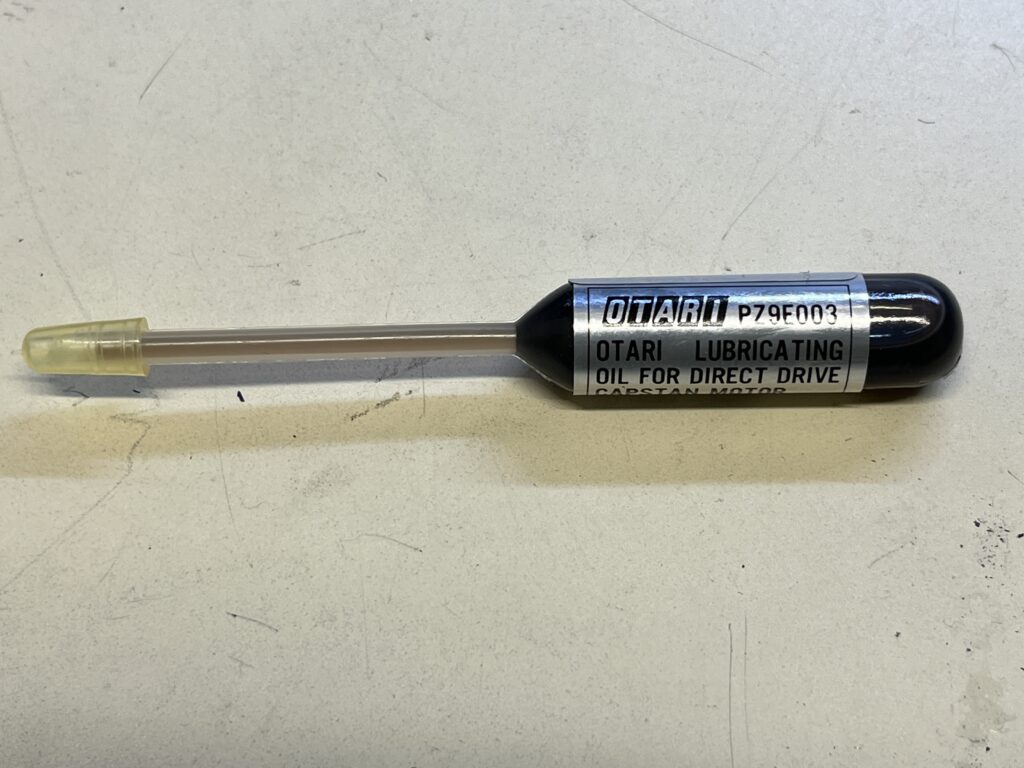
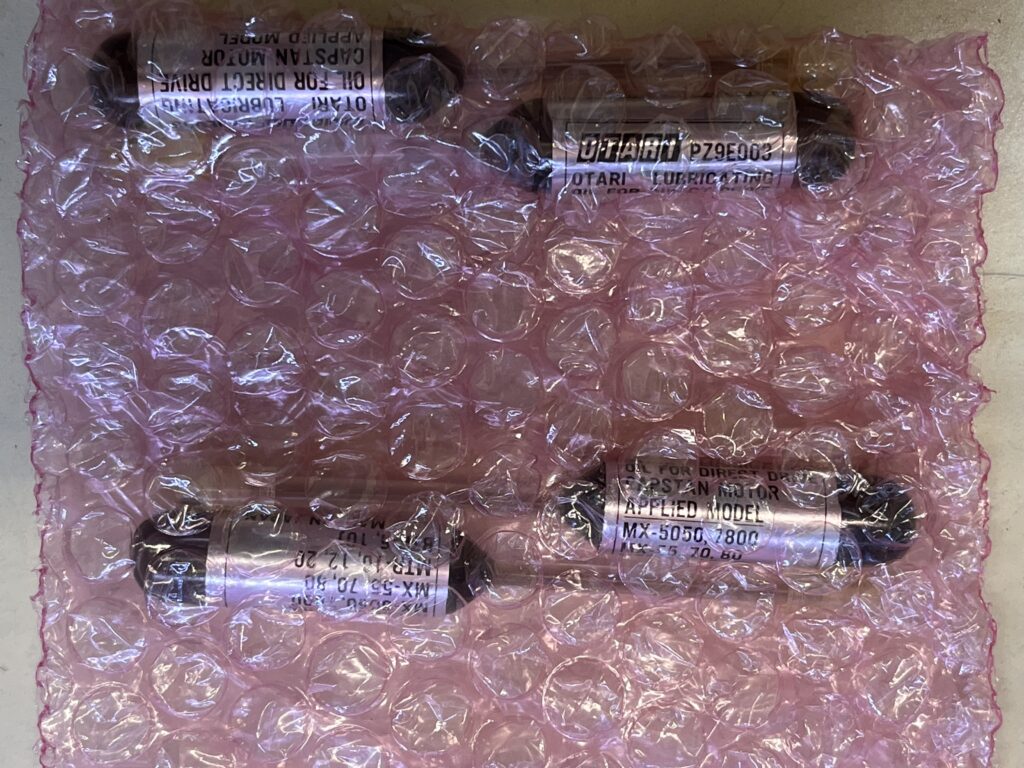
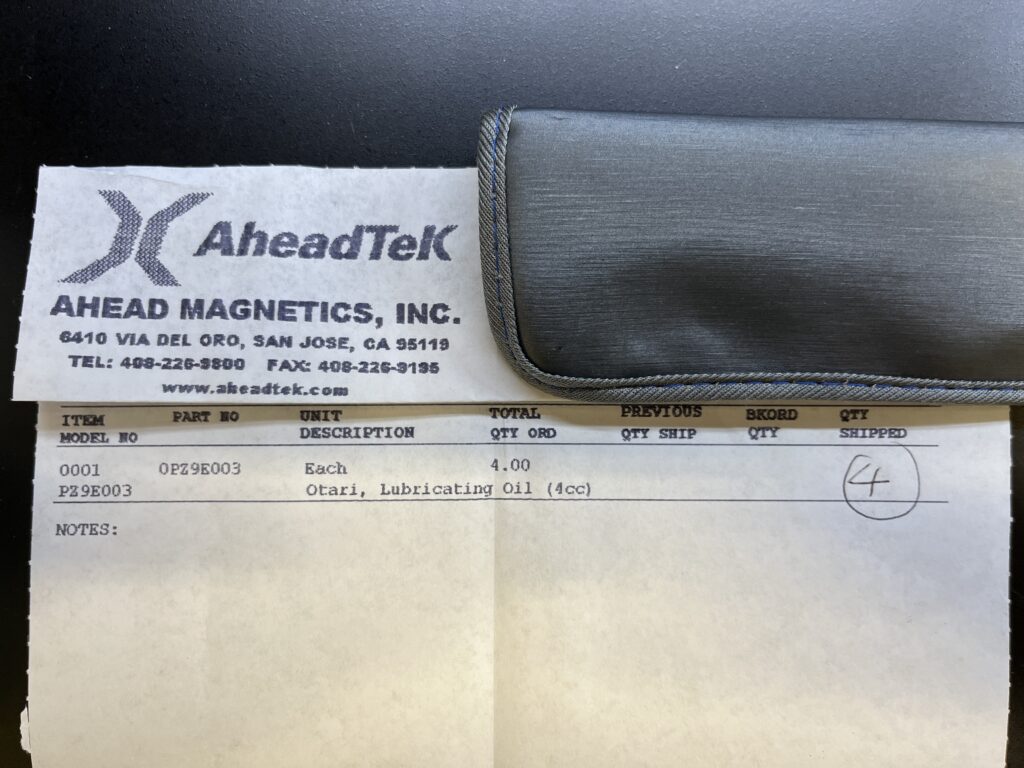
Next, I’d like to mention…. please don’t use motor oil on your capstan or any bearing parts that need lubrication. Use the manufacturer’s recommended oil lubrication, they mention it for a reason, an no it’s not snake oil. I say this because it is readily available and cost me $9 a tube. I contacted Otari directly and there factory still has it in stock. To avoid sending them a wire transfer to order it just contact AHEADTEK in the US/California to order some, they are Otari’s licensed reseller.
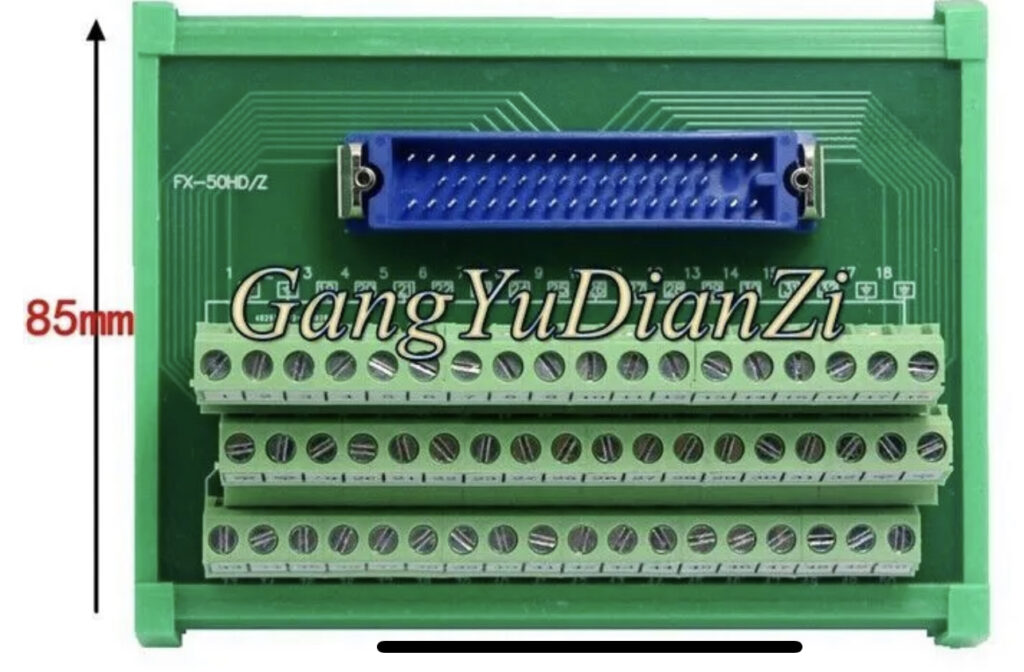
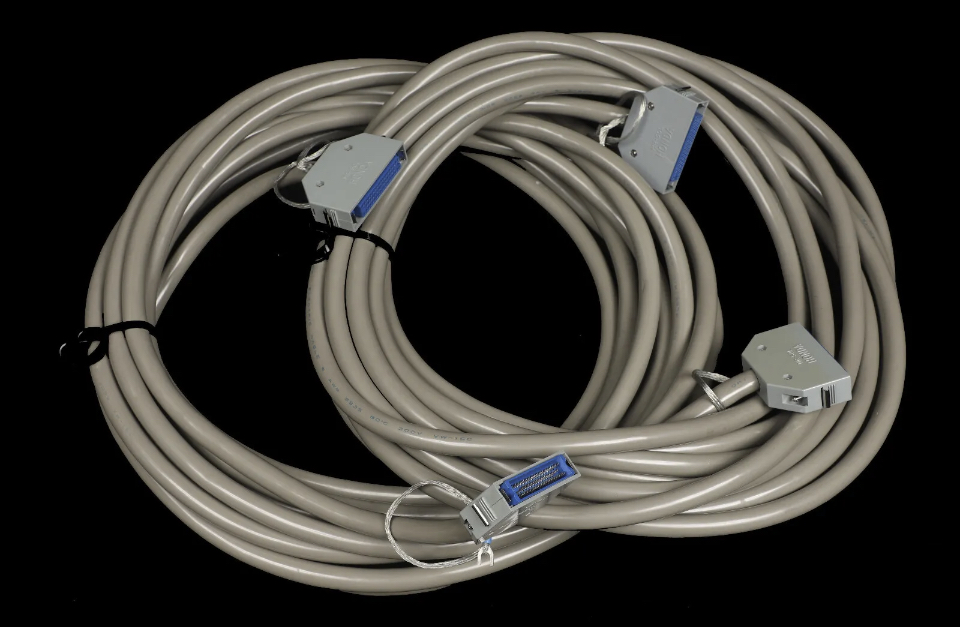
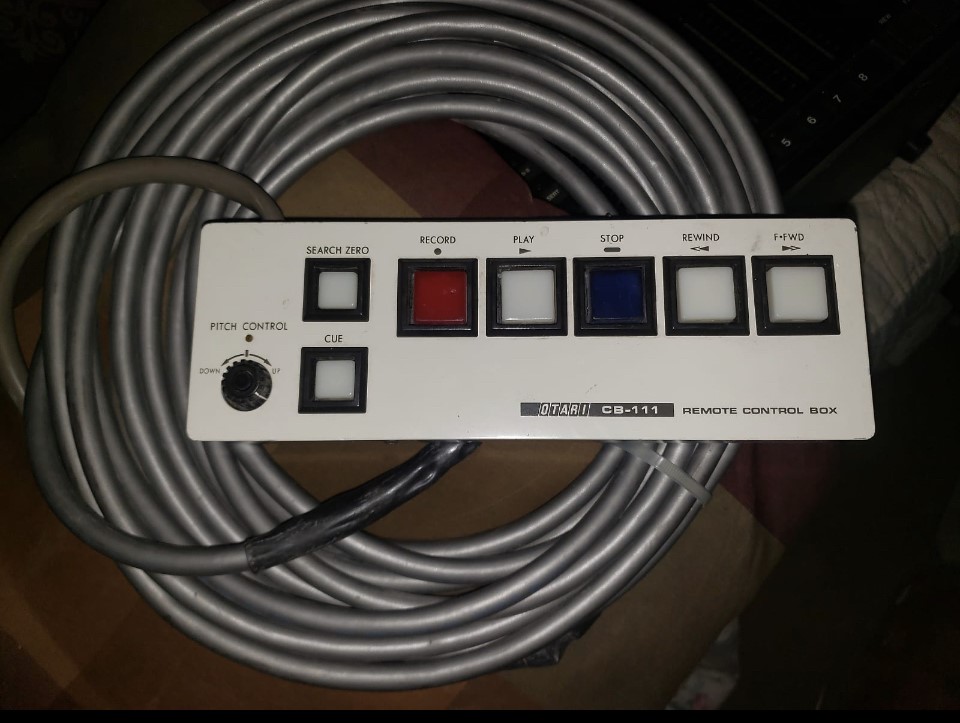
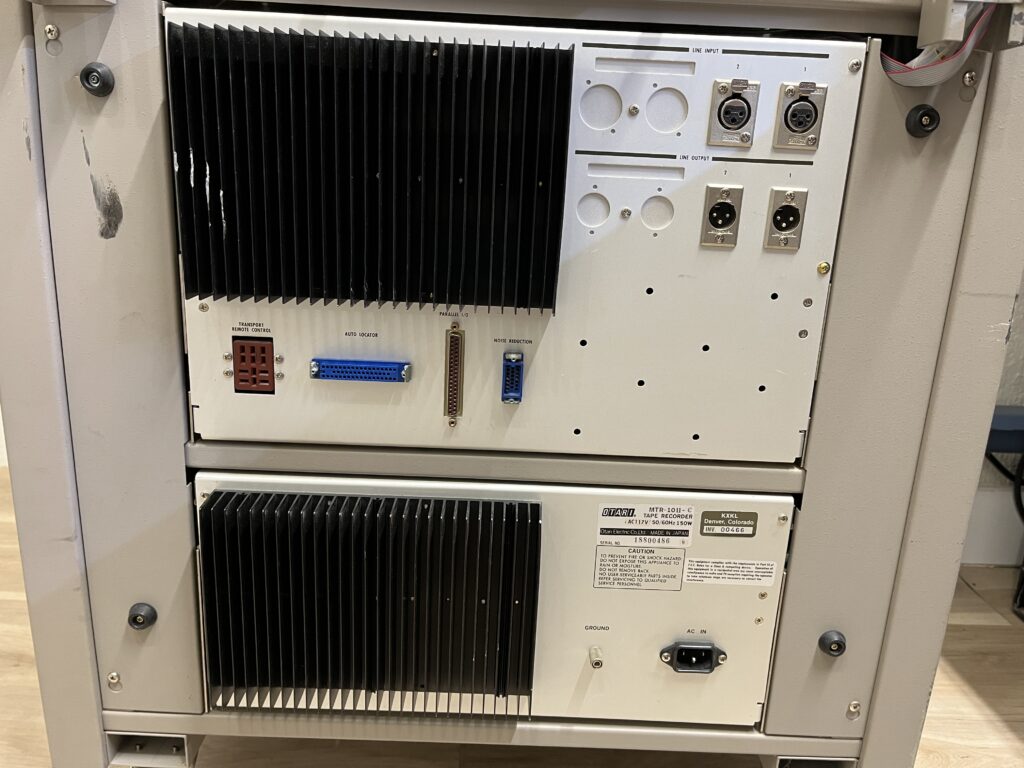
The 50 pin connector on the back of the unit that is used for the remote control option is a Honda 50 pin connector. Otari in 1970’s used the same connector from the auto industry MR50F & MR50M. The good news is that they are readily available on Ebay and you can also get cool break out boards with the connectors on them.


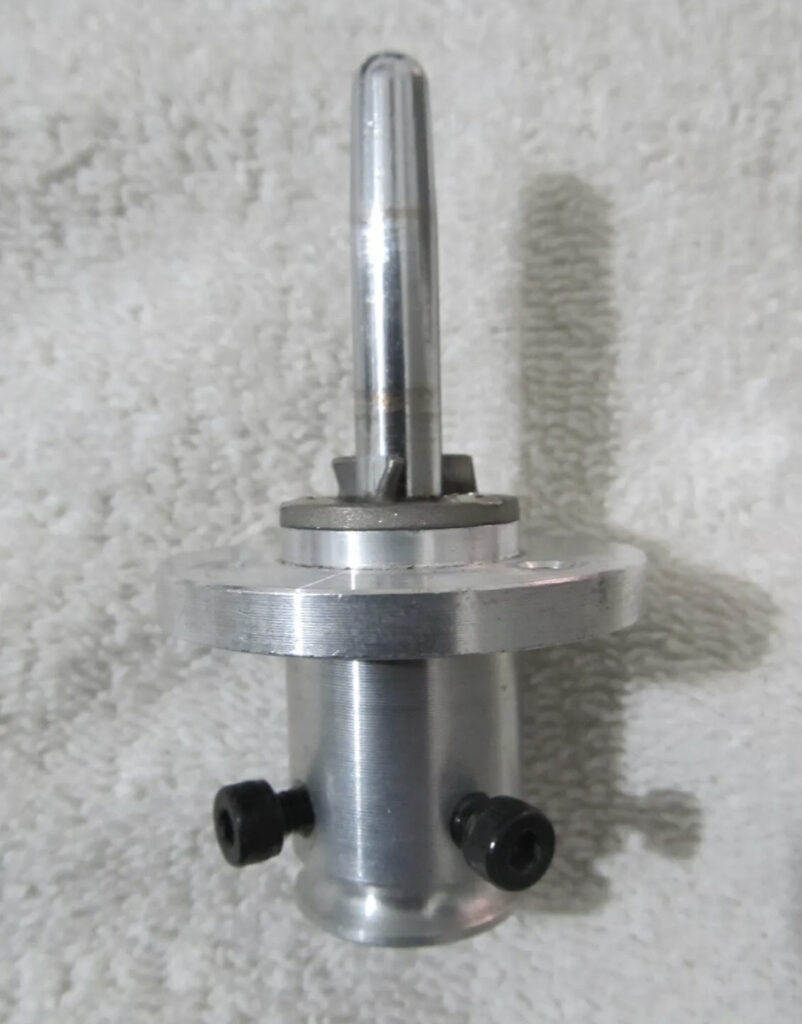
If your reel is wobbling a lot you may need to replace the transport hub. Alternatively check that the reel you are using is straight. If major damaged has occurred you may need to replace the transport motor assembly.
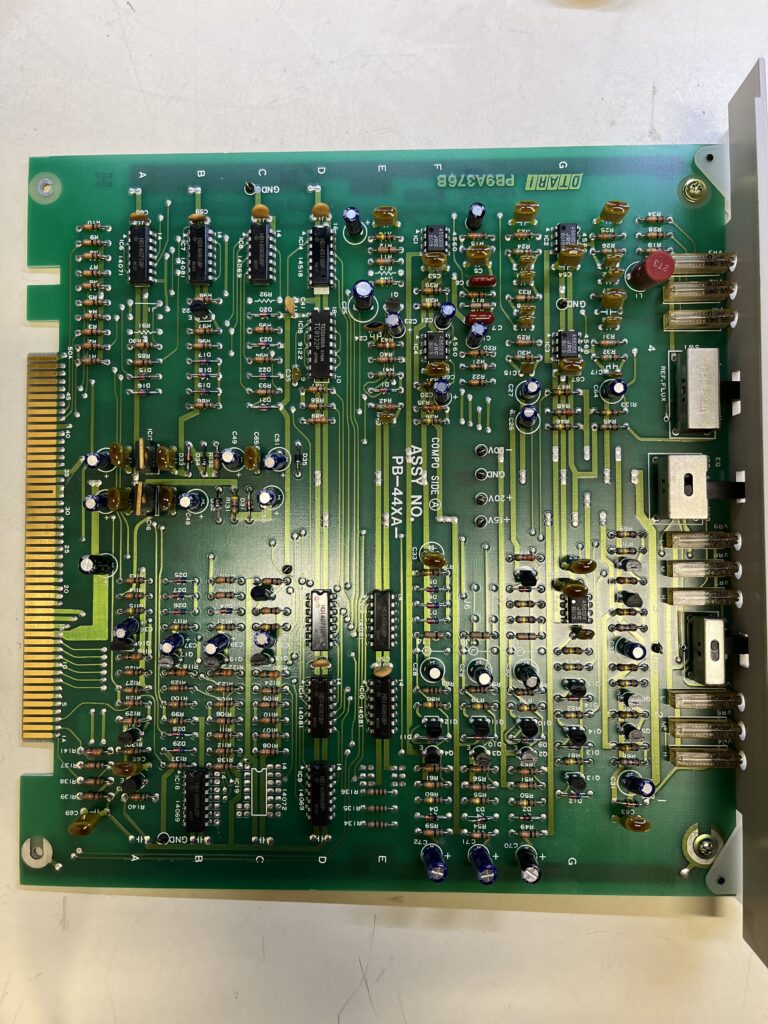
The audio oscillator built into your unit should work when input is selected. If it is faulty then the problem area will reside on your Audio Control Board. I pulled my card and noticed that a capacitor had exploded and possibly damaged other components. Instead of repairing, I bought a functional board used for less than $80. This feature will be helpful when calibrating and running additional tests.
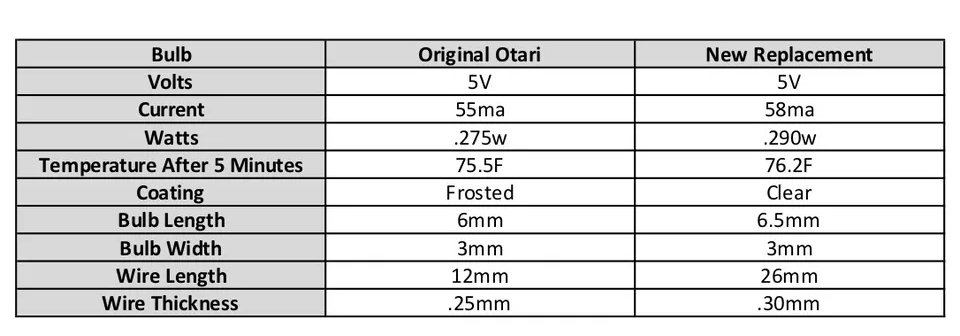
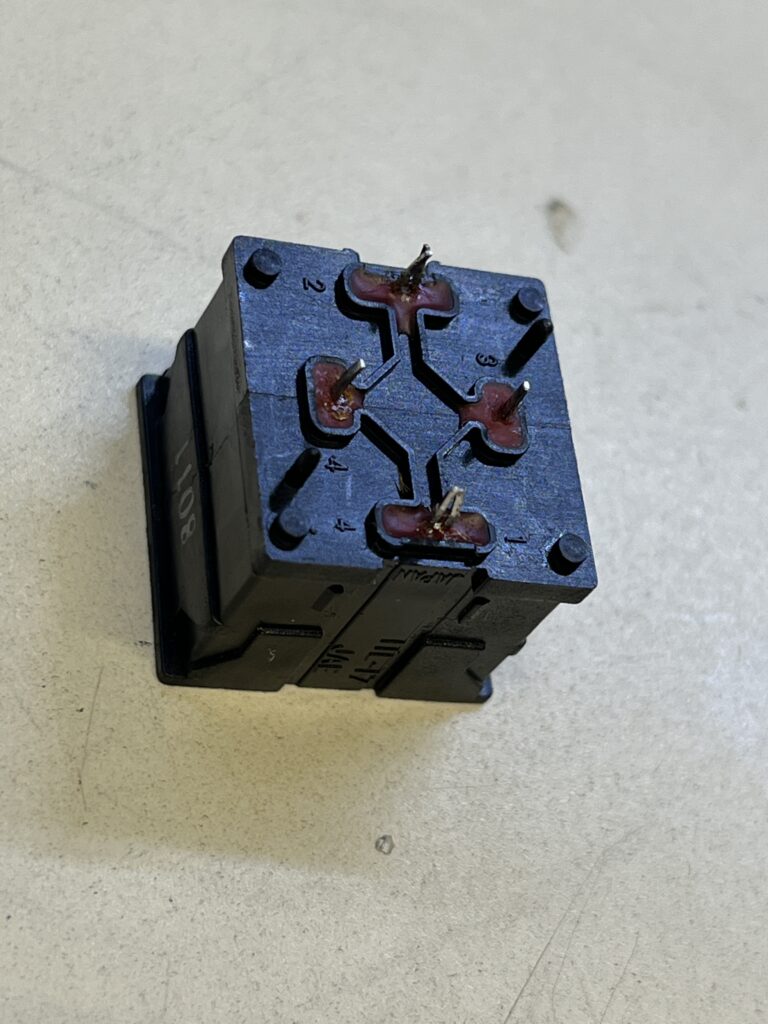
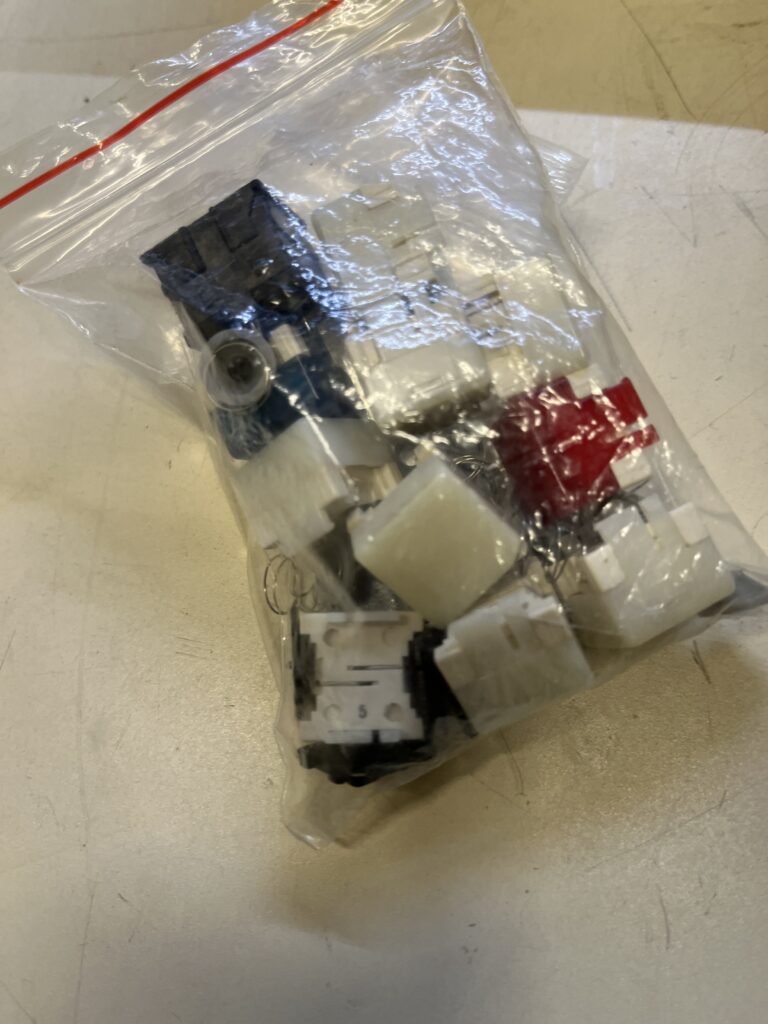
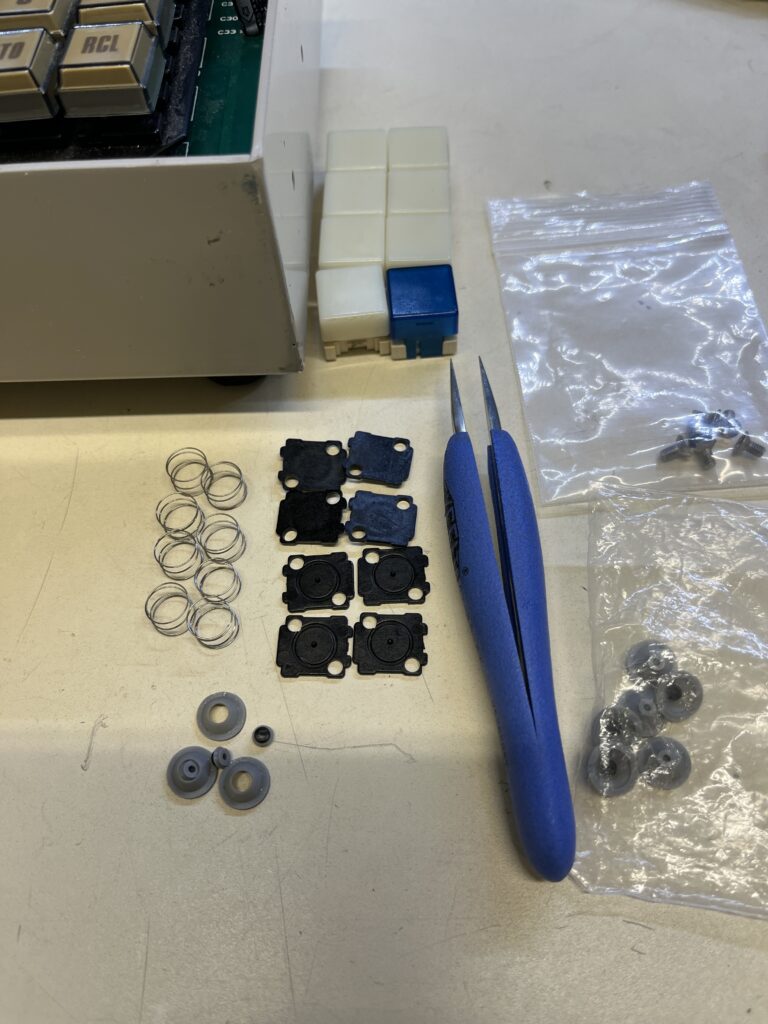
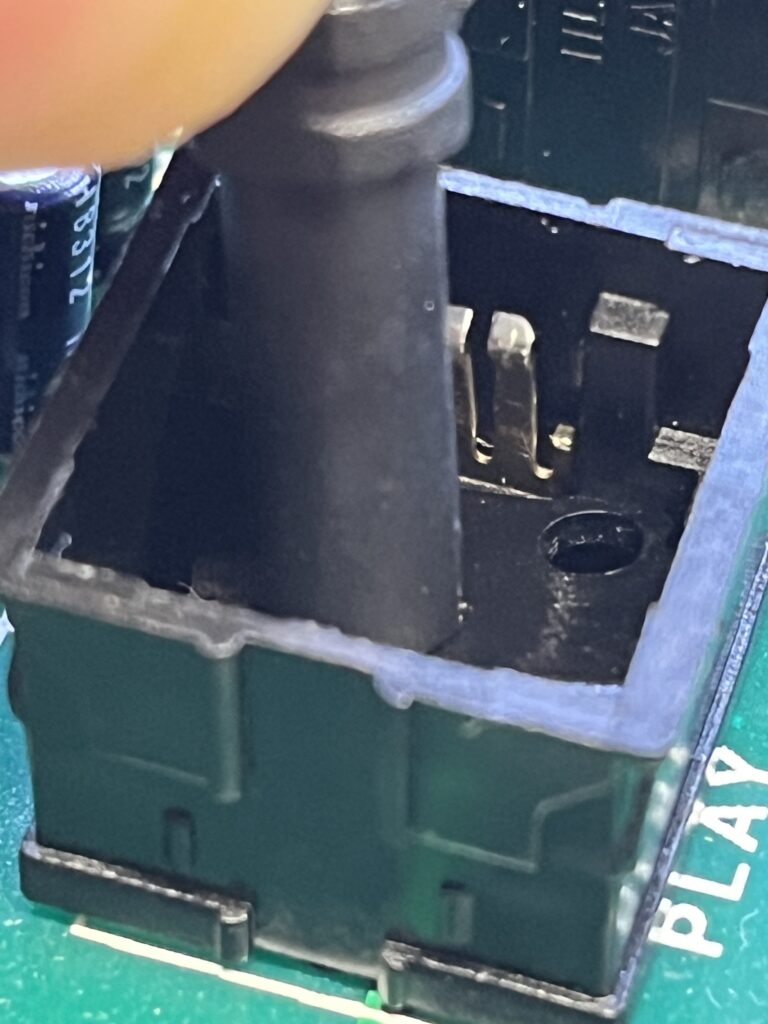
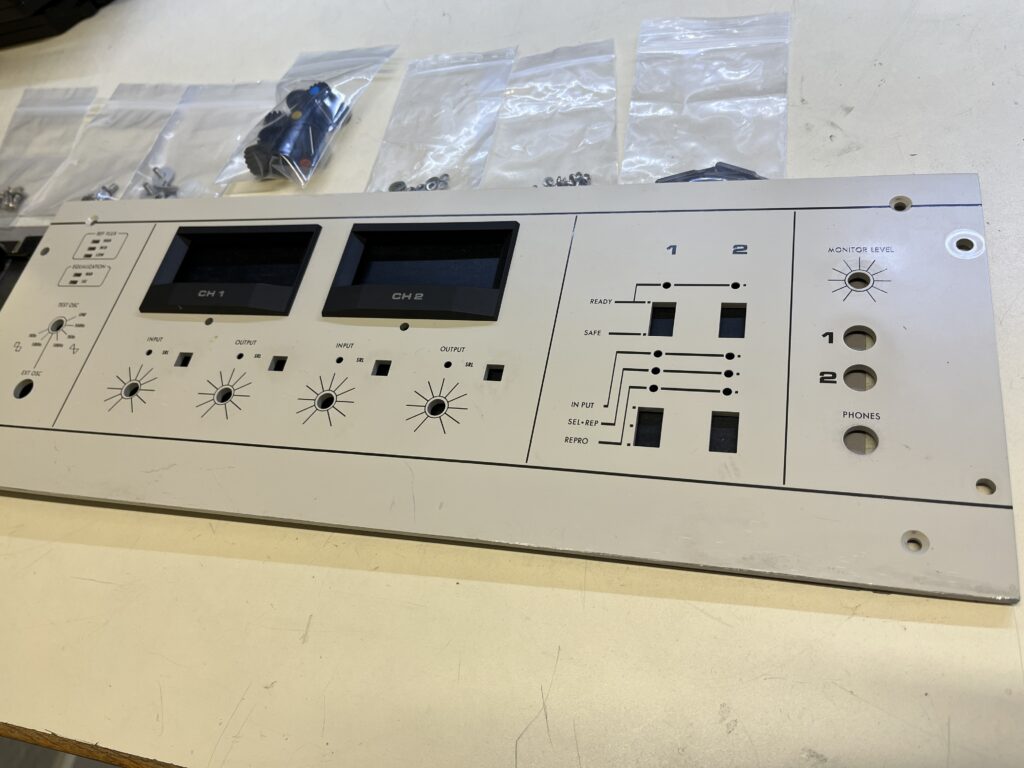
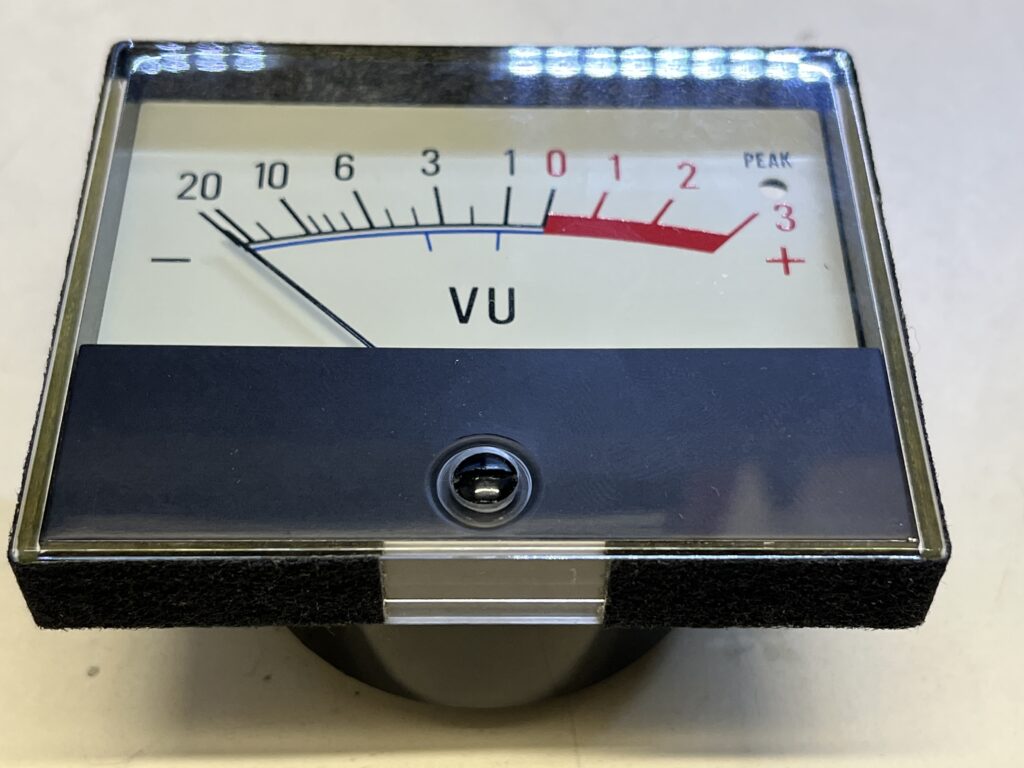
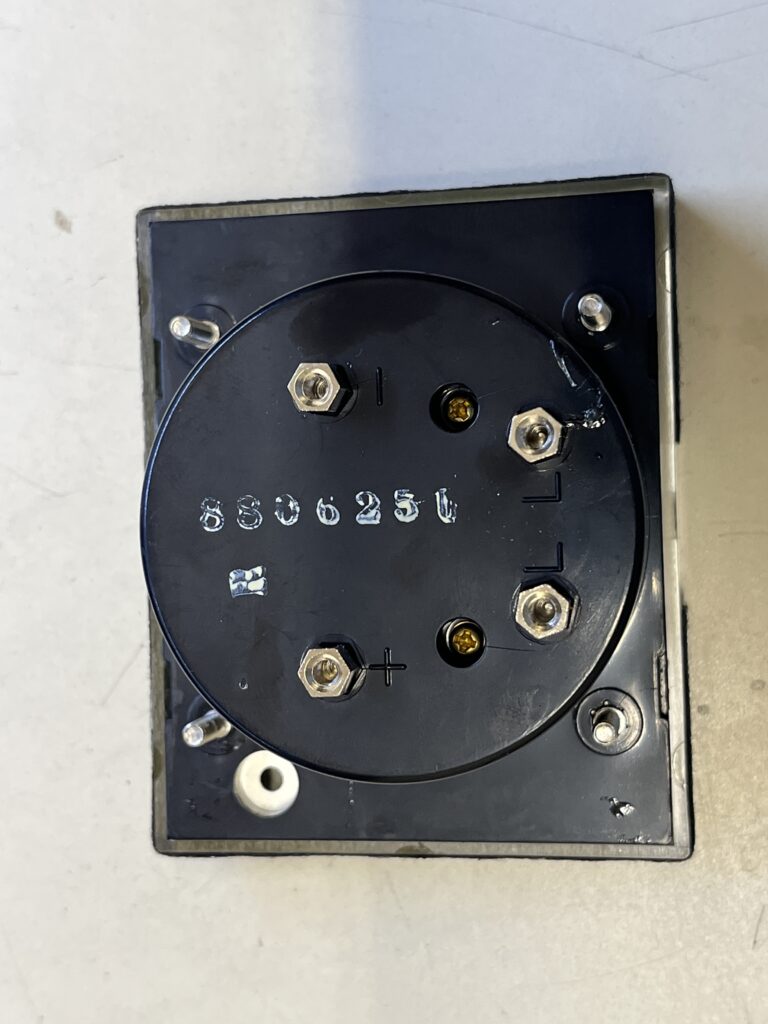
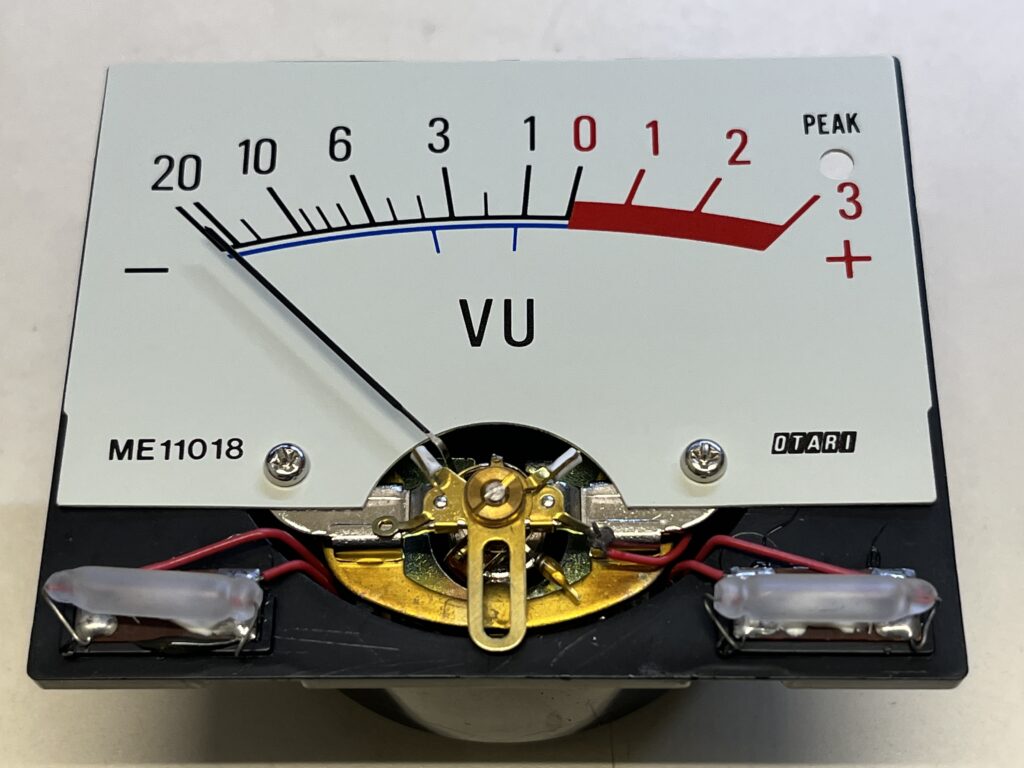
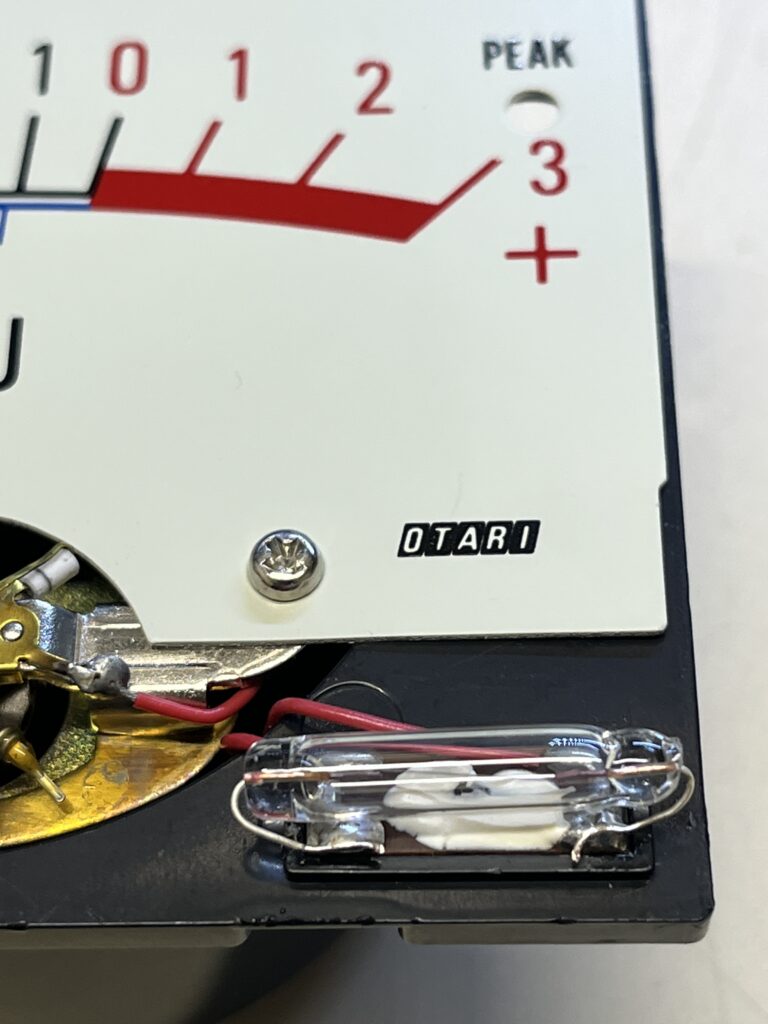
Replacing the lights on the UV meters and transport controls are super easy. The original incandescent light bulbs were frosted but clear replacements work great. The UV meters use 8v (Axial Miniature lamp 100mA with leads) and the transport buttons use 5v (T1 3mm Pilot Lamp 60mA). When opening the UV meters be sure that the plastic adjustment pin is aligned before snapping the cover back on. Taping the bulb on before soldering definitely helps. For the transport controls you just gently pinch and pull the cap cover off. The bulb is inserted through a loop in the sides. Get the service manual so you know how to take apart the unit. SEE Photos.
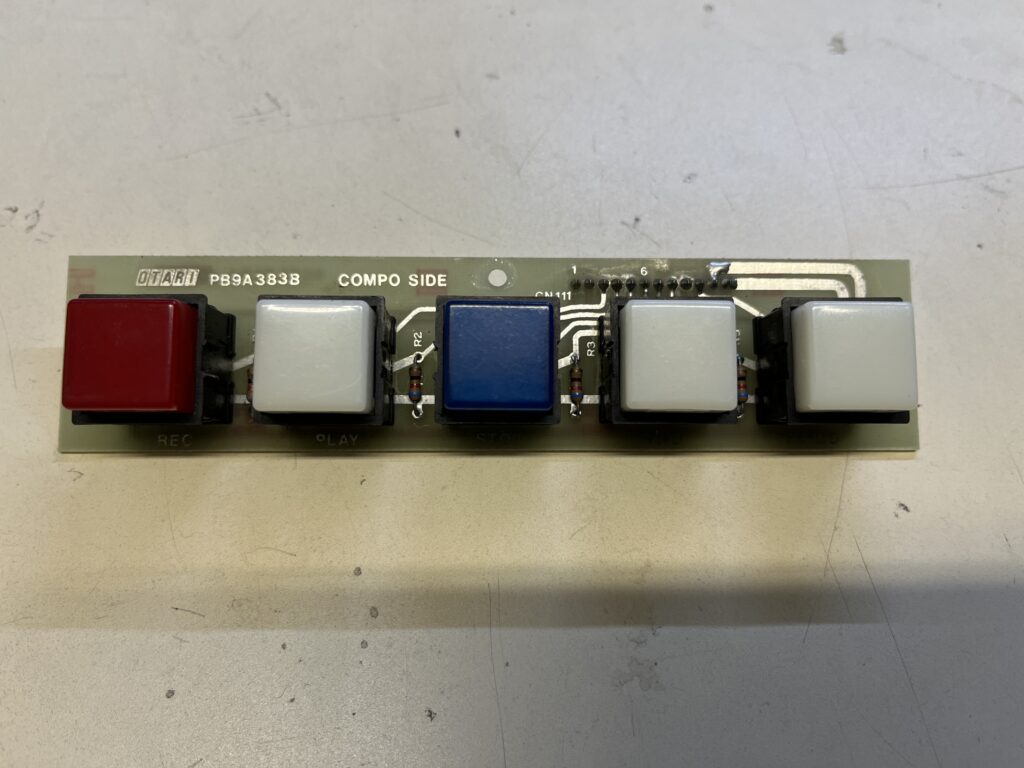
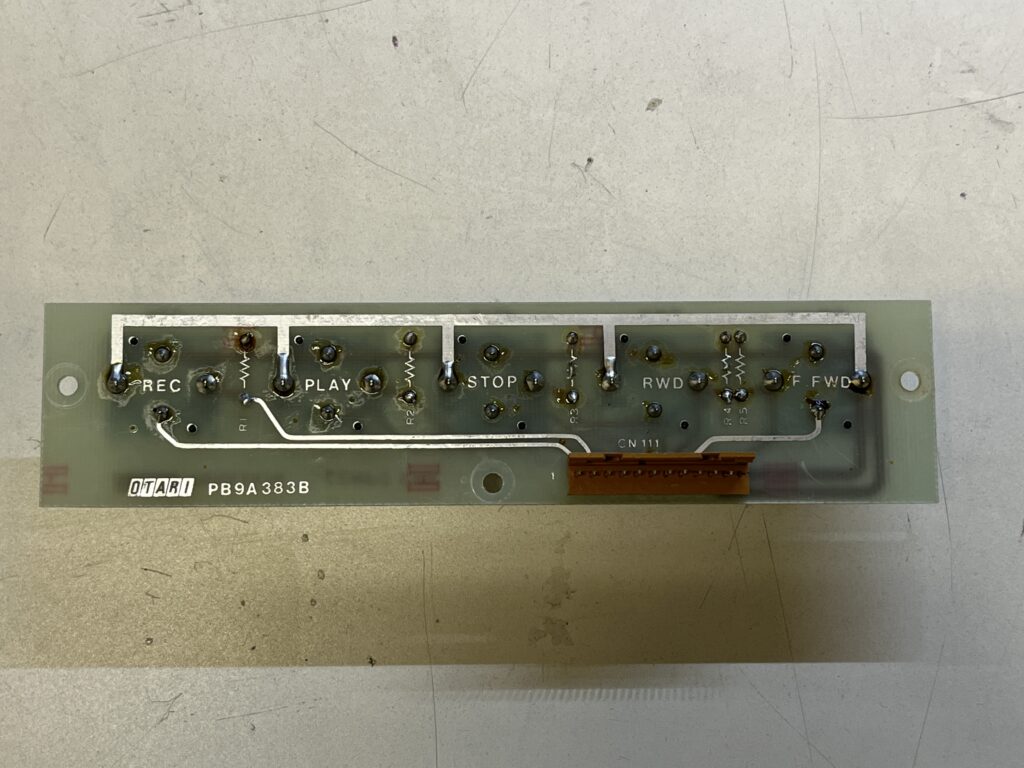
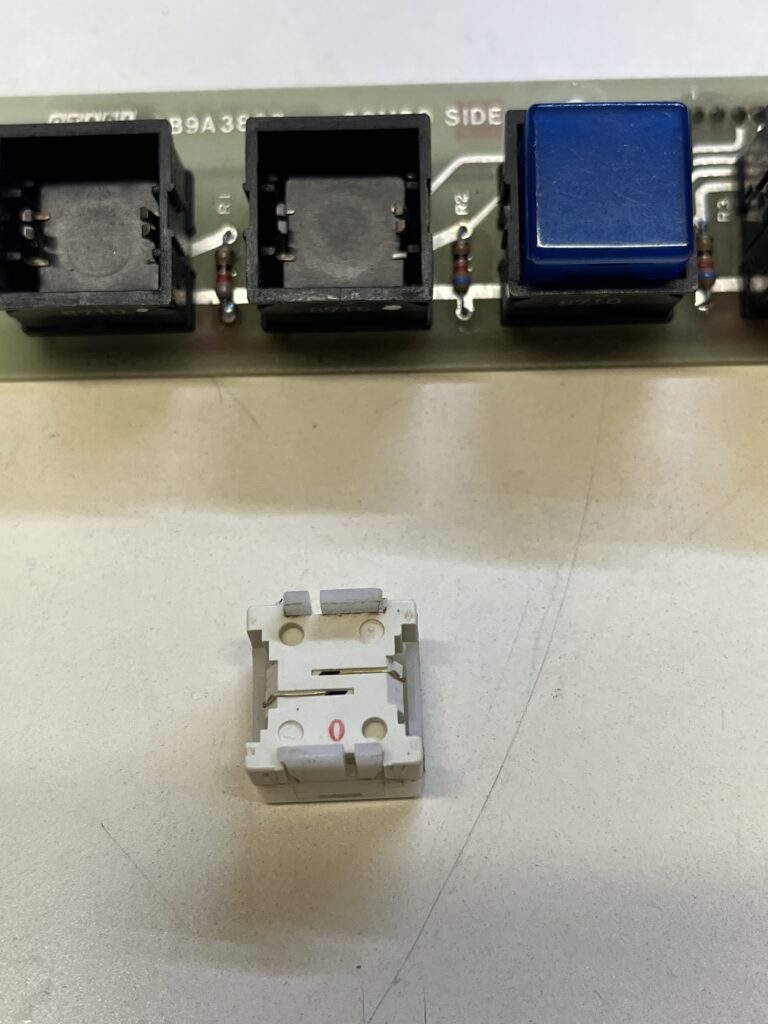
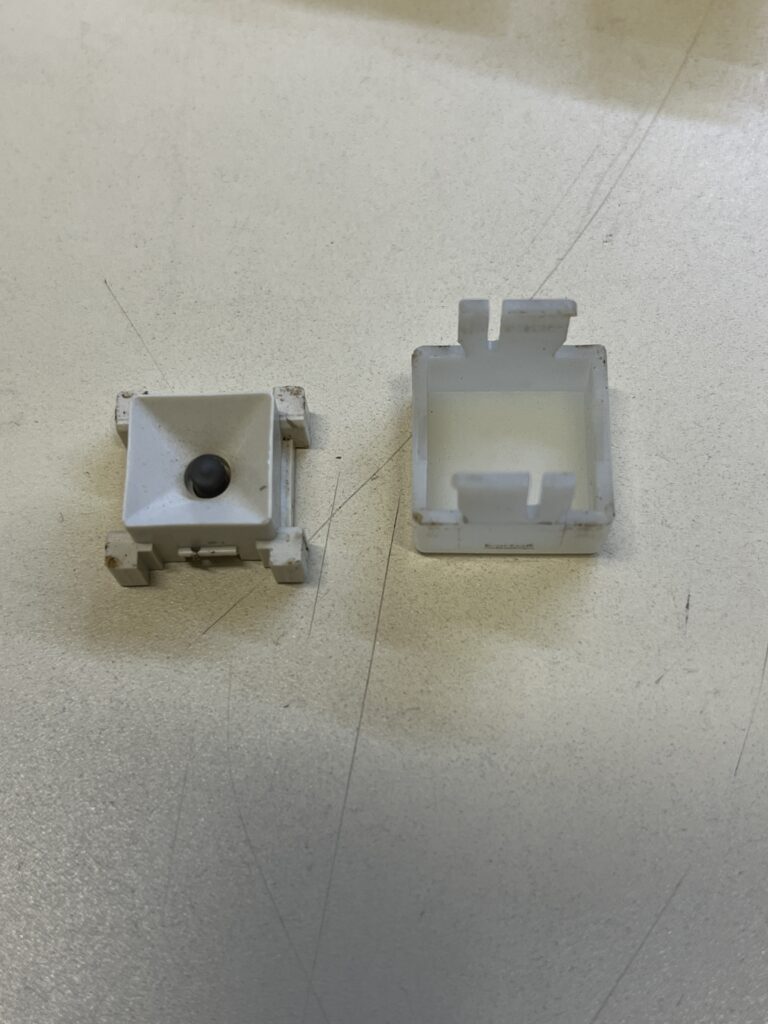
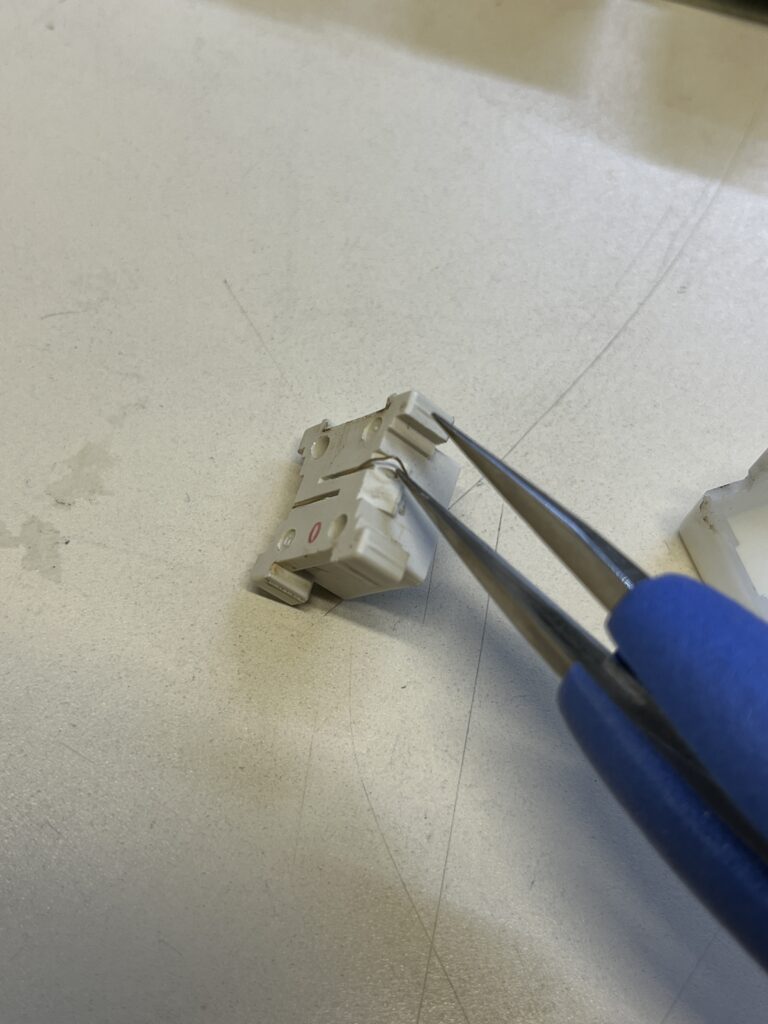
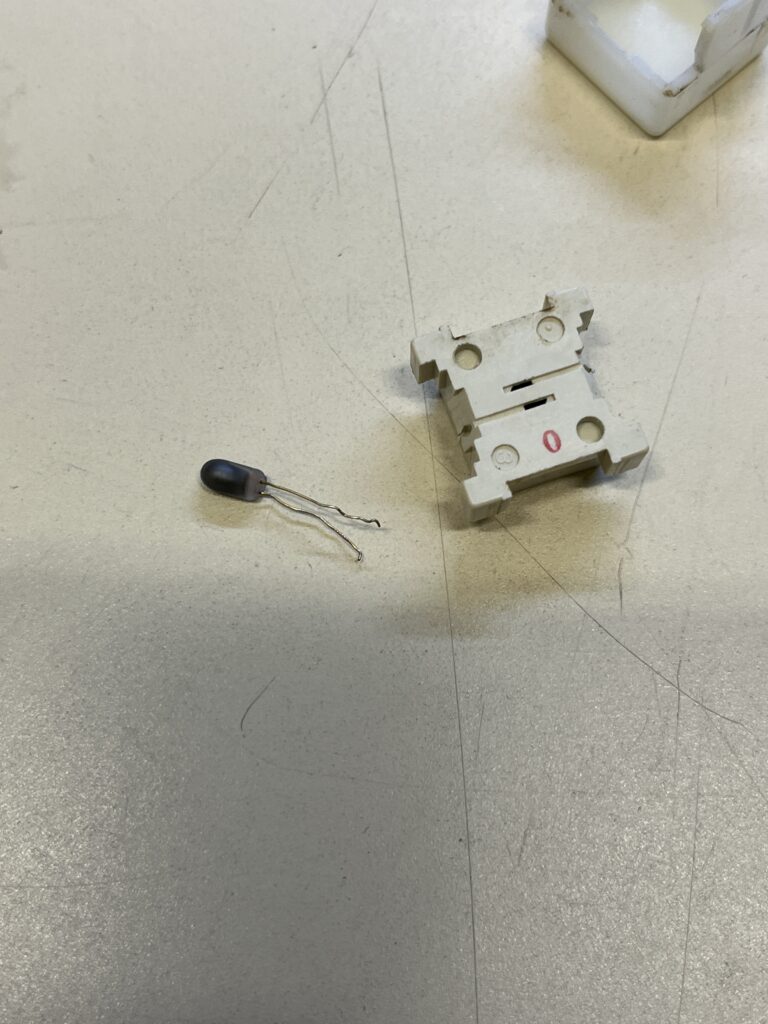
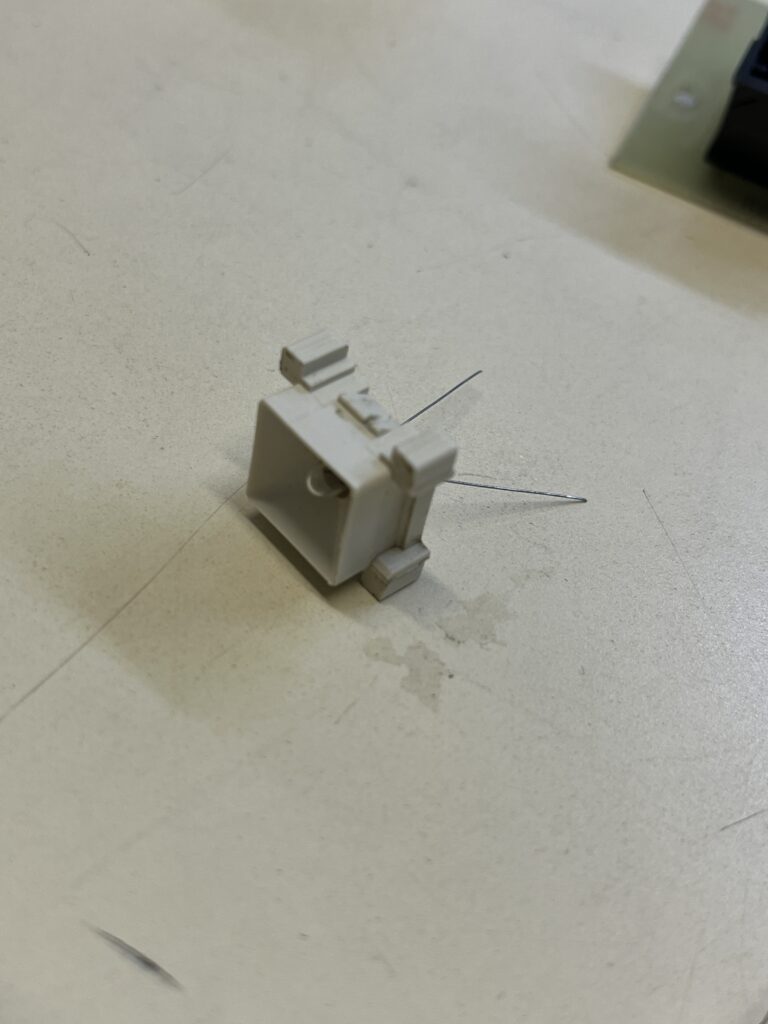
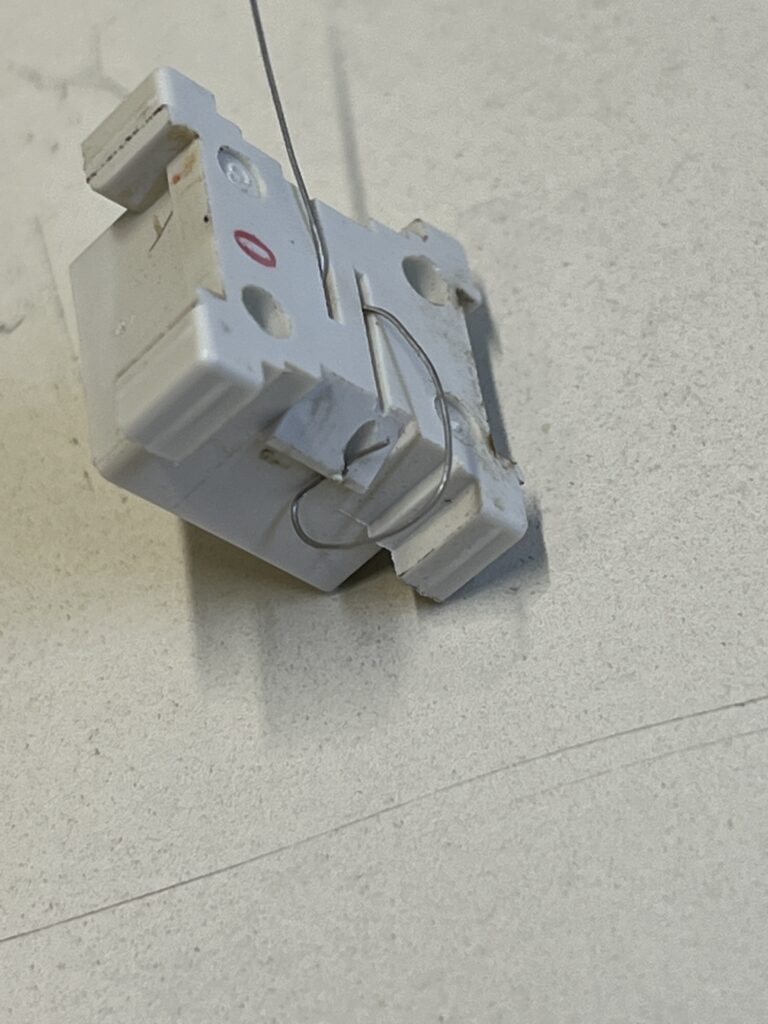
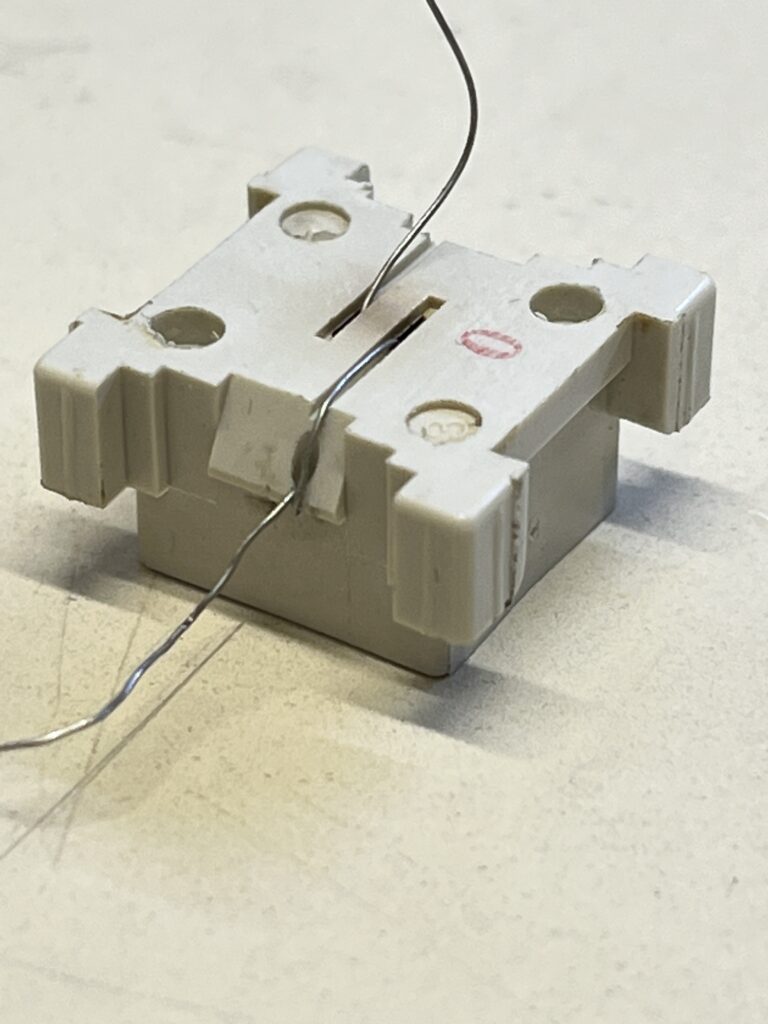
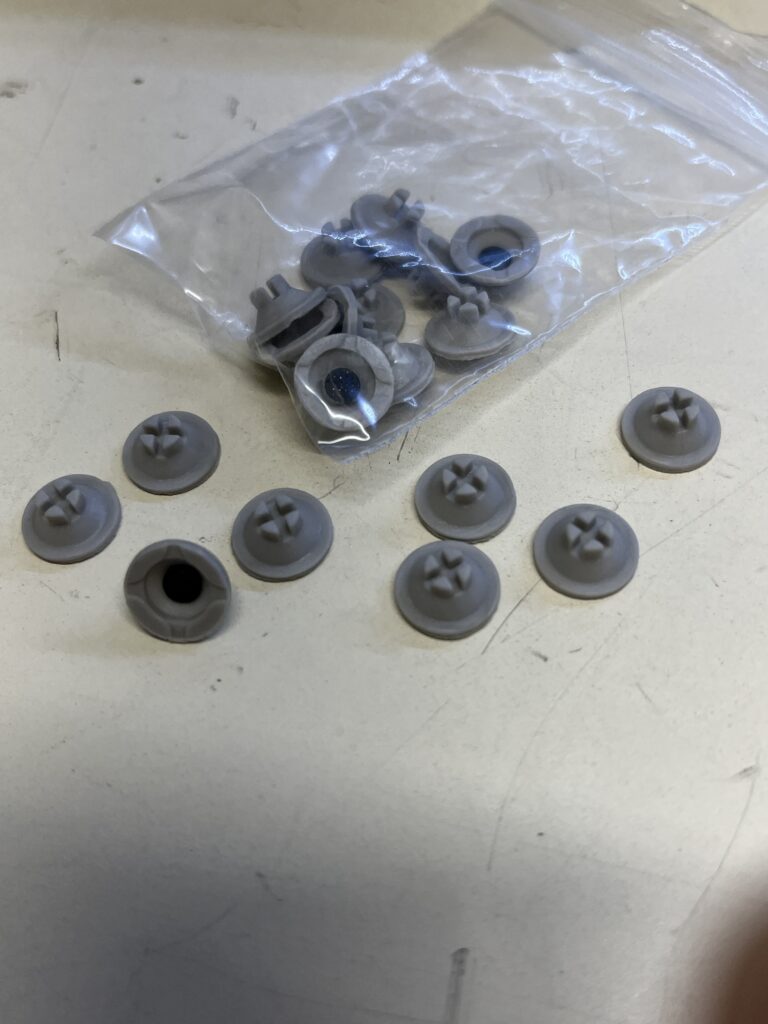
Note: If the button does not work and only the light, the contact cup needs to be replaced. The original cup is approximately 10mm base diameter, 4mm in height with a 7.5mm taper base diameter. Pins 1&2 (light) pins 3&4 (switch). The inside ID switch cup housing is 9.8mm, the original old cups sat on the raised ring by the contacts when I opened them, possibly widened over time. A cup 9mm in diameter should place inside easily and prevent it from moving. The original switches are obsolete but reworkable. Bend up the 4 pins holding the plastic spring guard, careful to not let it lunge out. Behind the cap is a spring and the contact cup. They often break at the top where the carbon contact is located. I had to cut the diameter so that it would fit into the guide.
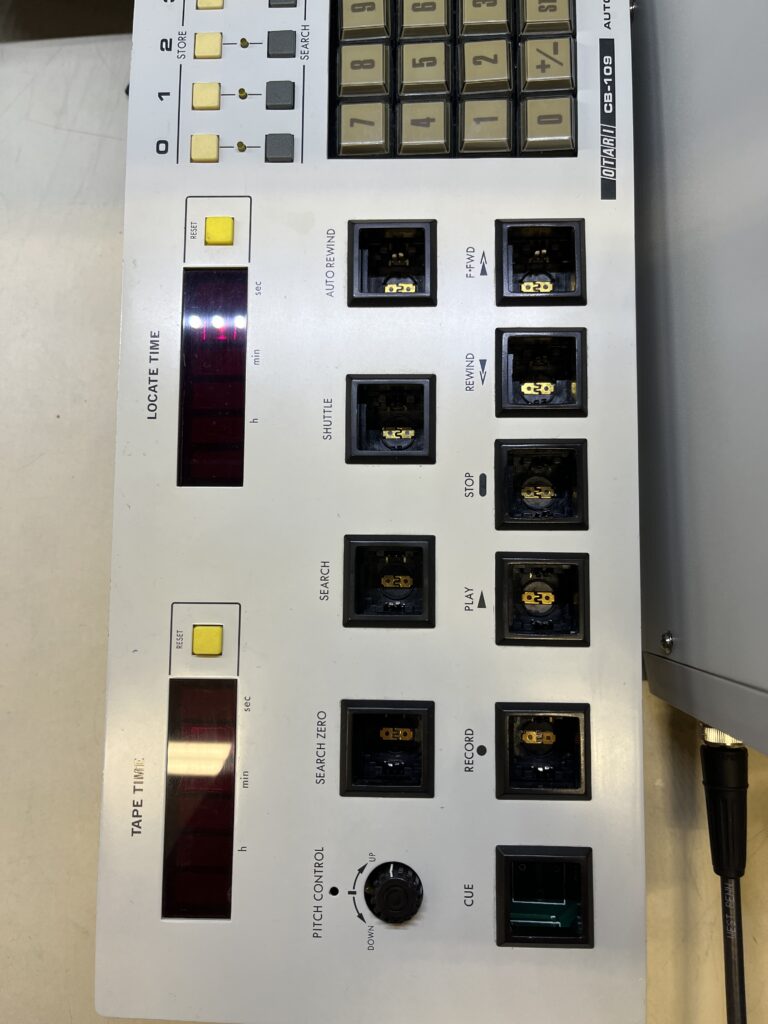
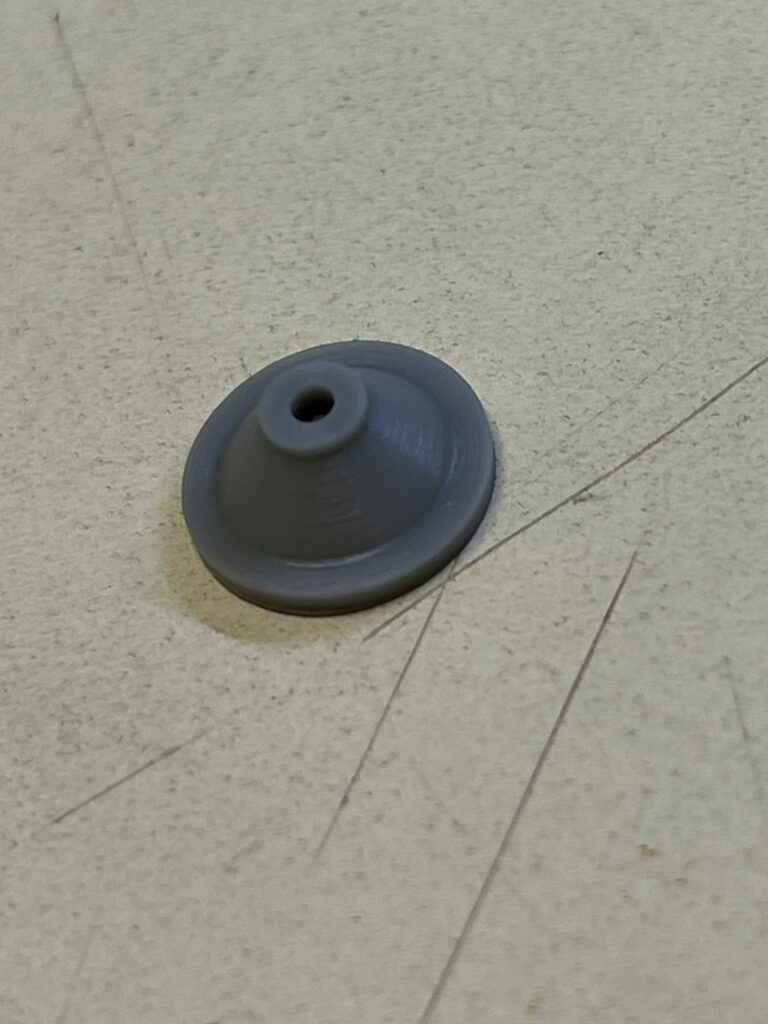
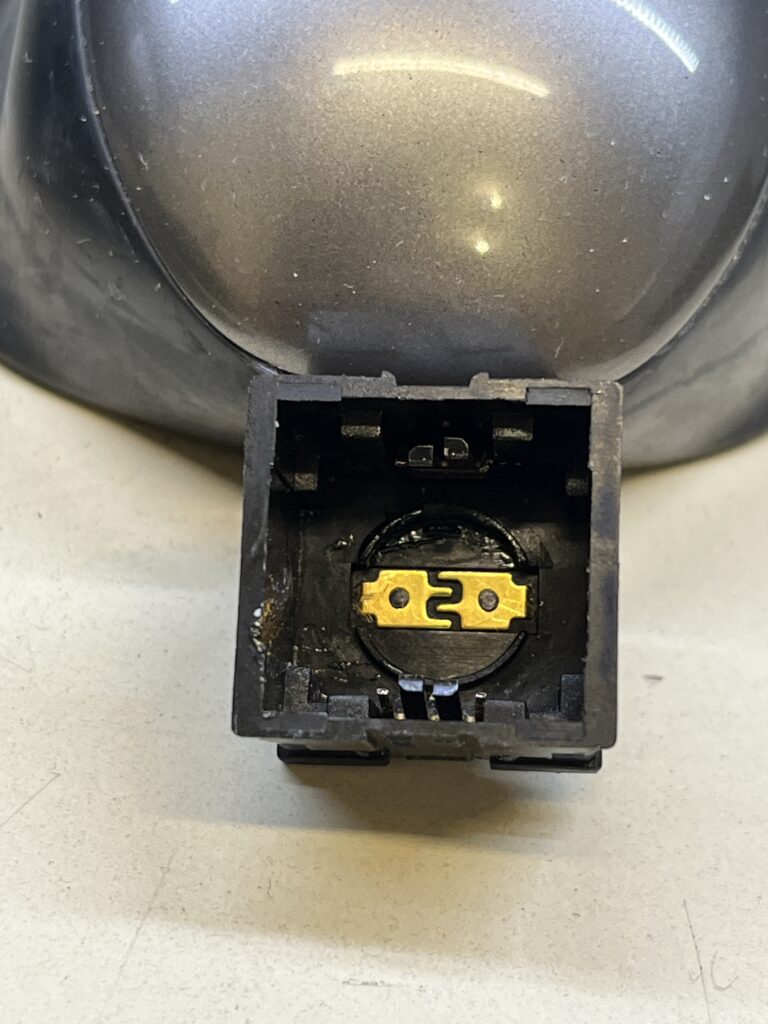
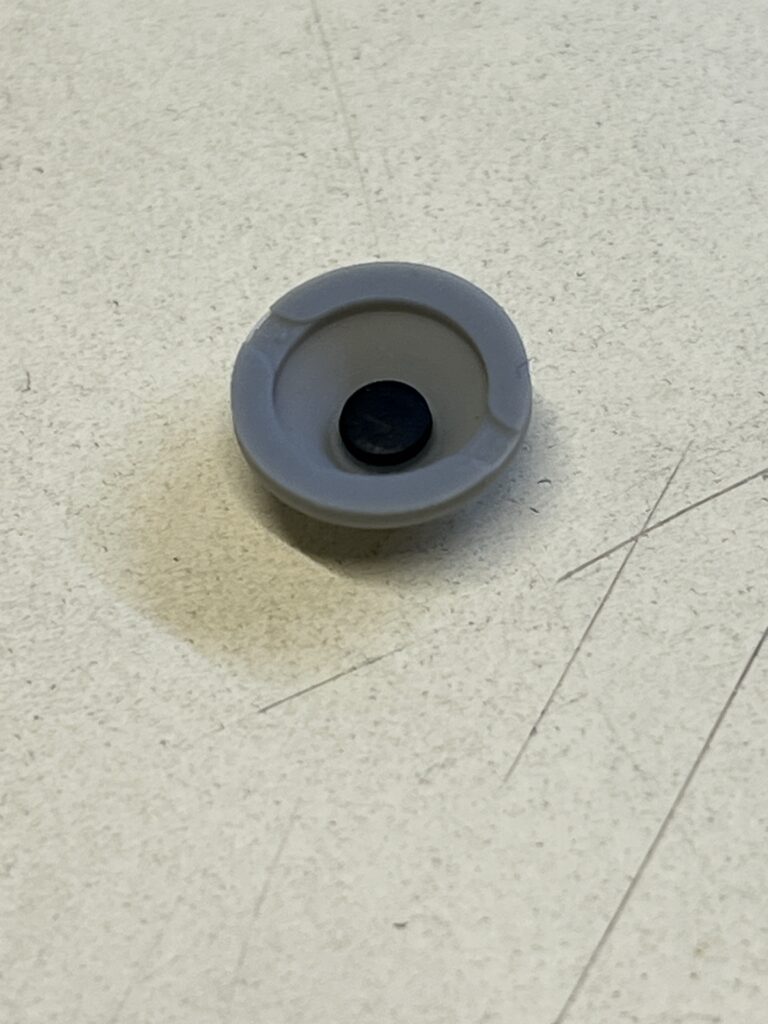
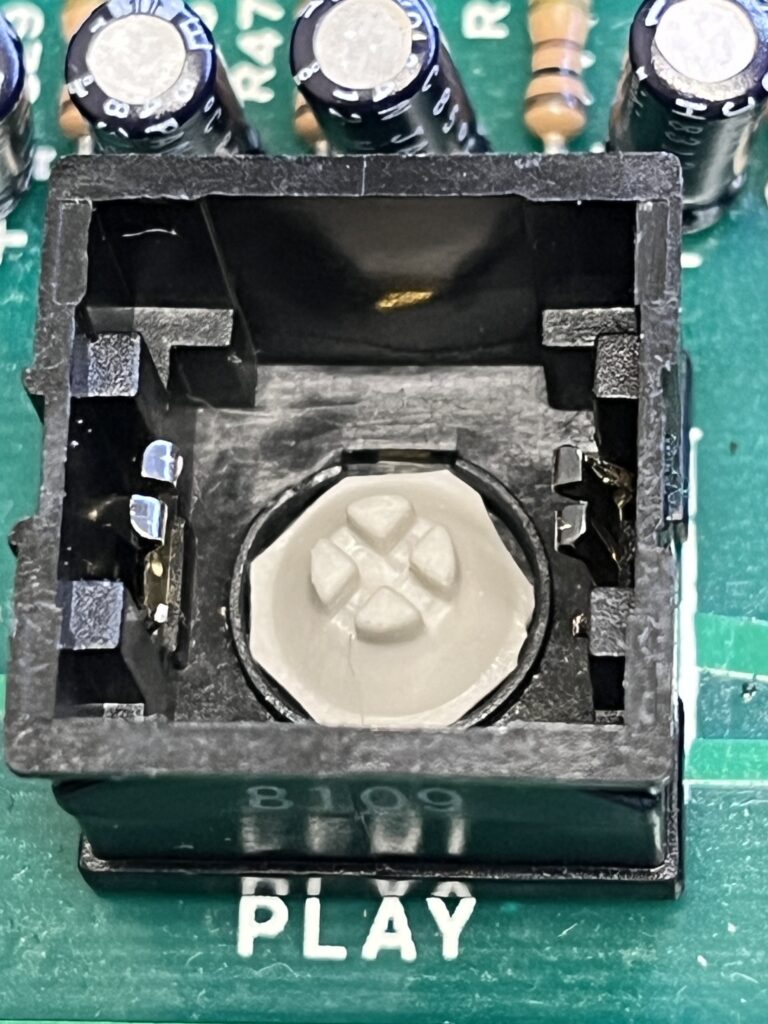
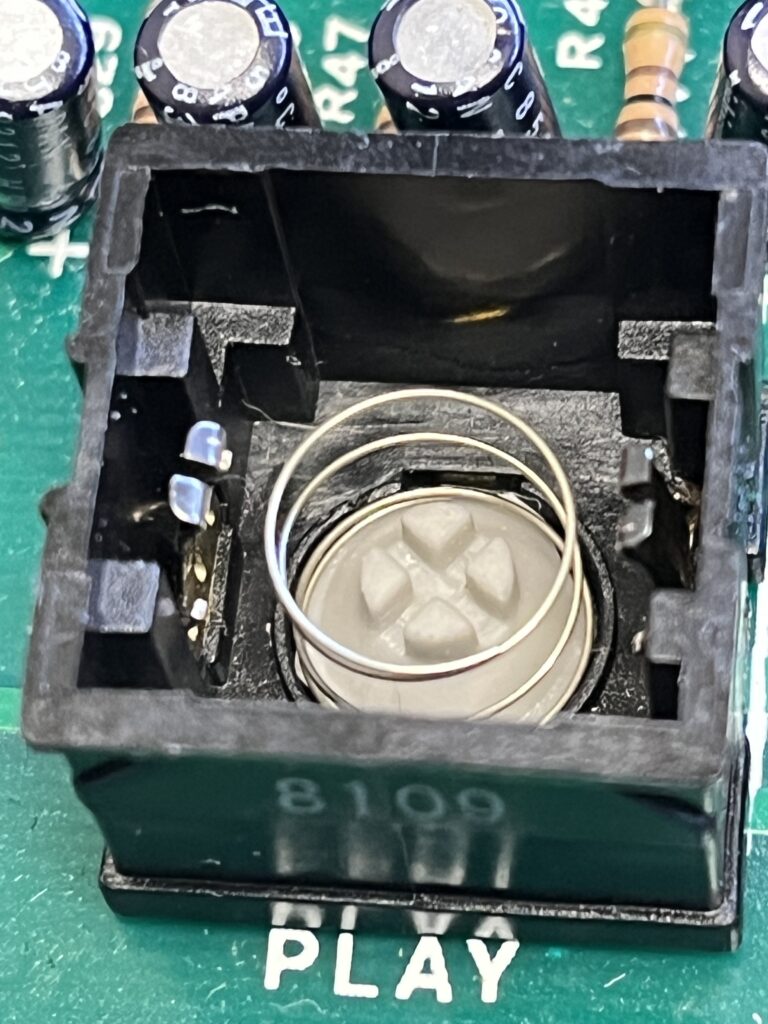
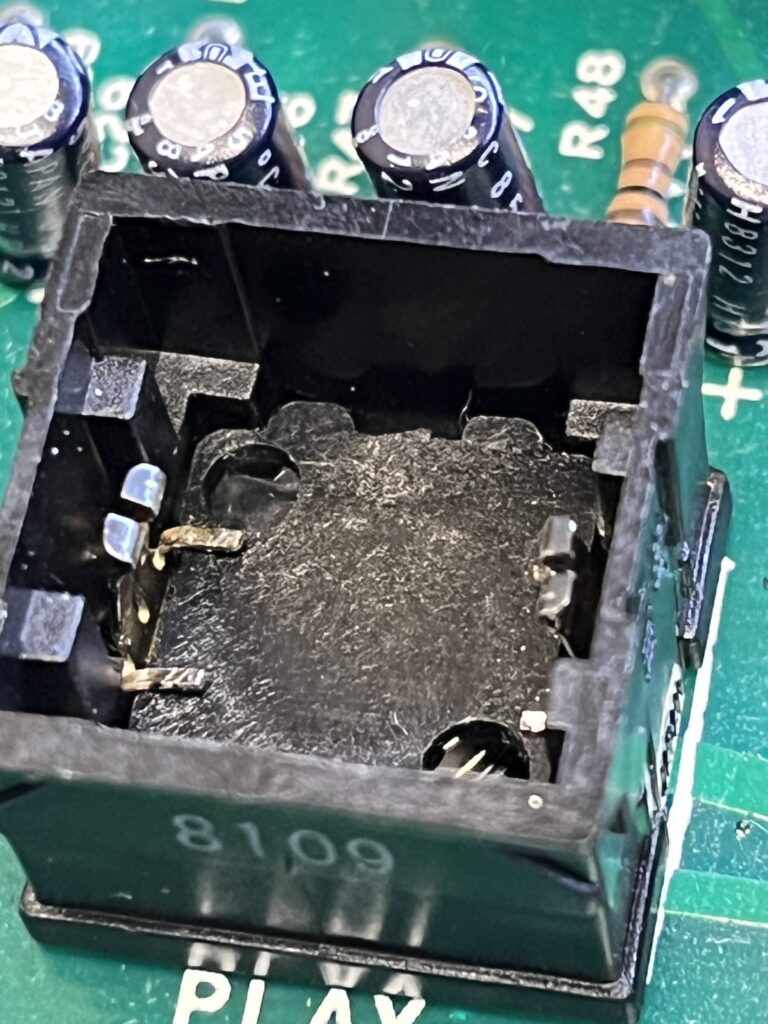
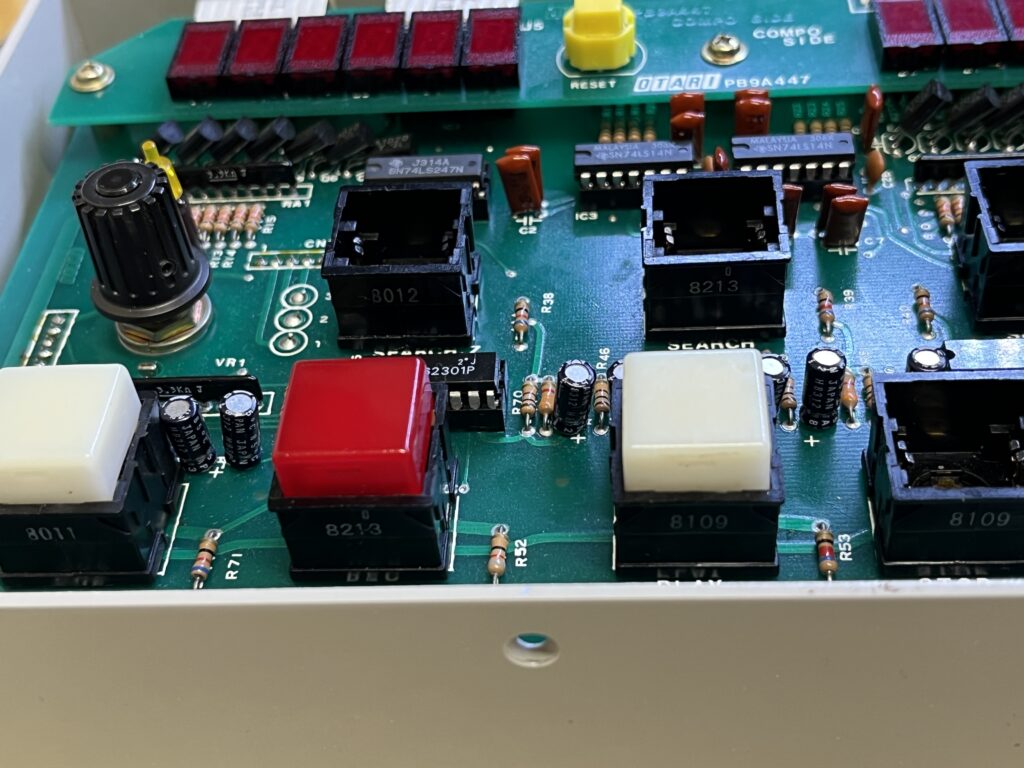
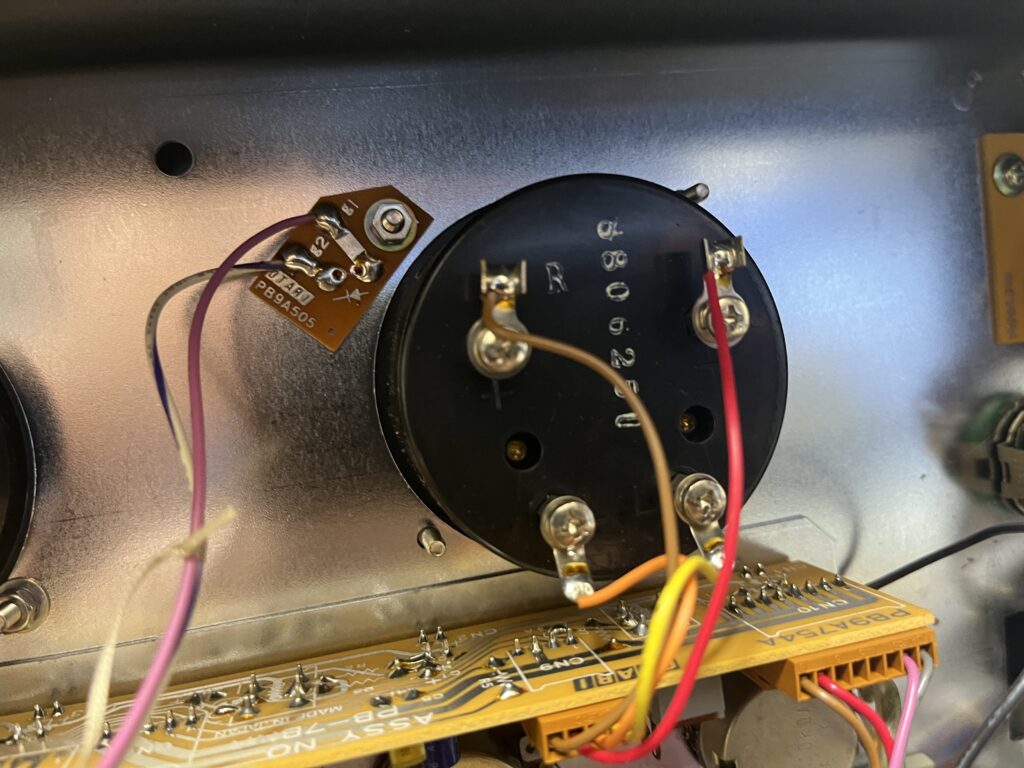
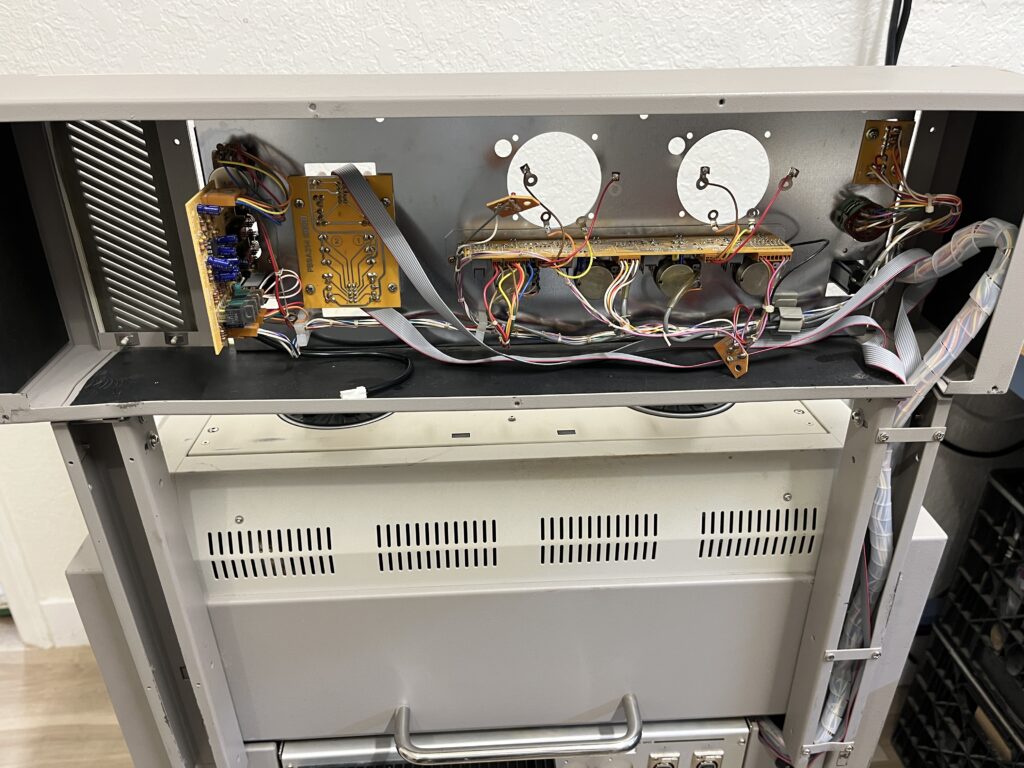
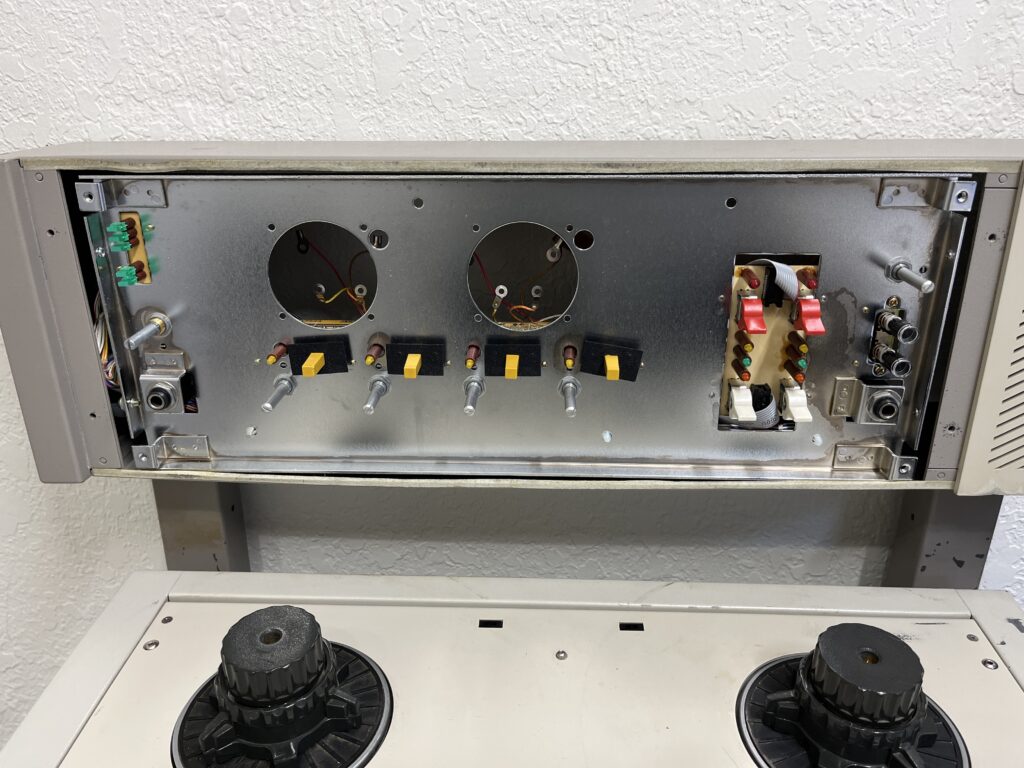


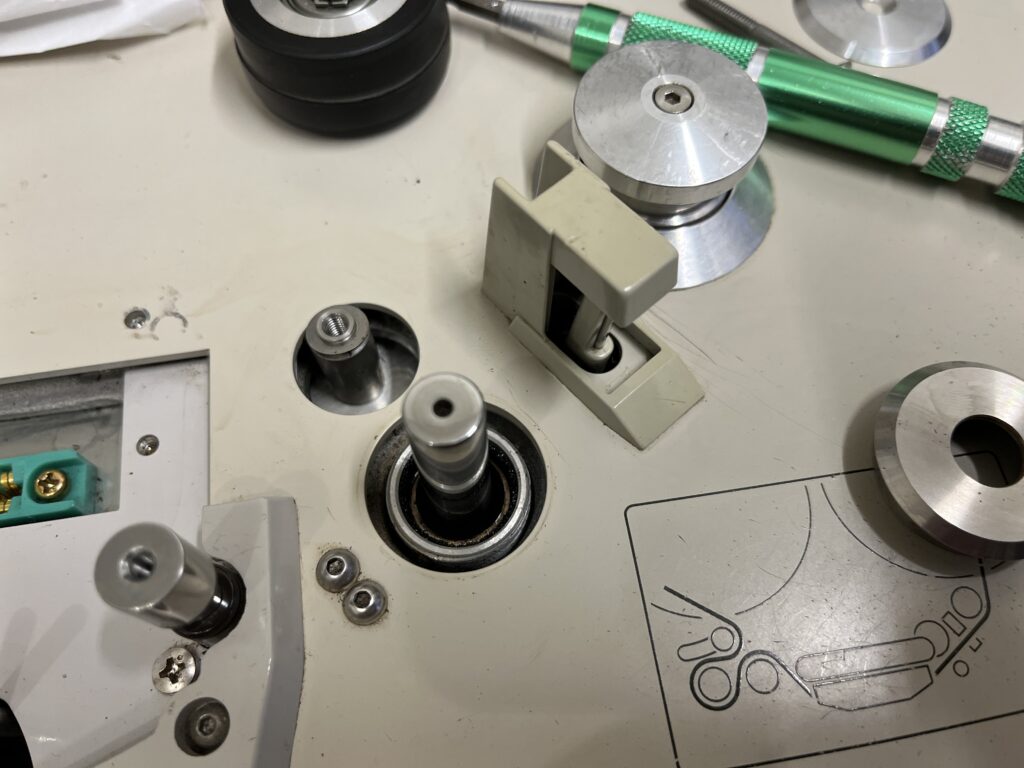
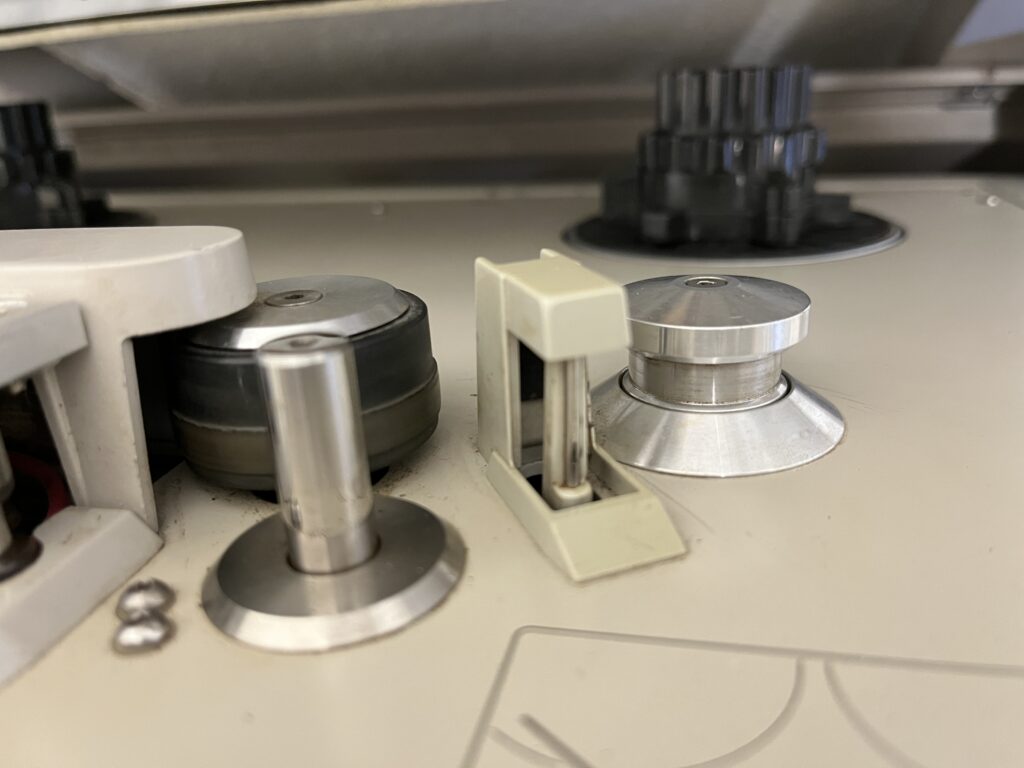
The head assembly easily comes apart for servicing. Use pure isopropyl alcohol for all cleaning of transports. A cotton swab is preferred and then use a lint free cloth for the rollers. Be sure to check inside the unit as well as under the panels for old tape shed and get that unit clean.
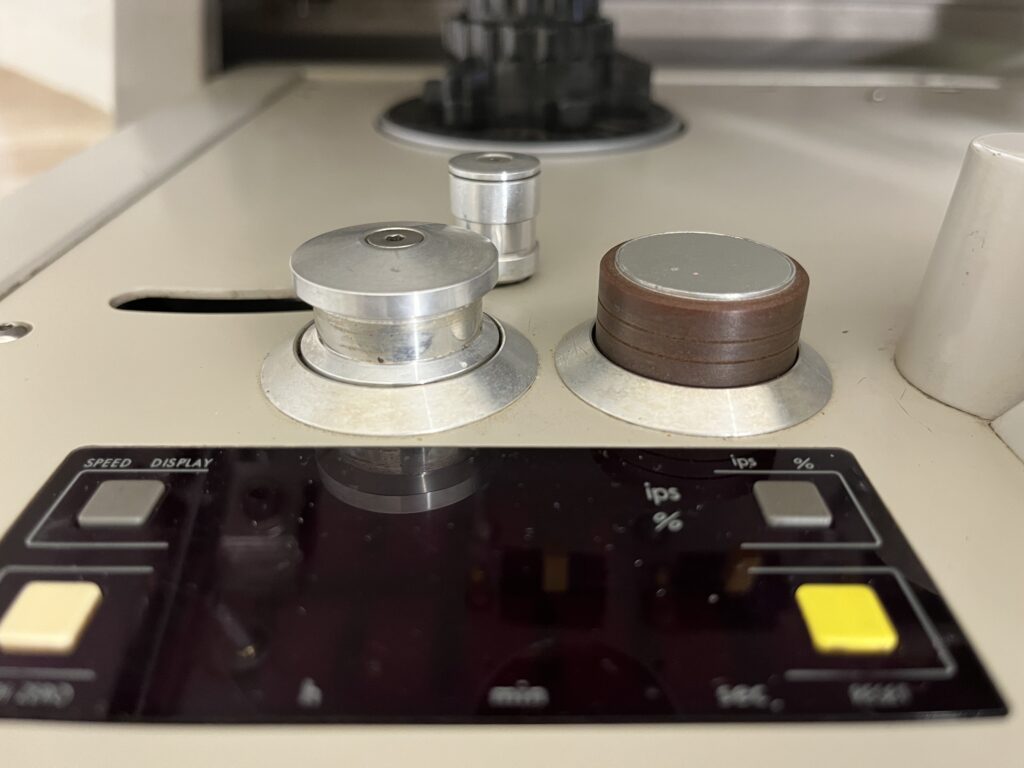
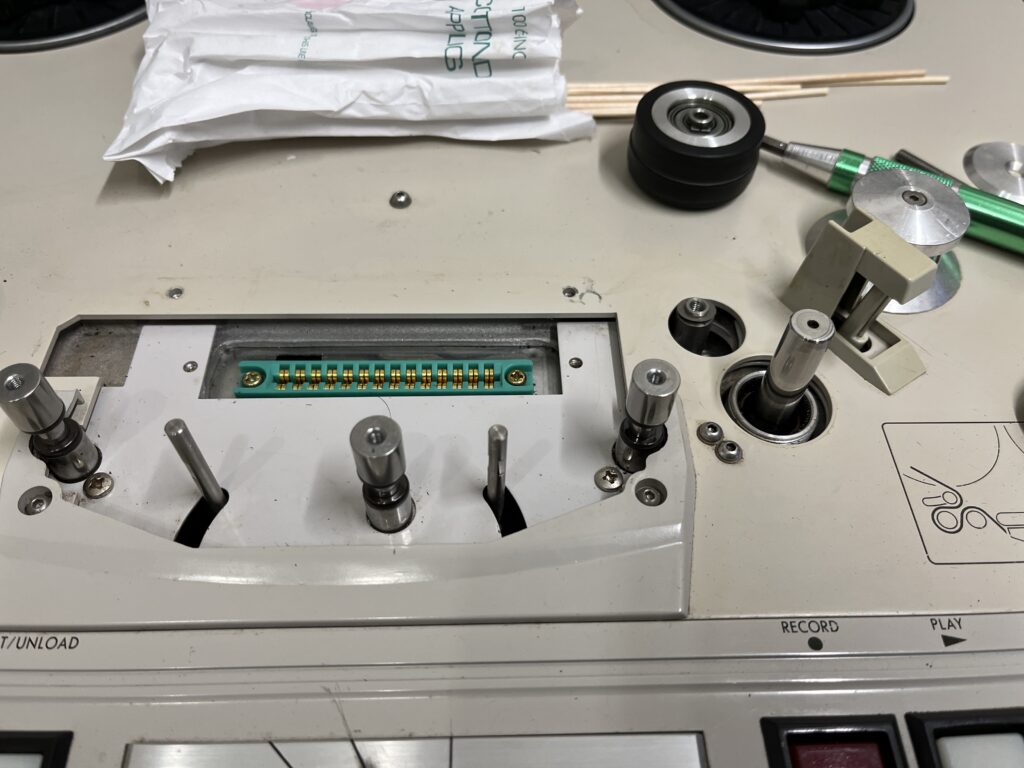
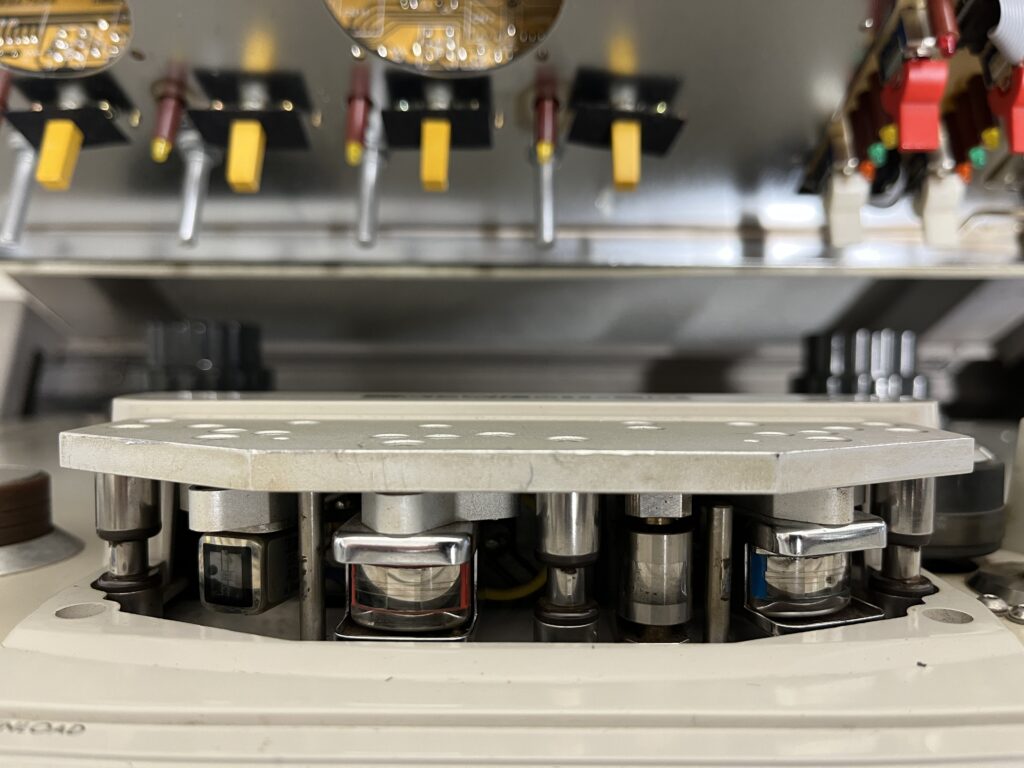
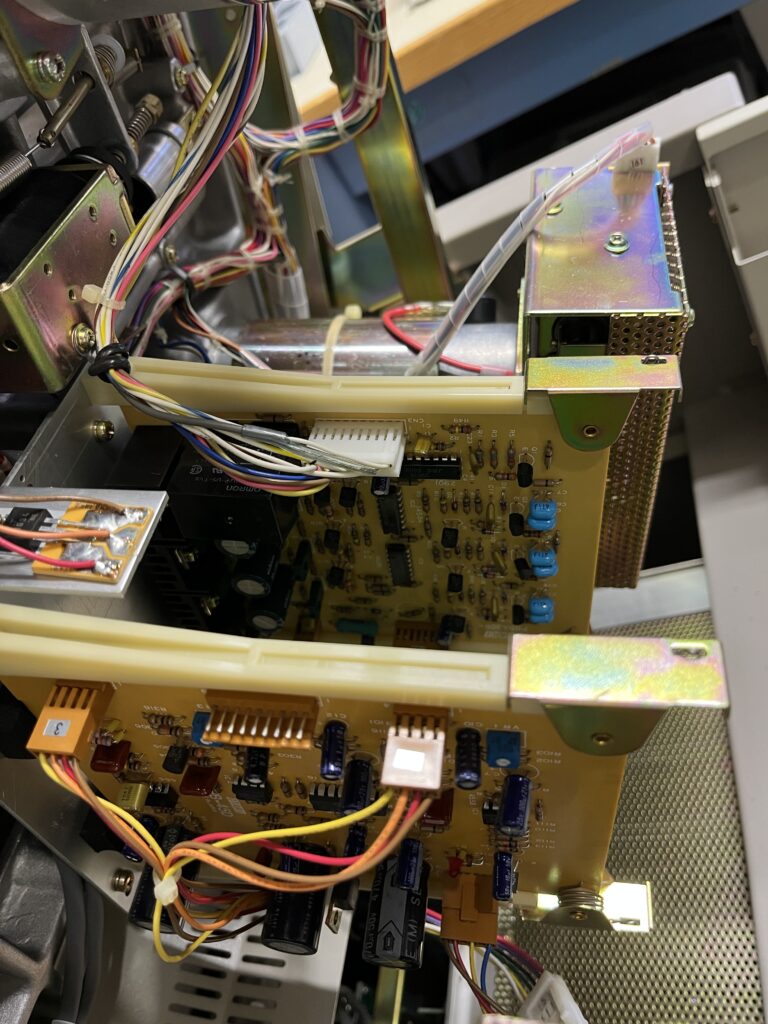
Please reference this list below for the plug in boards. Also I have included a picture of the extender card set.
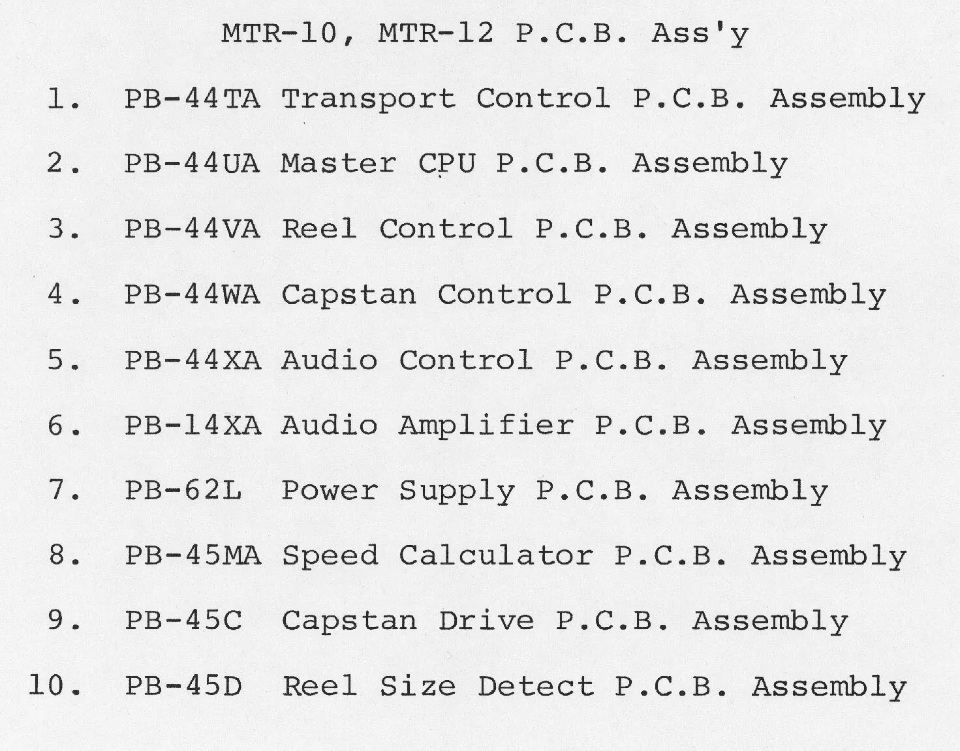
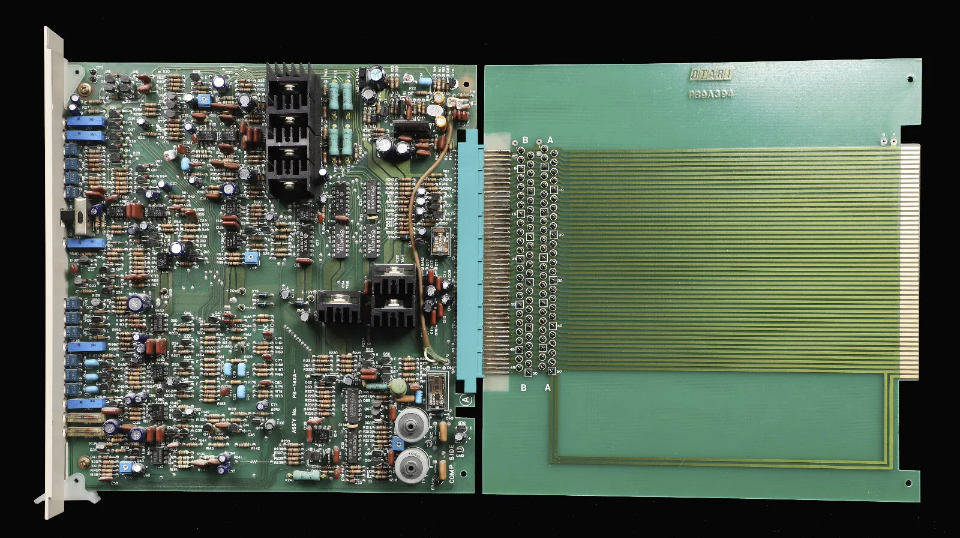
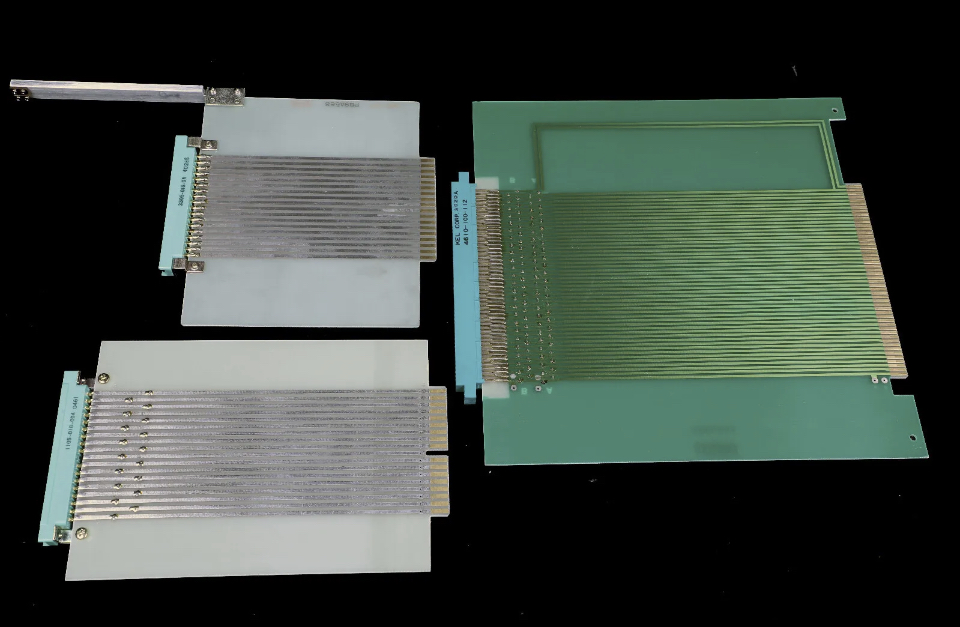
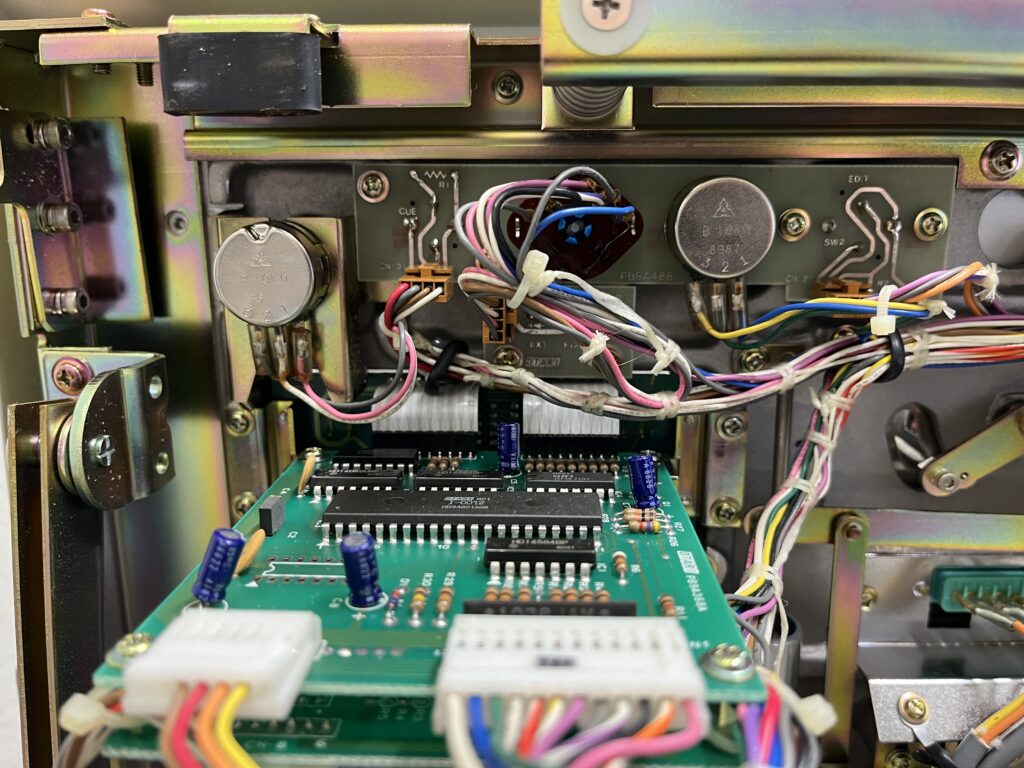
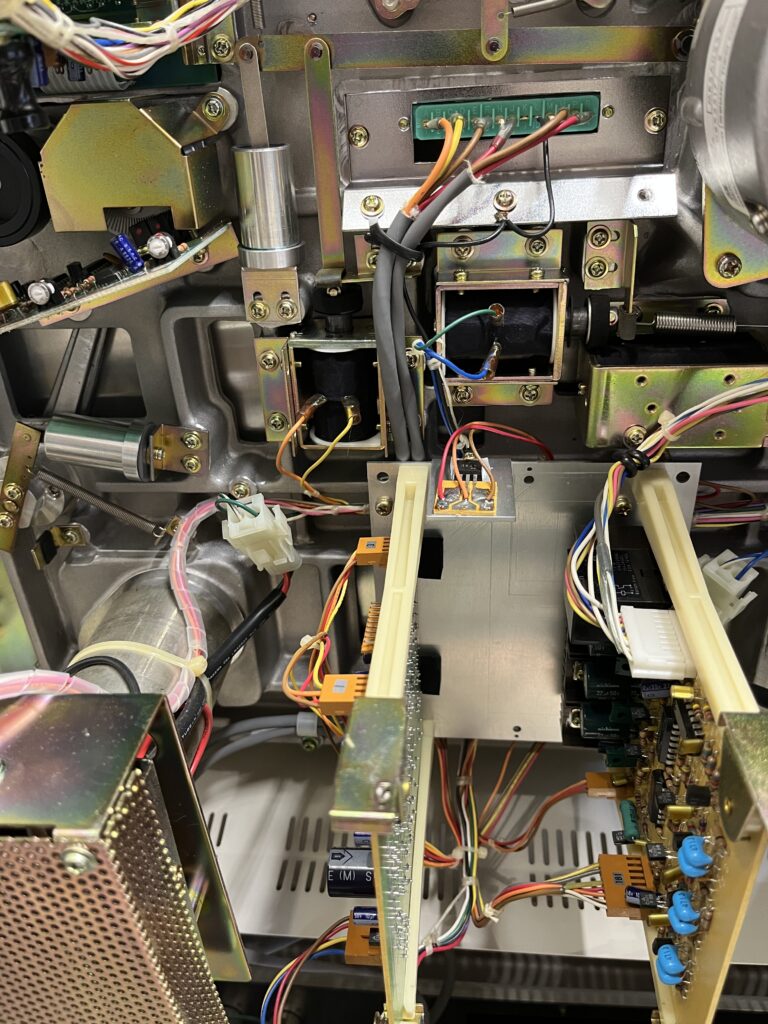
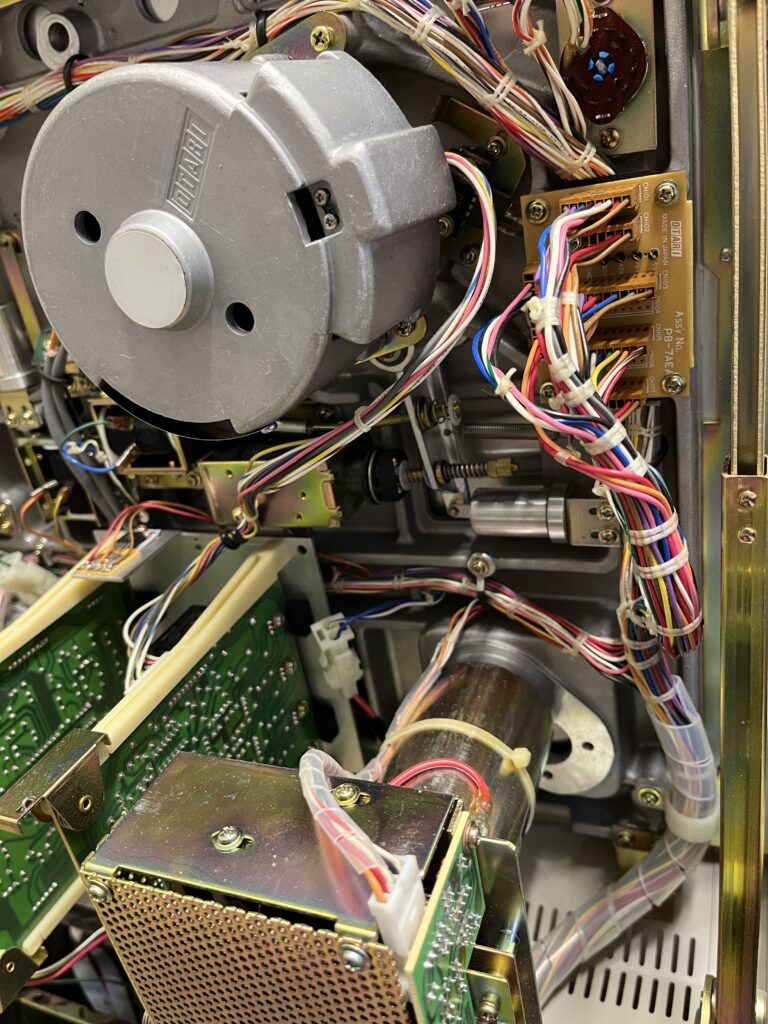
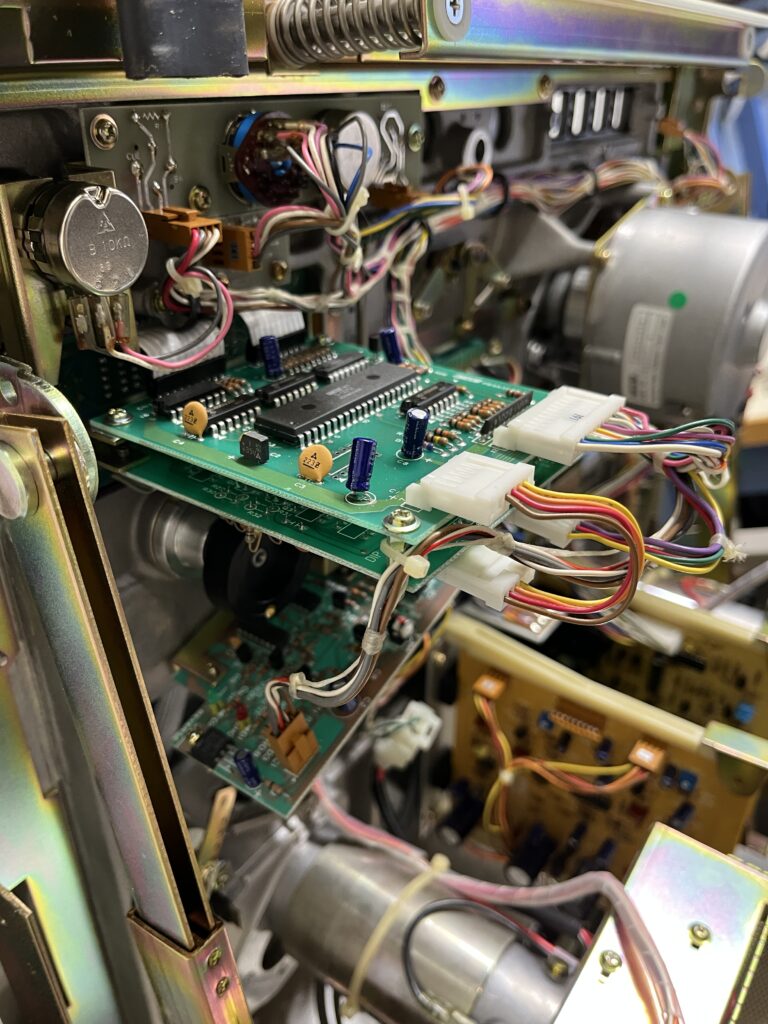
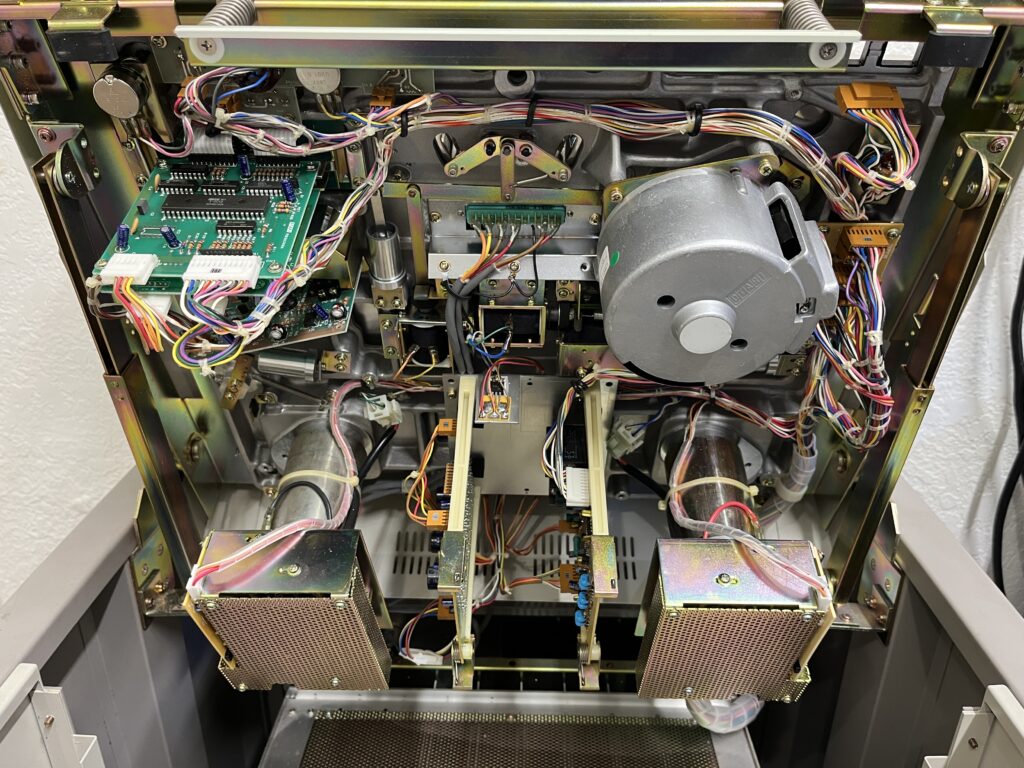
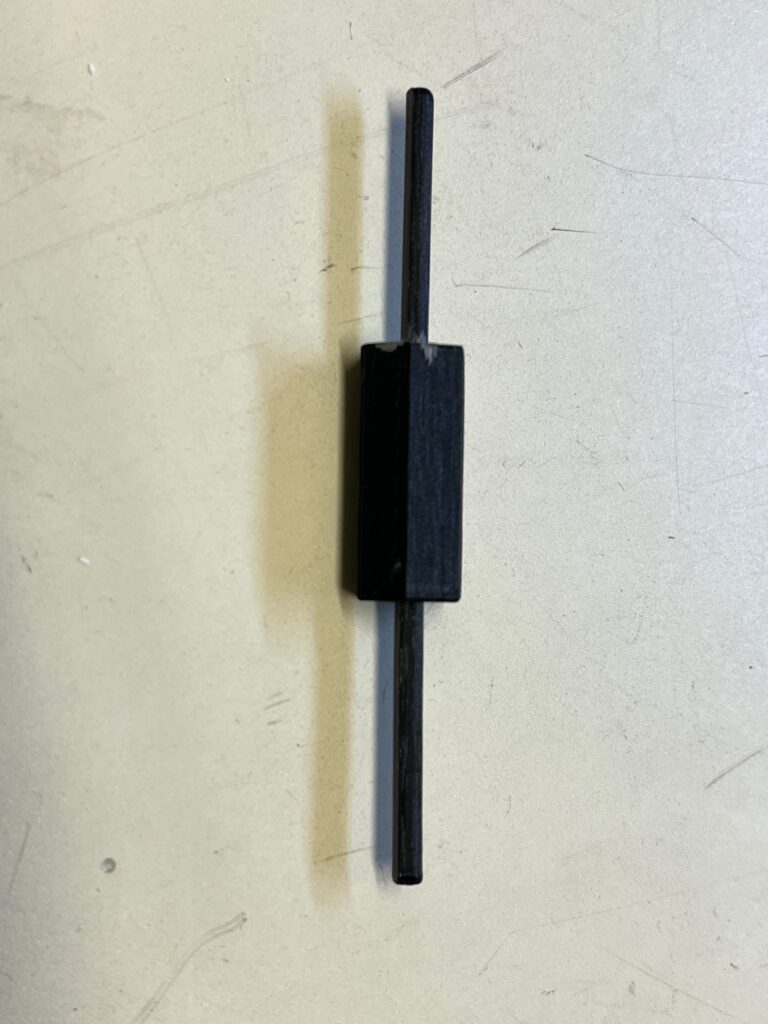
This project is ongoing and I will continue to post more information about what I encounter. Below are some more pics and downloadable data.
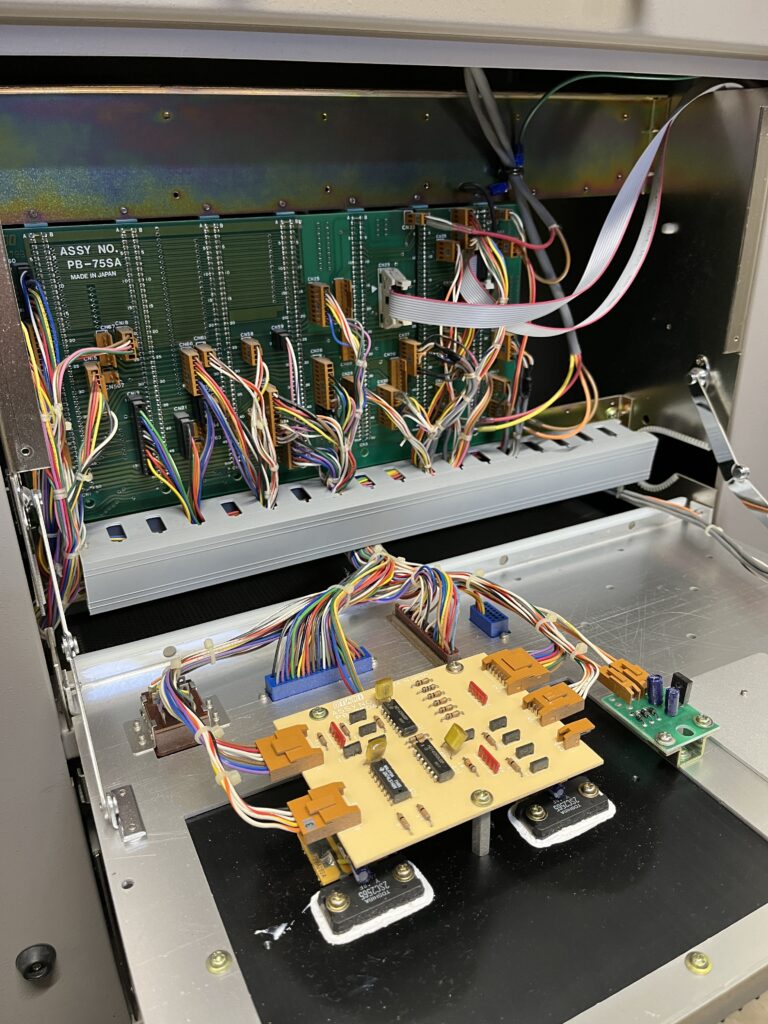
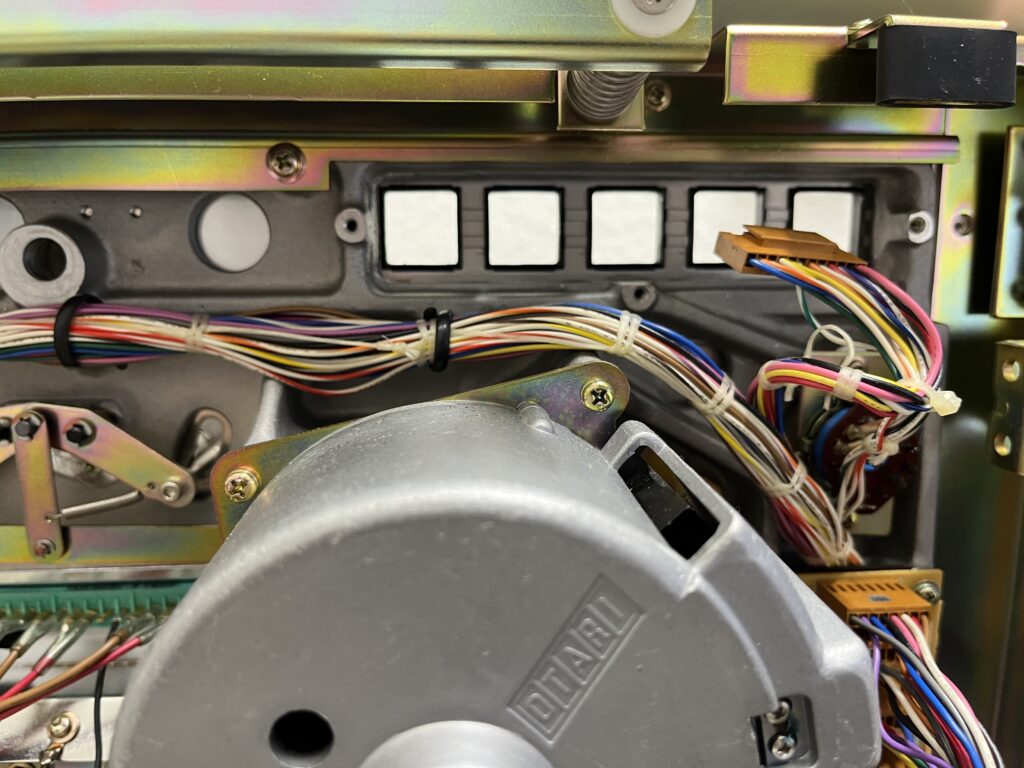


It’s a lovely machine! I am the fortunate owner of an excellently working one of my own. I am very fond of it.
You are quite handy with this stuff and my hat is off to you sir!