Otari MTR-10 II 1/4″ Two Track Master Recorder

This post will cover a restoration for the Otari MTR-10 II reel to reel 1/4″ tape master recorder. There are many posts about this unit but I feel it lacks some key information that I will cover in this post.

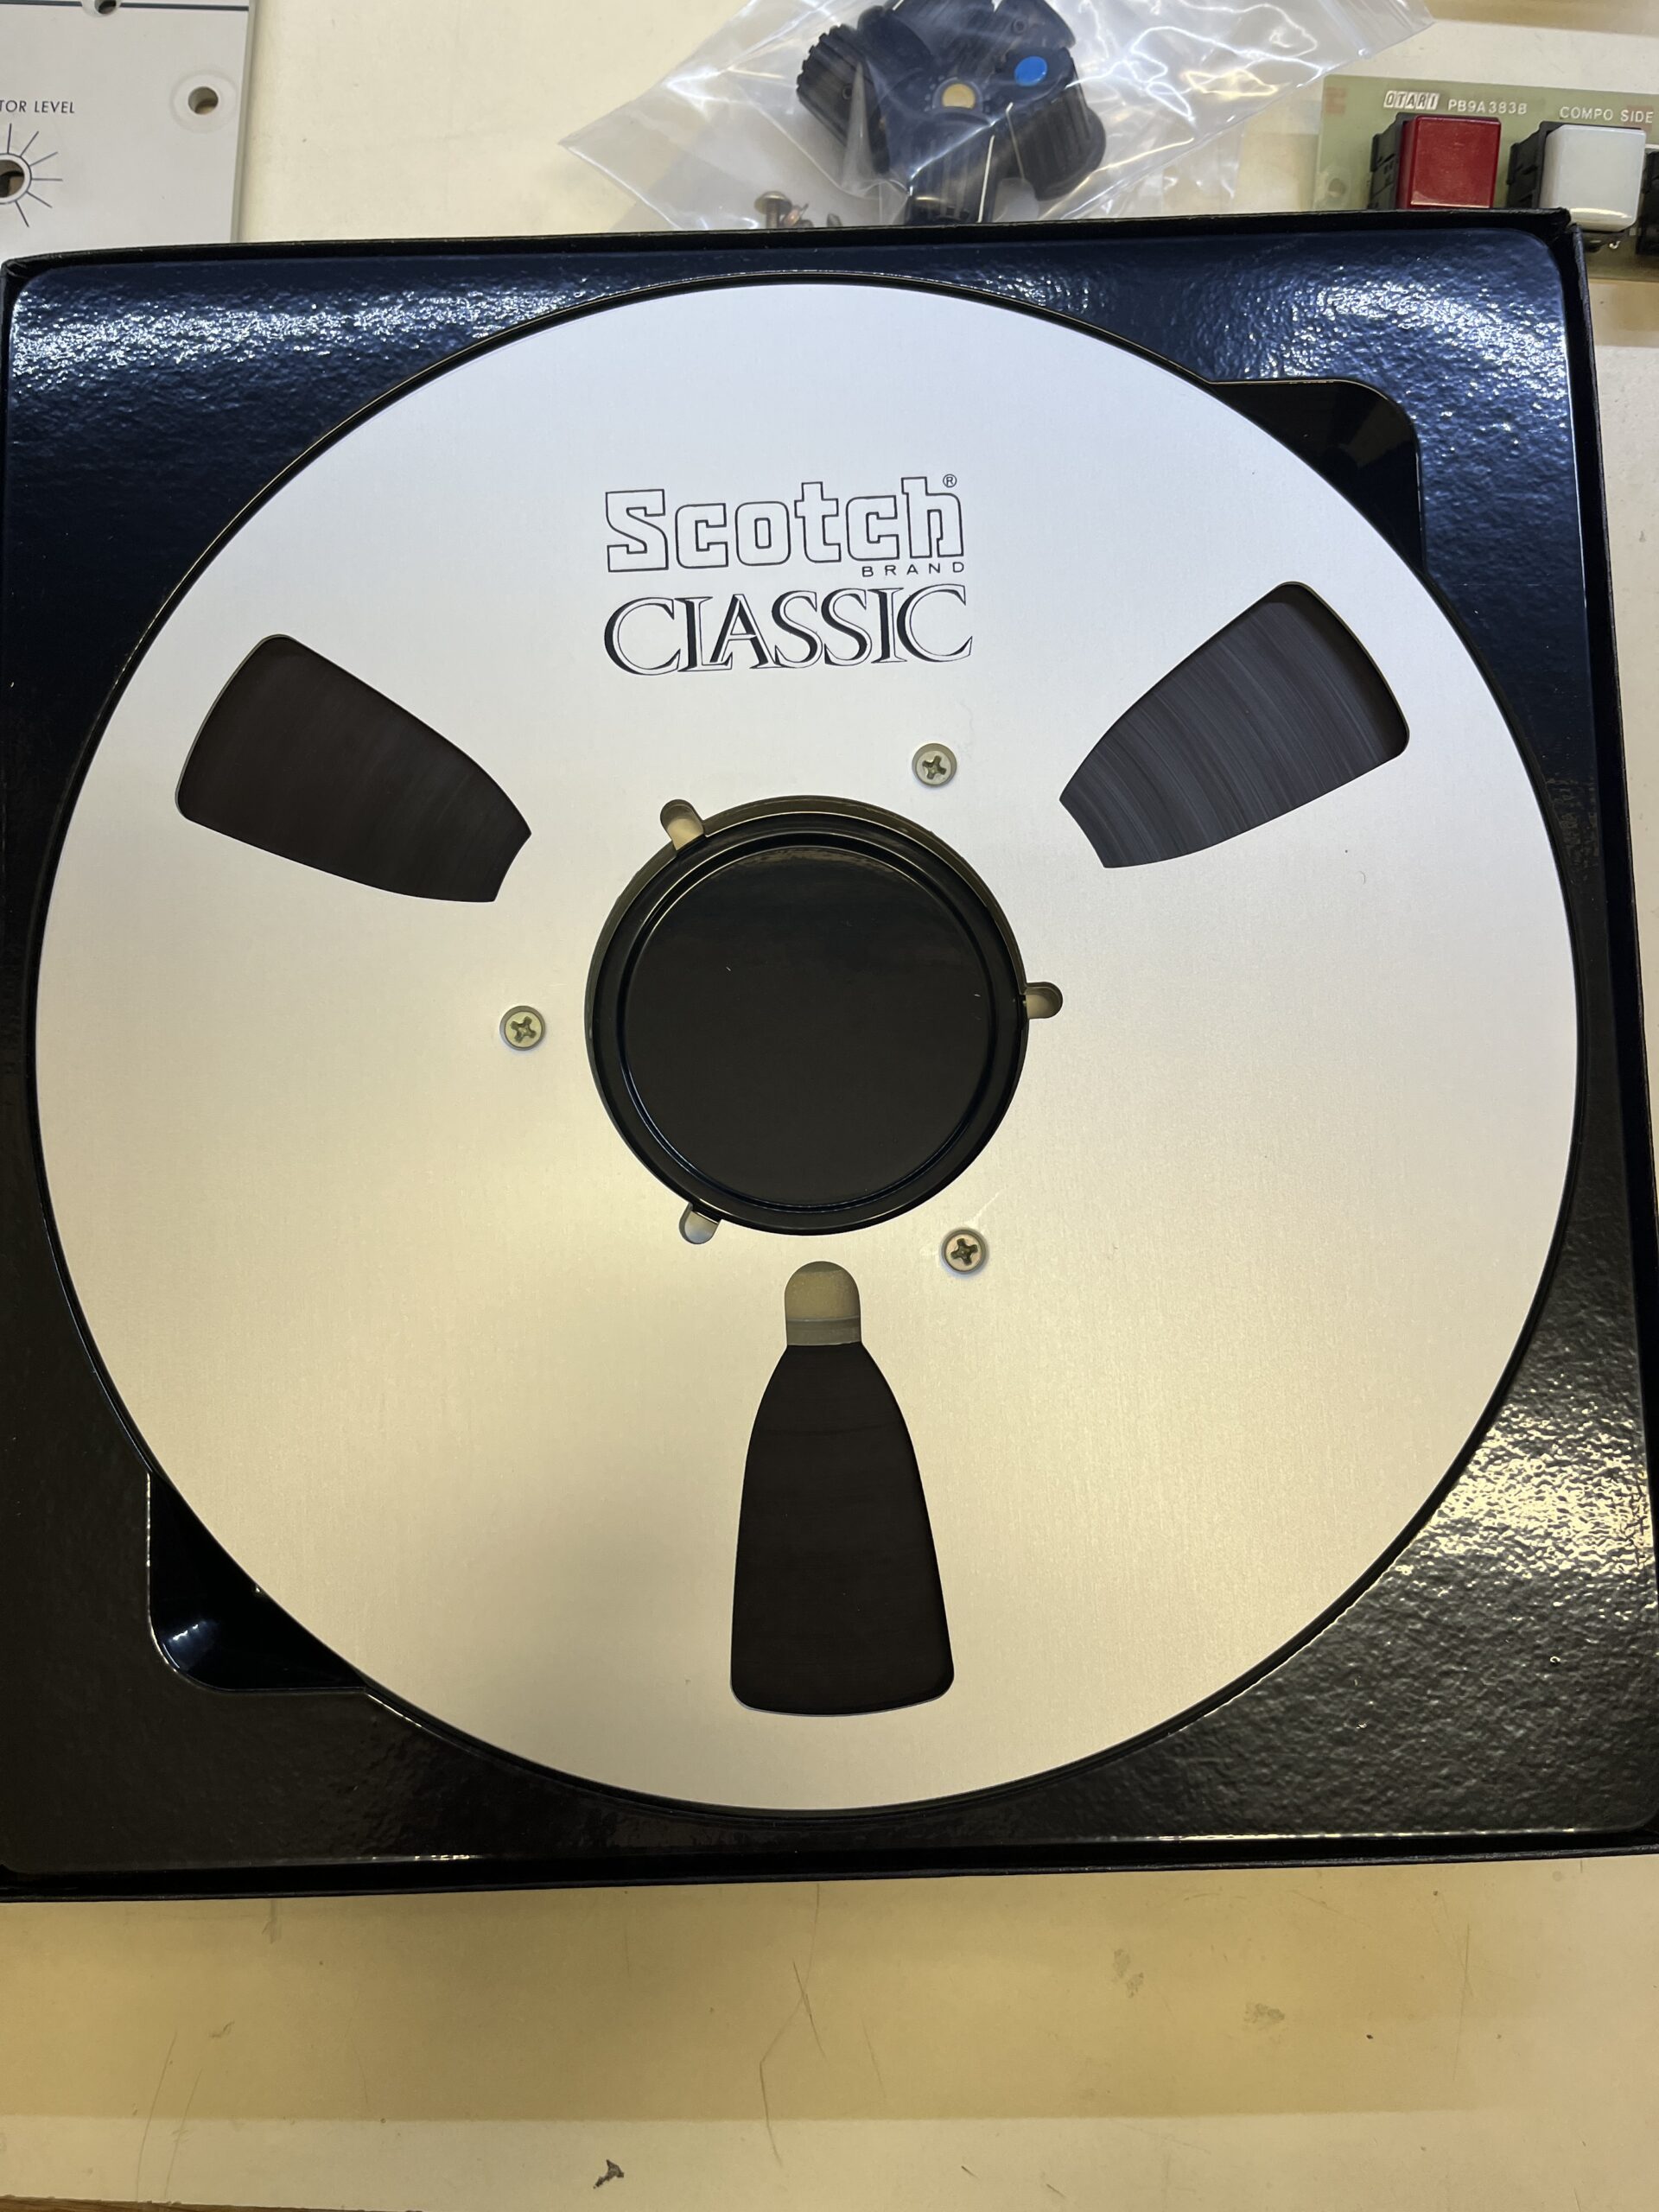
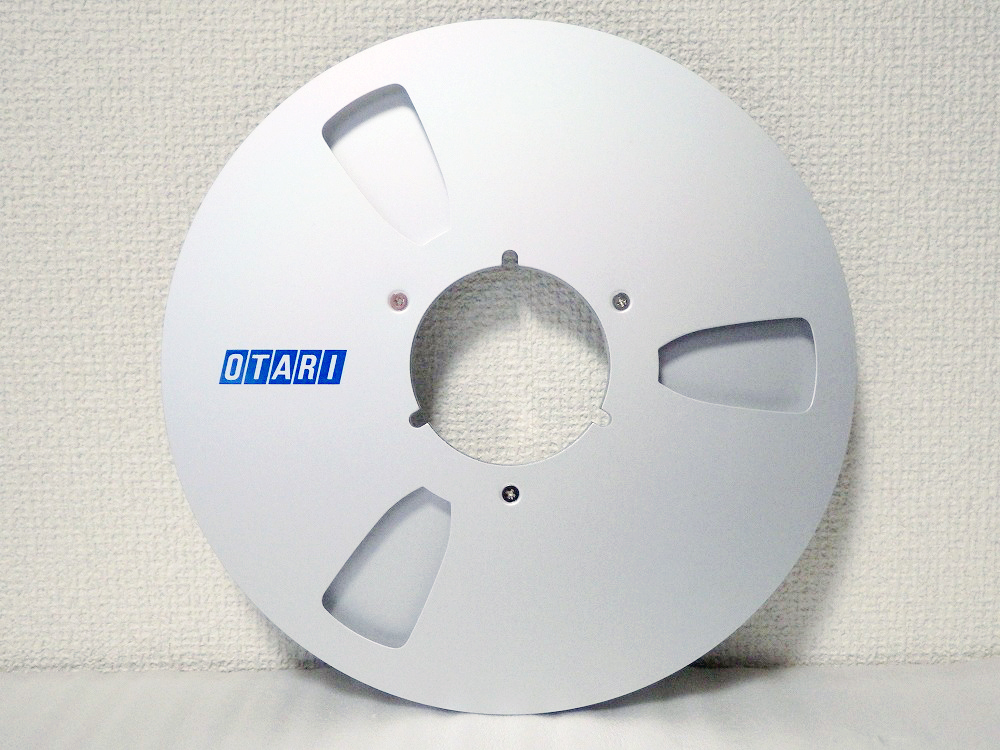
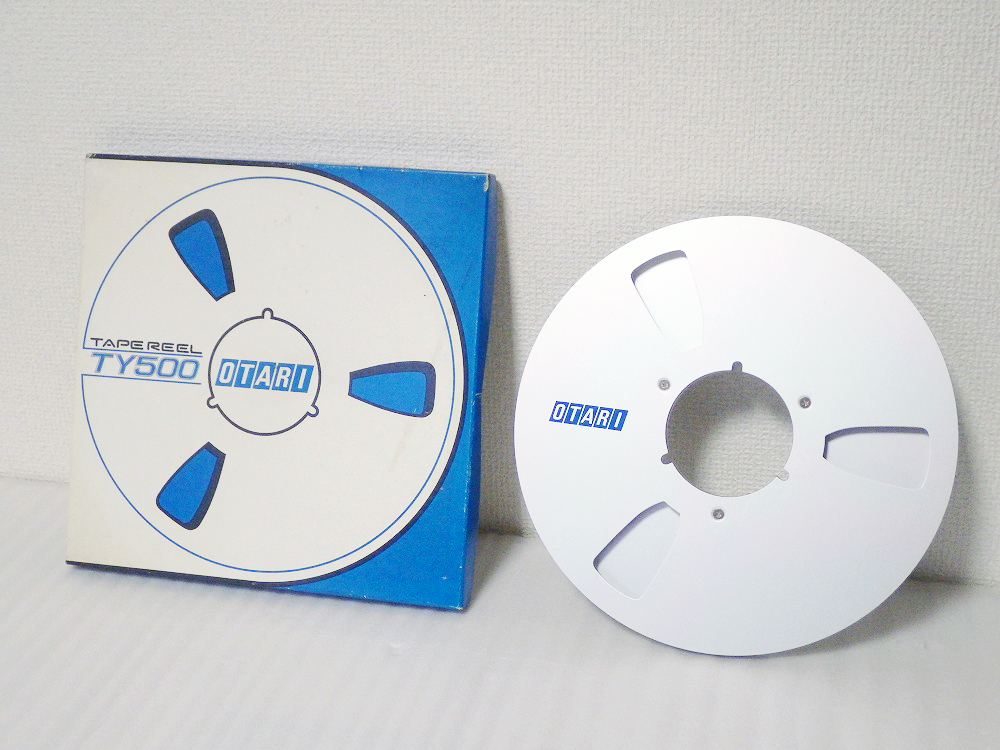
First lets talk about tape. I am not an expert by any means regarding the subject but I want to pass along some information that I discovered. Many people discuss the issue of sticky shed on tapes but there is also another annoying problem, flaking. I have used some newly manufactured tapes and they seem to all have this flaking problem in which little dry bits of tape shed off during transport. Personally I prefer to use the Scotch Classic tape and here is the technique I run. I purchased some new in package tape and spooled it up. Pressing the Edit/Unload button and Fwd button I run the tape through the guides. It runs at a slower speed and the tape does shed strands but they are easy to remove from the guides. Then I repeat the process back to the spool. After that I clean my guides and apply Last Factory Tape head treatment. The reel runs smooth and it doesn’t shed any more residue. BTW the original Otari reels look way cool but I could not find them anywhere.


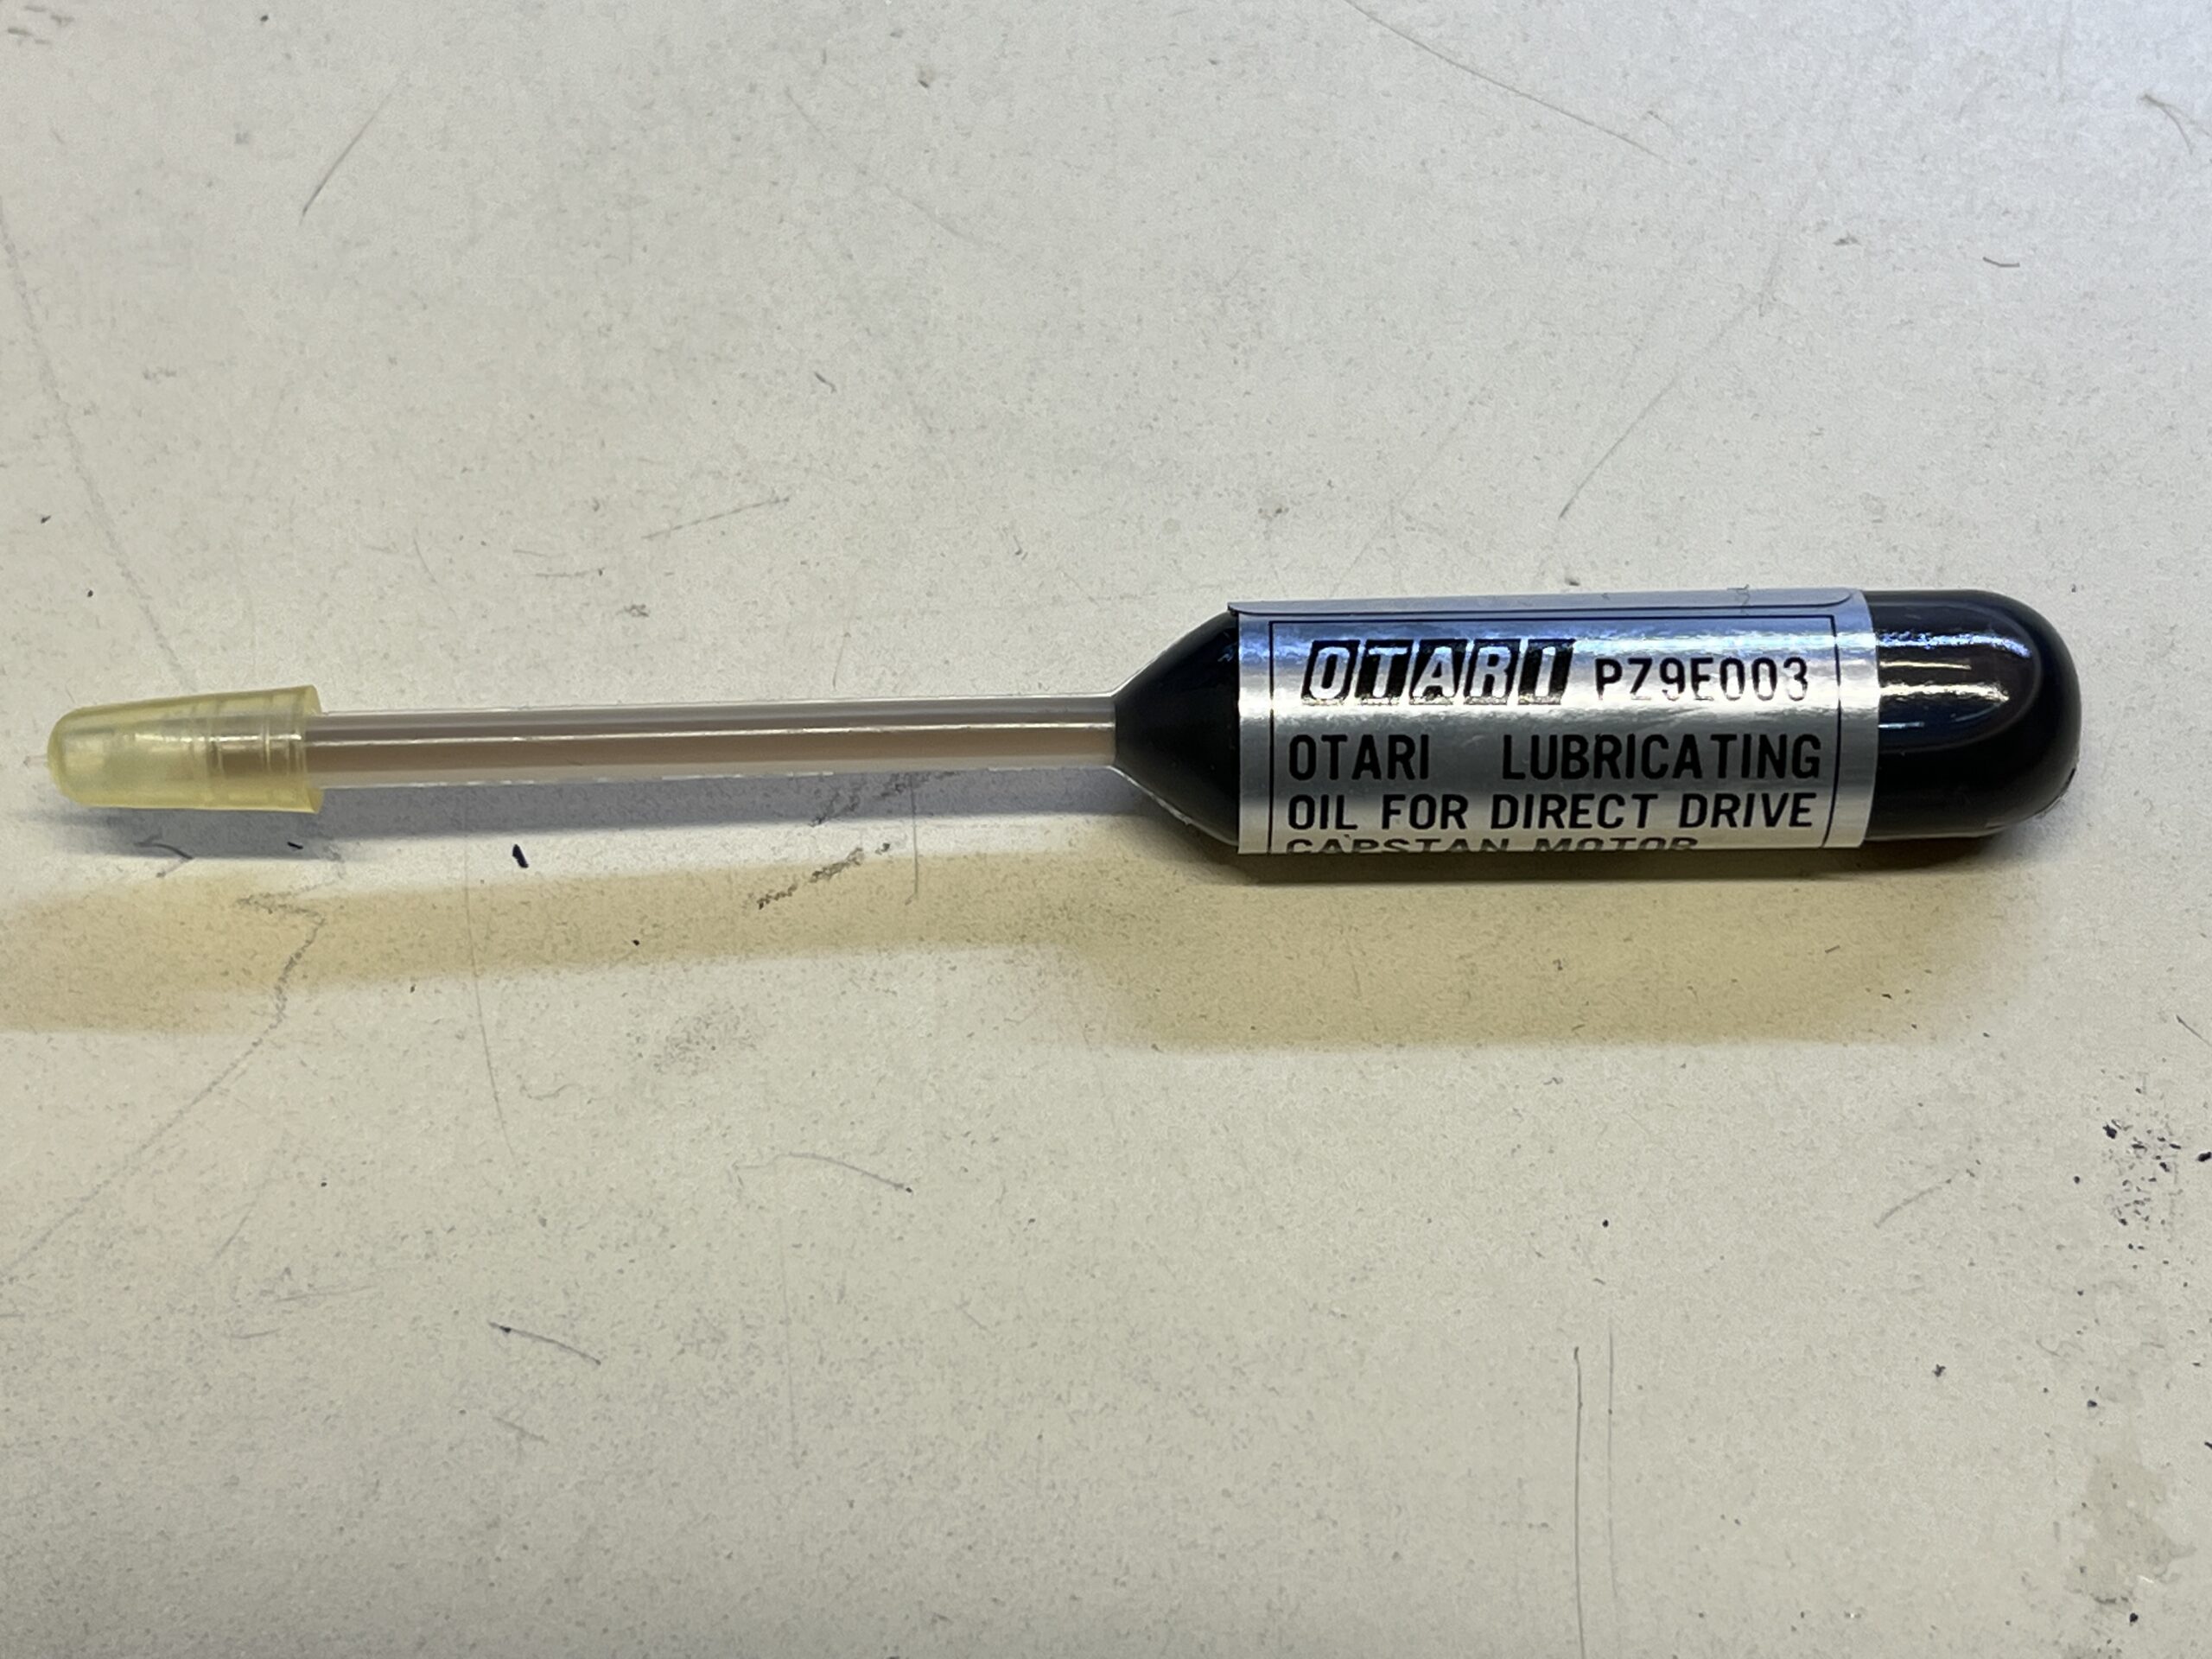
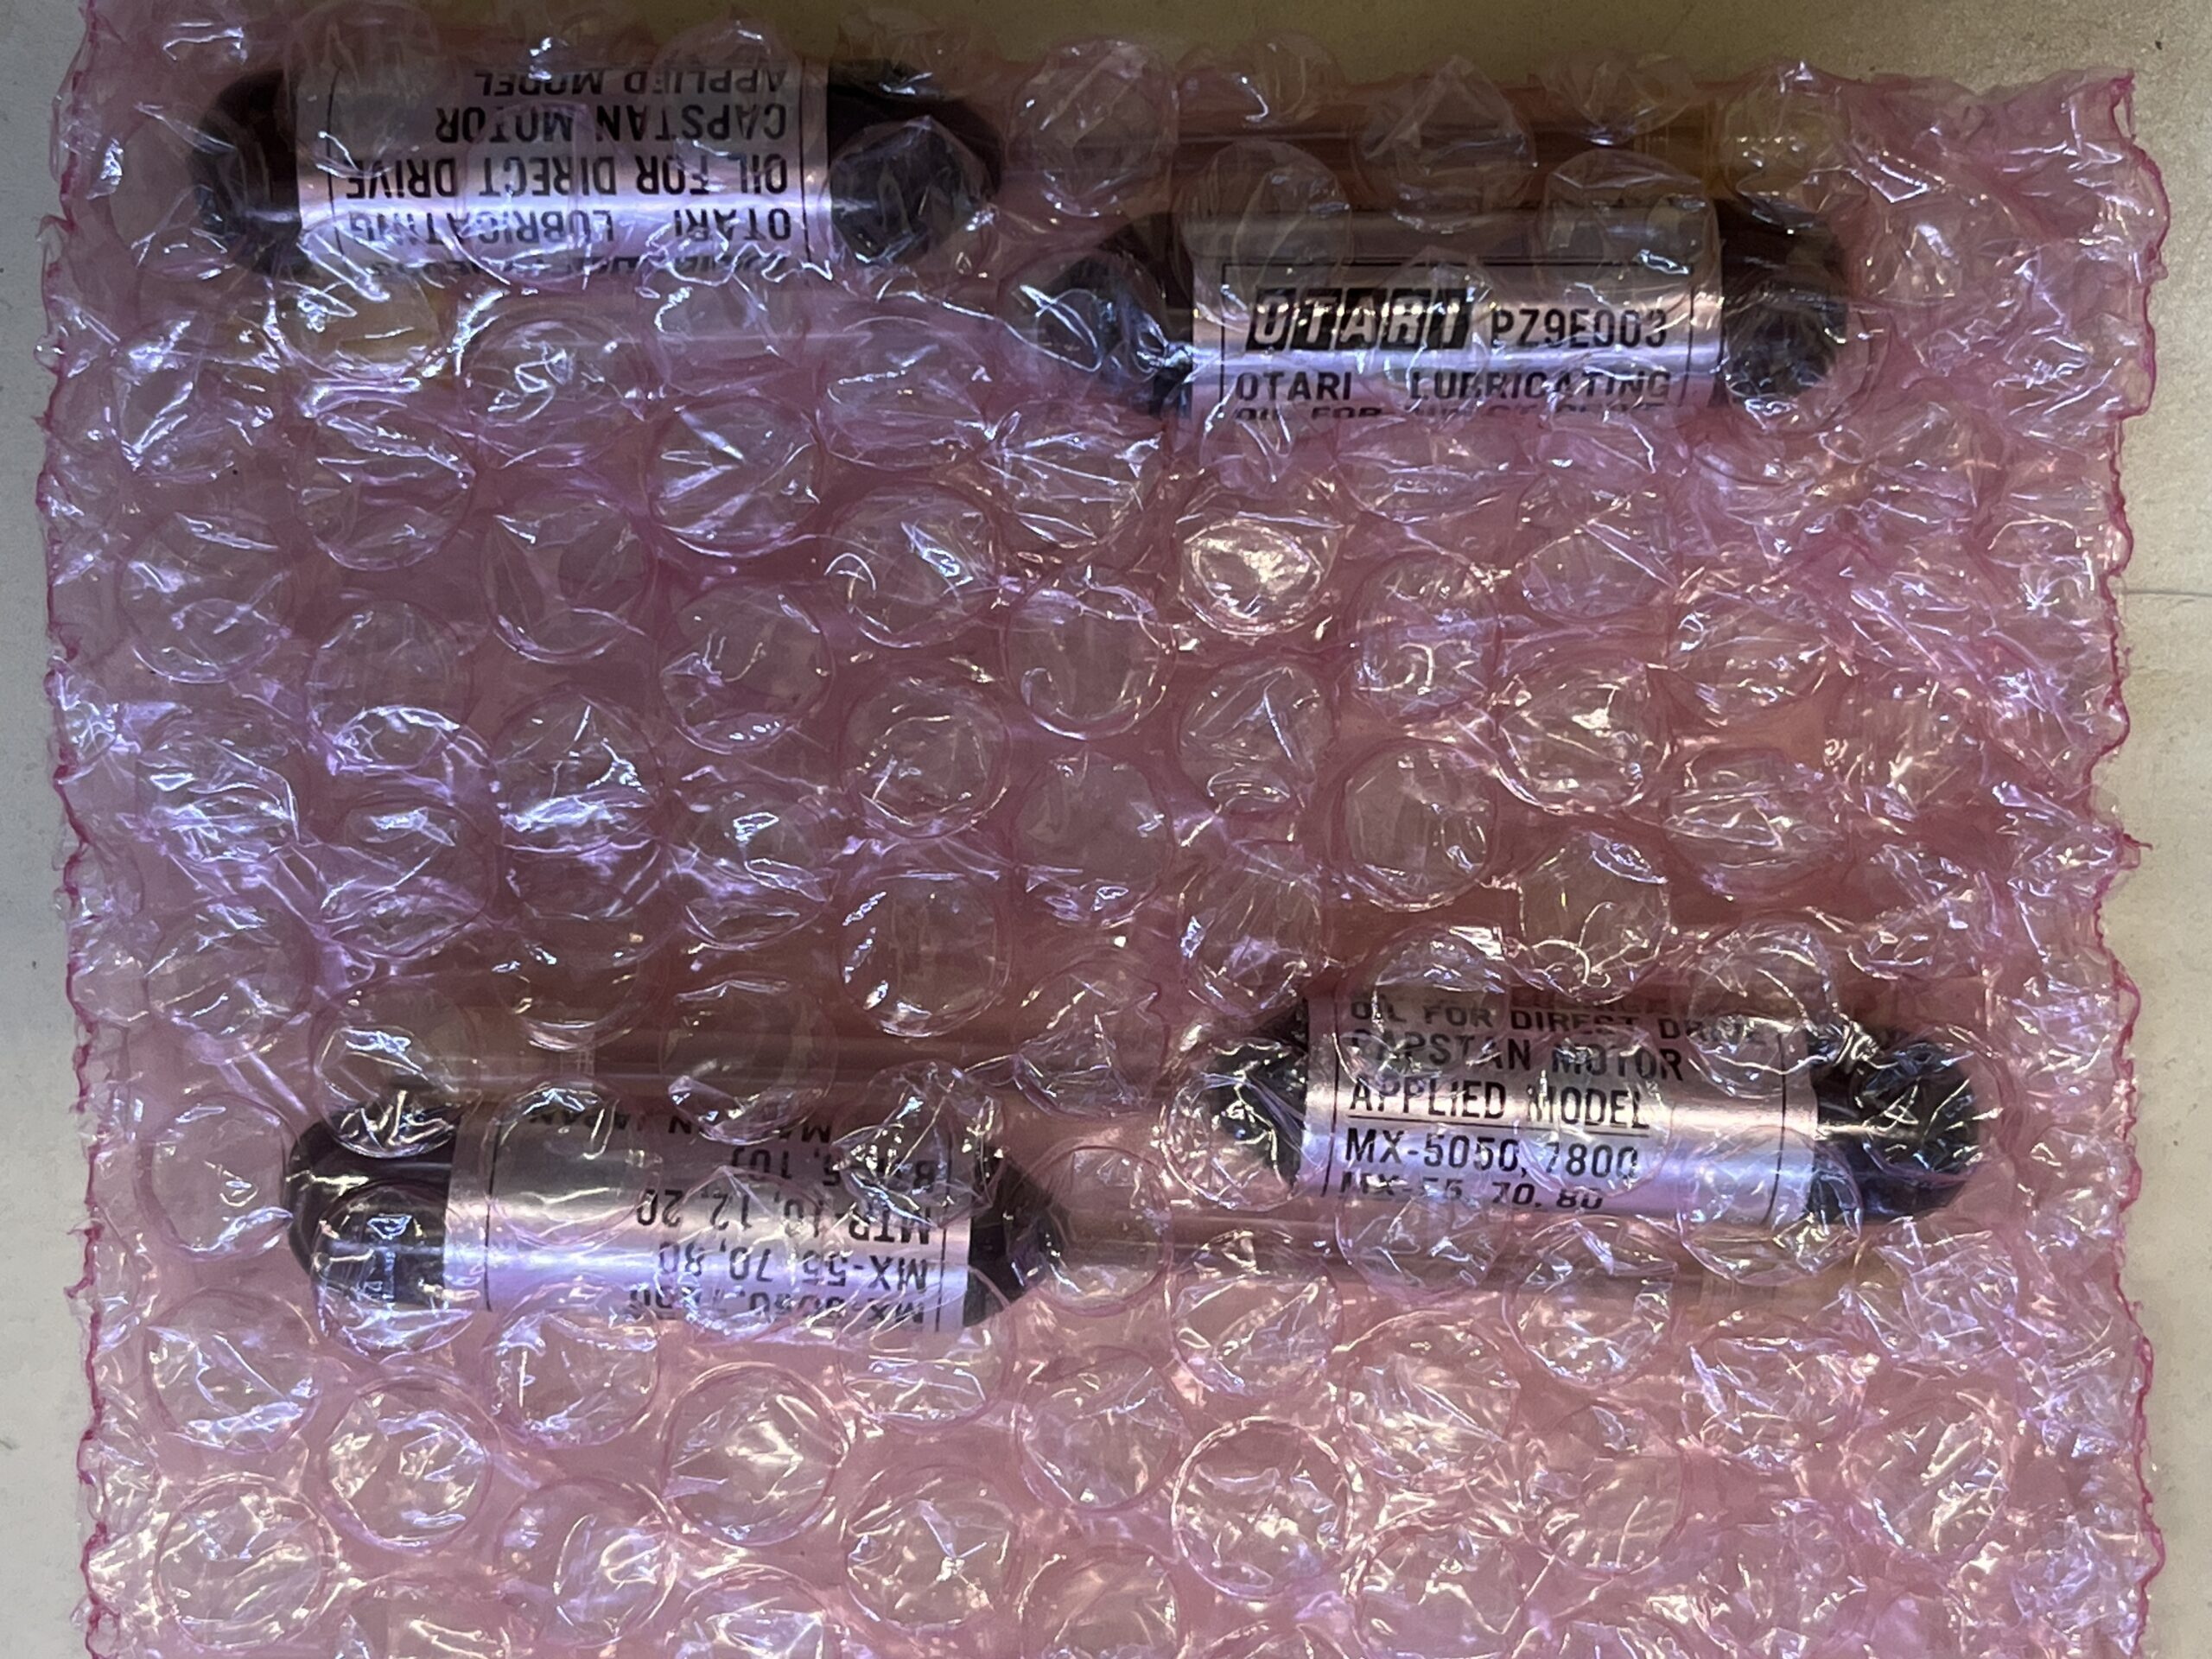
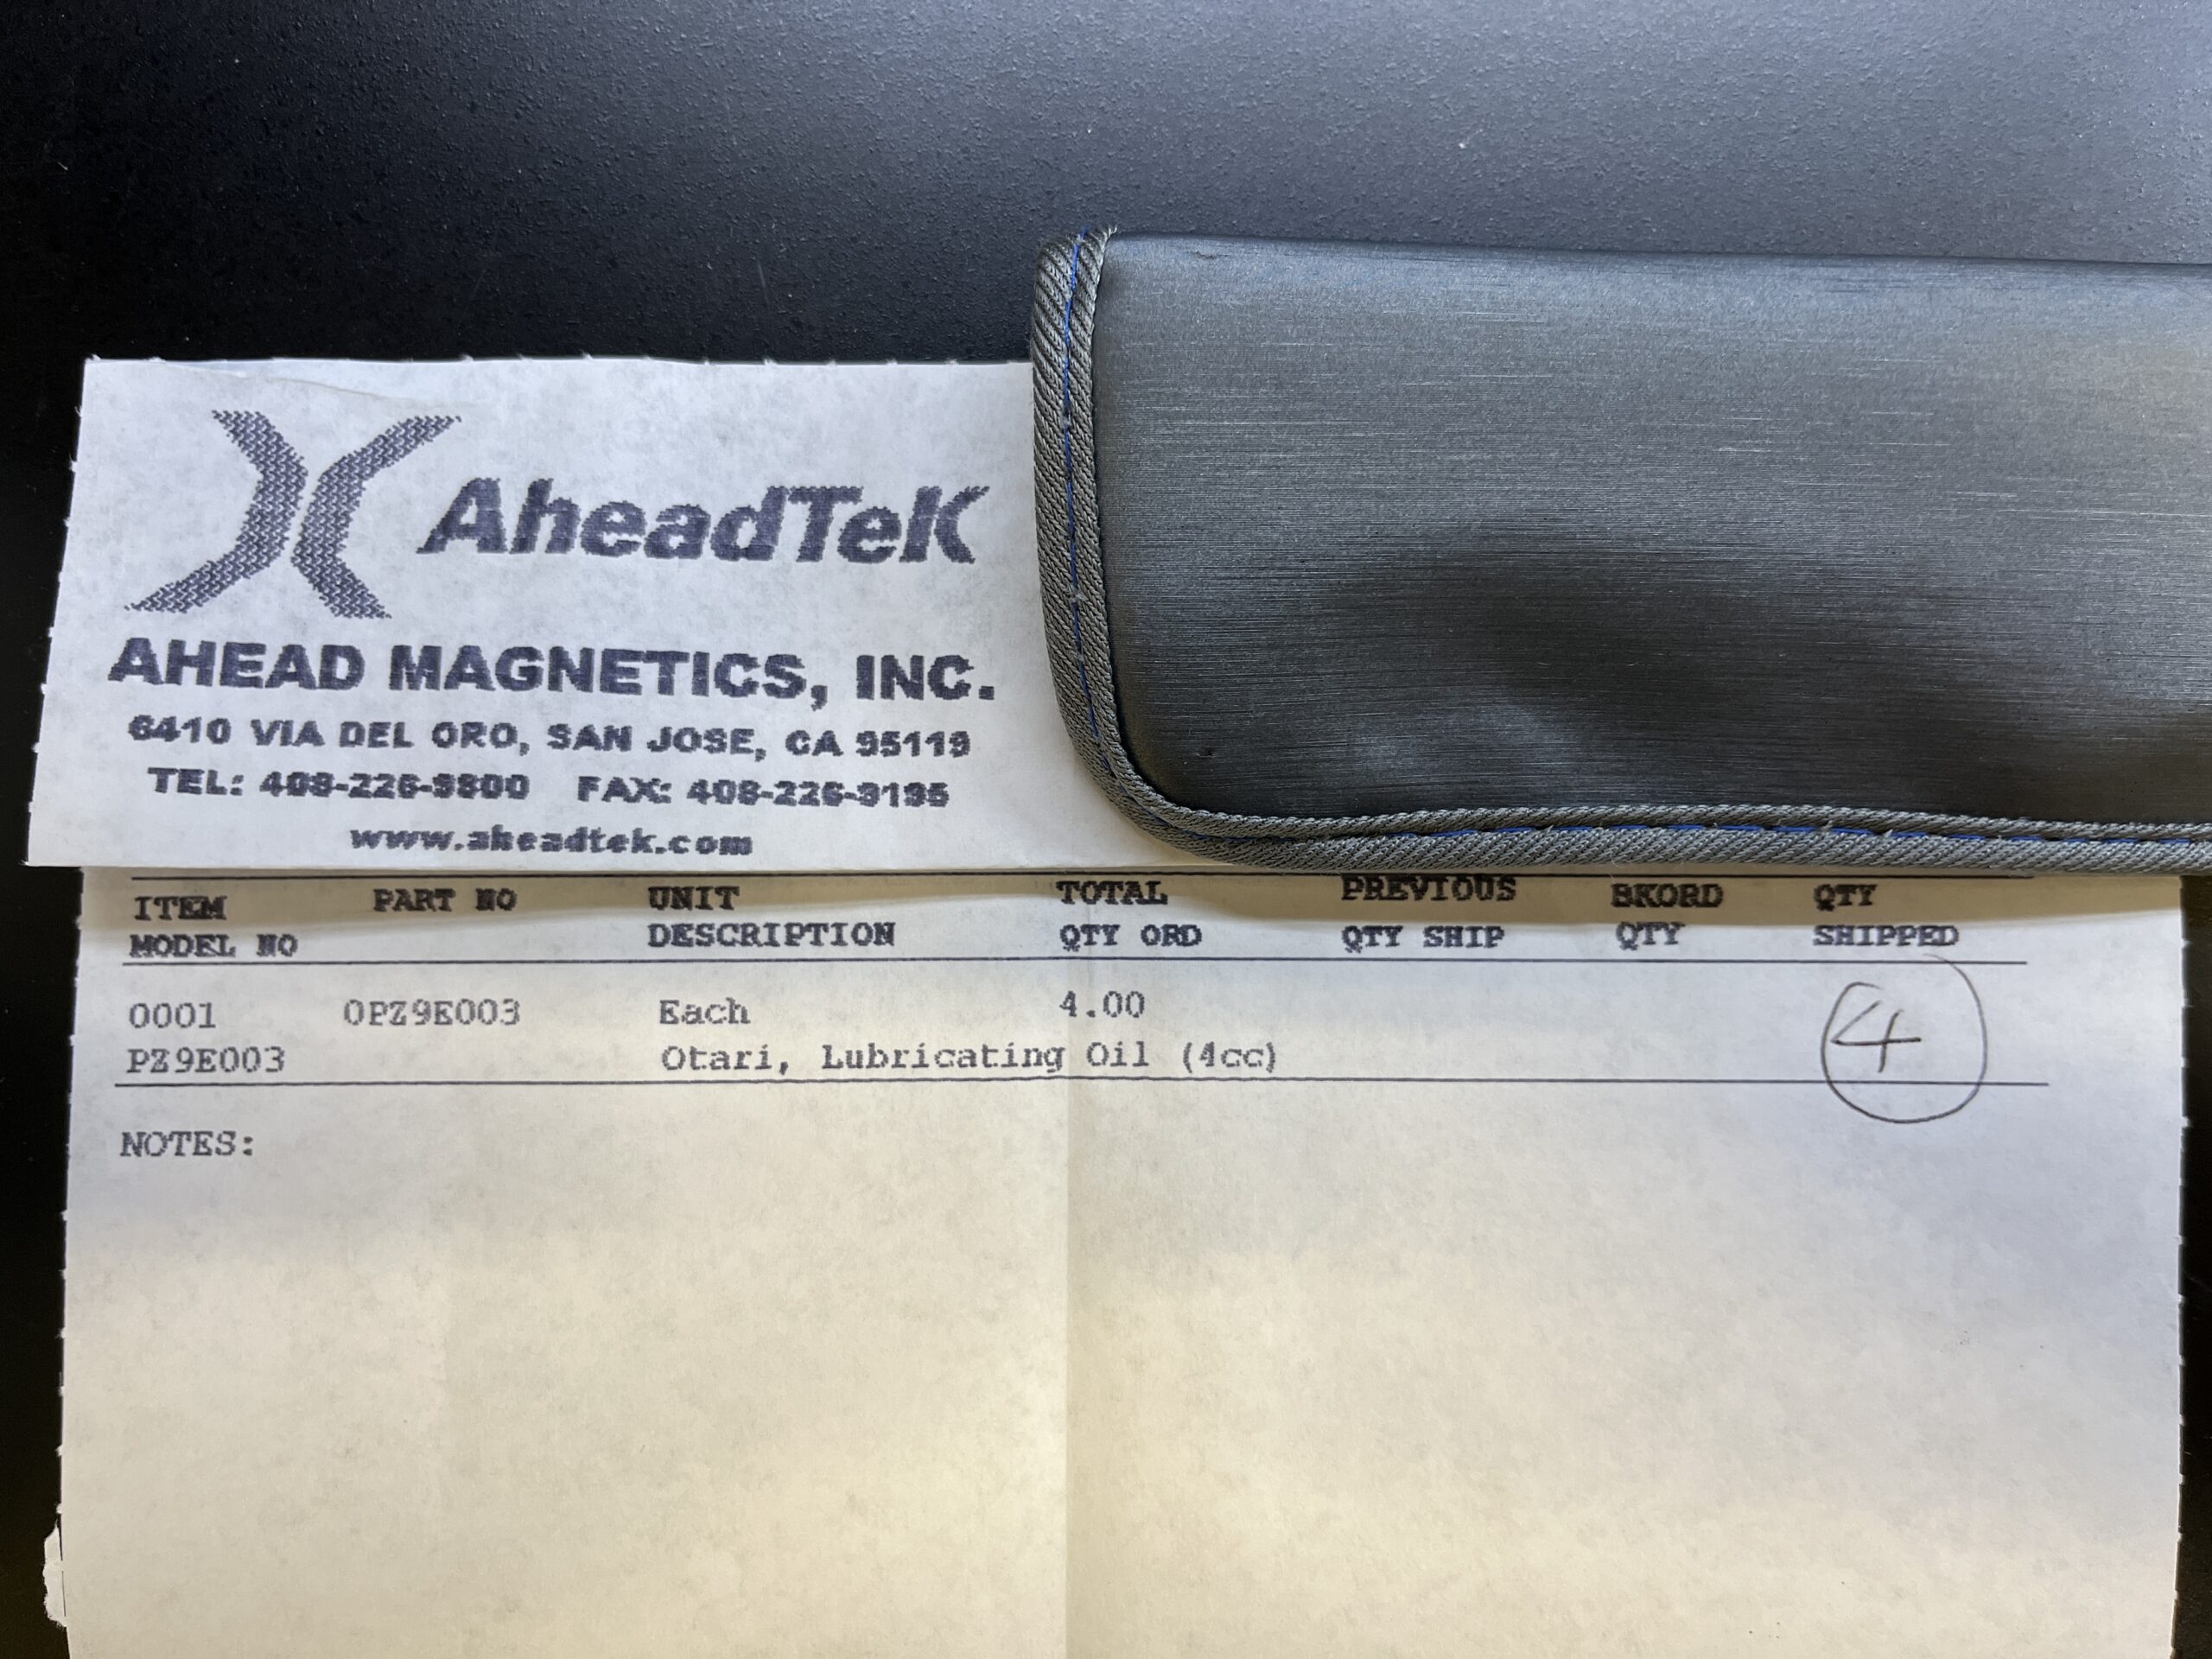
Next, I’d like to mention…. please don’t use motor oil on your capstan or any bearing parts that need lubrication. Use the manufacturer’s recommended oil lubrication, they mention it for a reason, an no it’s not snake oil. I say this because it is readily available and cost me $9 a tube. I contacted Otari directly and there factory still has it in stock. To avoid sending them a wire transfer to order it just contact AHEADTEK in the US/California to order some, they are Otari’s licensed reseller.


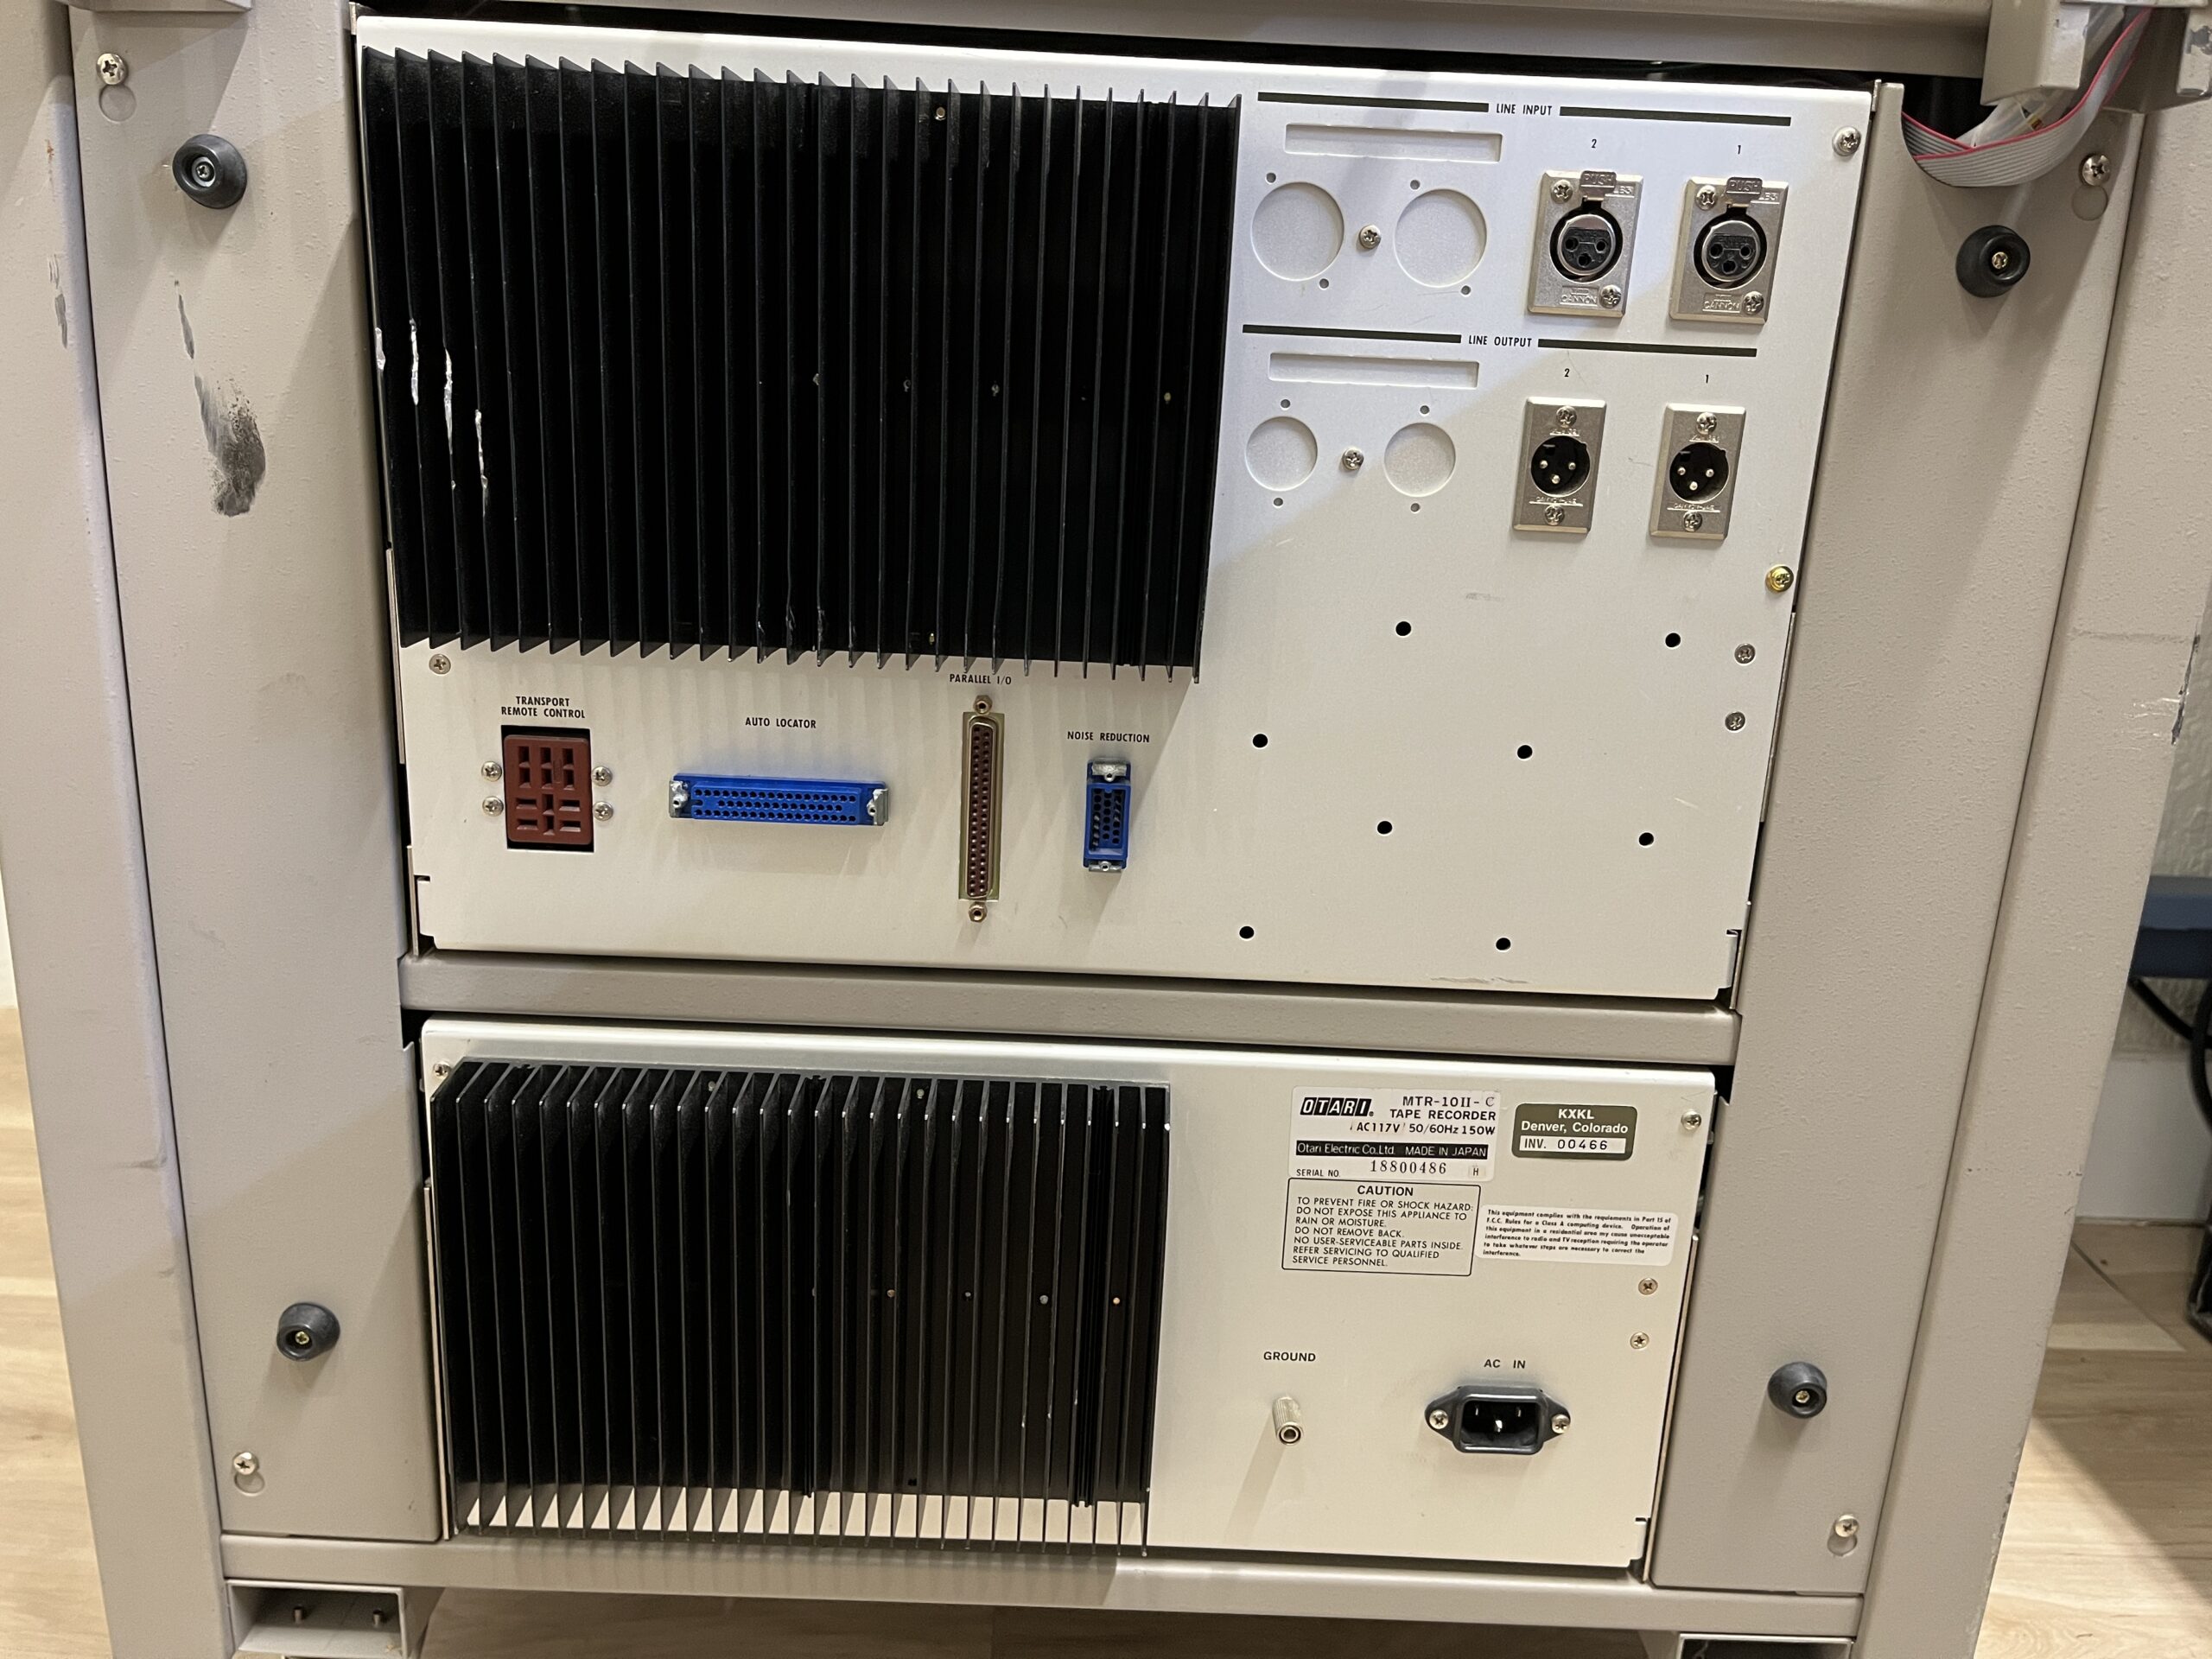
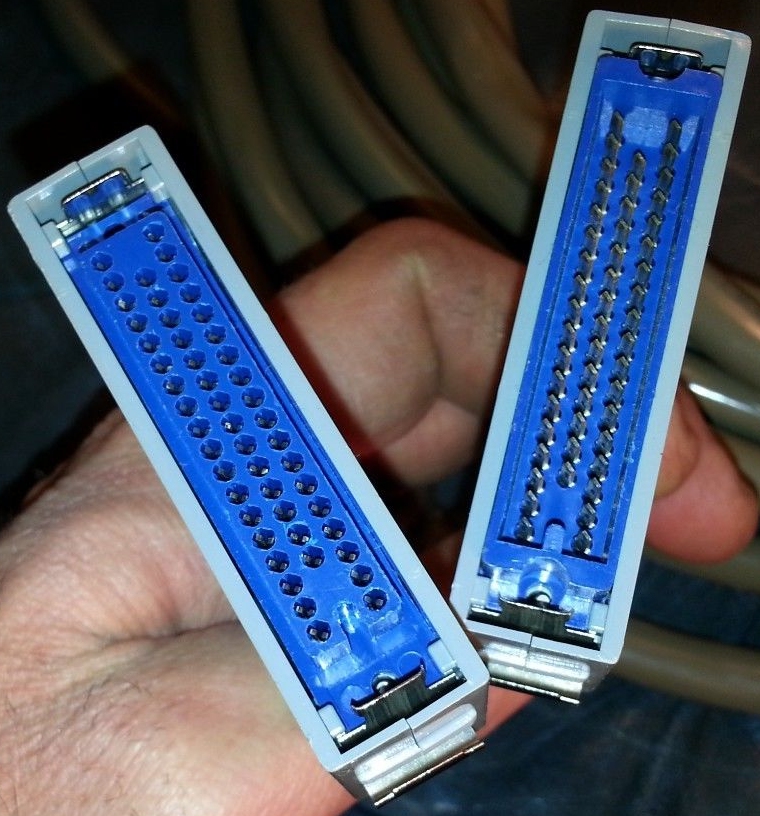
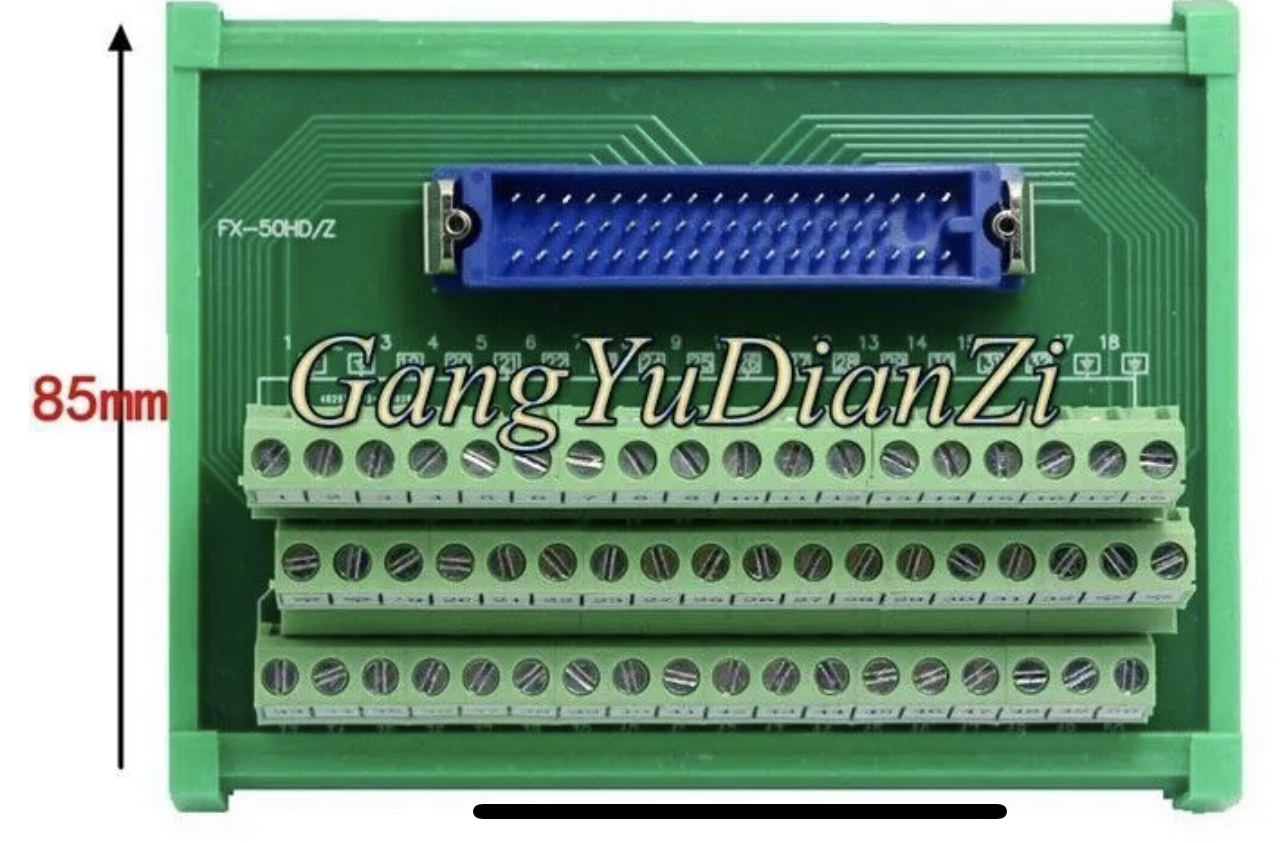
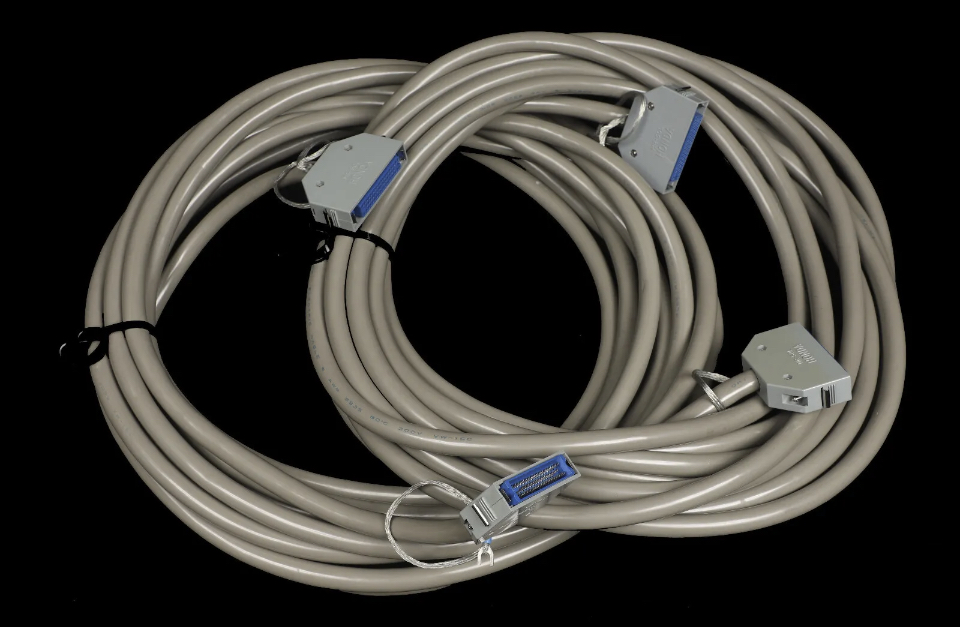
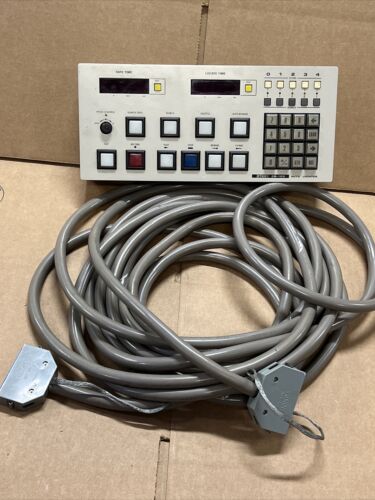
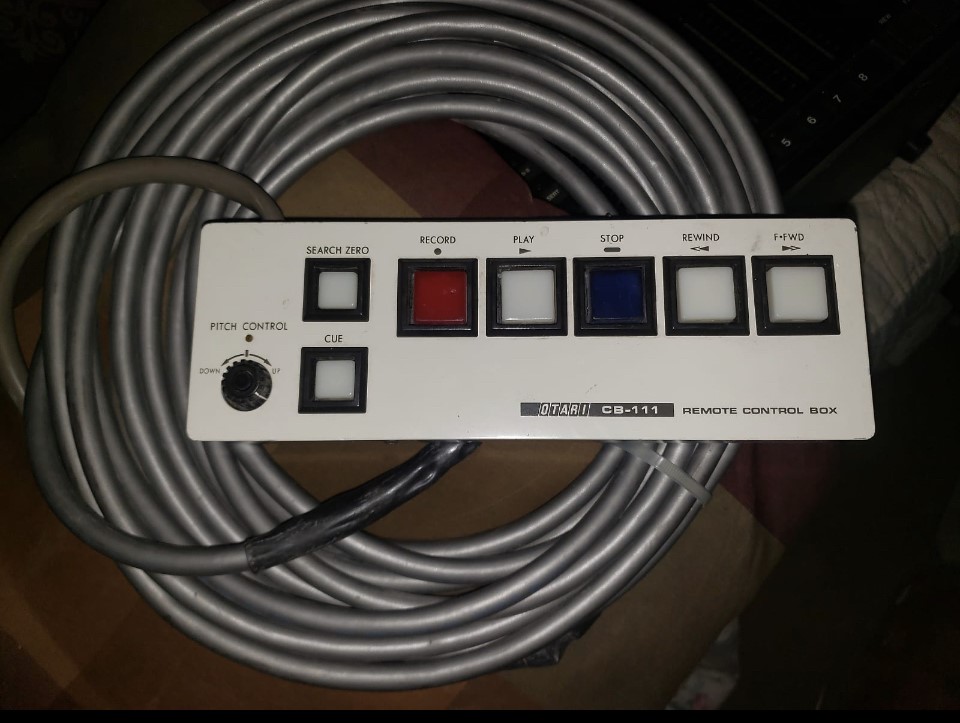
The 50 pin connector on the back of the unit that is used for the remote control option is a Honda 50 pin connector. Otari in 1970’s used the same connector from the auto industry MR50F & MR50M. The good news is that they are readily available on Ebay and you can also get cool break out boards with the connectors on them.


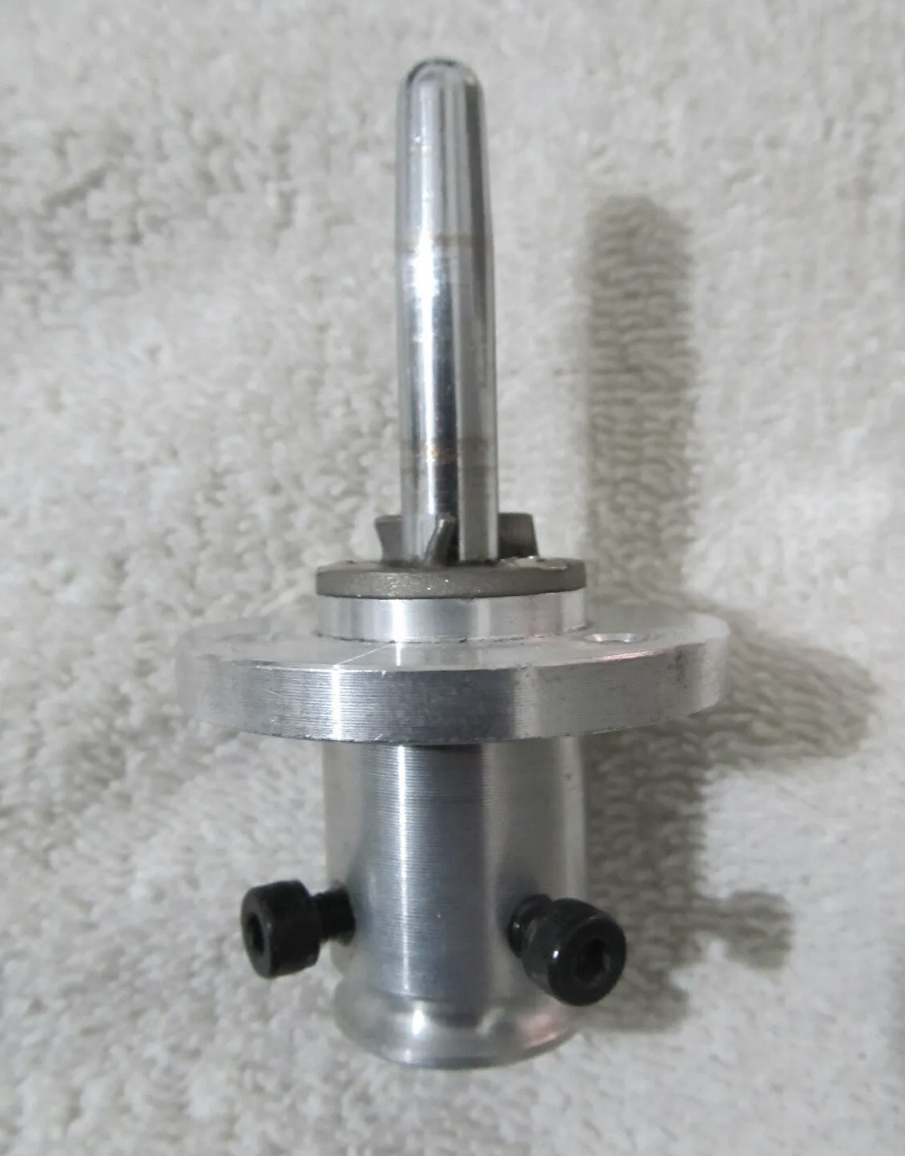
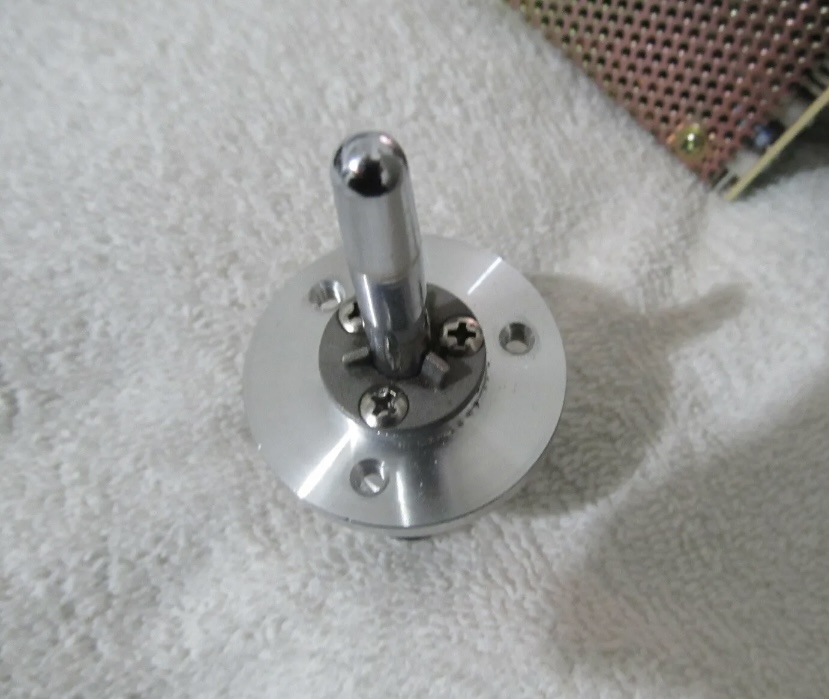
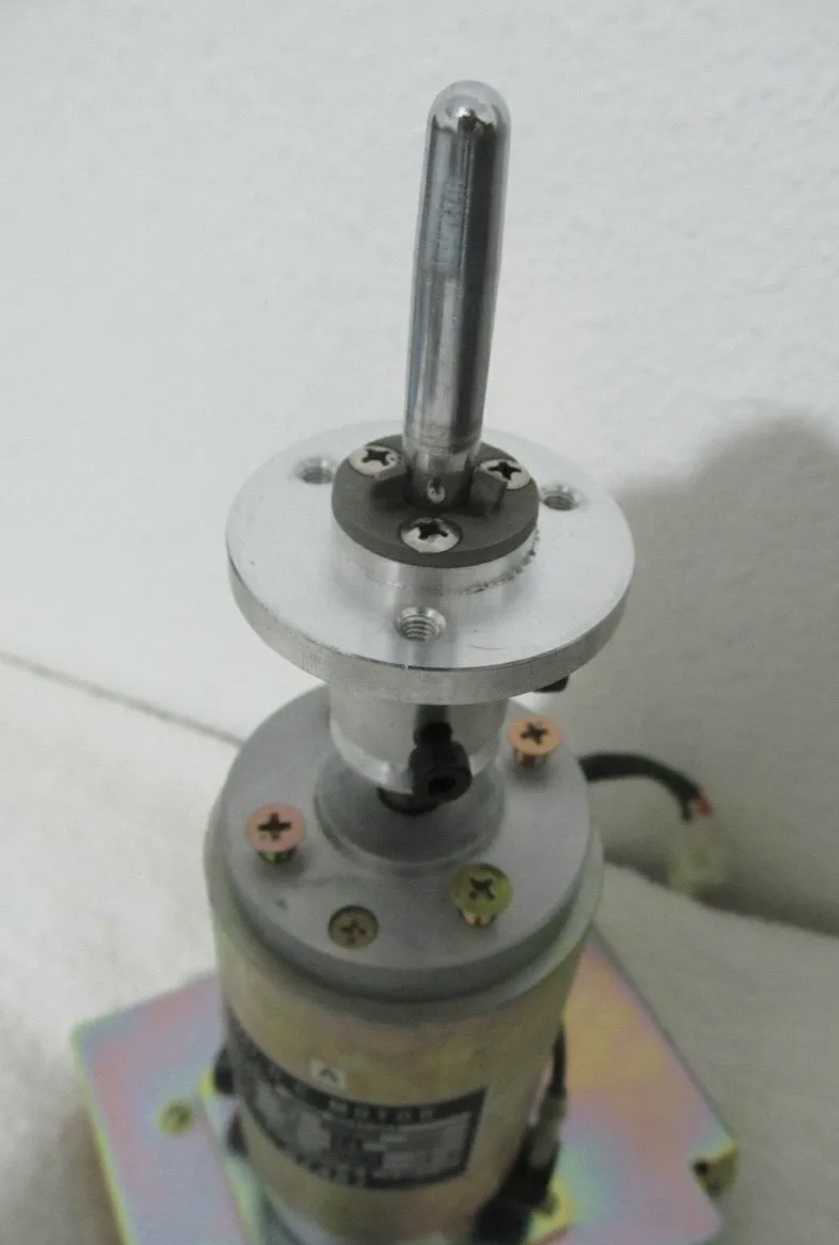
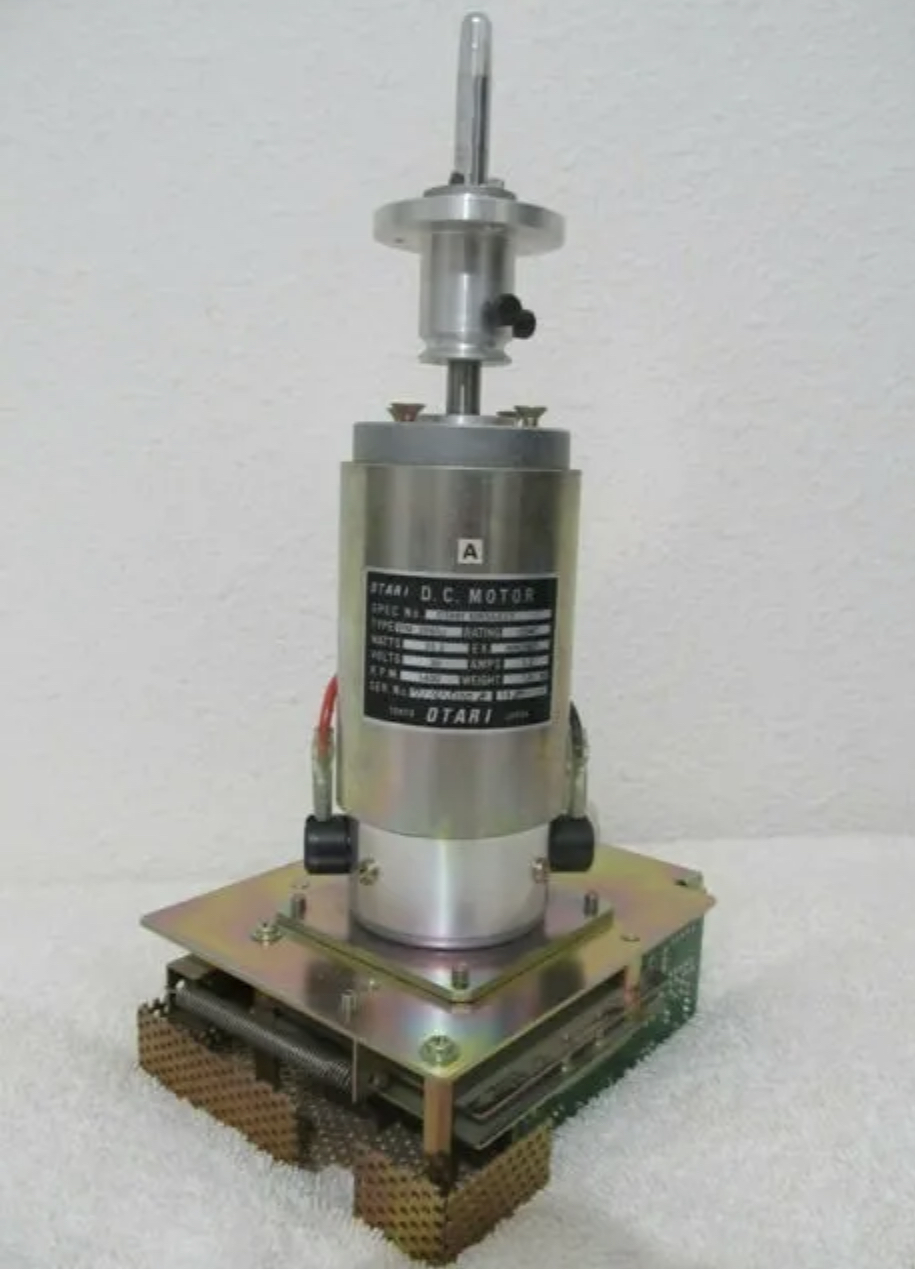
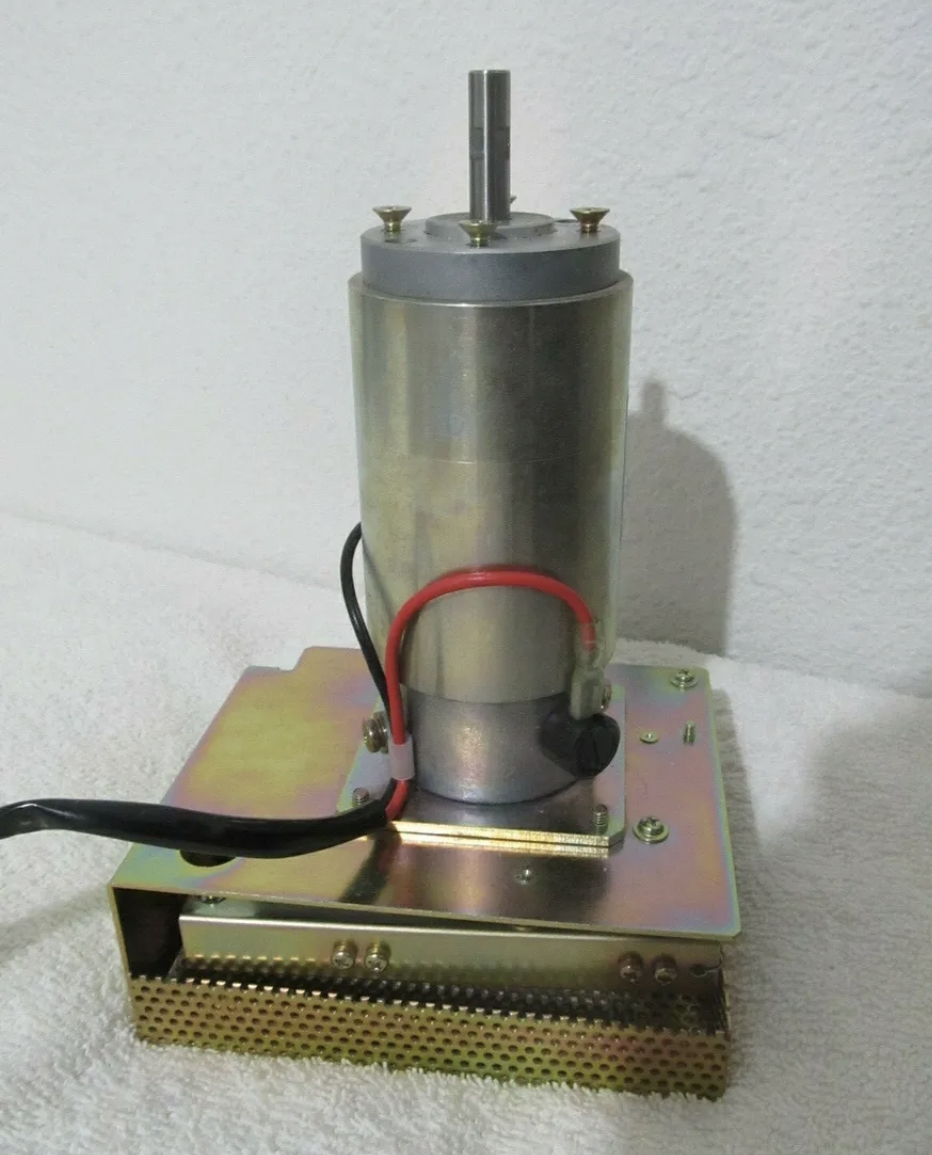
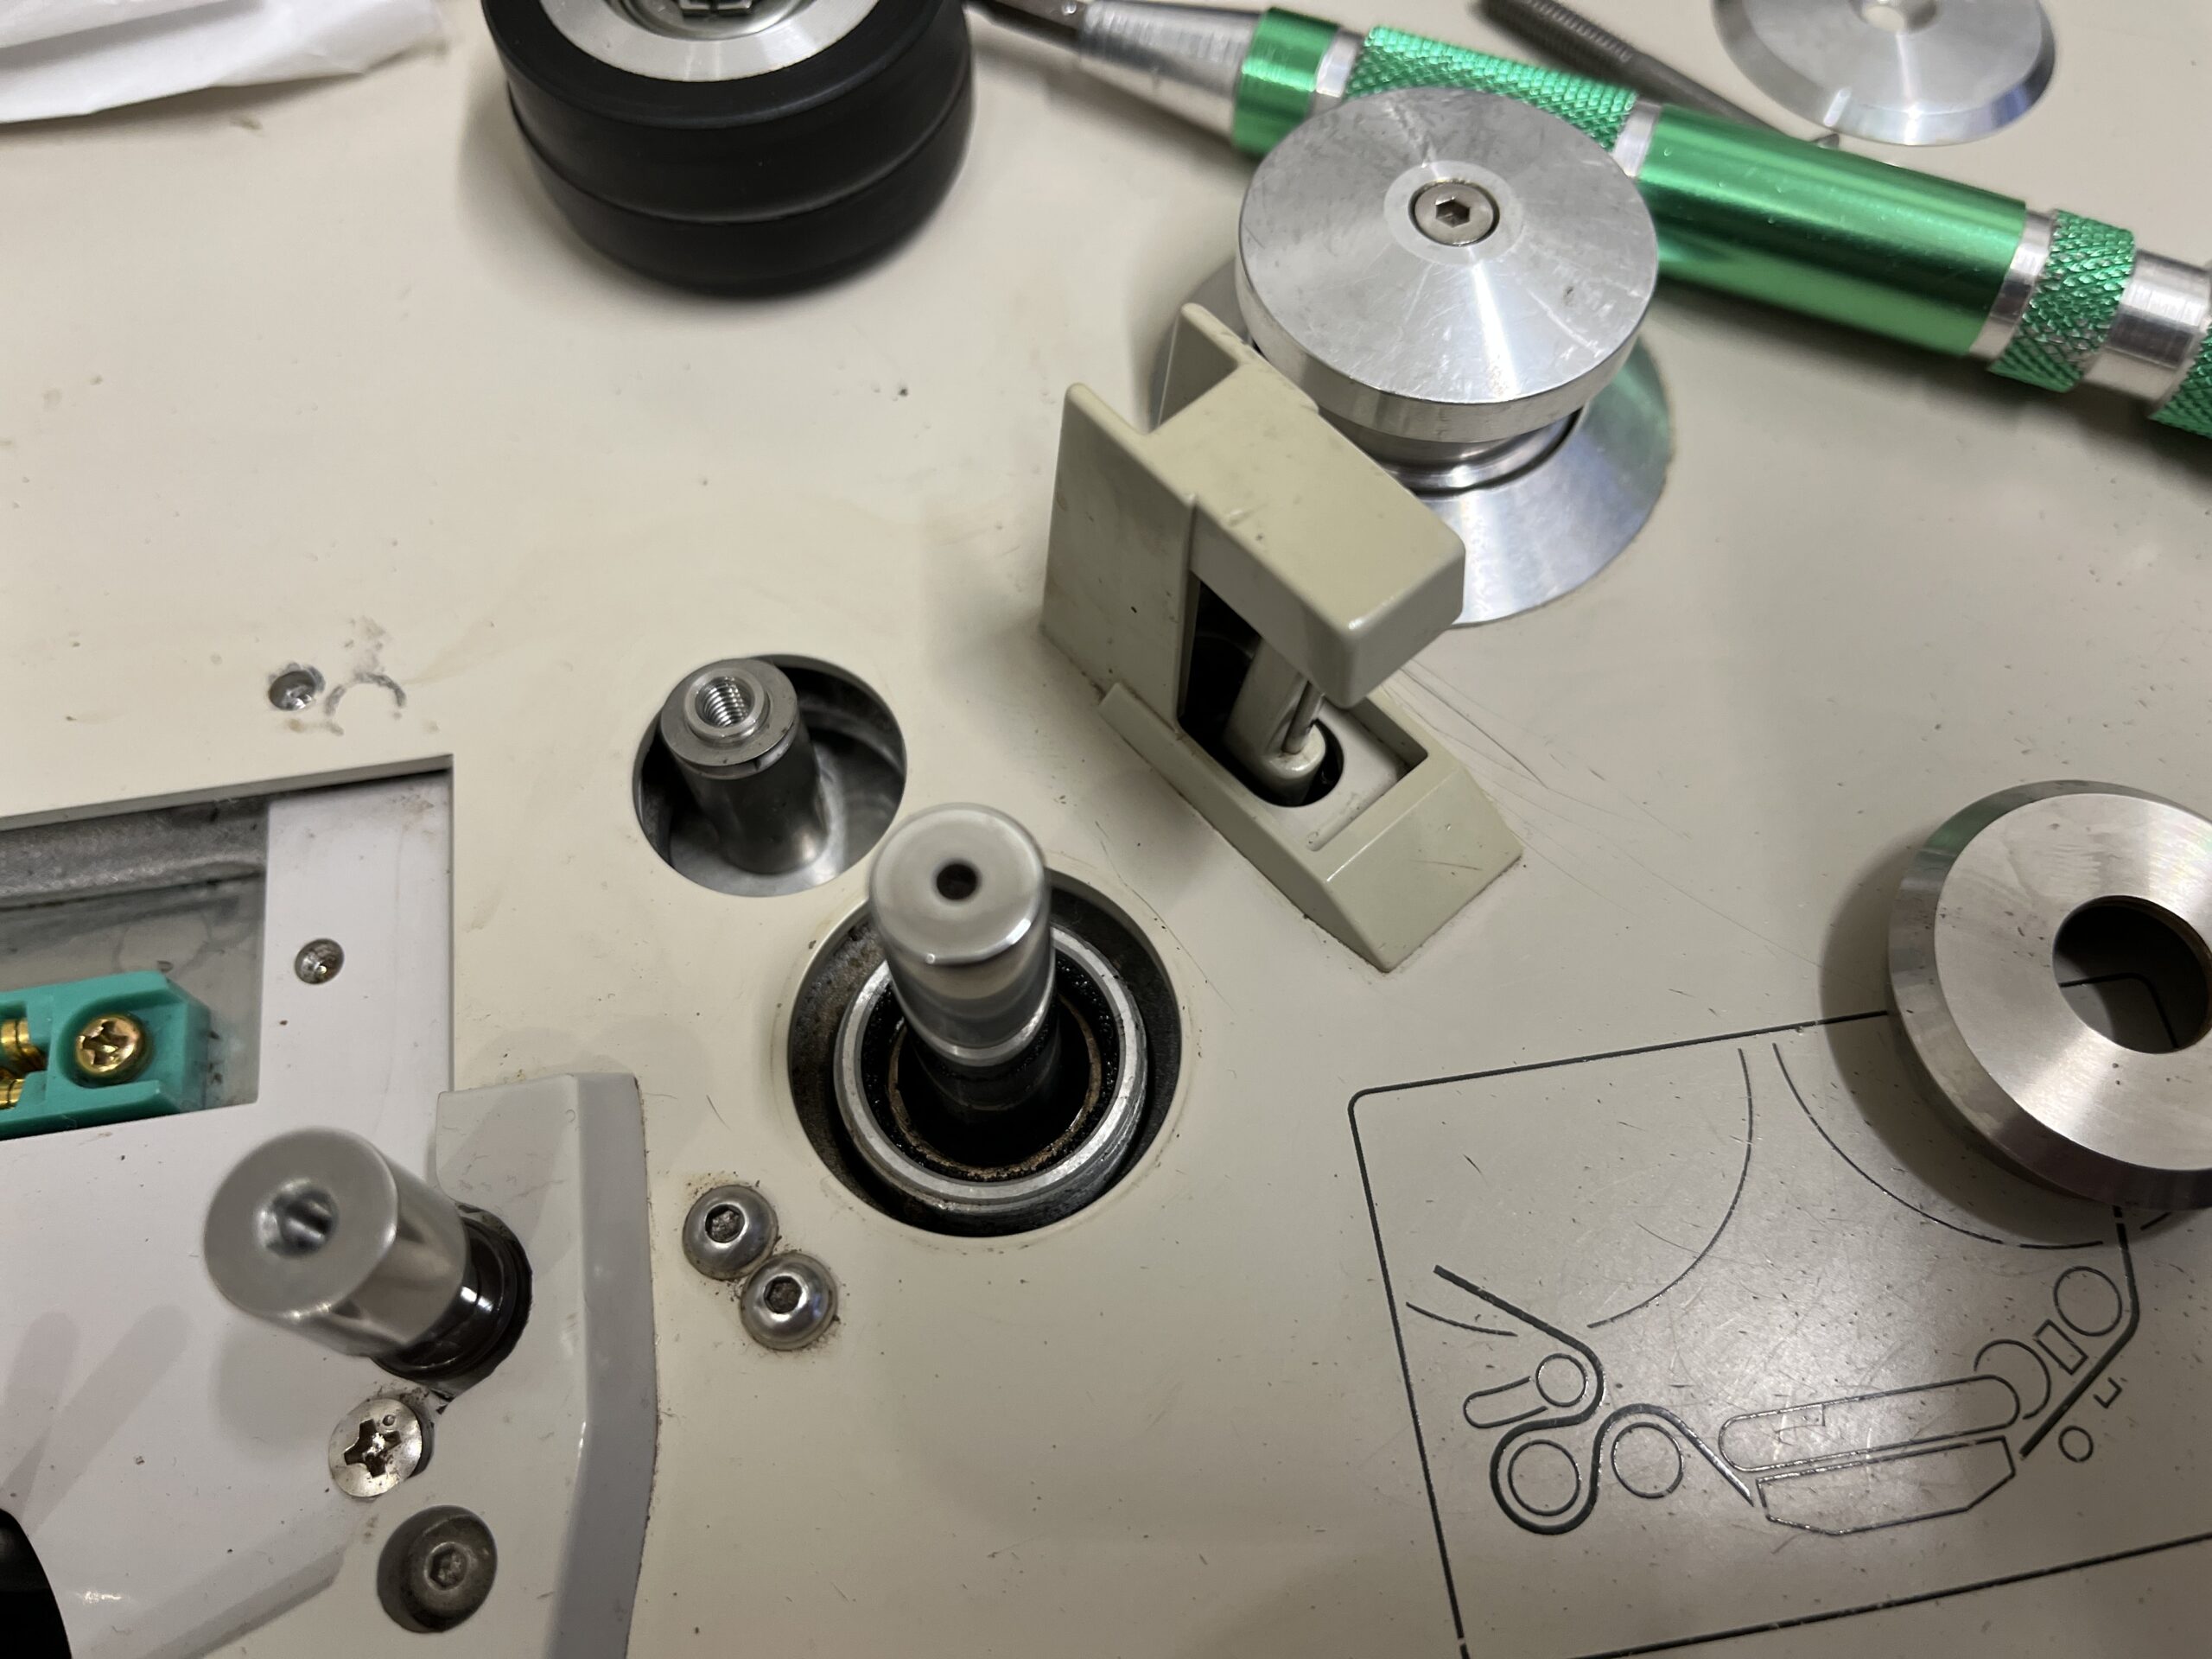
If your reel is wobbling a lot you may need to replace the transport hub. Alternatively check that the reel you are using is straight. If major damaged has occurred you may need to replace the transport motor assembly.


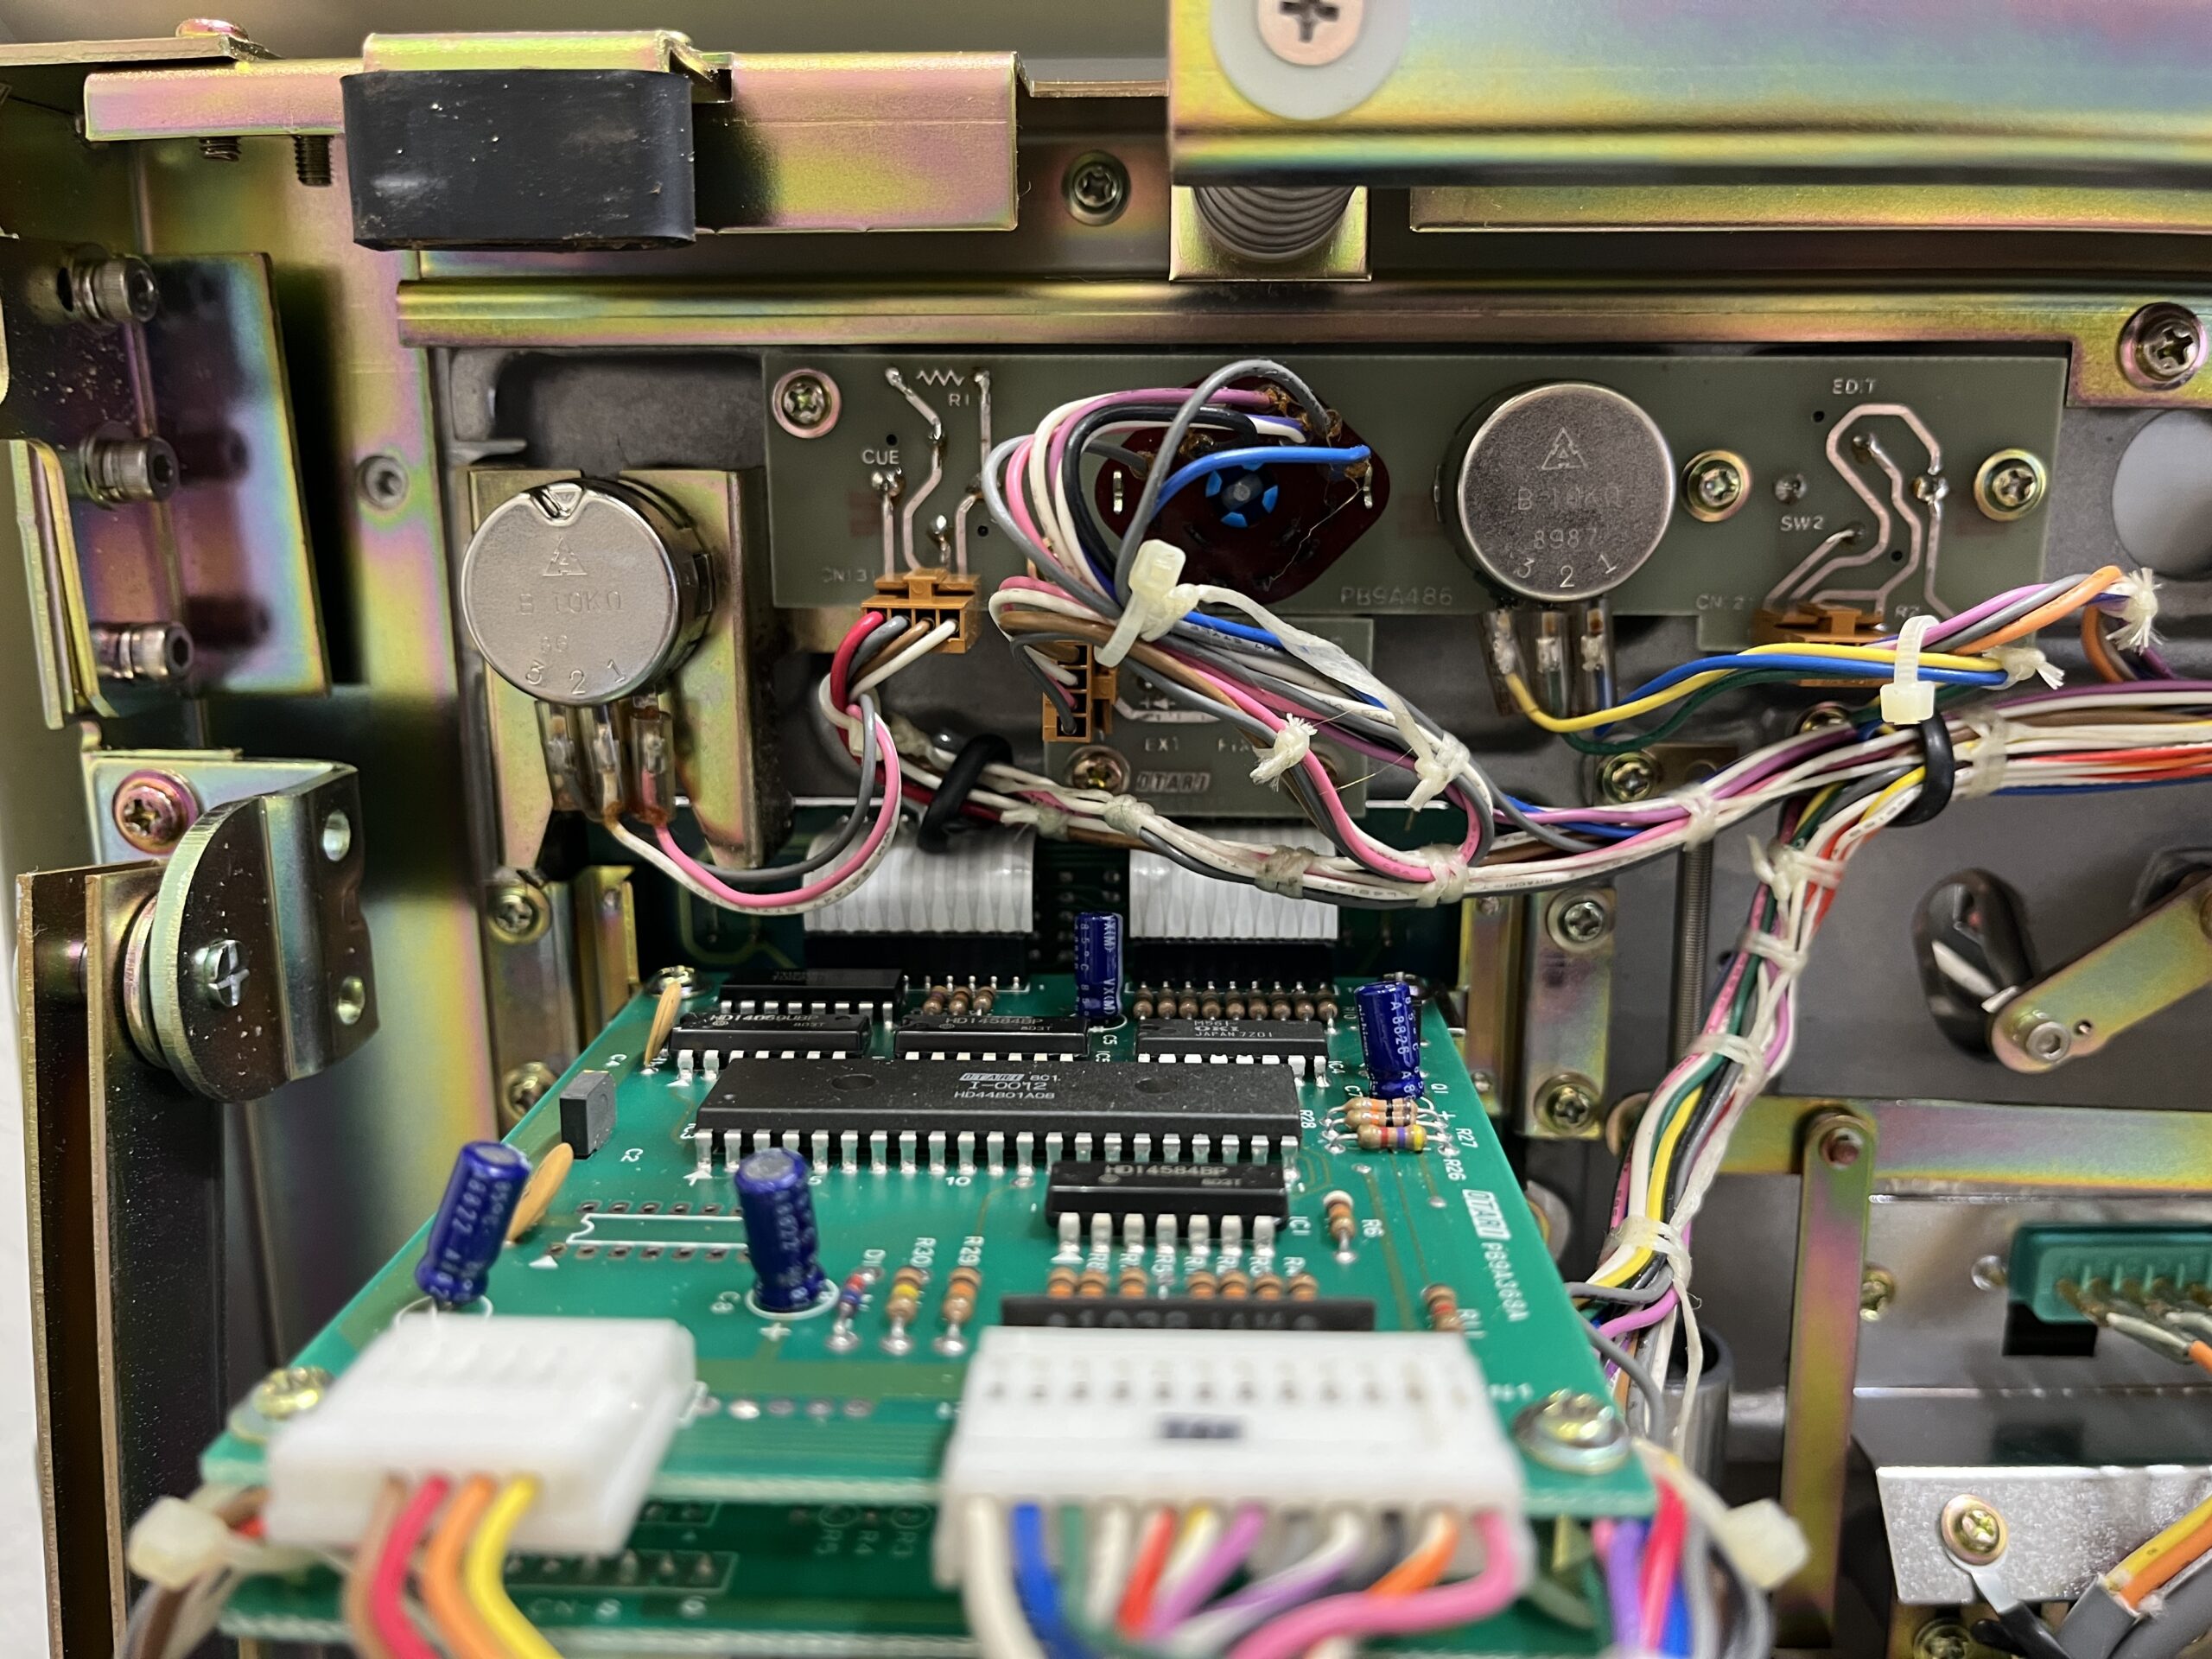
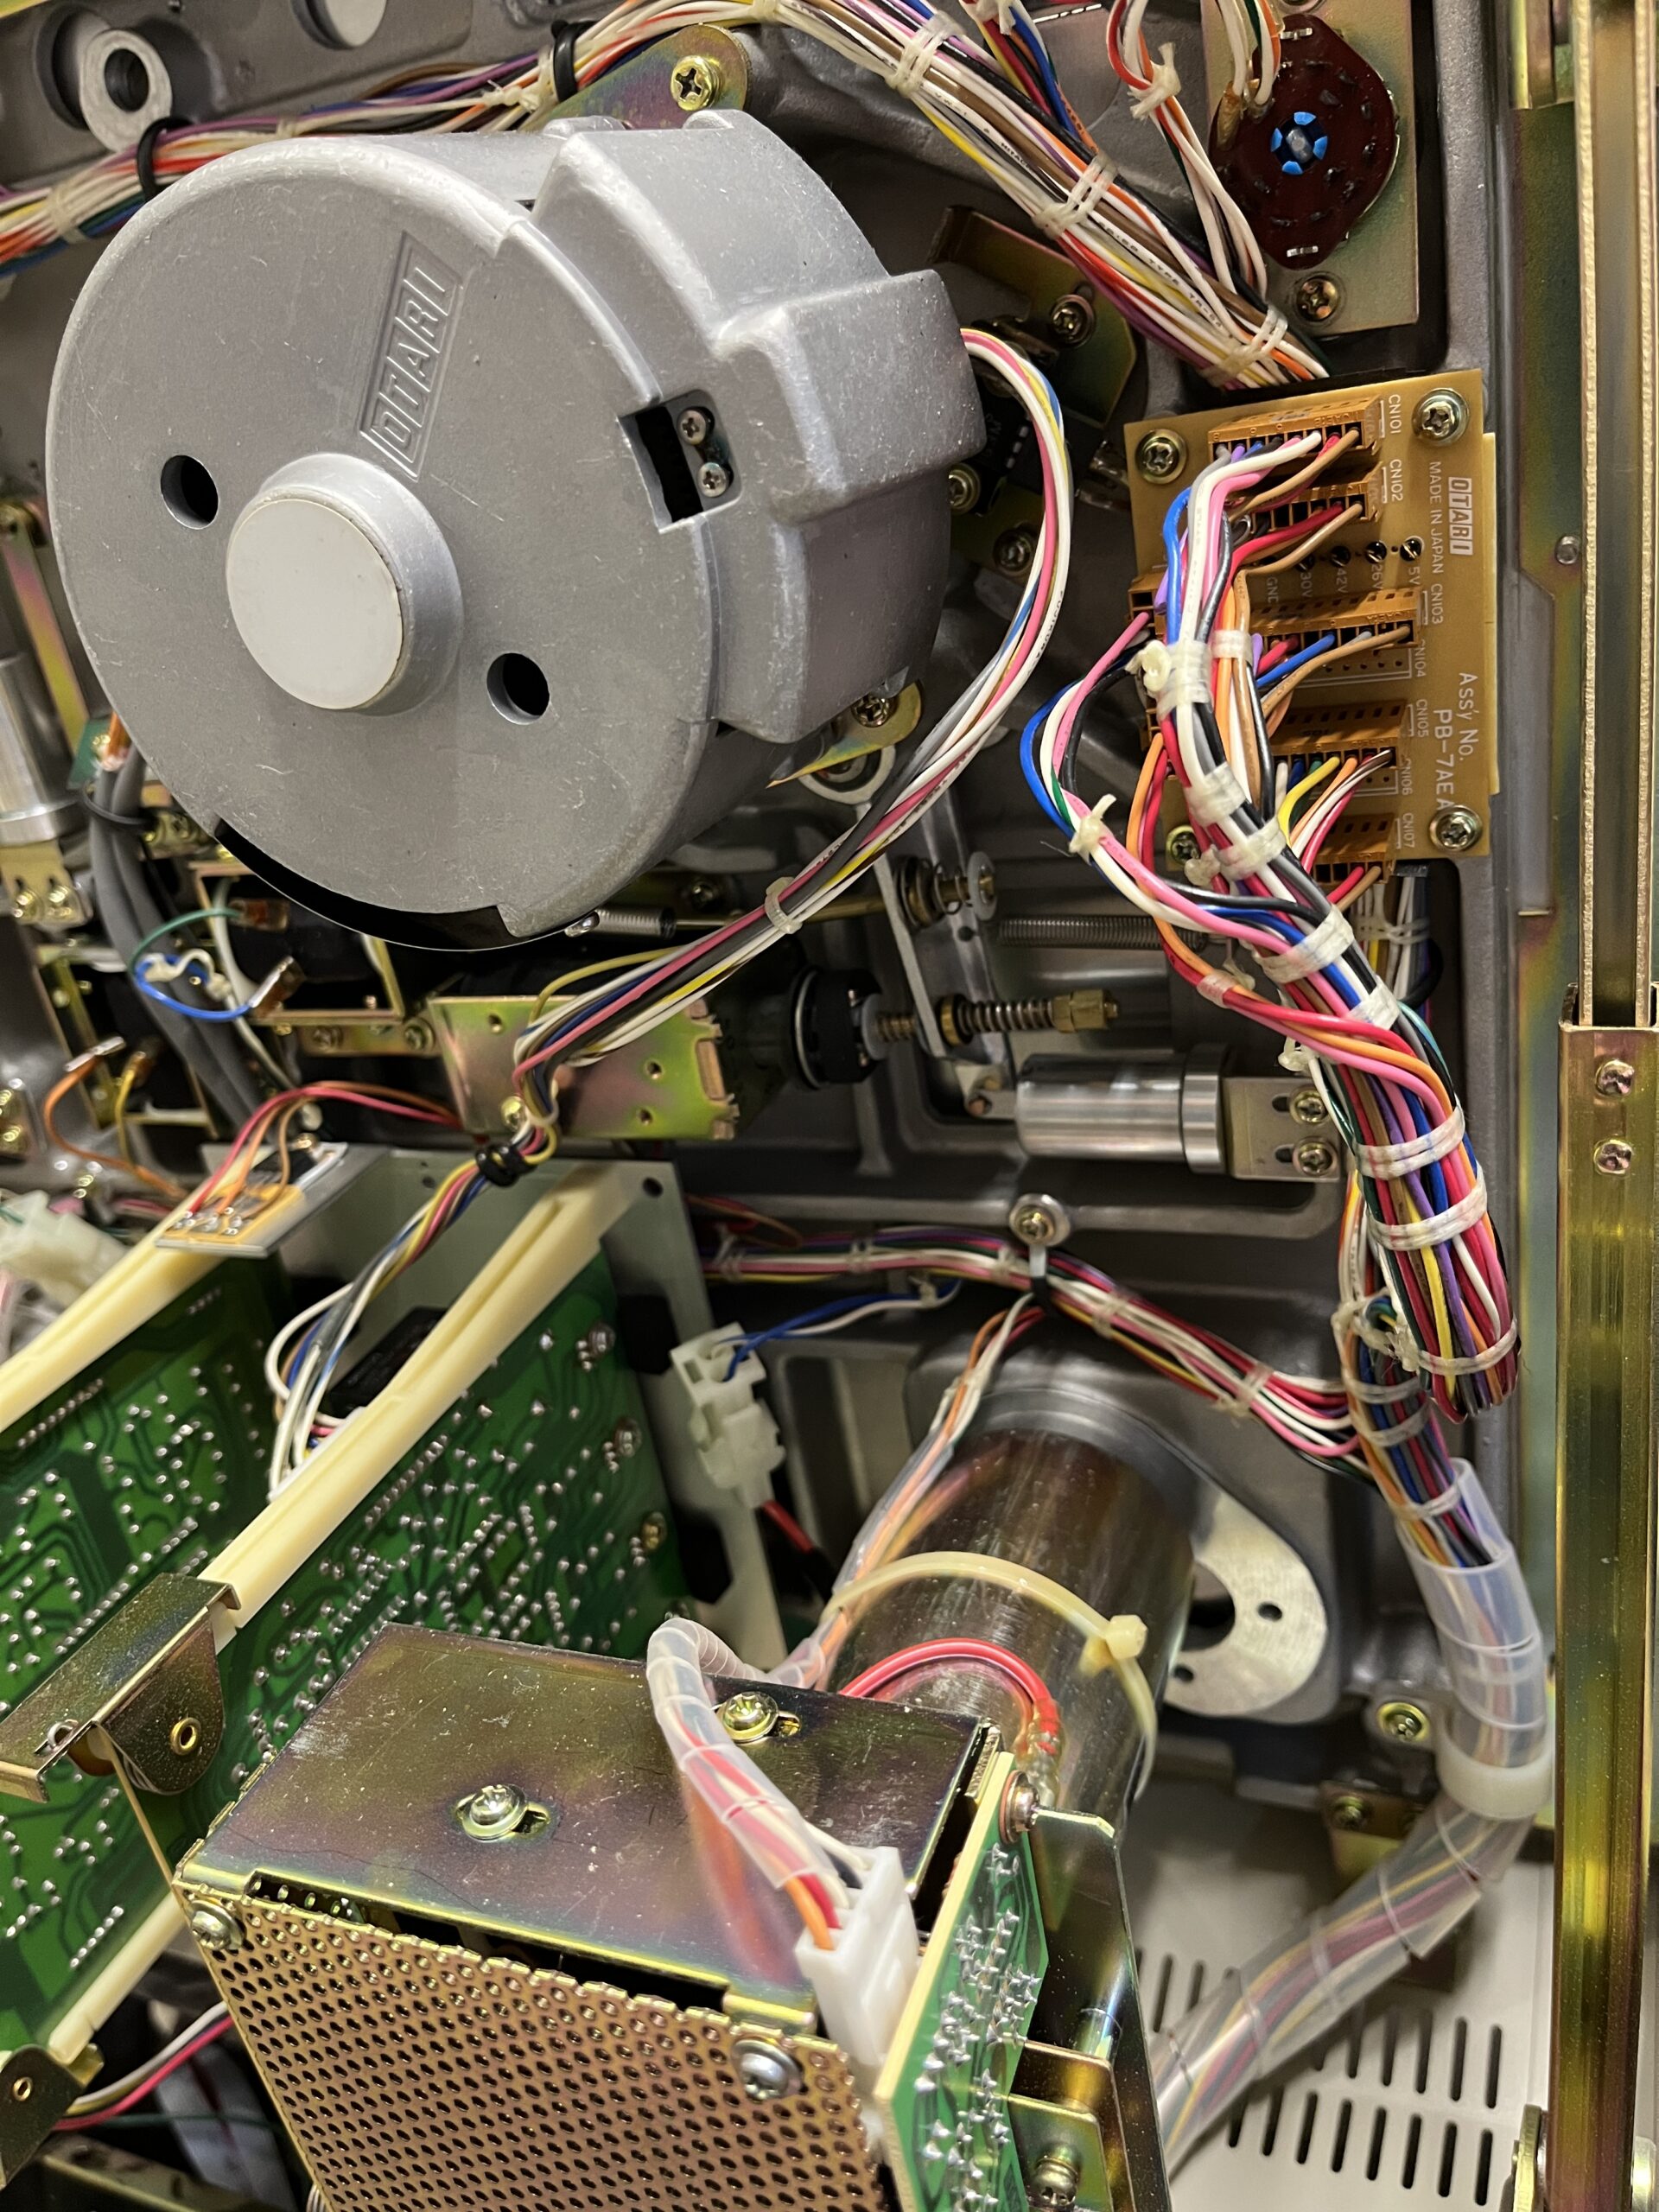
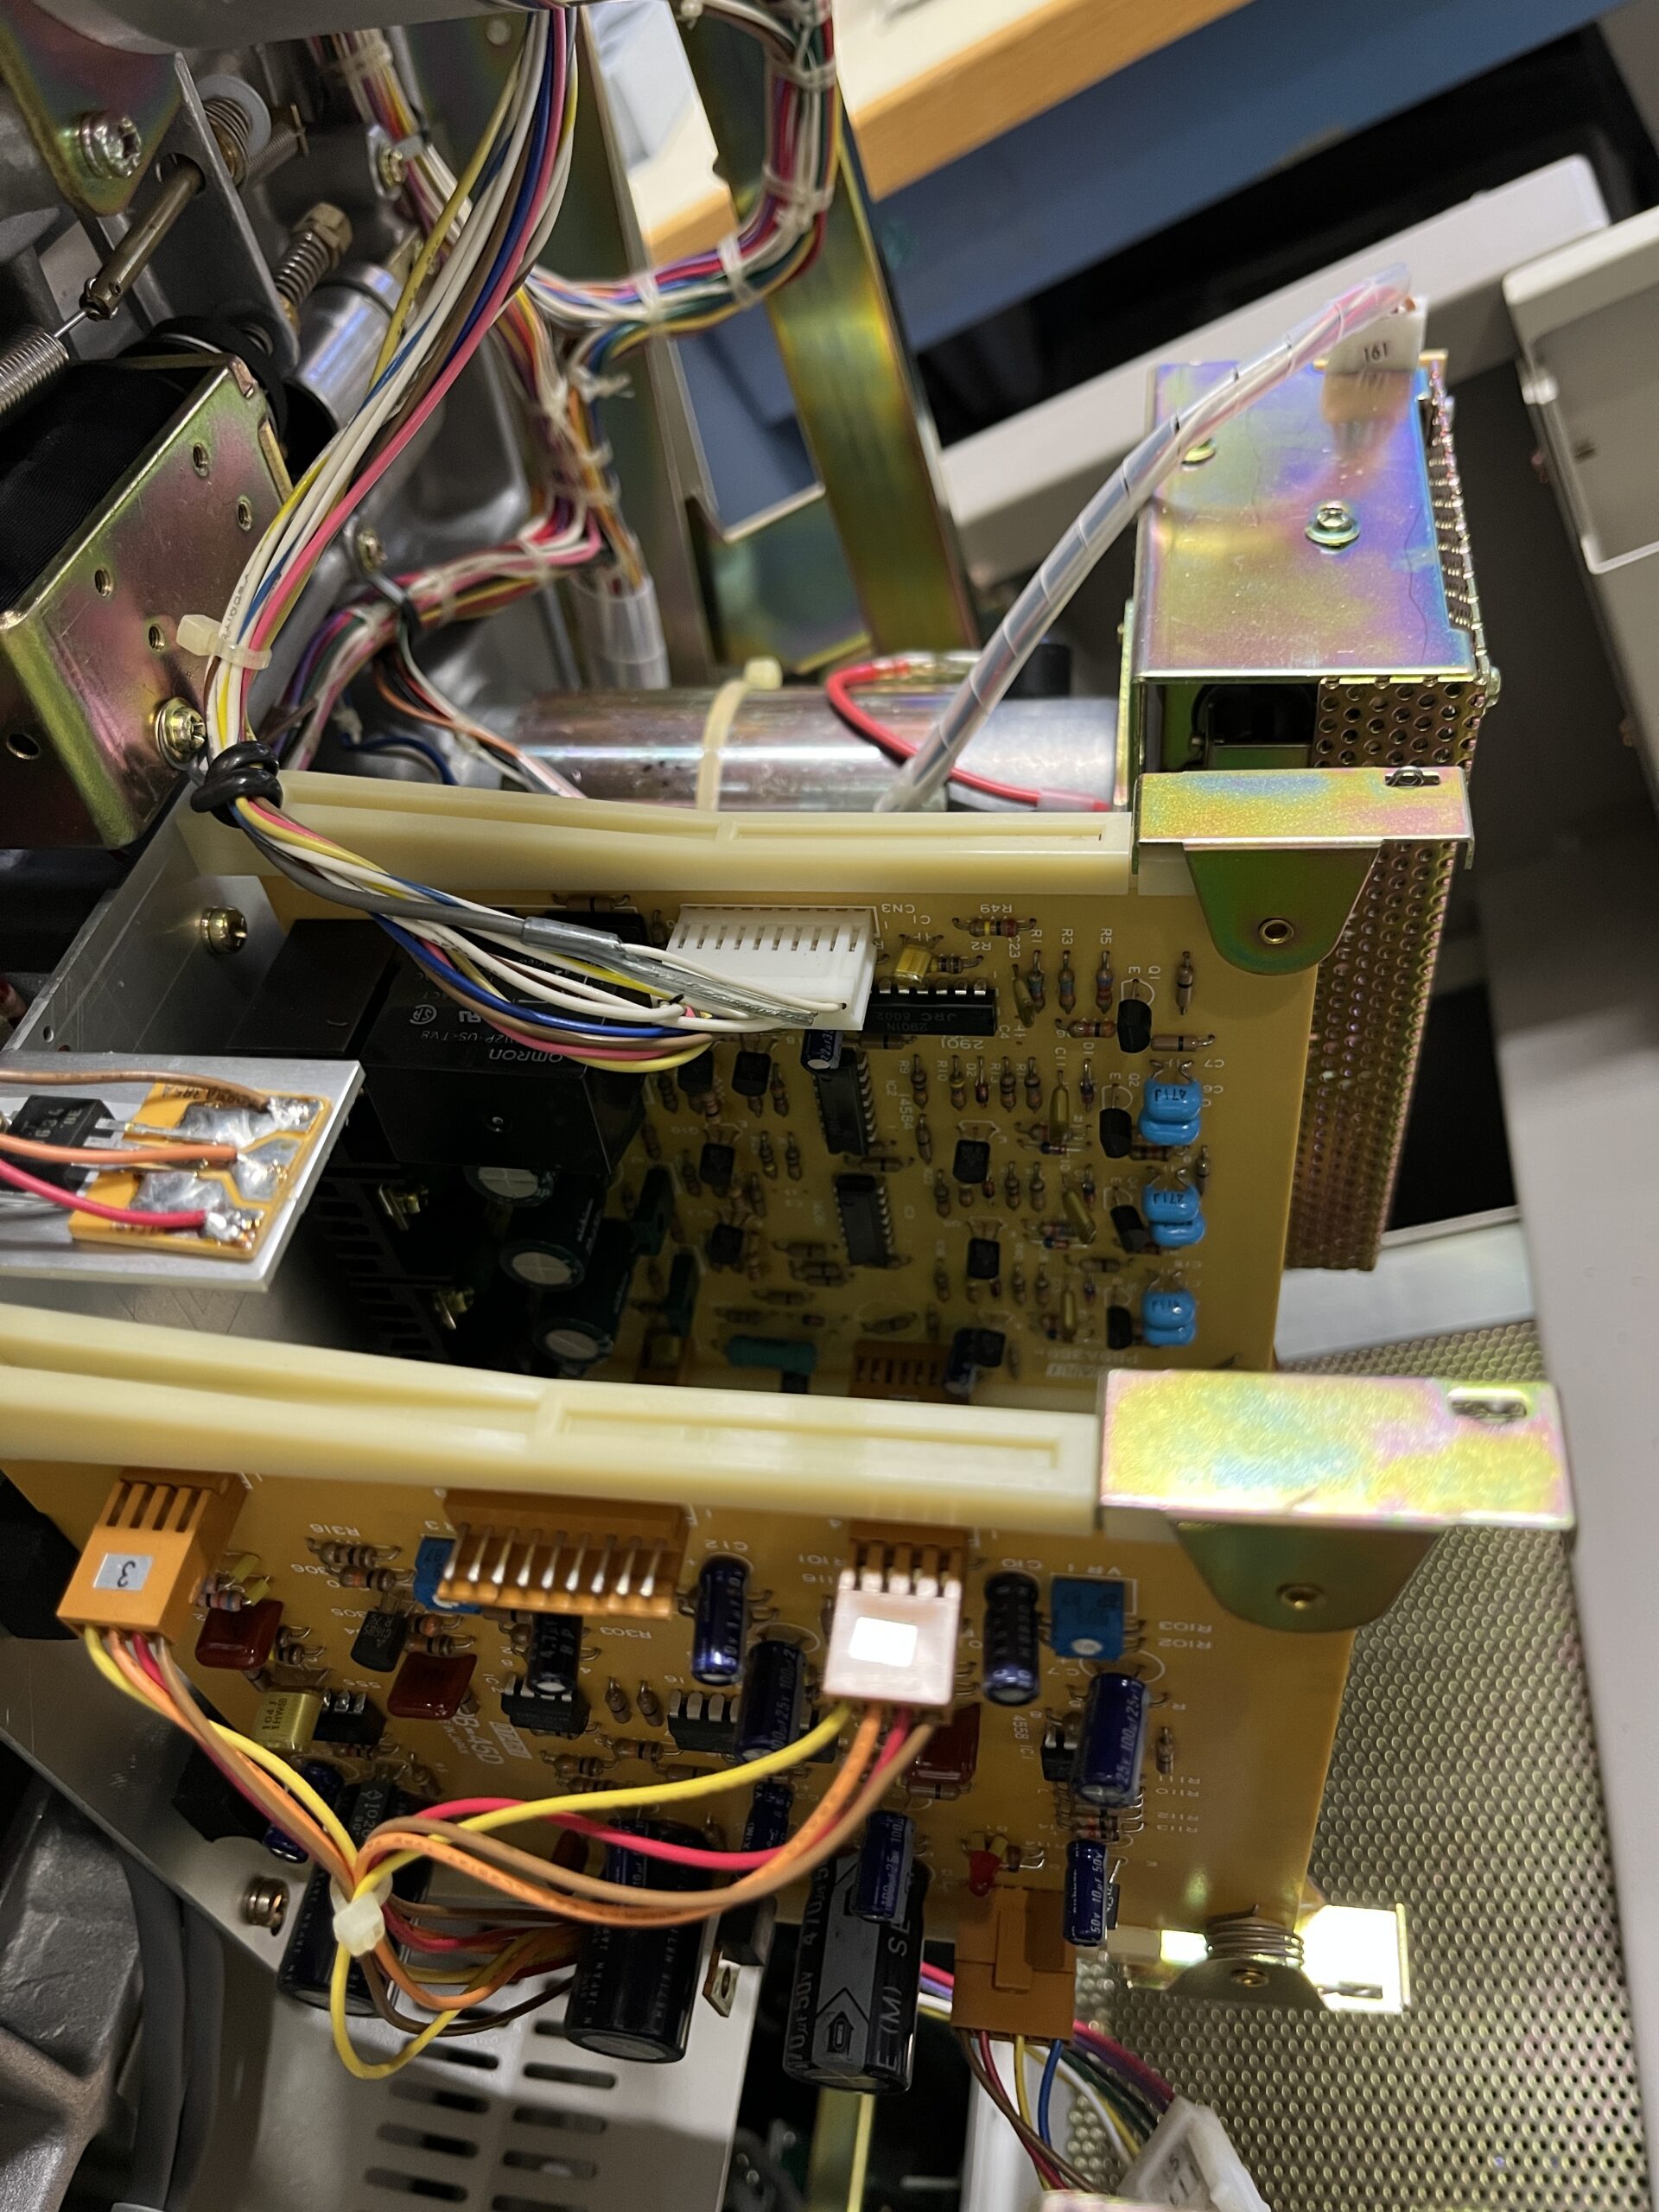
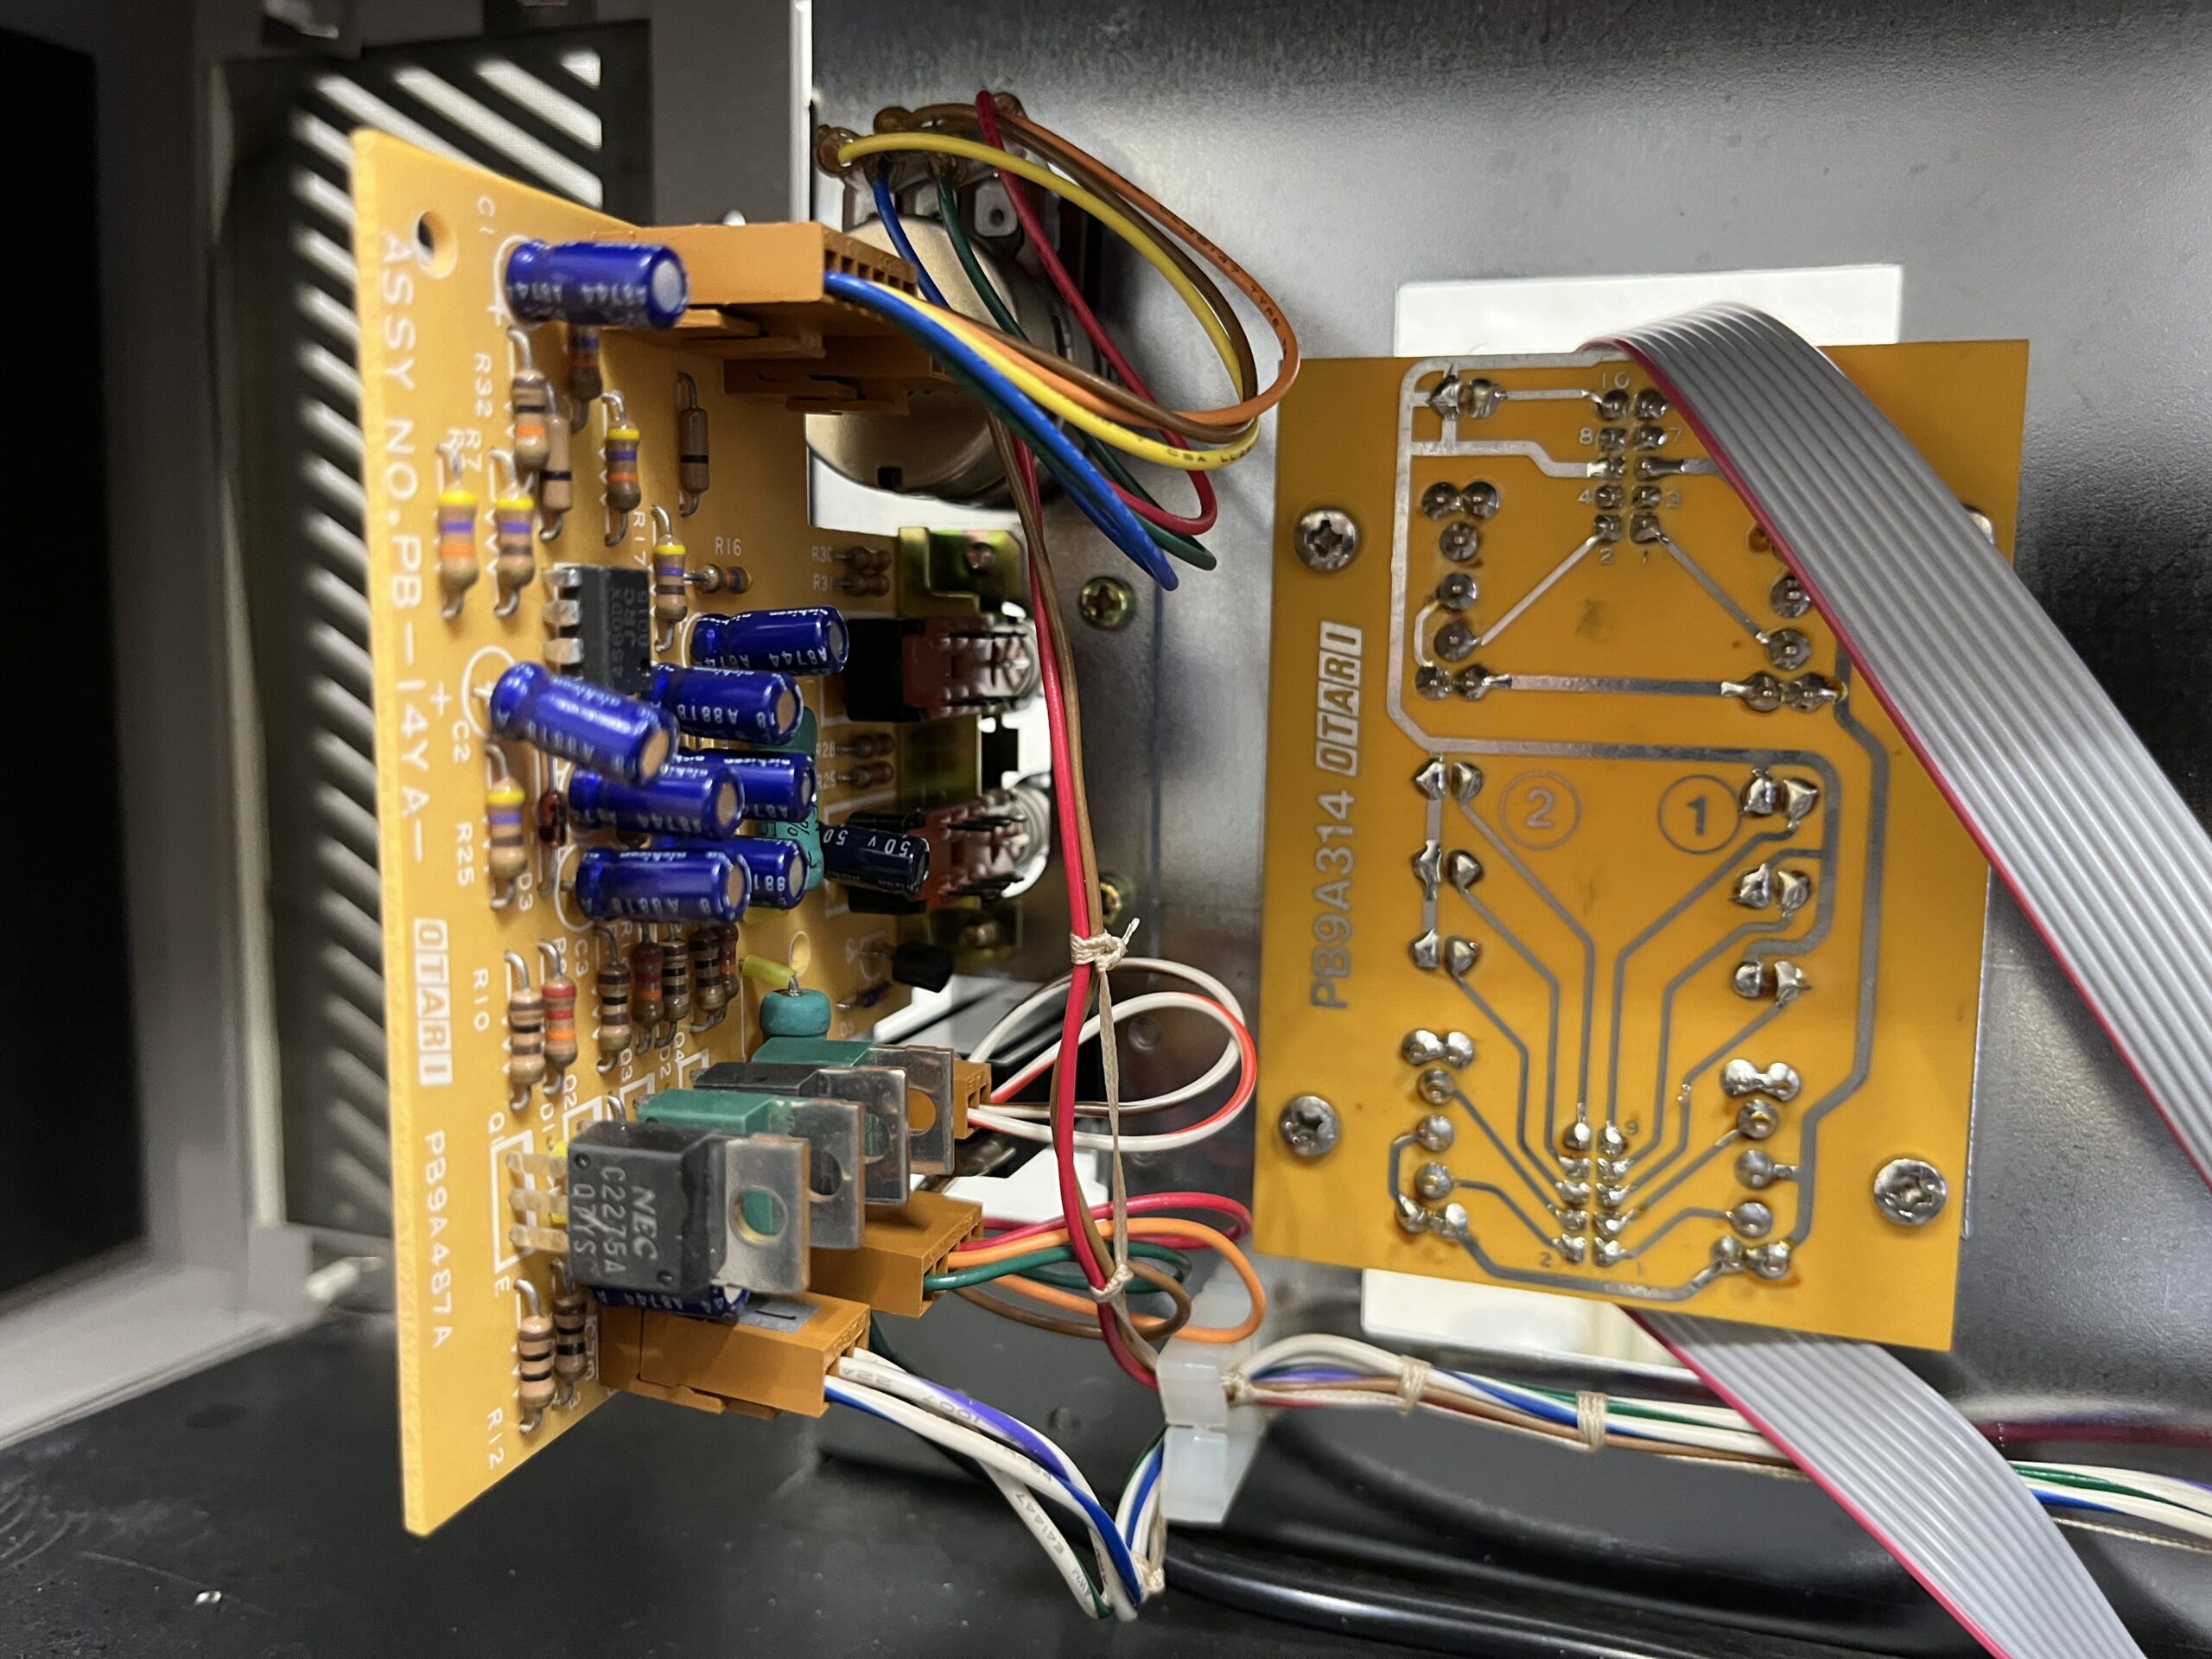
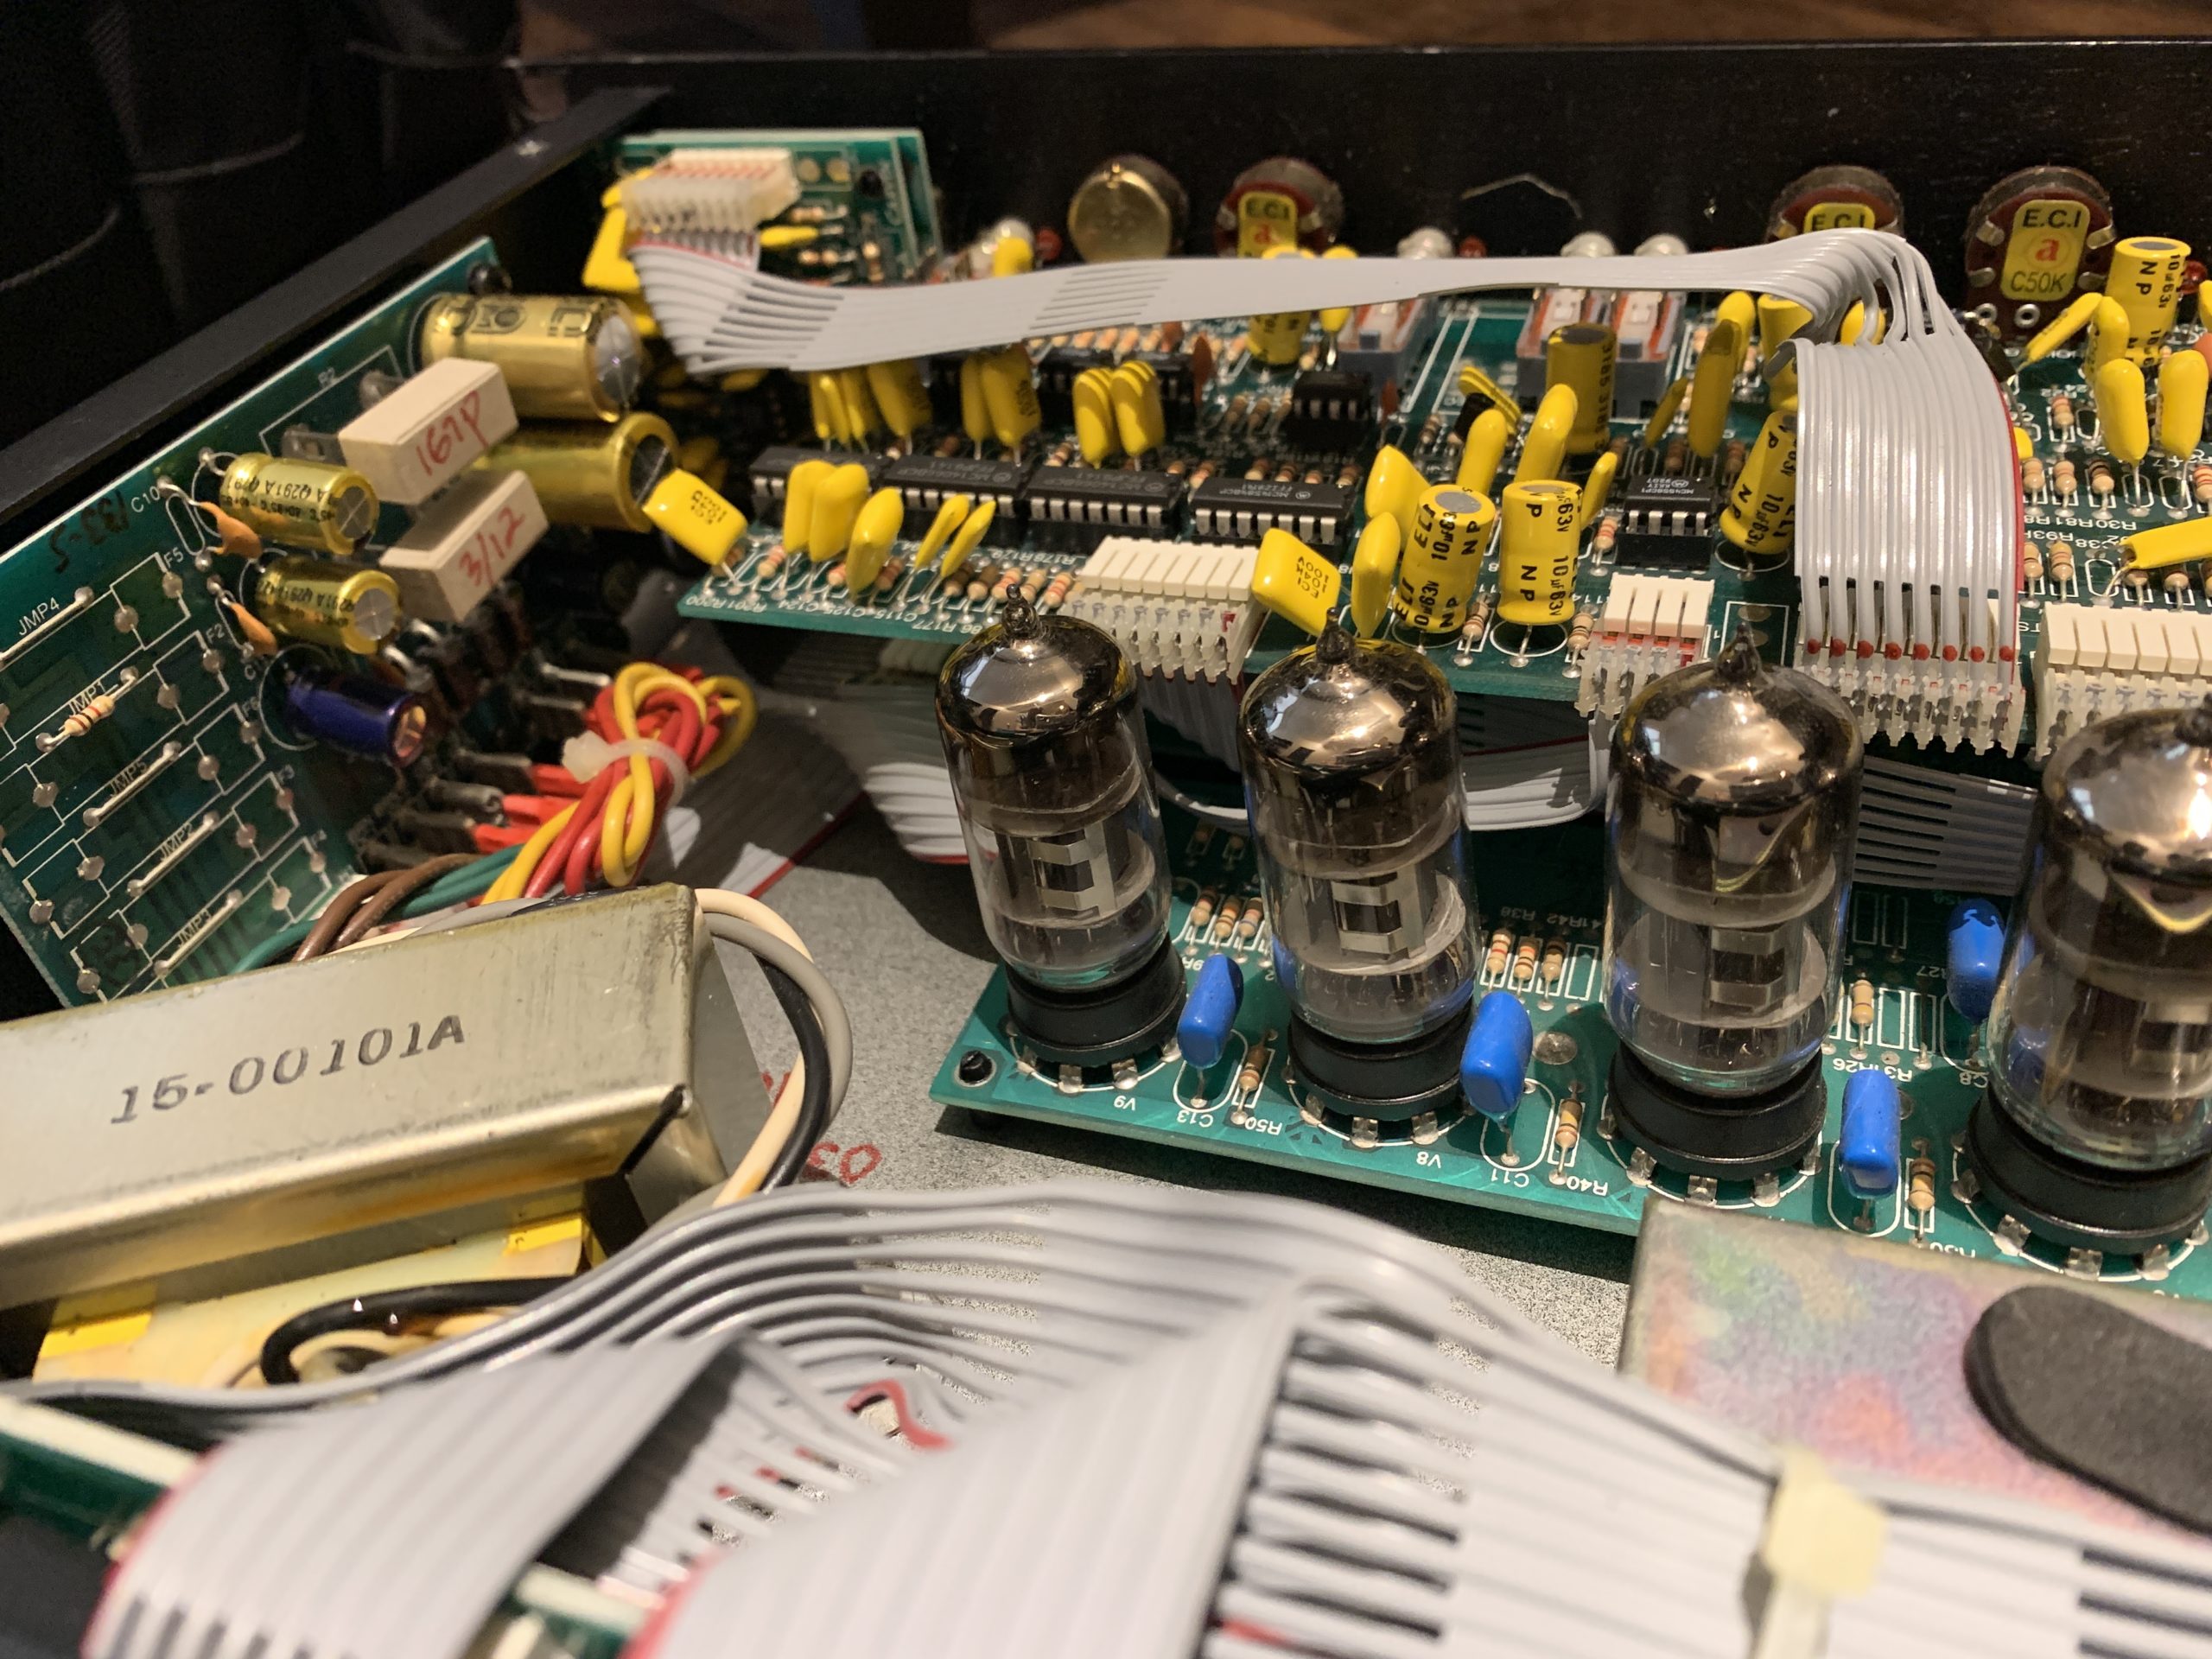
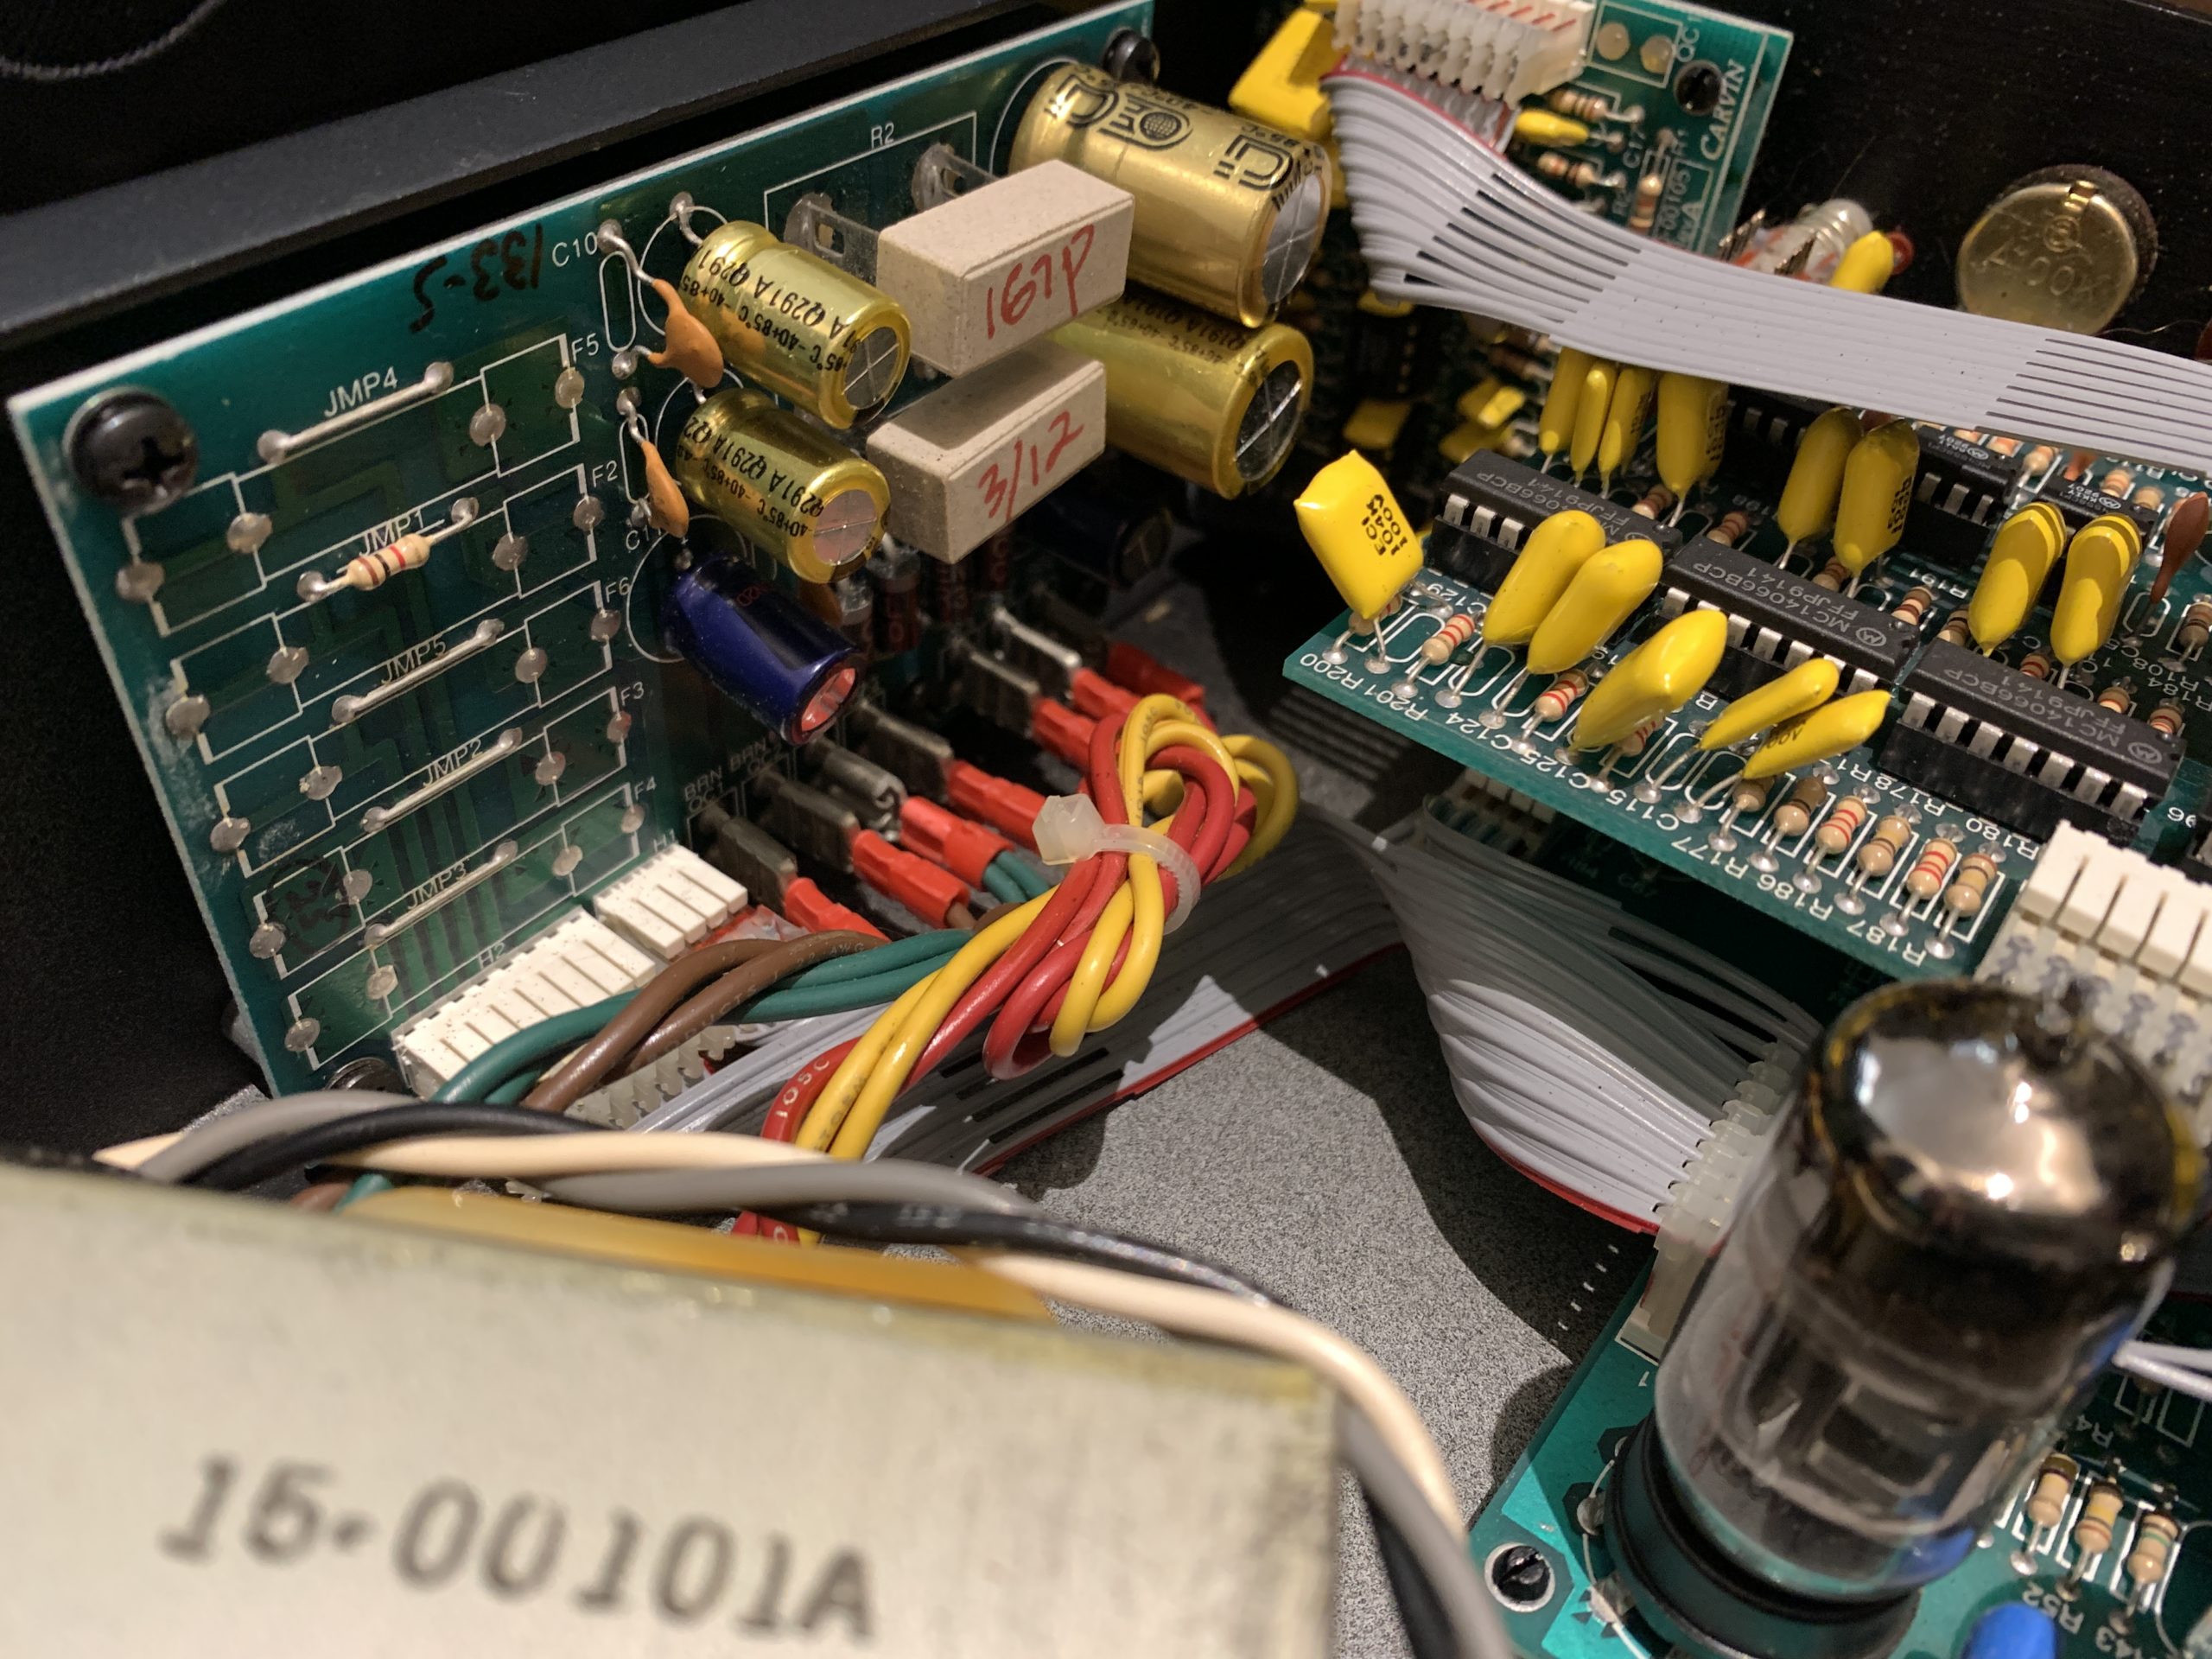
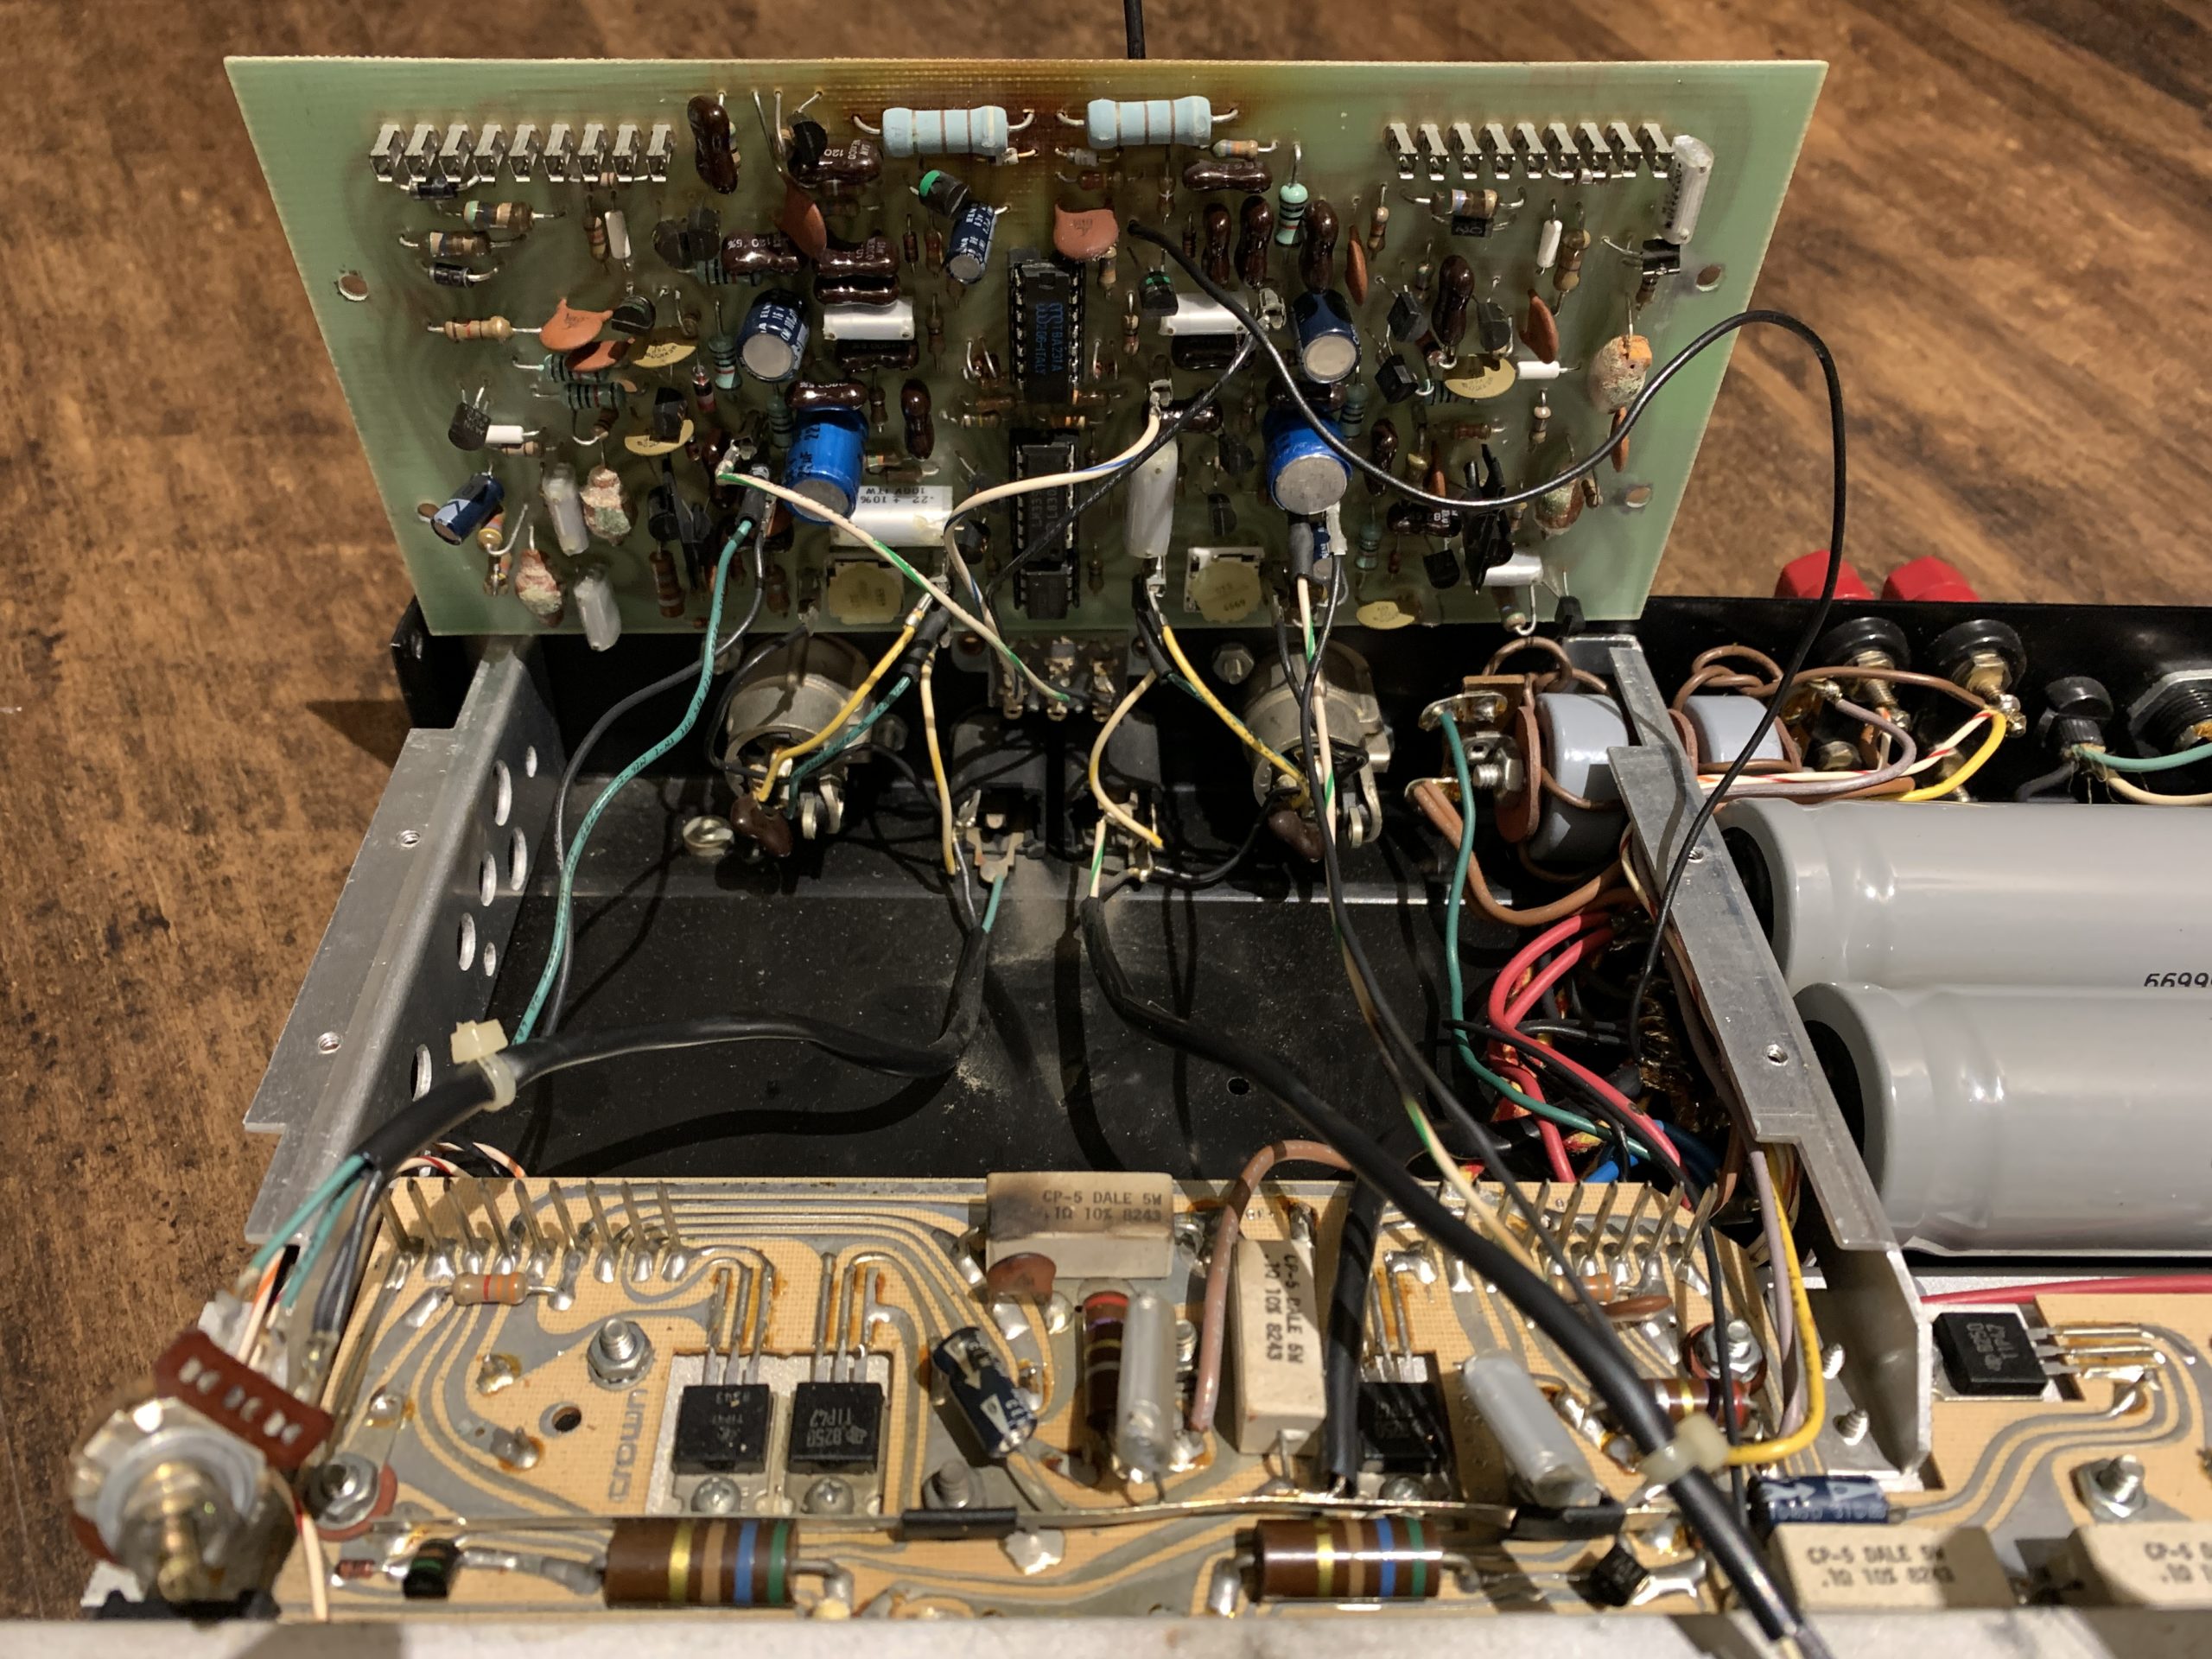
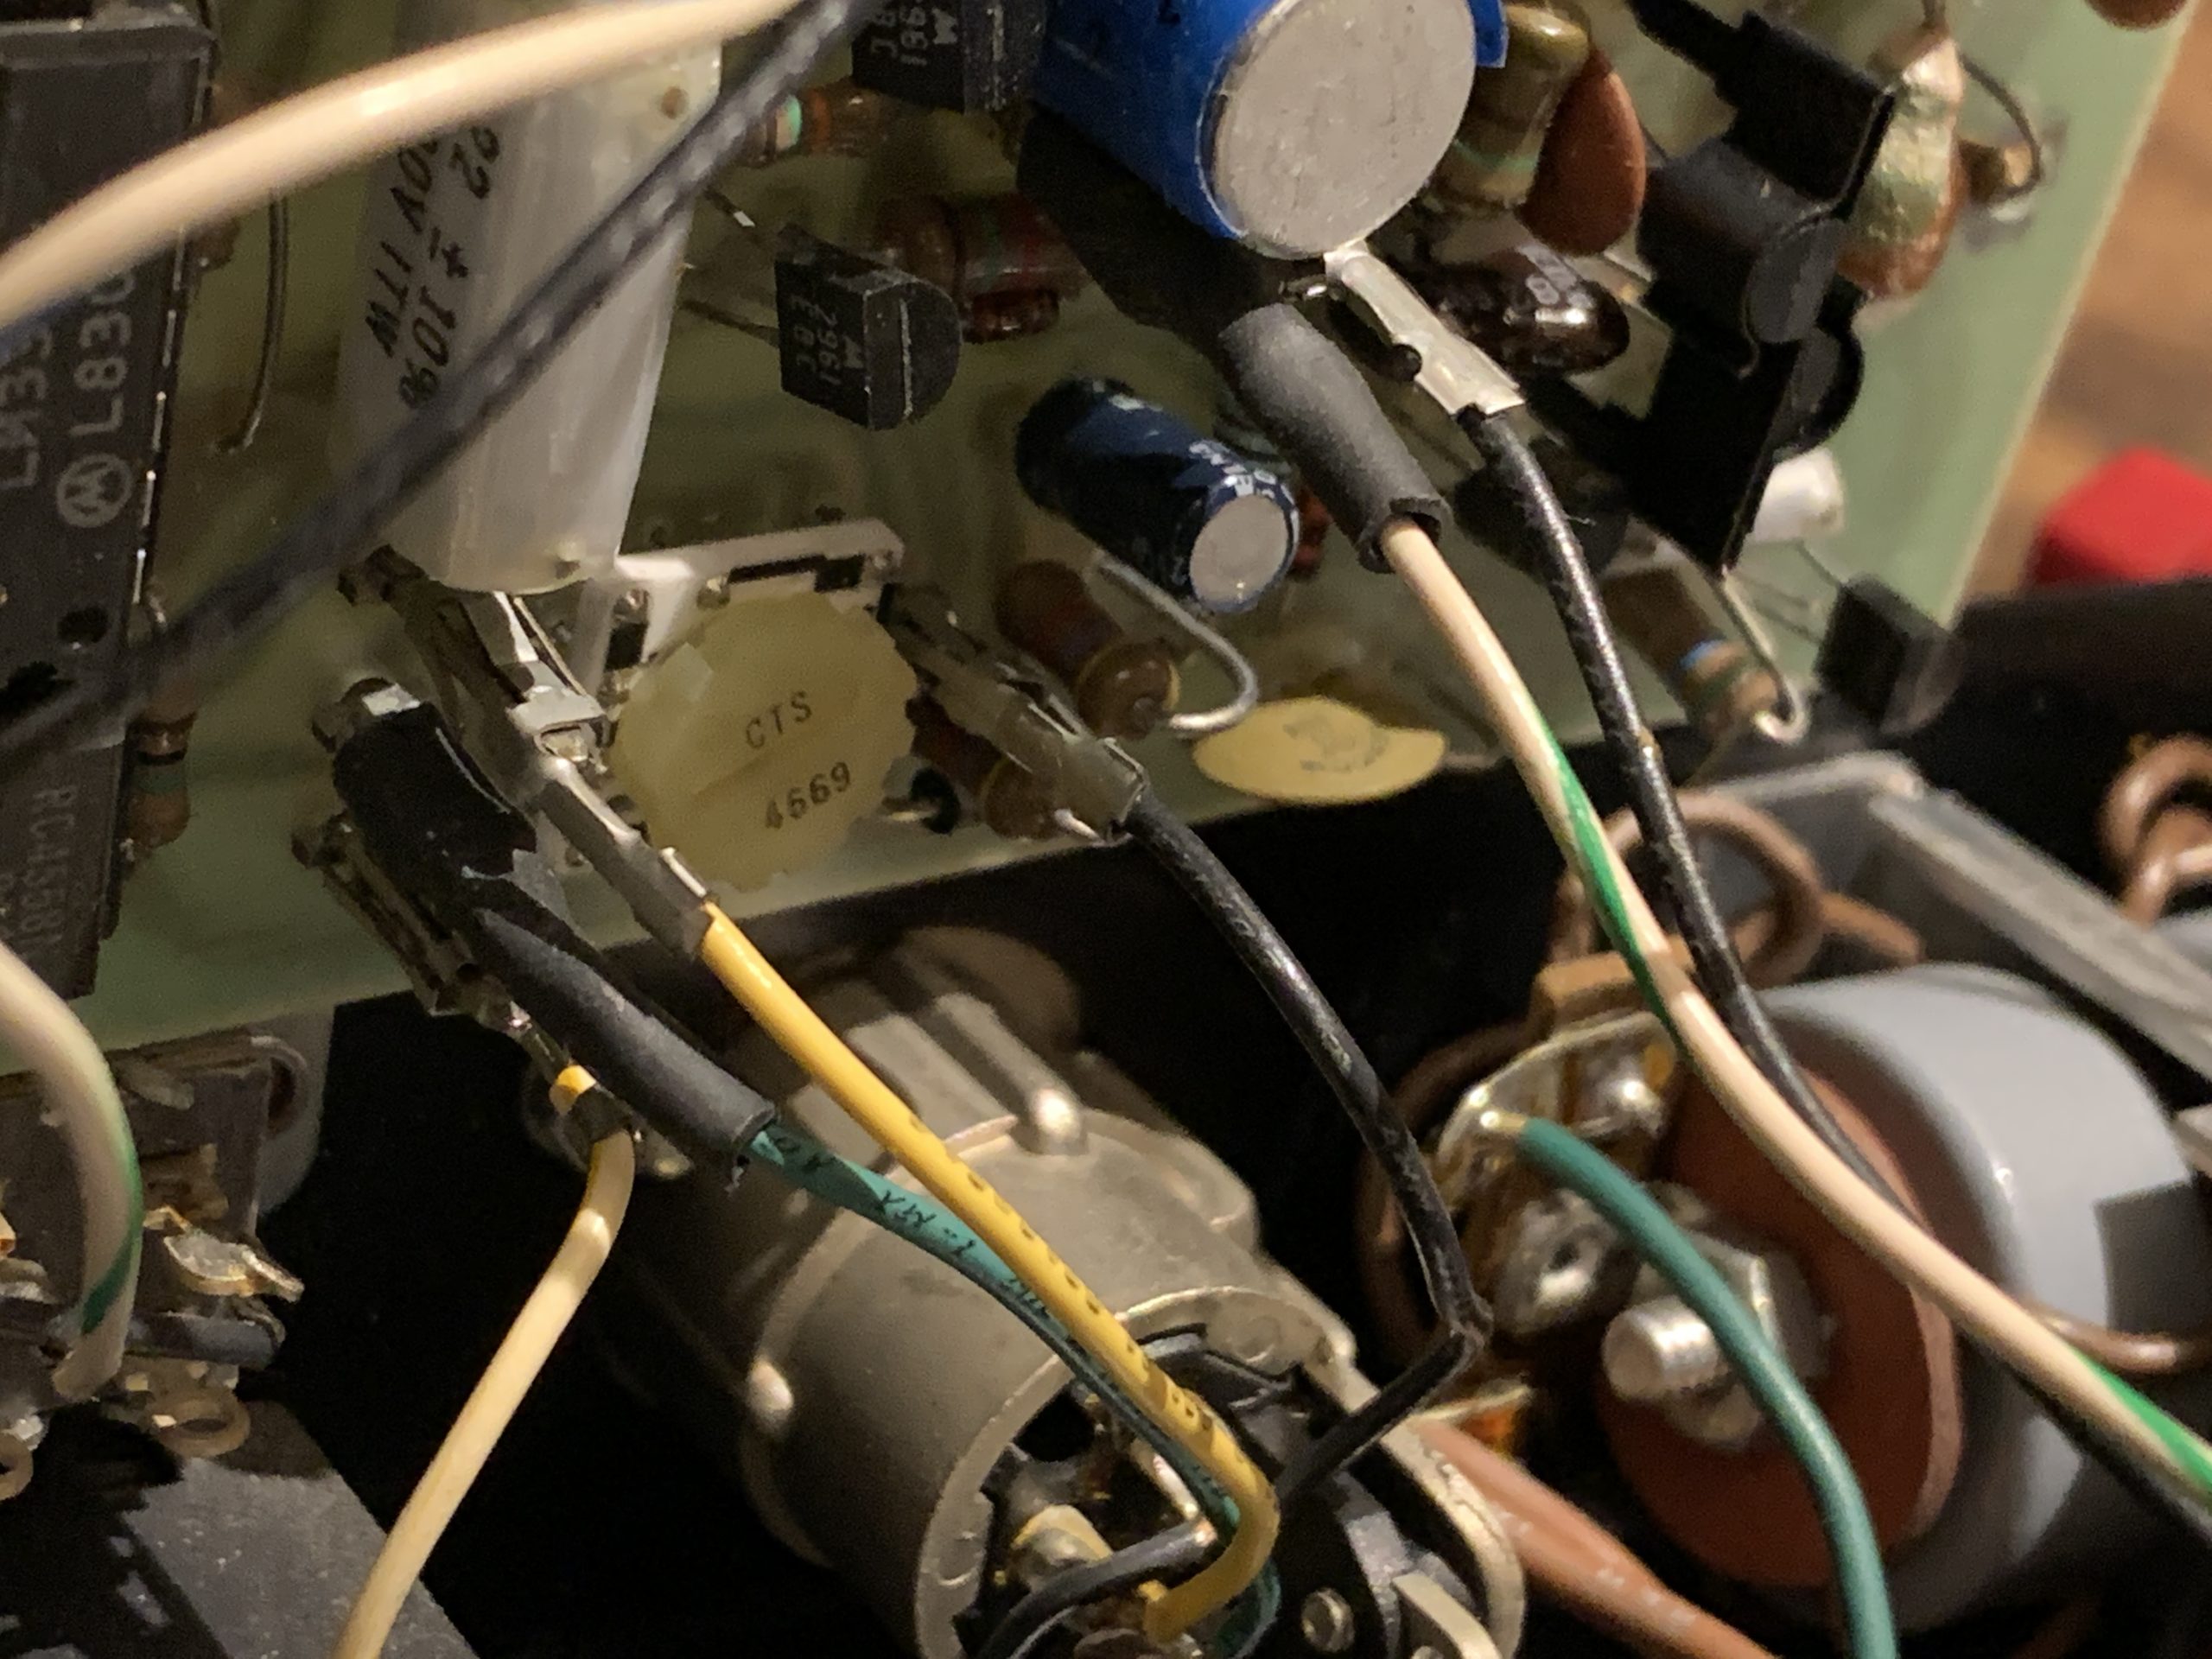
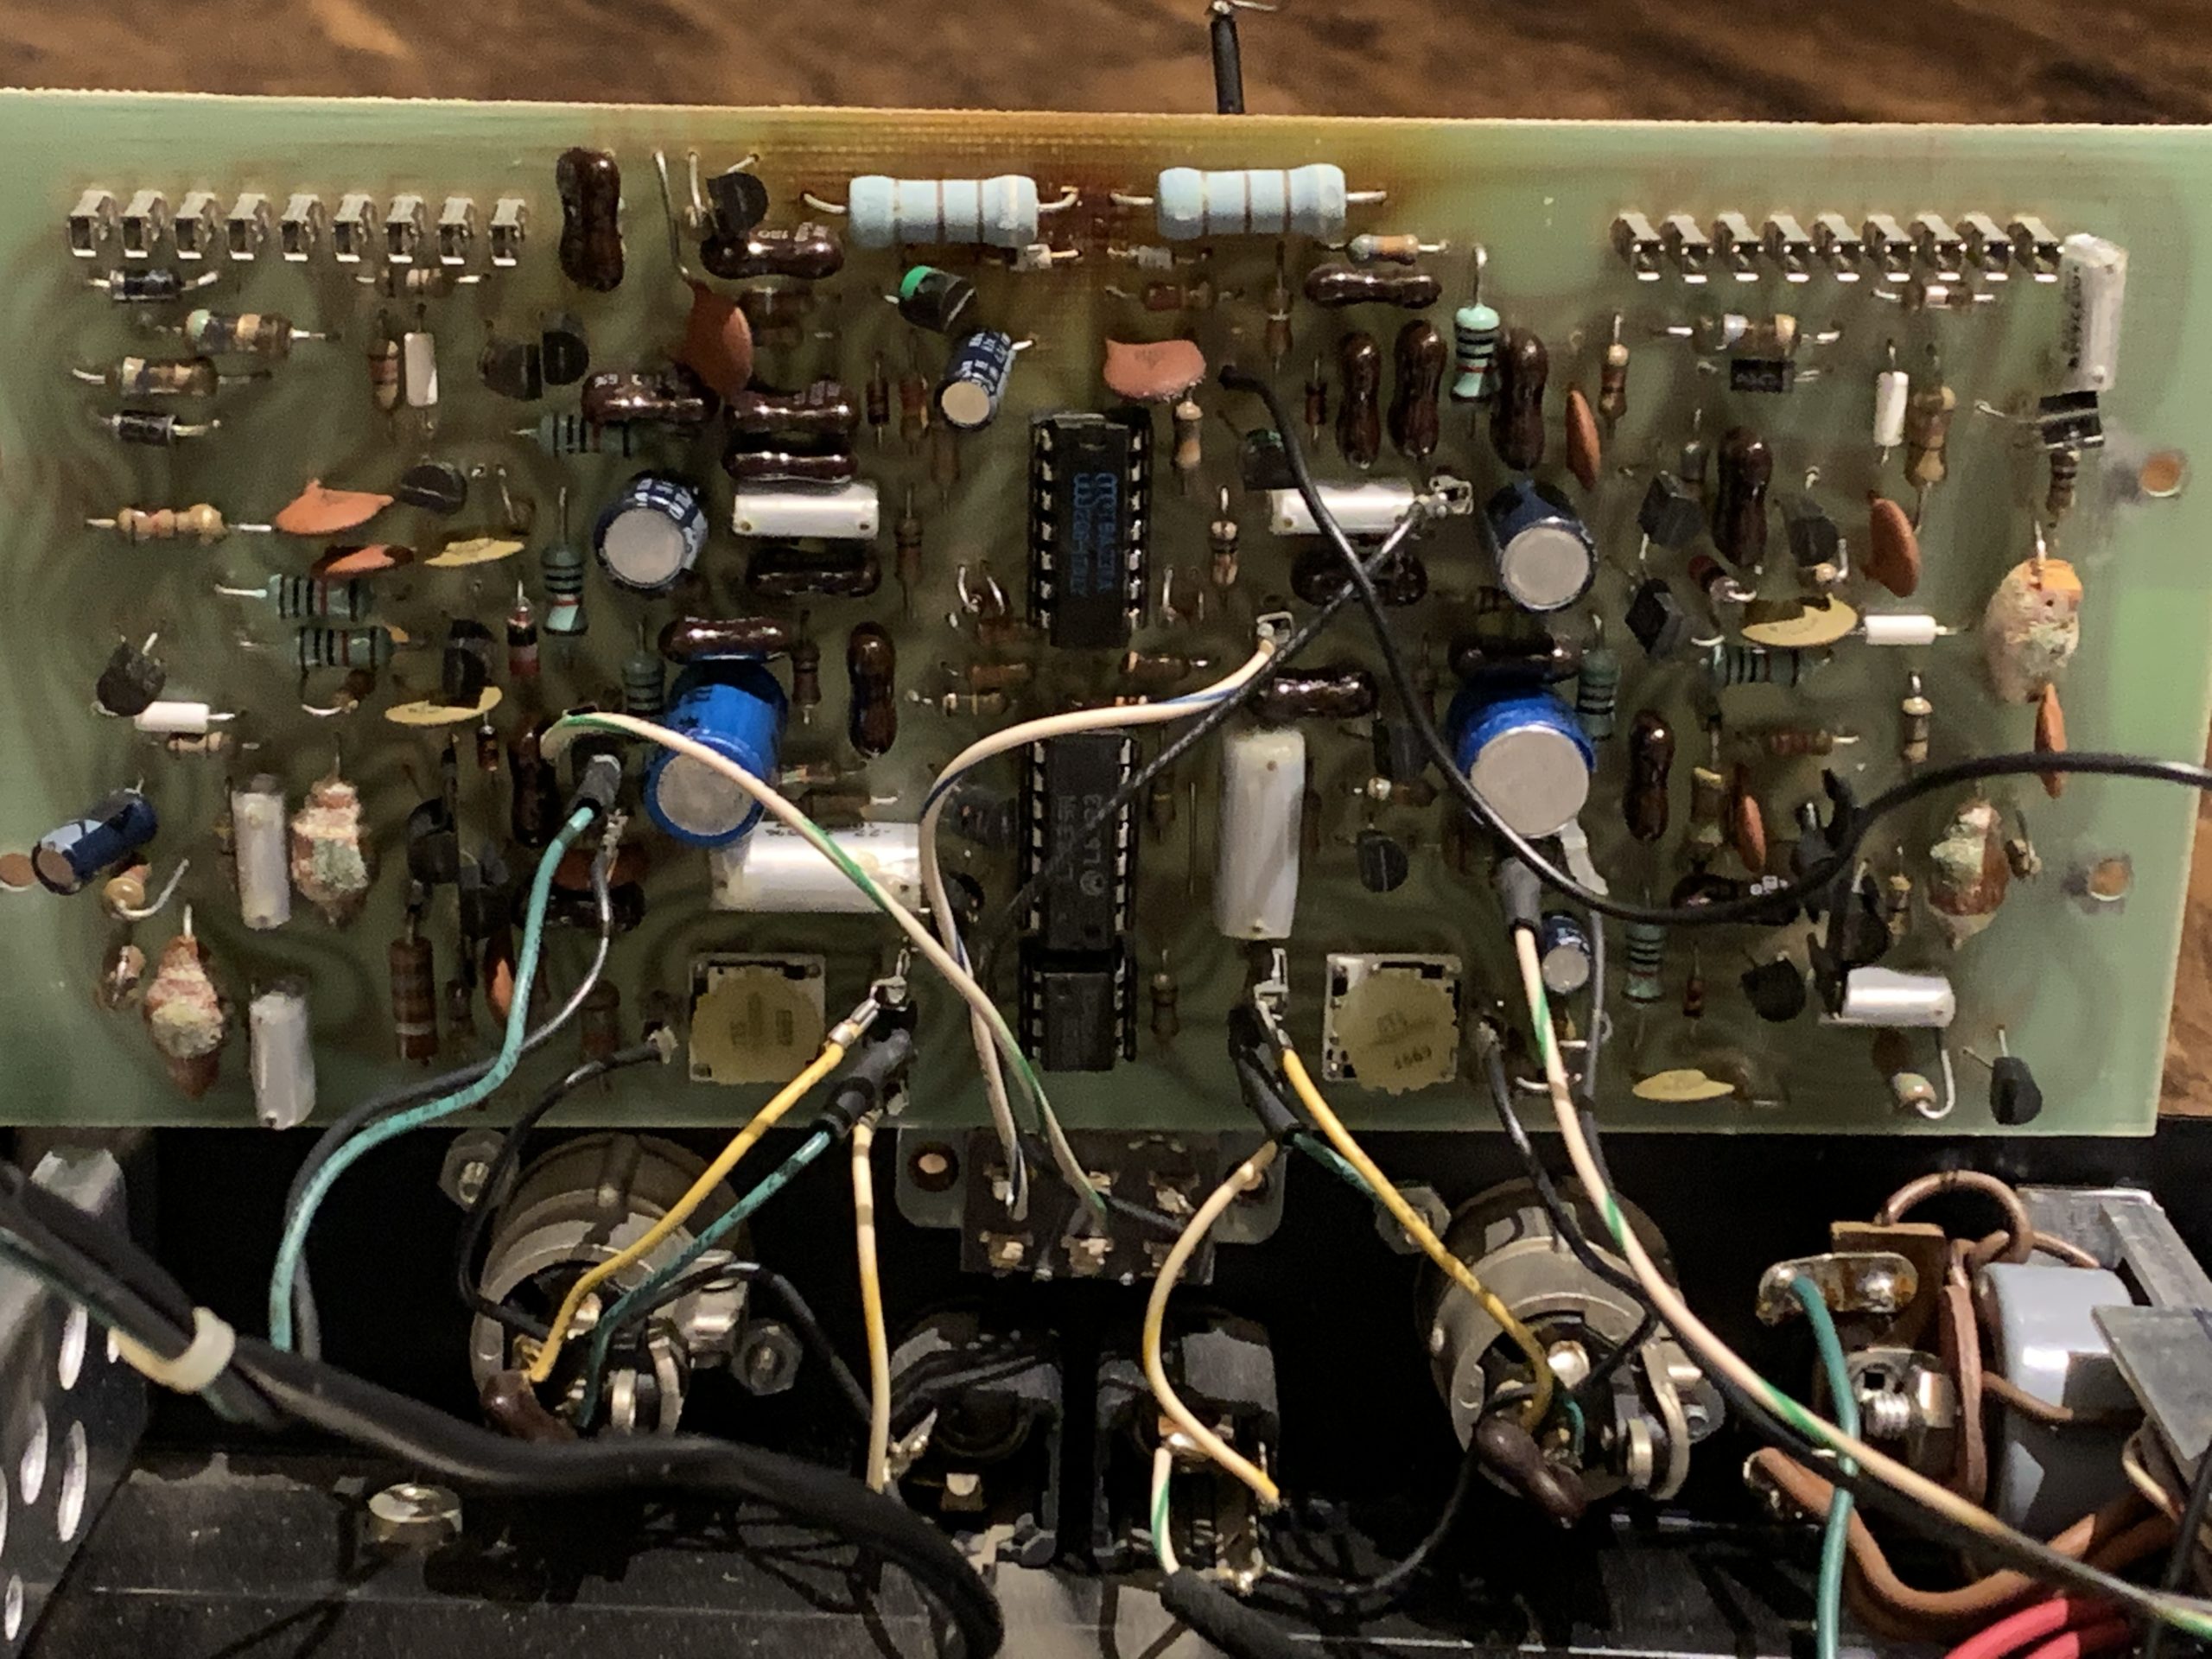
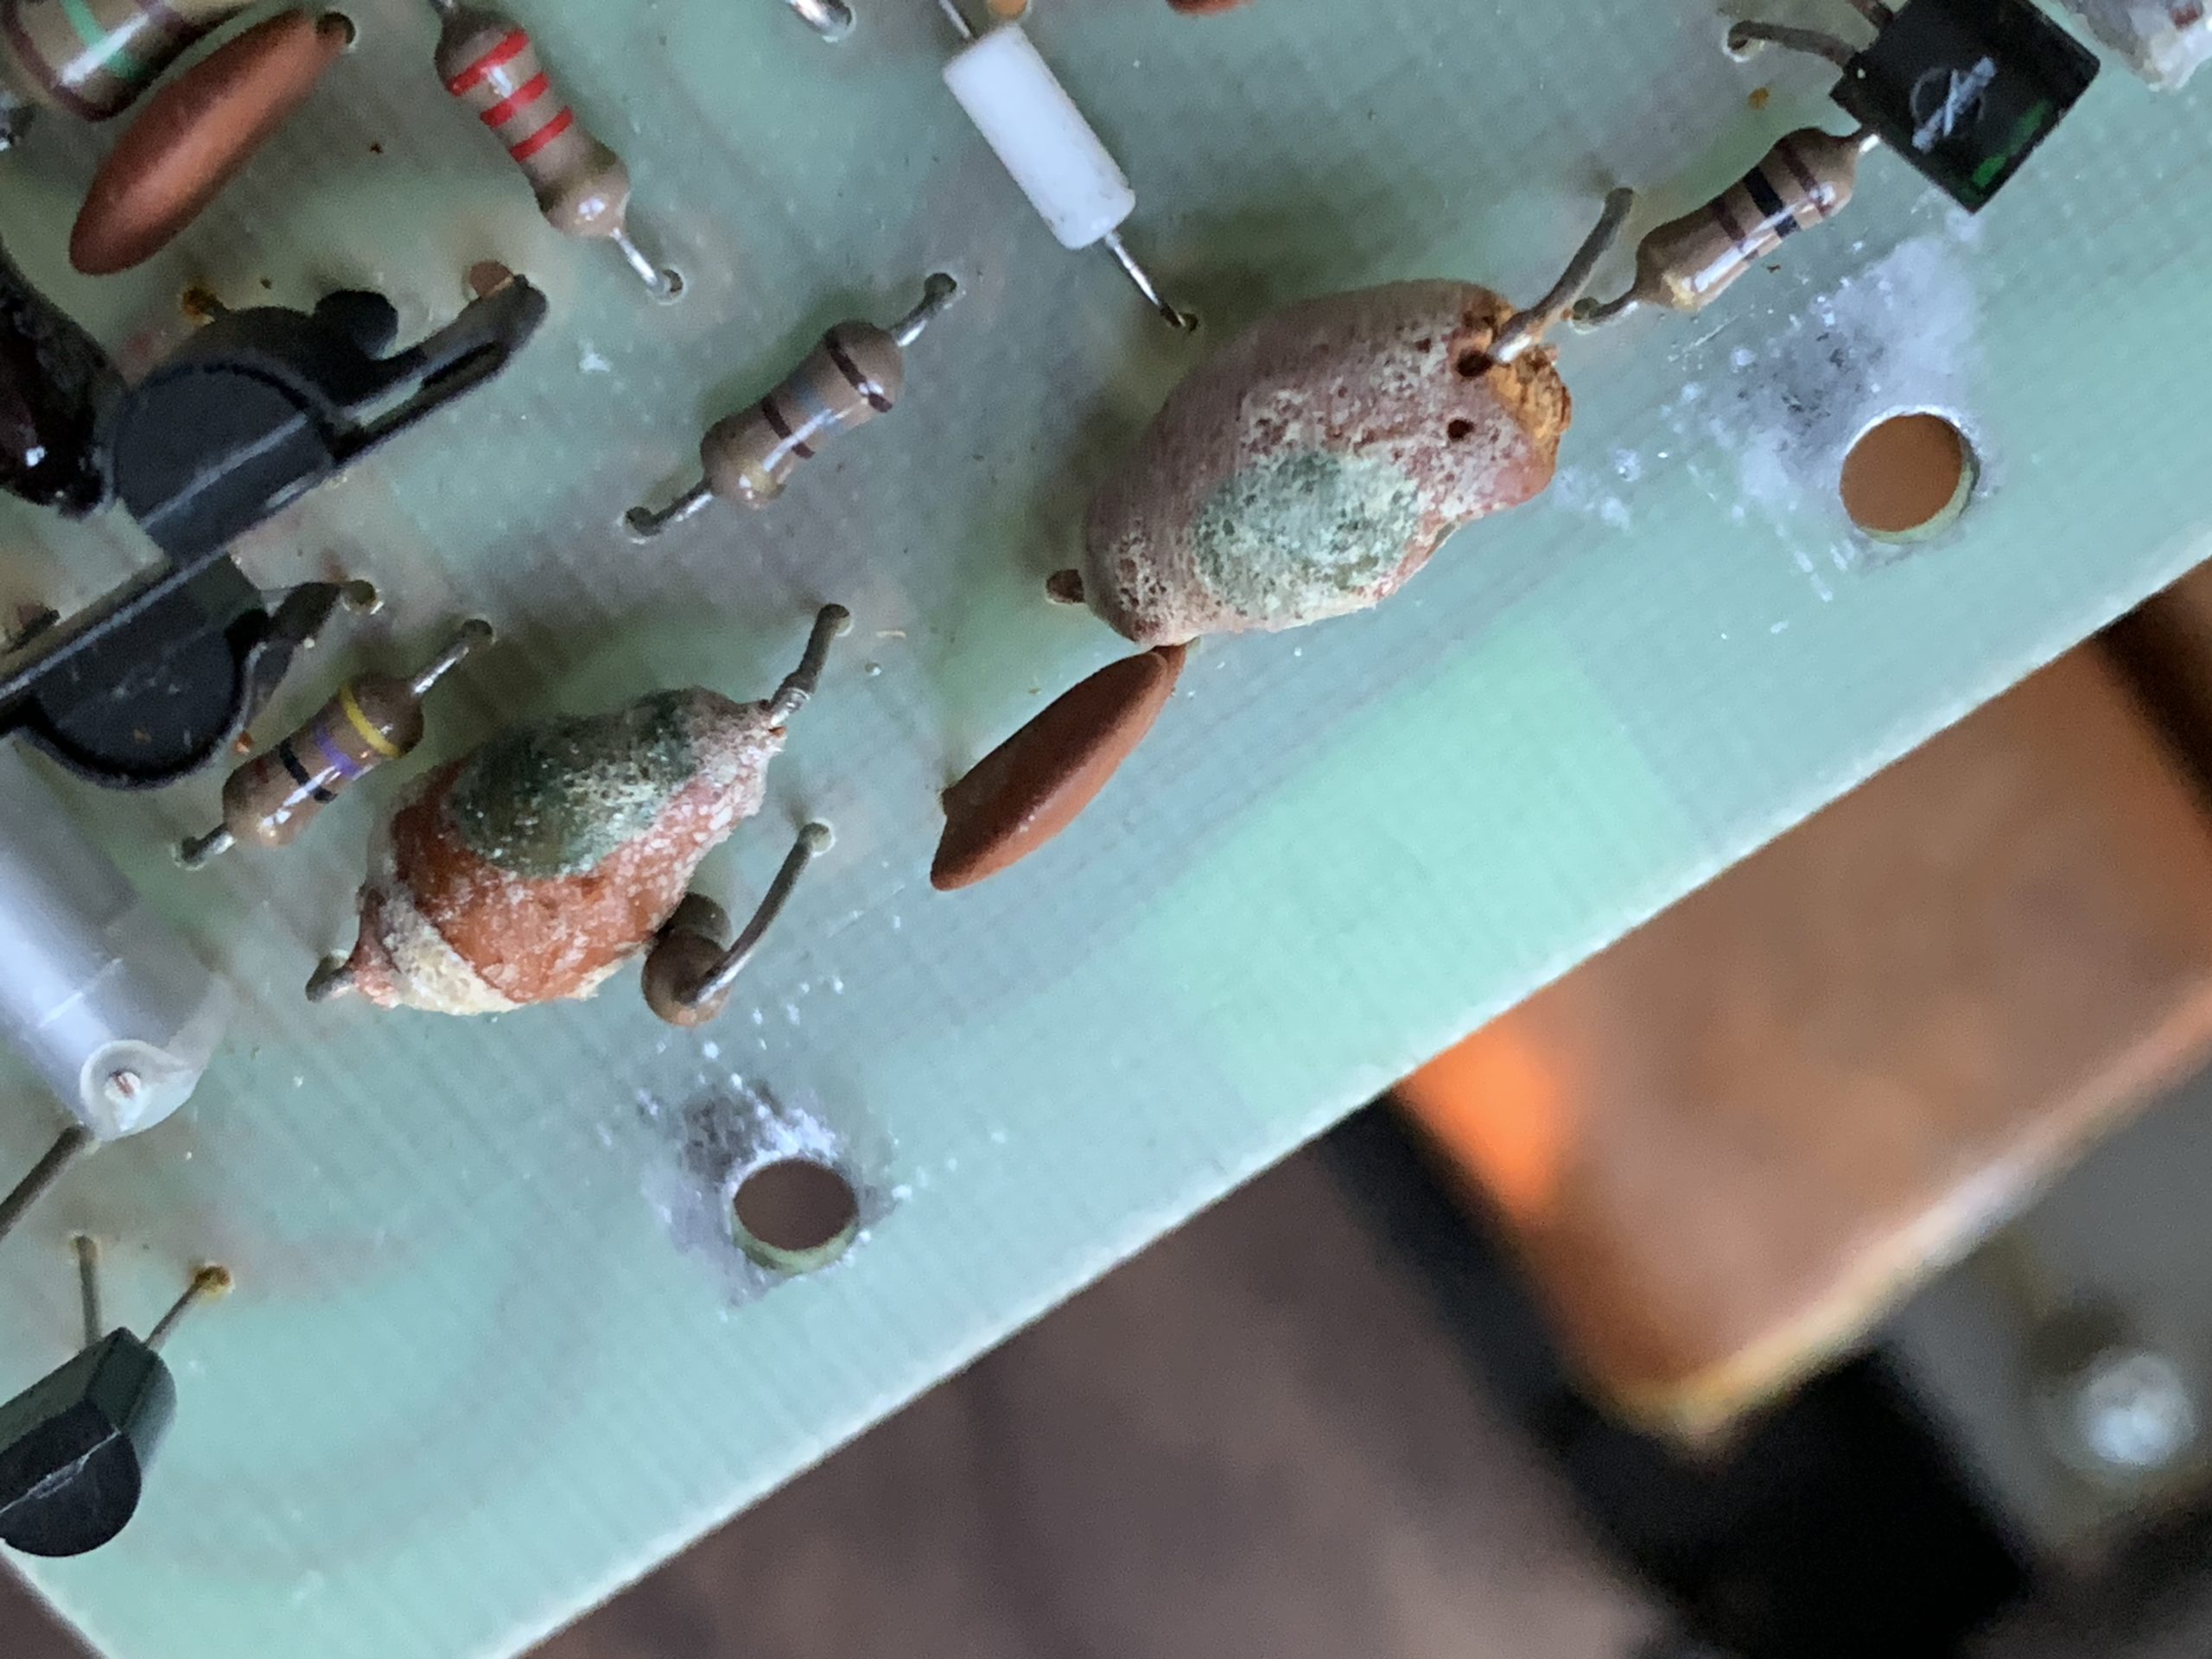
The audio oscillator built into your unit should work when input is selected. If it is faulty then the problem area will reside on your Audio Control Board. I pulled my card and noticed that a capacitor had exploded and possibly damaged other components. Instead of repairing, I bought a functional board used for less than $80. This feature will be helpful when calibrating and running additional tests.


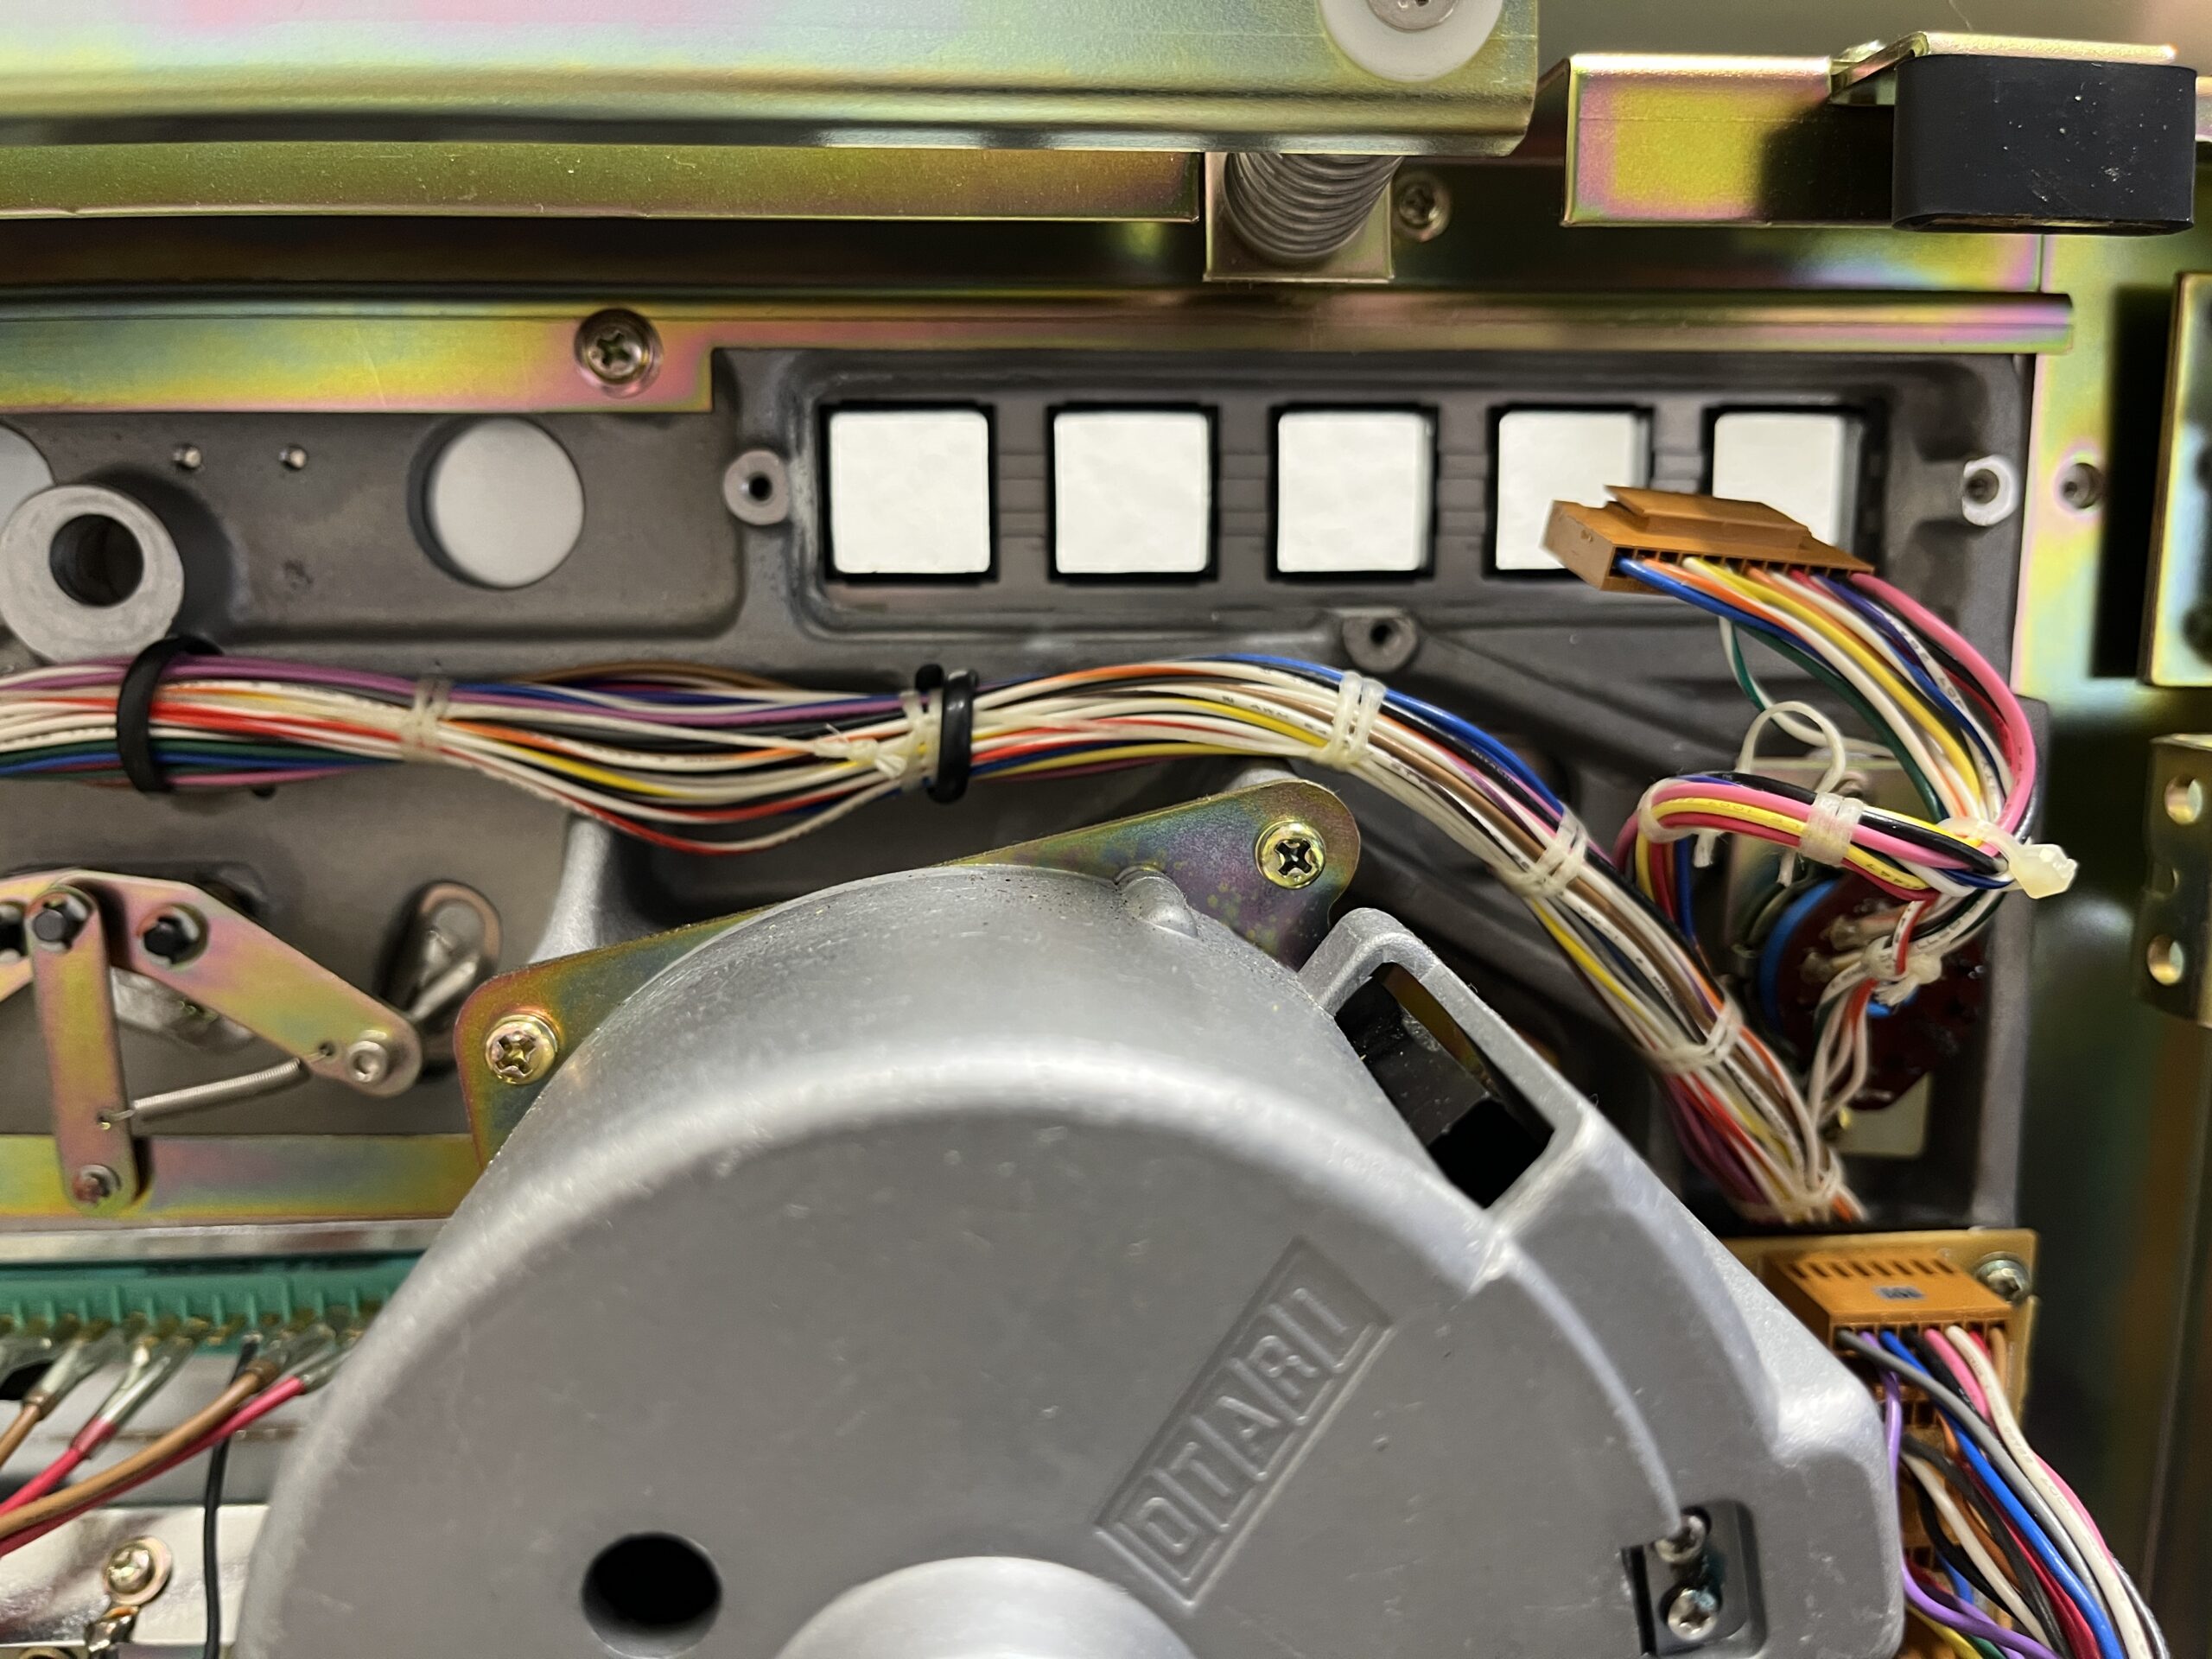
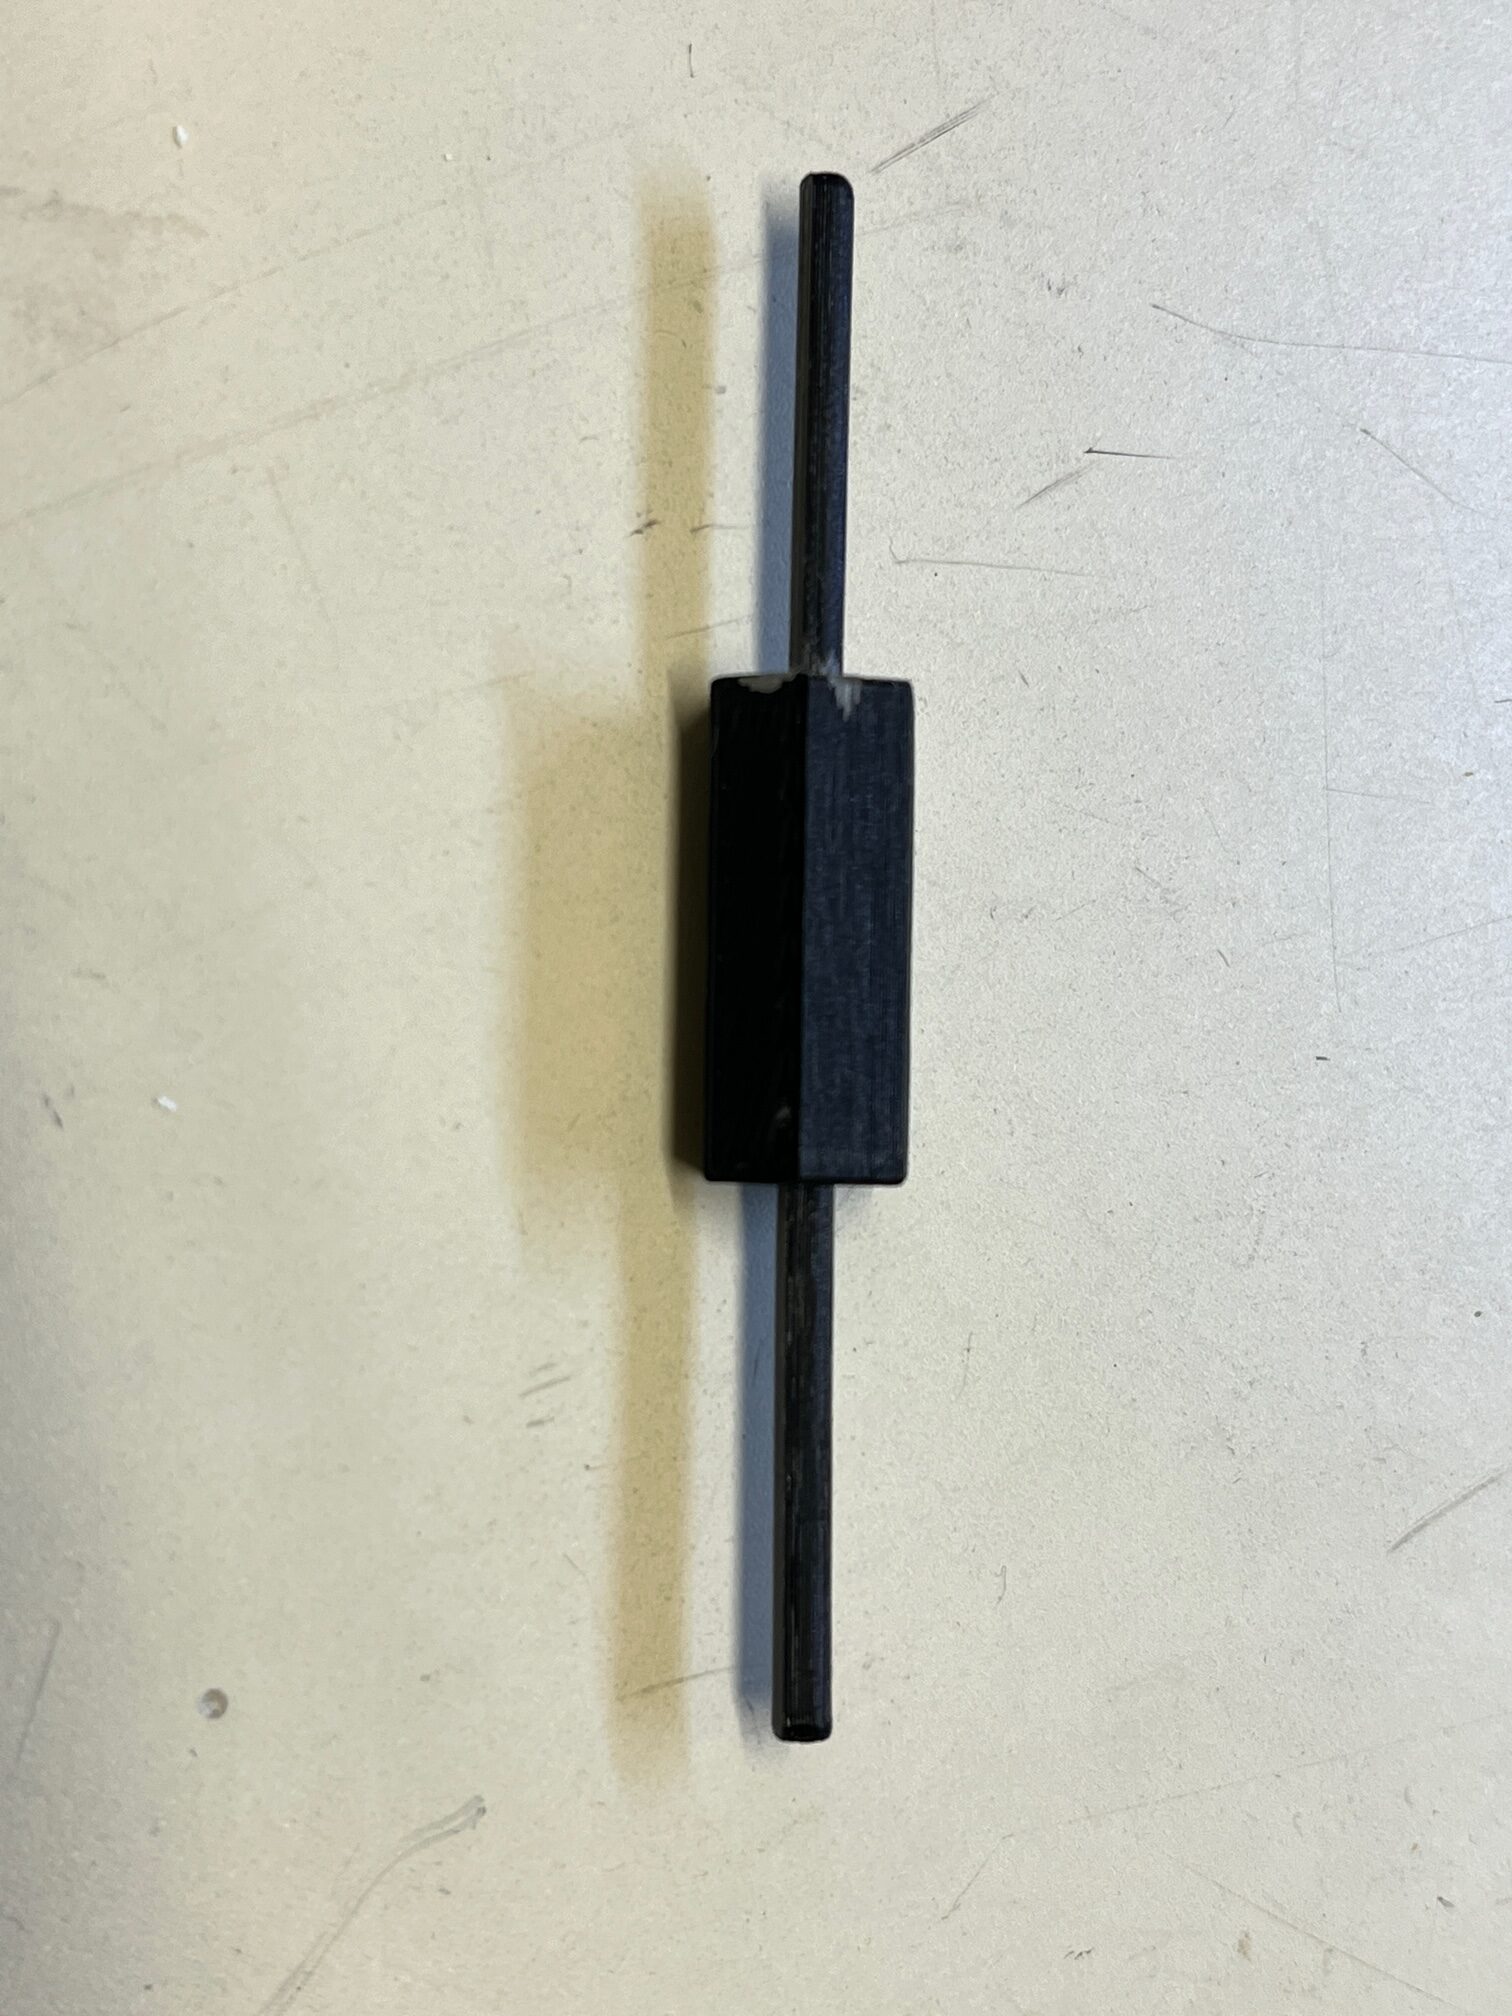
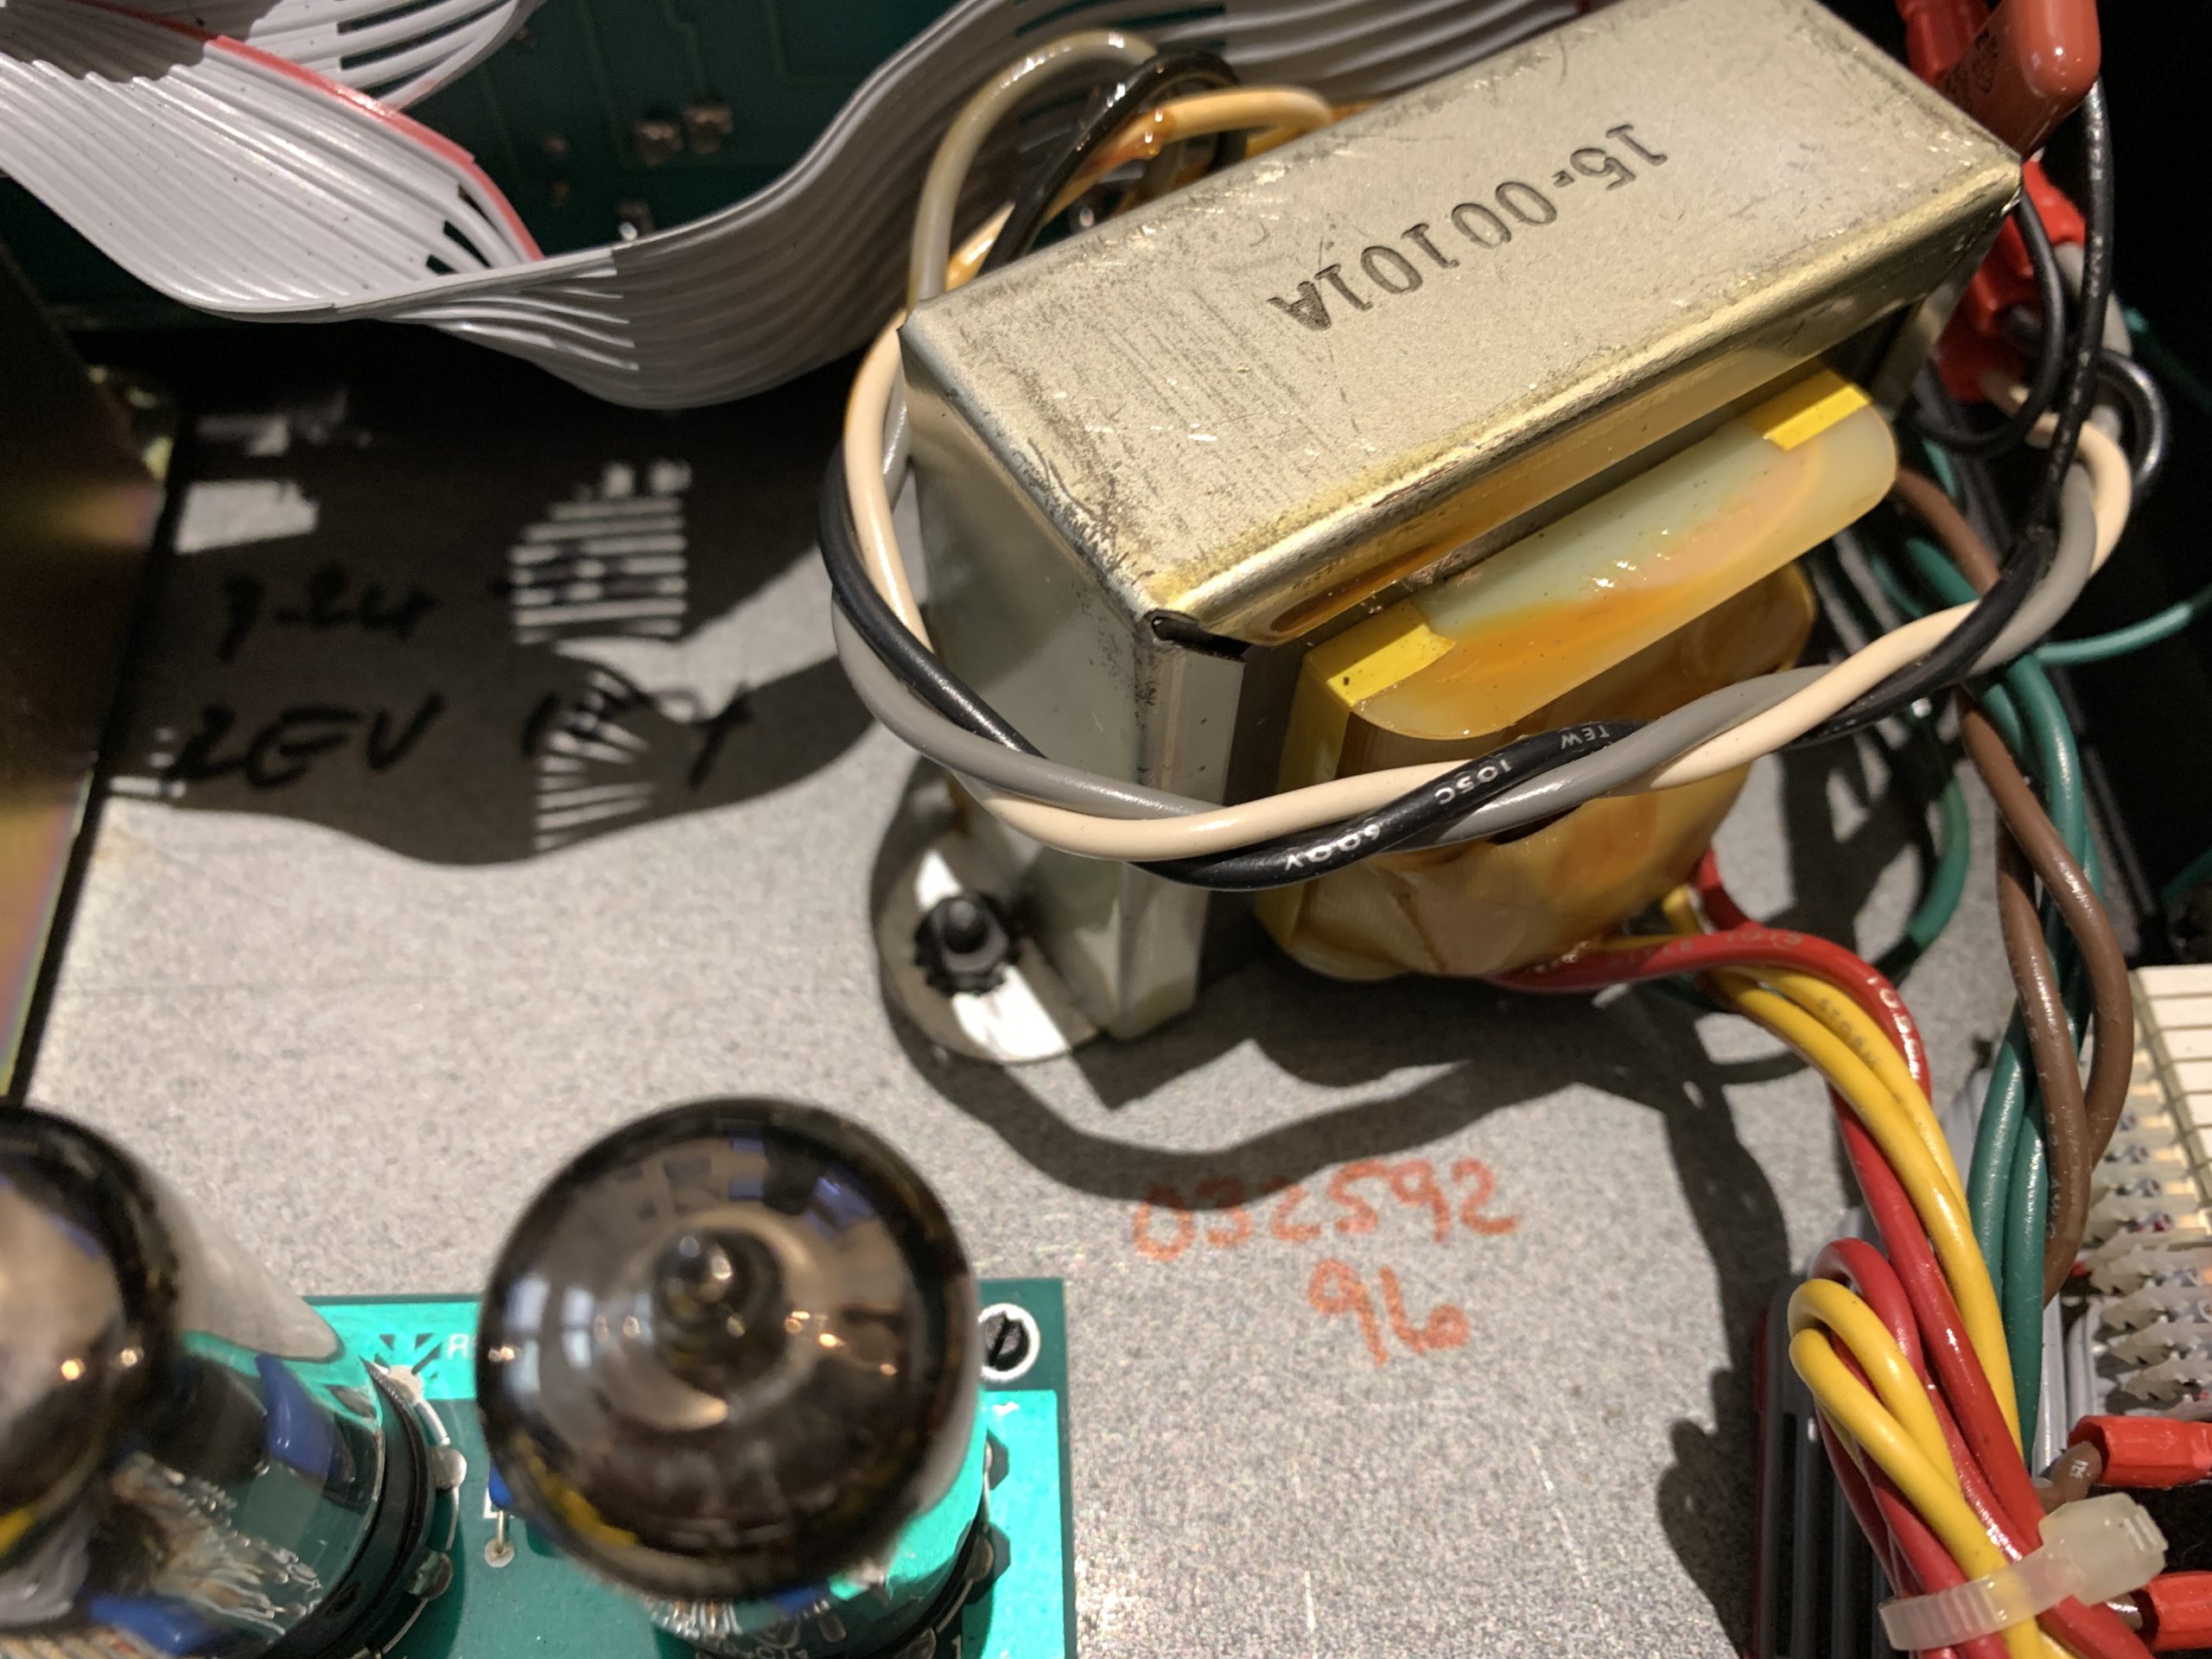
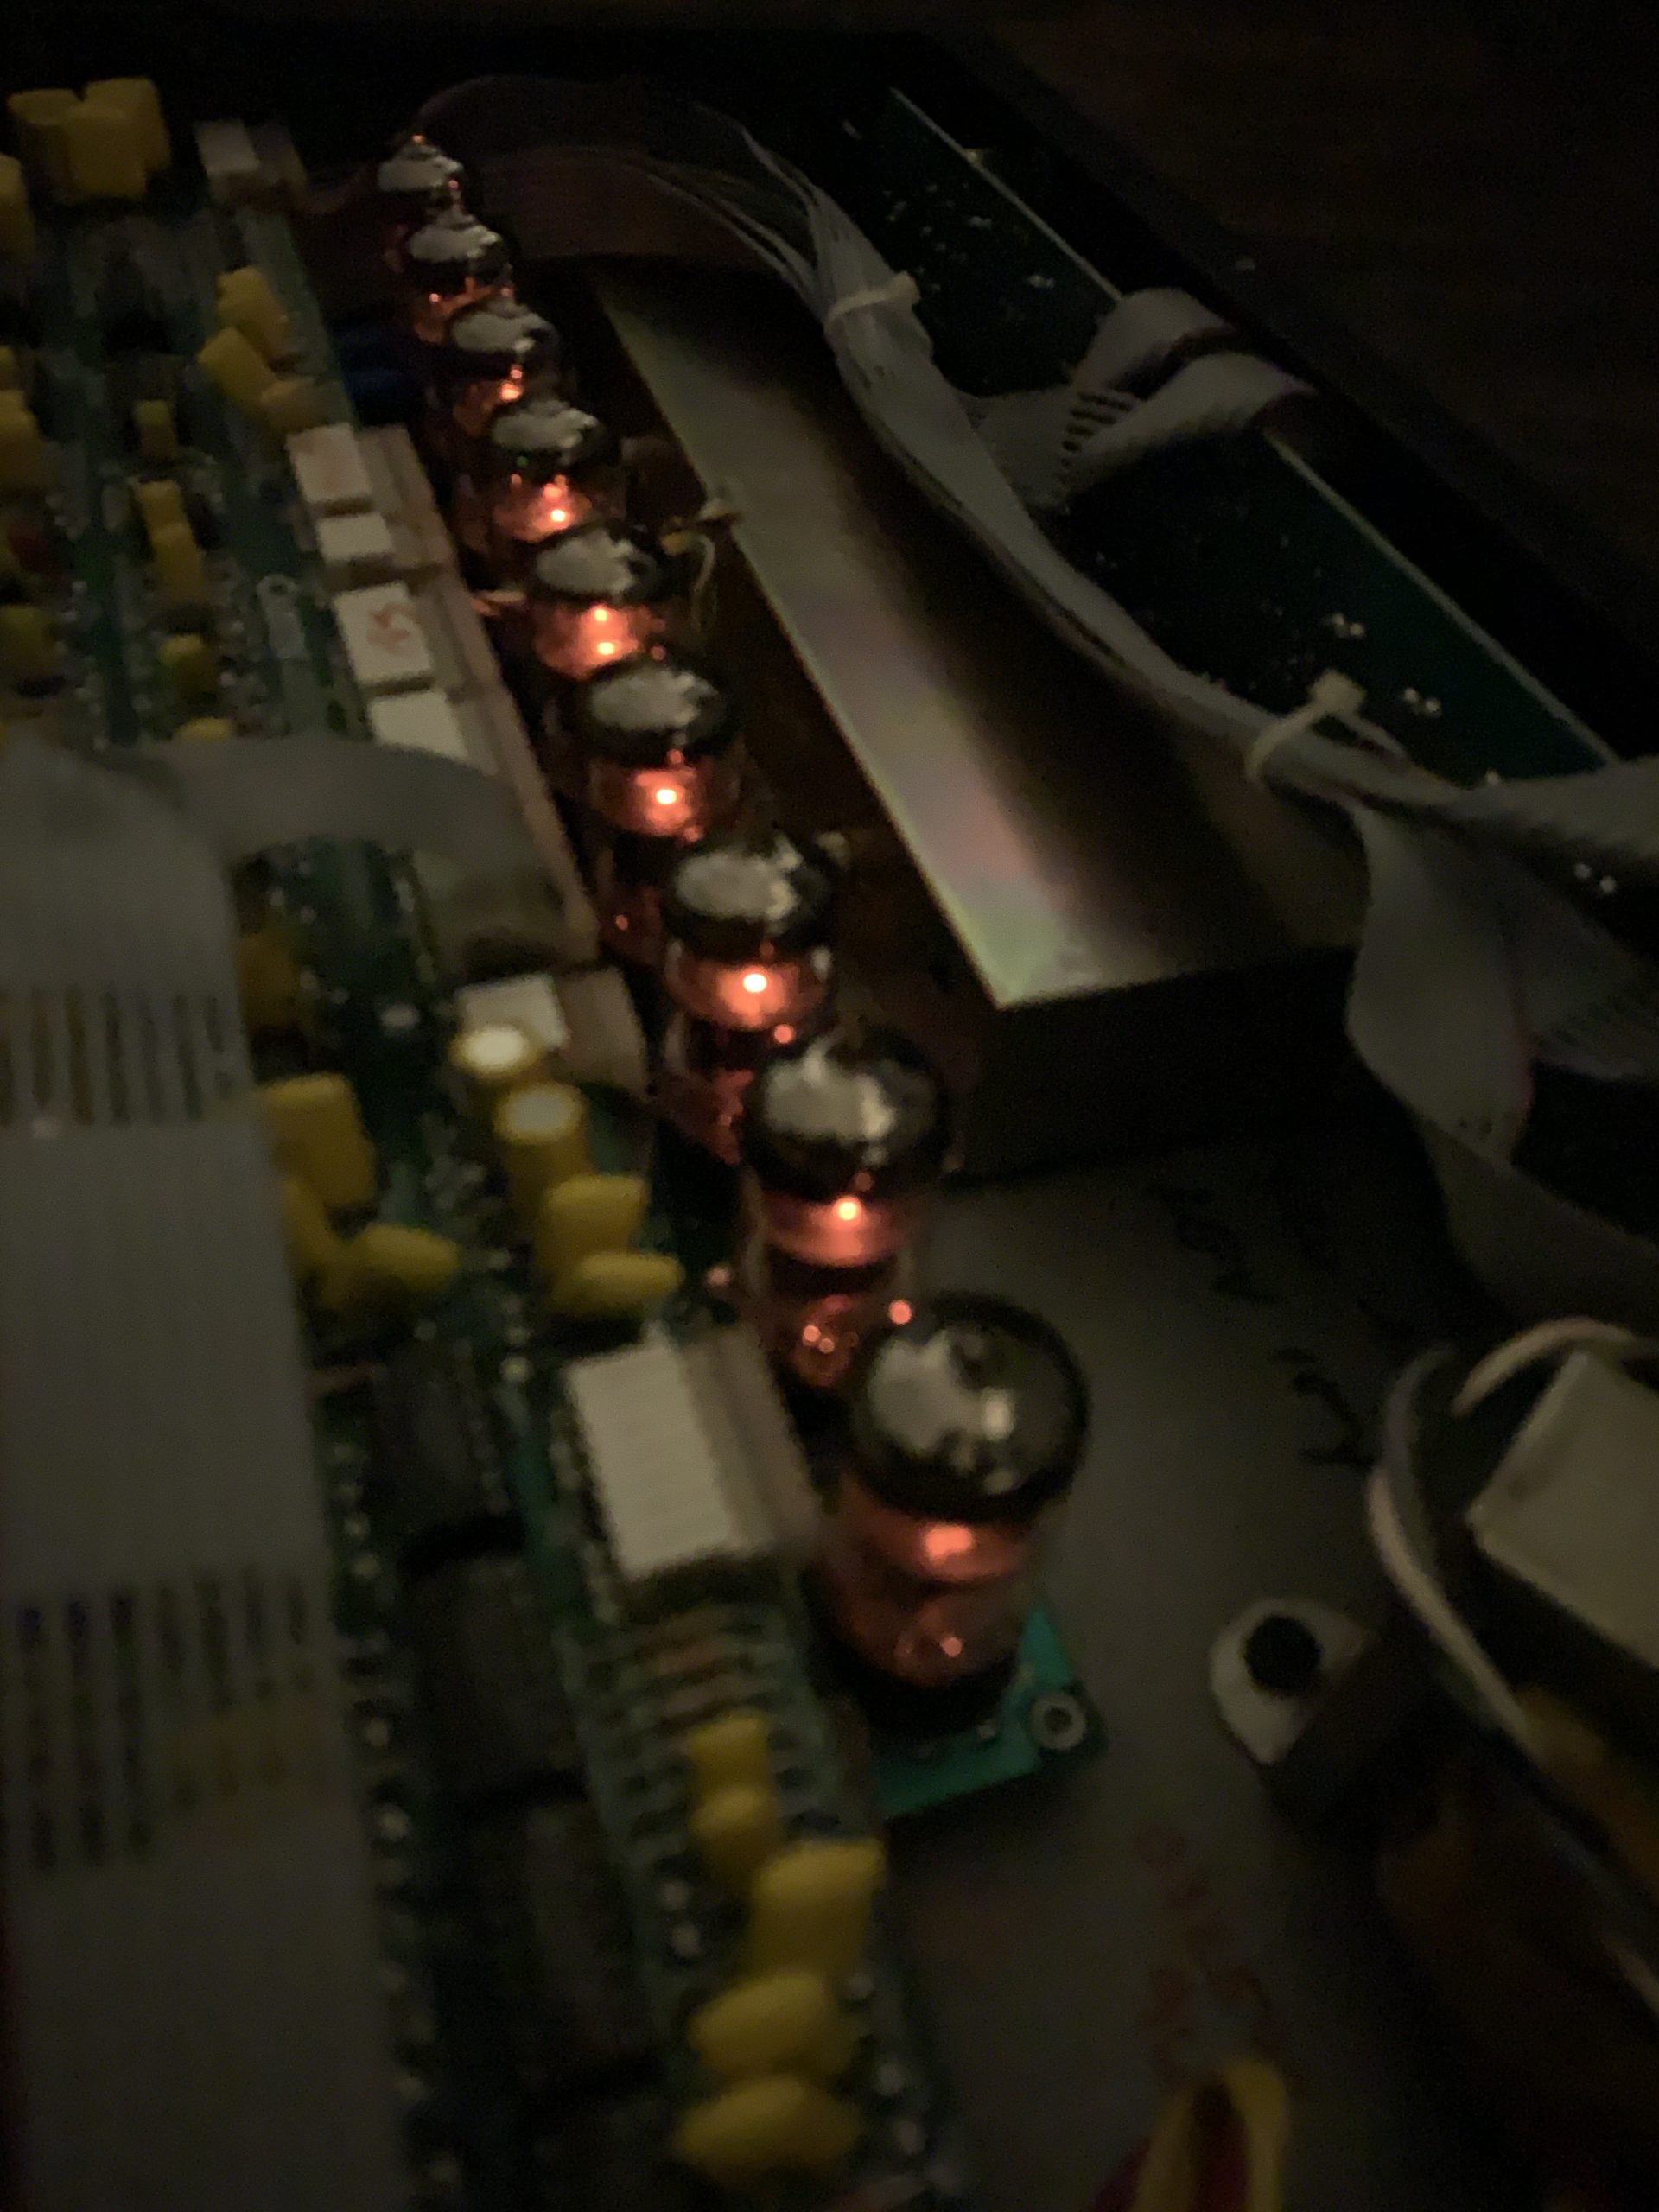
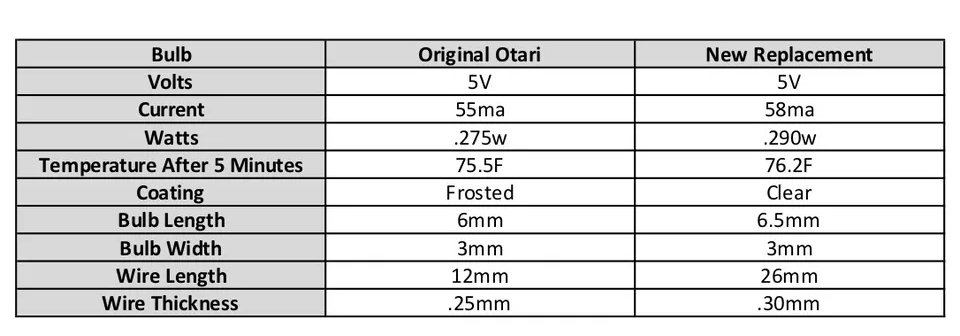
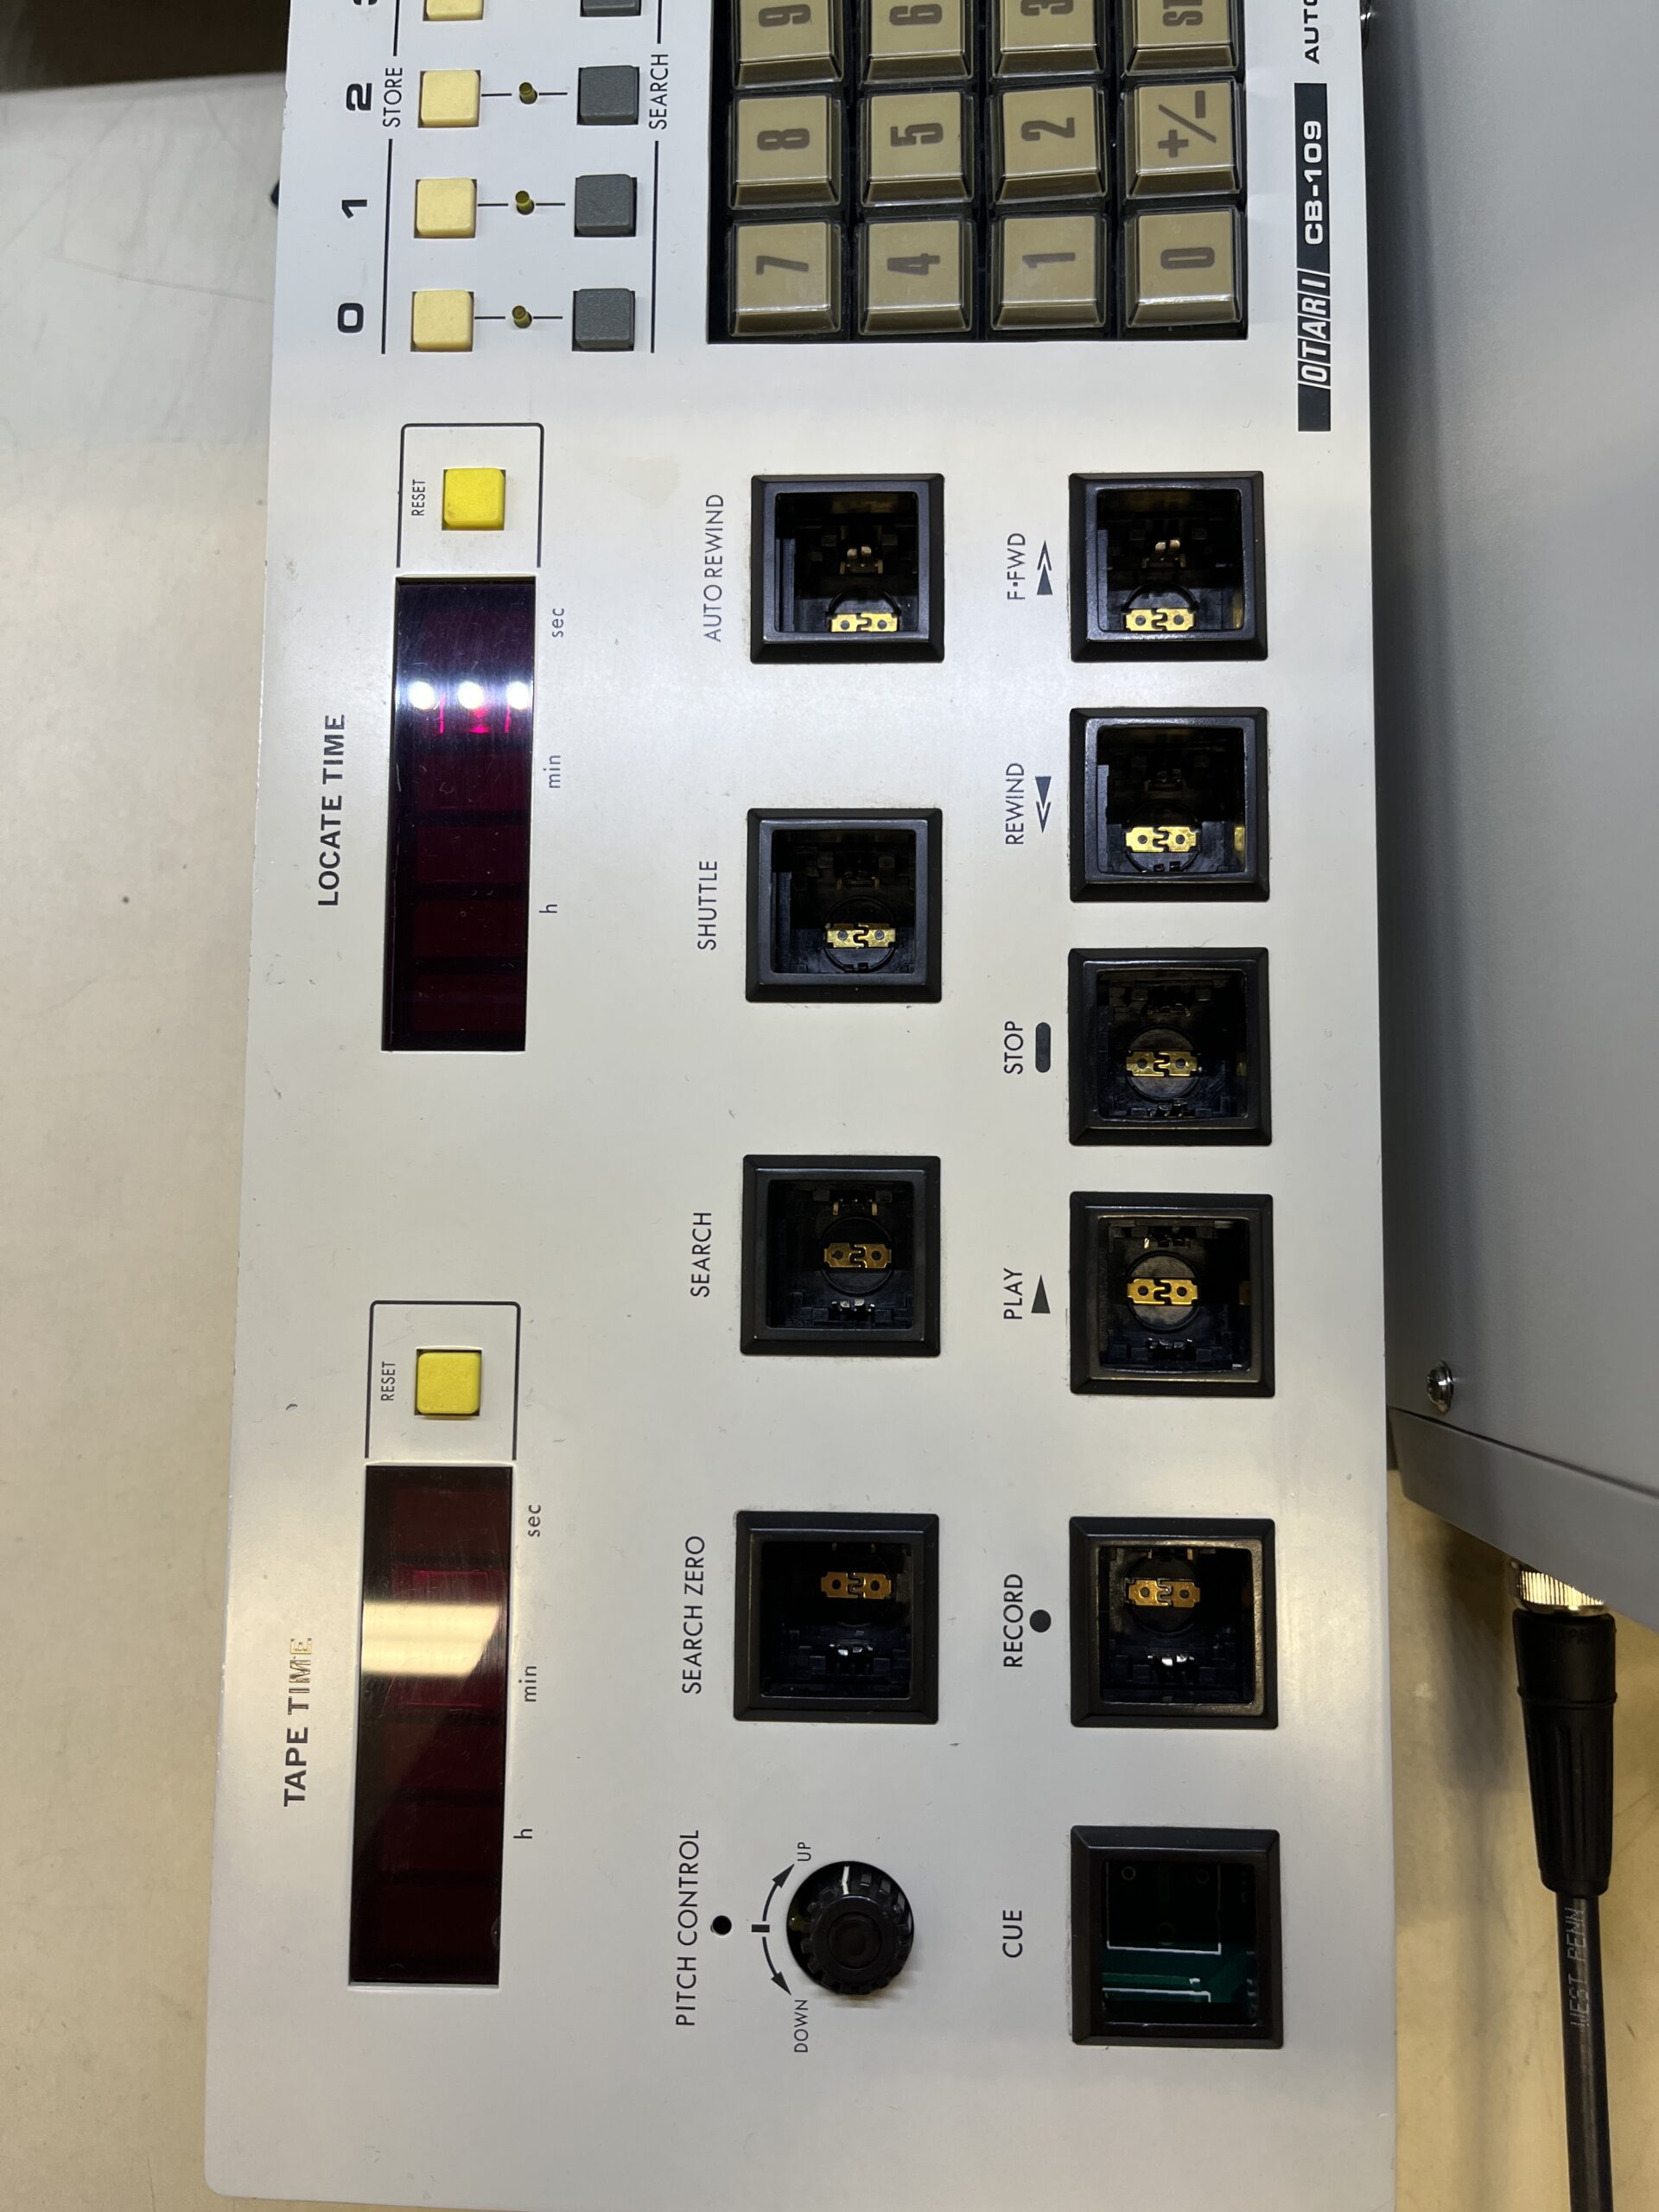
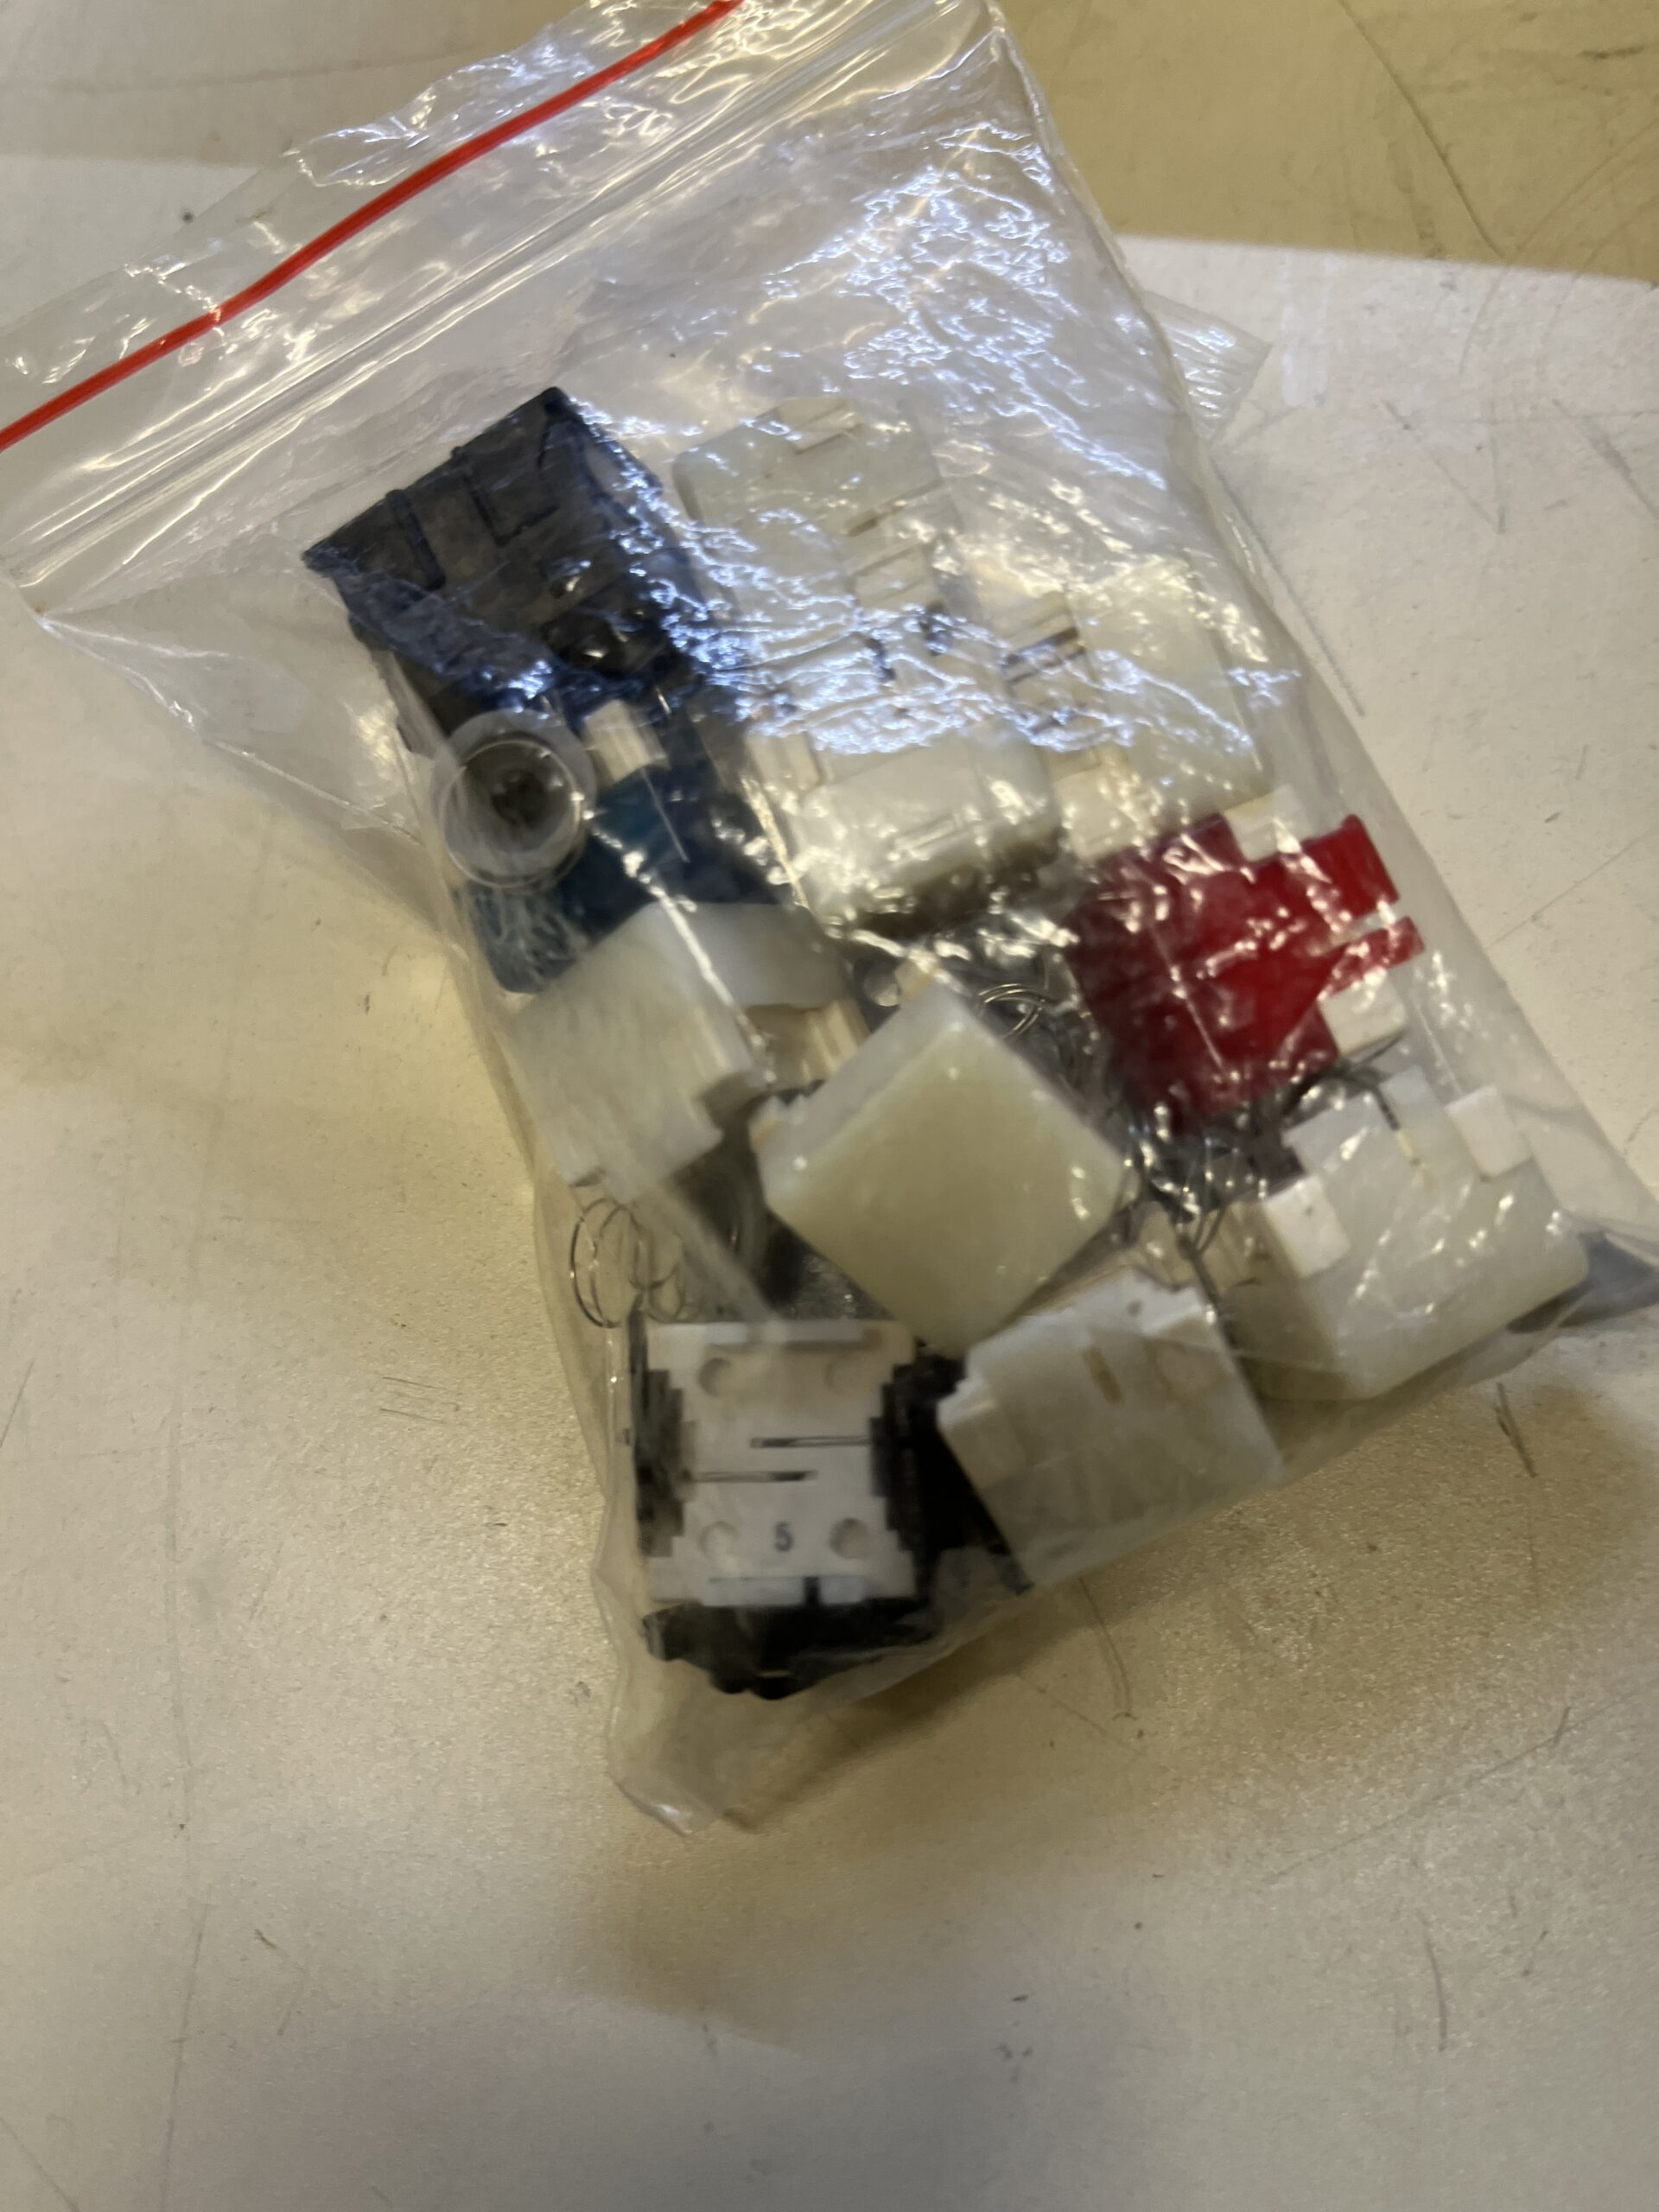
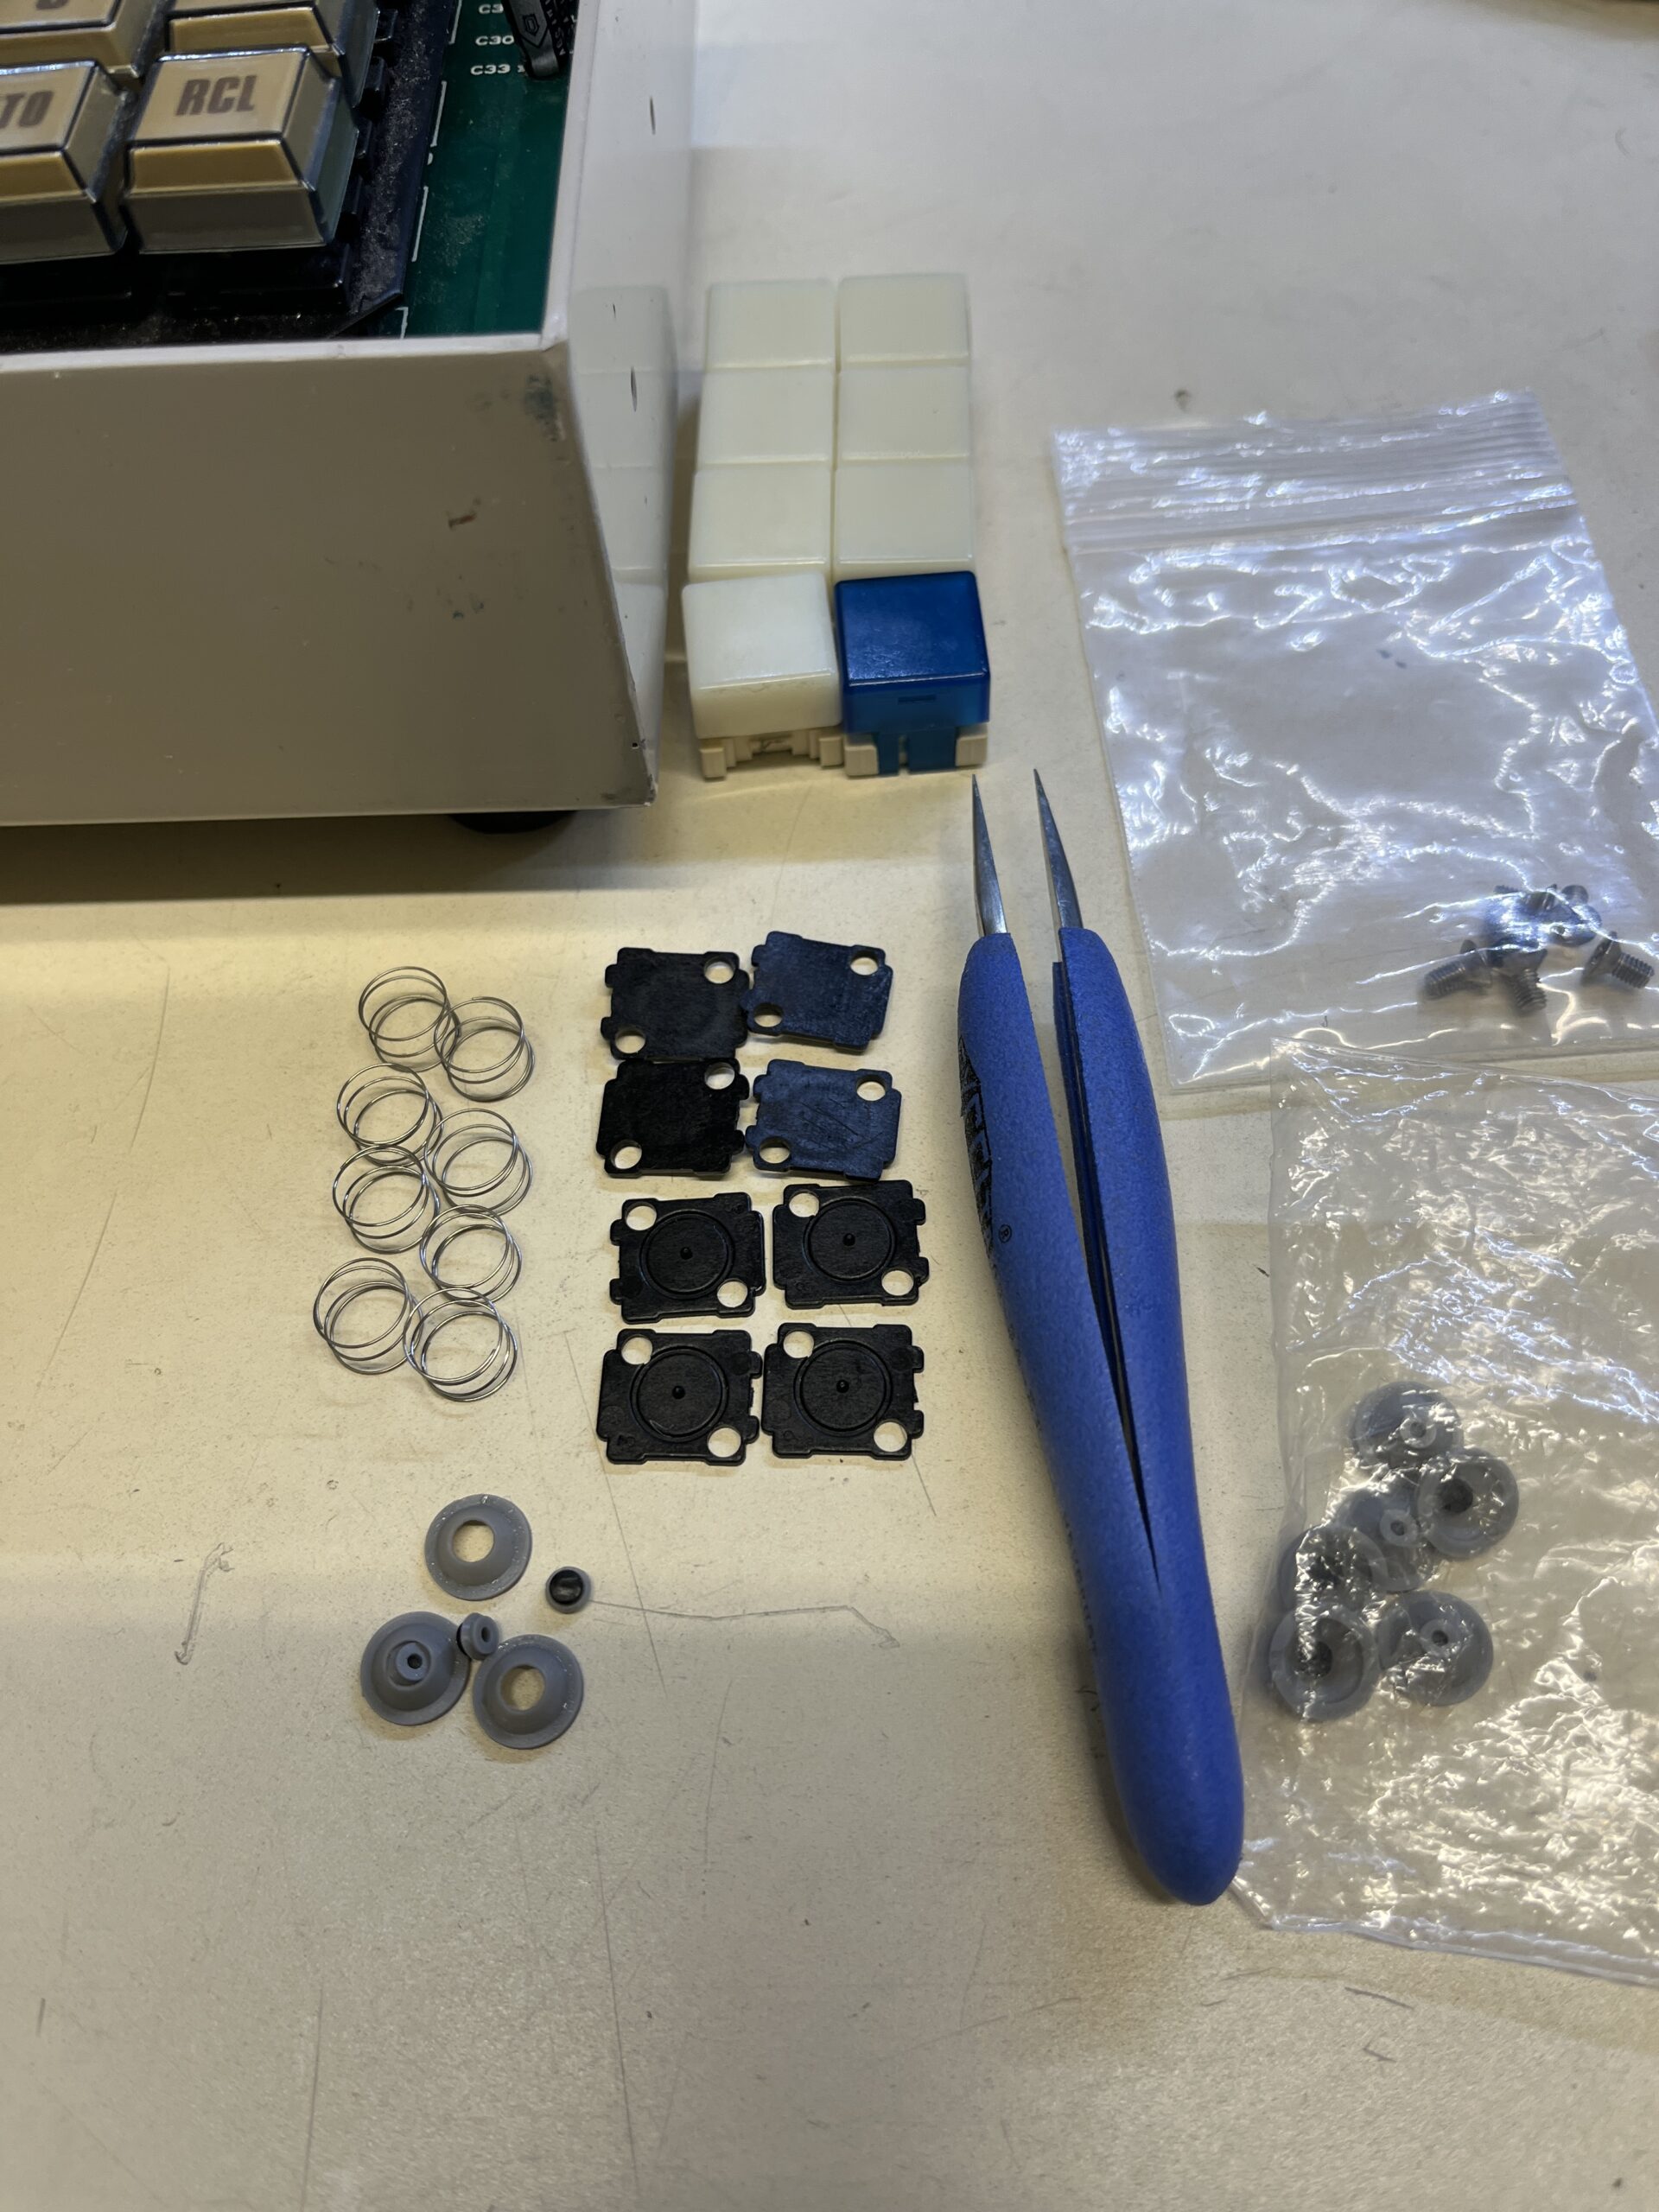
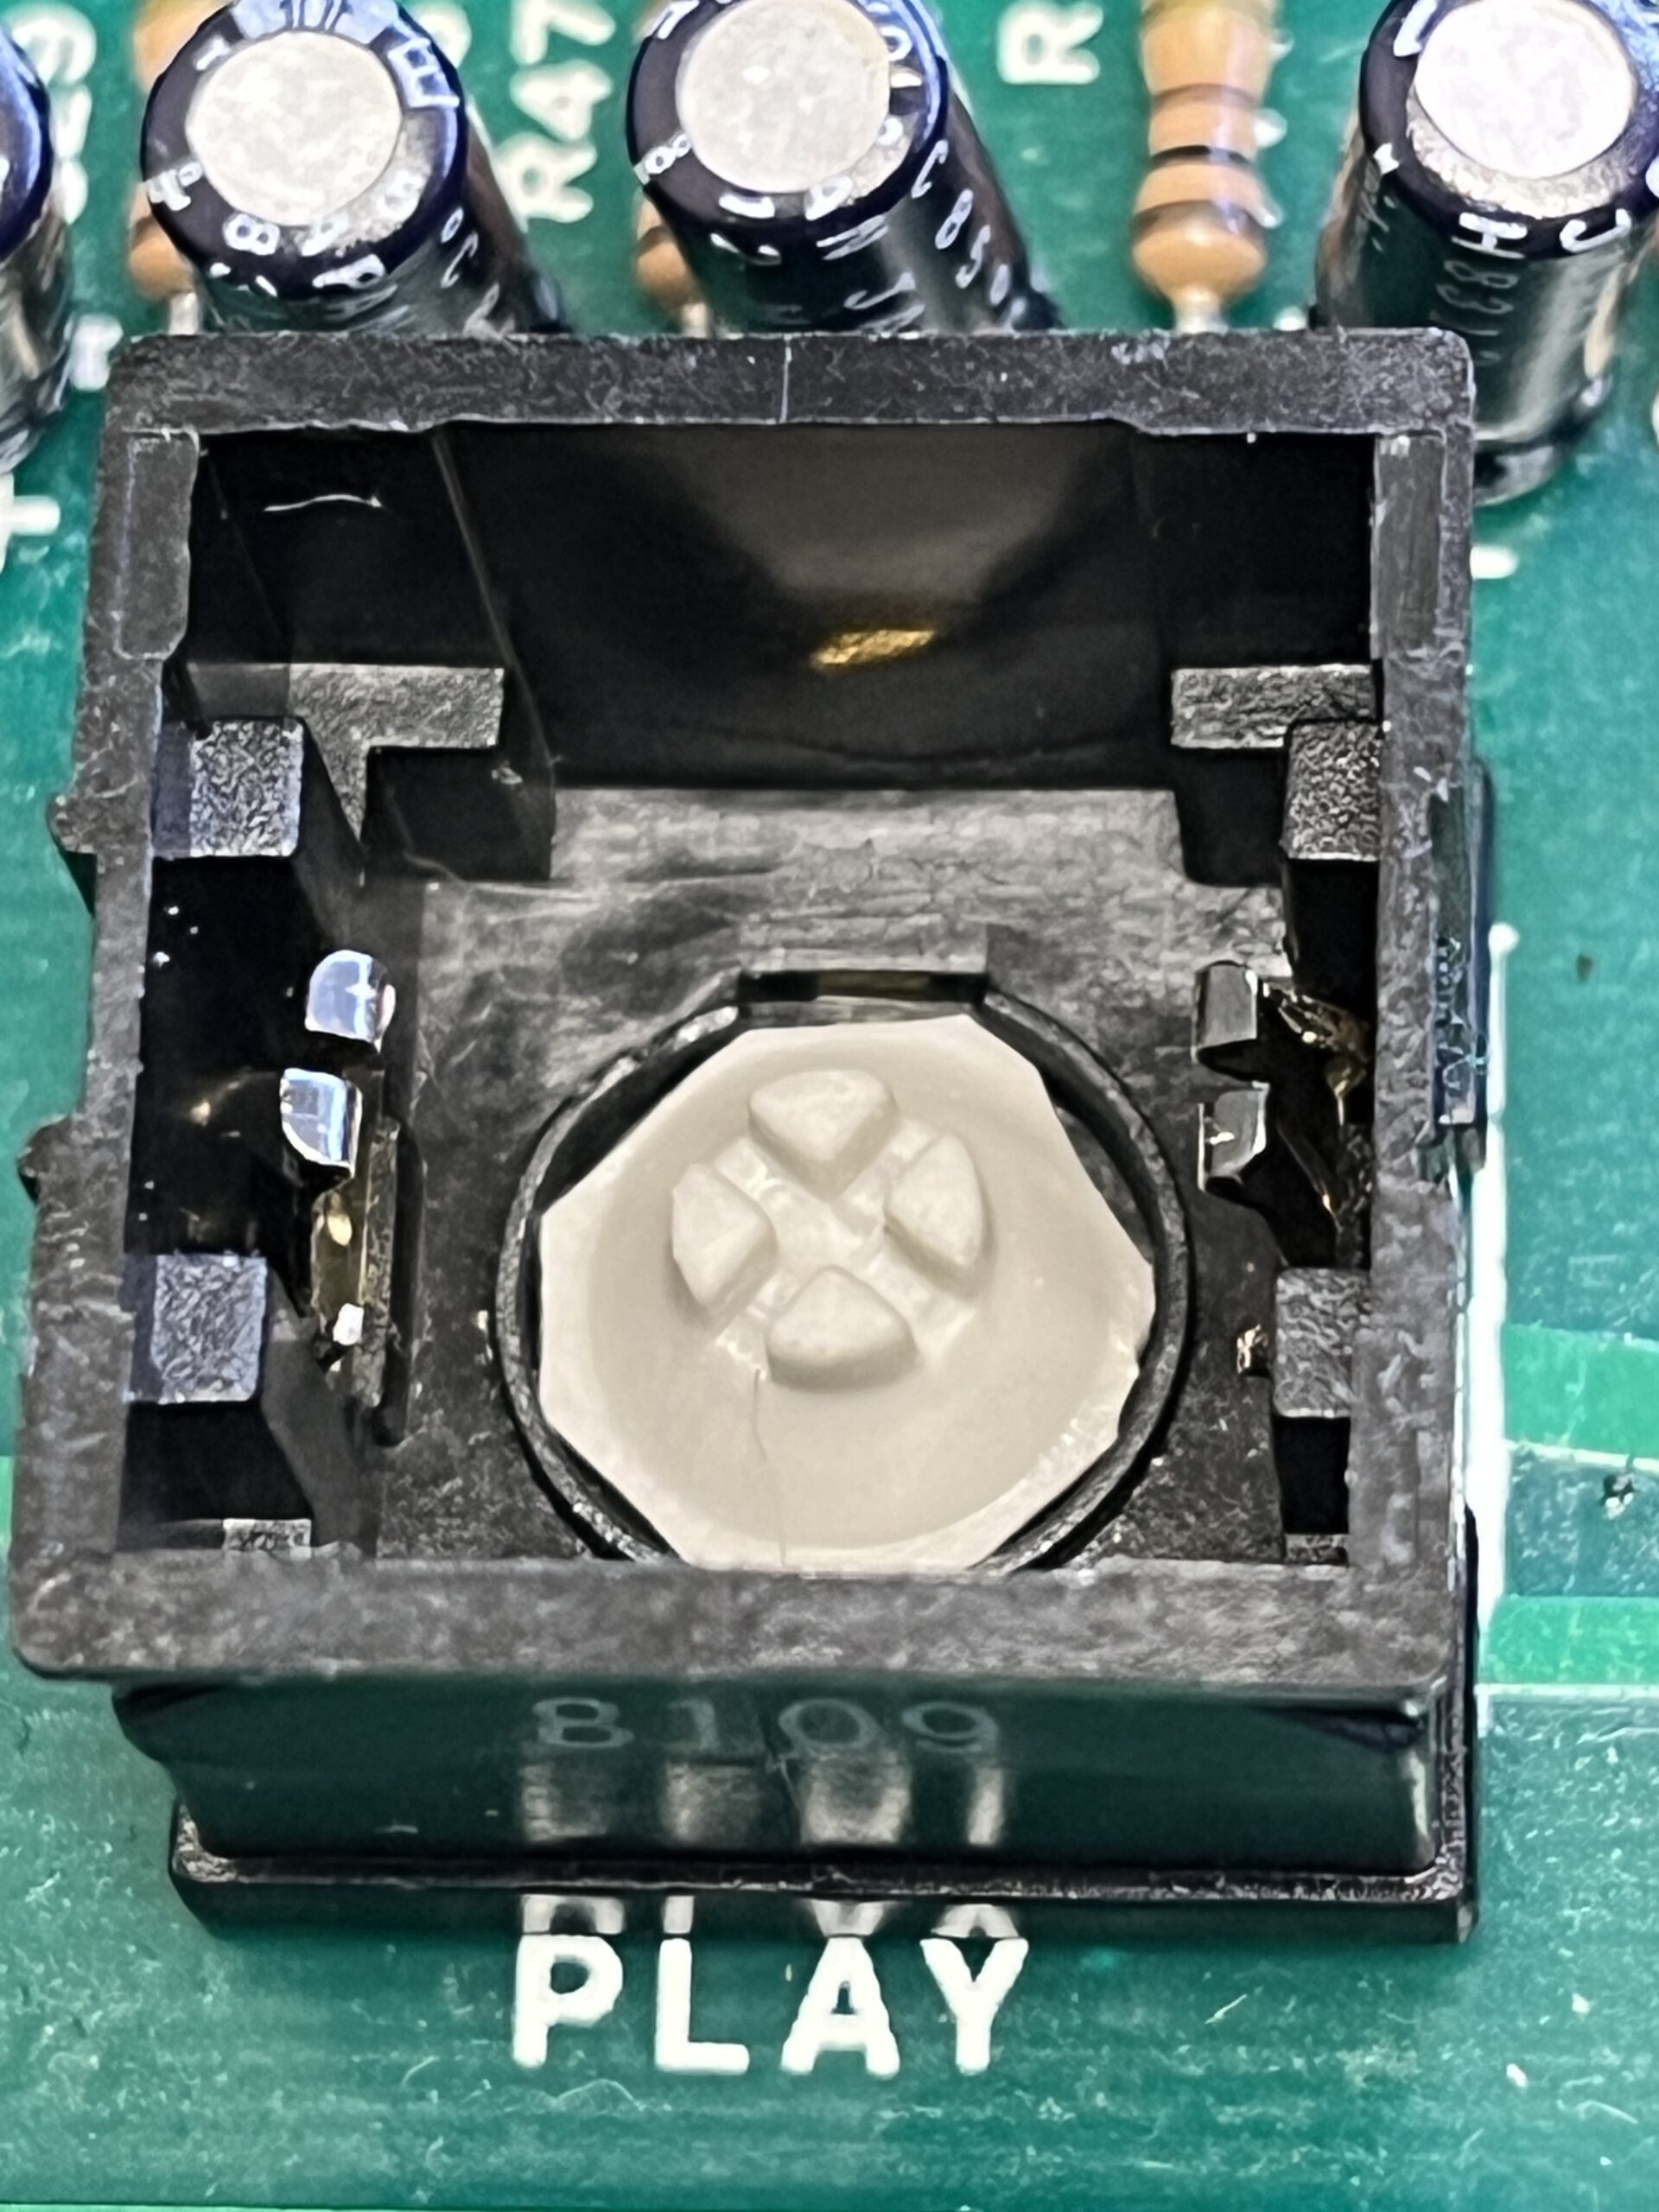
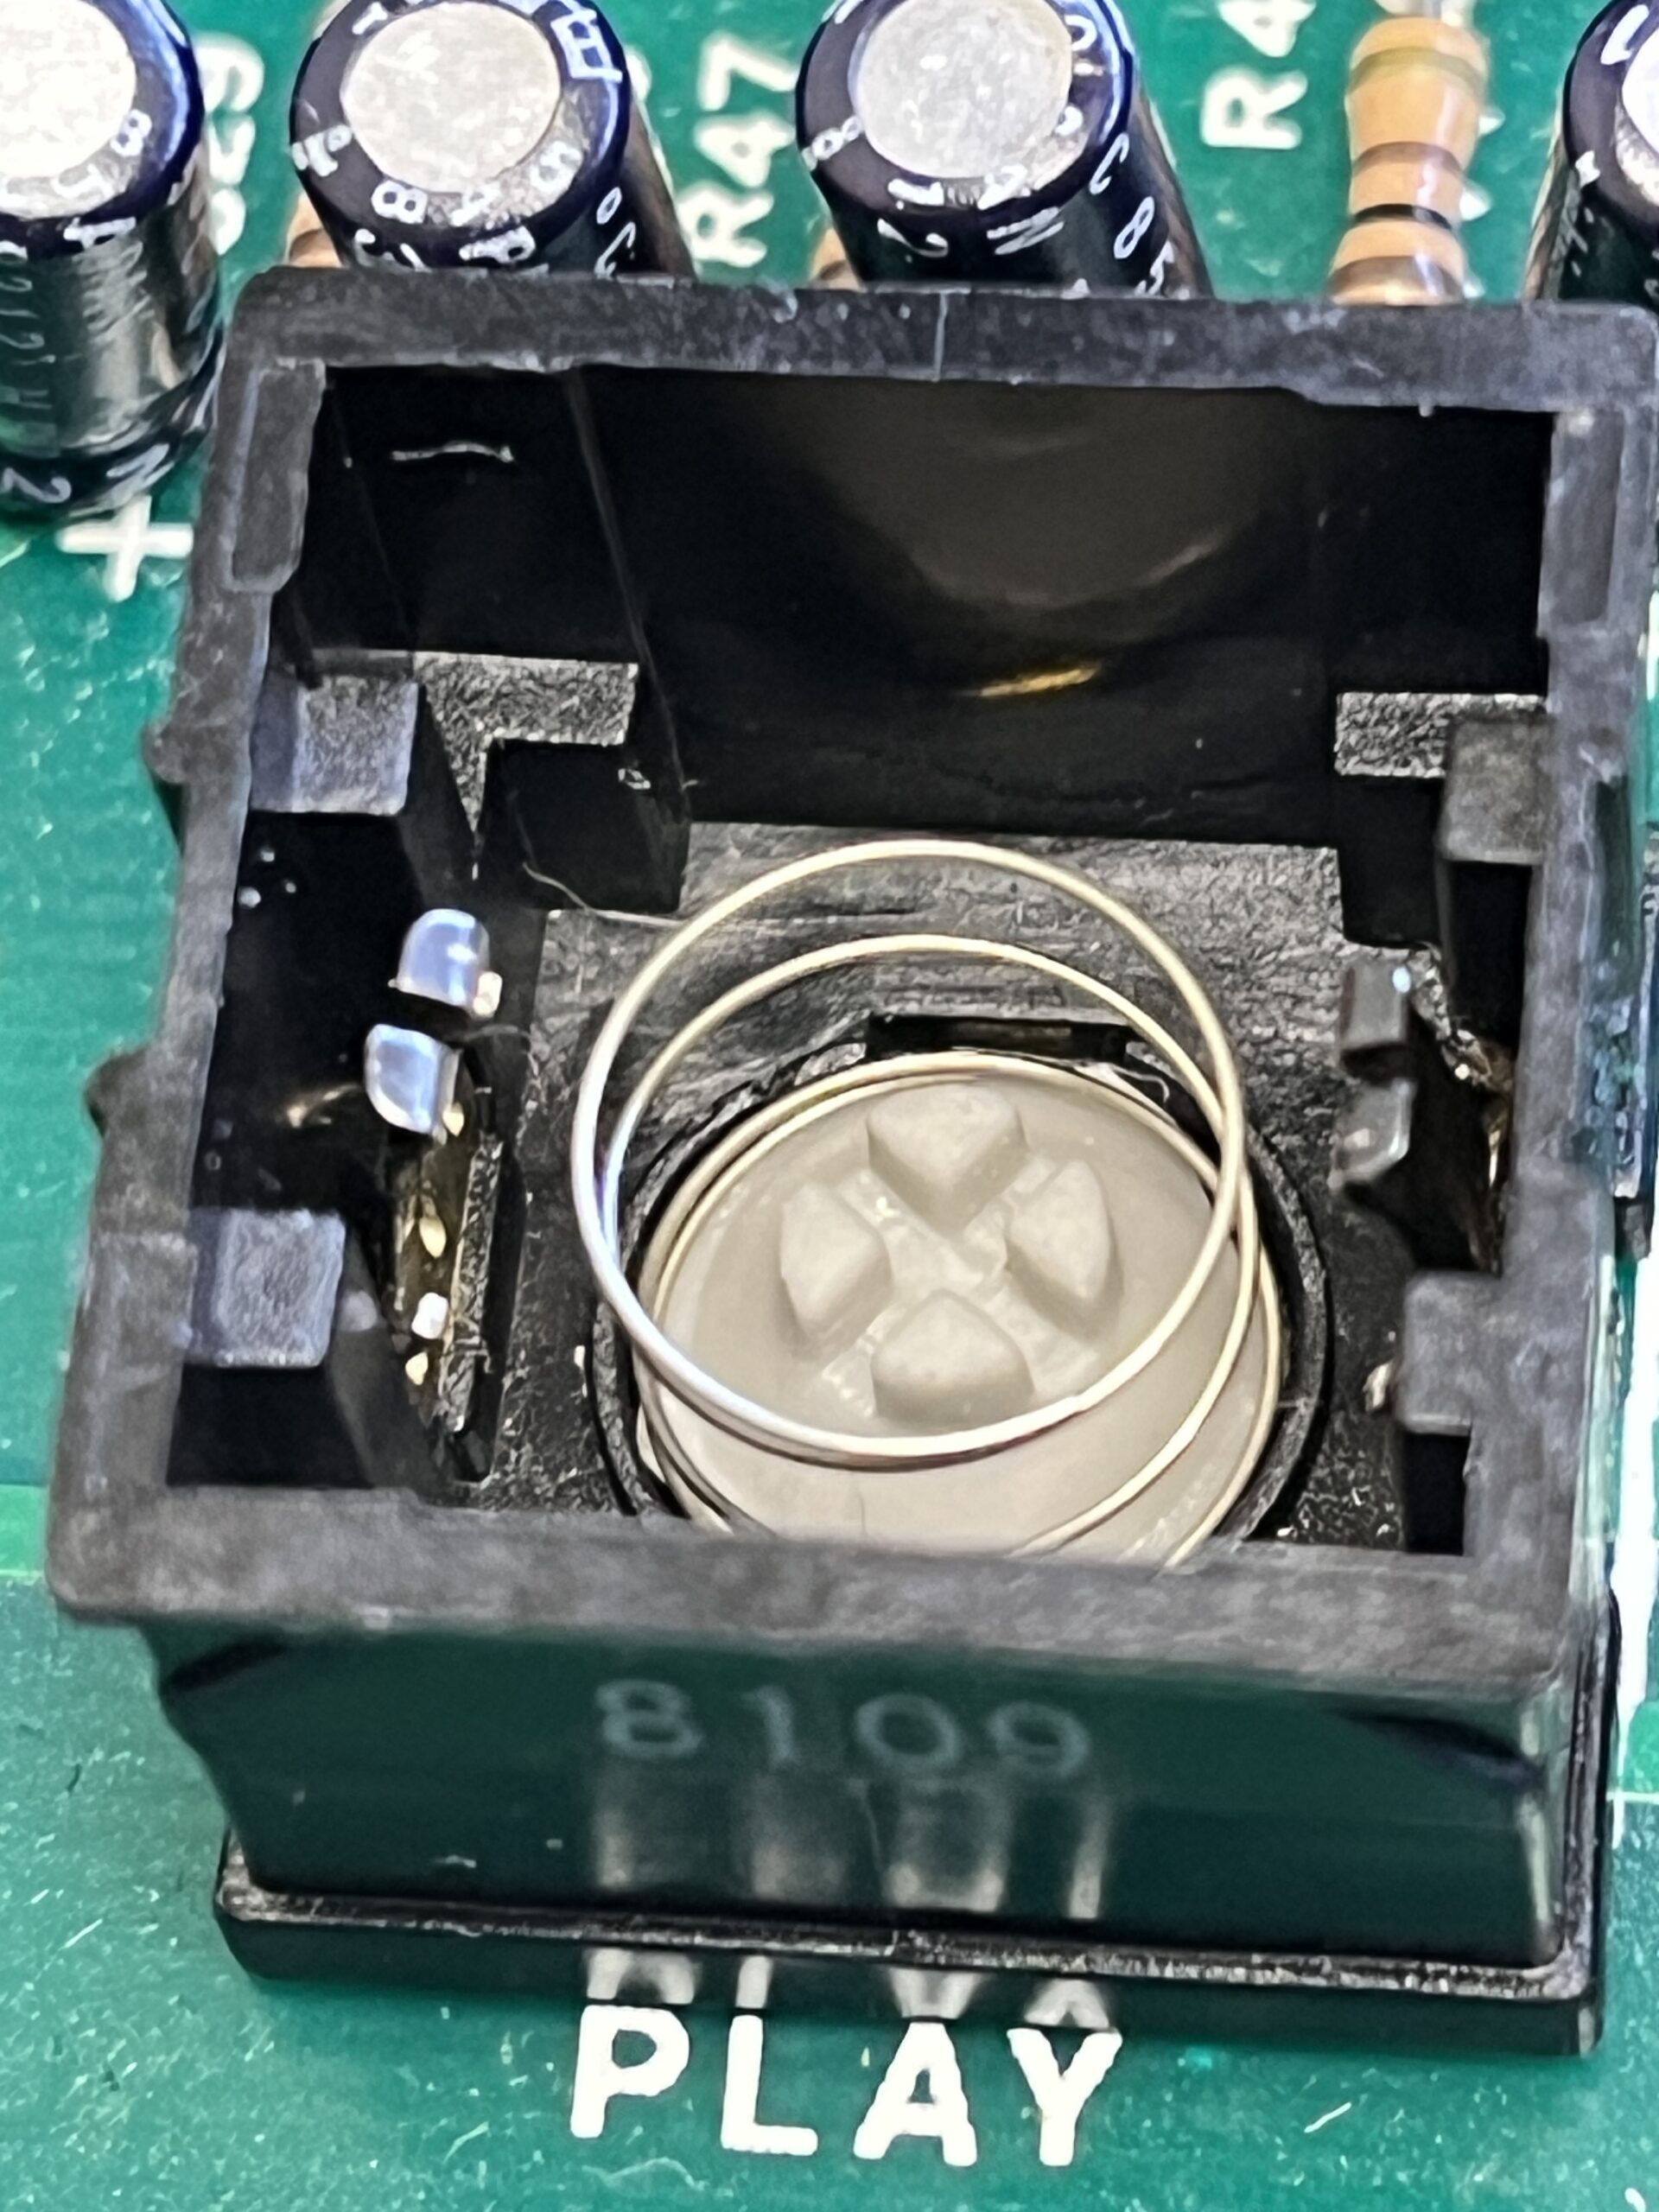
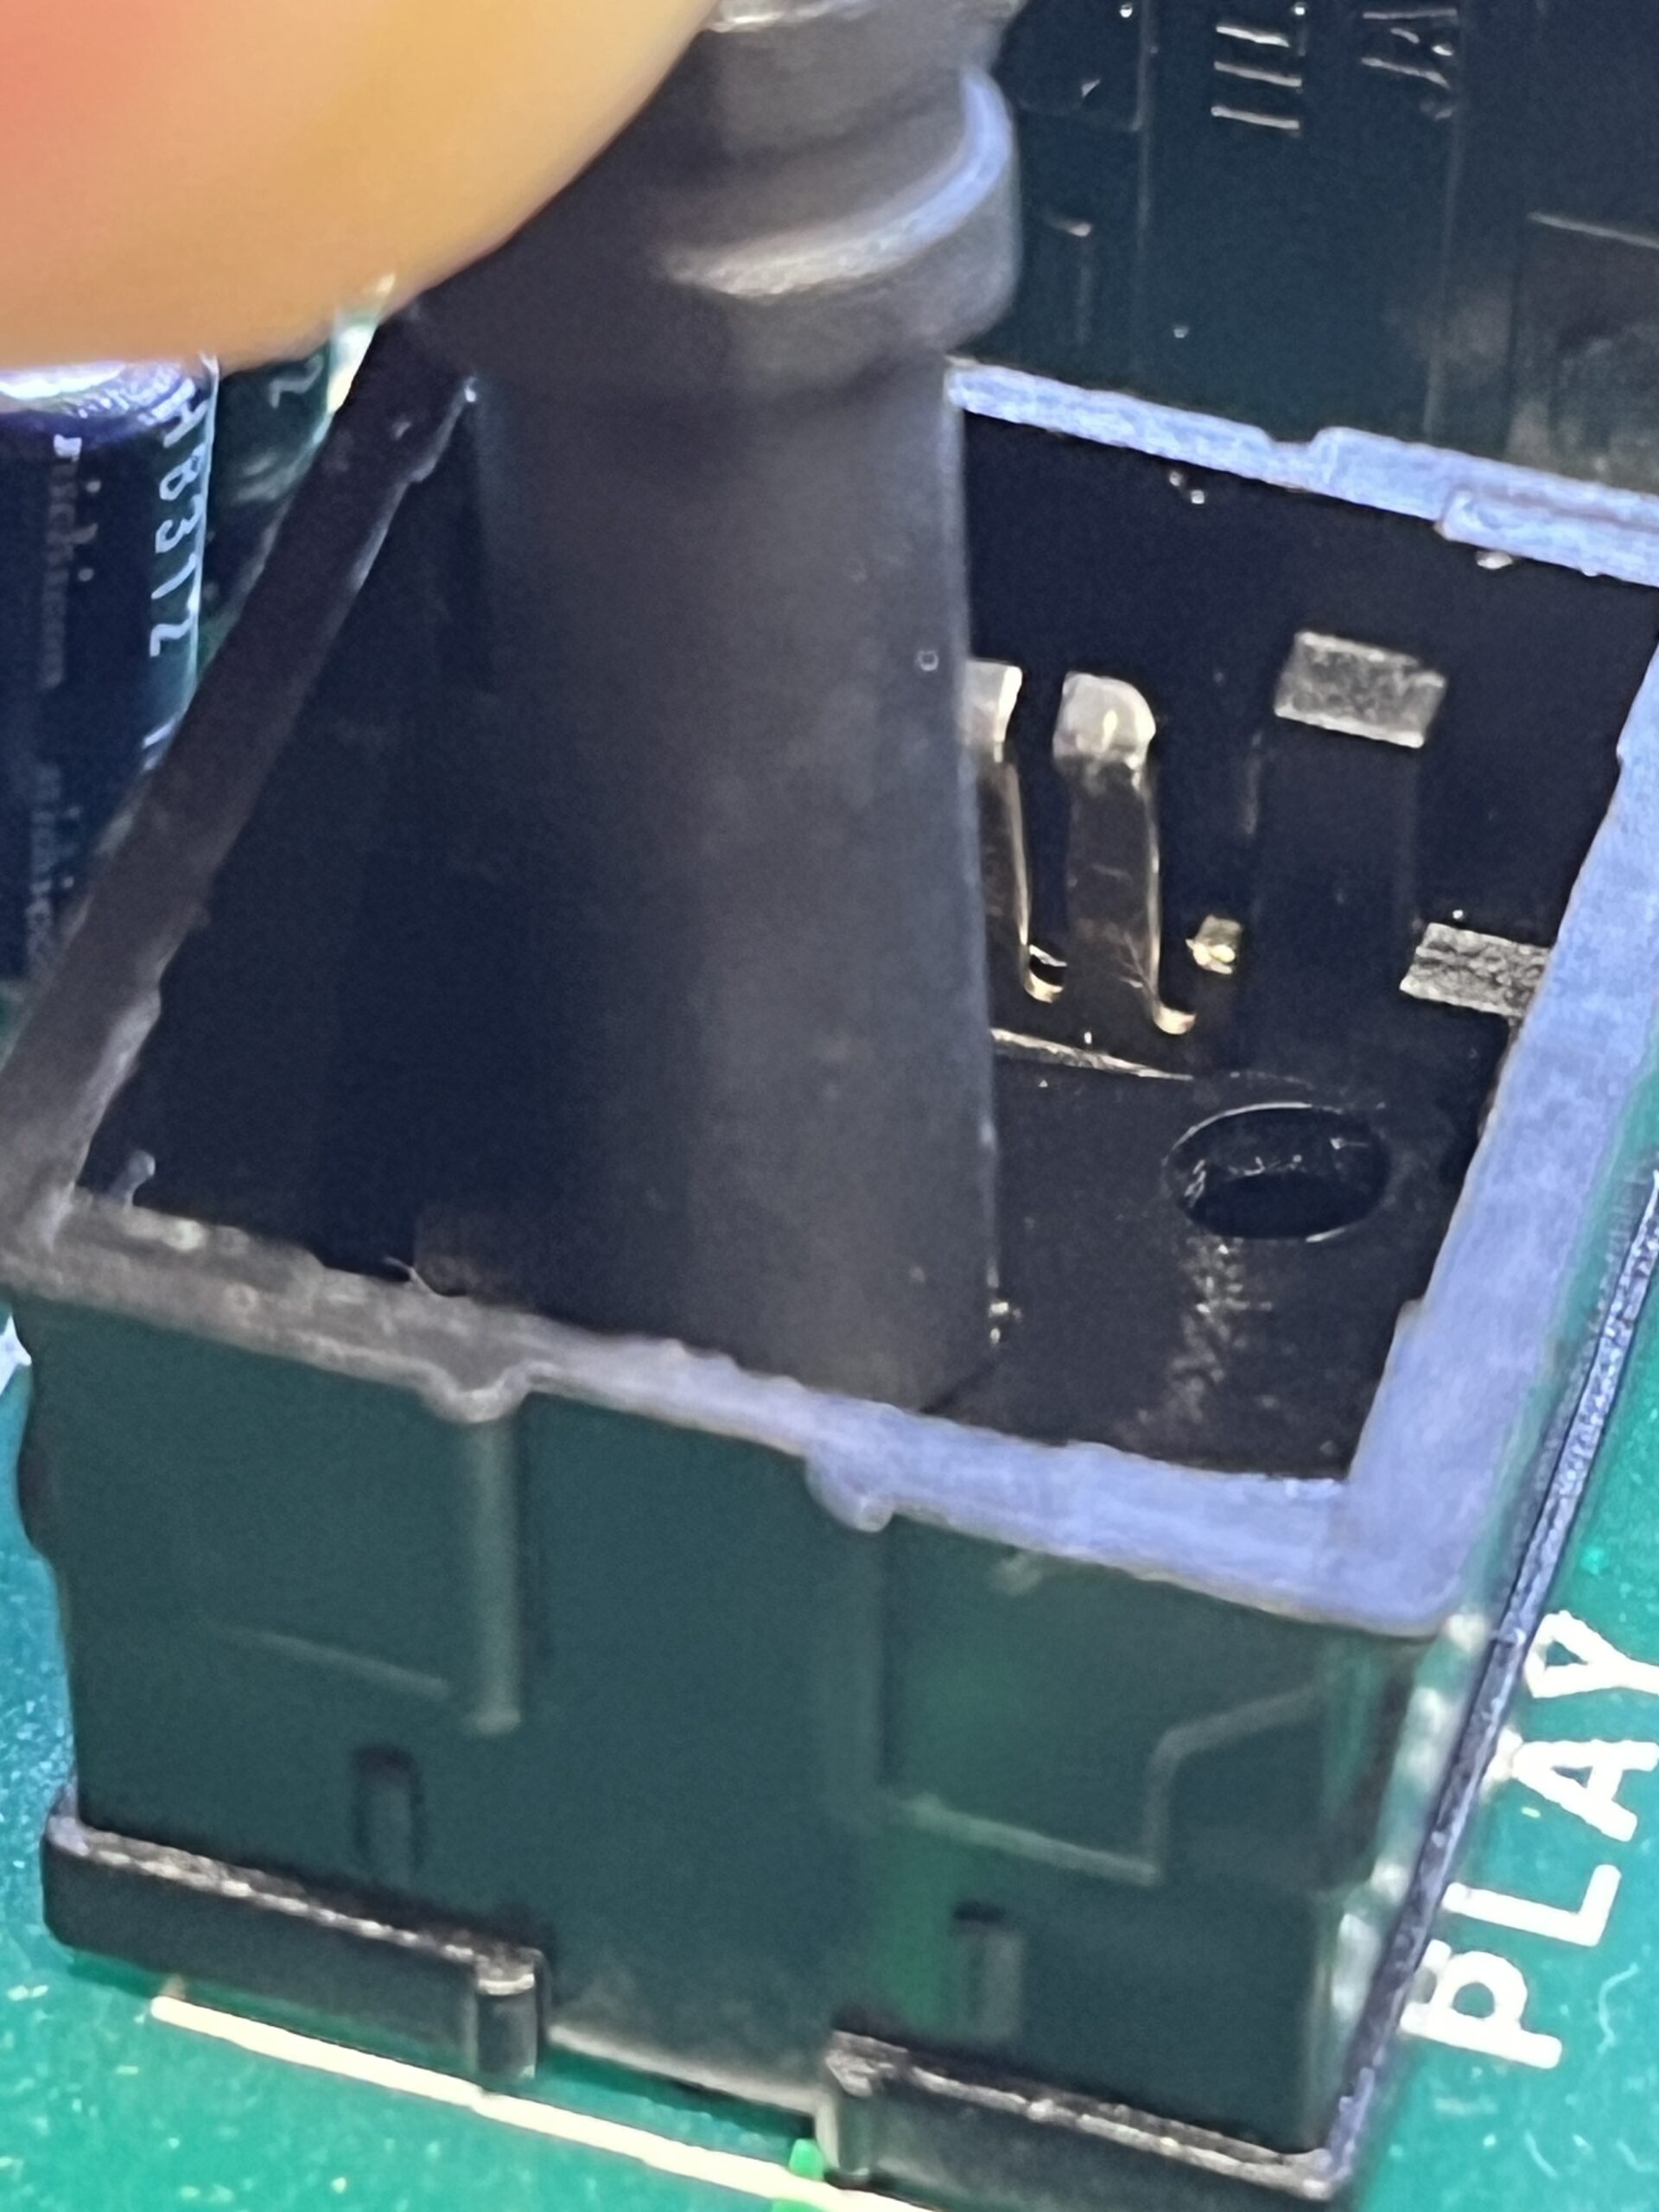
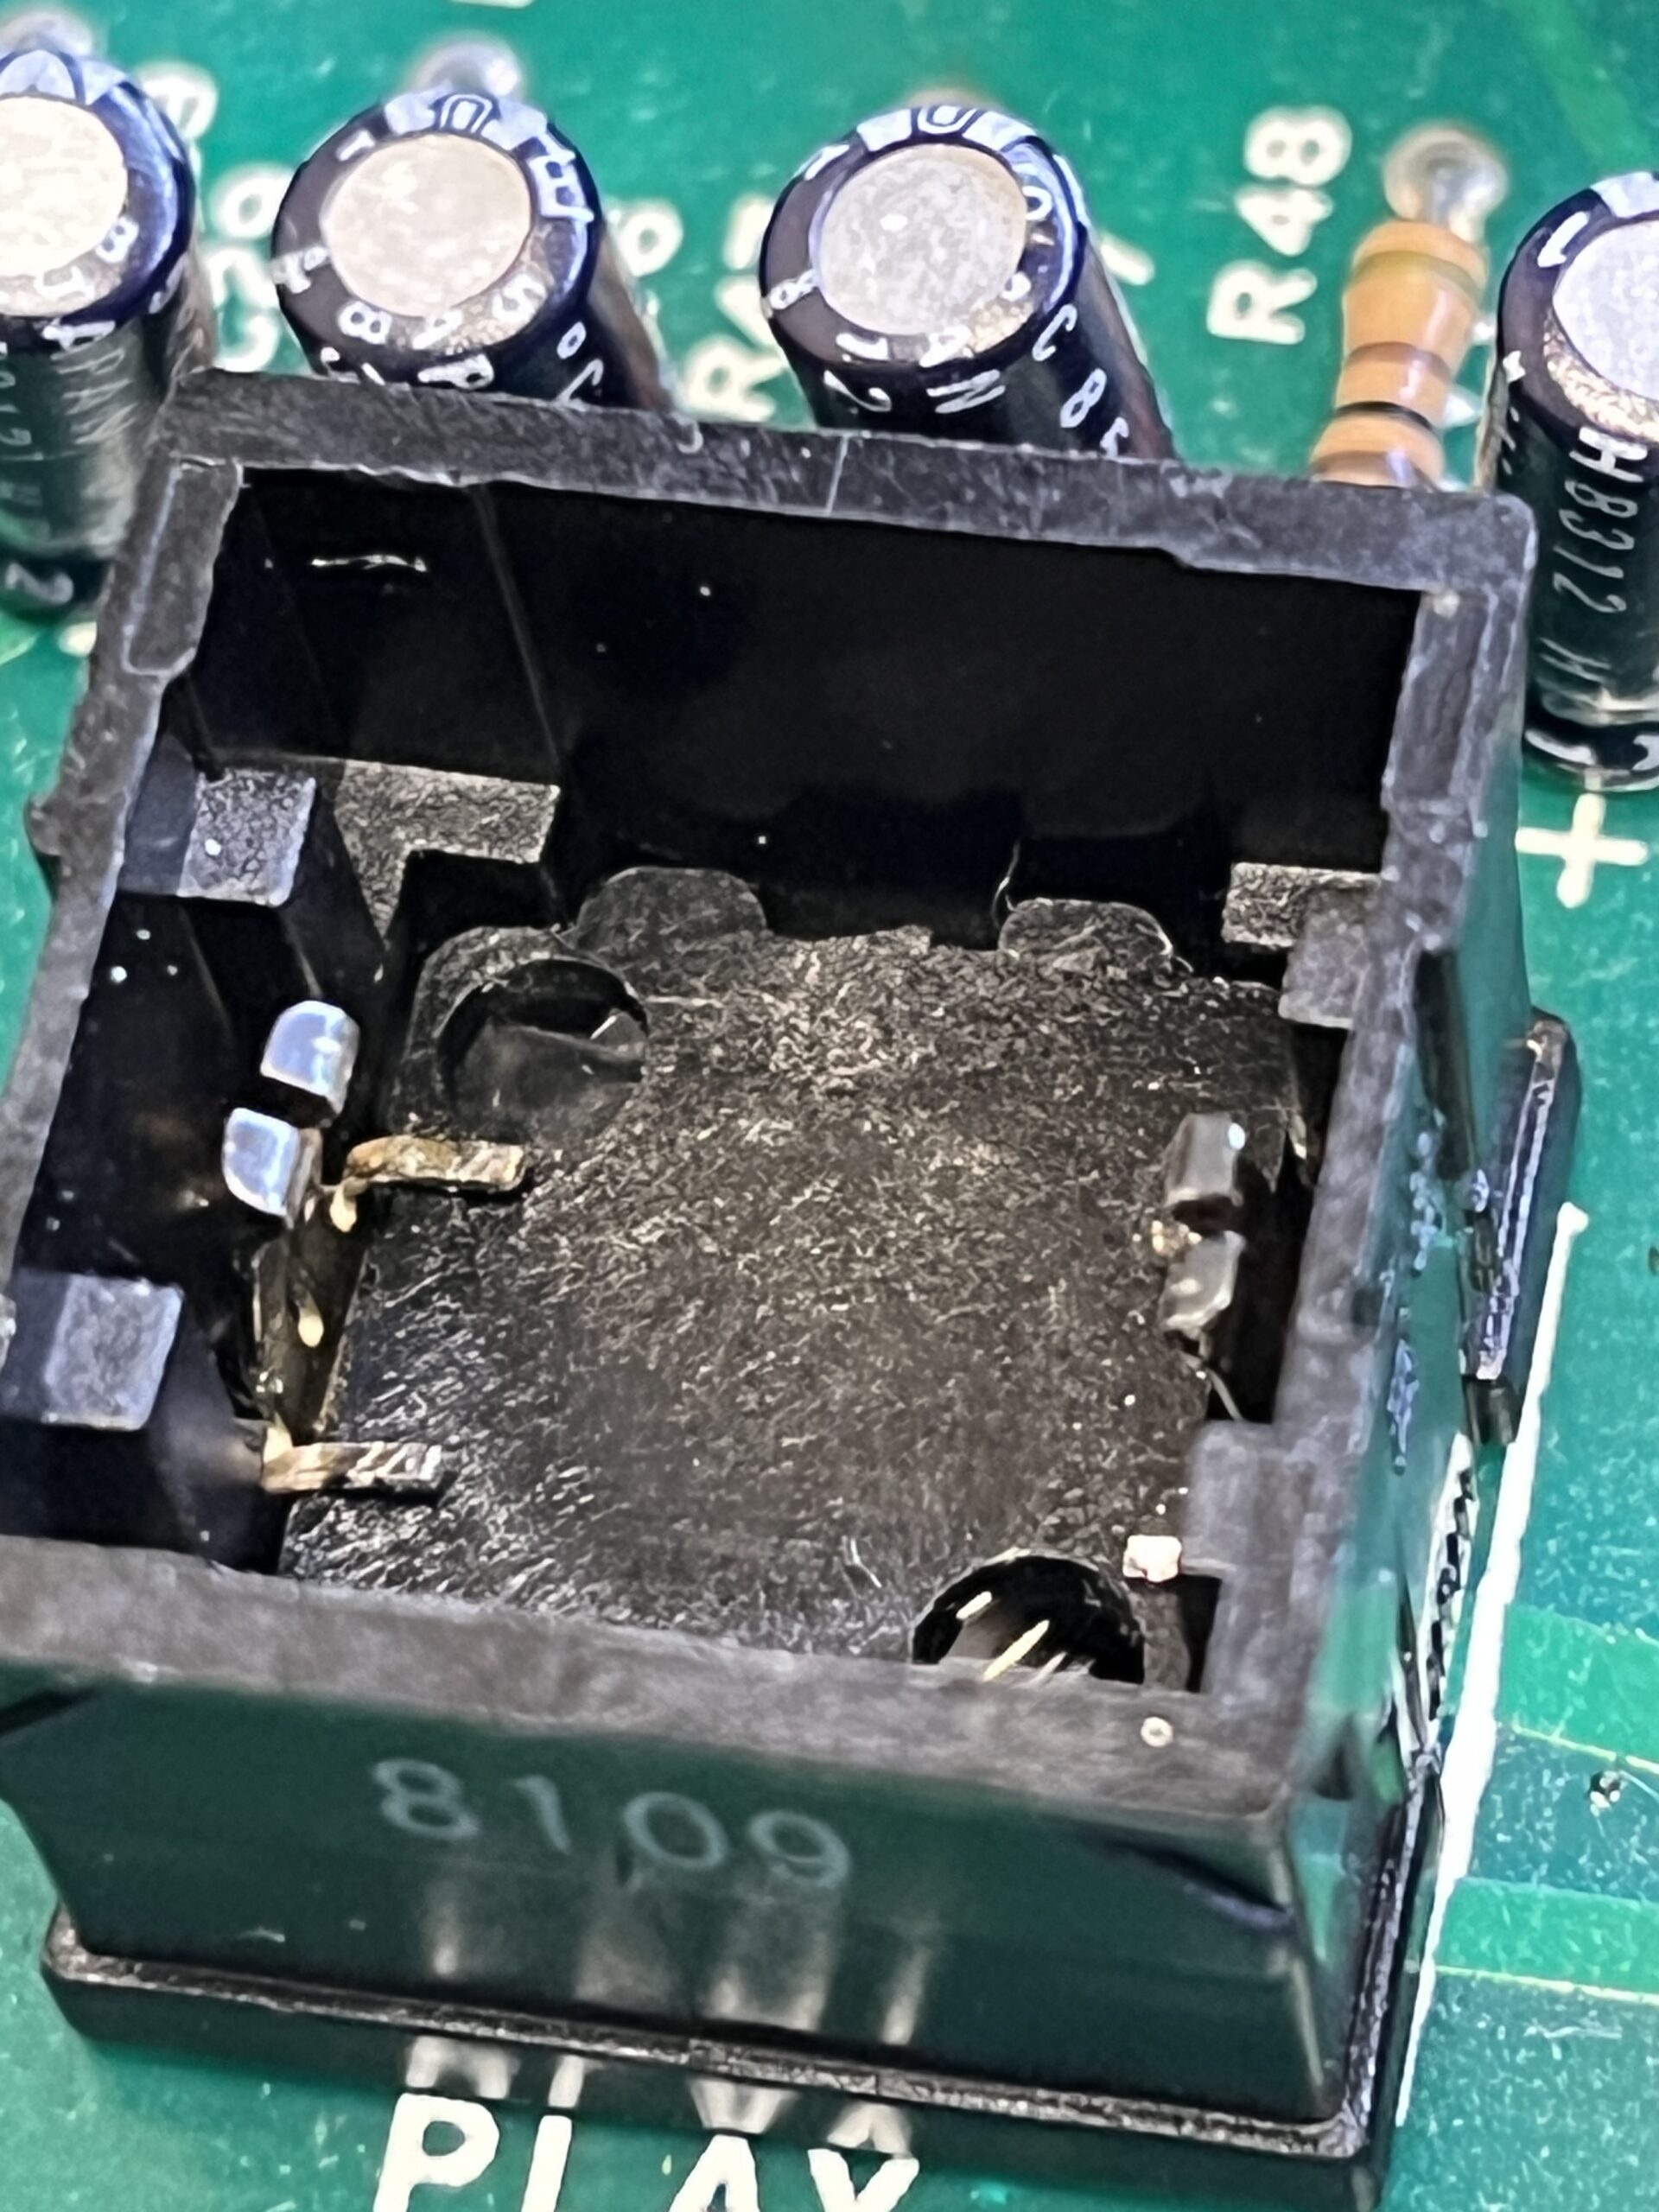
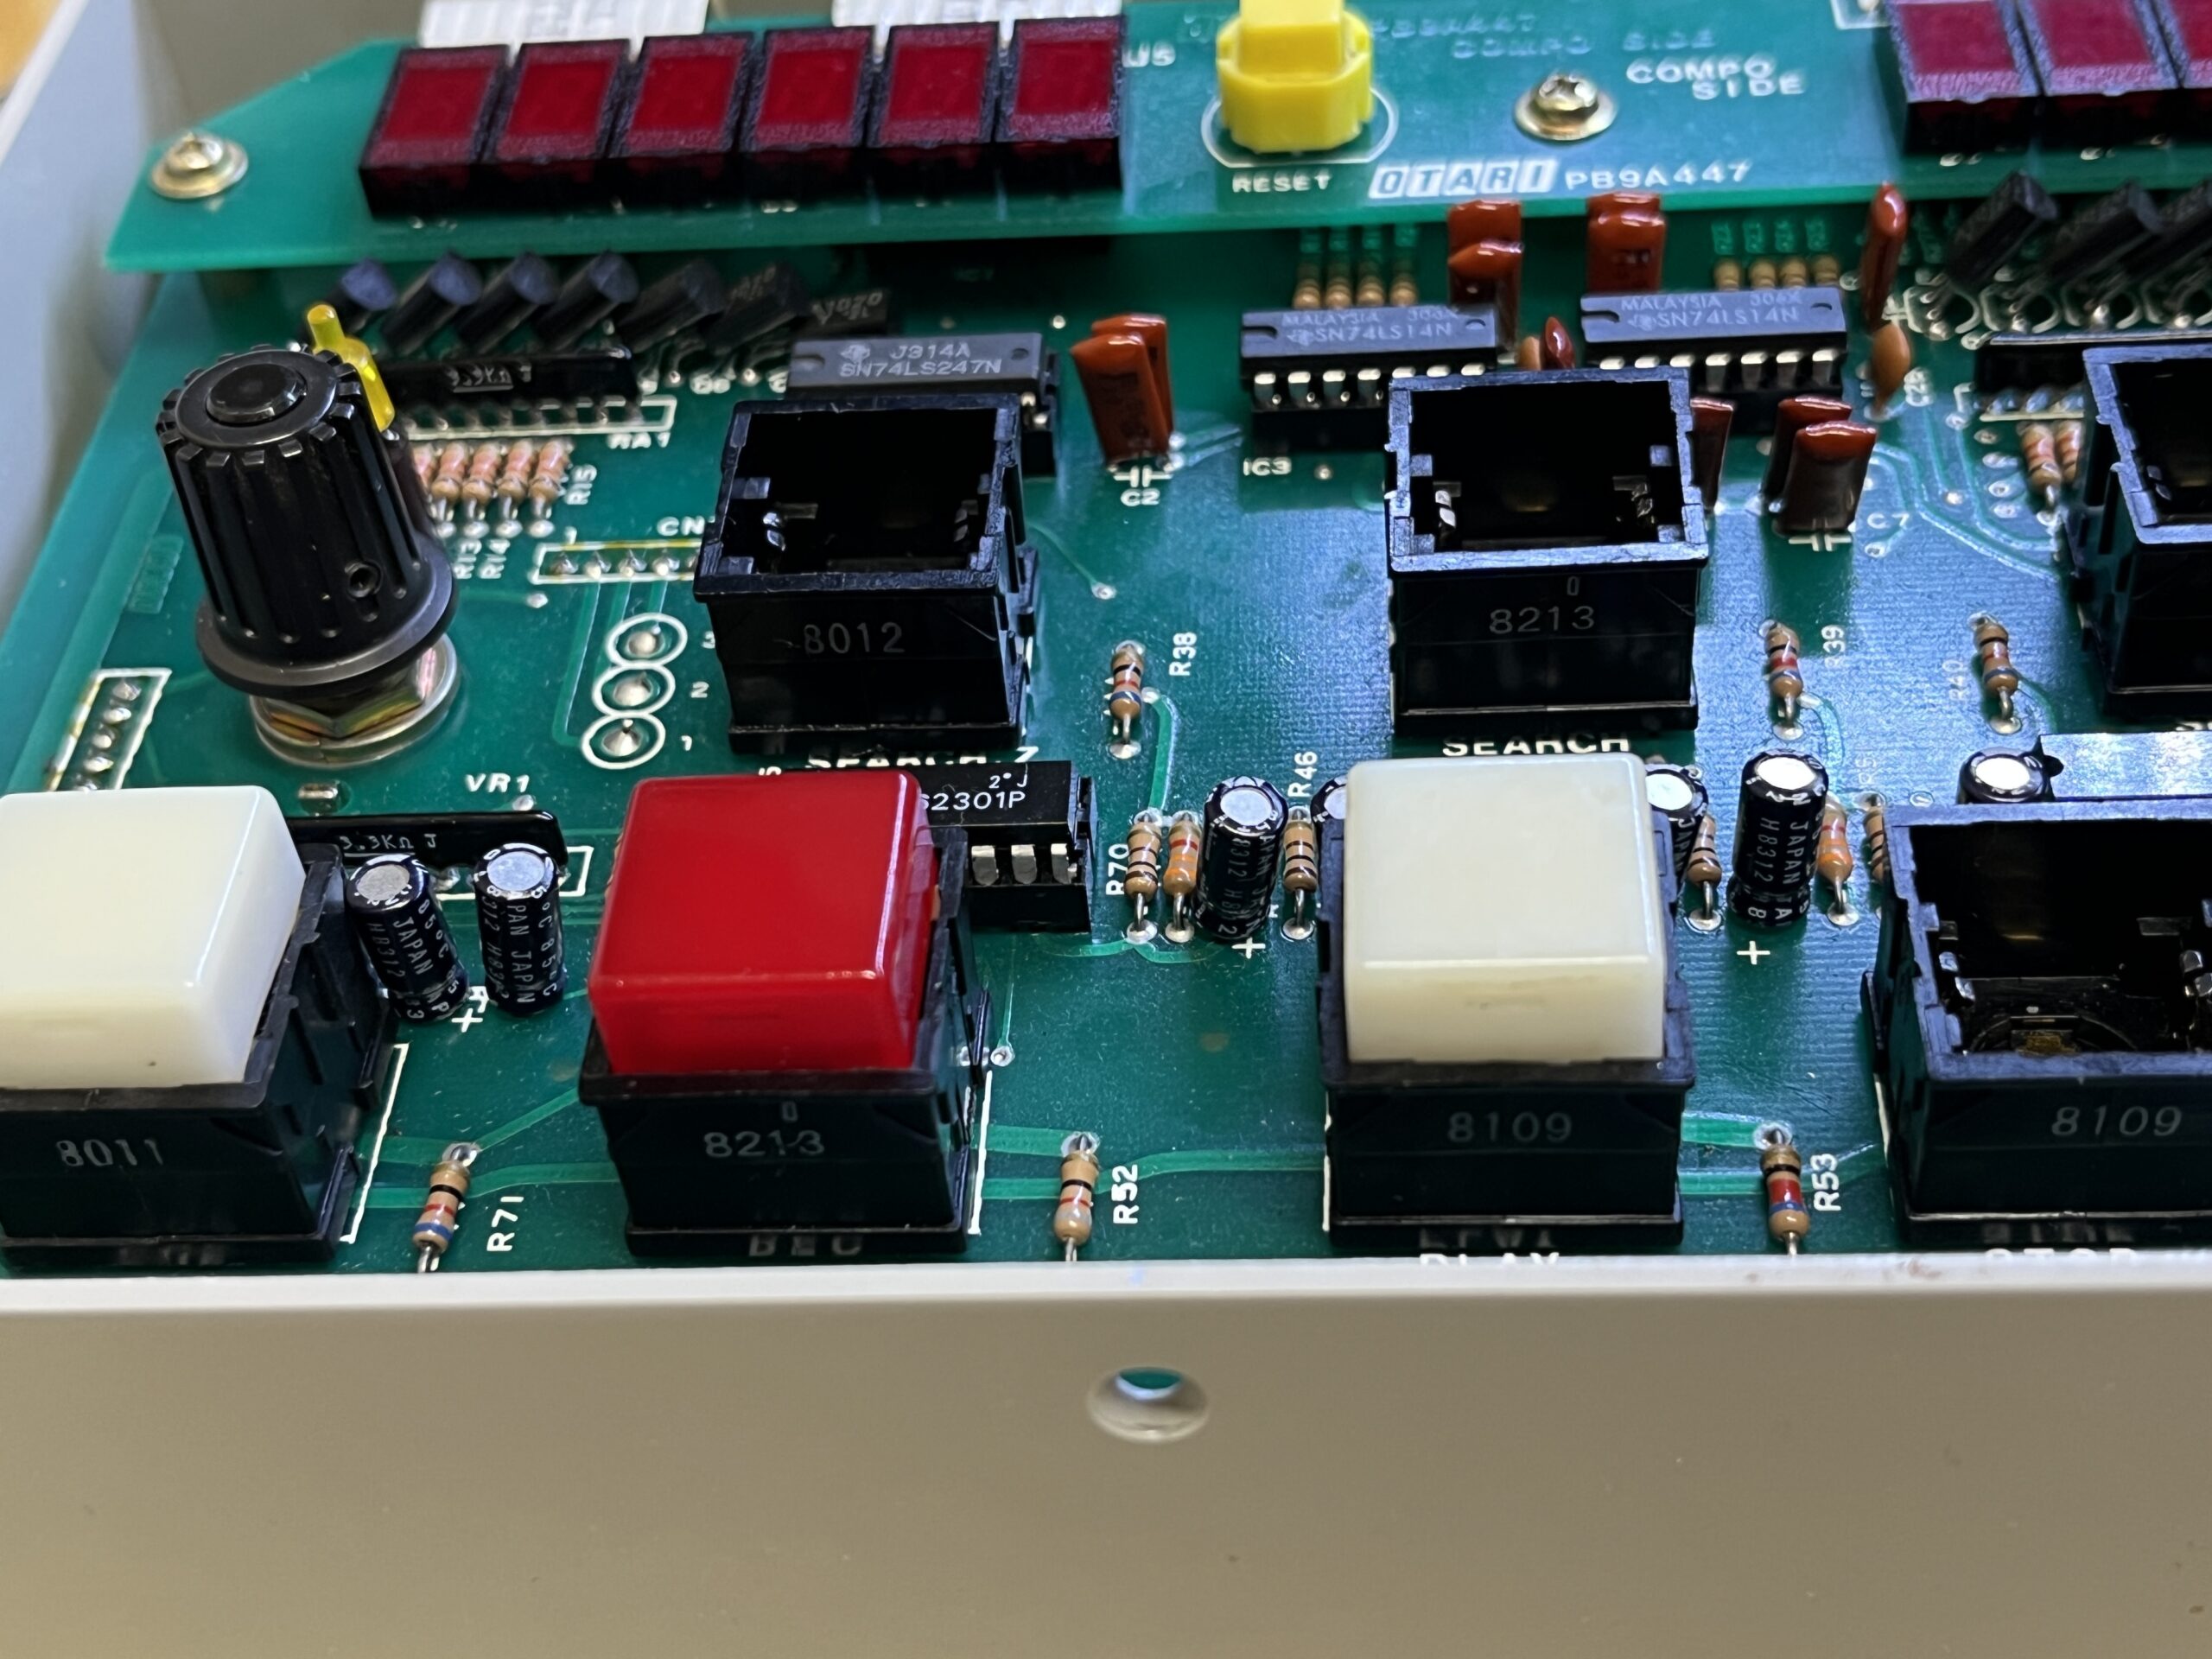
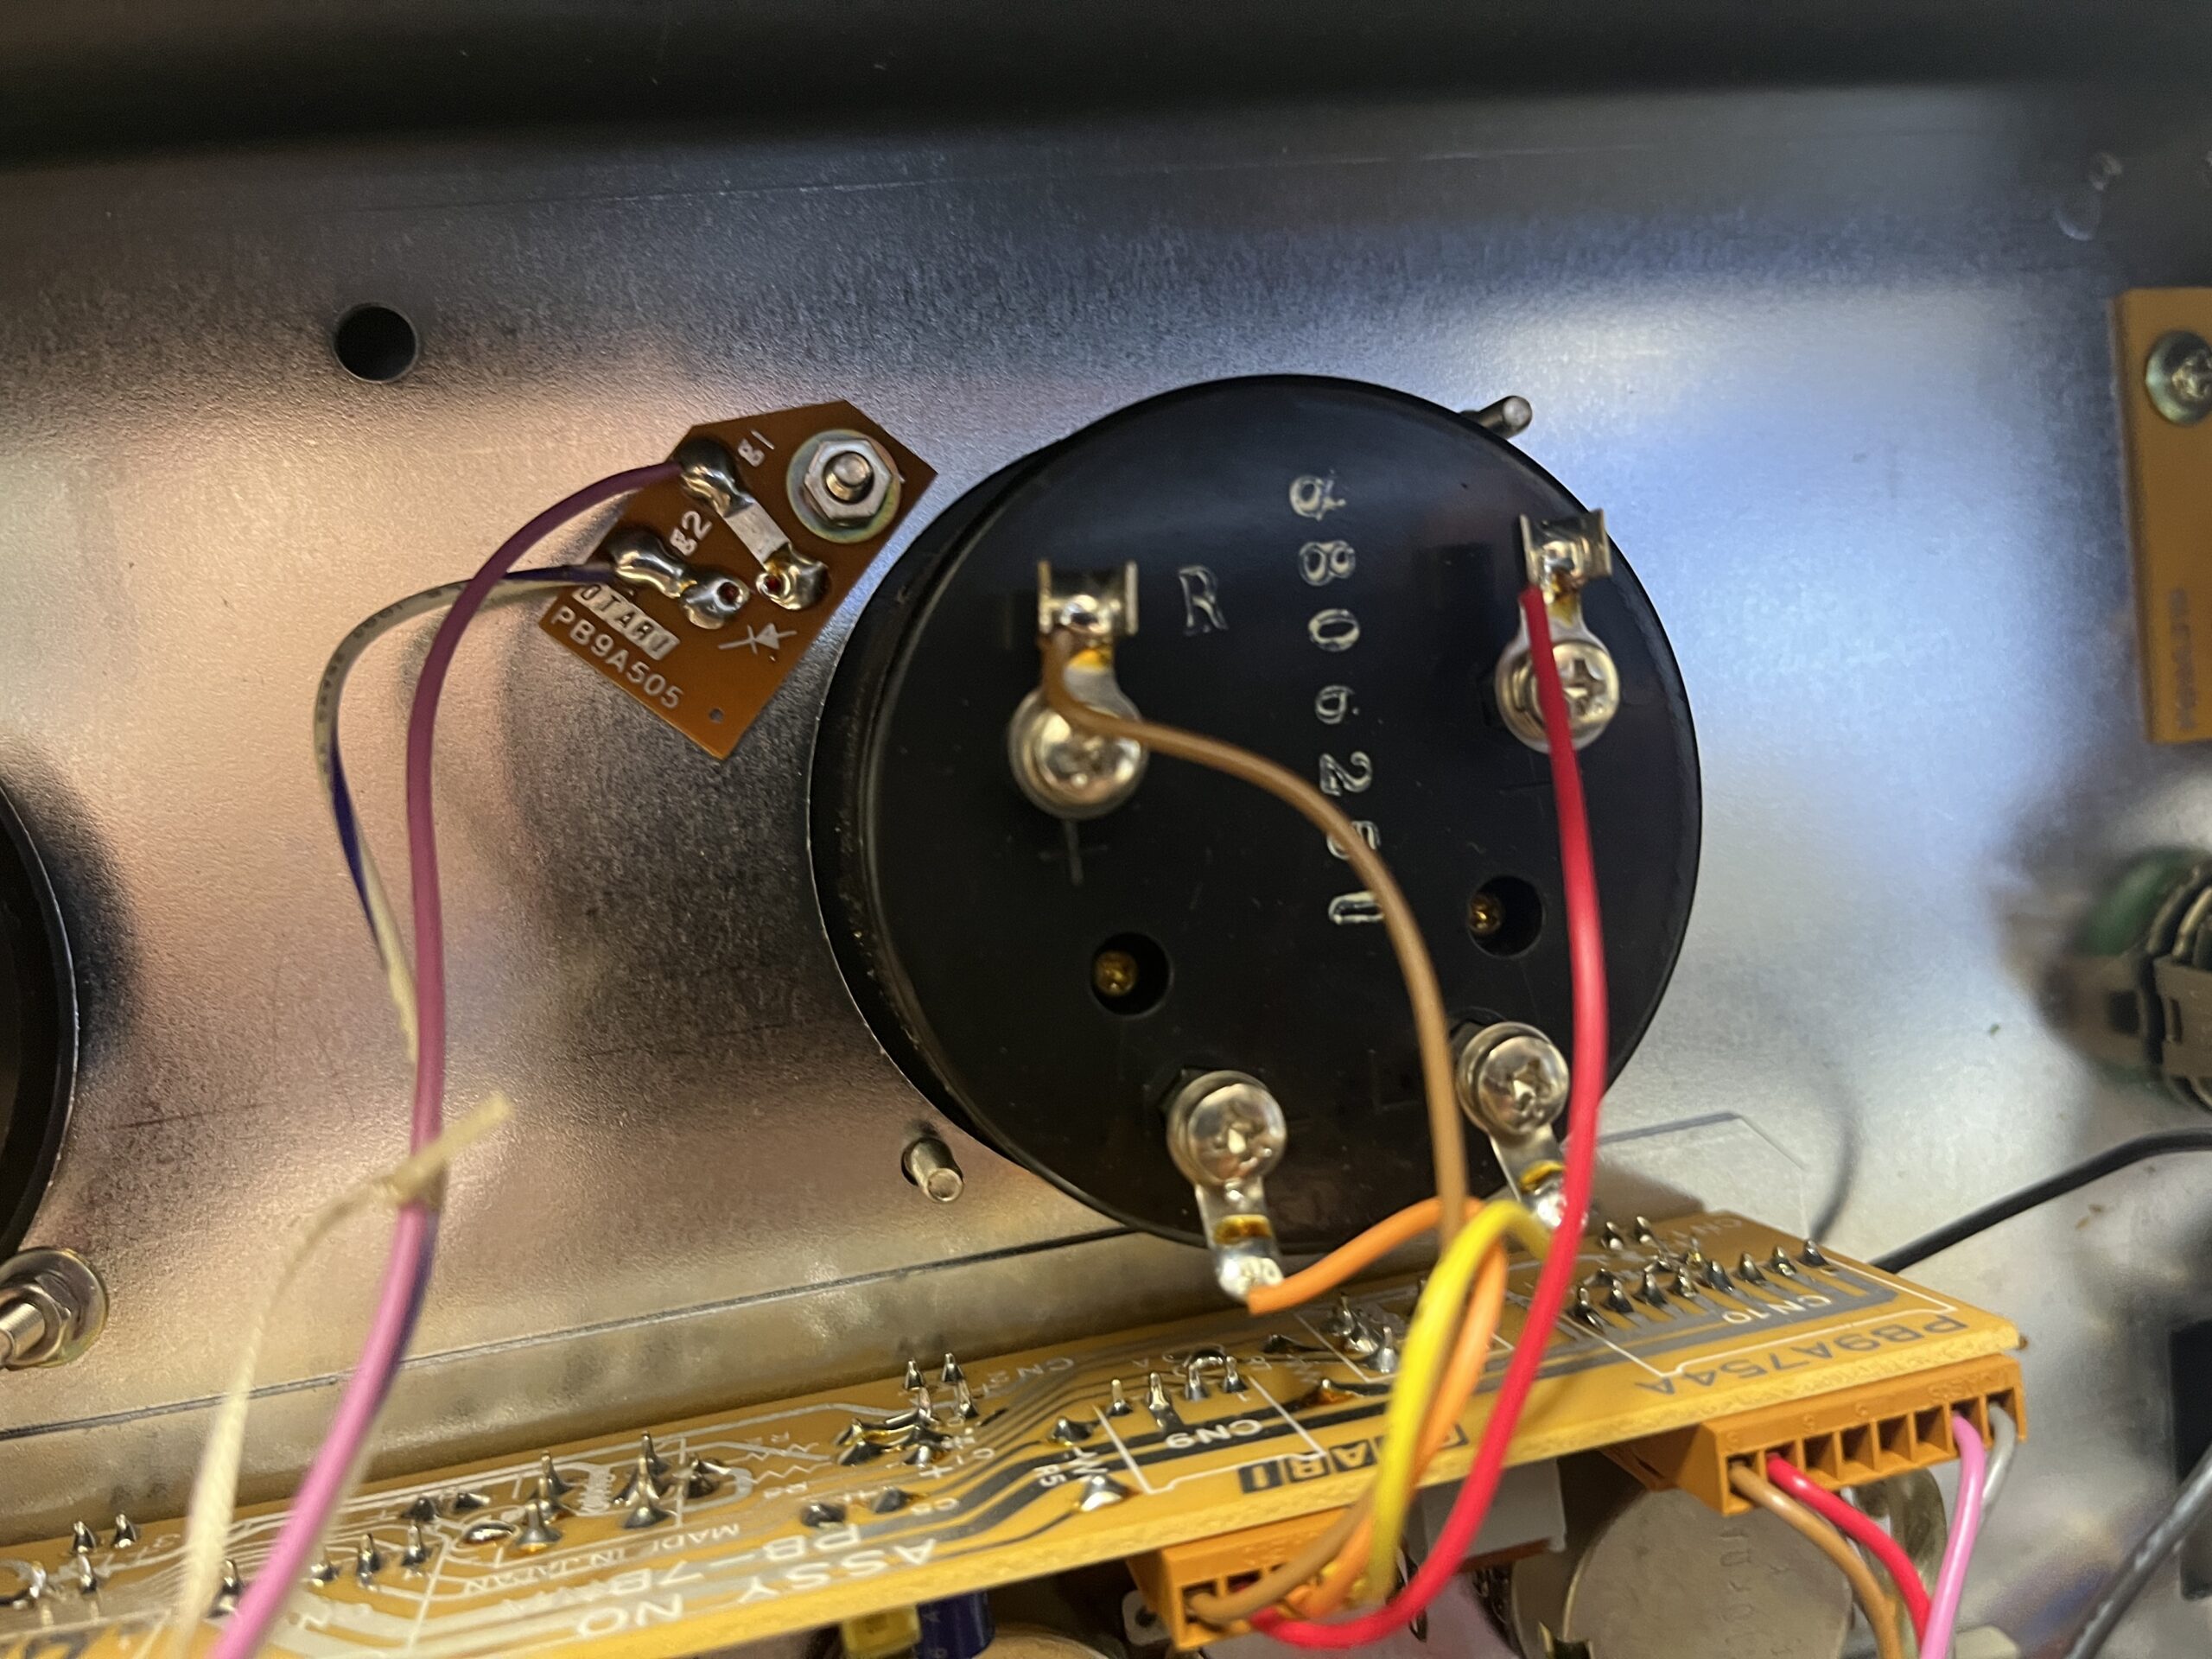
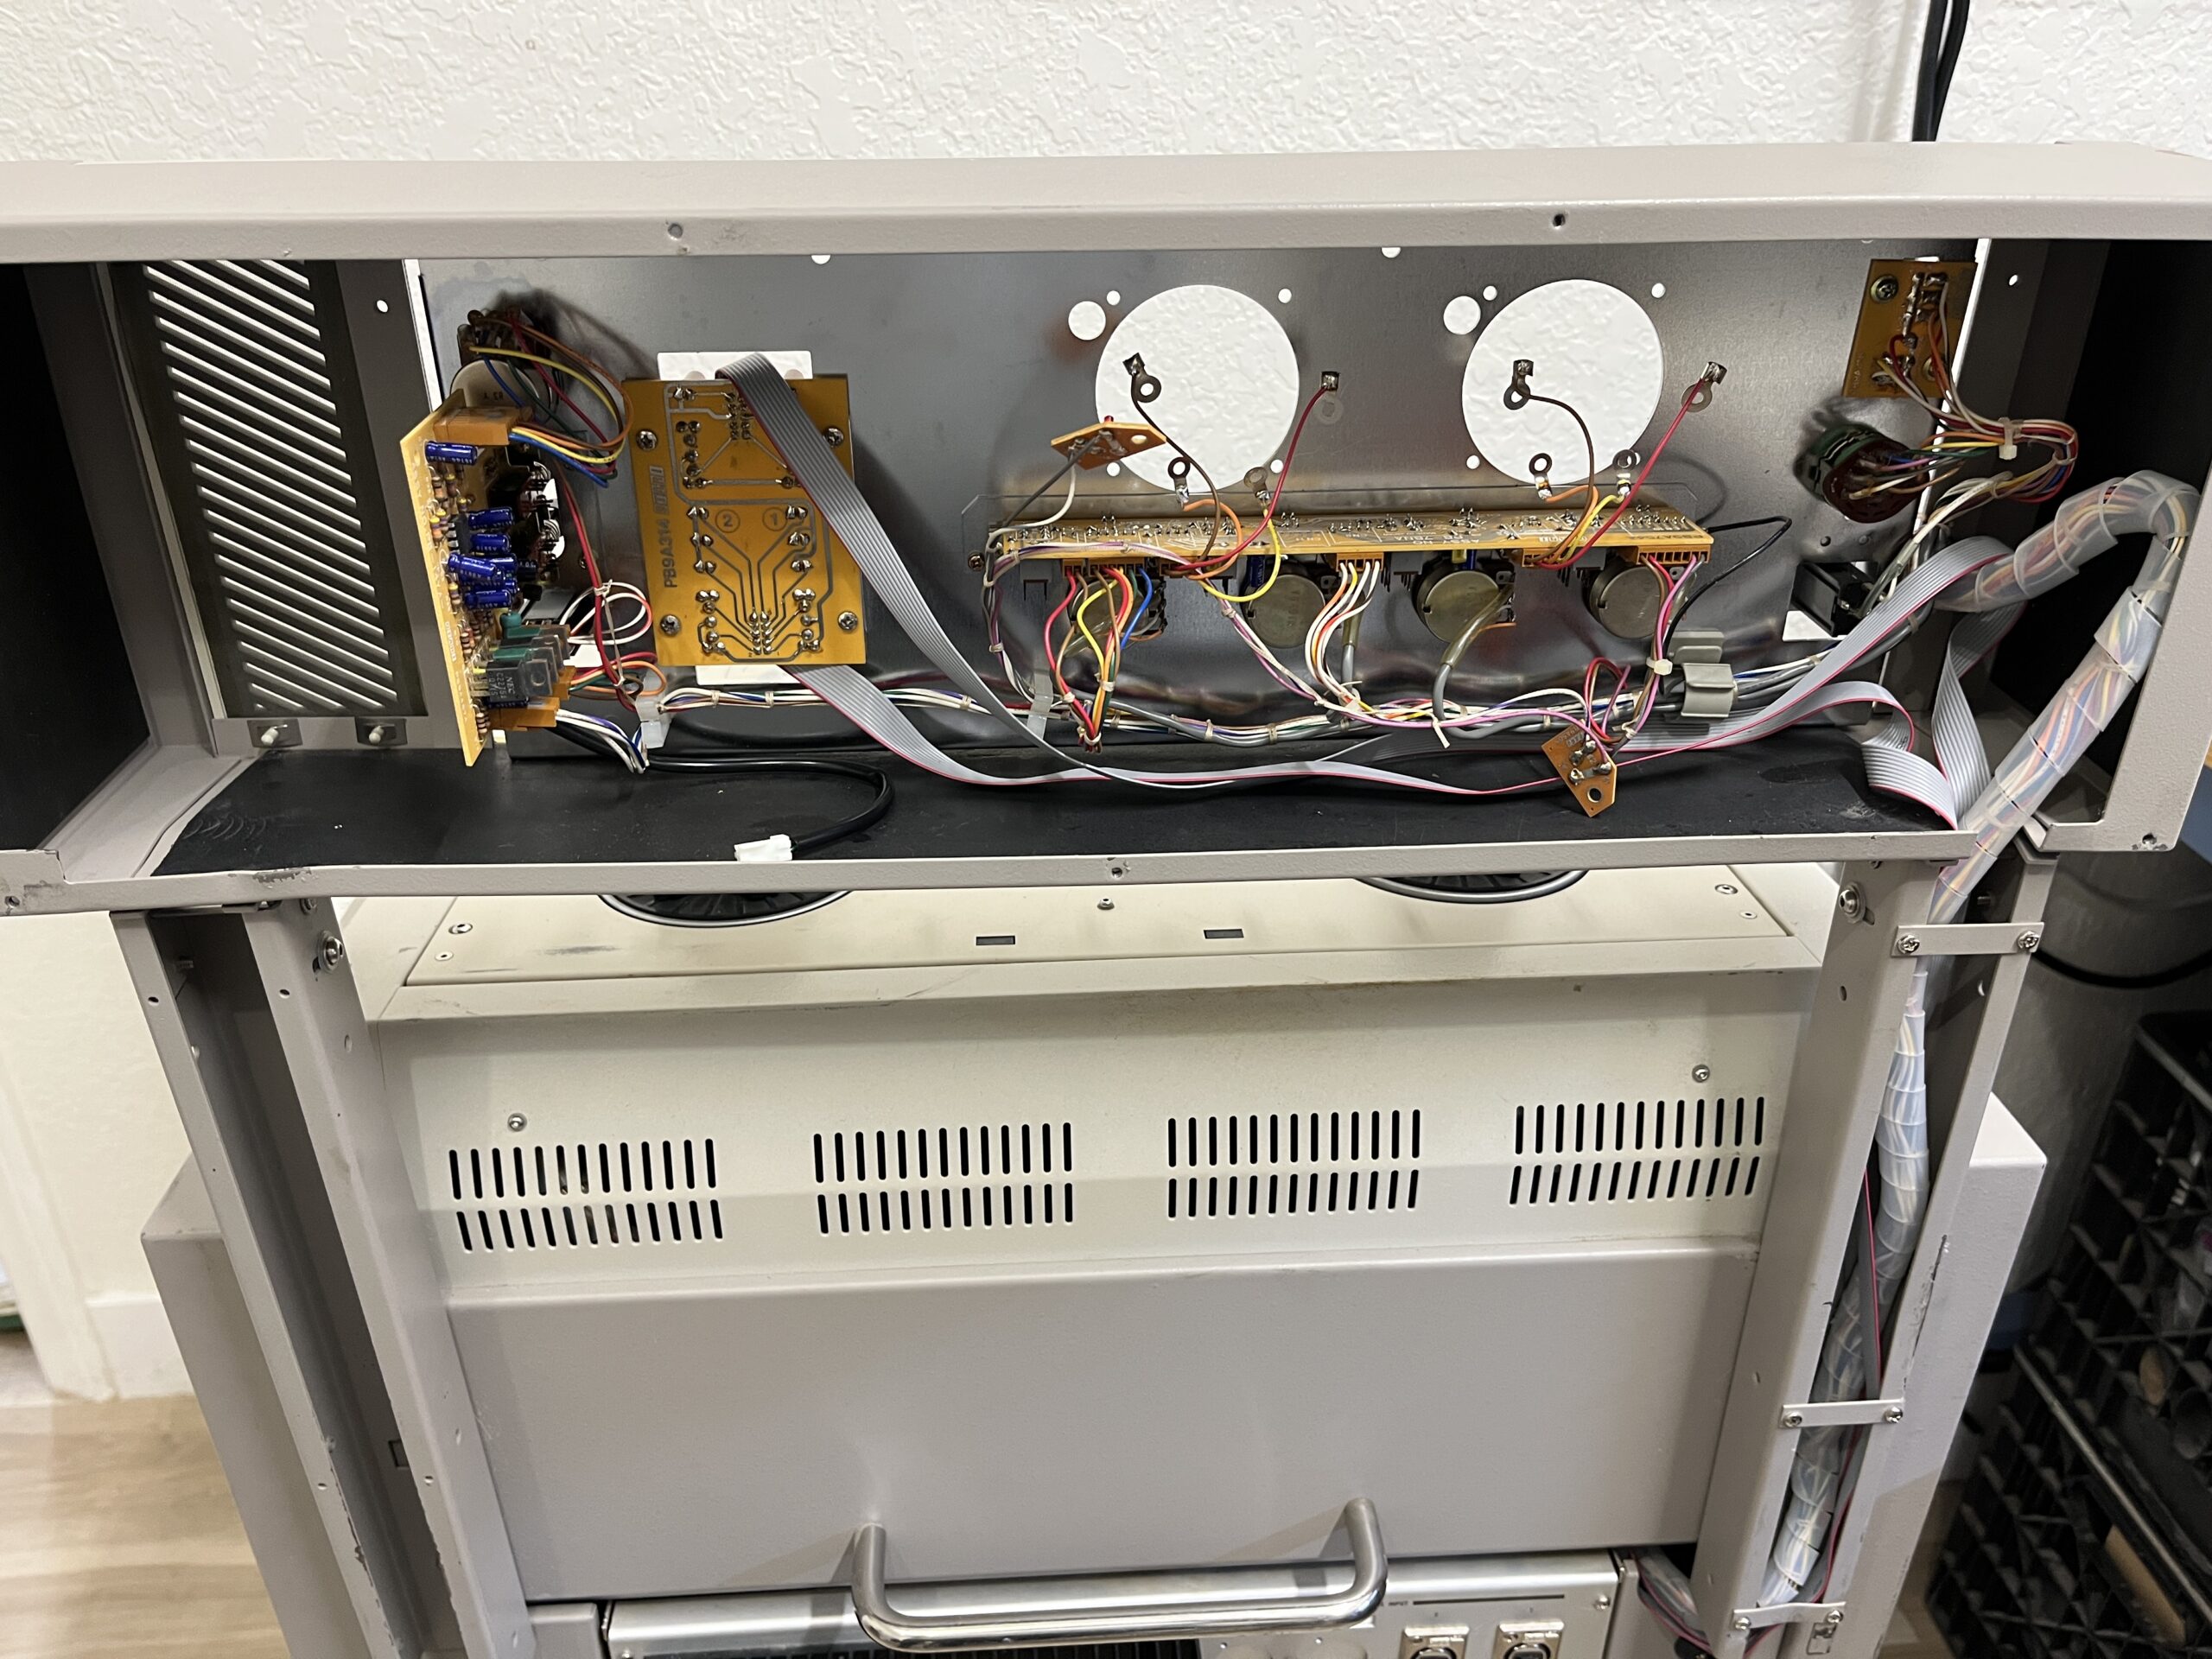
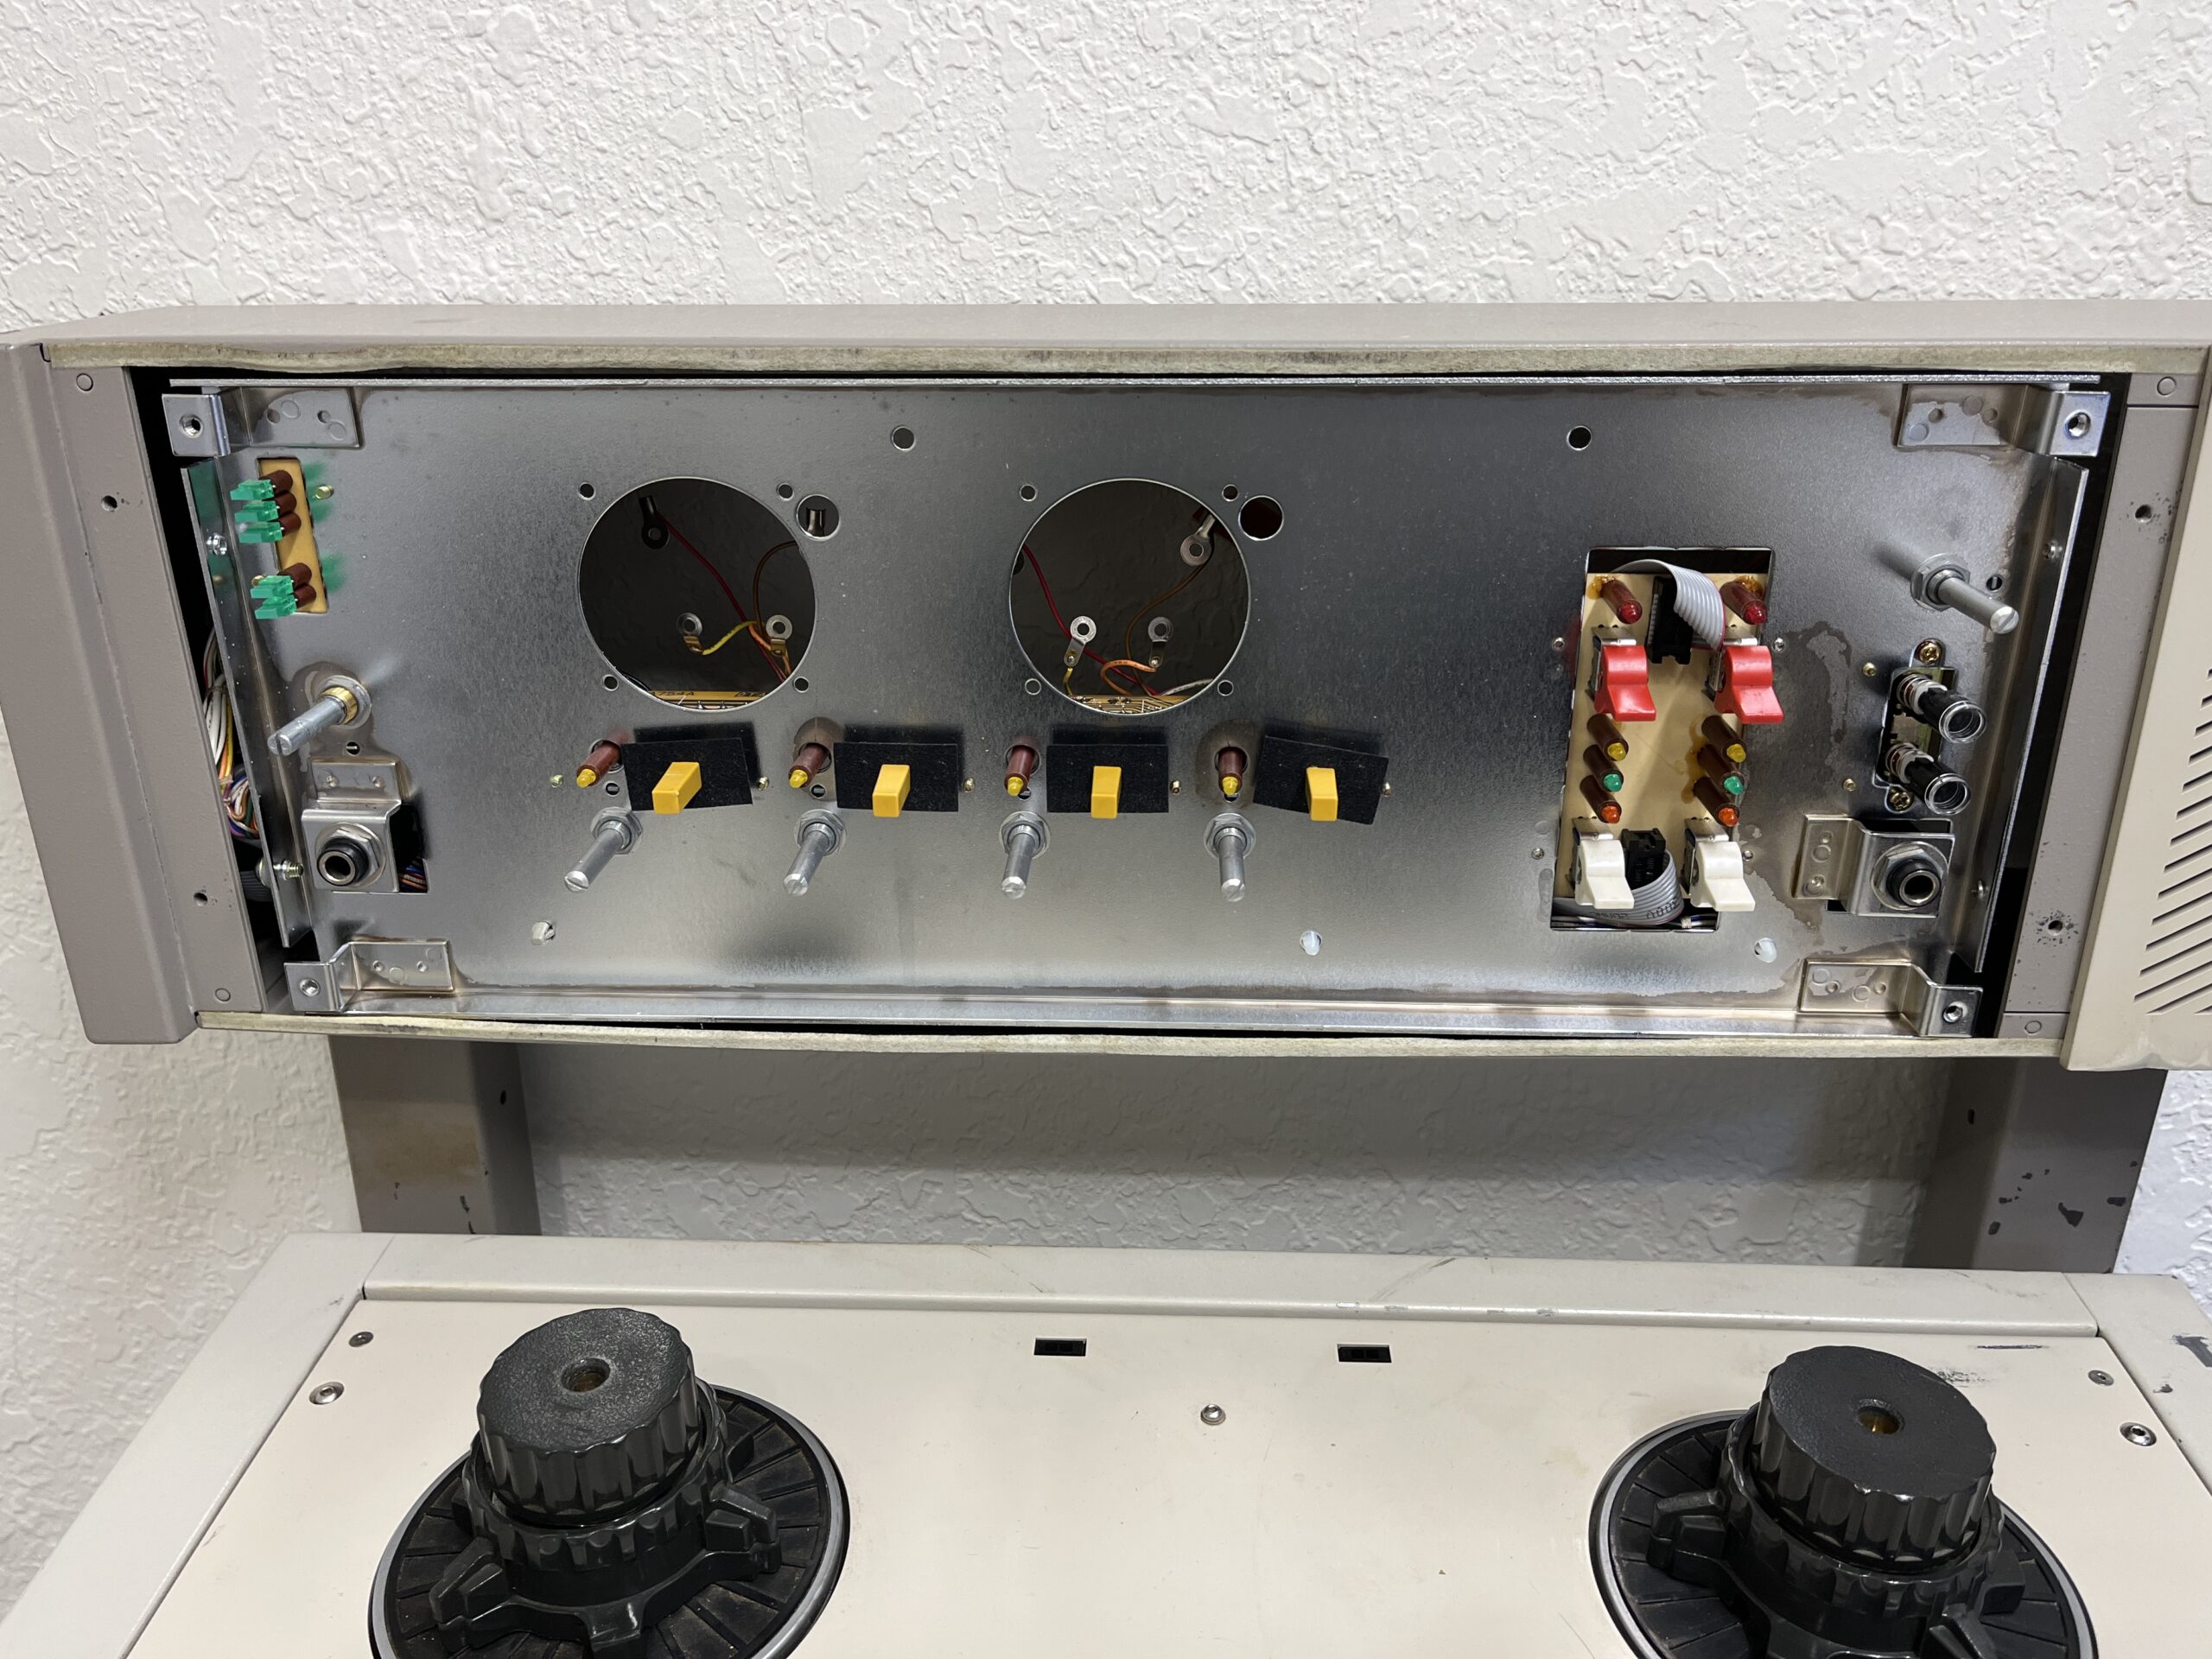
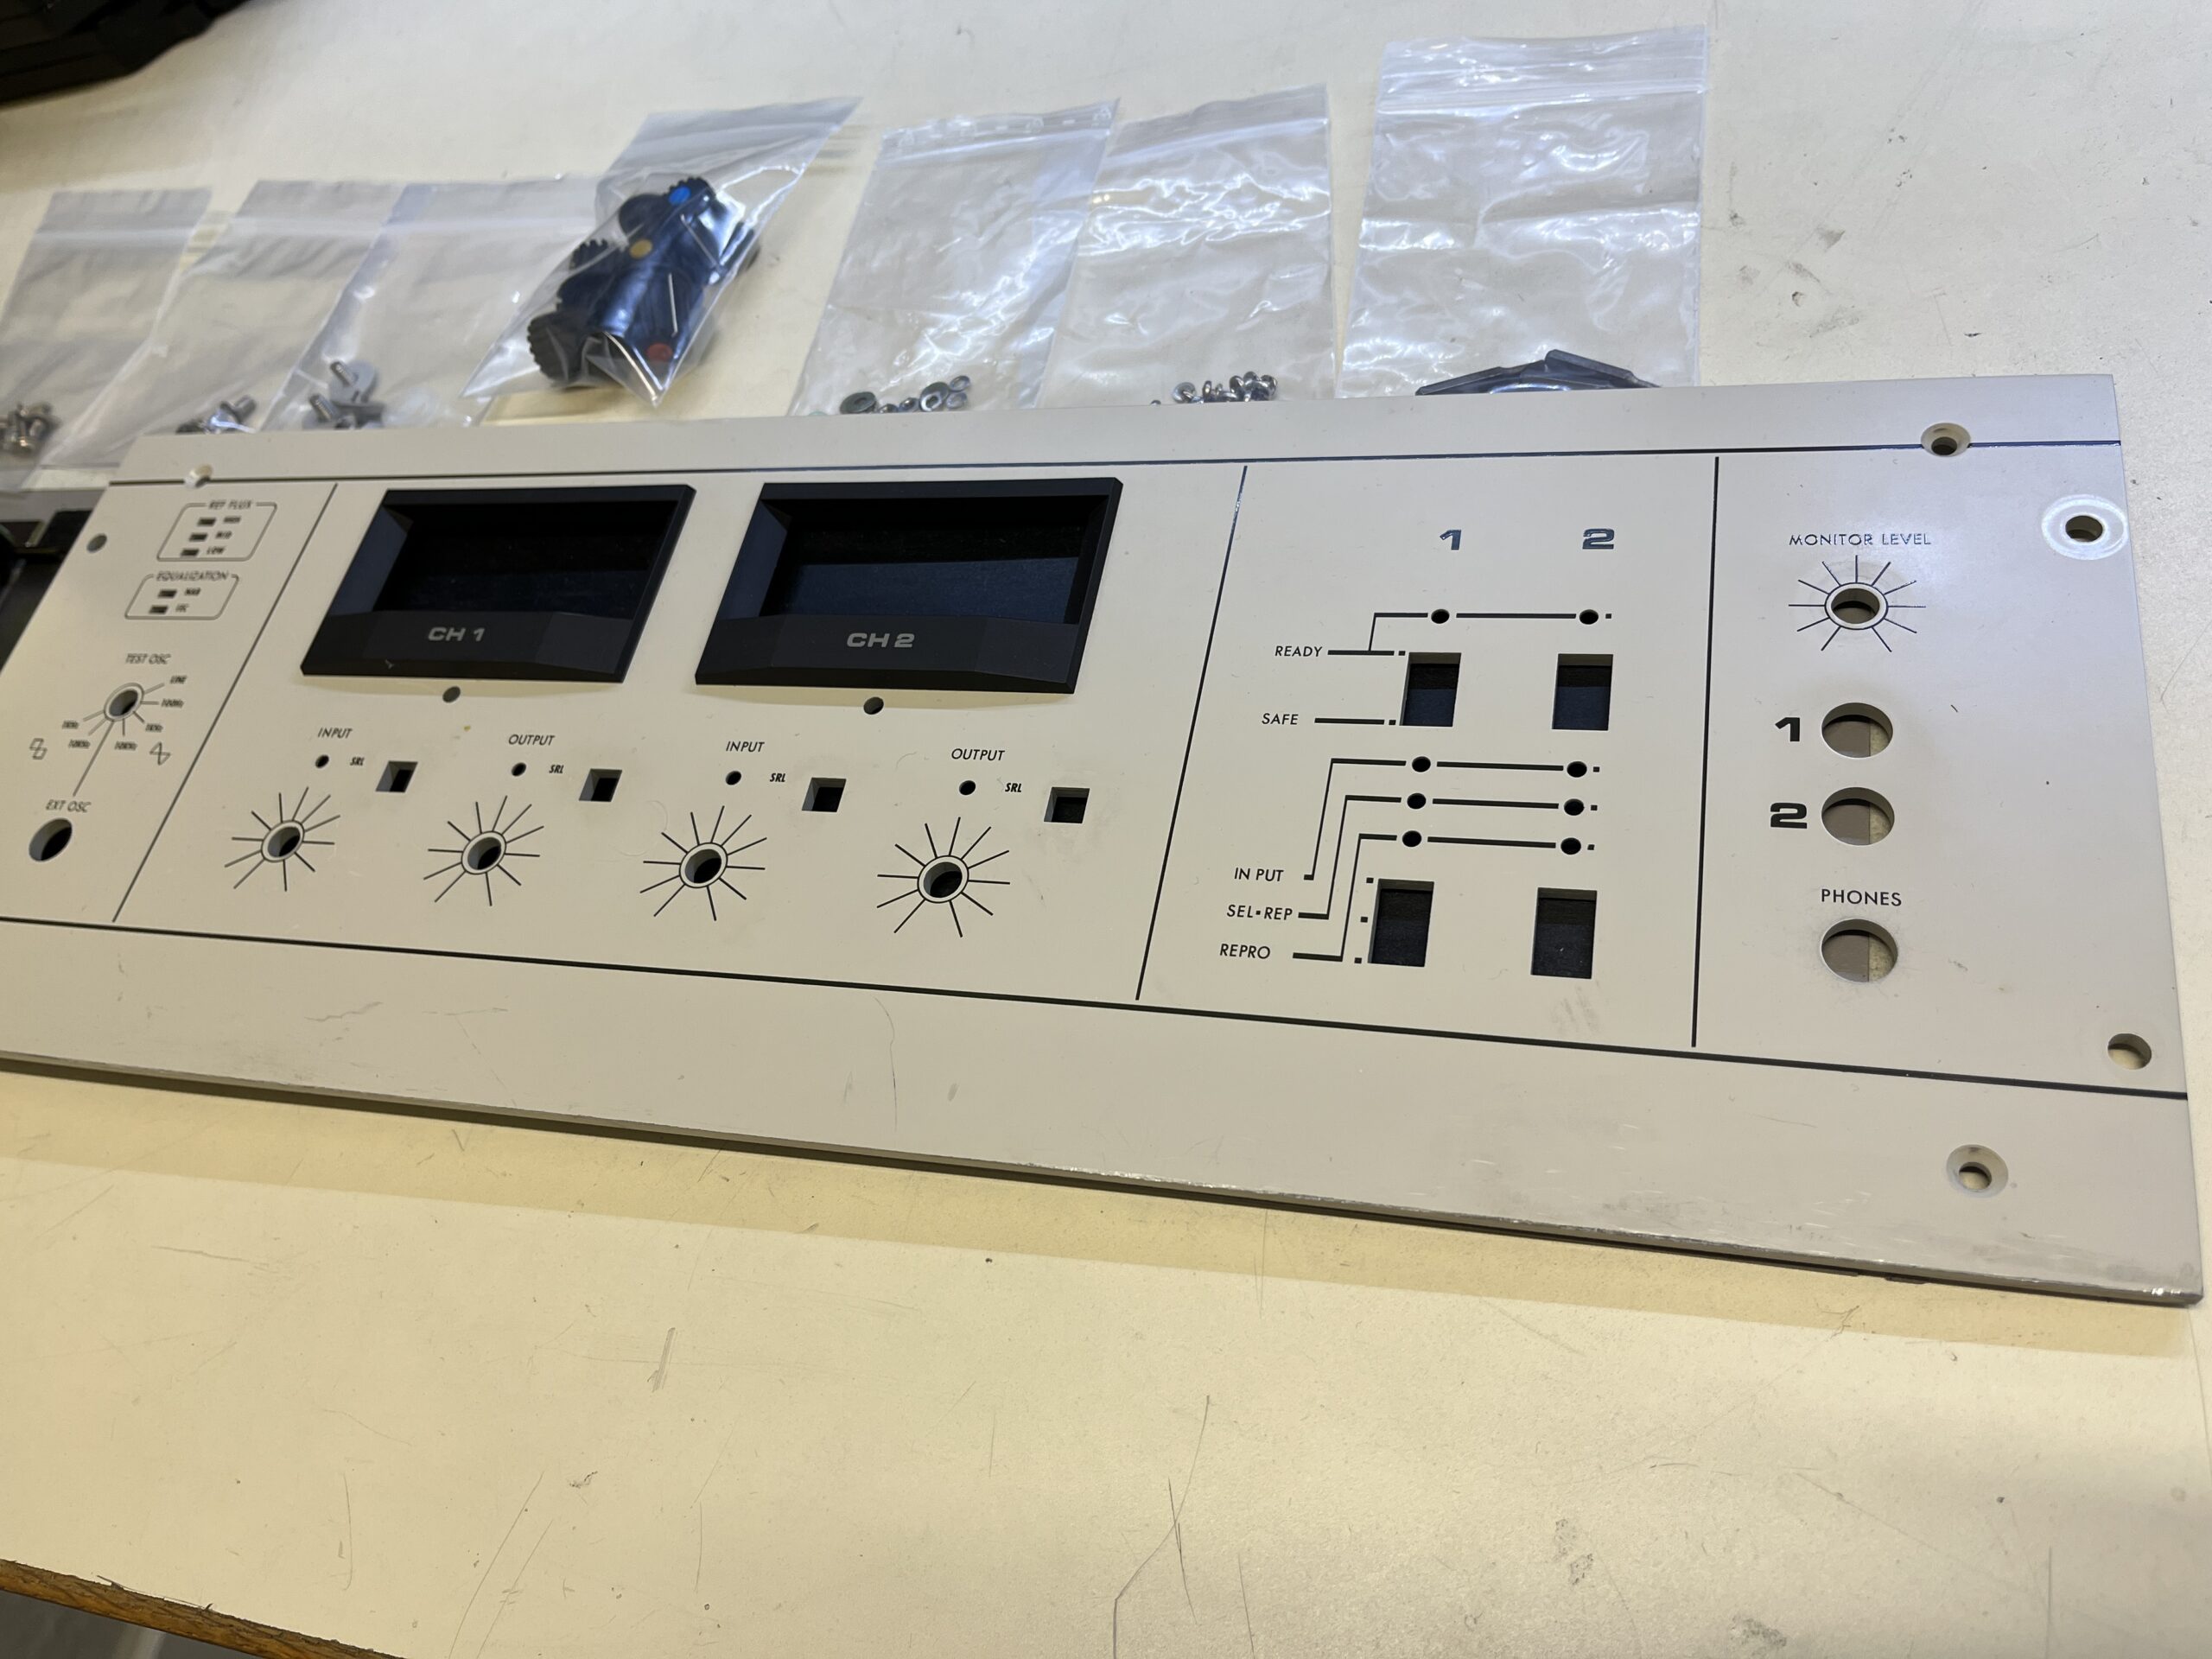
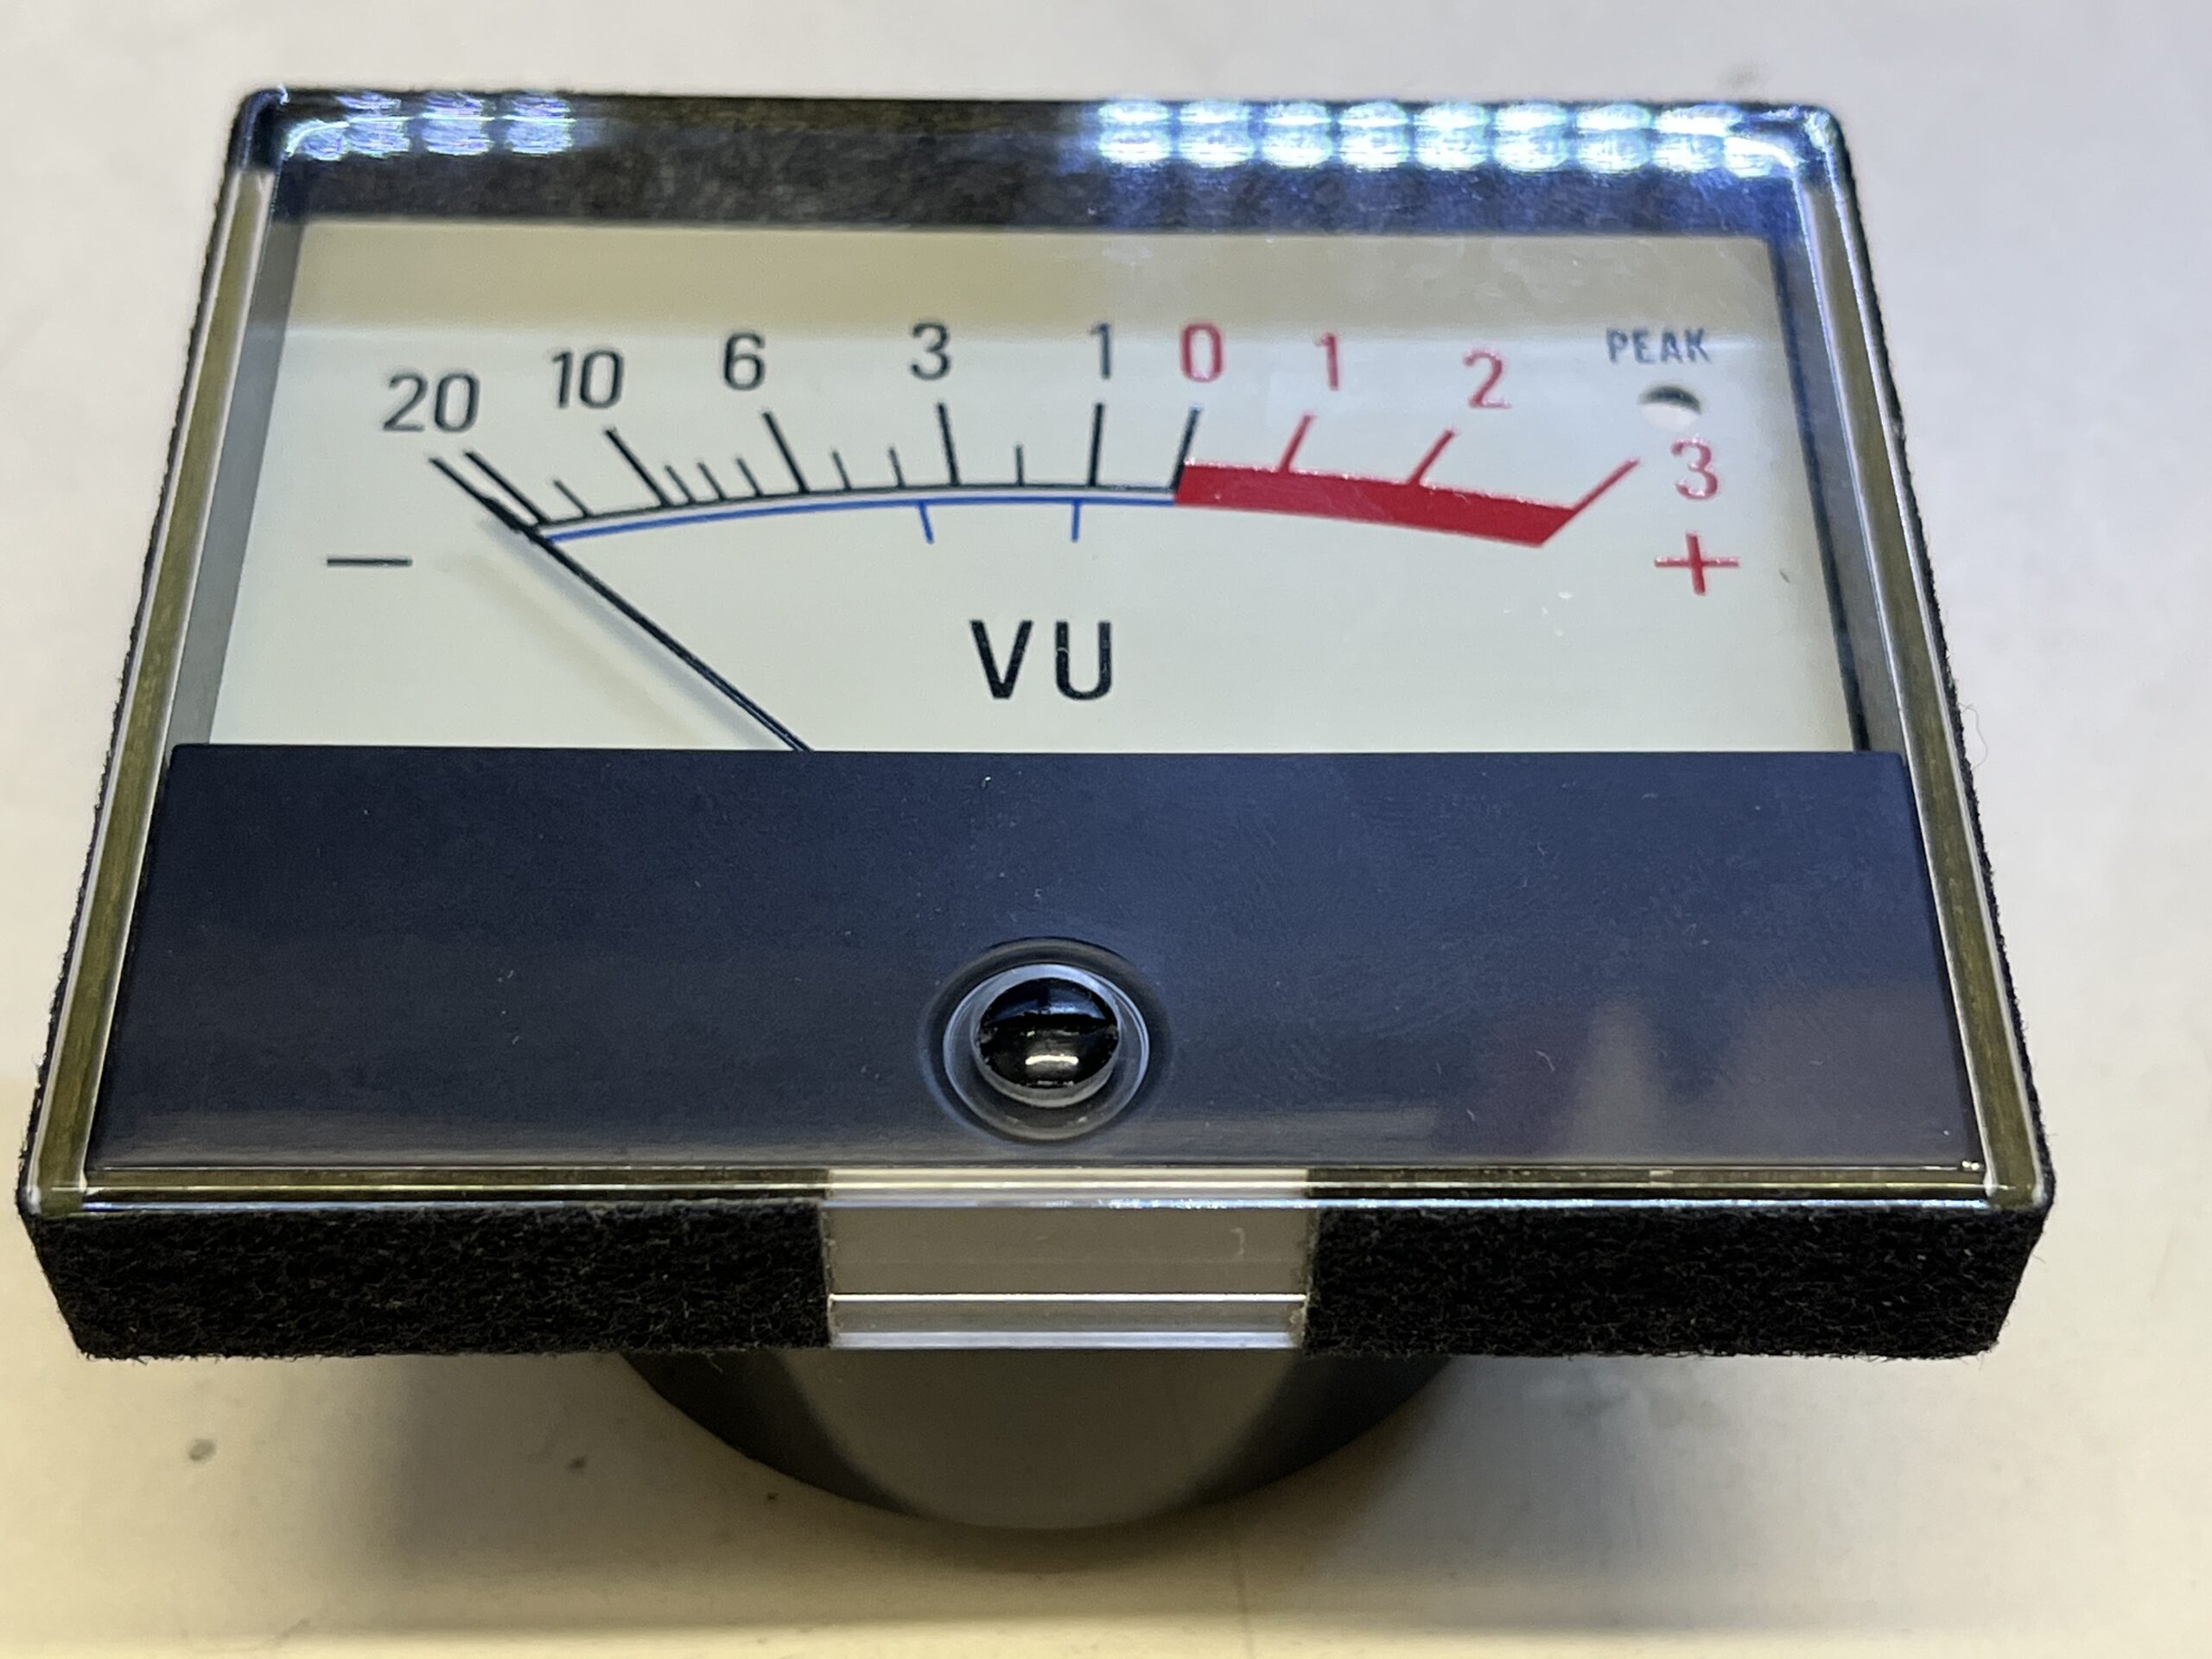
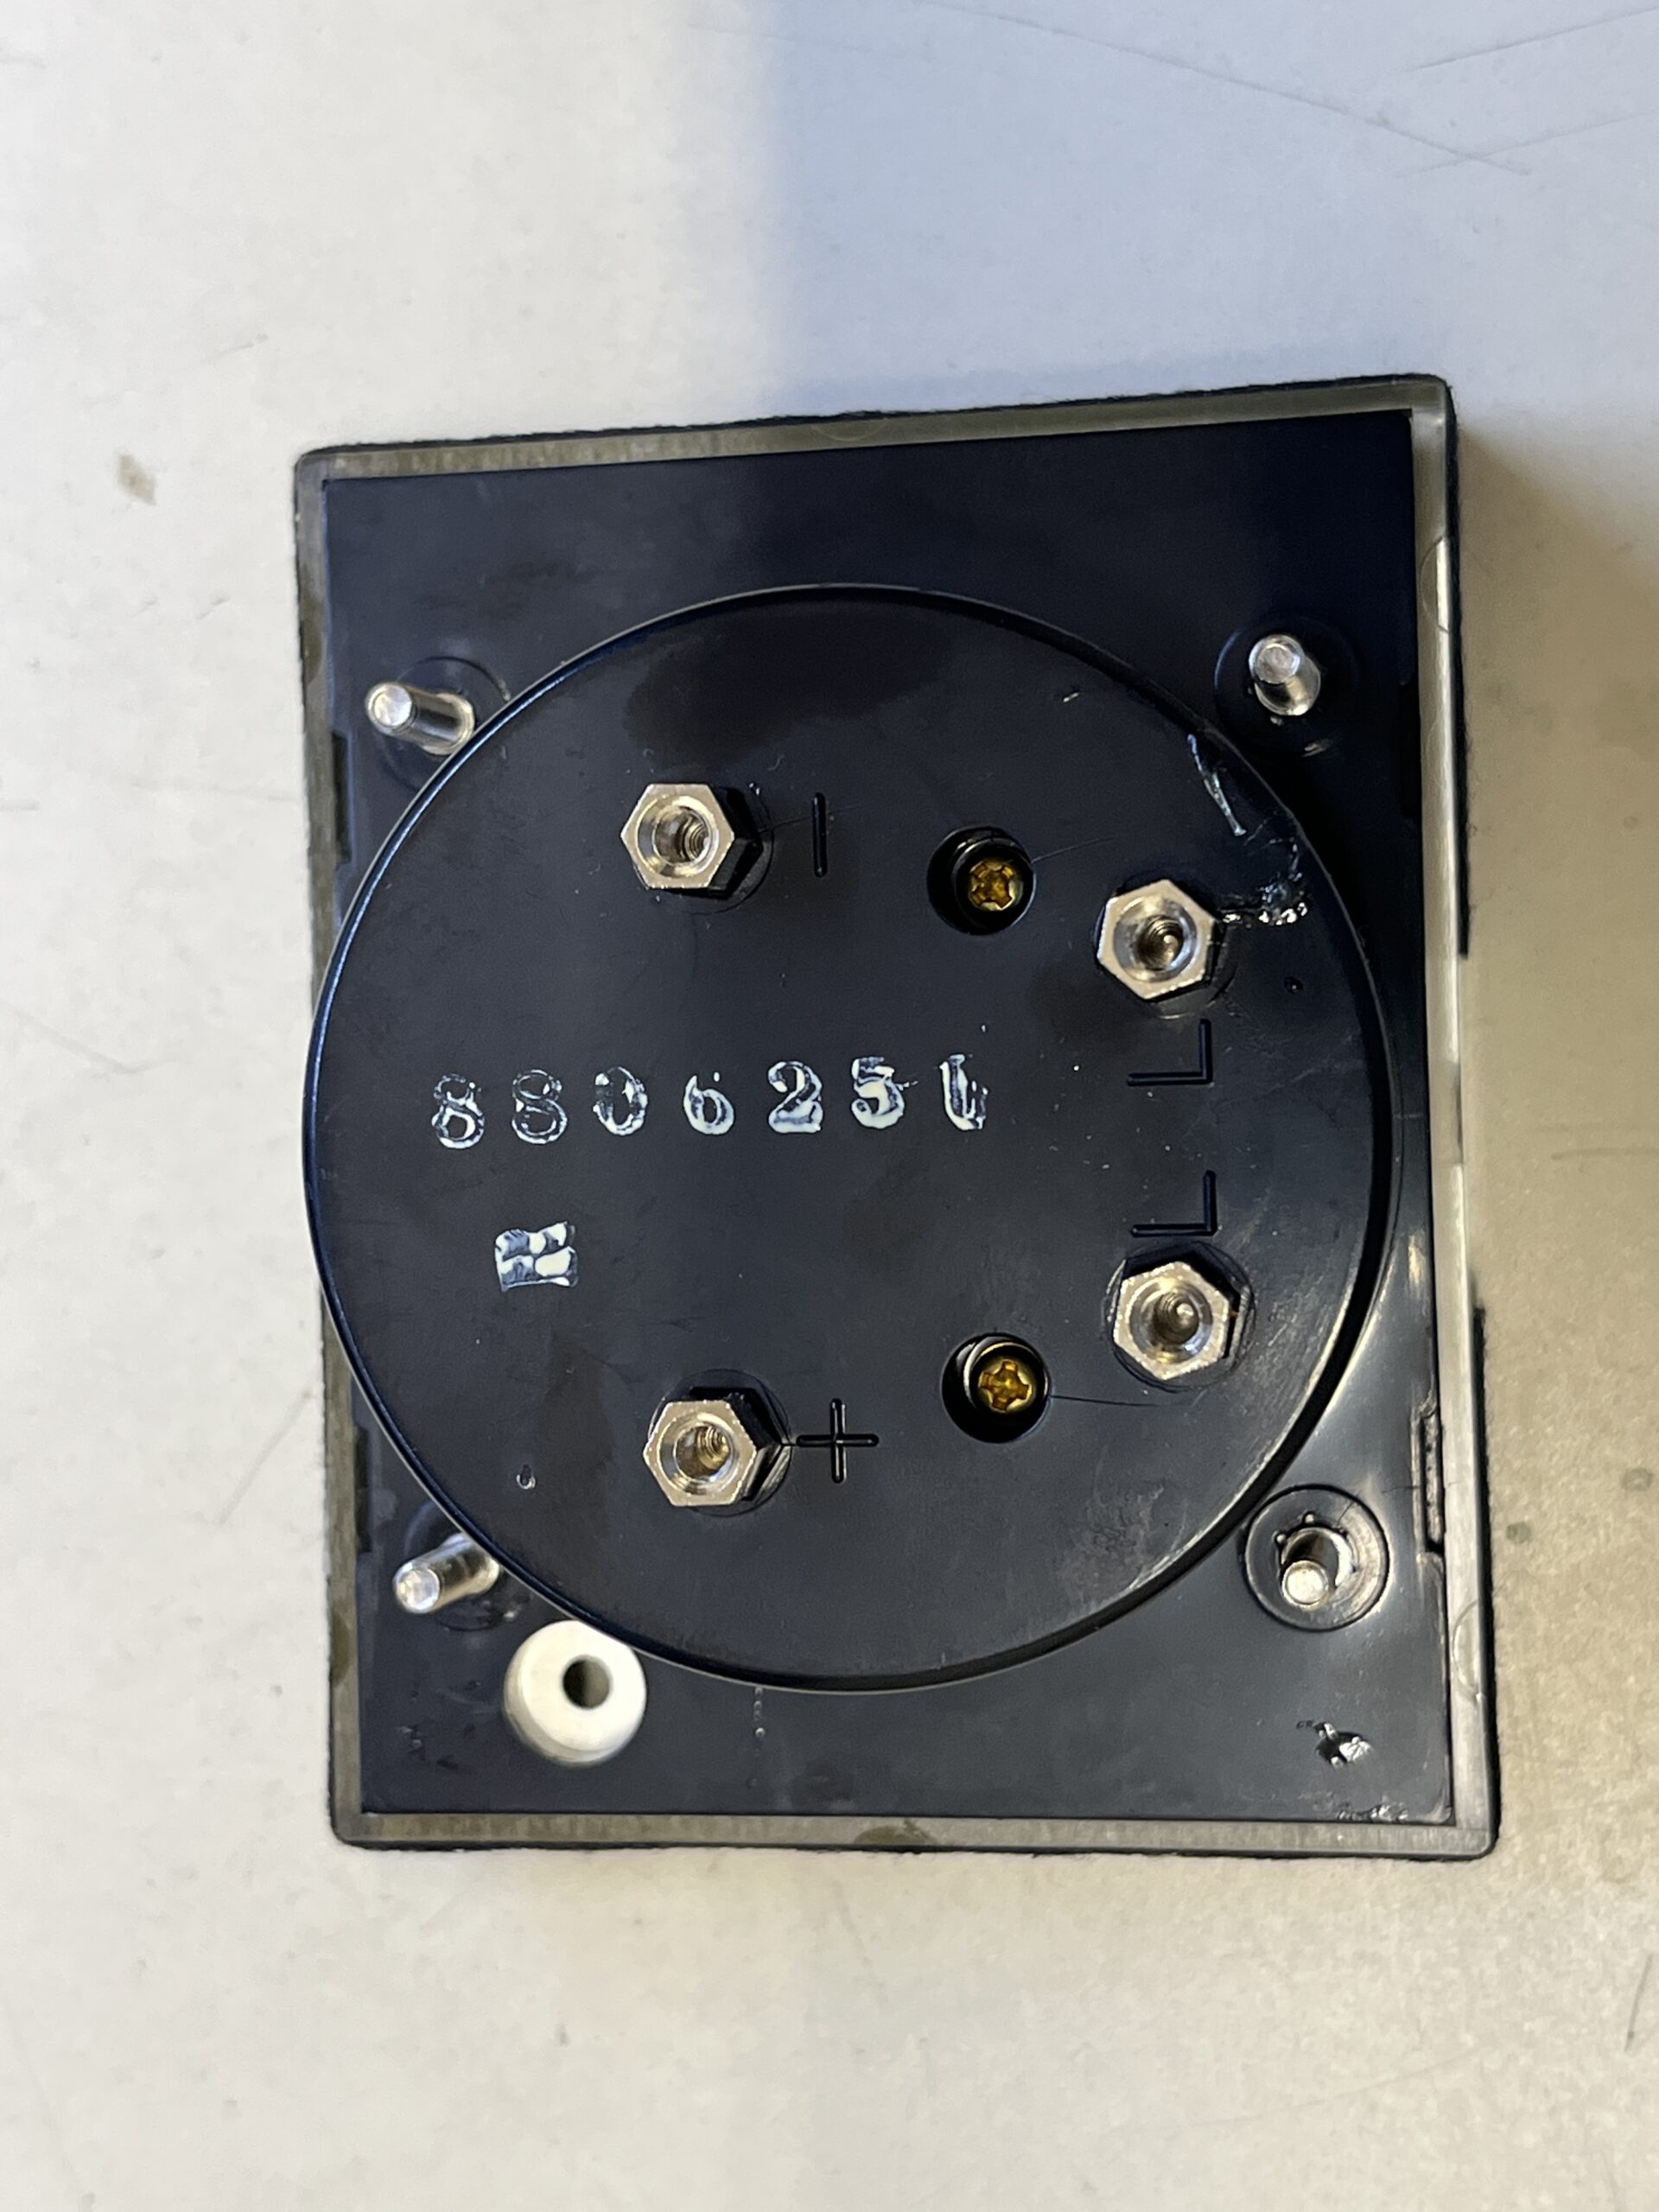
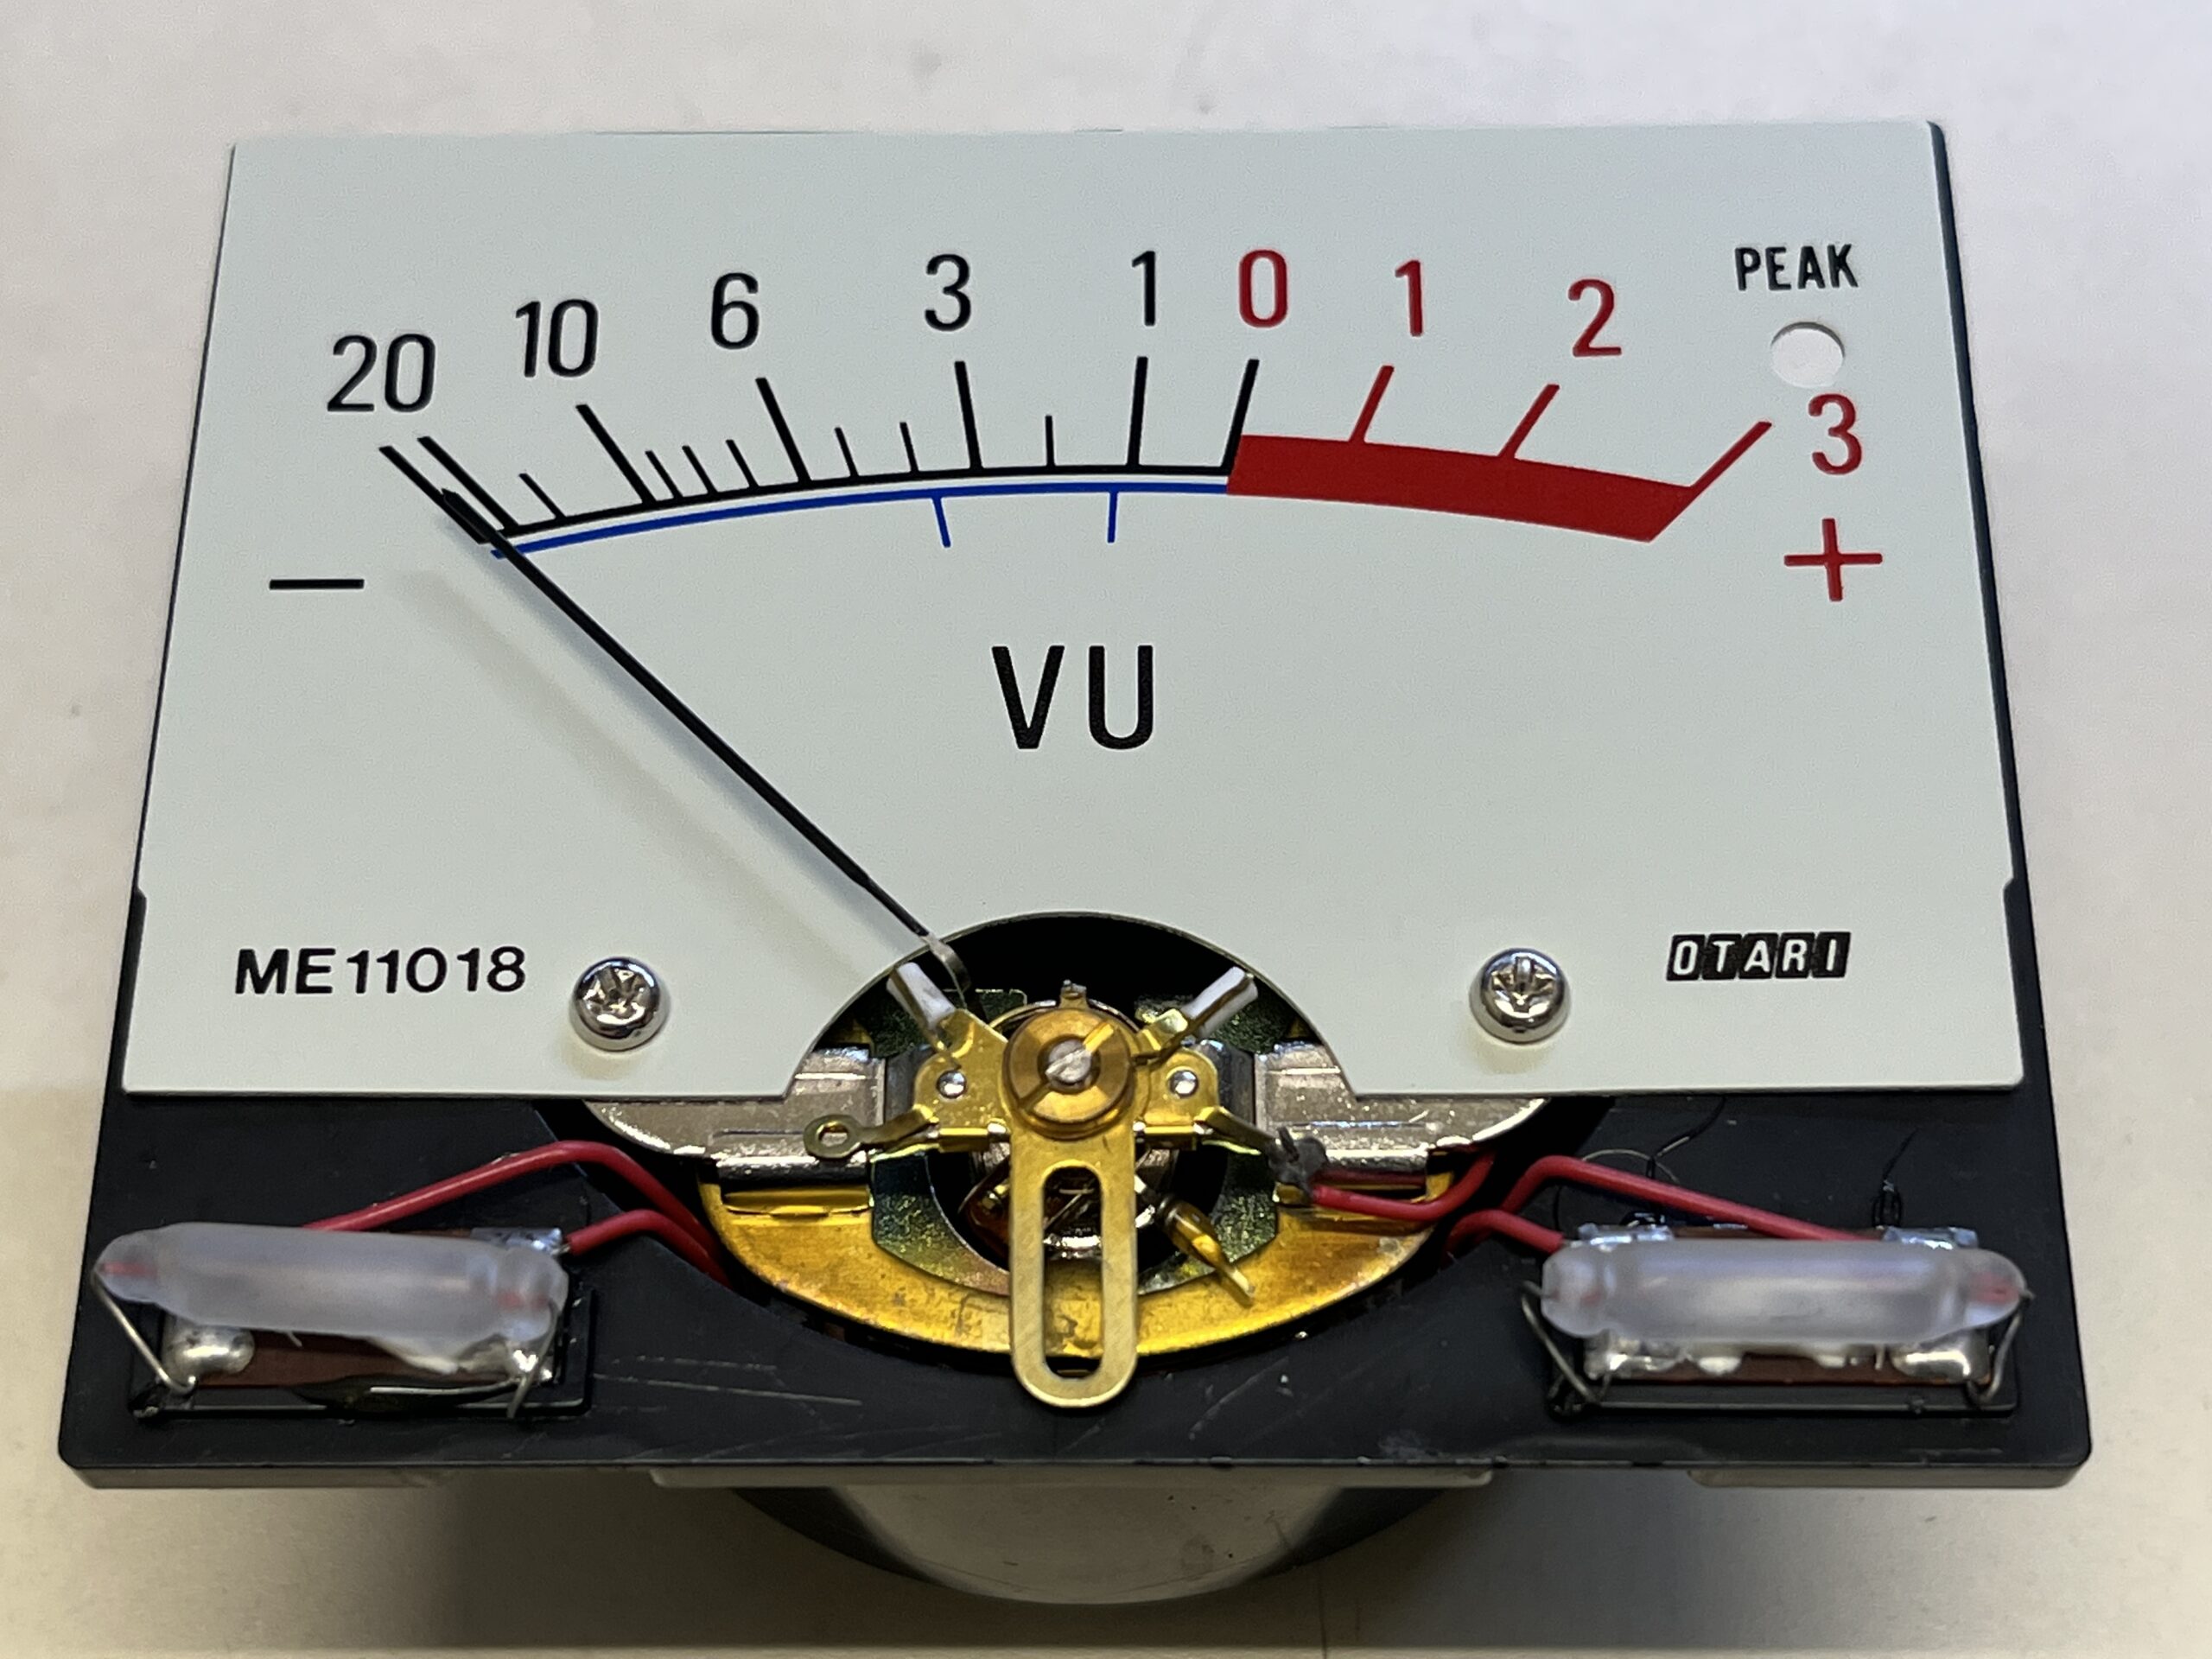
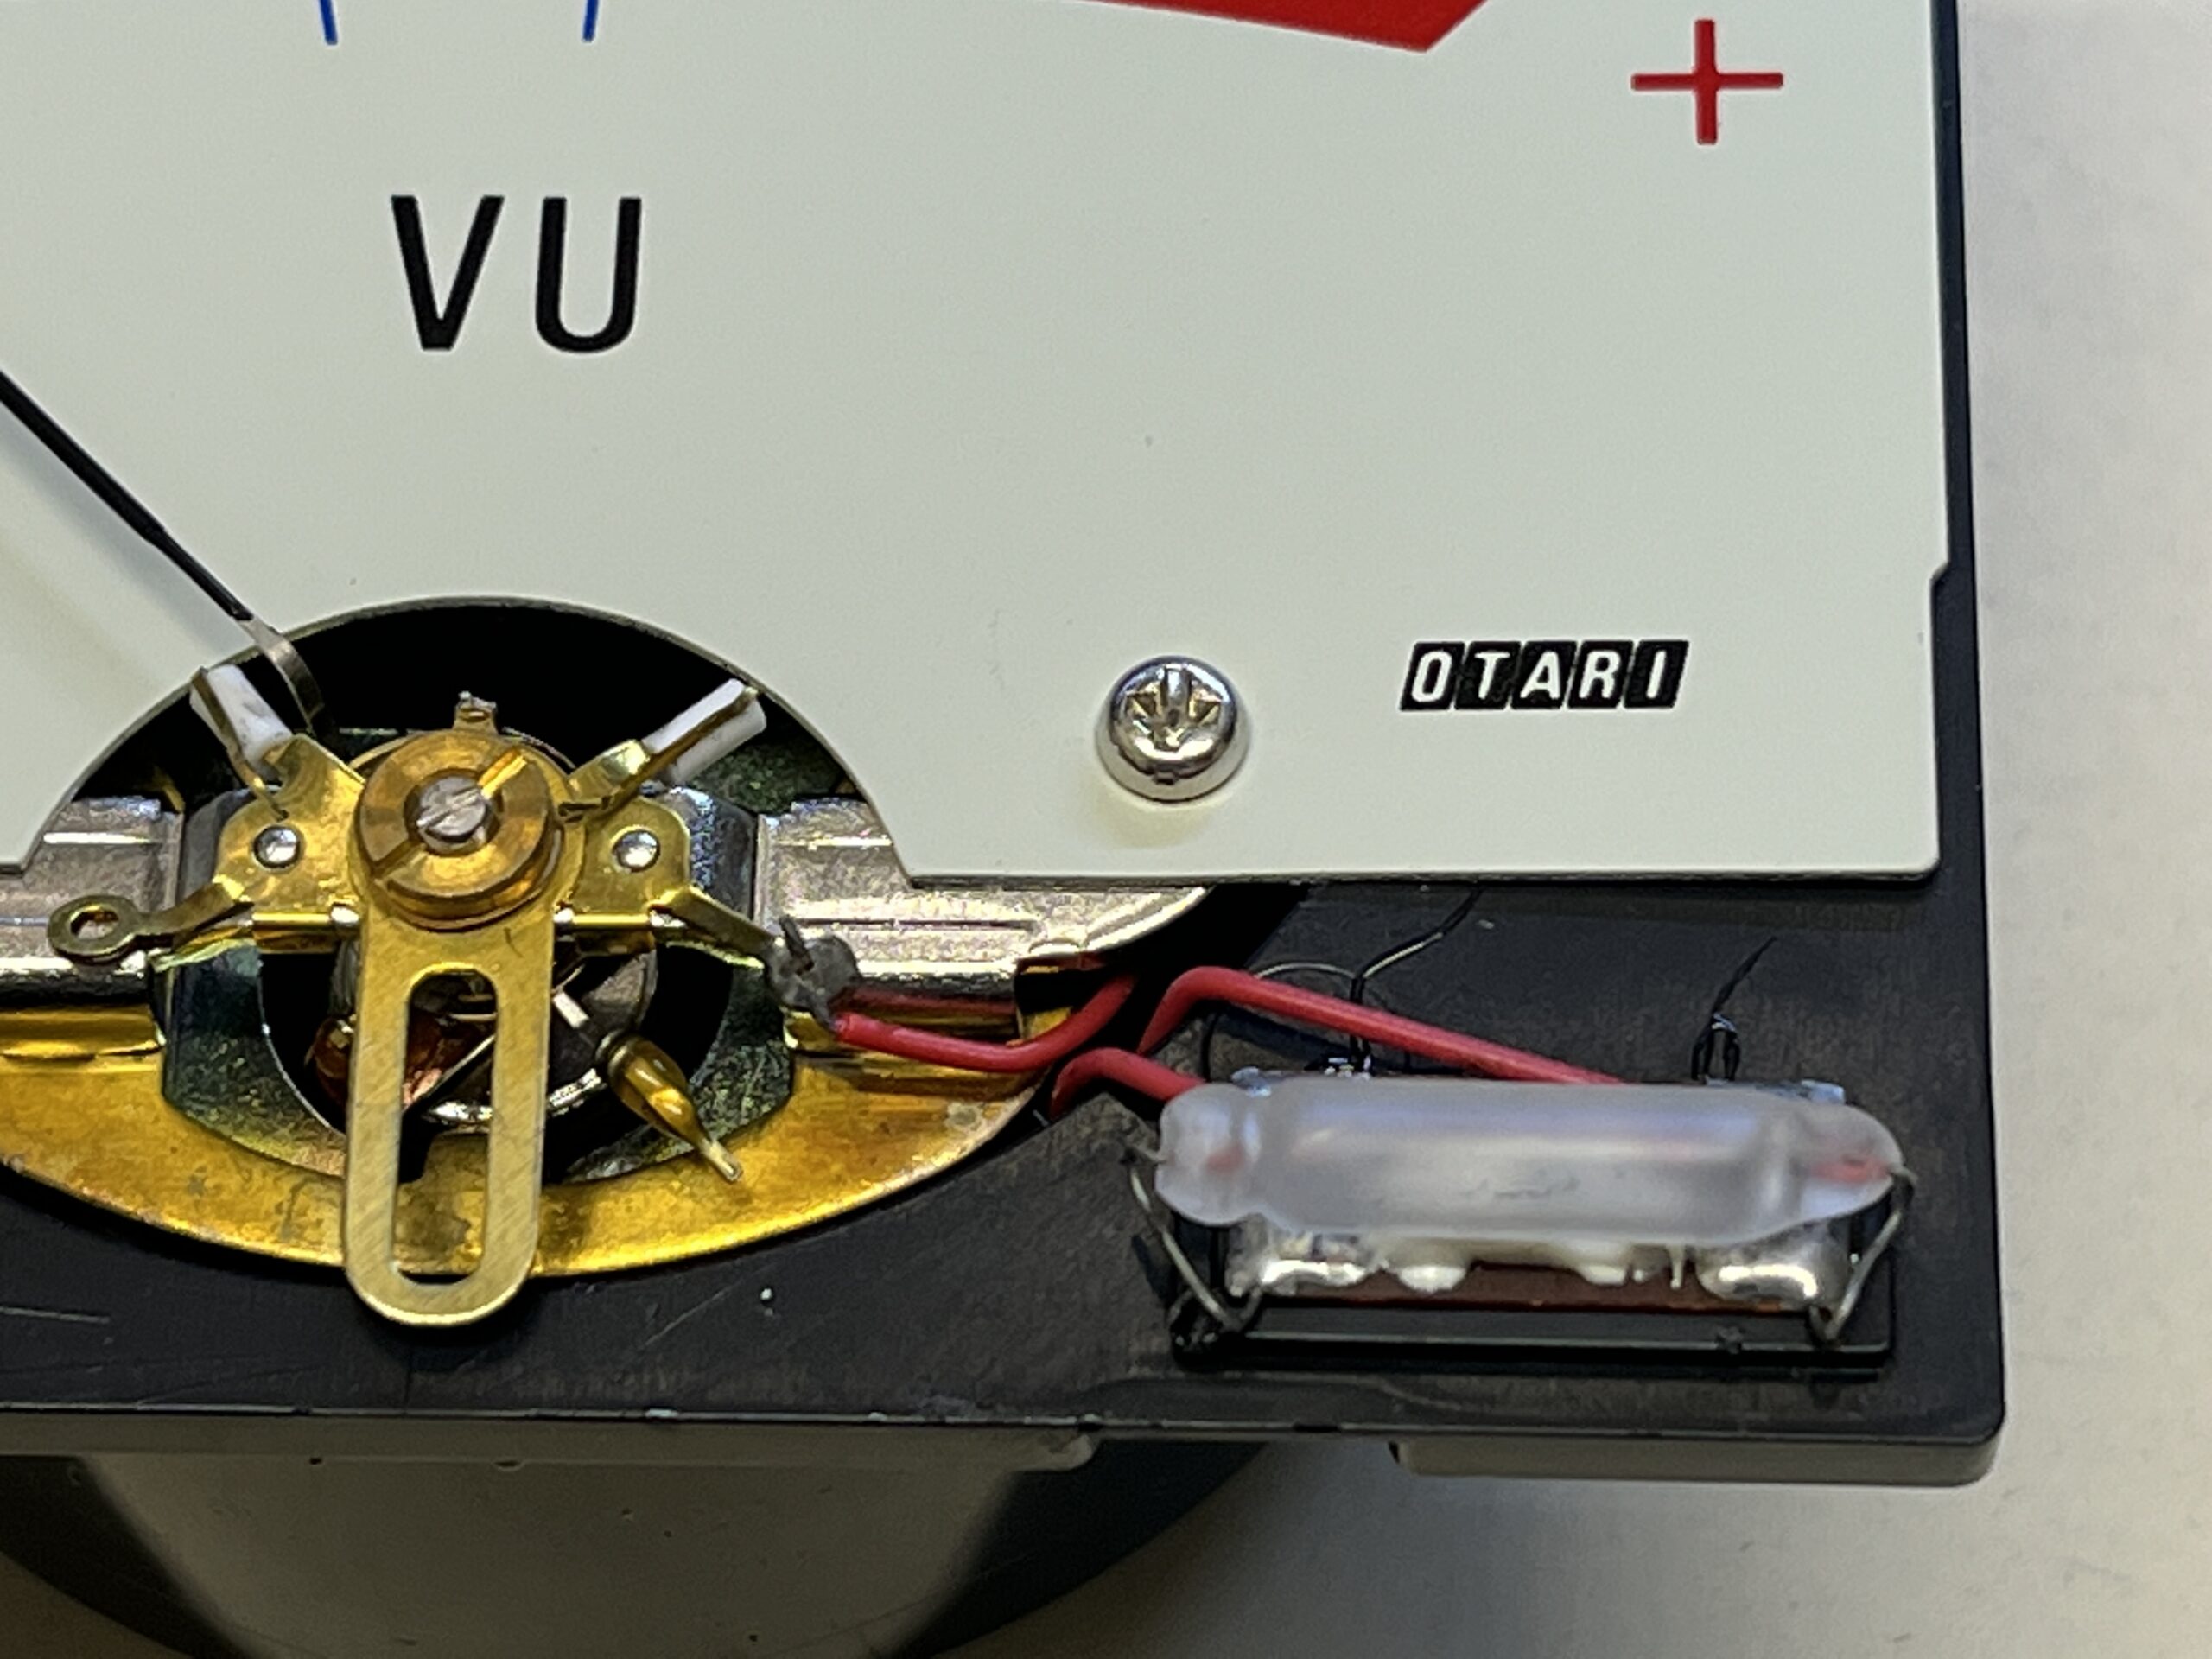
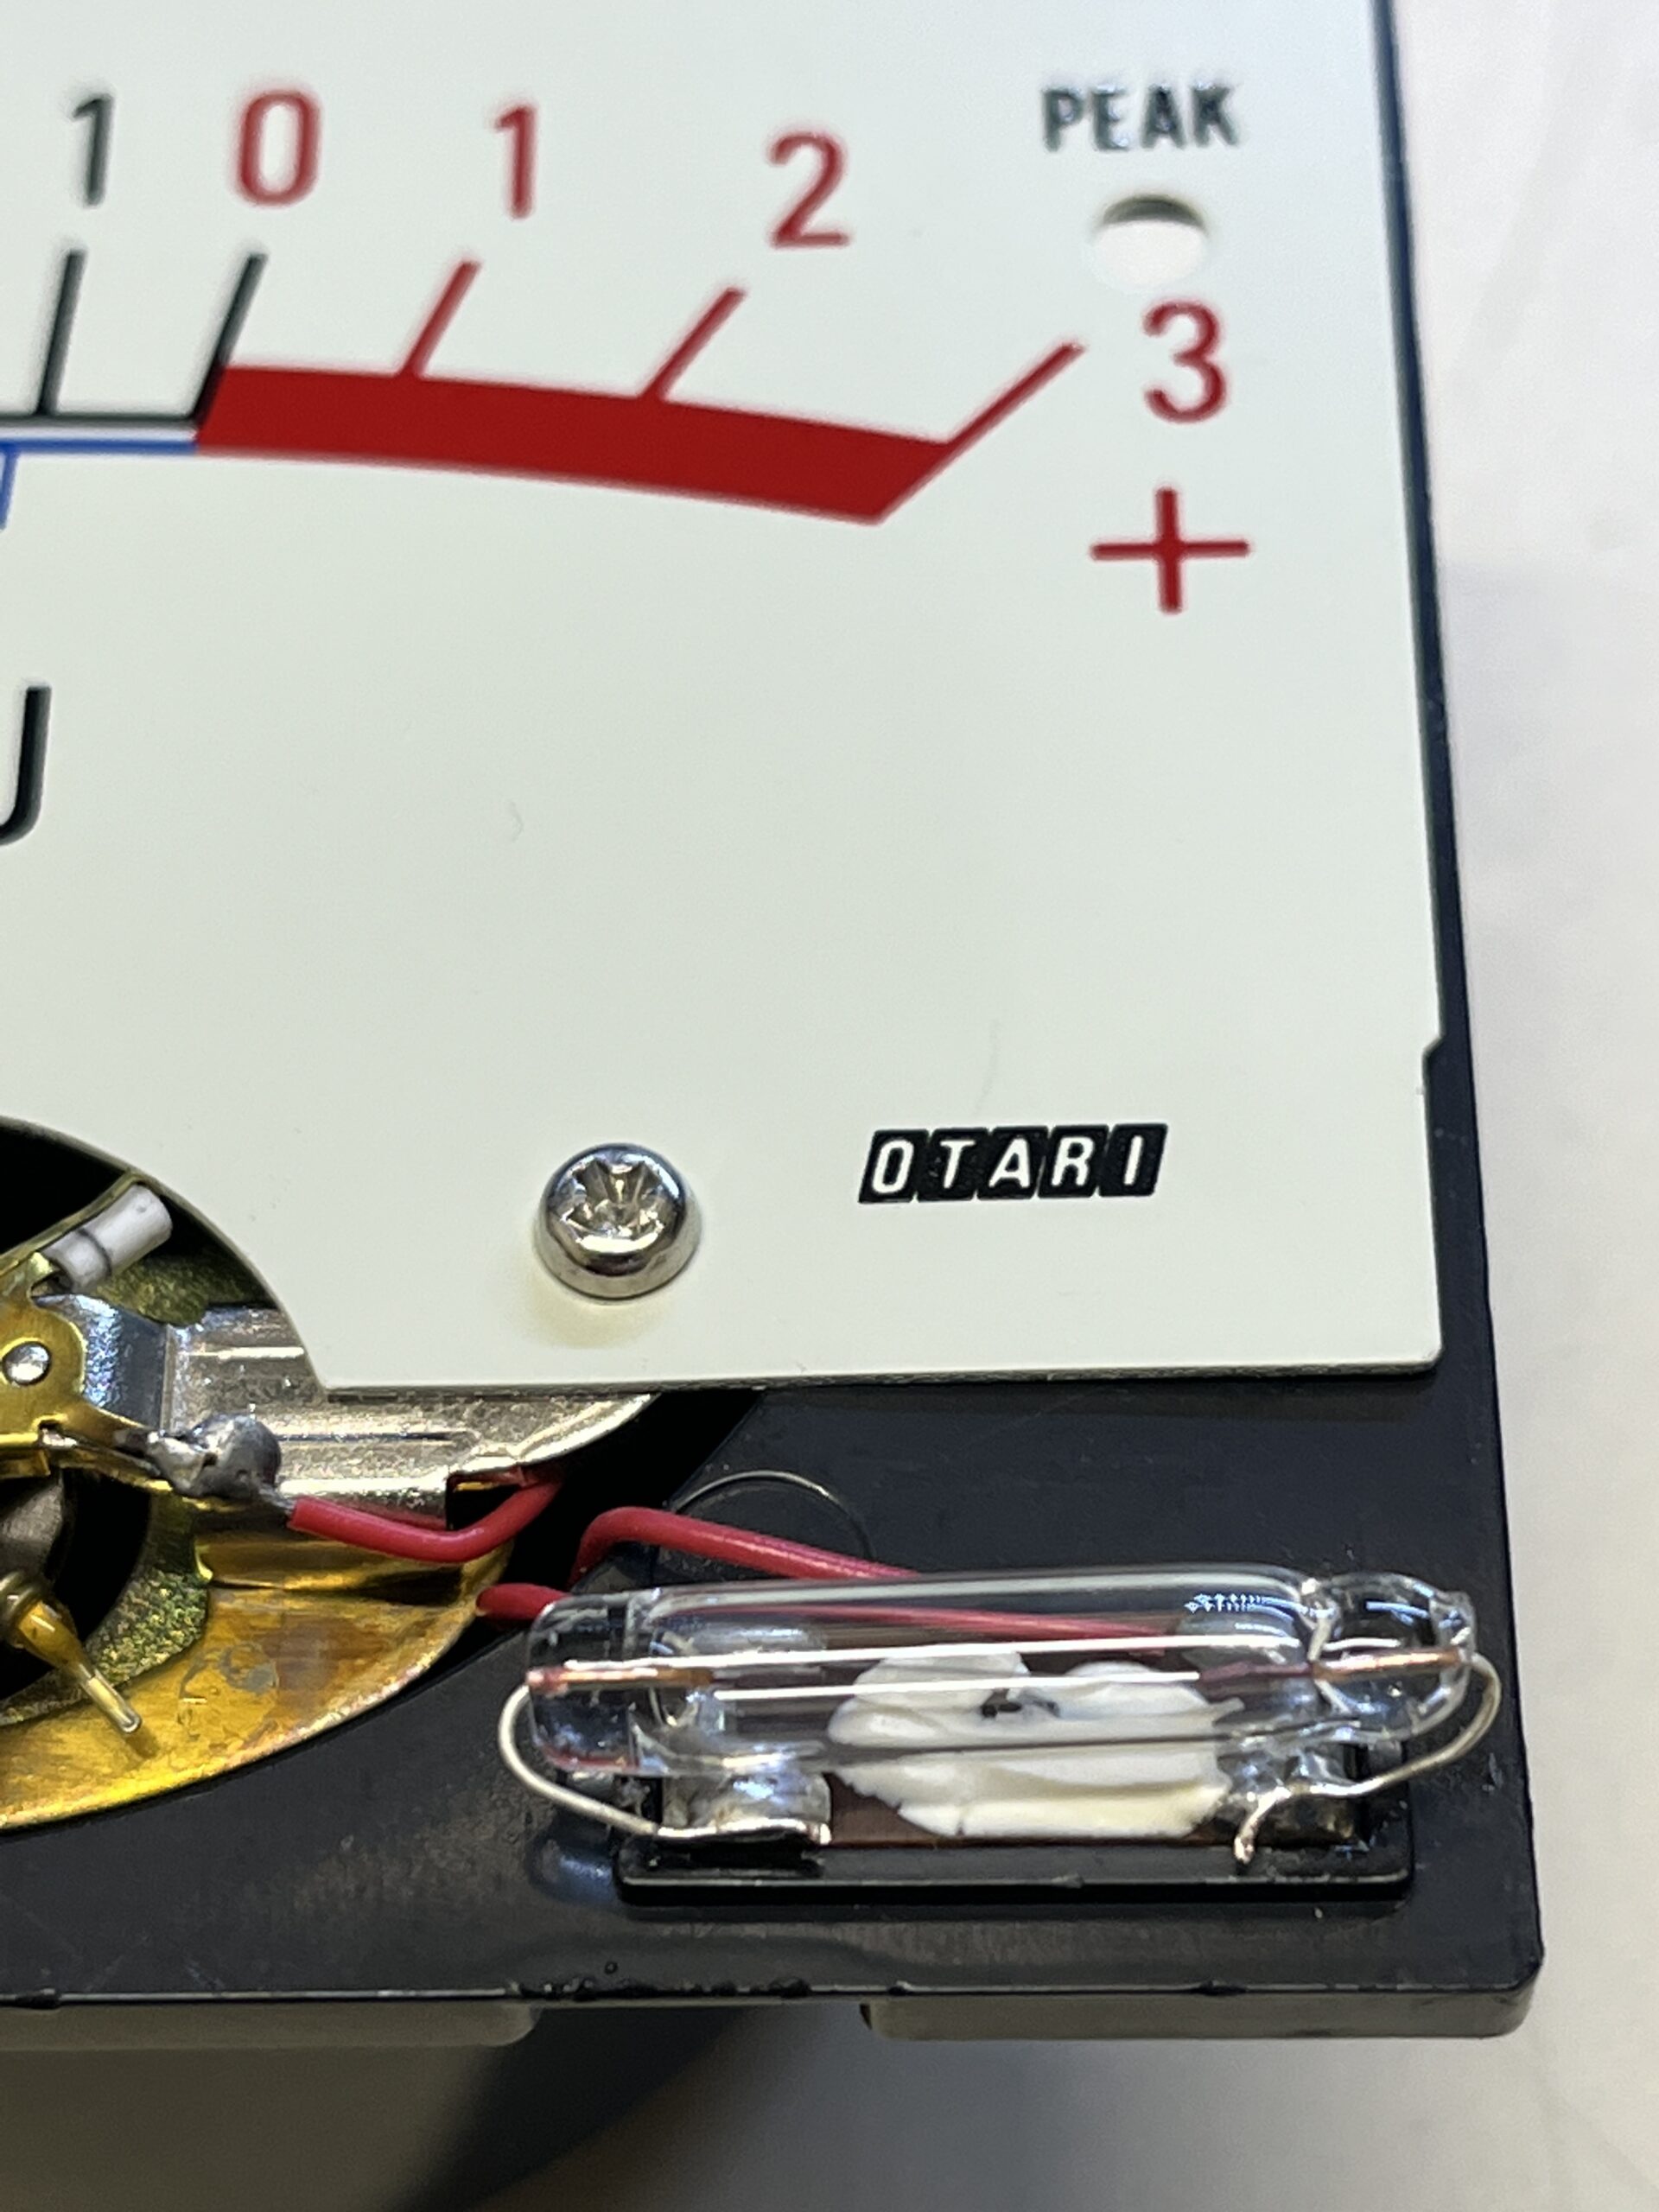
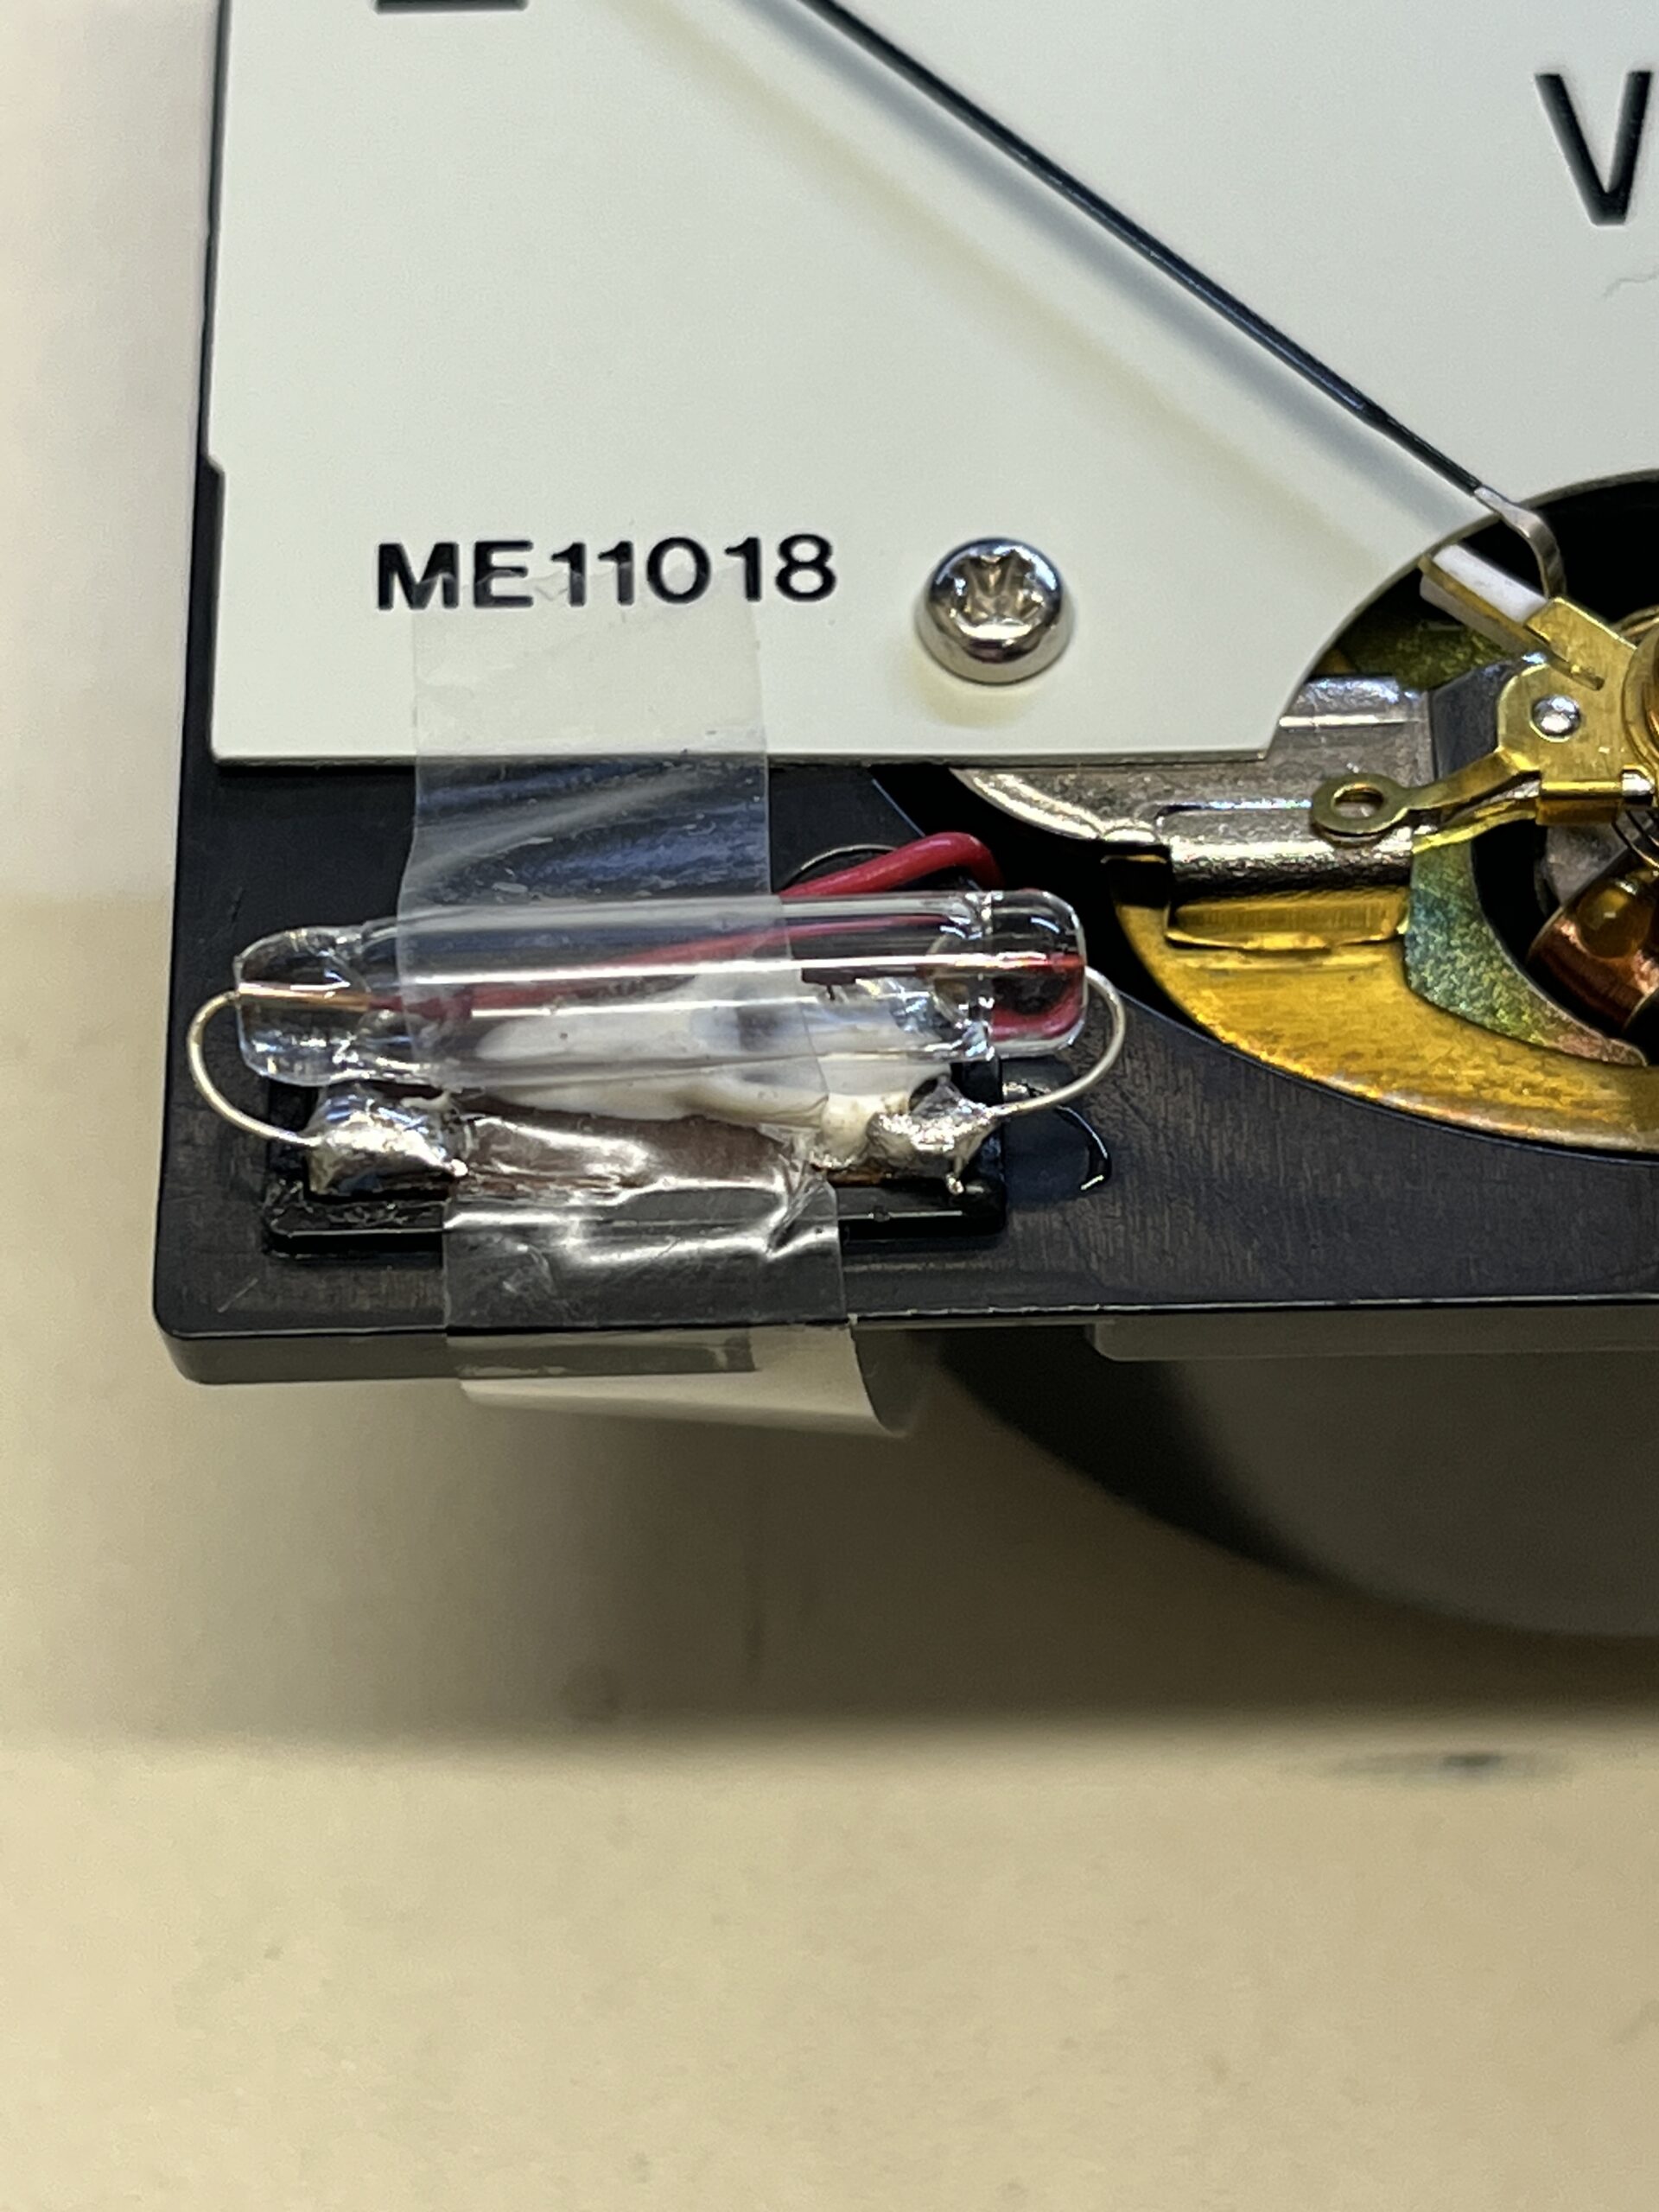
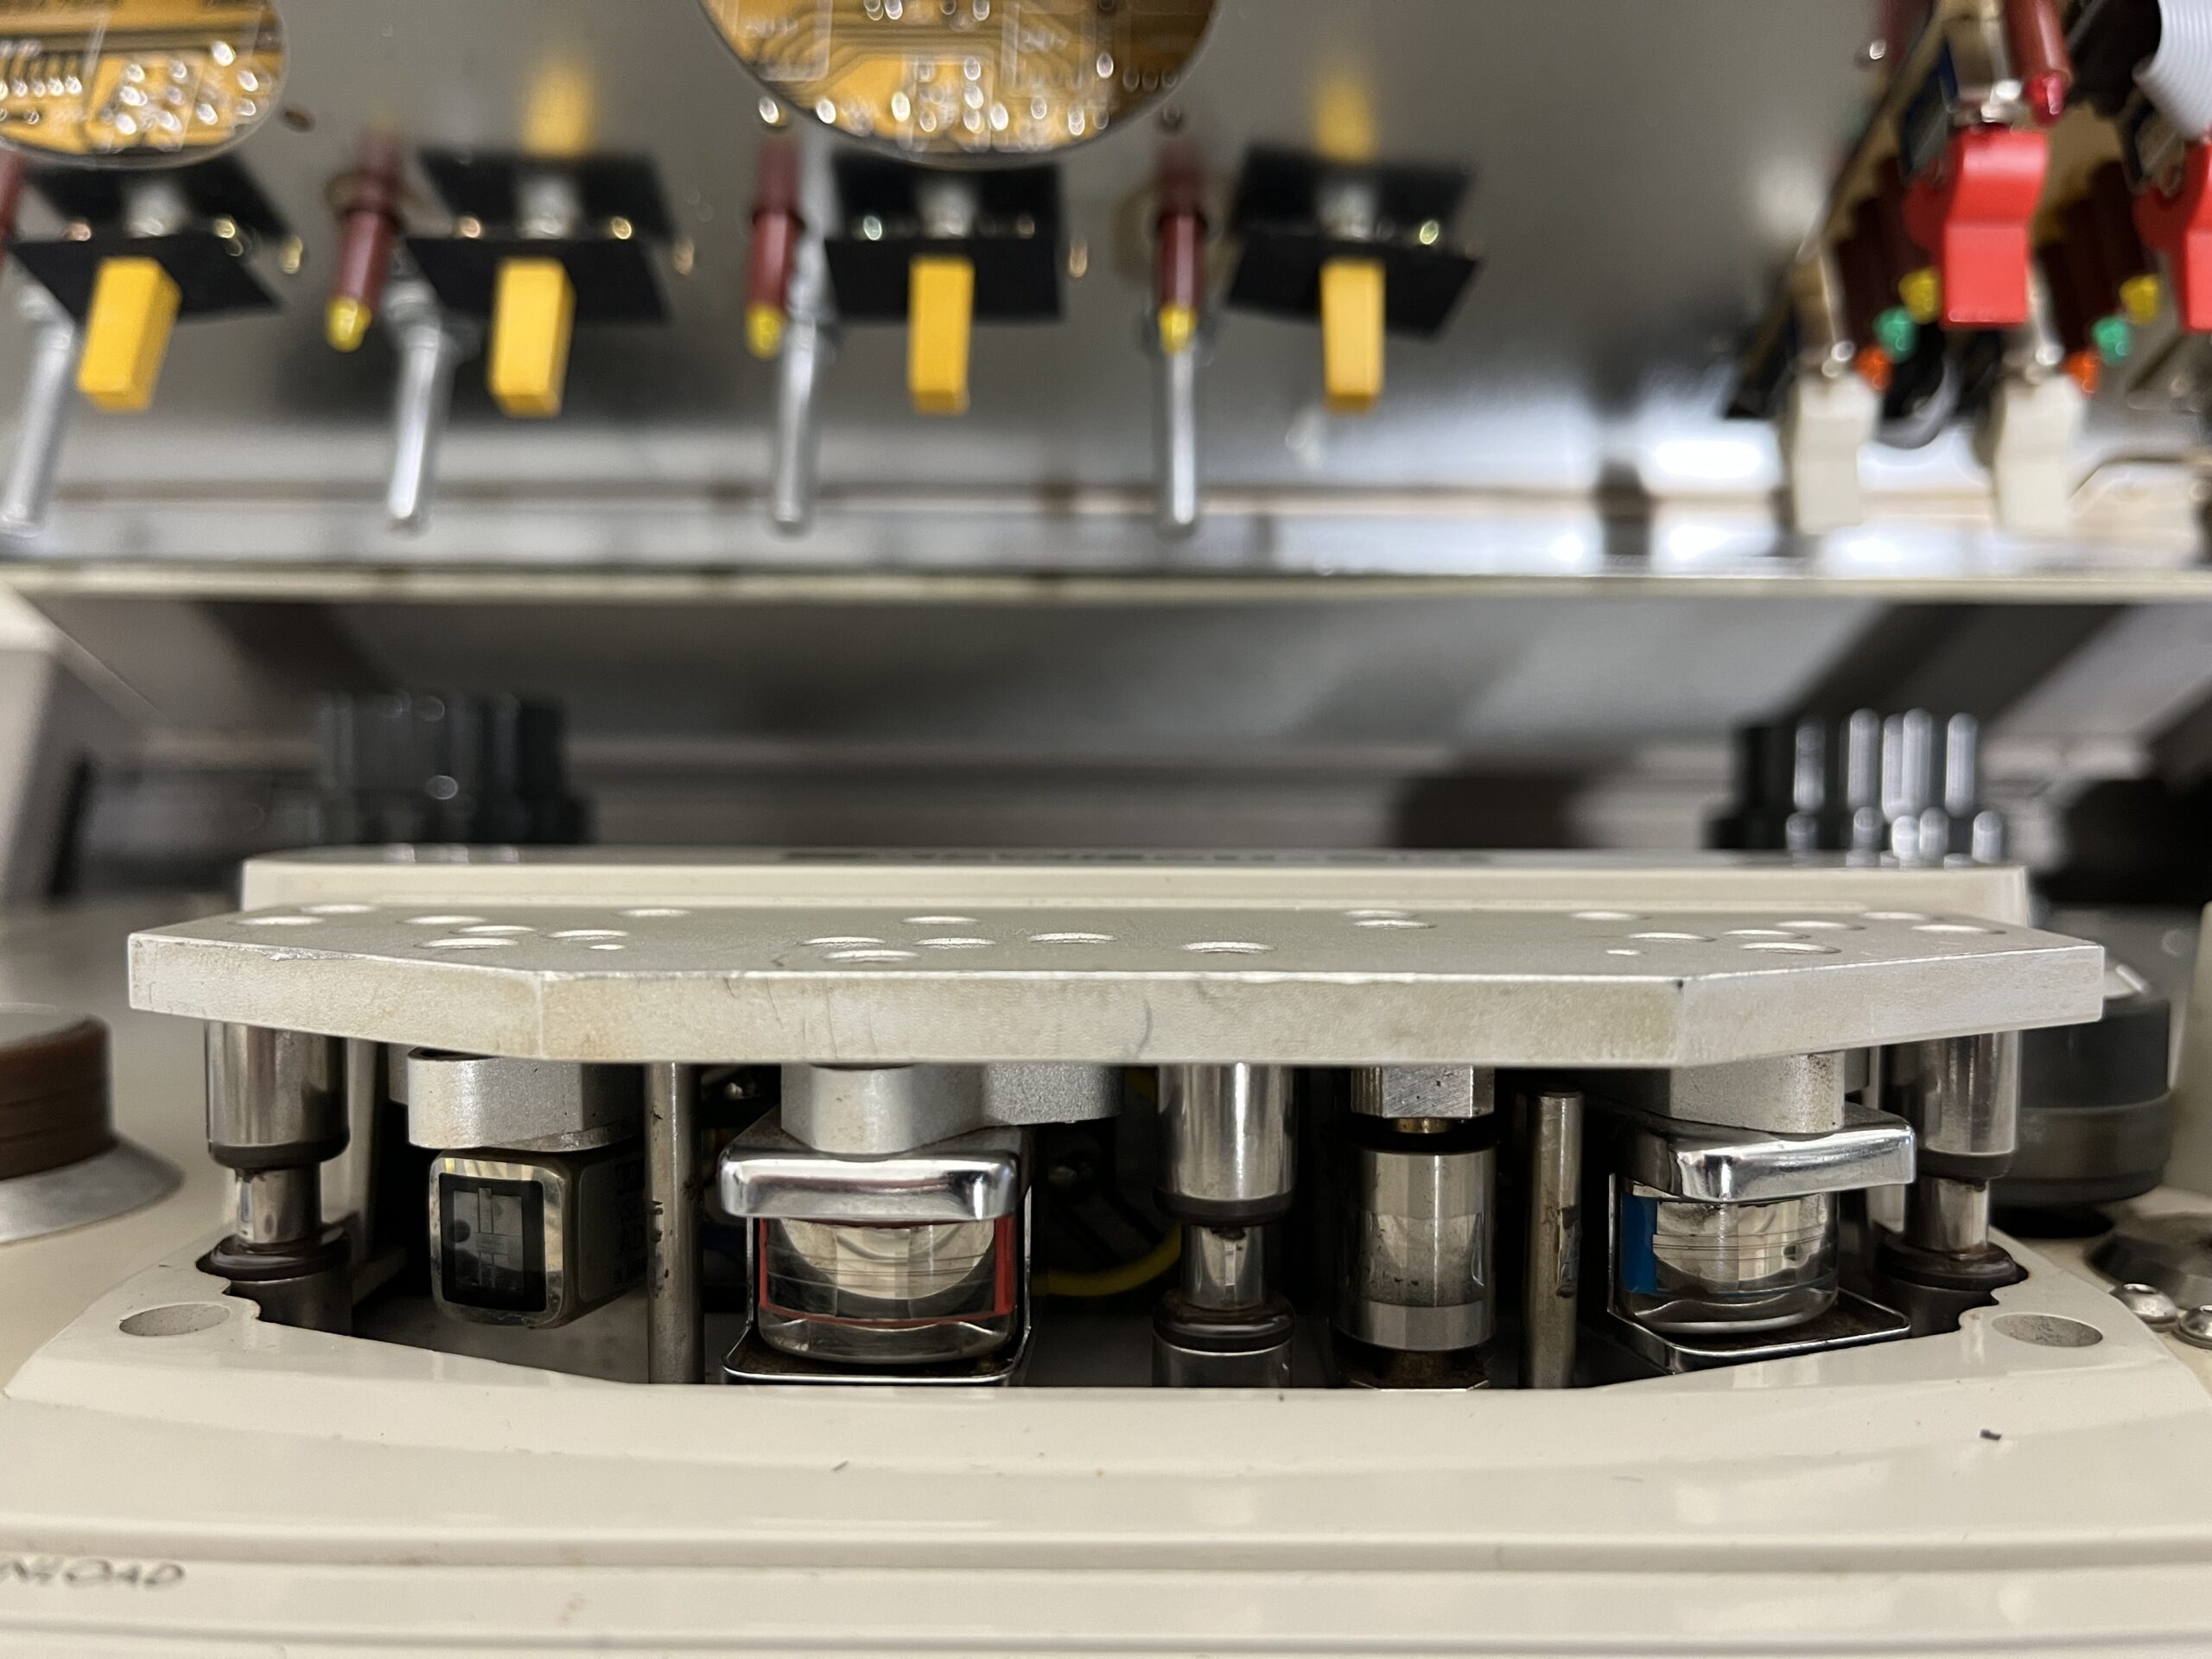
Replacing the lights on the UV meters and transport controls are super easy. The original incandescent light bulbs were frosted but clear replacements work great. The UV meters use 8v (Axial Miniature lamp 100mA with leads) and the transport buttons use 5v (T1 3mm Pilot Lamp 60mA). When opening the UV meters be sure that the plastic adjustment pin is aligned before snapping the cover back on. Taping the bulb on before soldering definitely helps. For the transport controls you just gently pinch and pull the cap cover off. The bulb is inserted through a loop in the sides. Get the service manual so you know how to take apart the unit. SEE Photos.


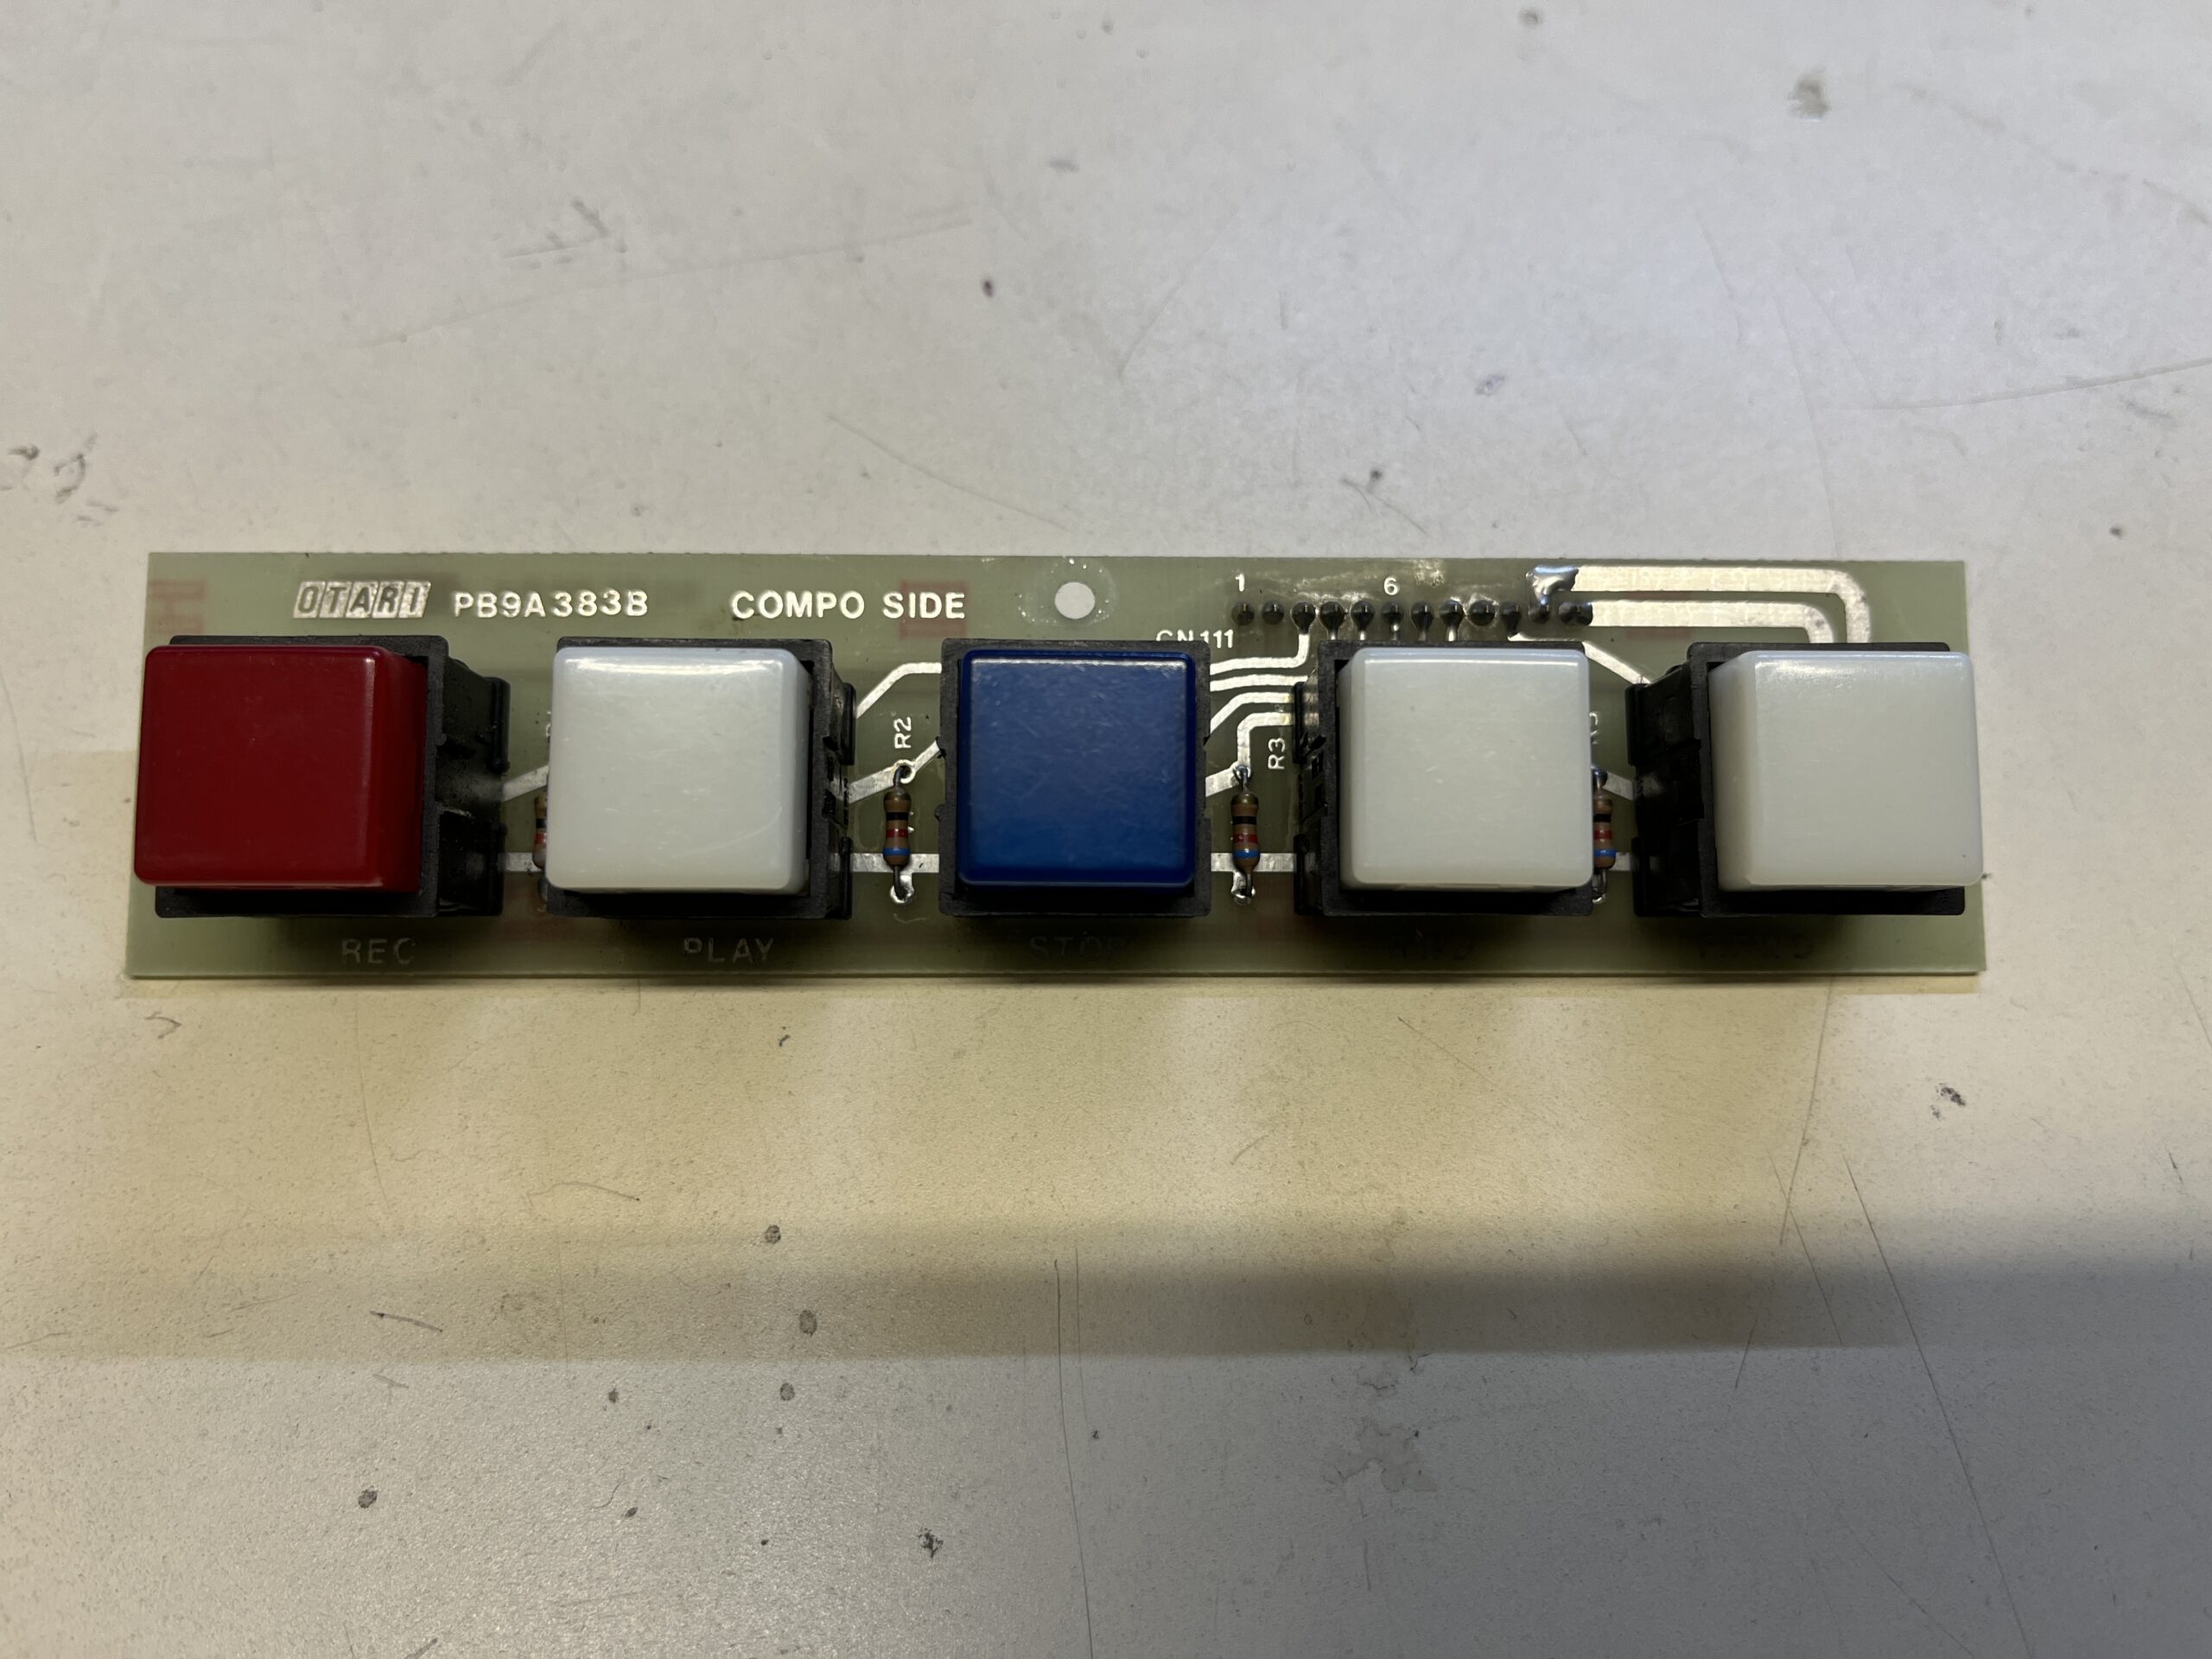
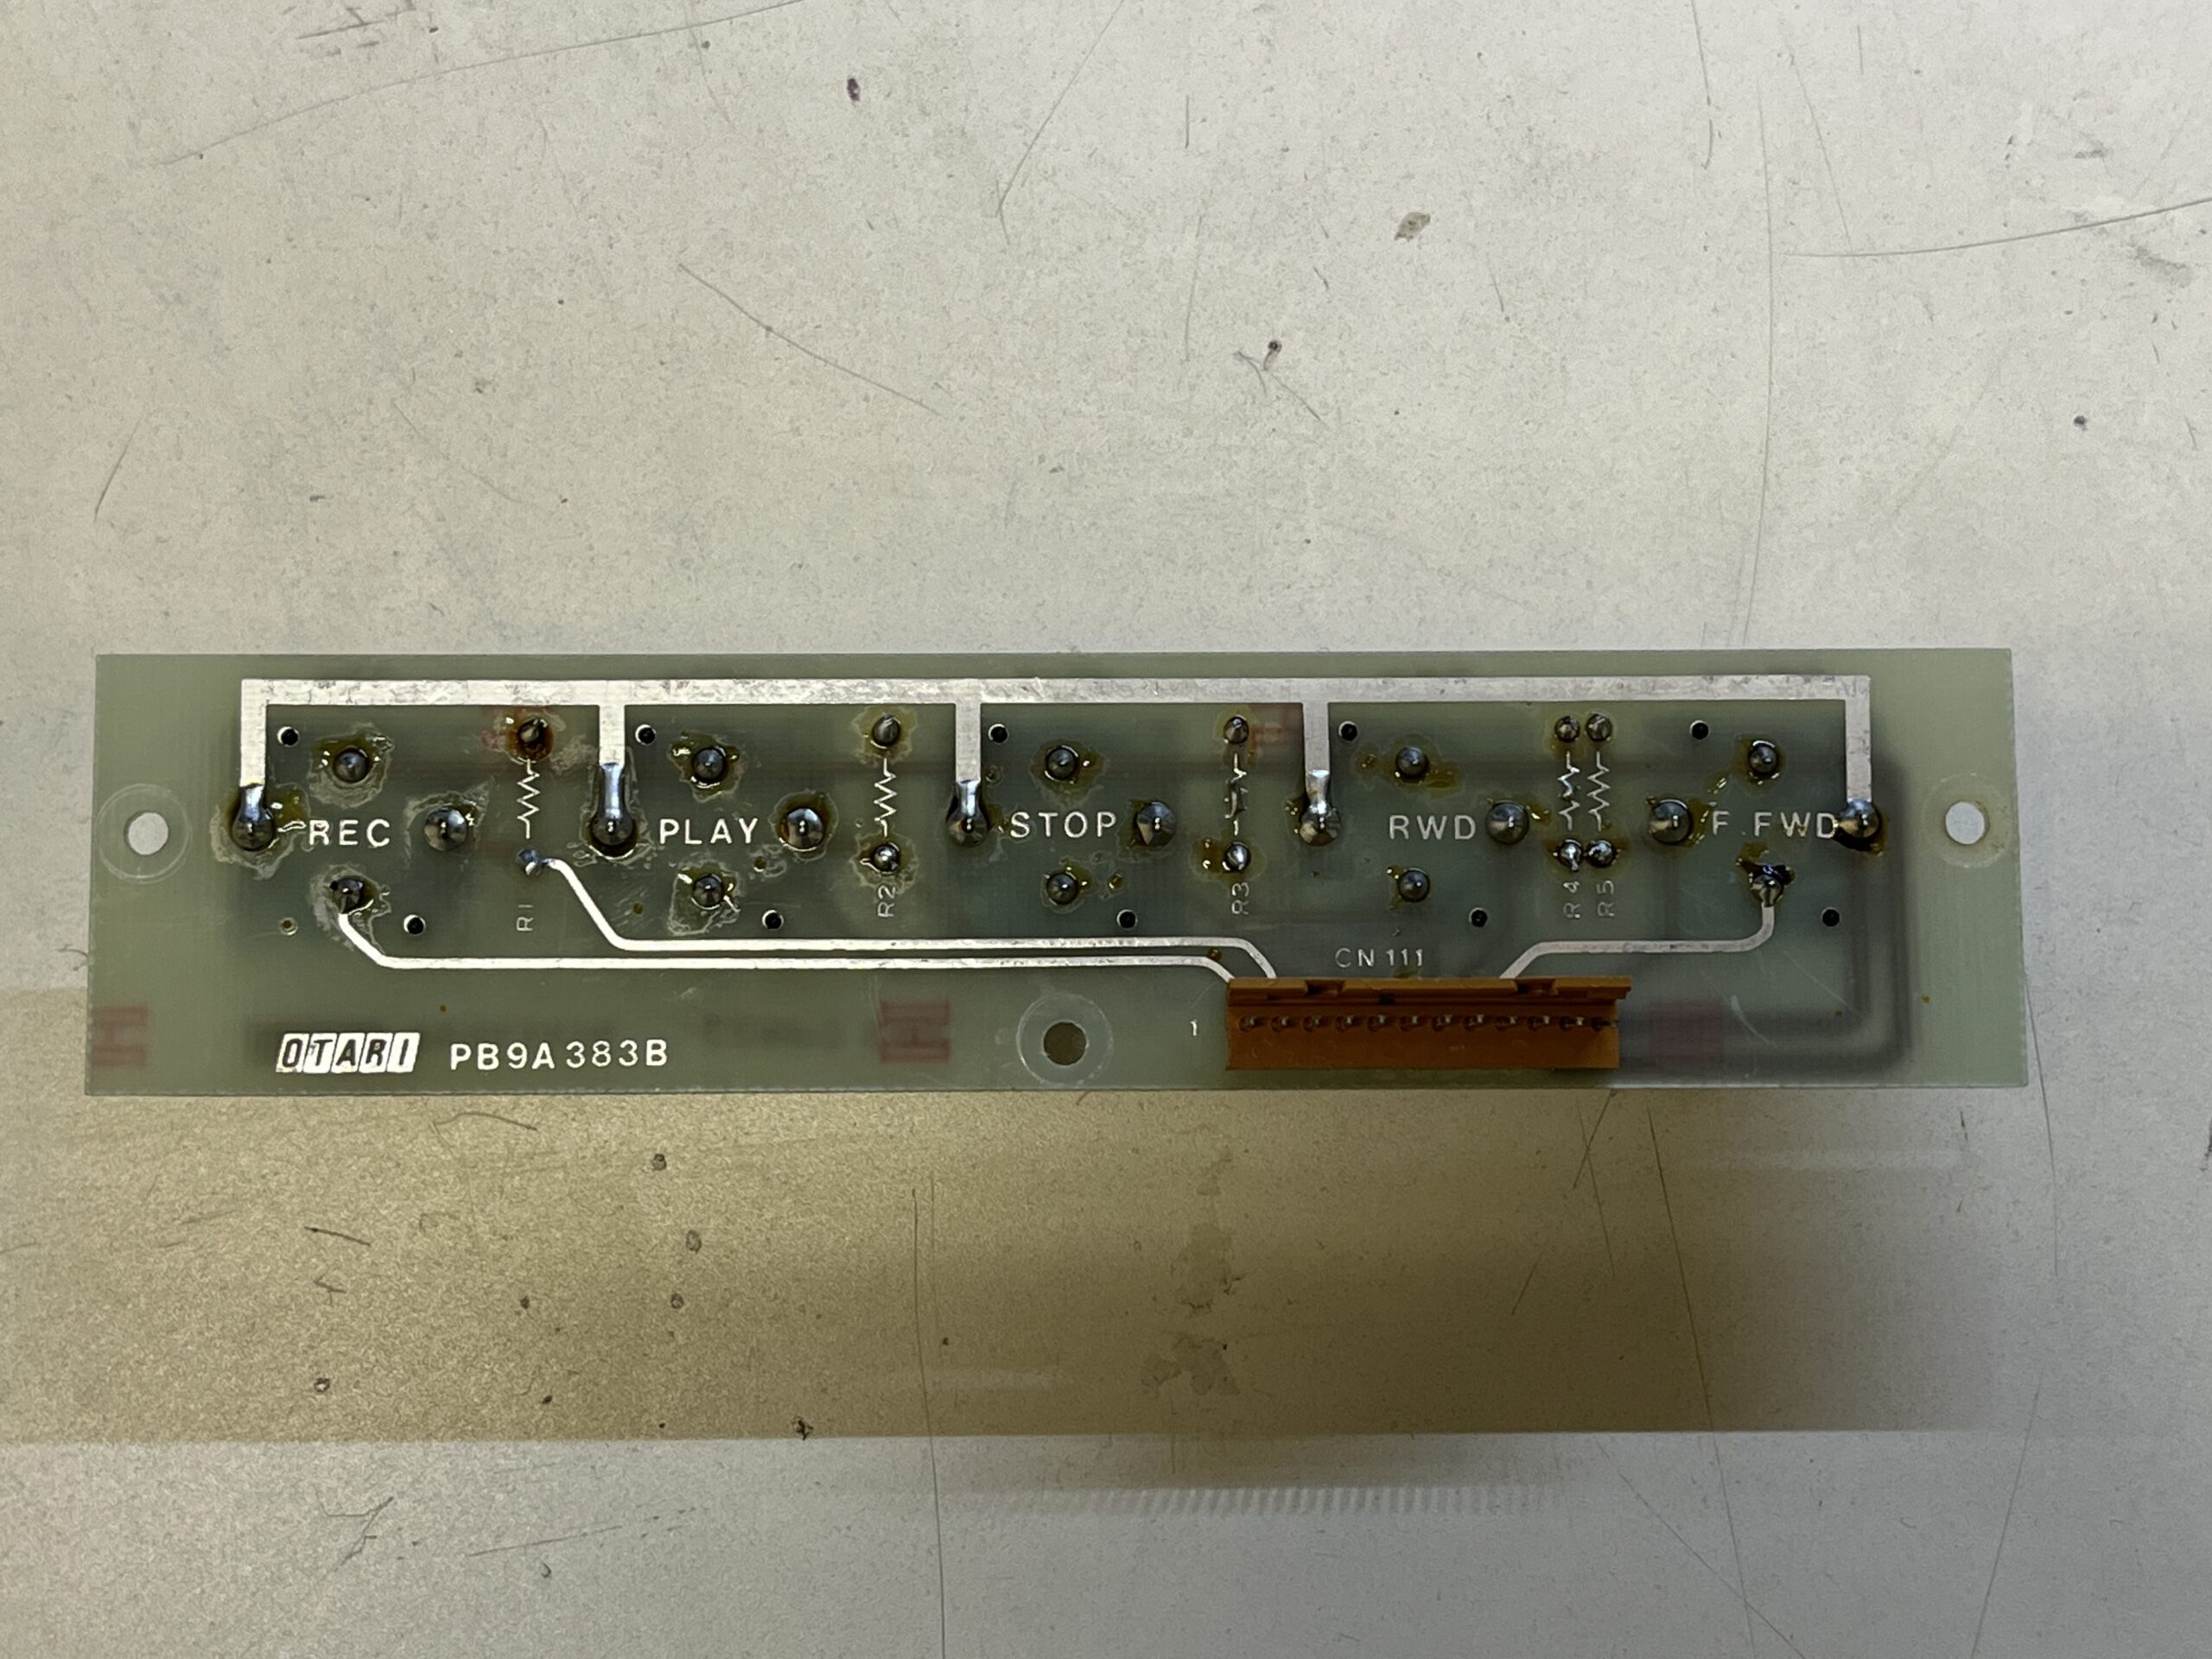
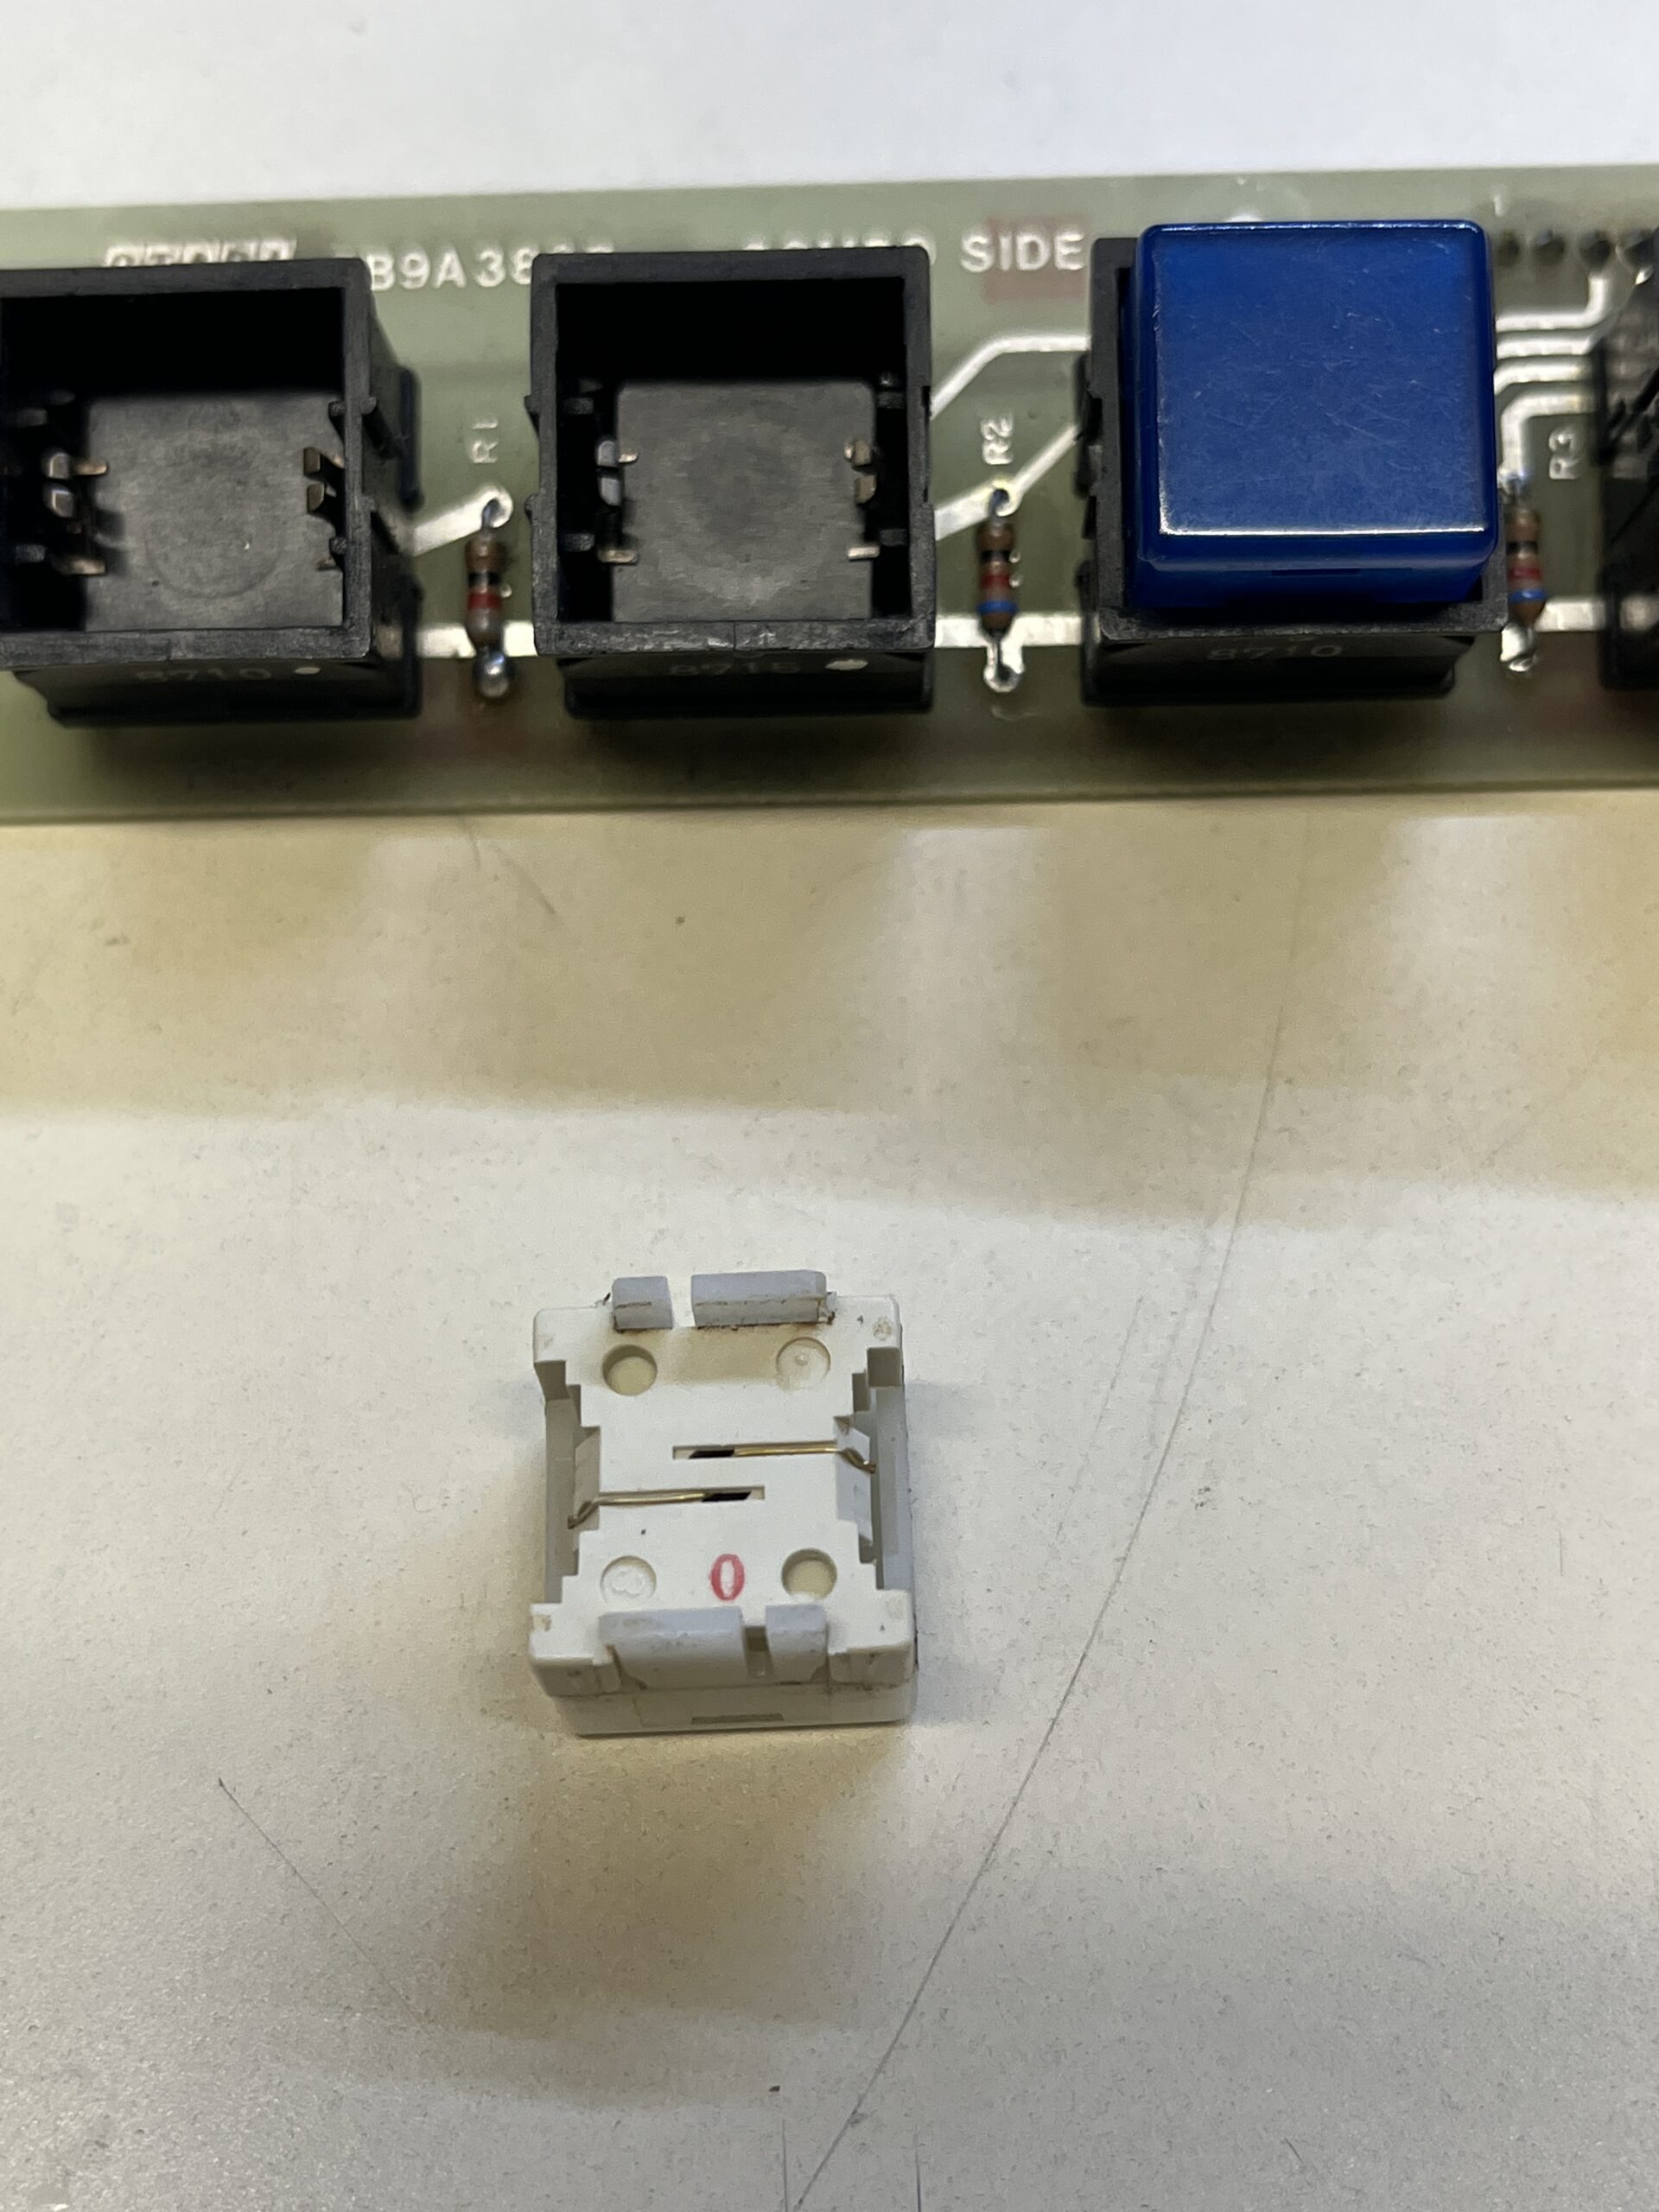
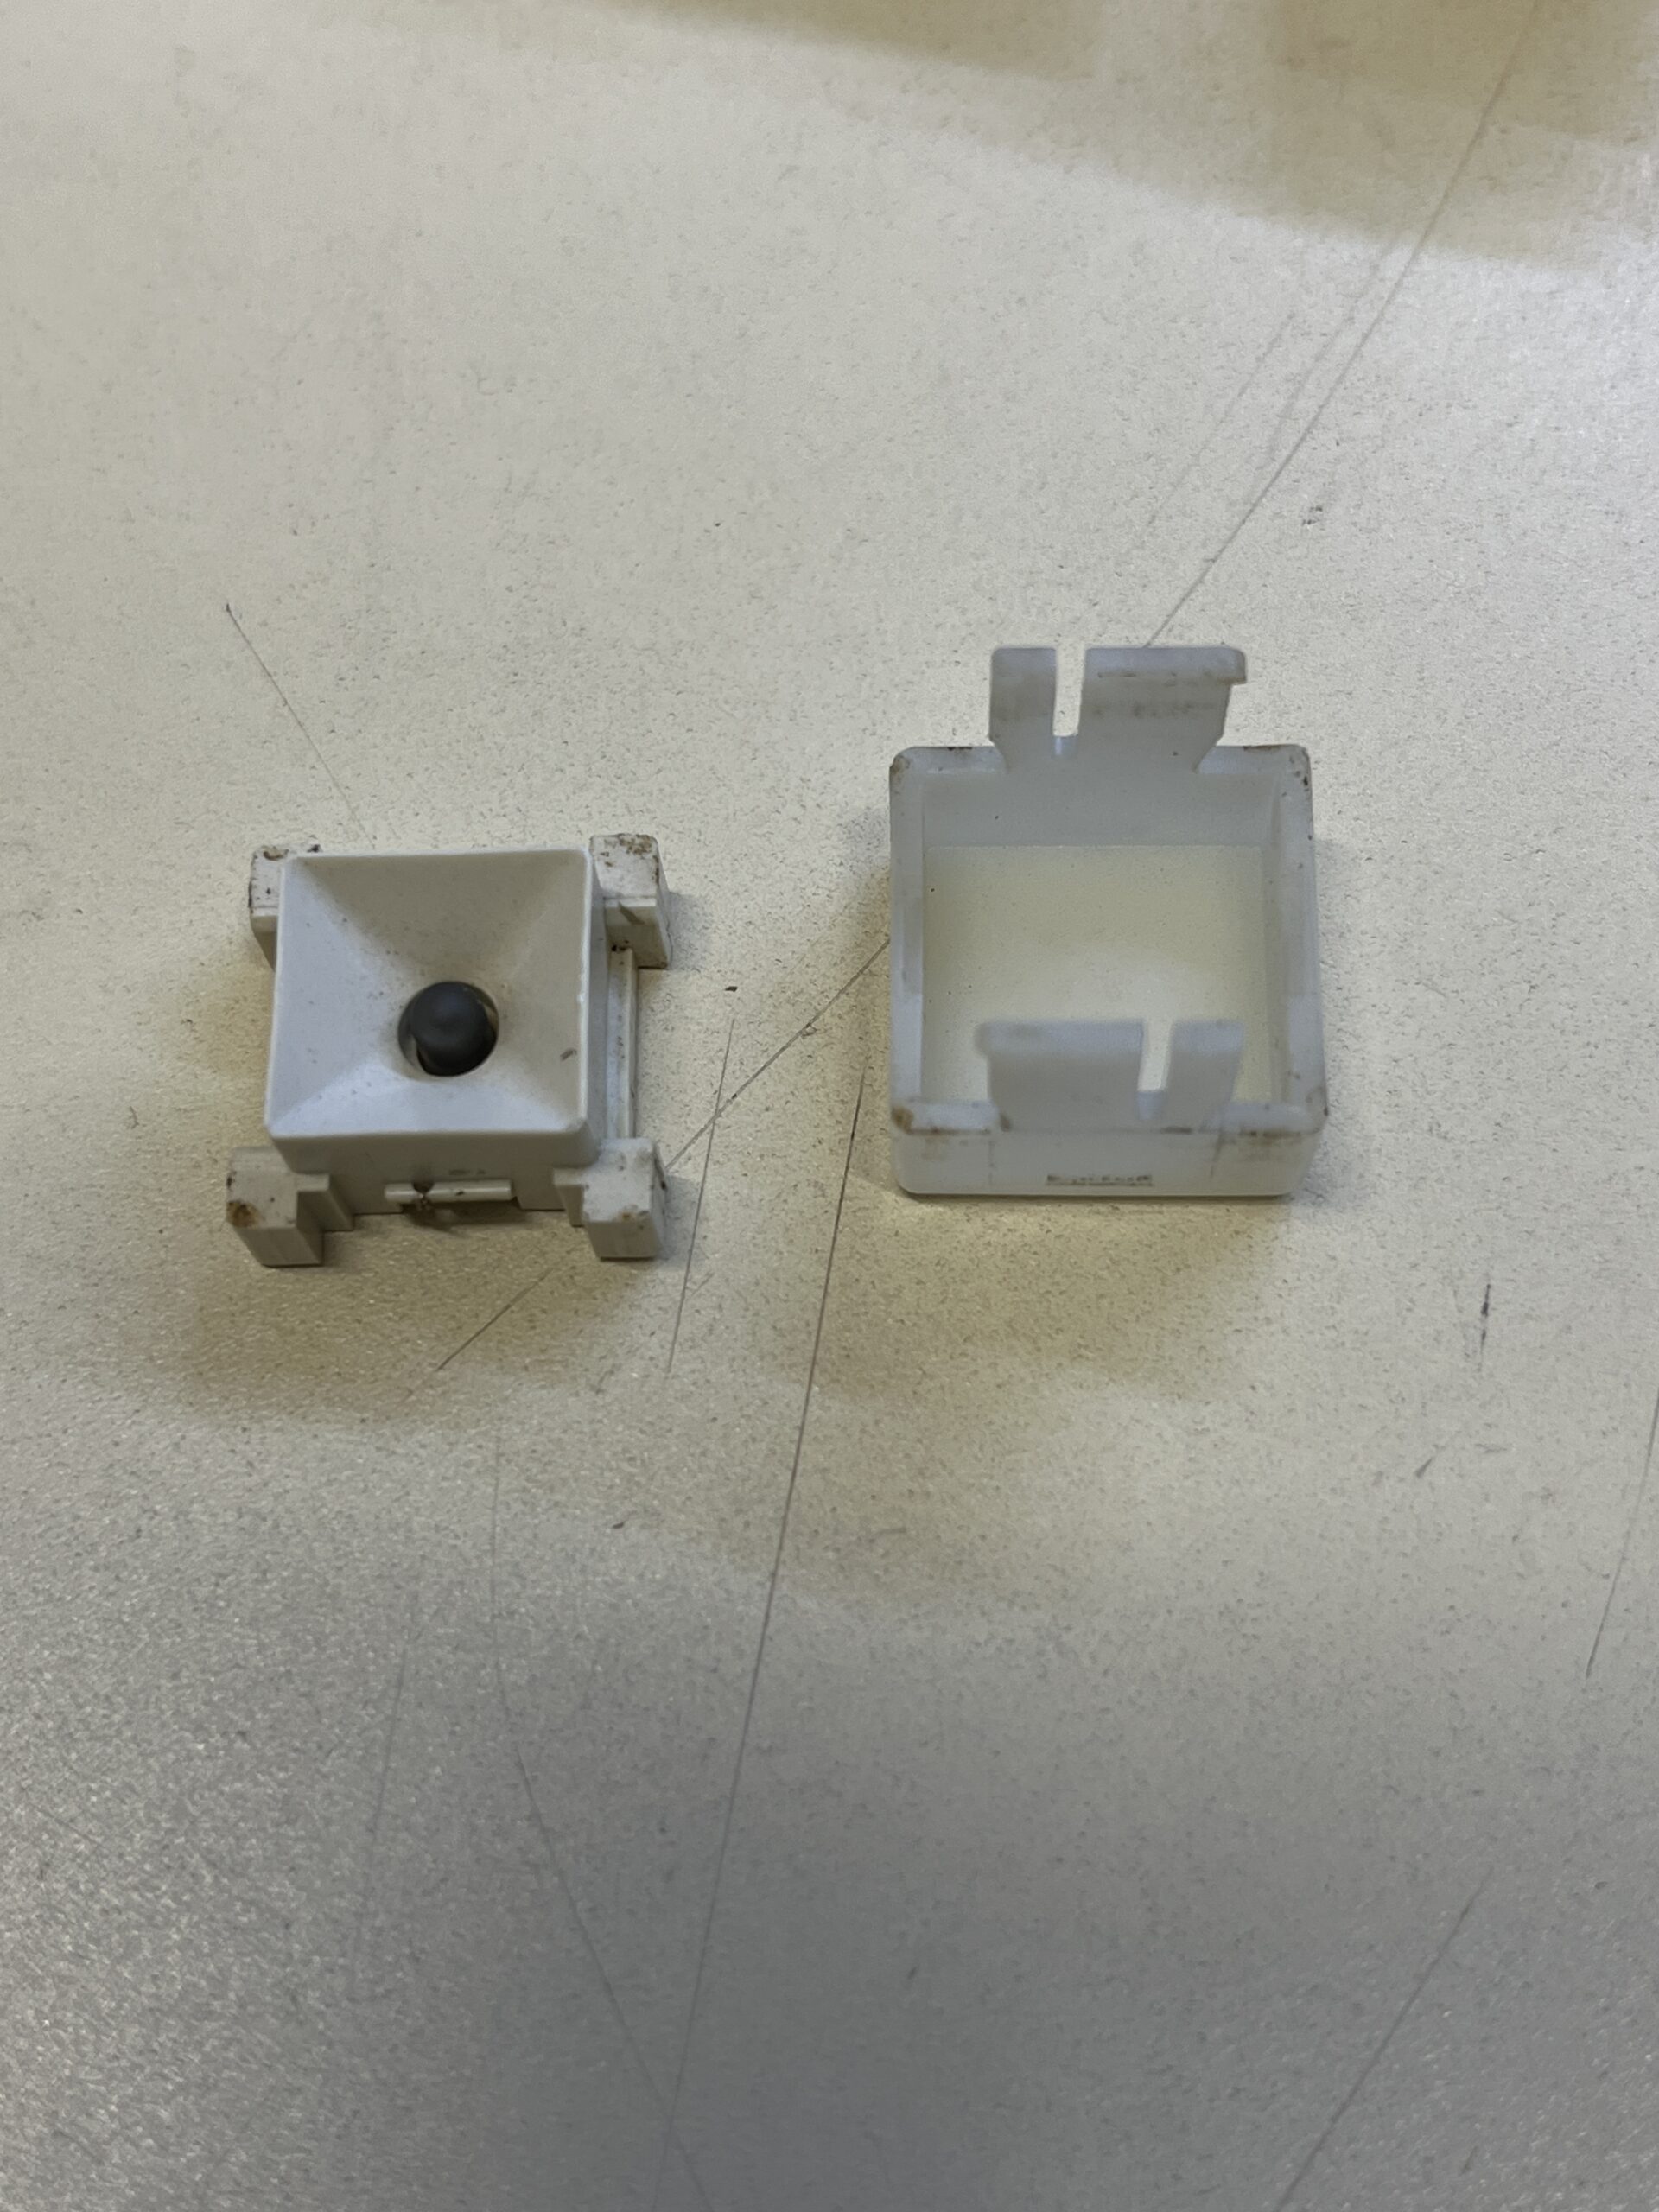
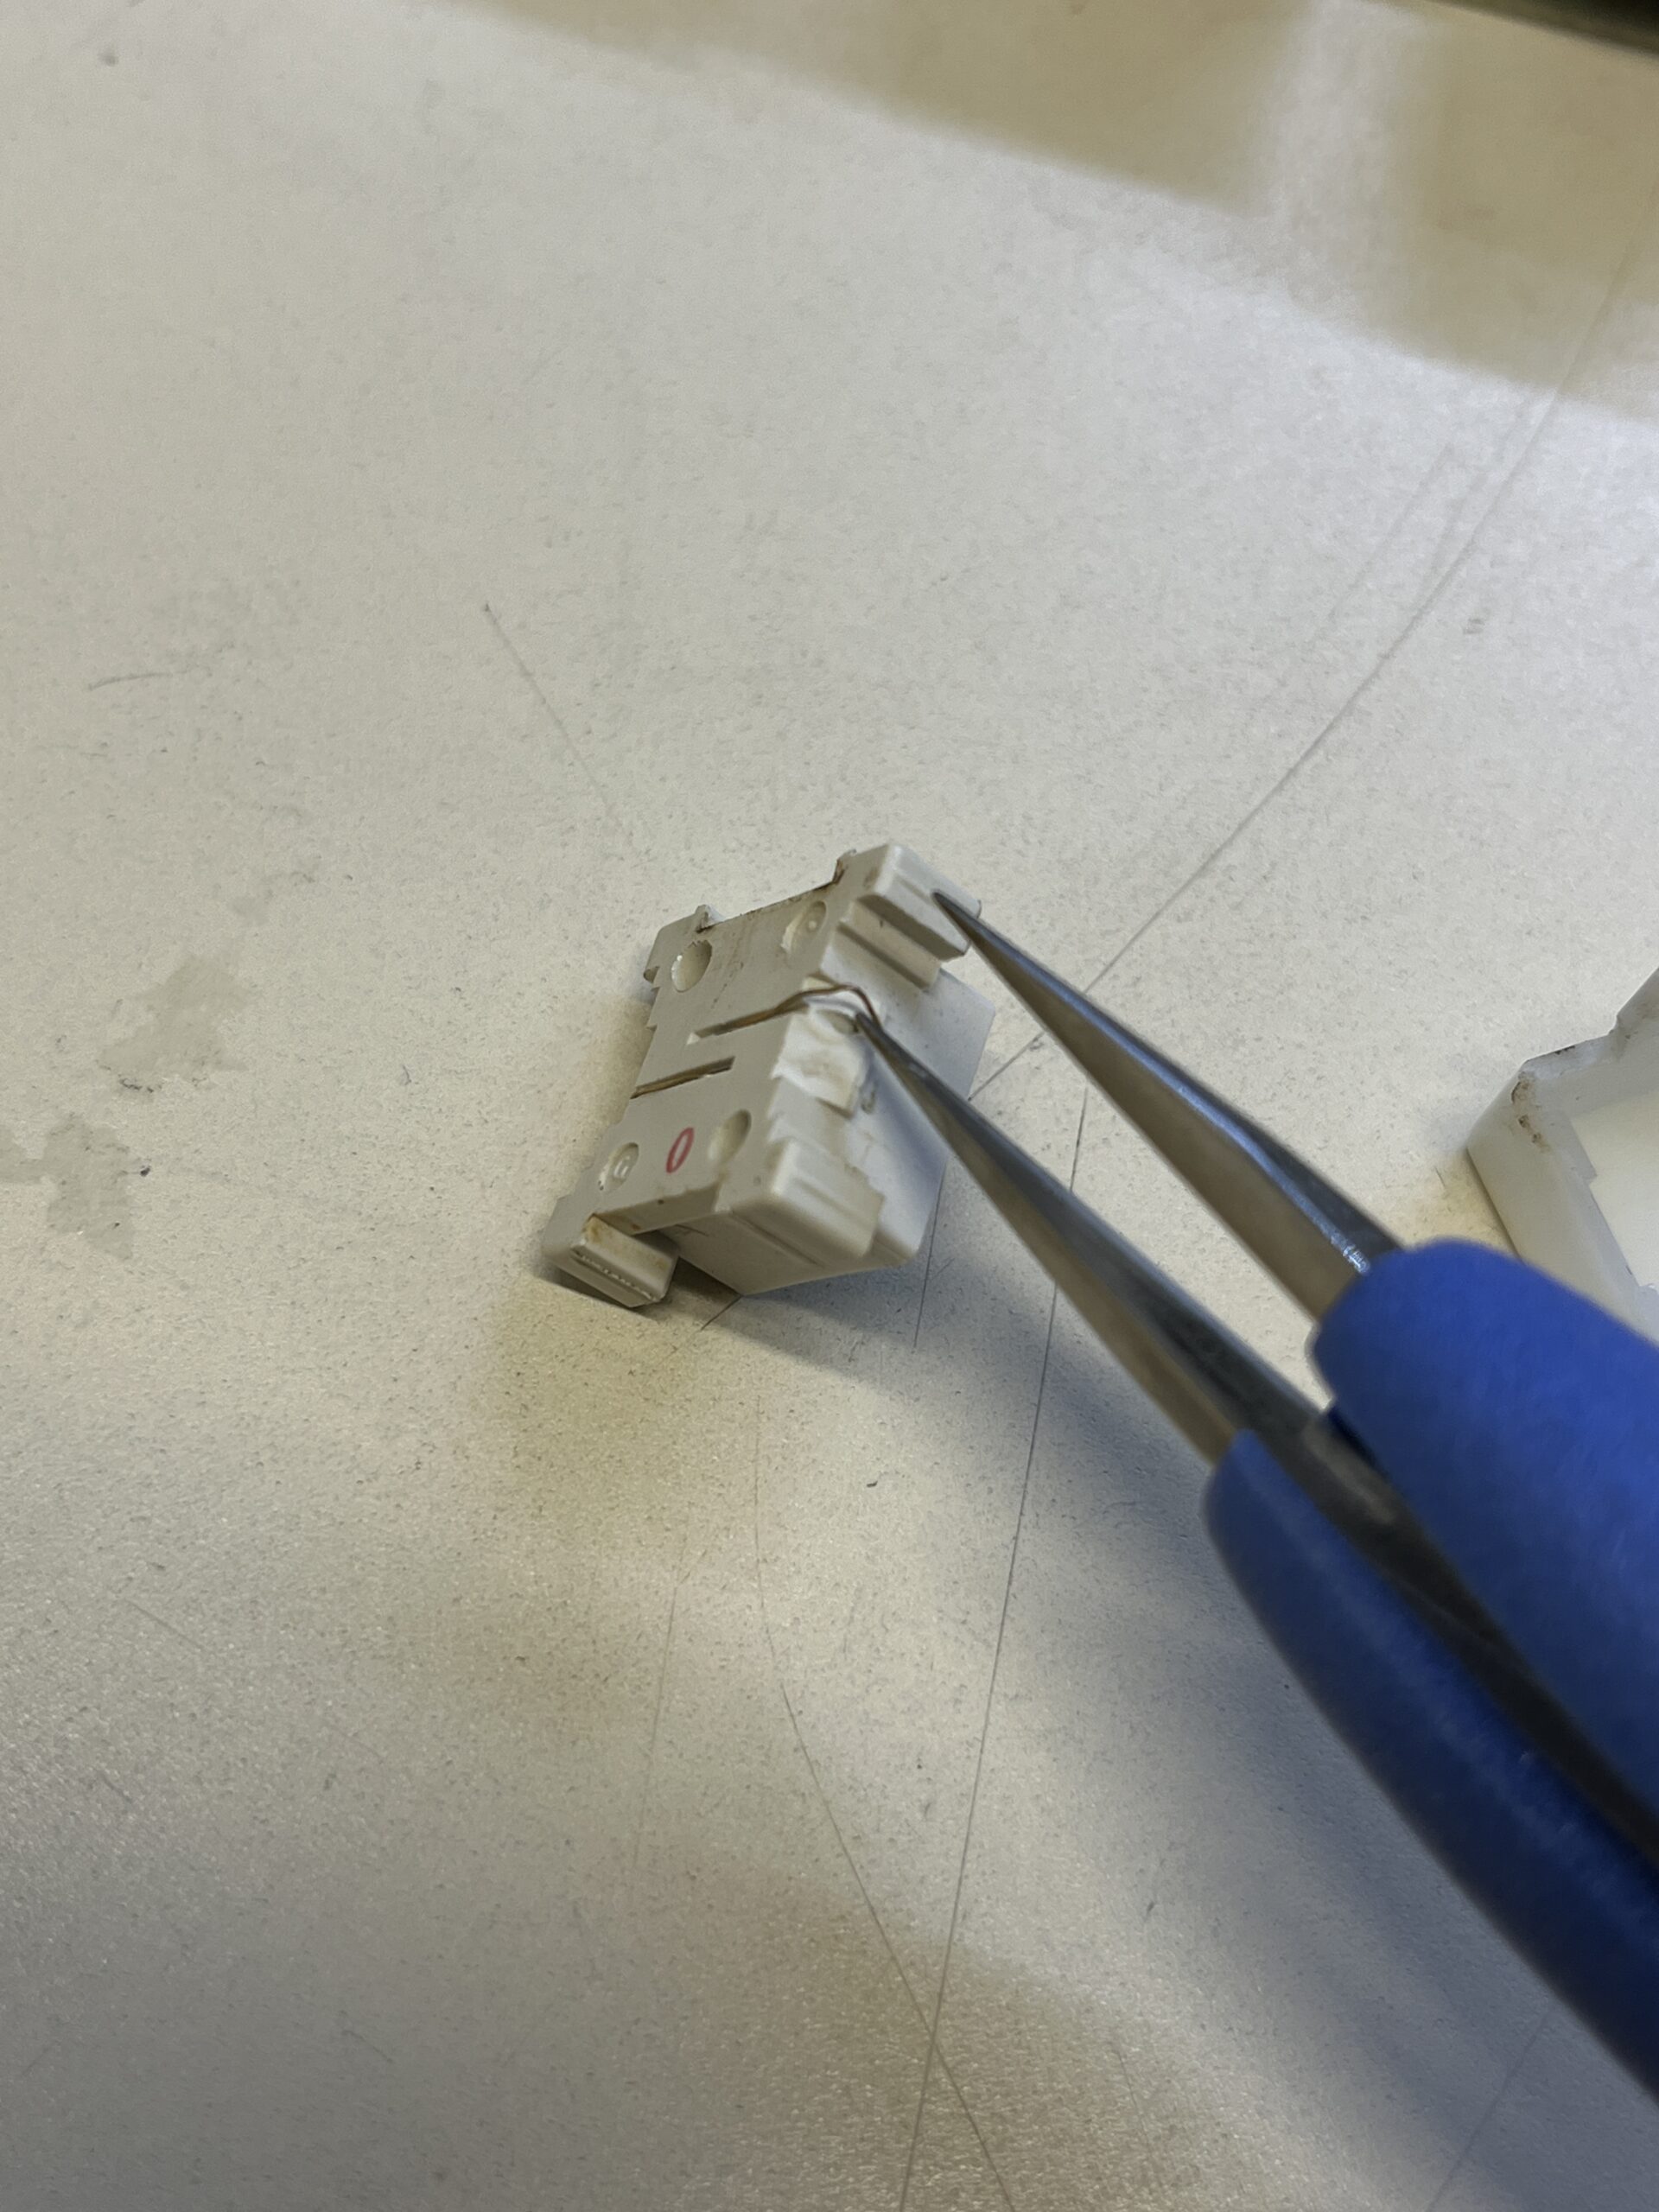
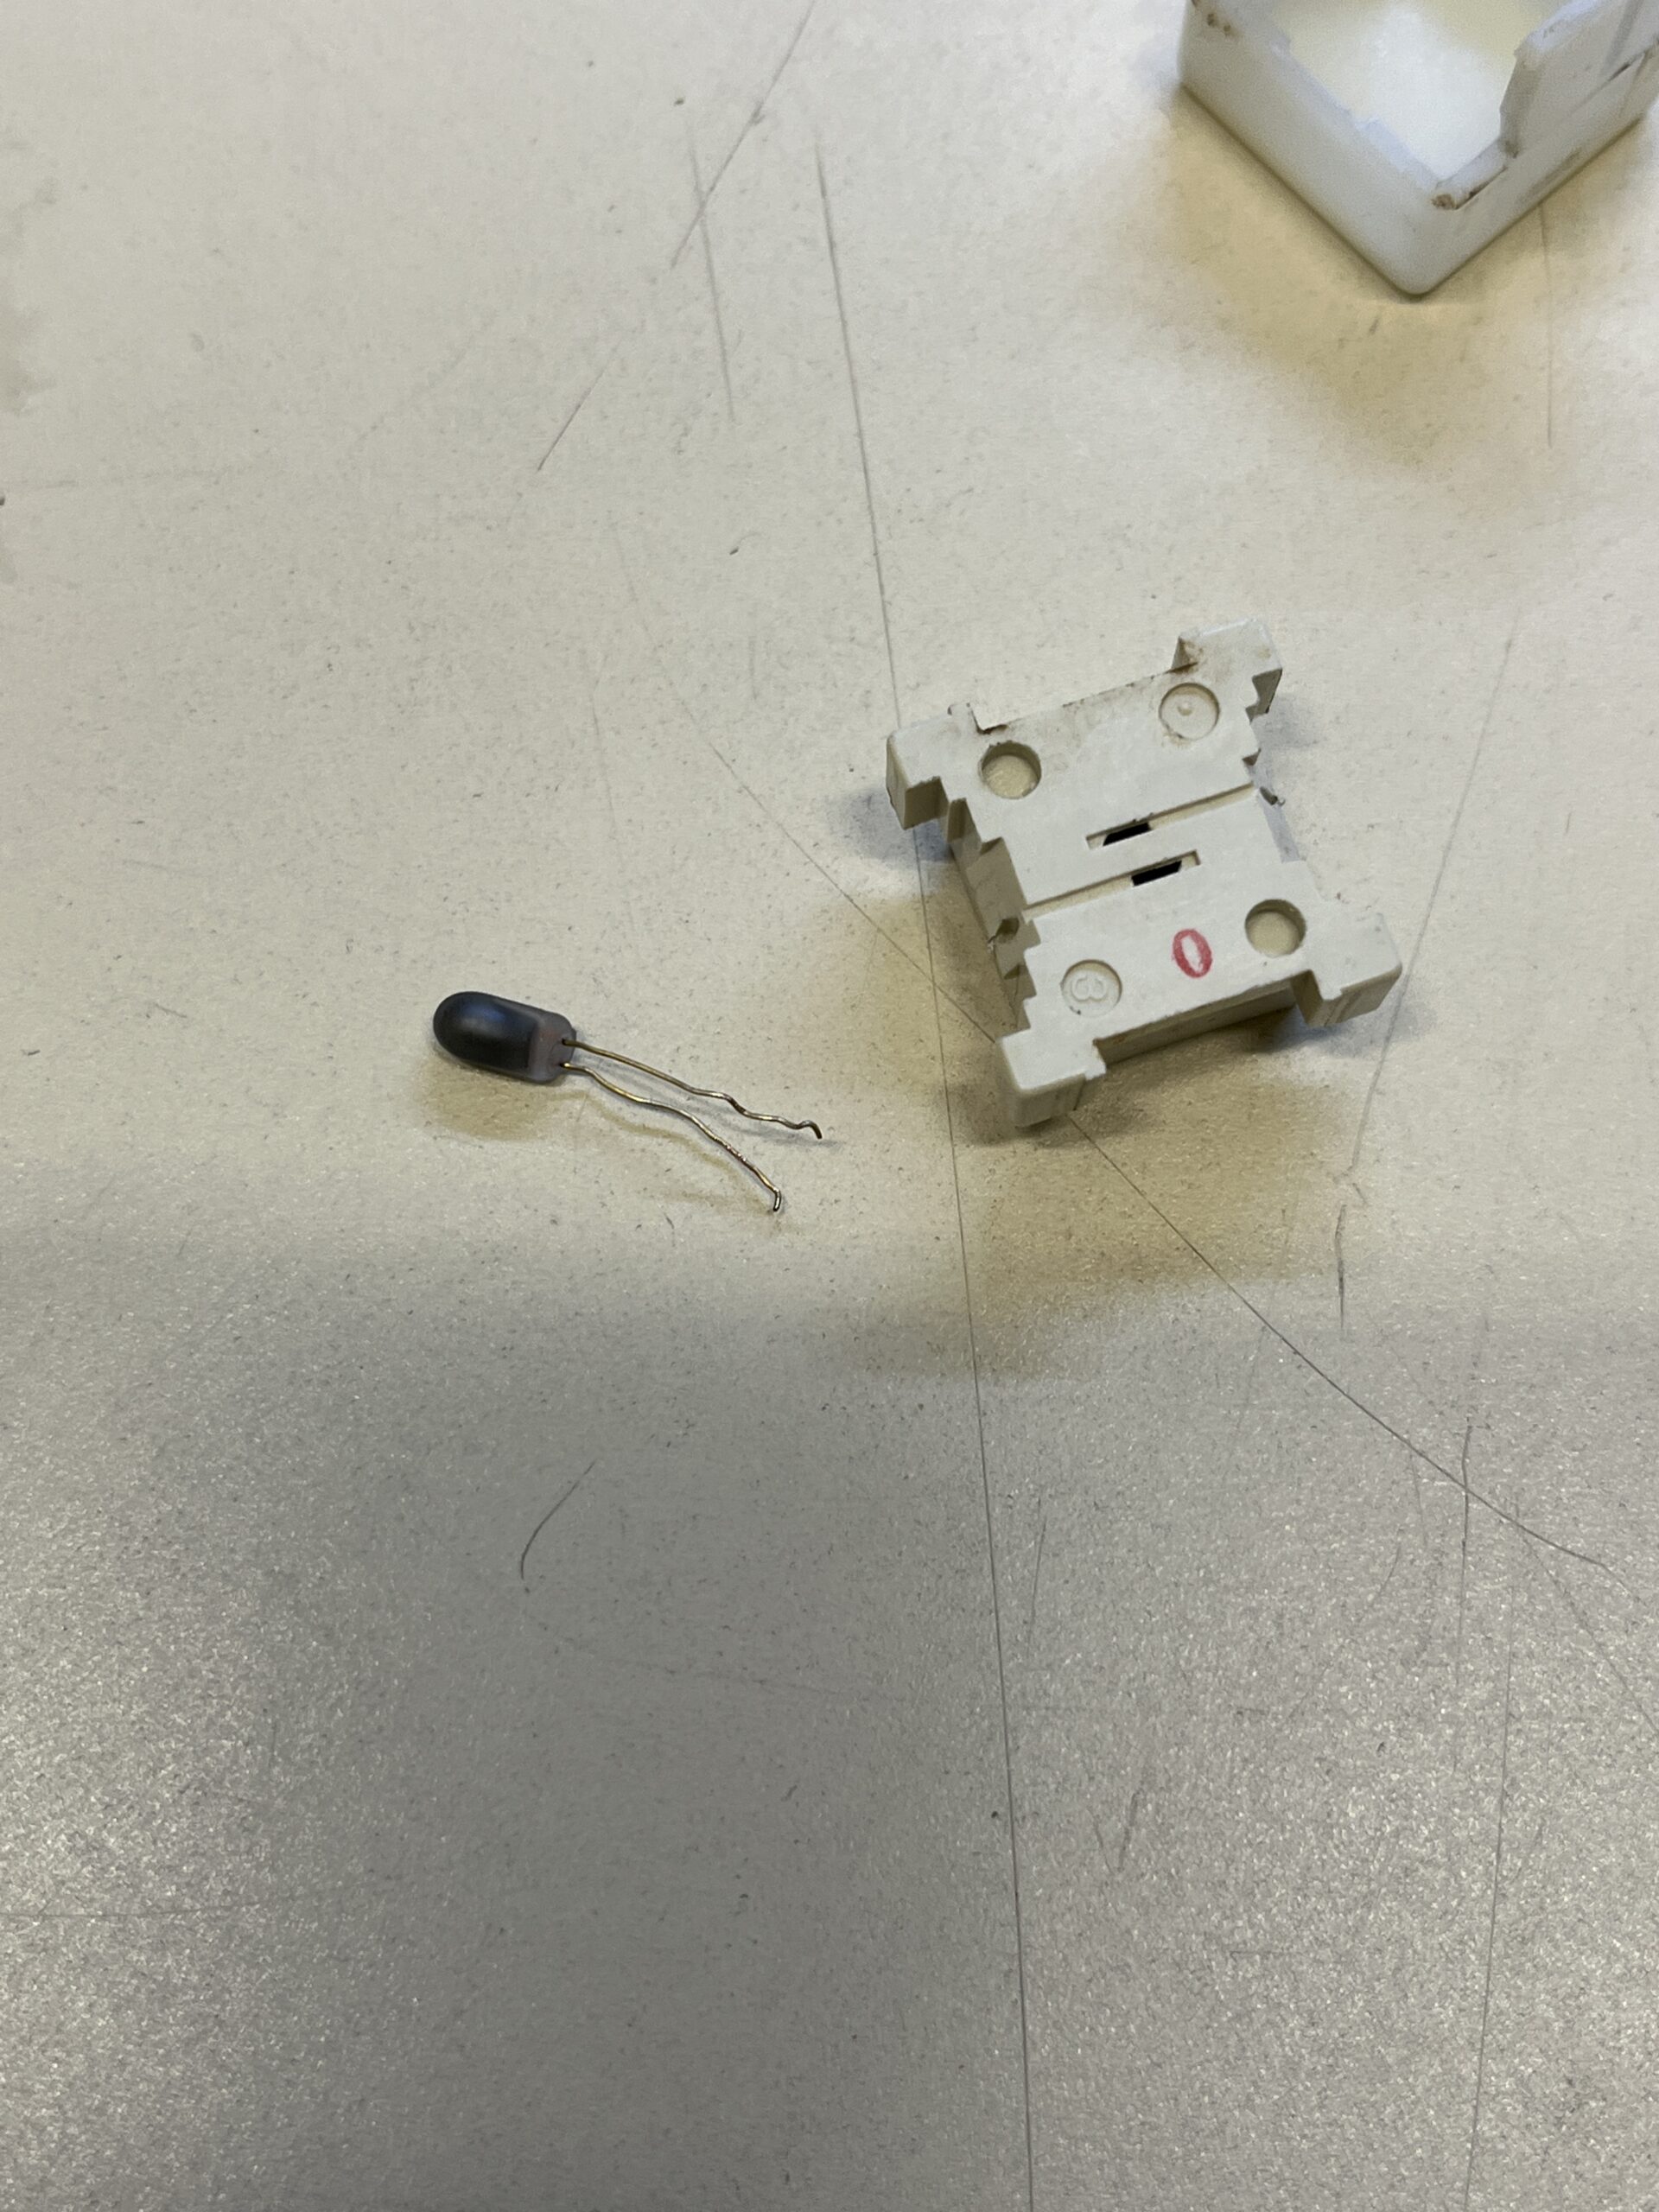
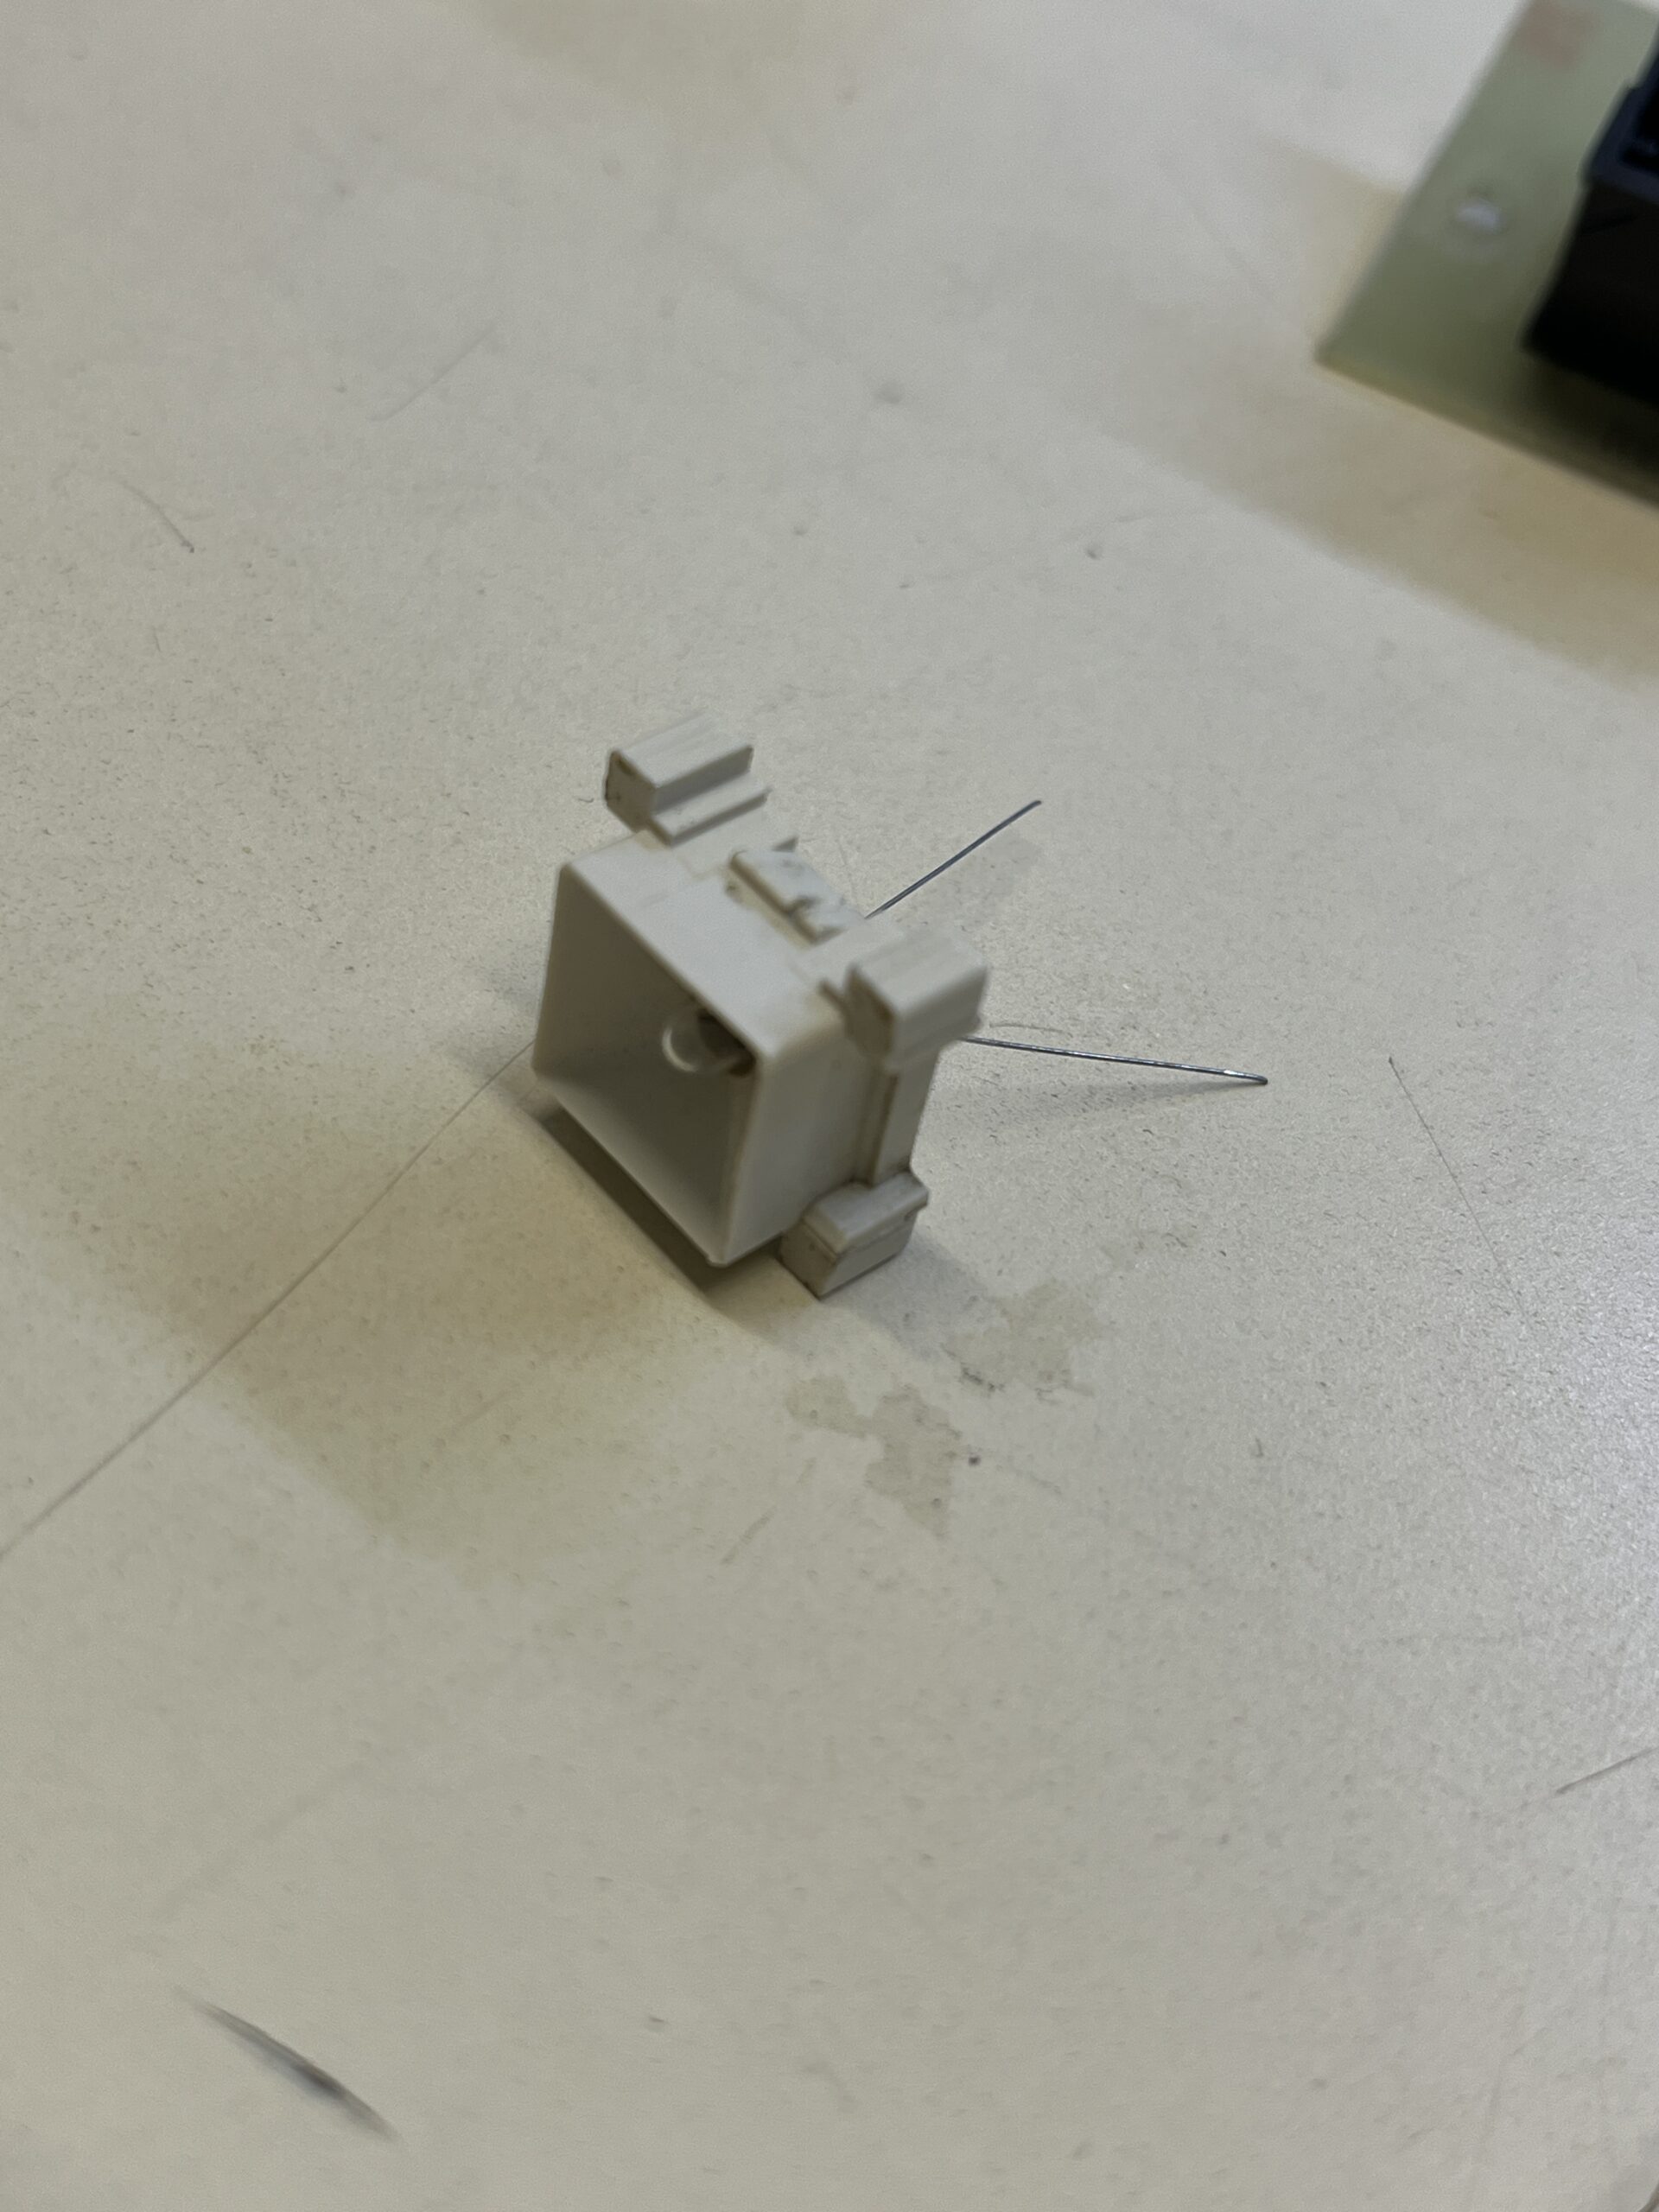
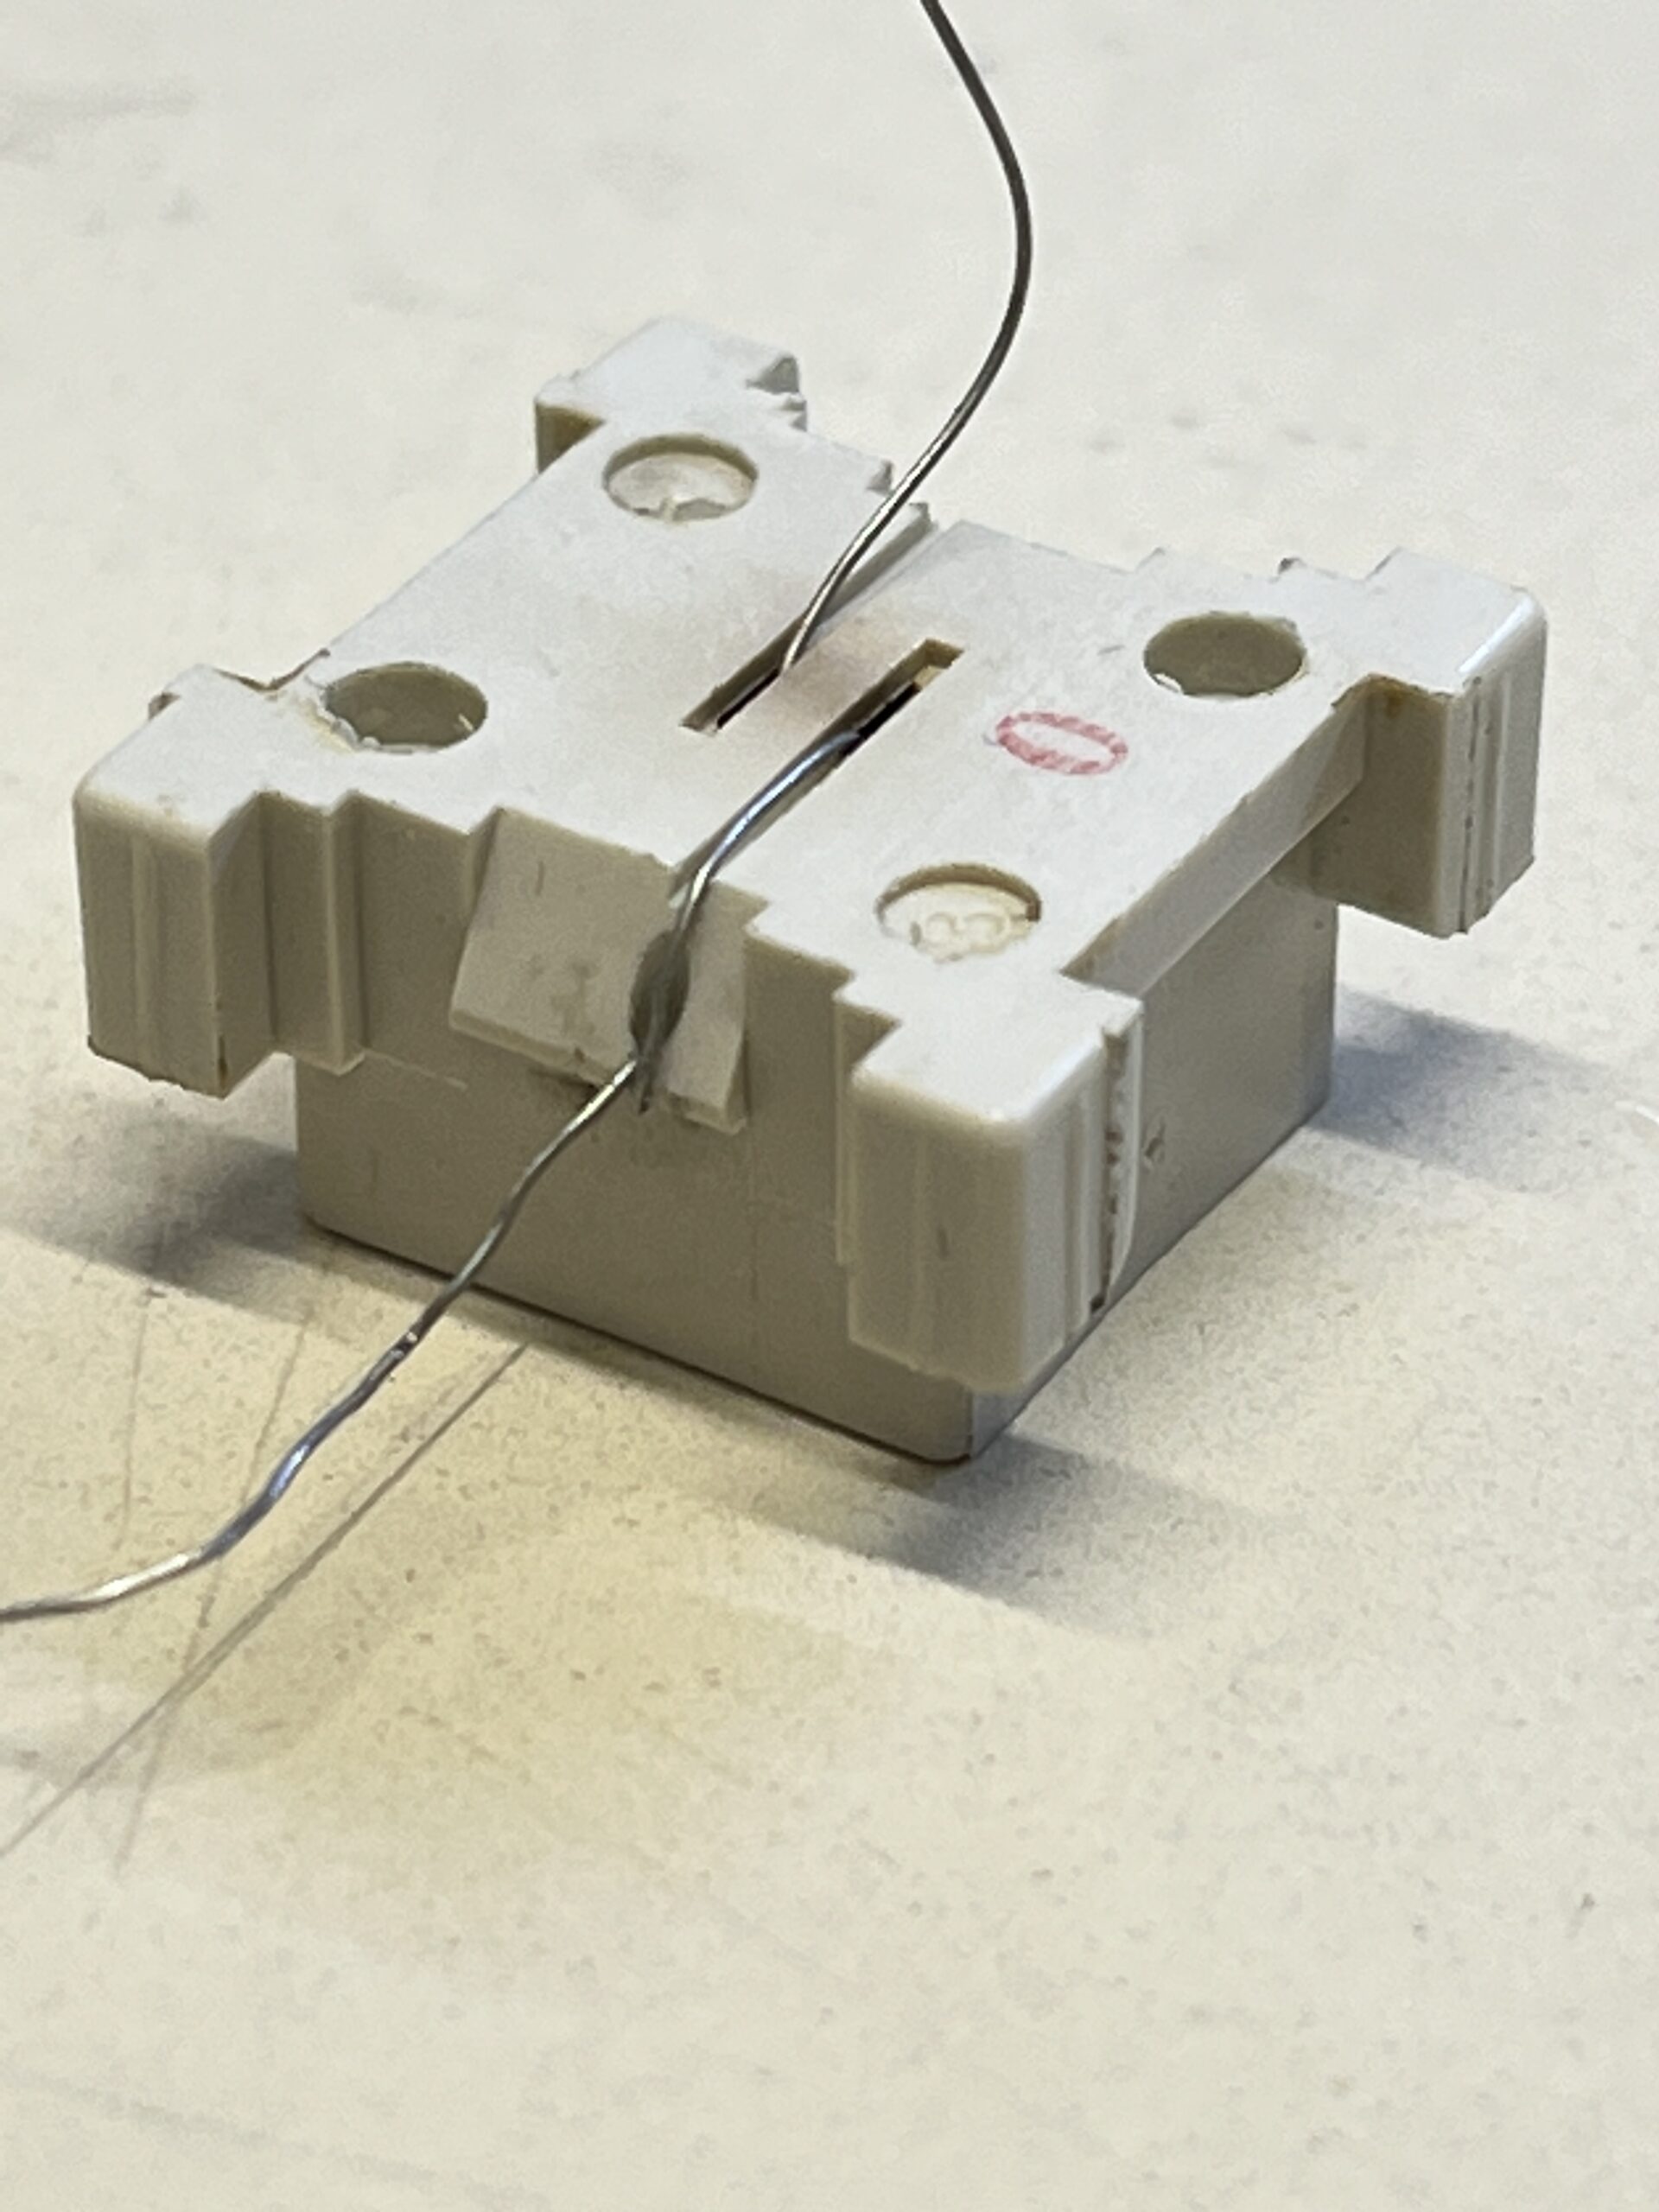
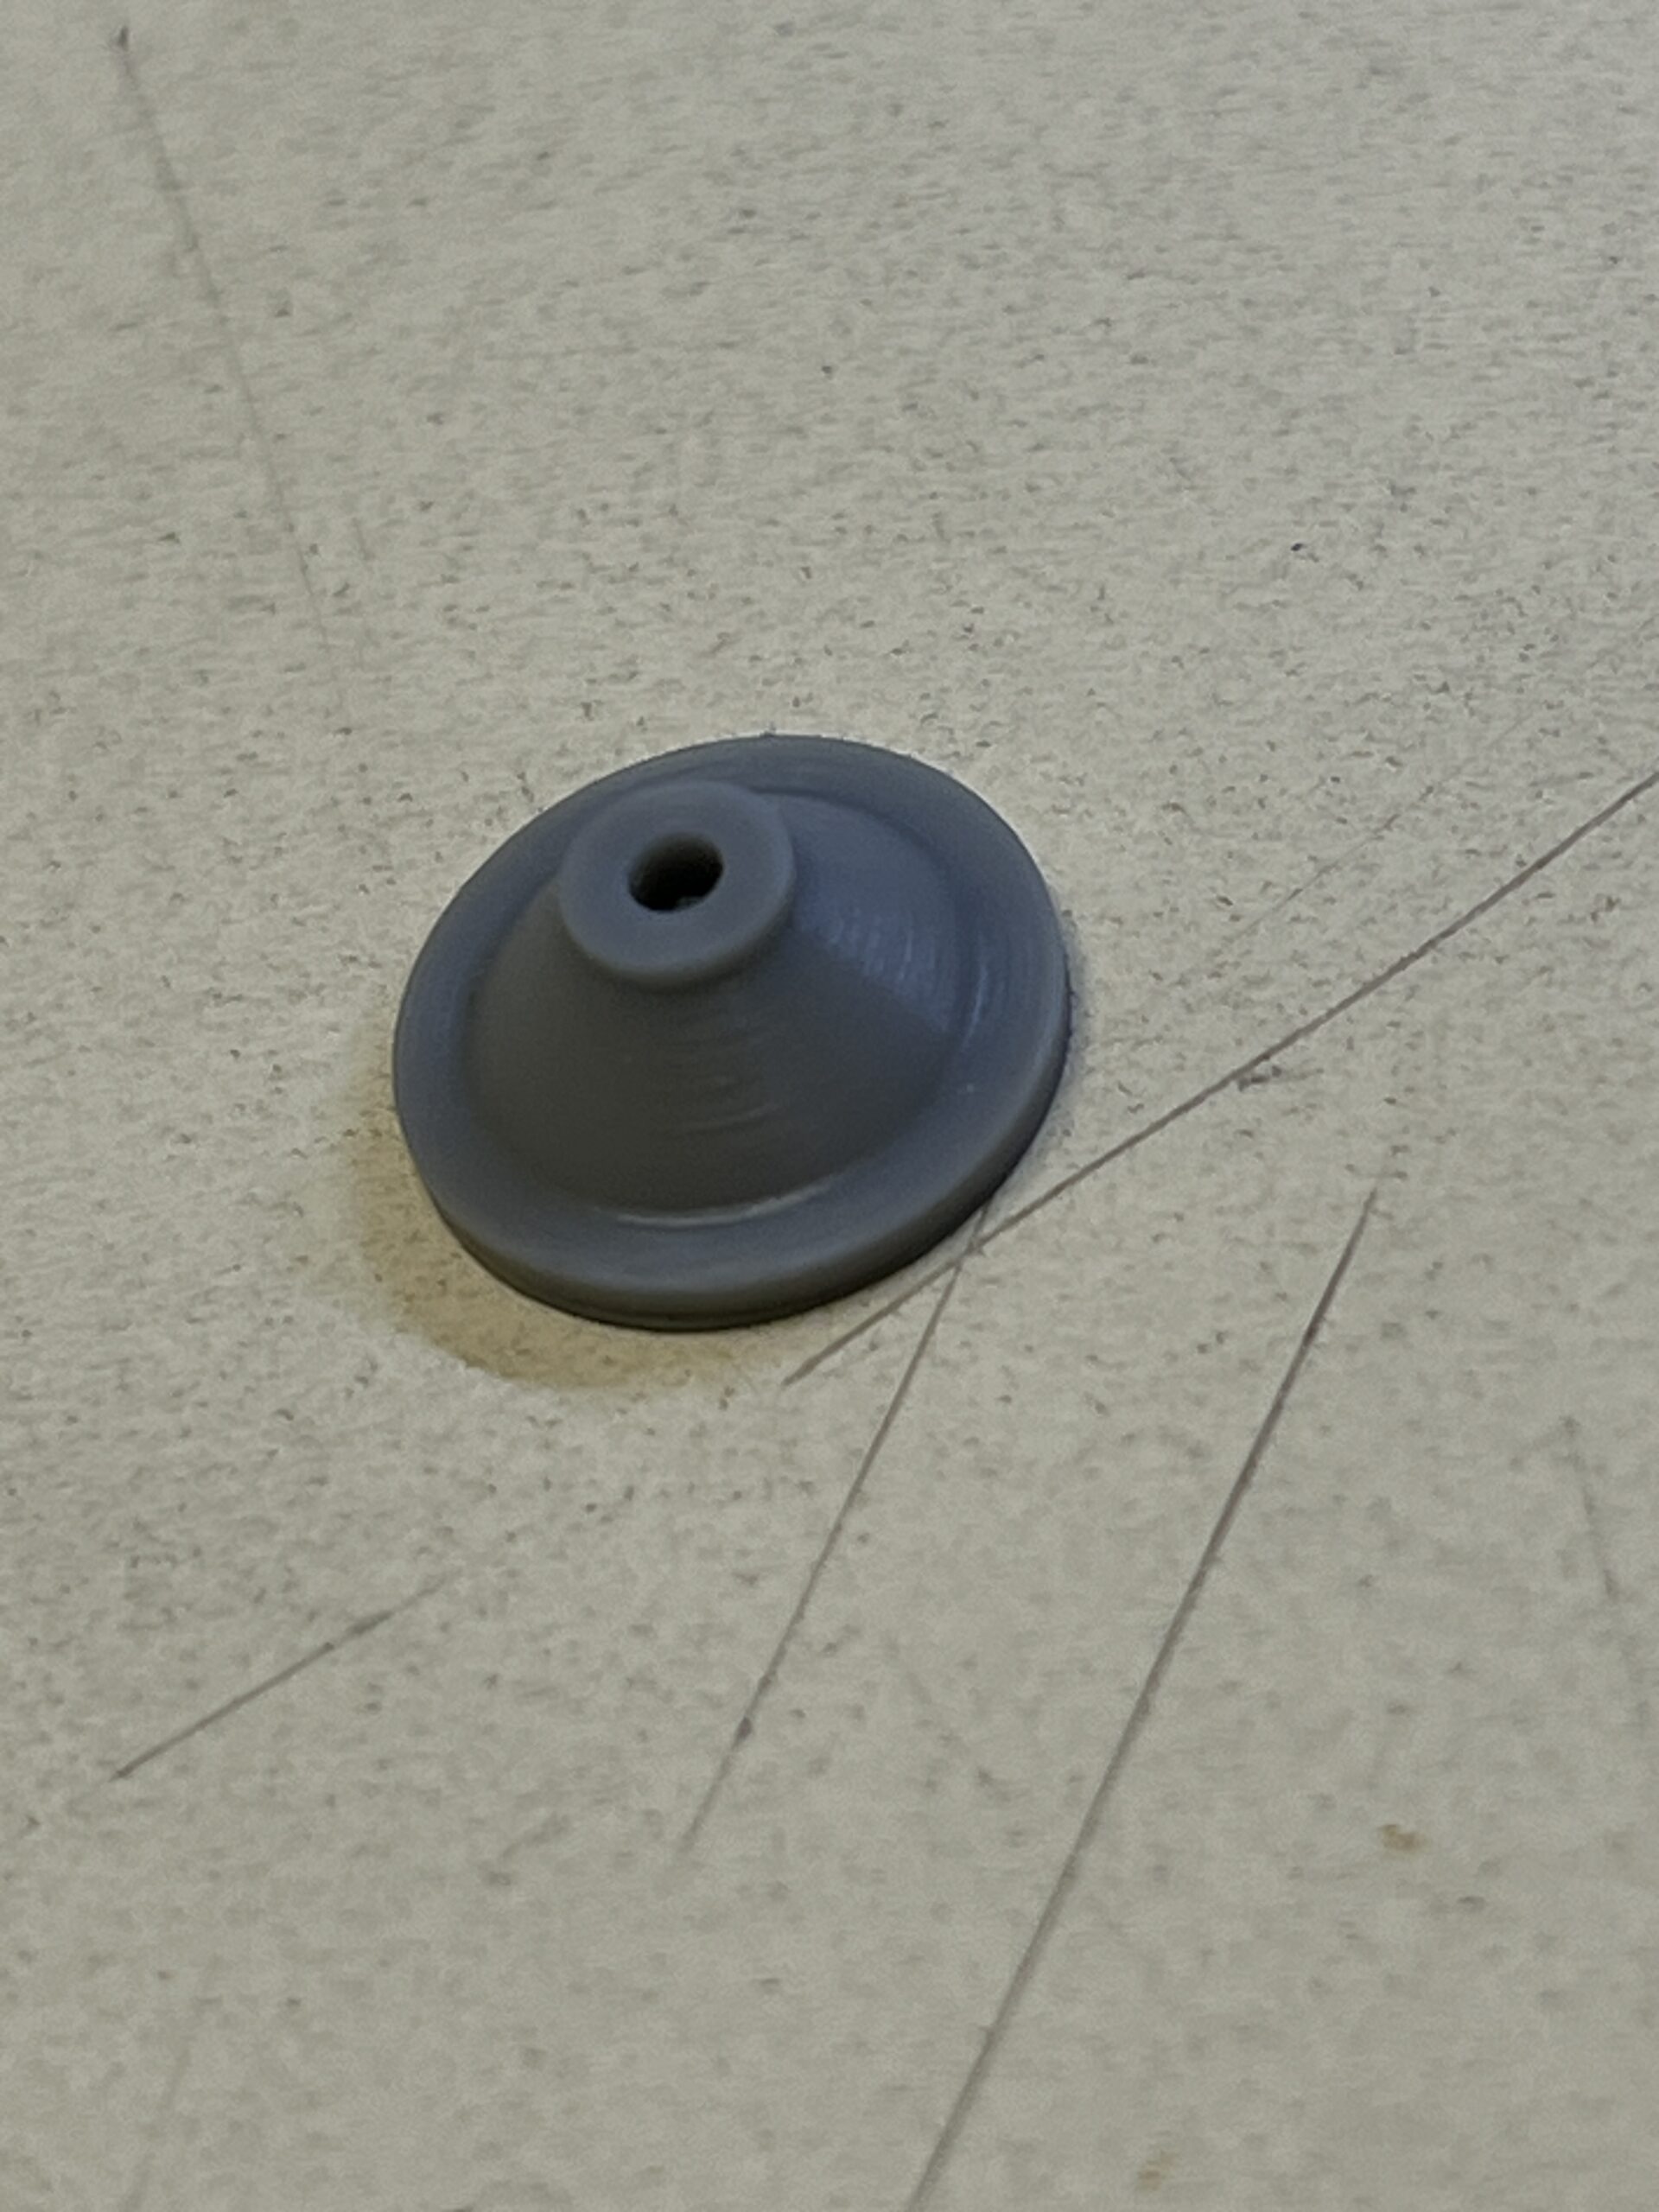
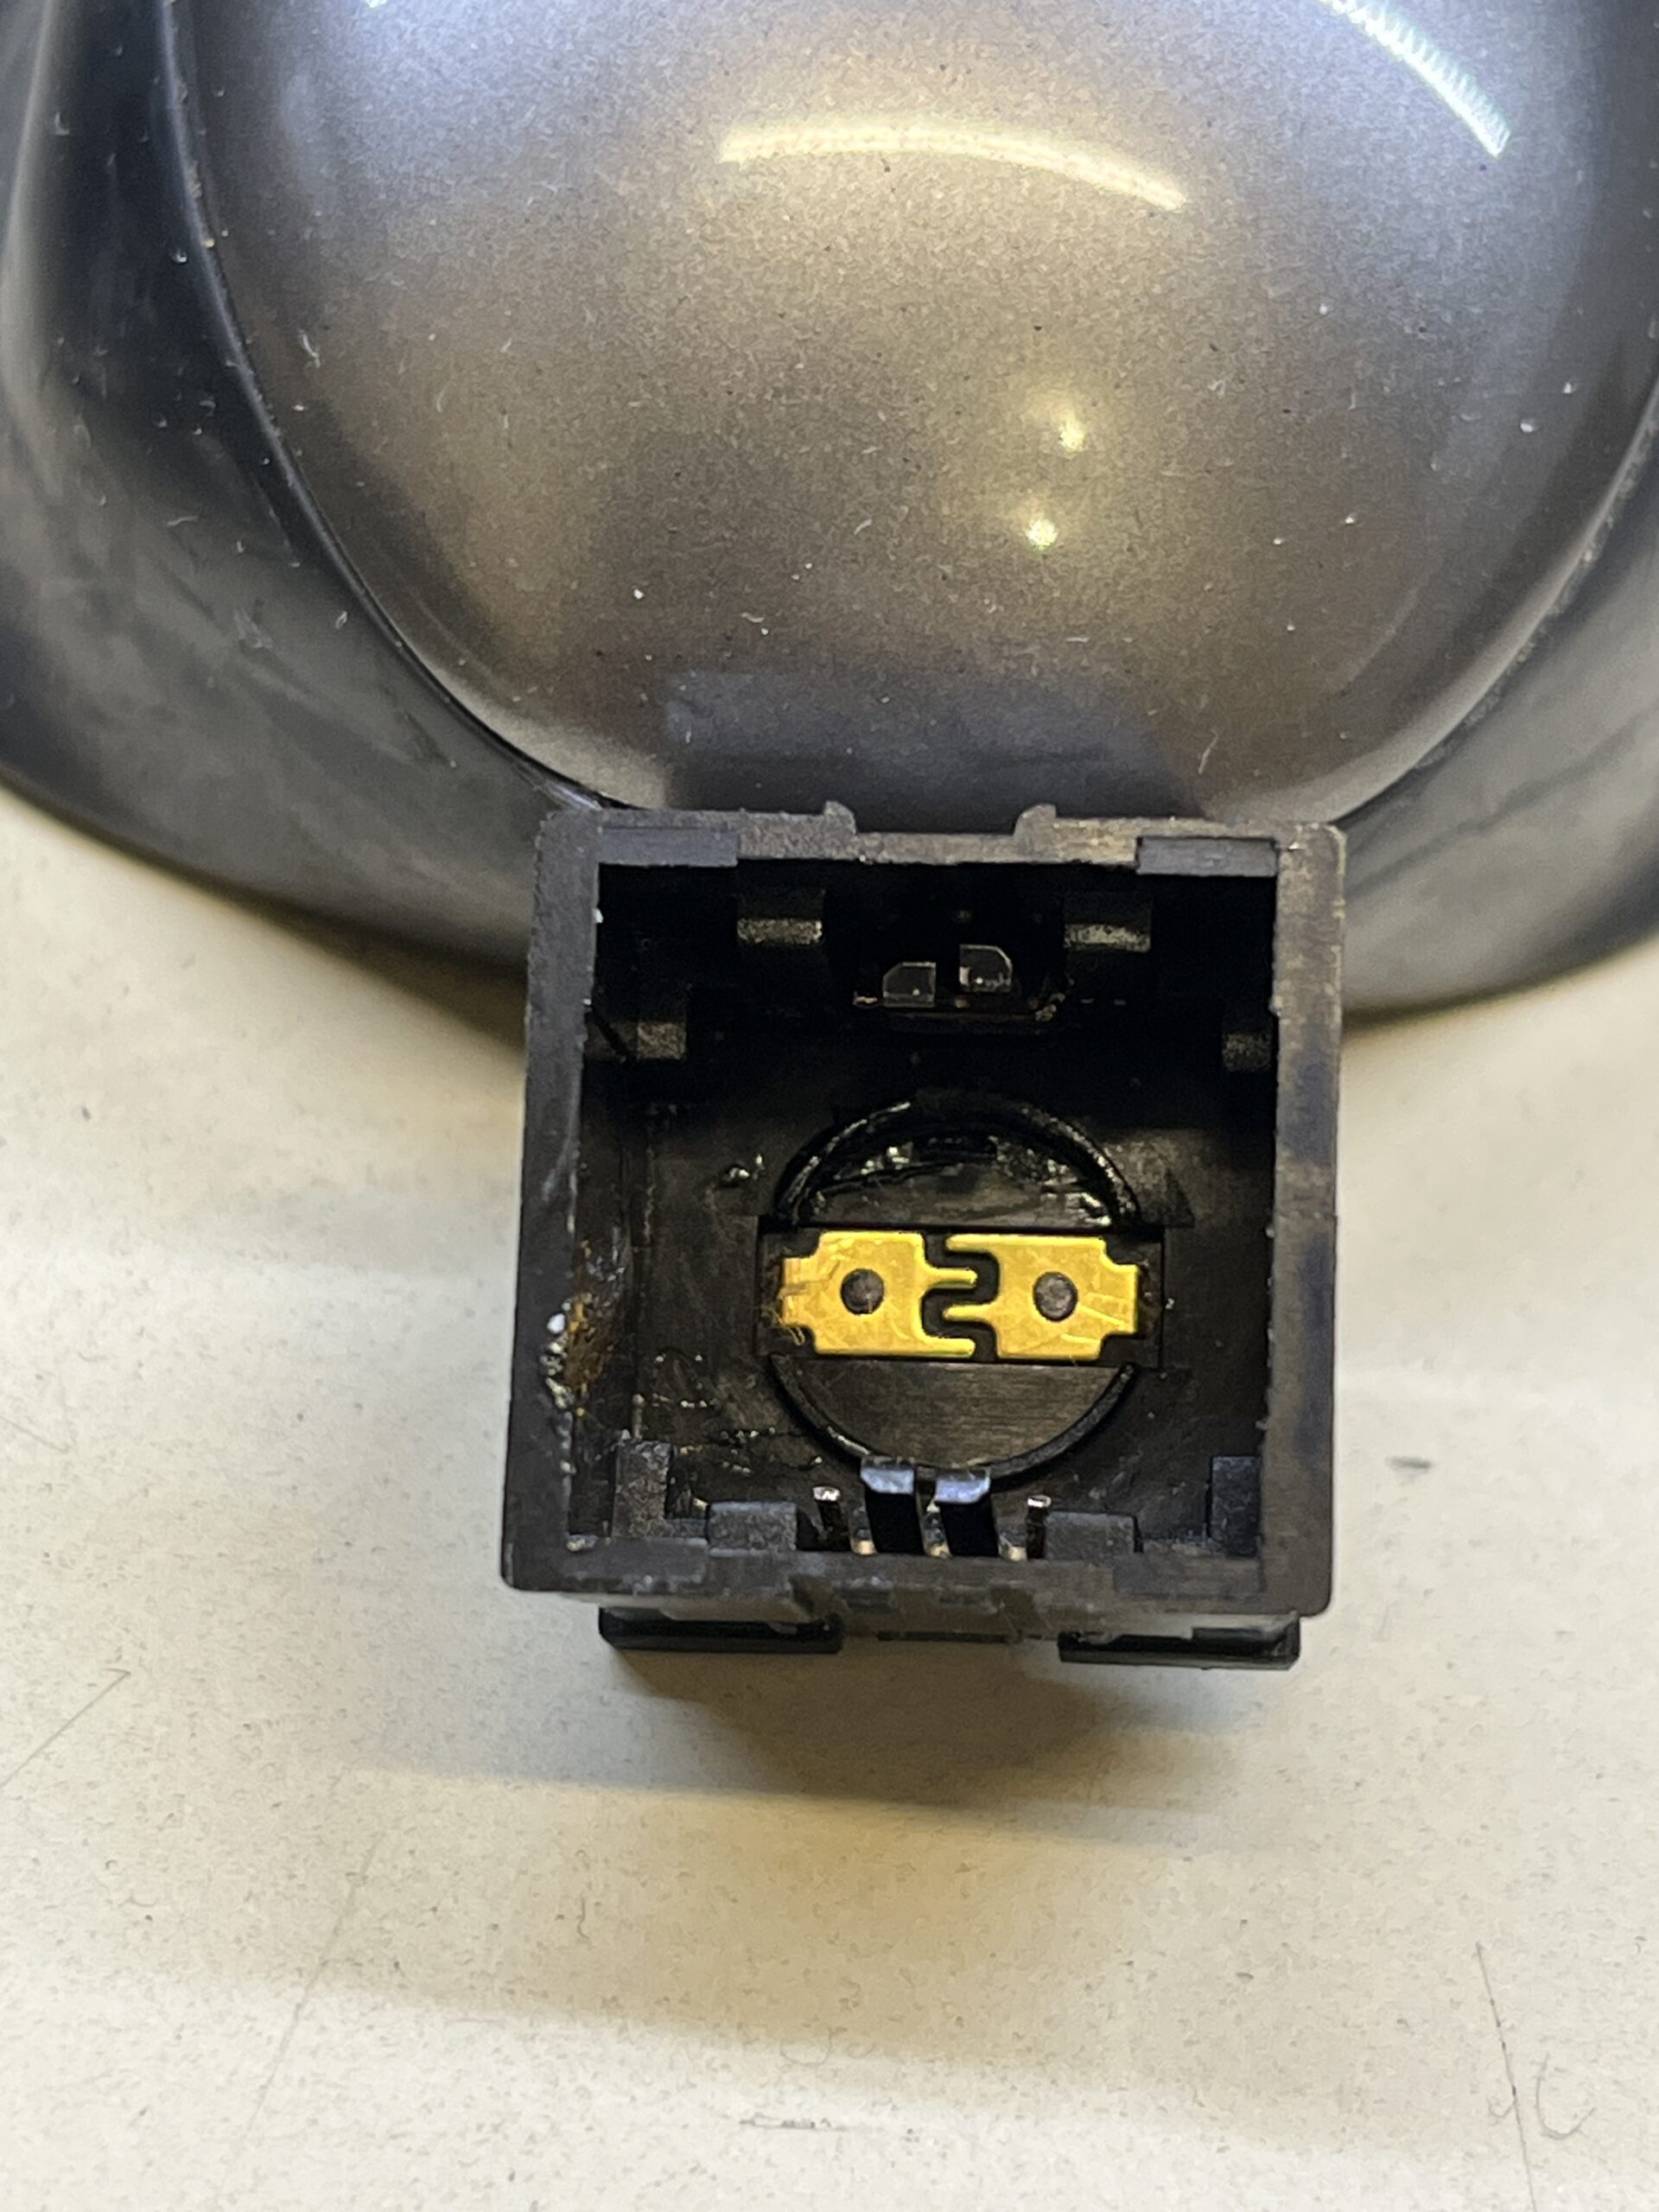
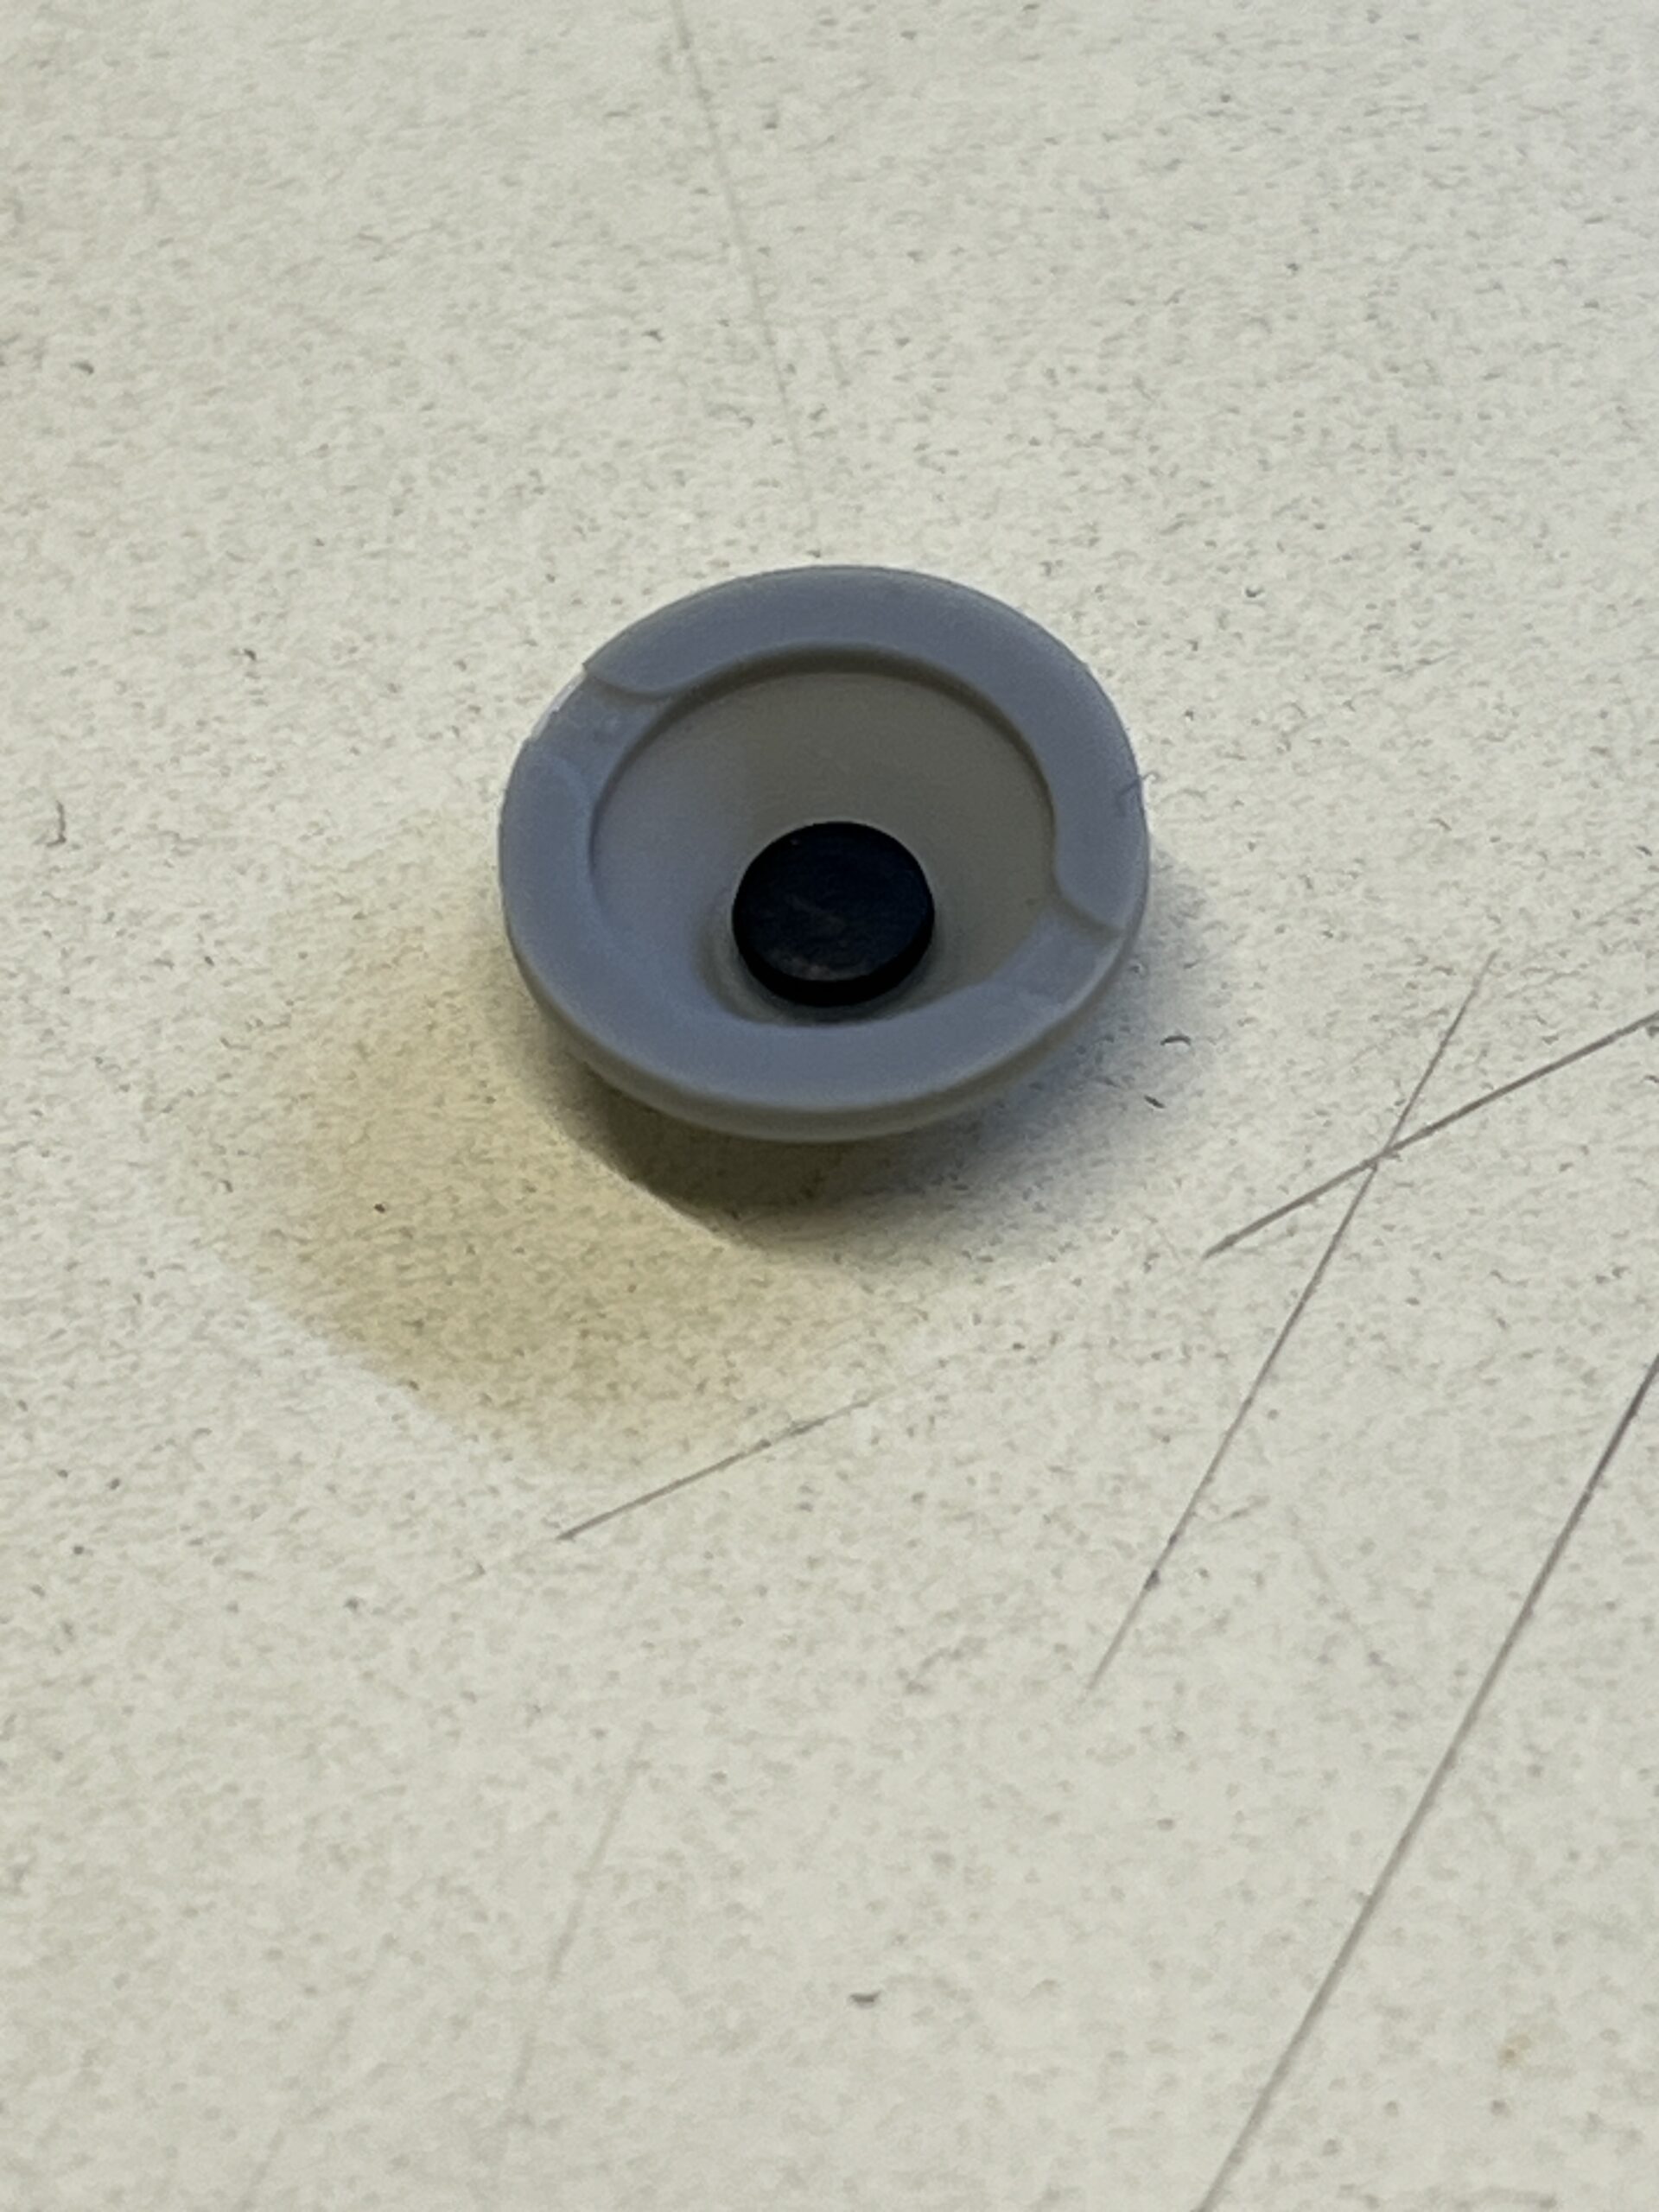
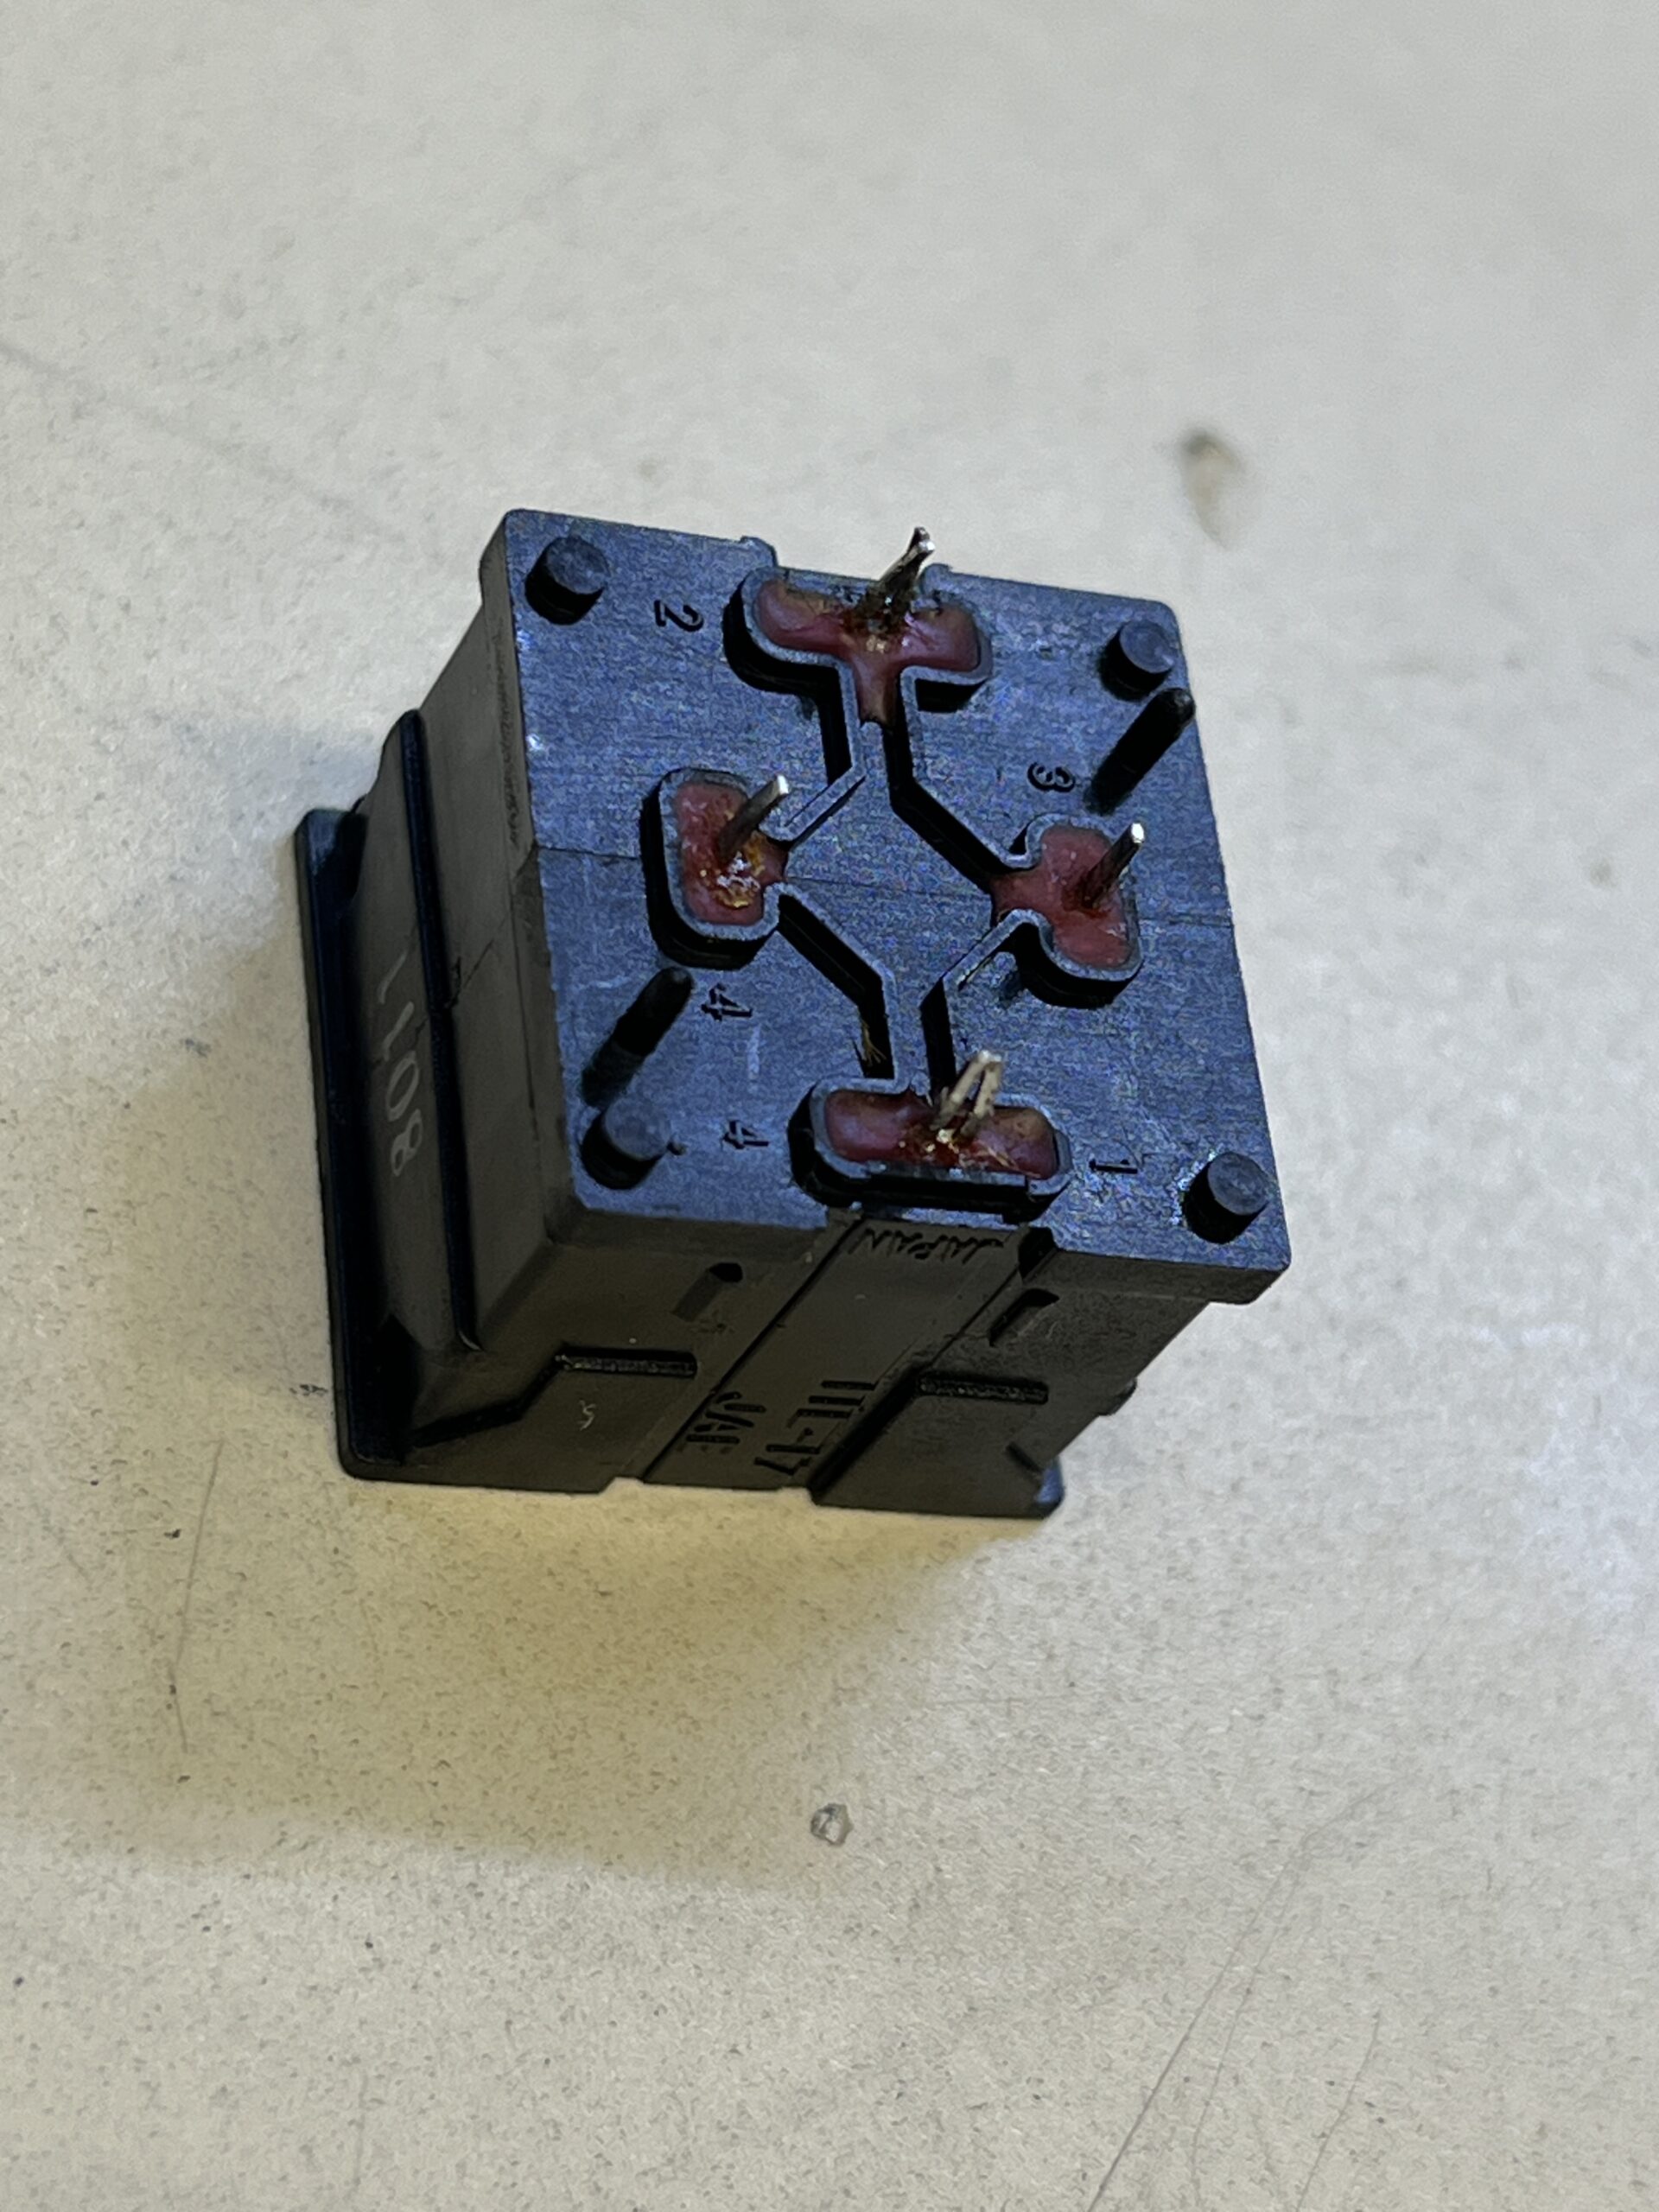
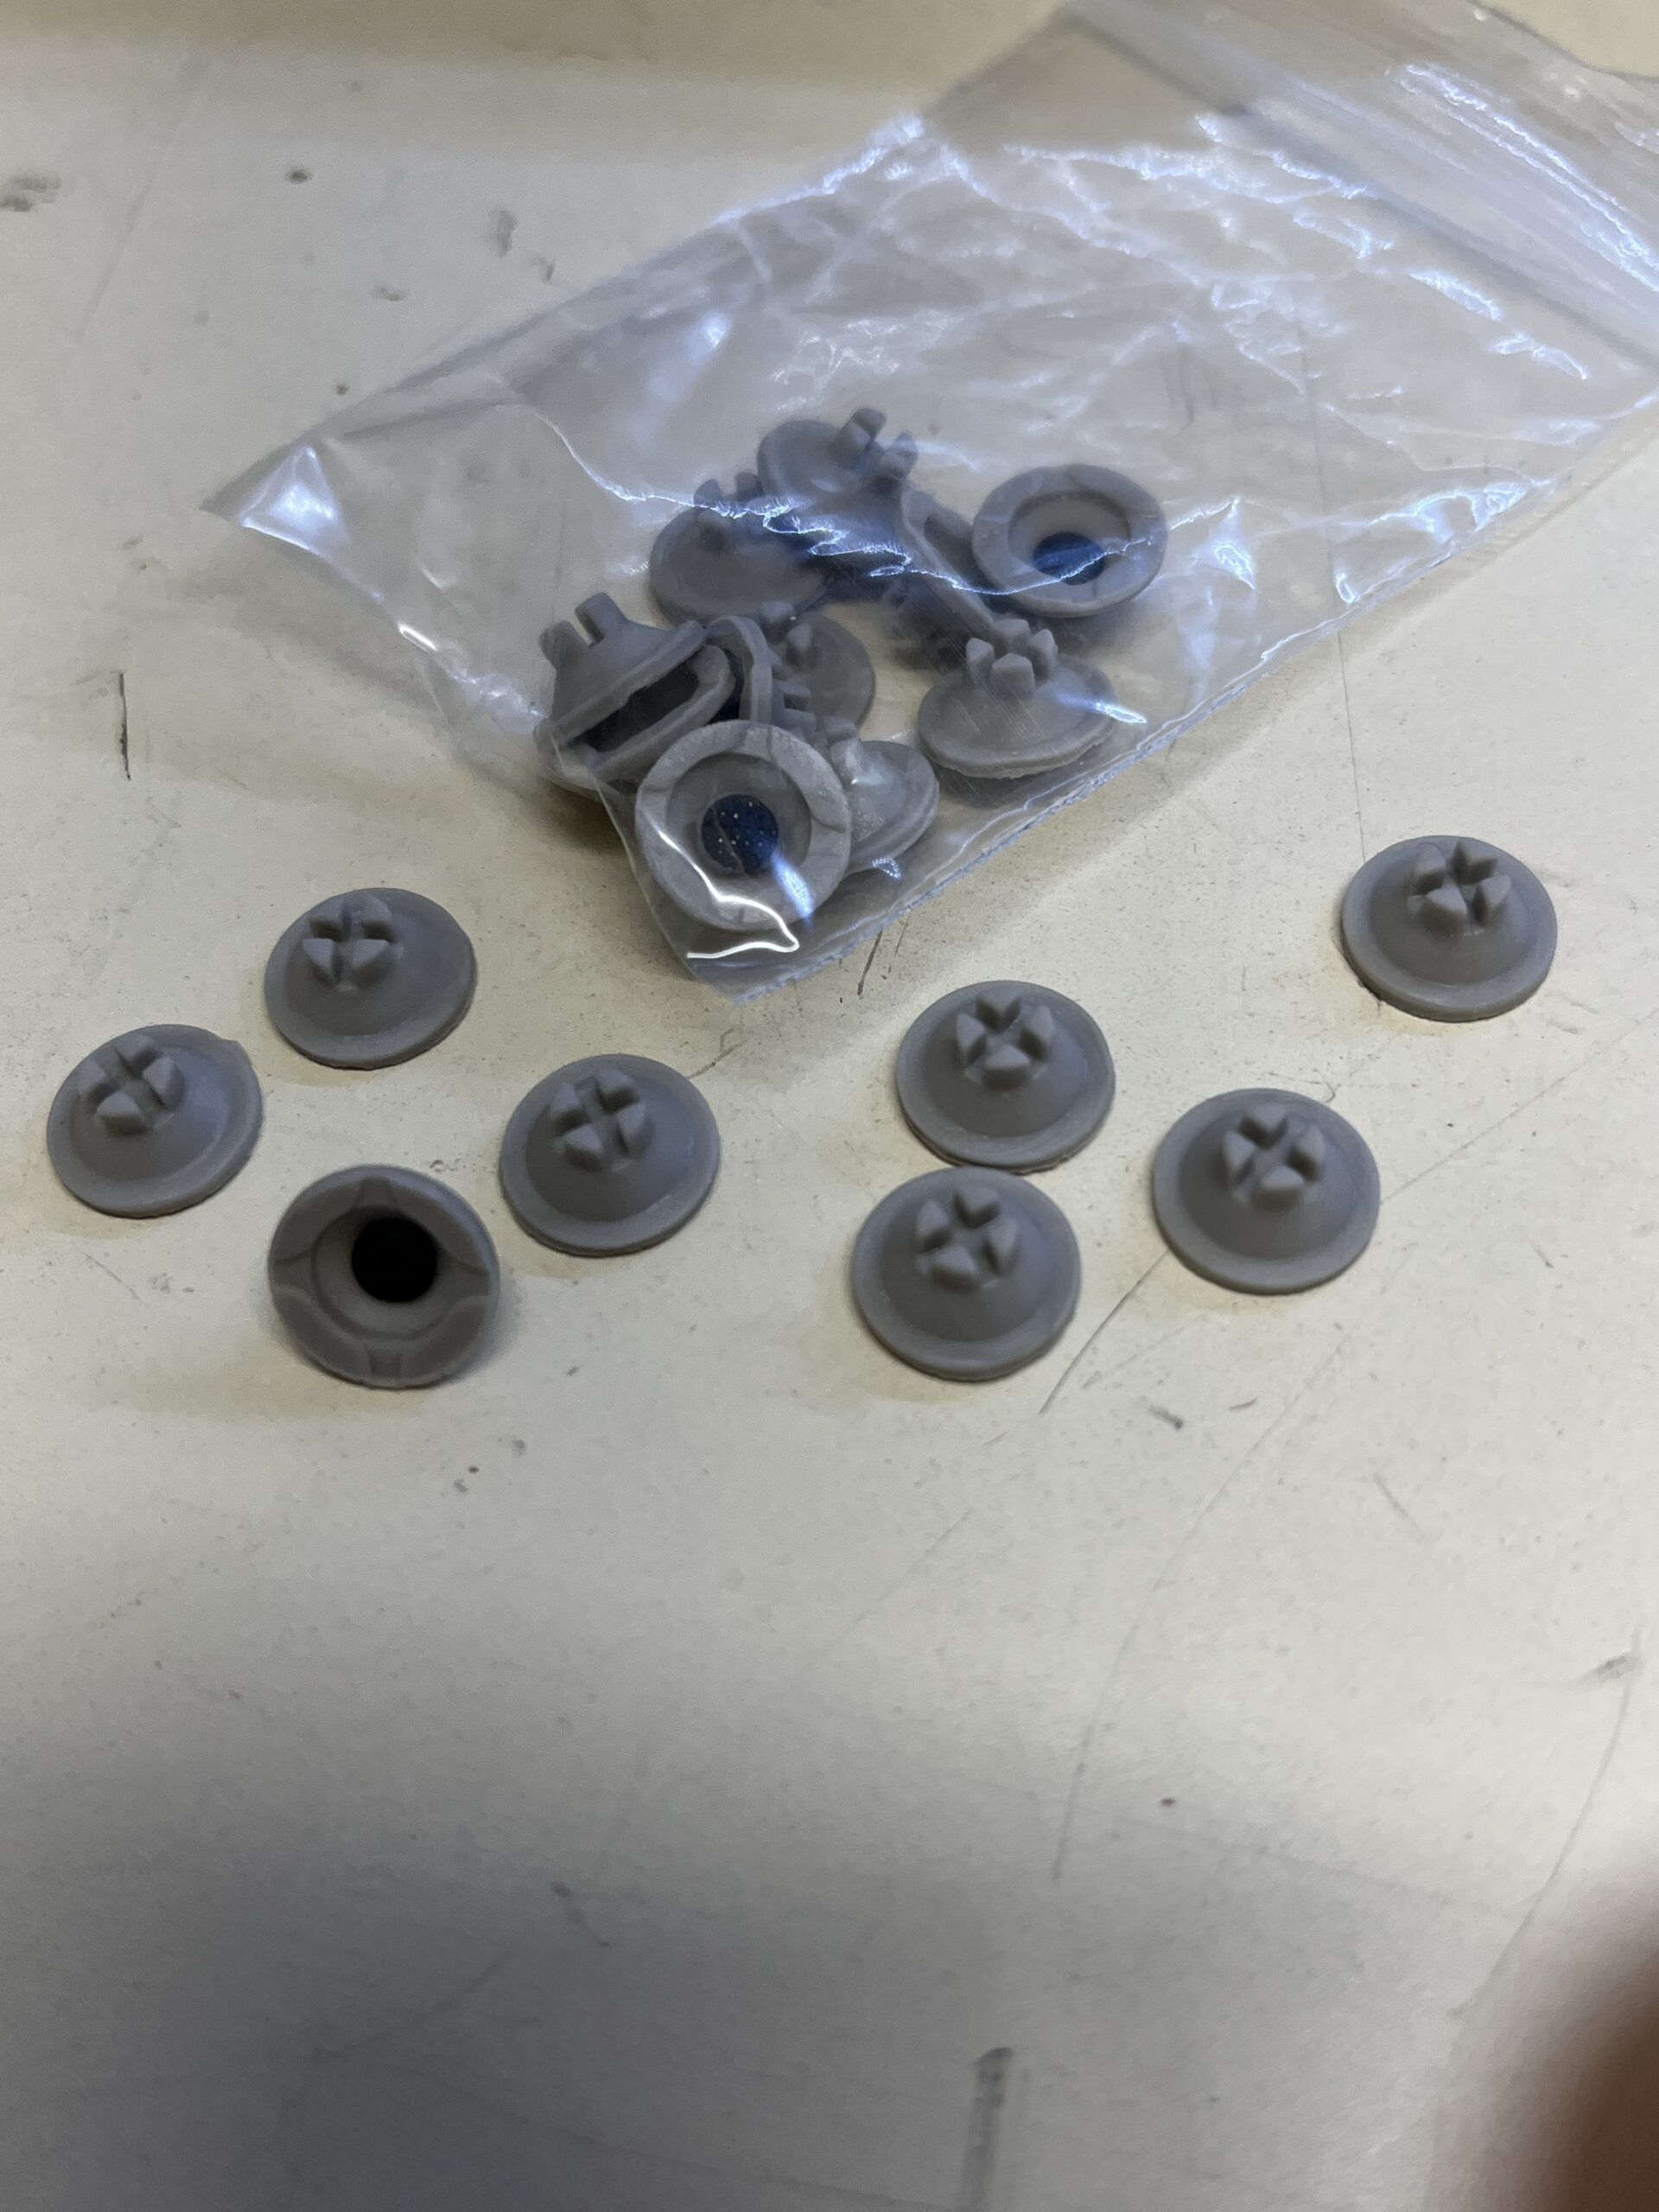
Note: If the button does not work and only the light, the contact cup needs to be replaced. The original cup is approximately 10mm base diameter, 4mm in height with a 7.5mm taper base diameter. Pins 1&2 (light) pins 3&4 (switch). The inside ID switch cup housing is 9.8mm, the original old cups sat on the raised ring by the contacts when I opened them, possibly widened over time. A cup 9mm in diameter should place inside easily and prevent it from moving. The original switches are obsolete but reworkable. Bend up the 4 pins holding the plastic spring guard, careful to not let it lunge out. Behind the cap is a spring and the contact cup. They often break at the top where the carbon contact is located. I had to cut the diameter so that it would fit into the guide.


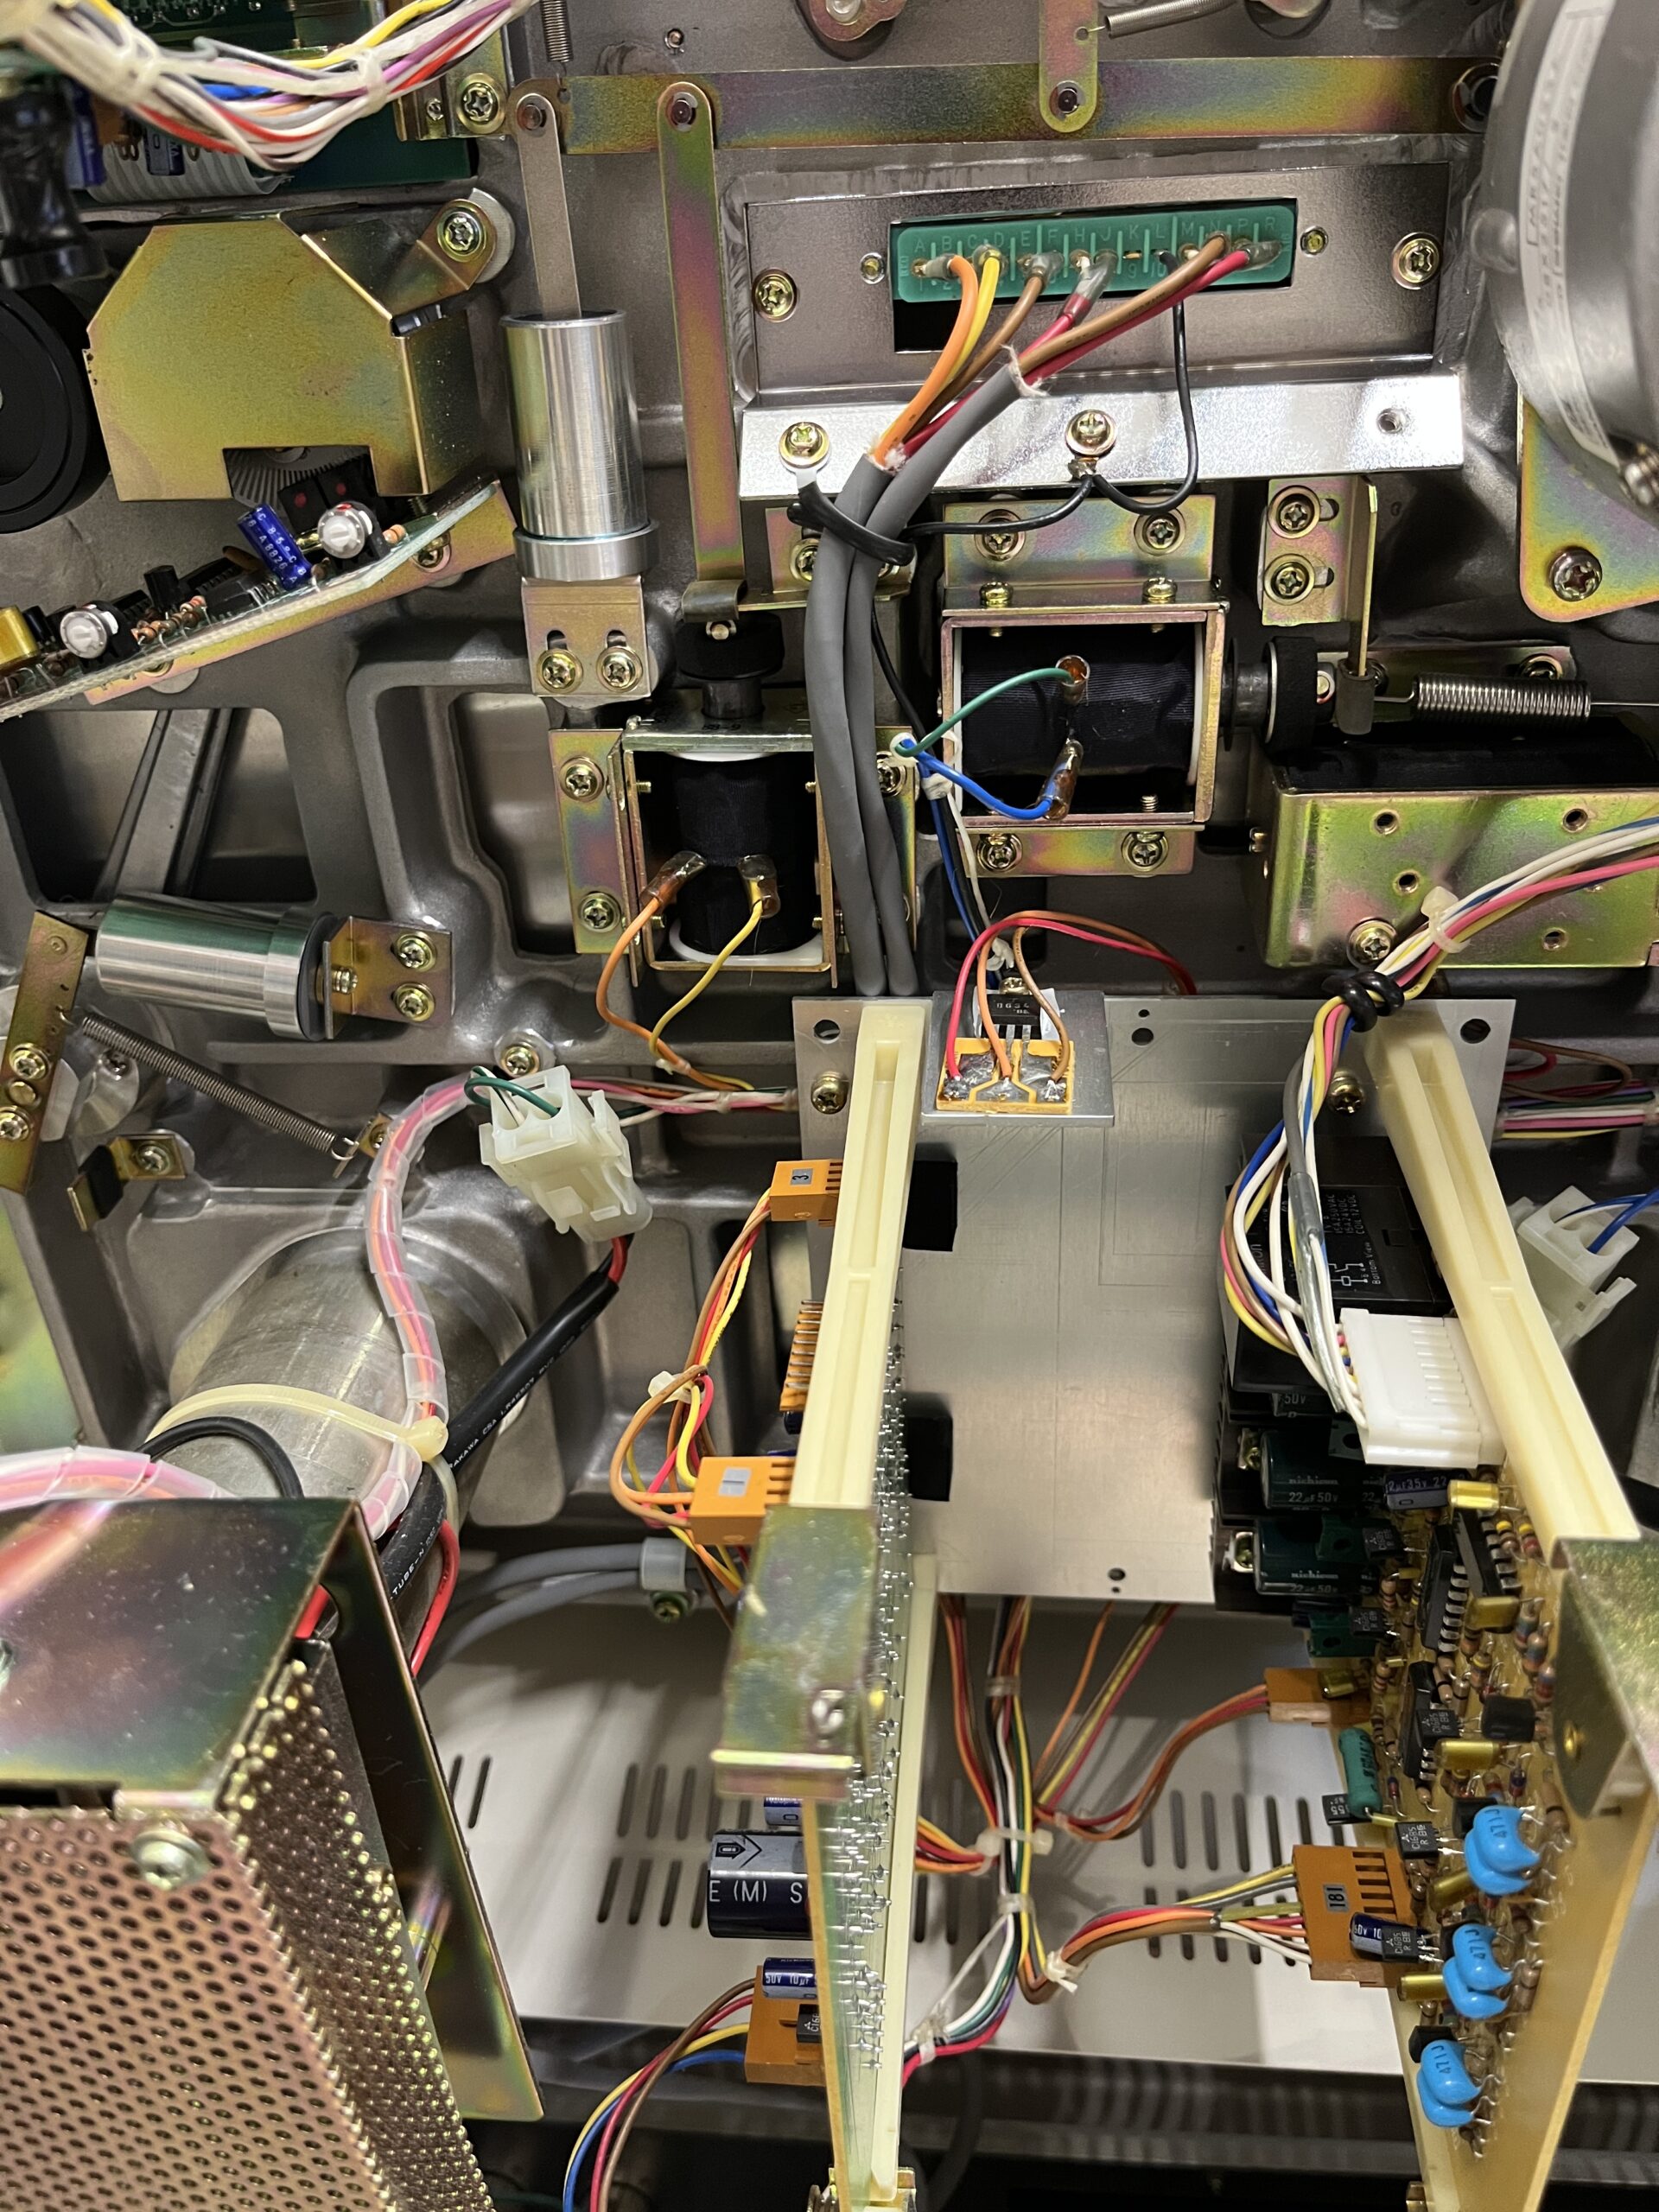
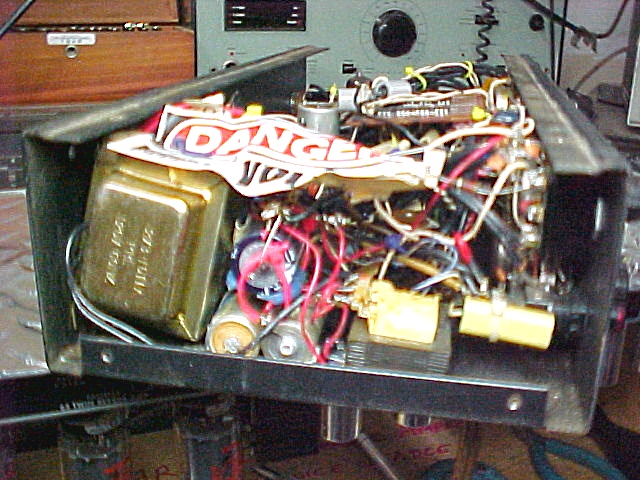
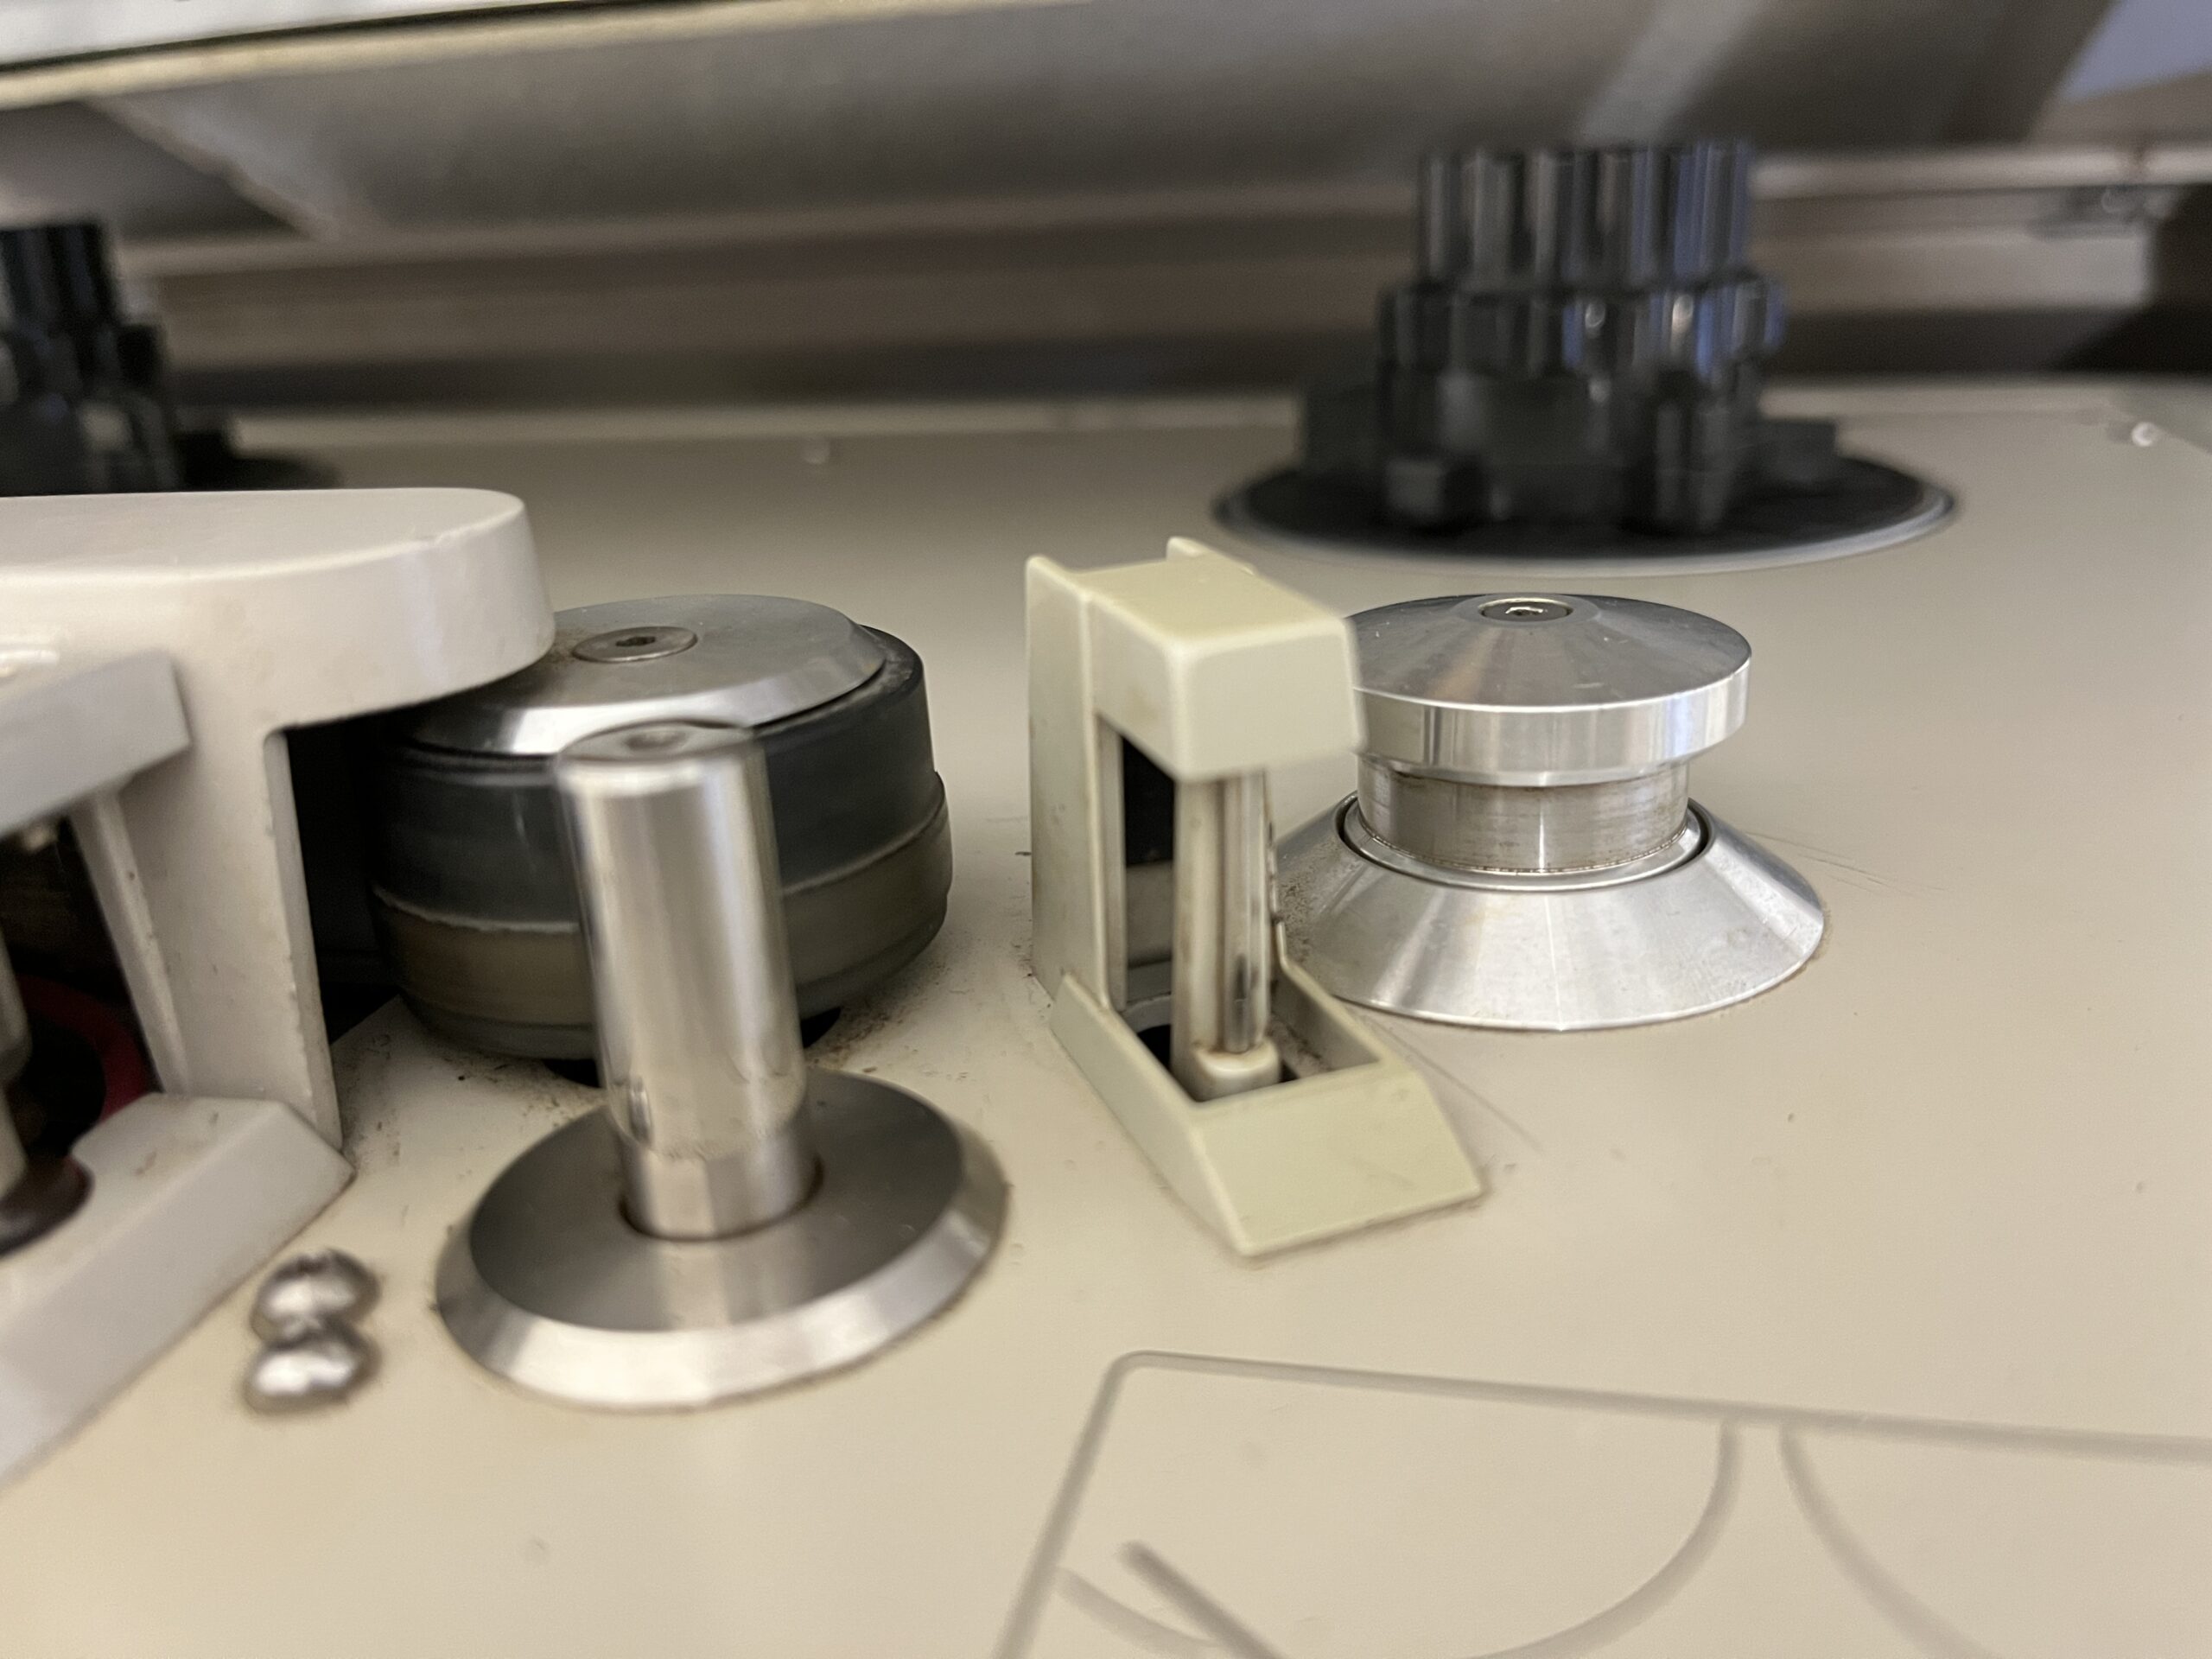
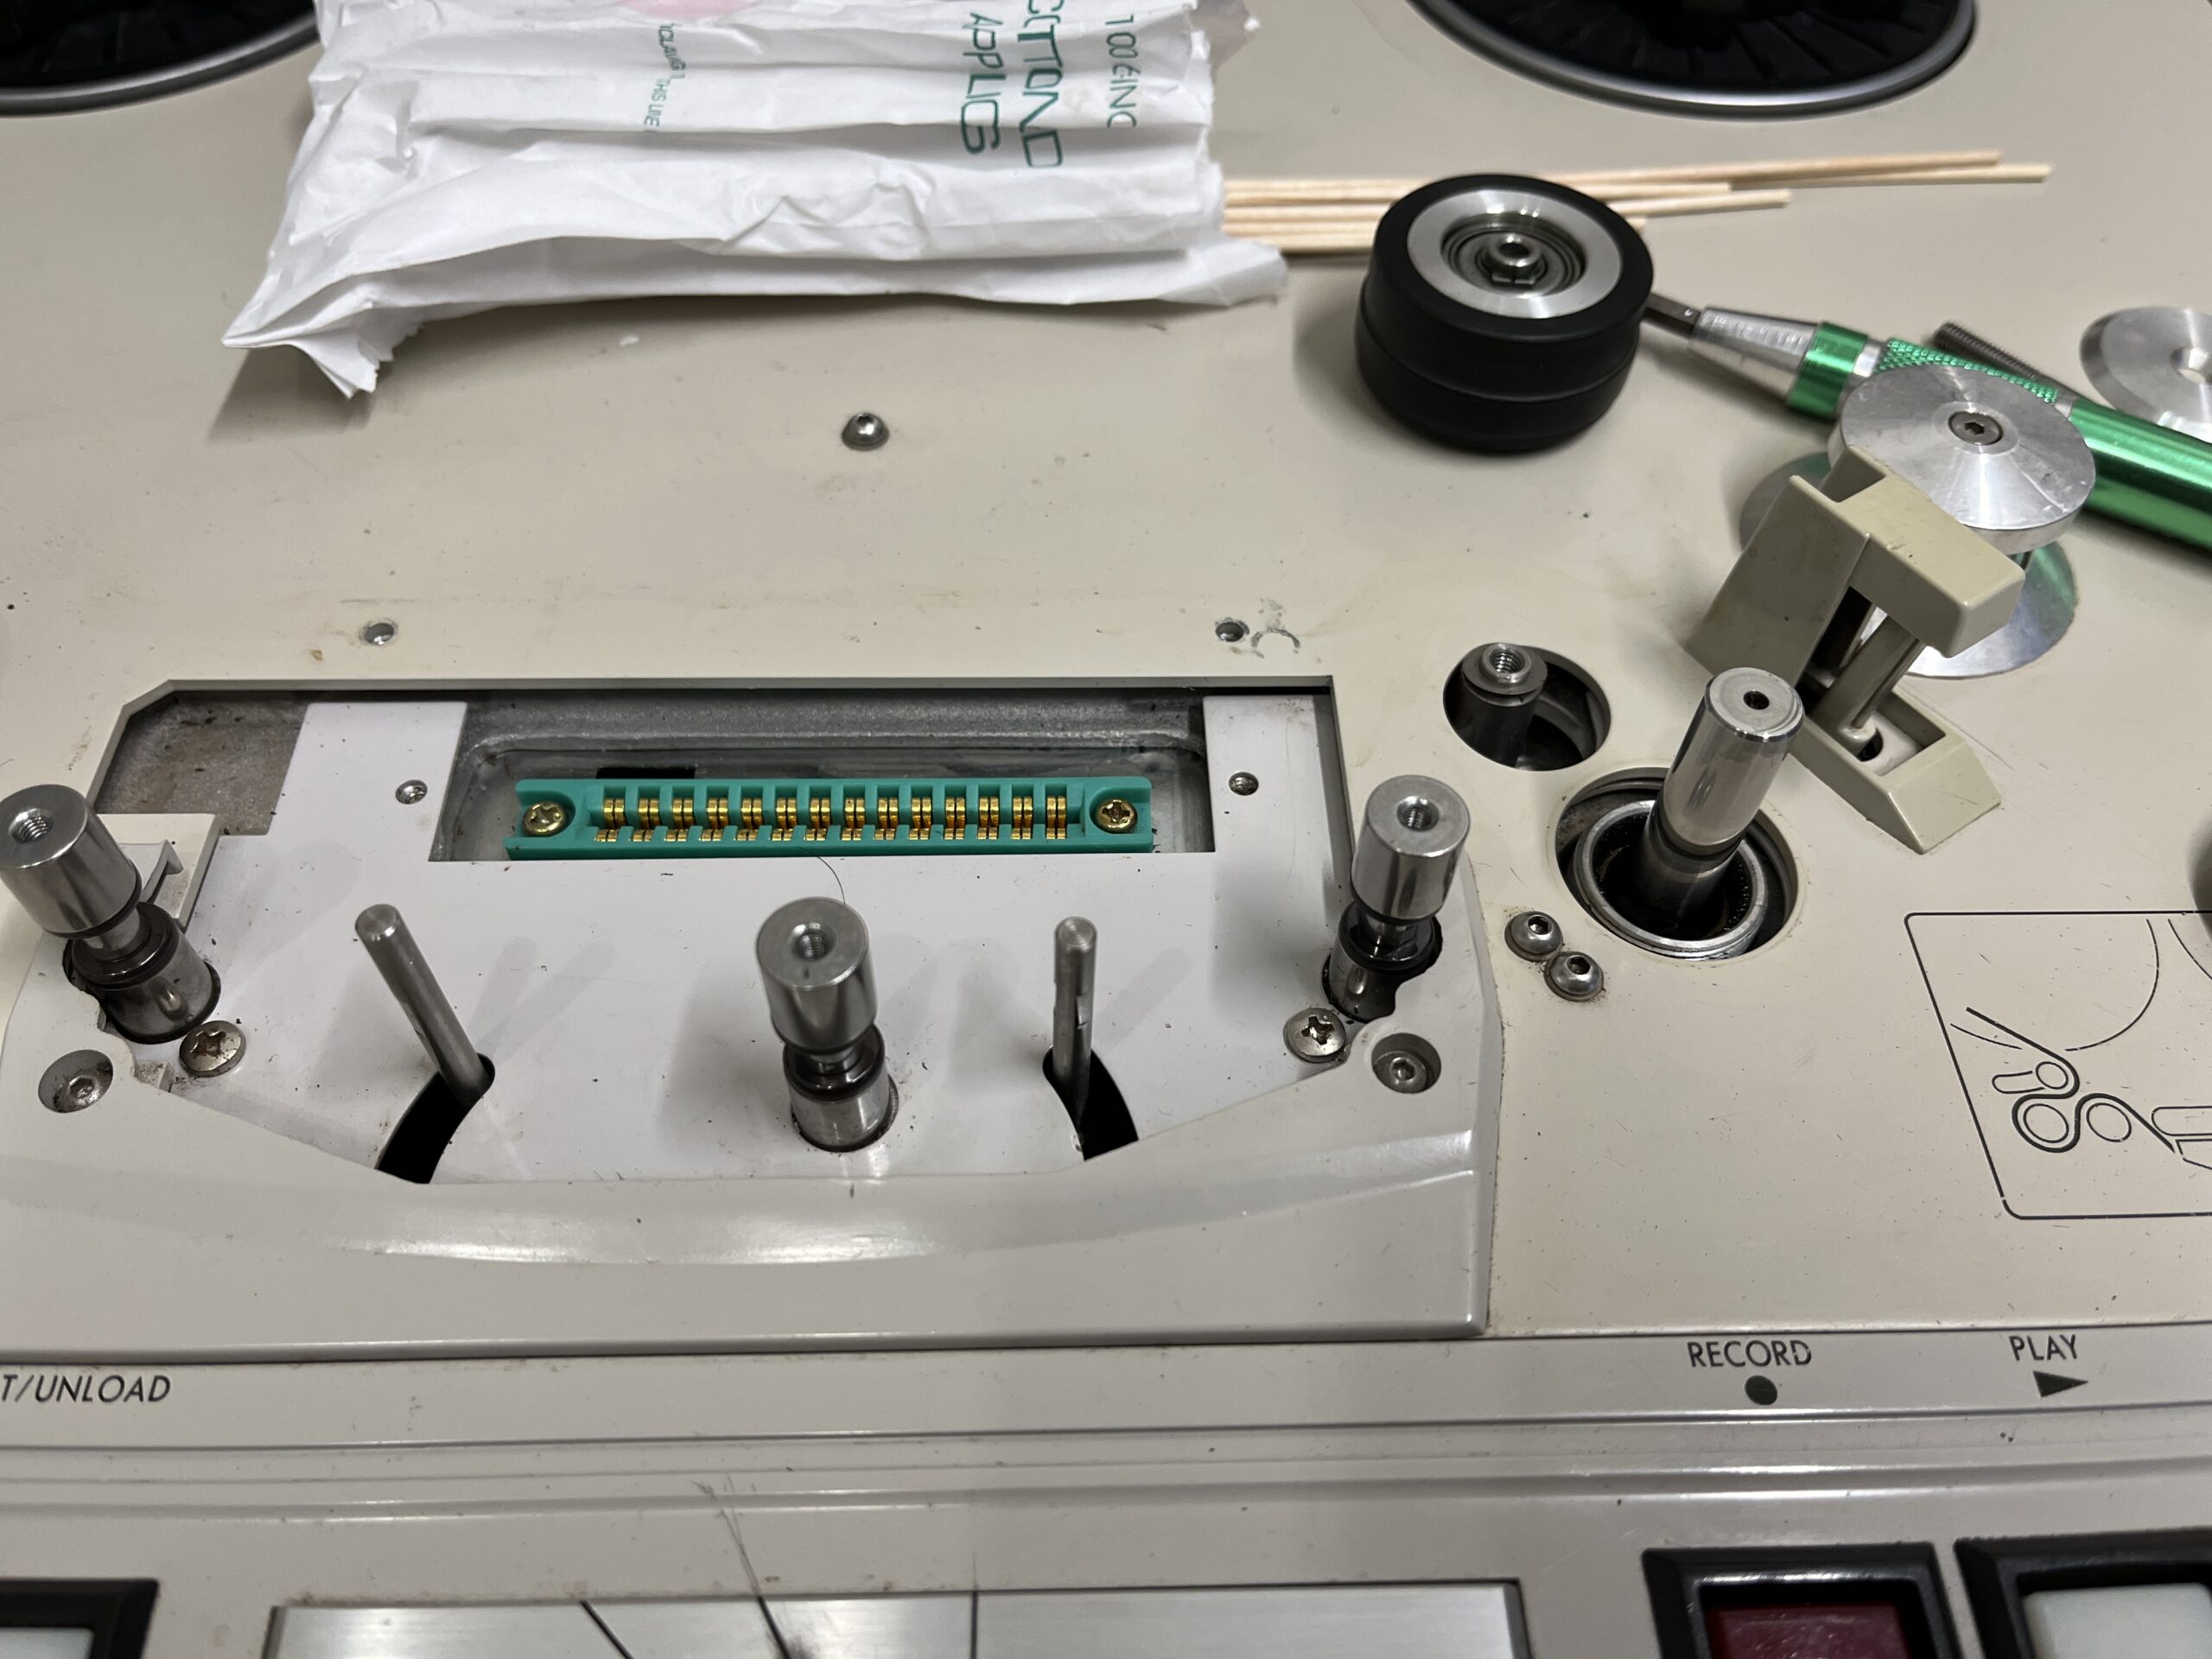
The head assembly easily comes apart for servicing. Use pure isopropyl alcohol for all cleaning of transports. A cotton swab is preferred and then use a lint free cloth for the rollers. Be sure to check inside the unit as well as under the panels for old tape shed and get that unit clean.


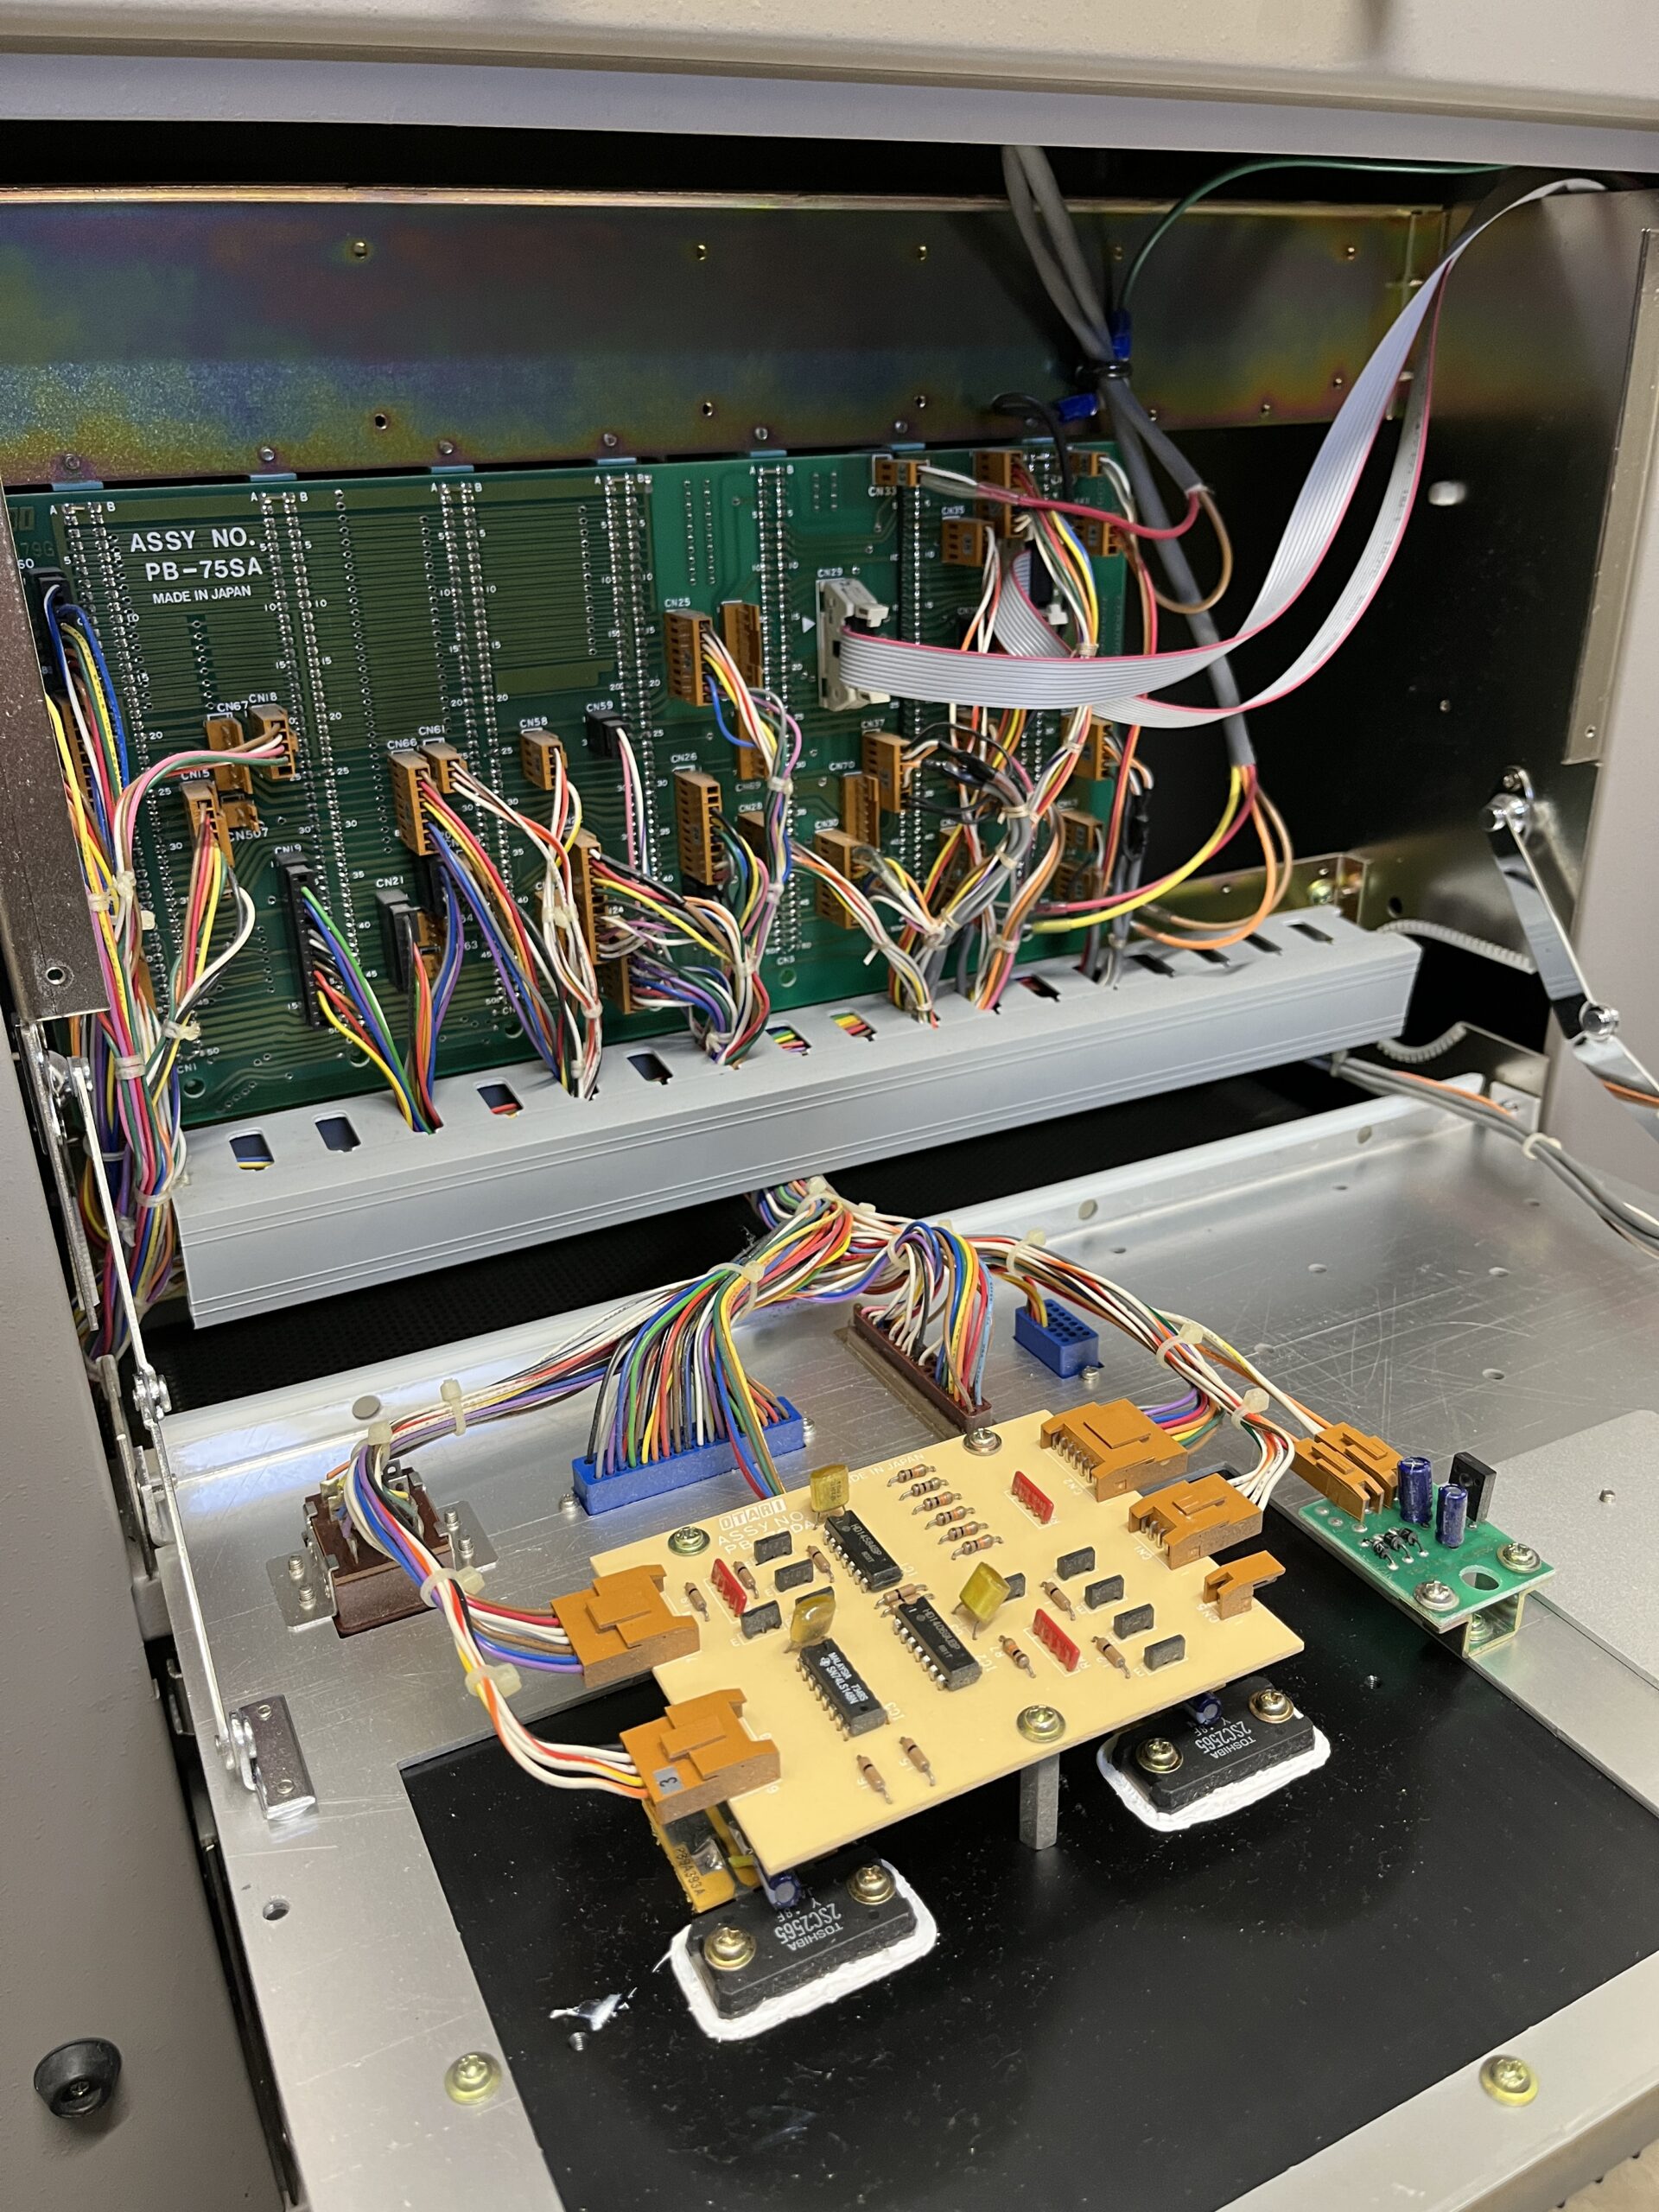
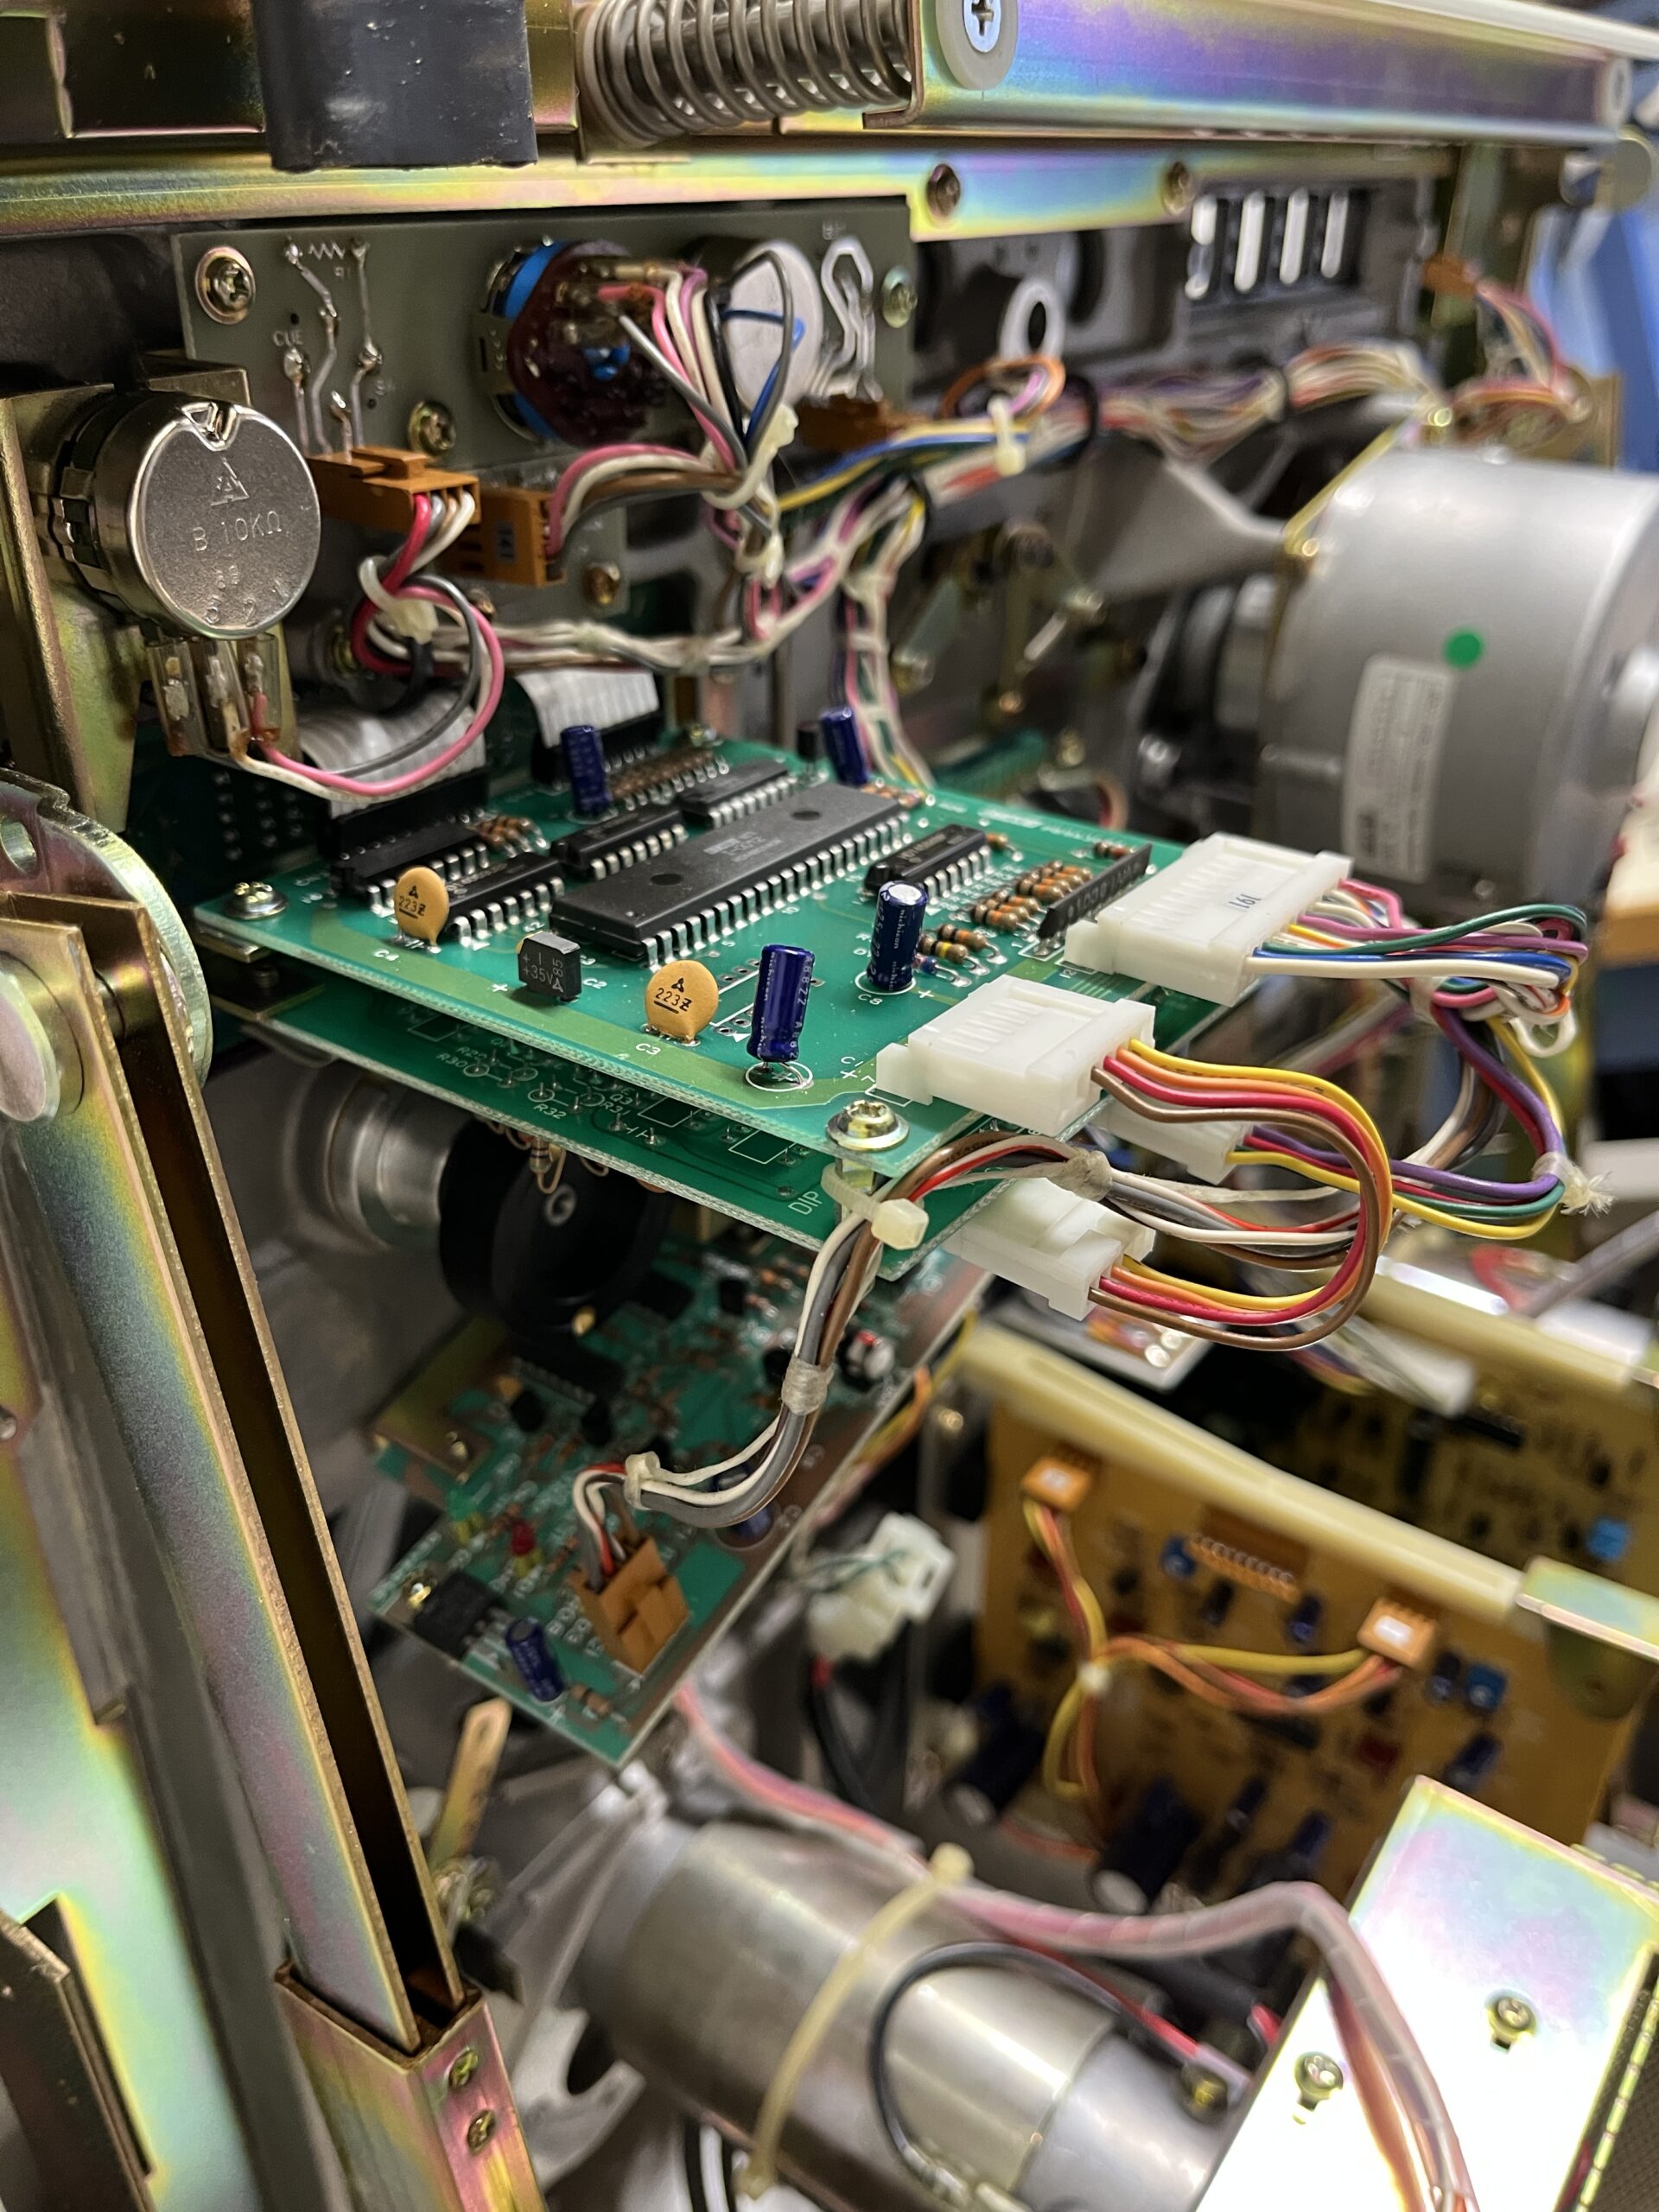
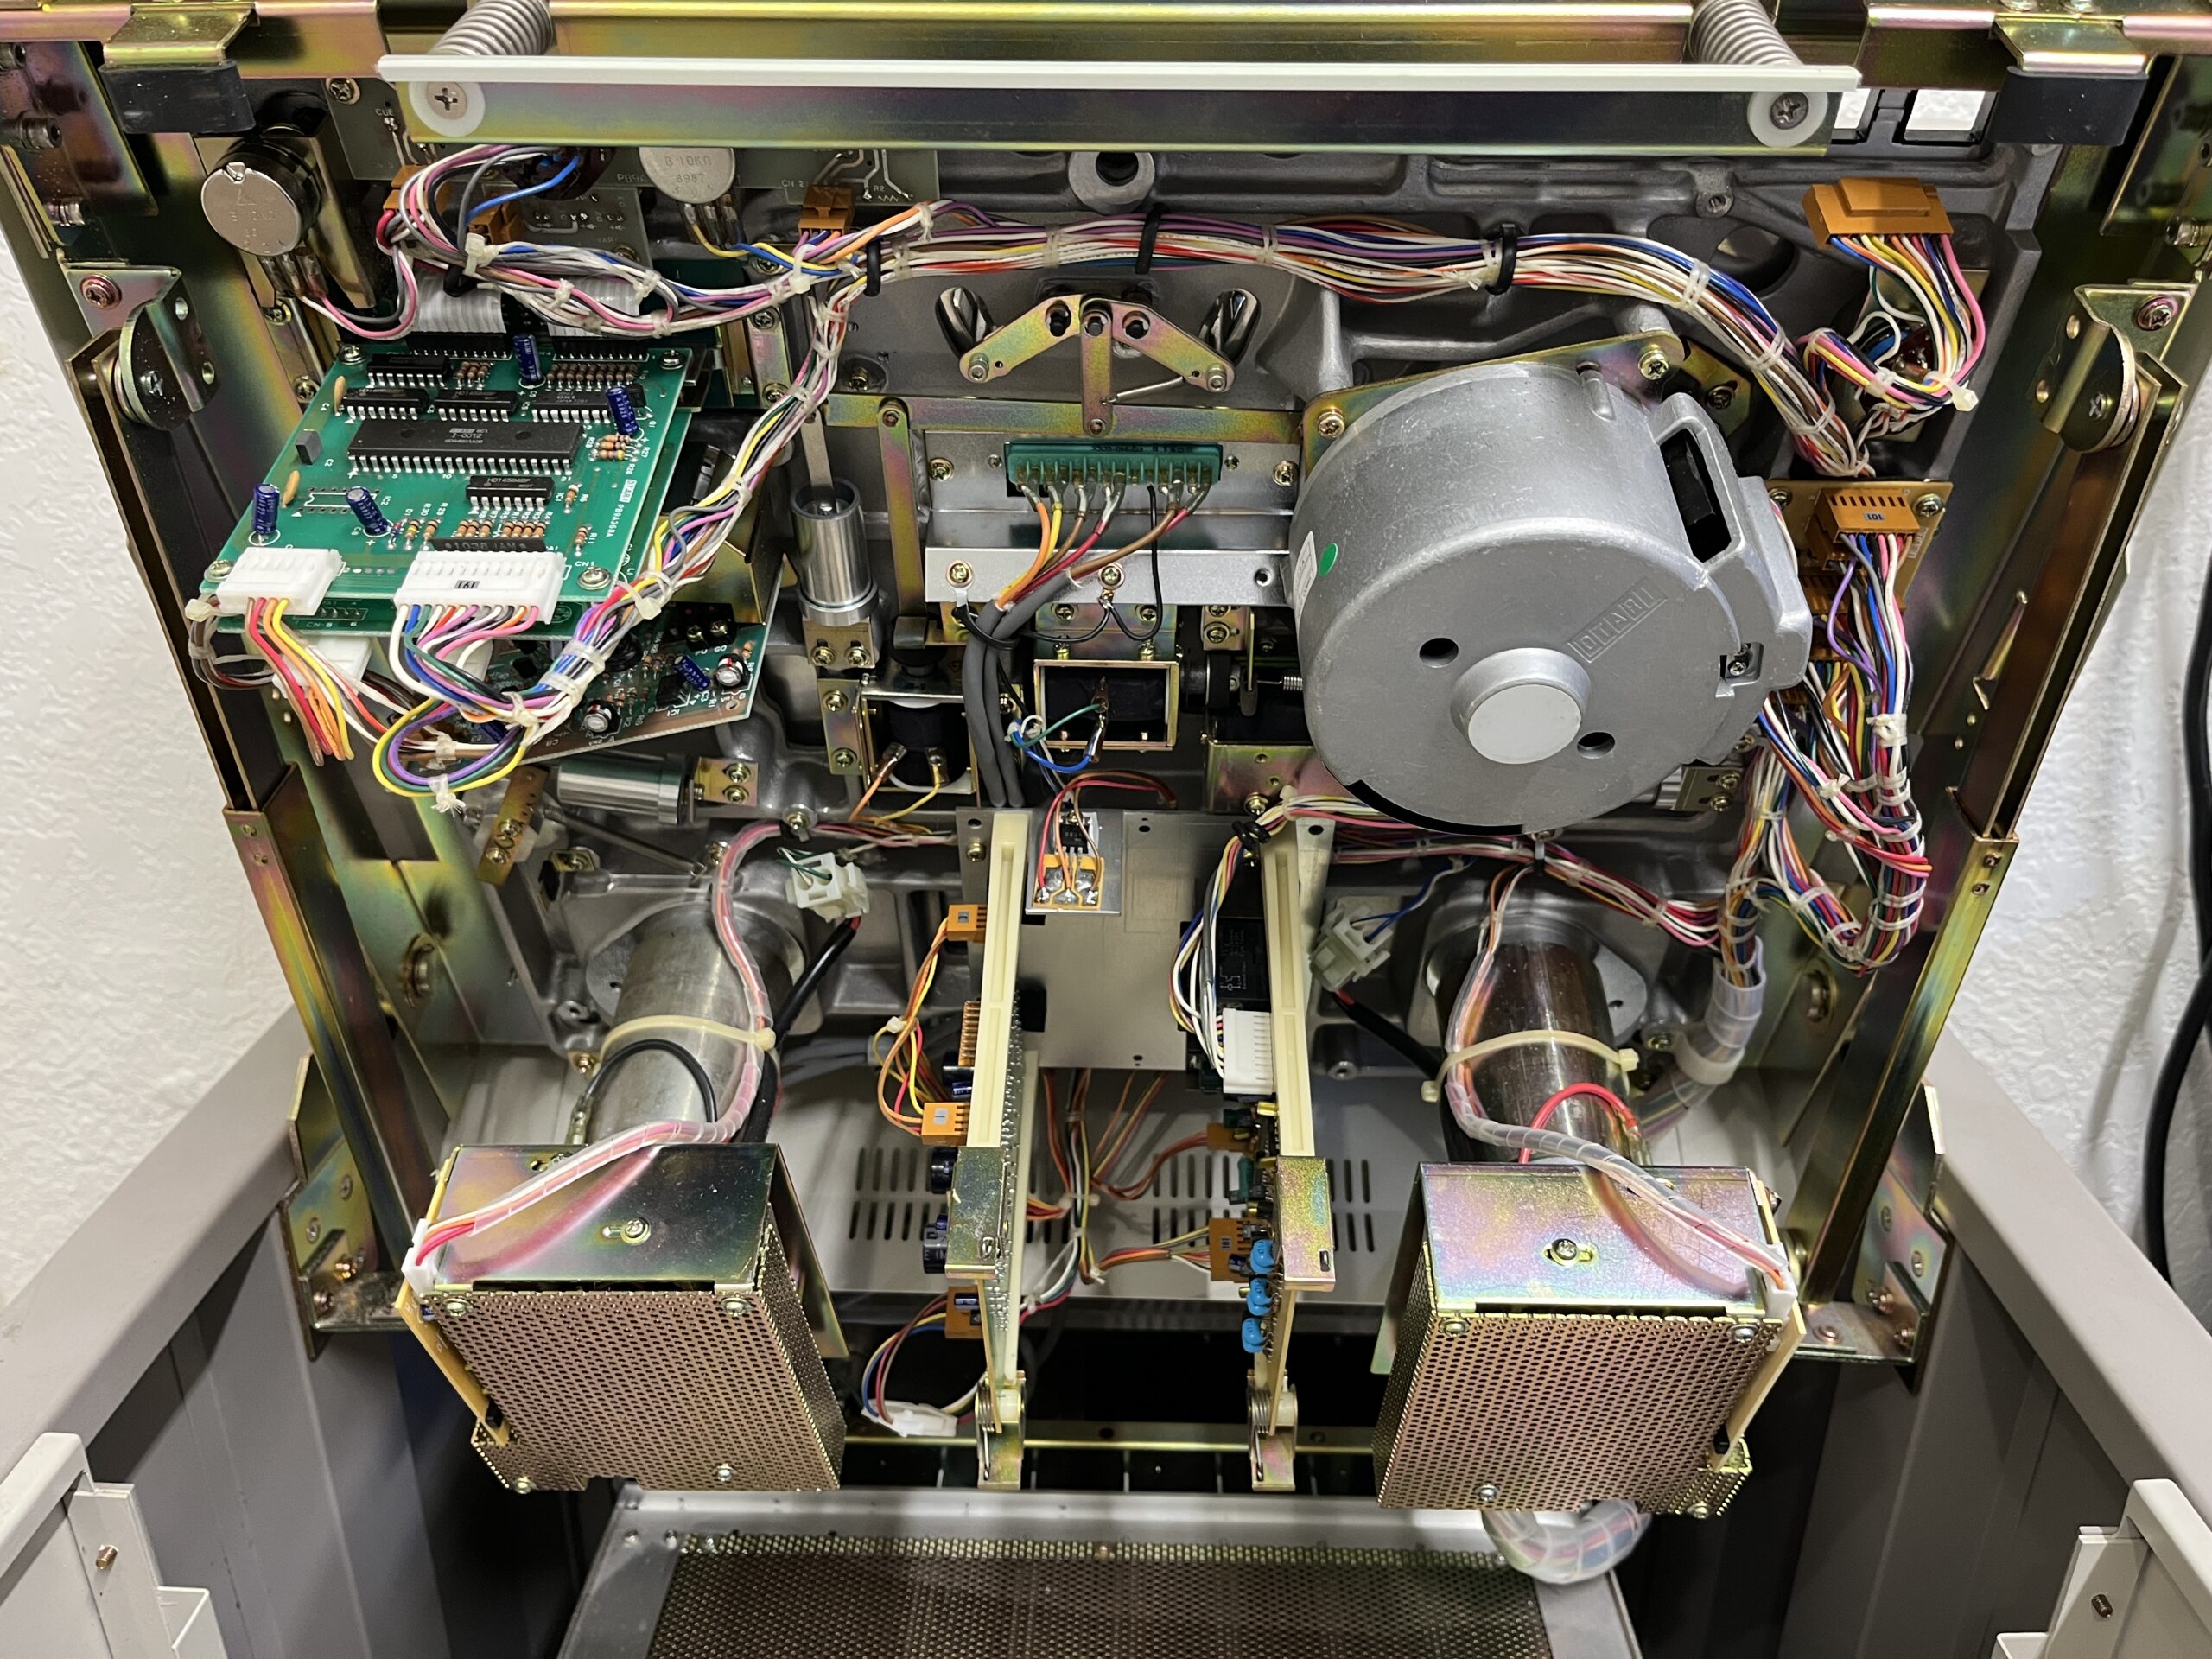
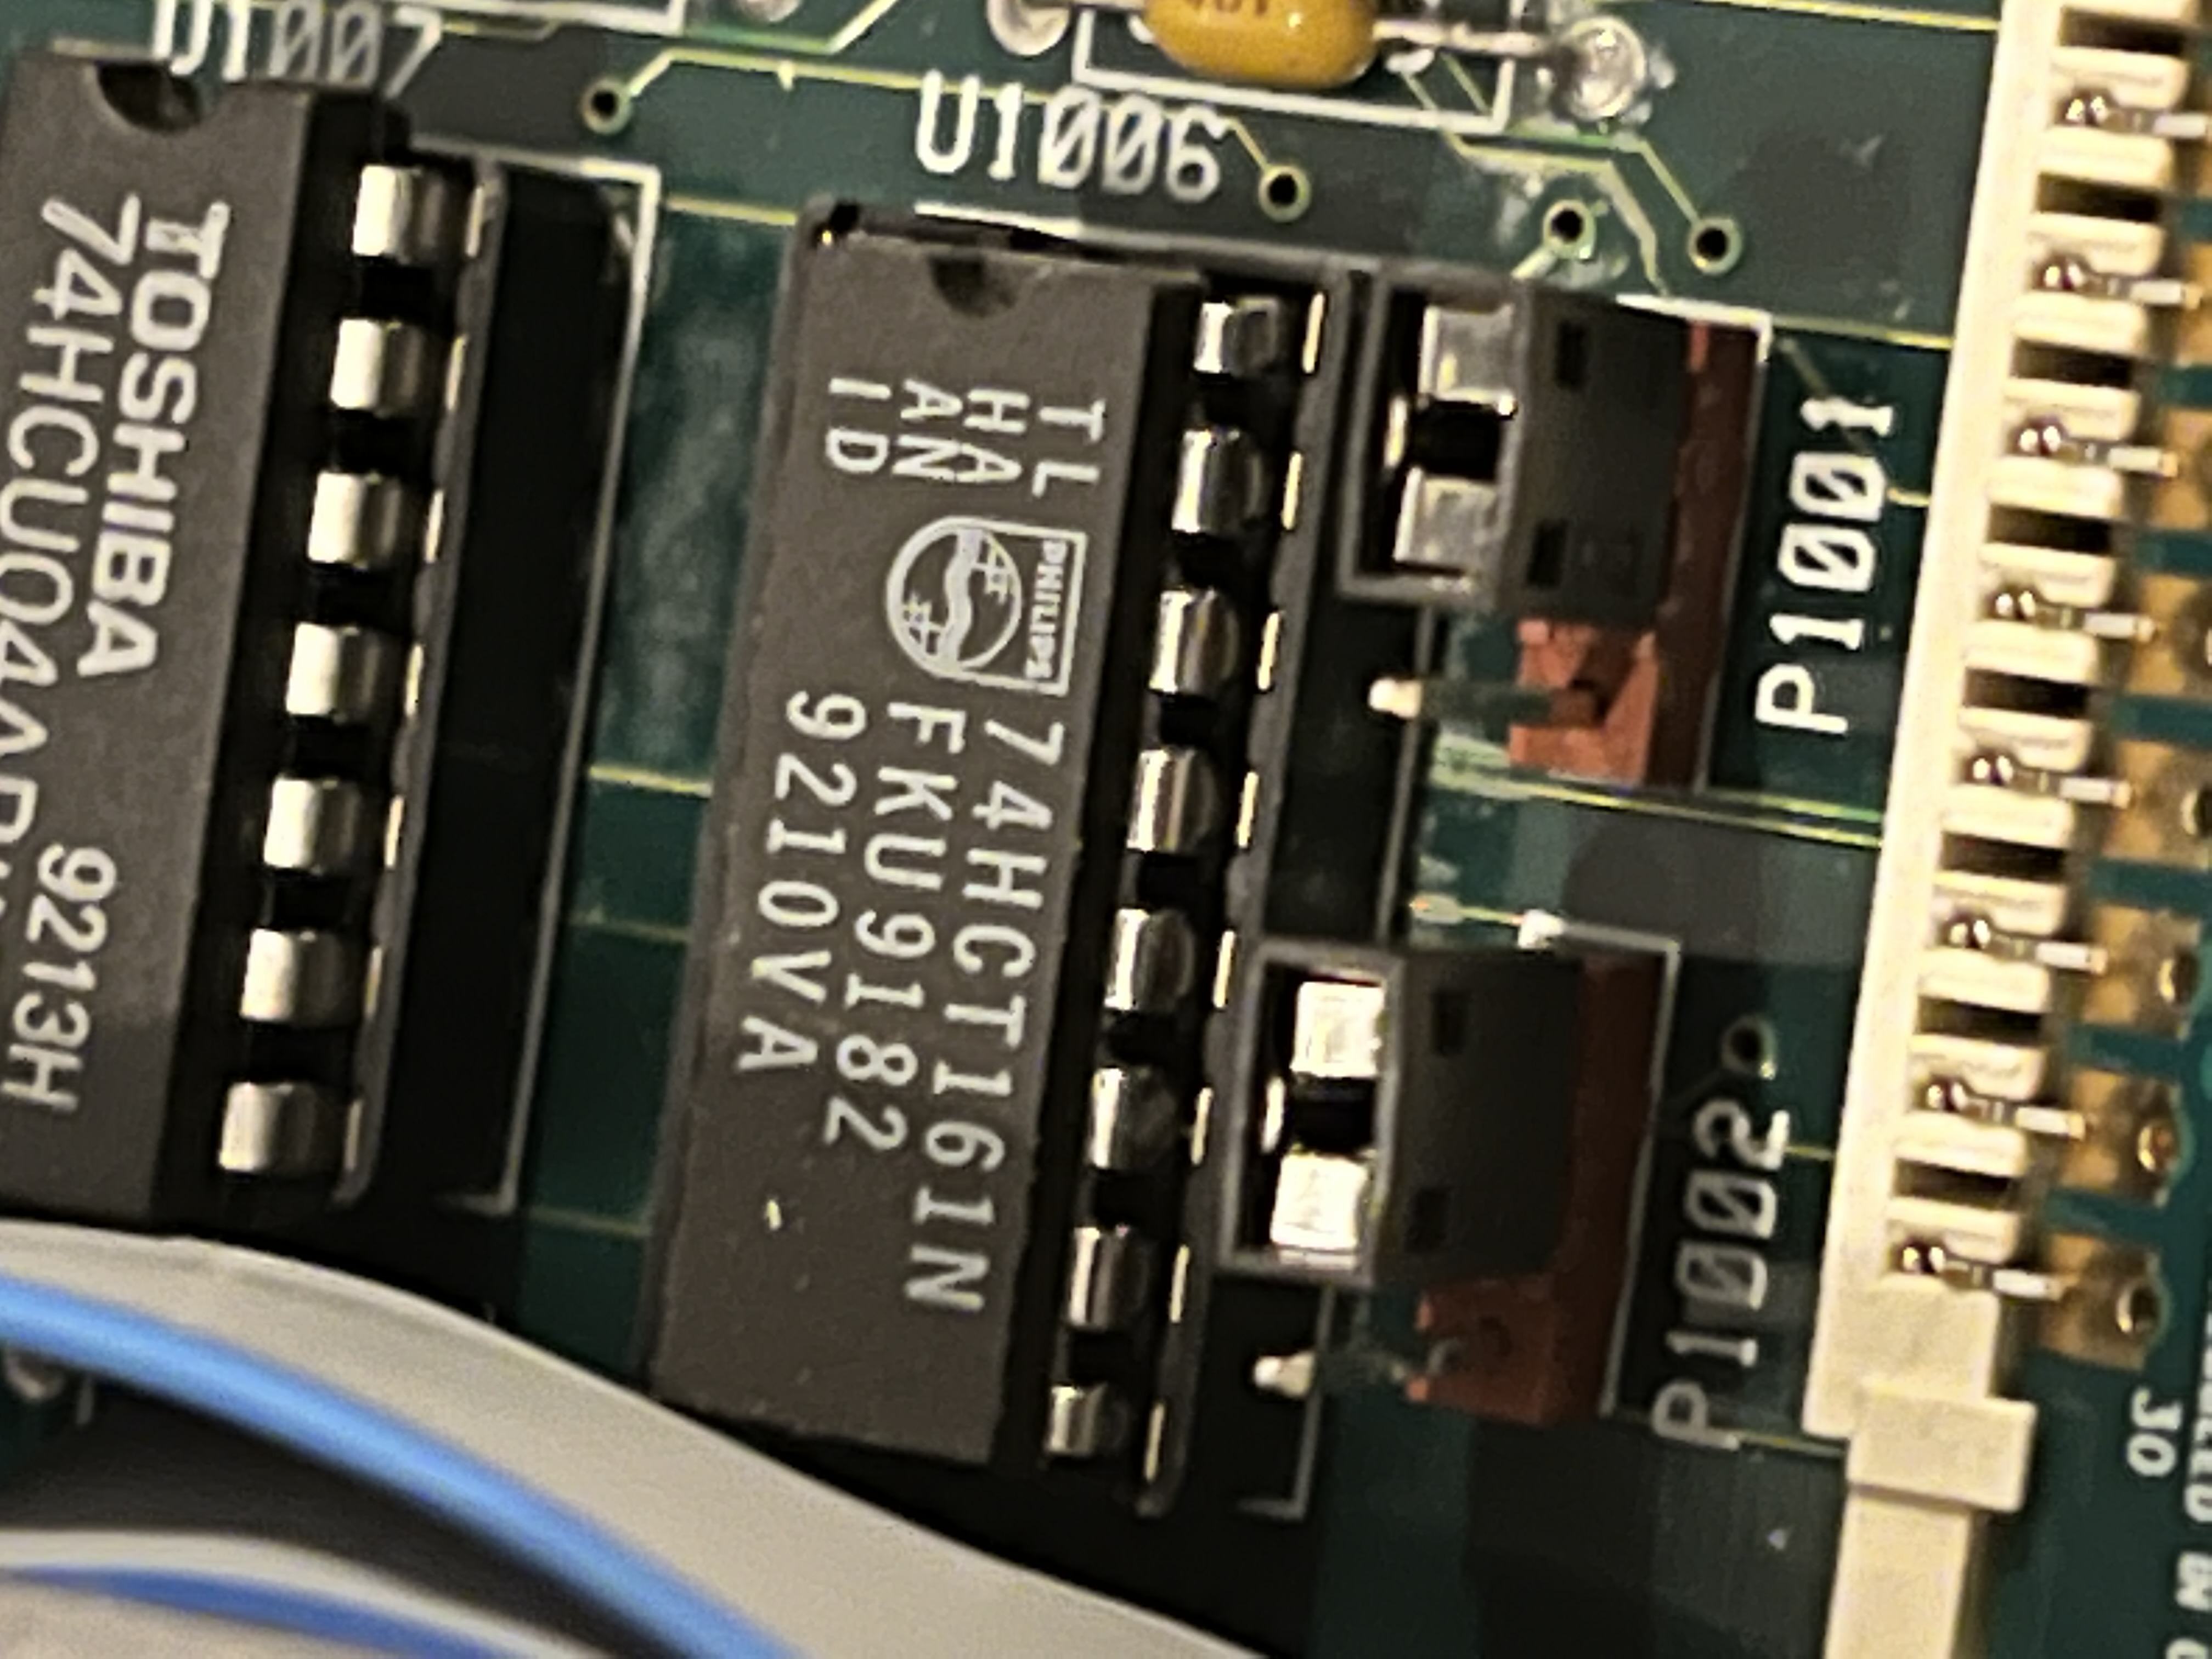
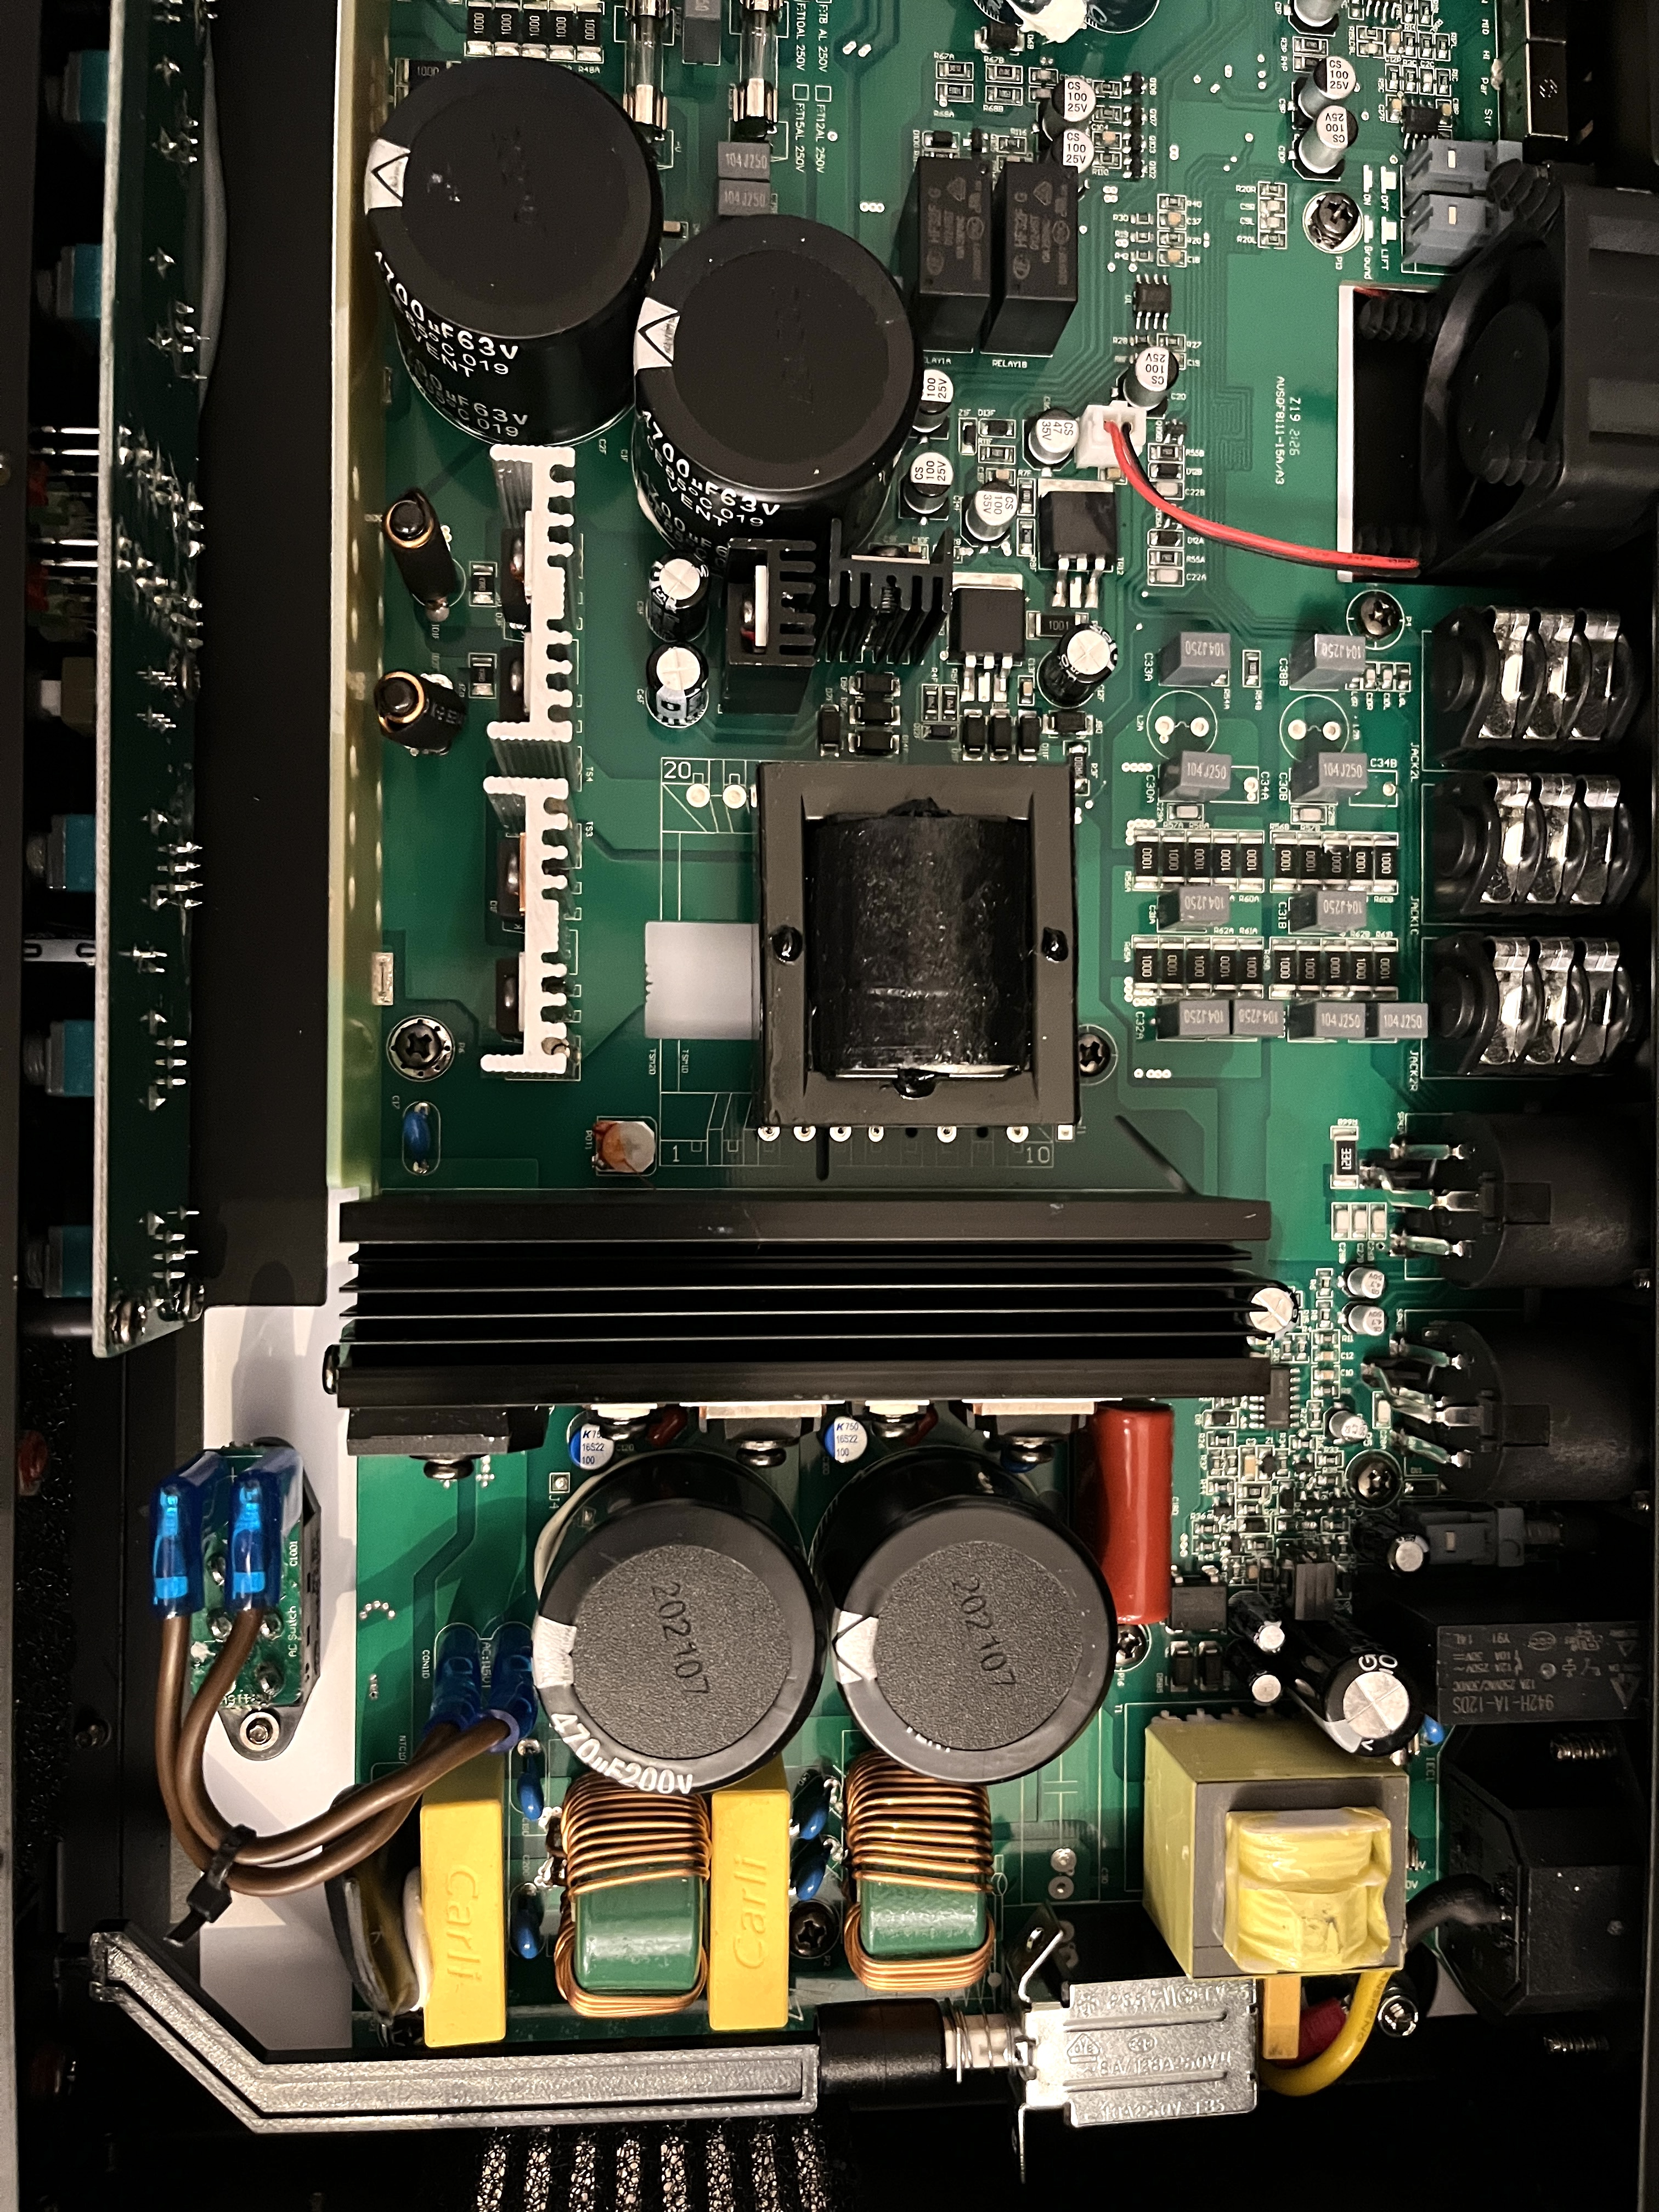
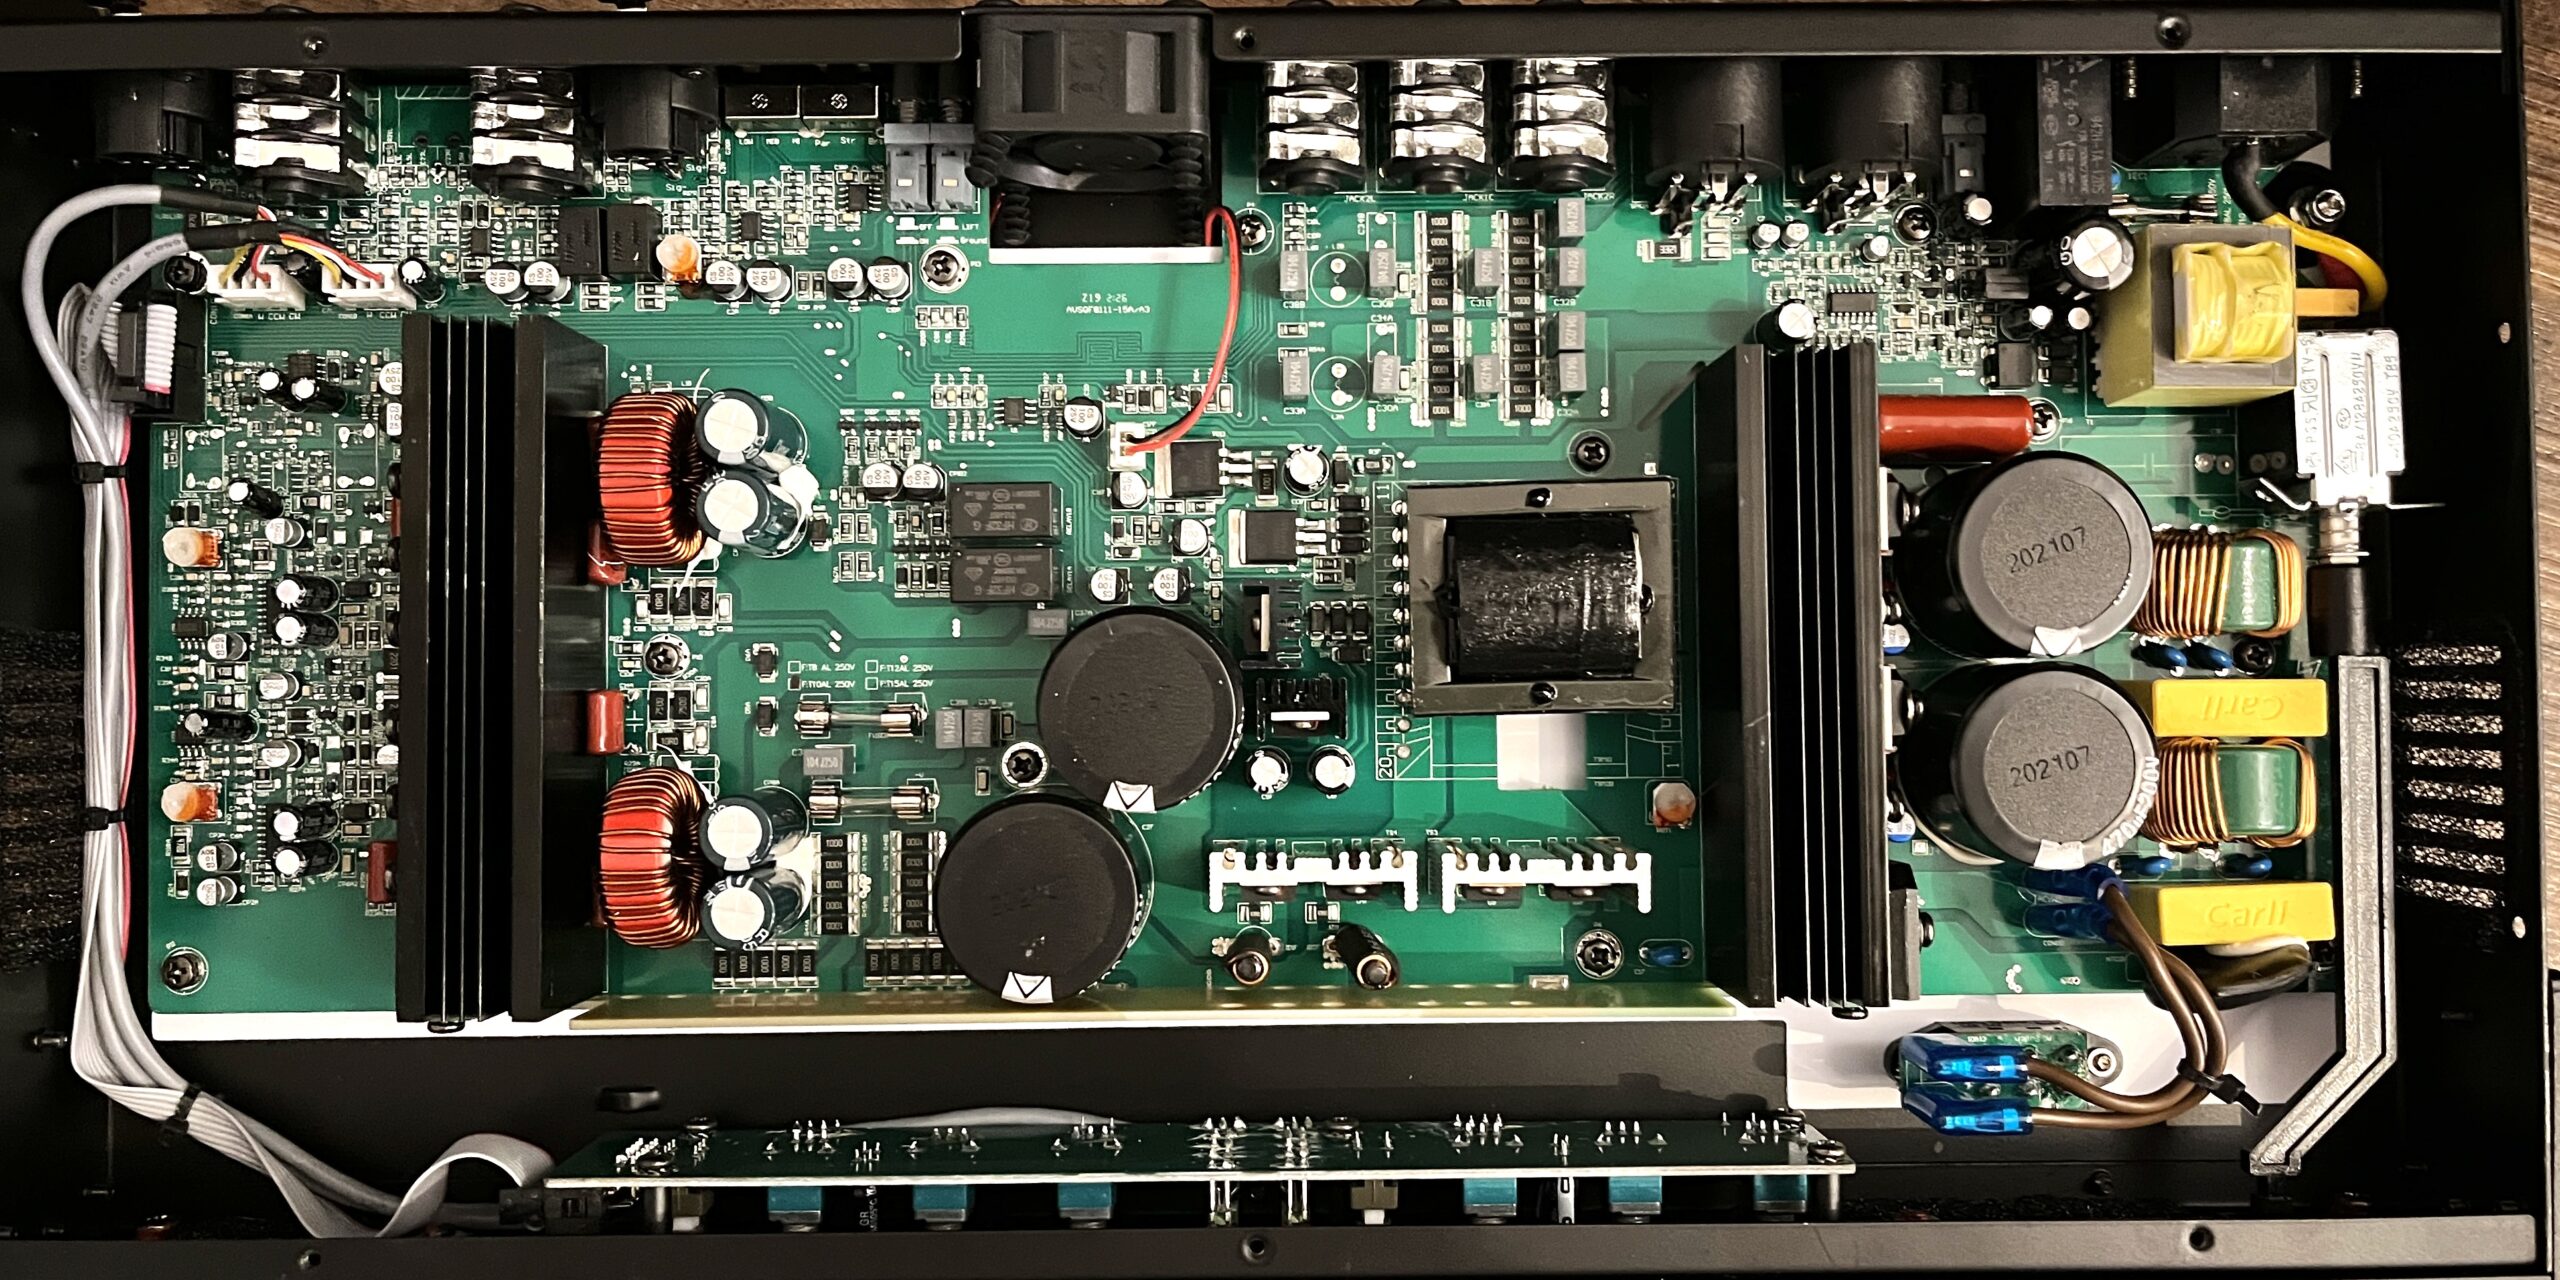
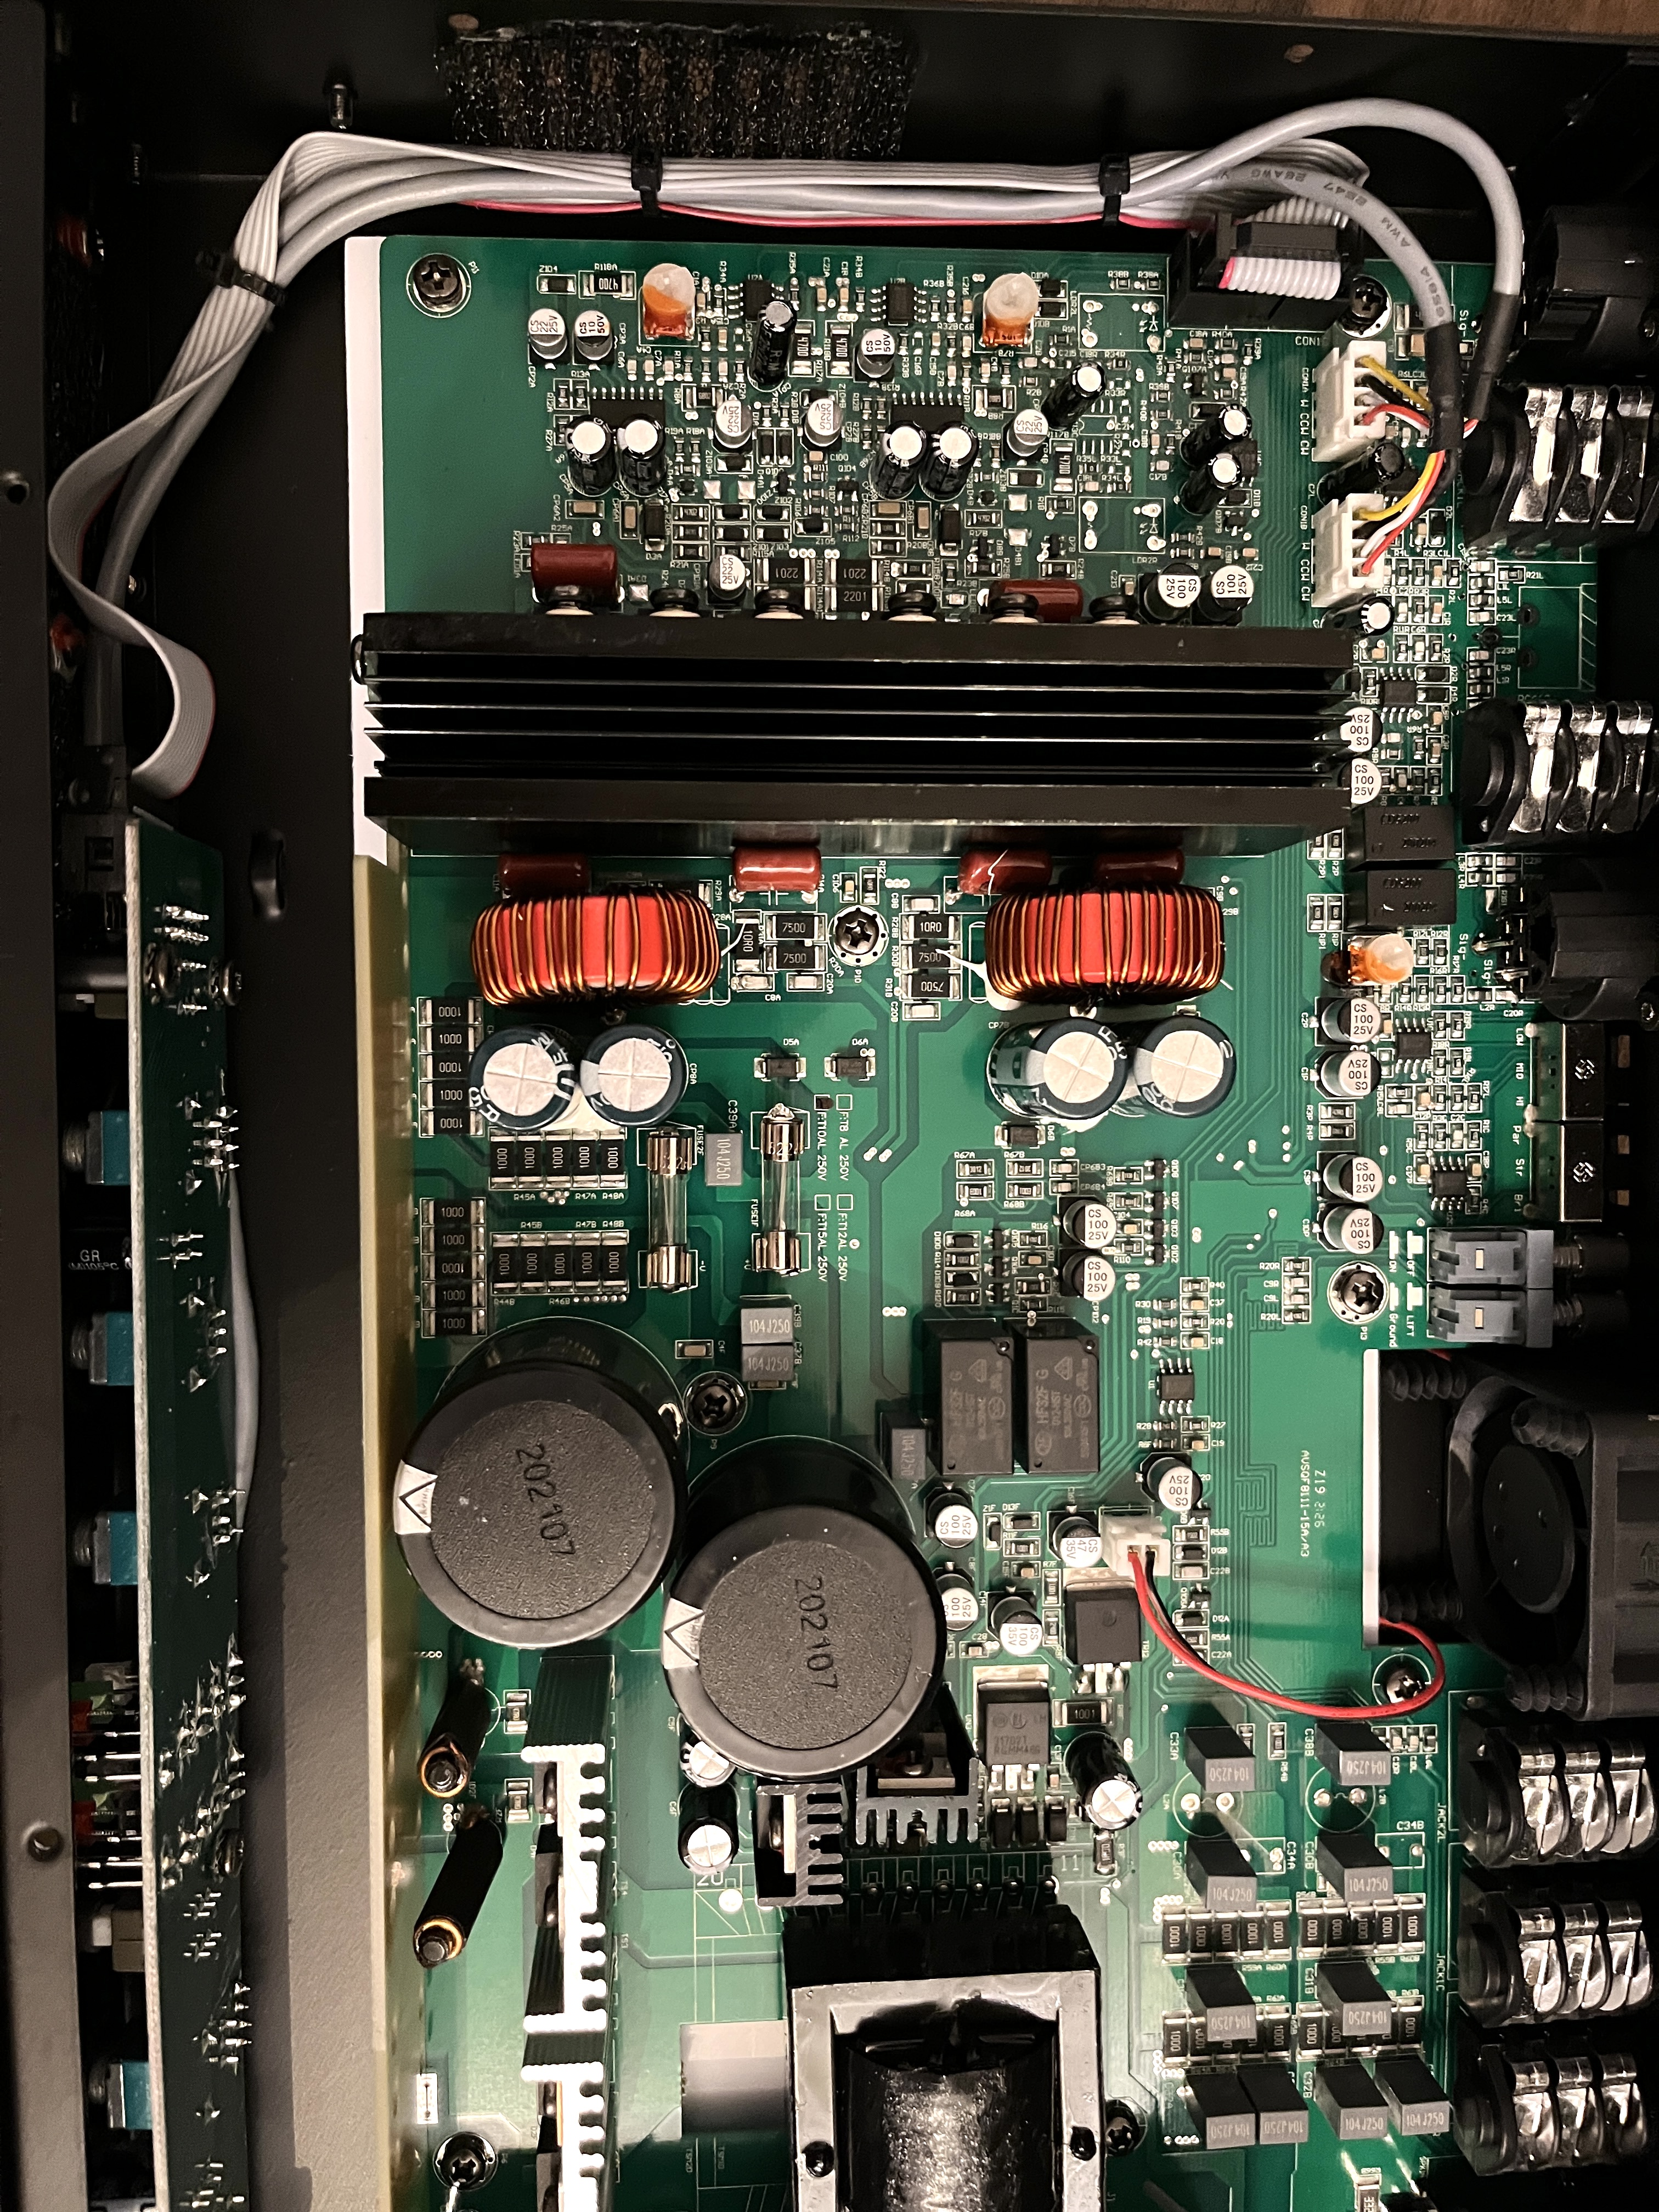
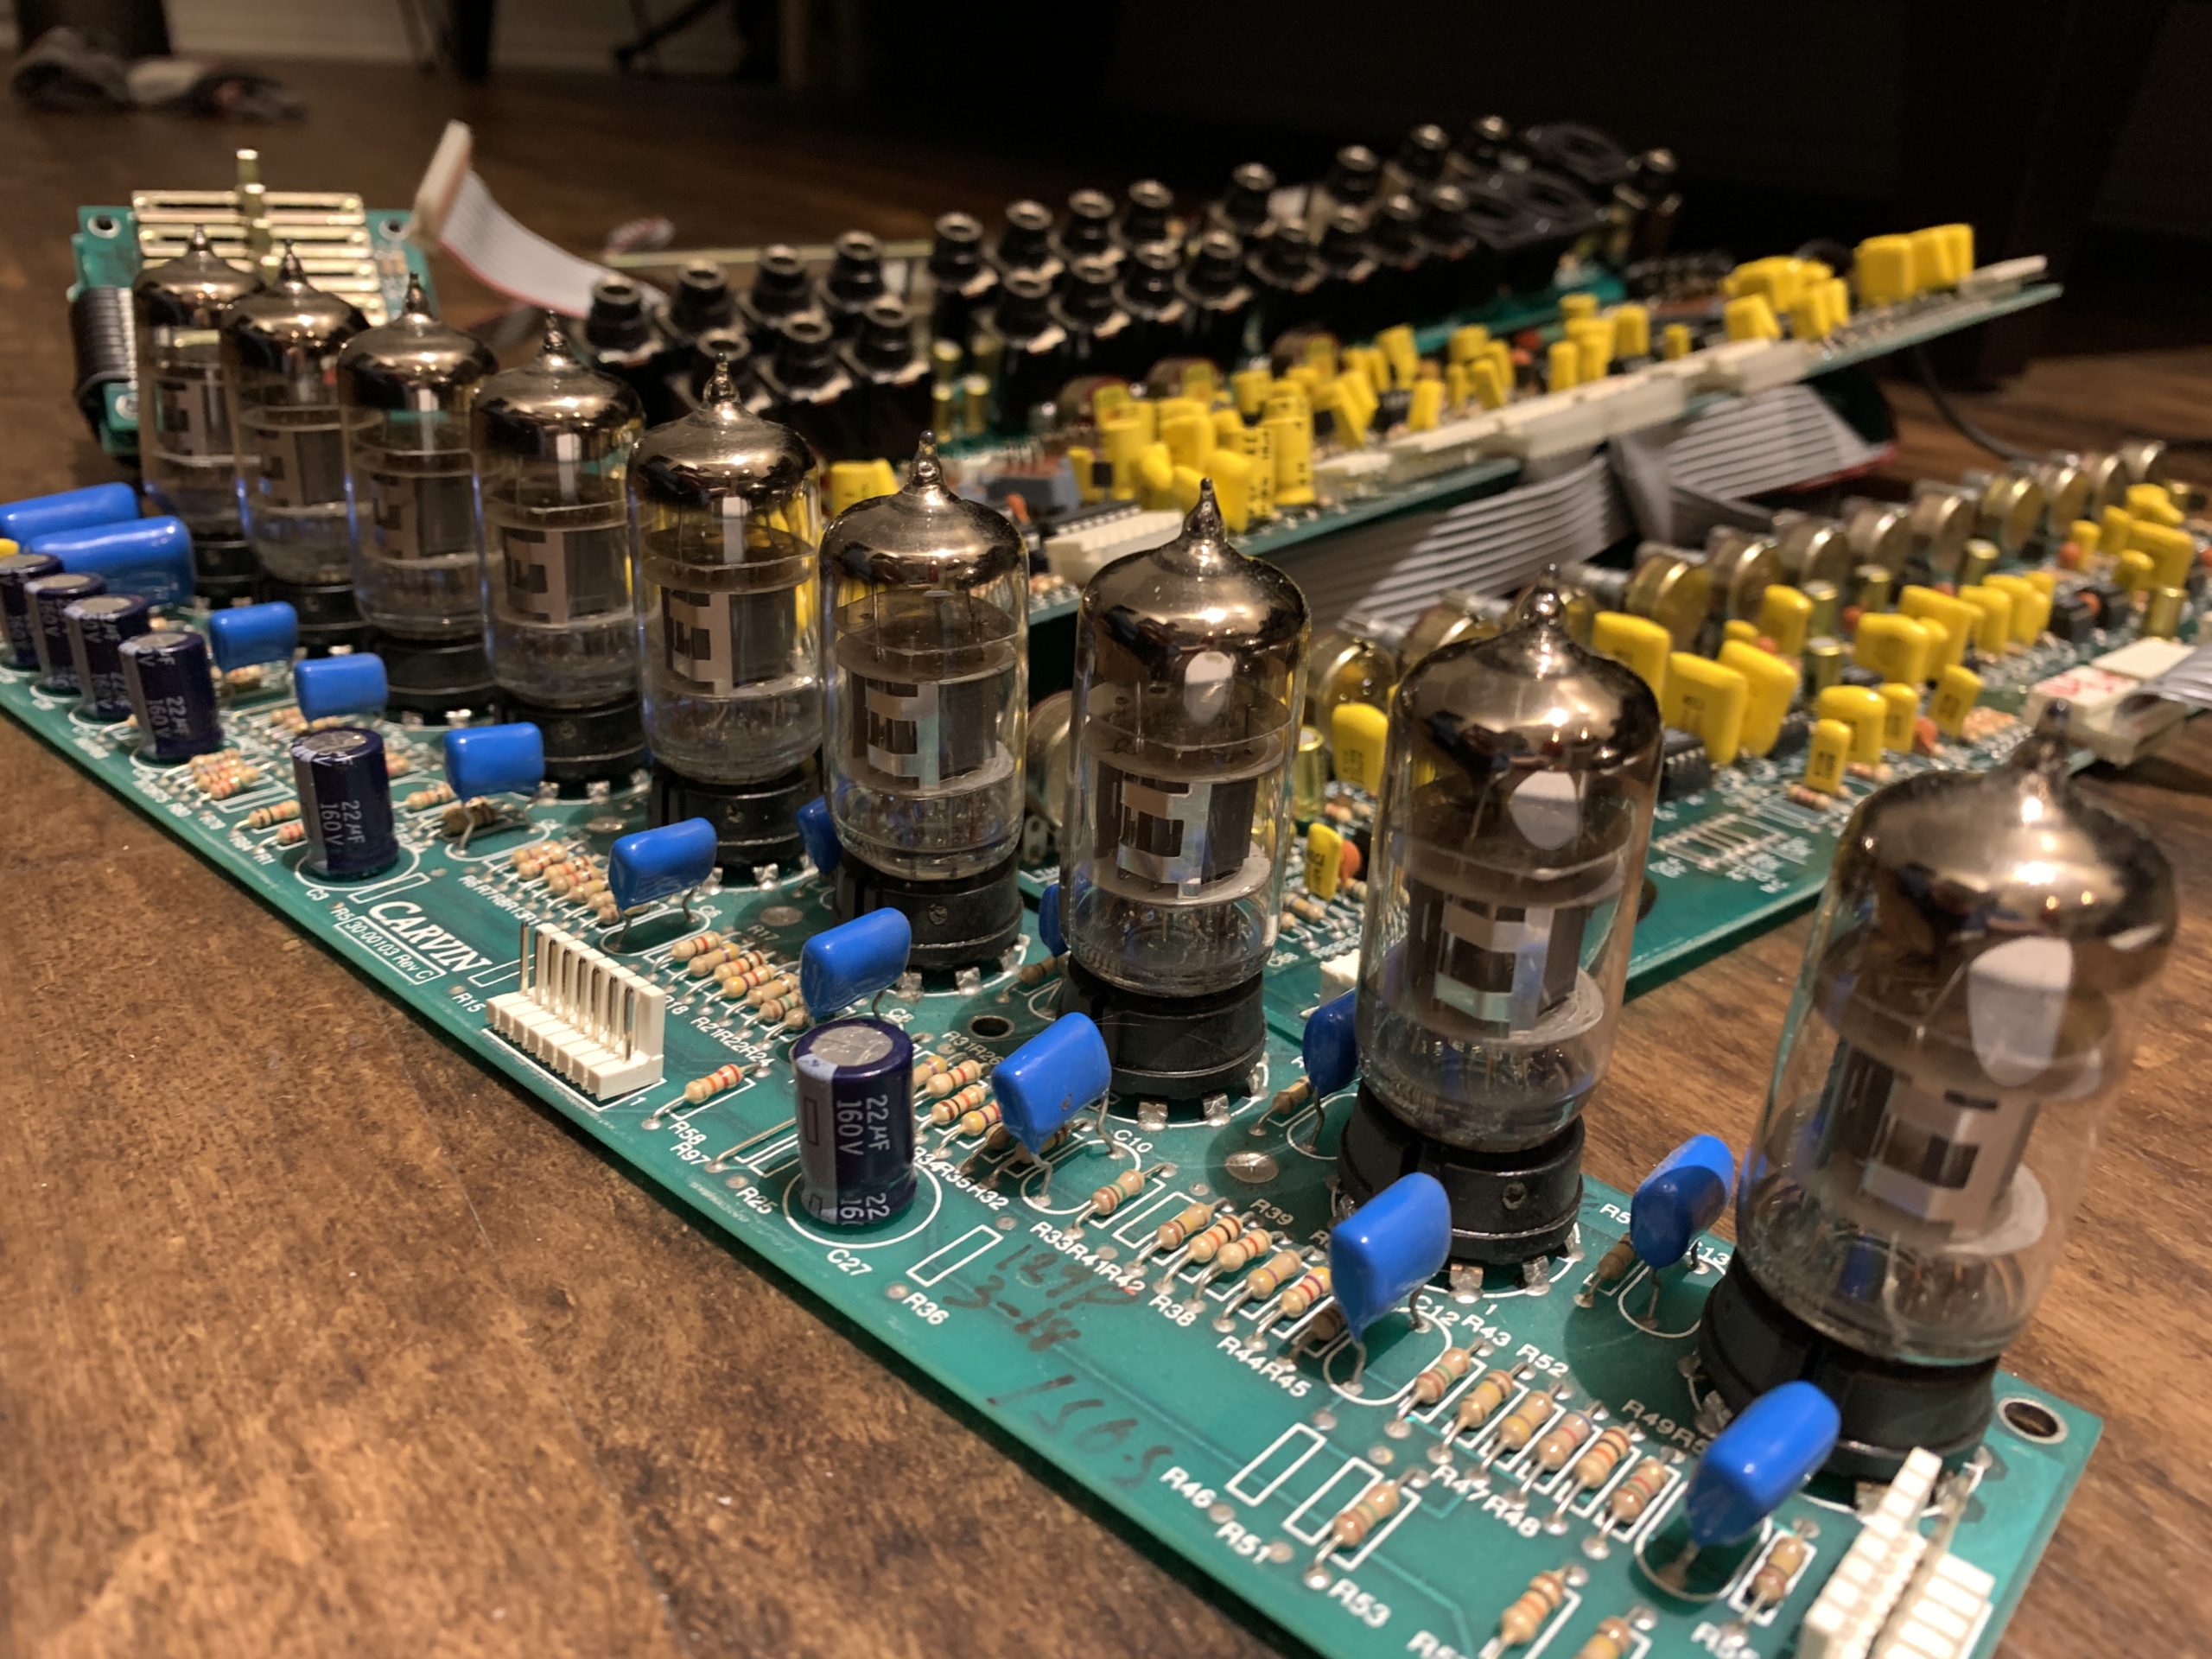
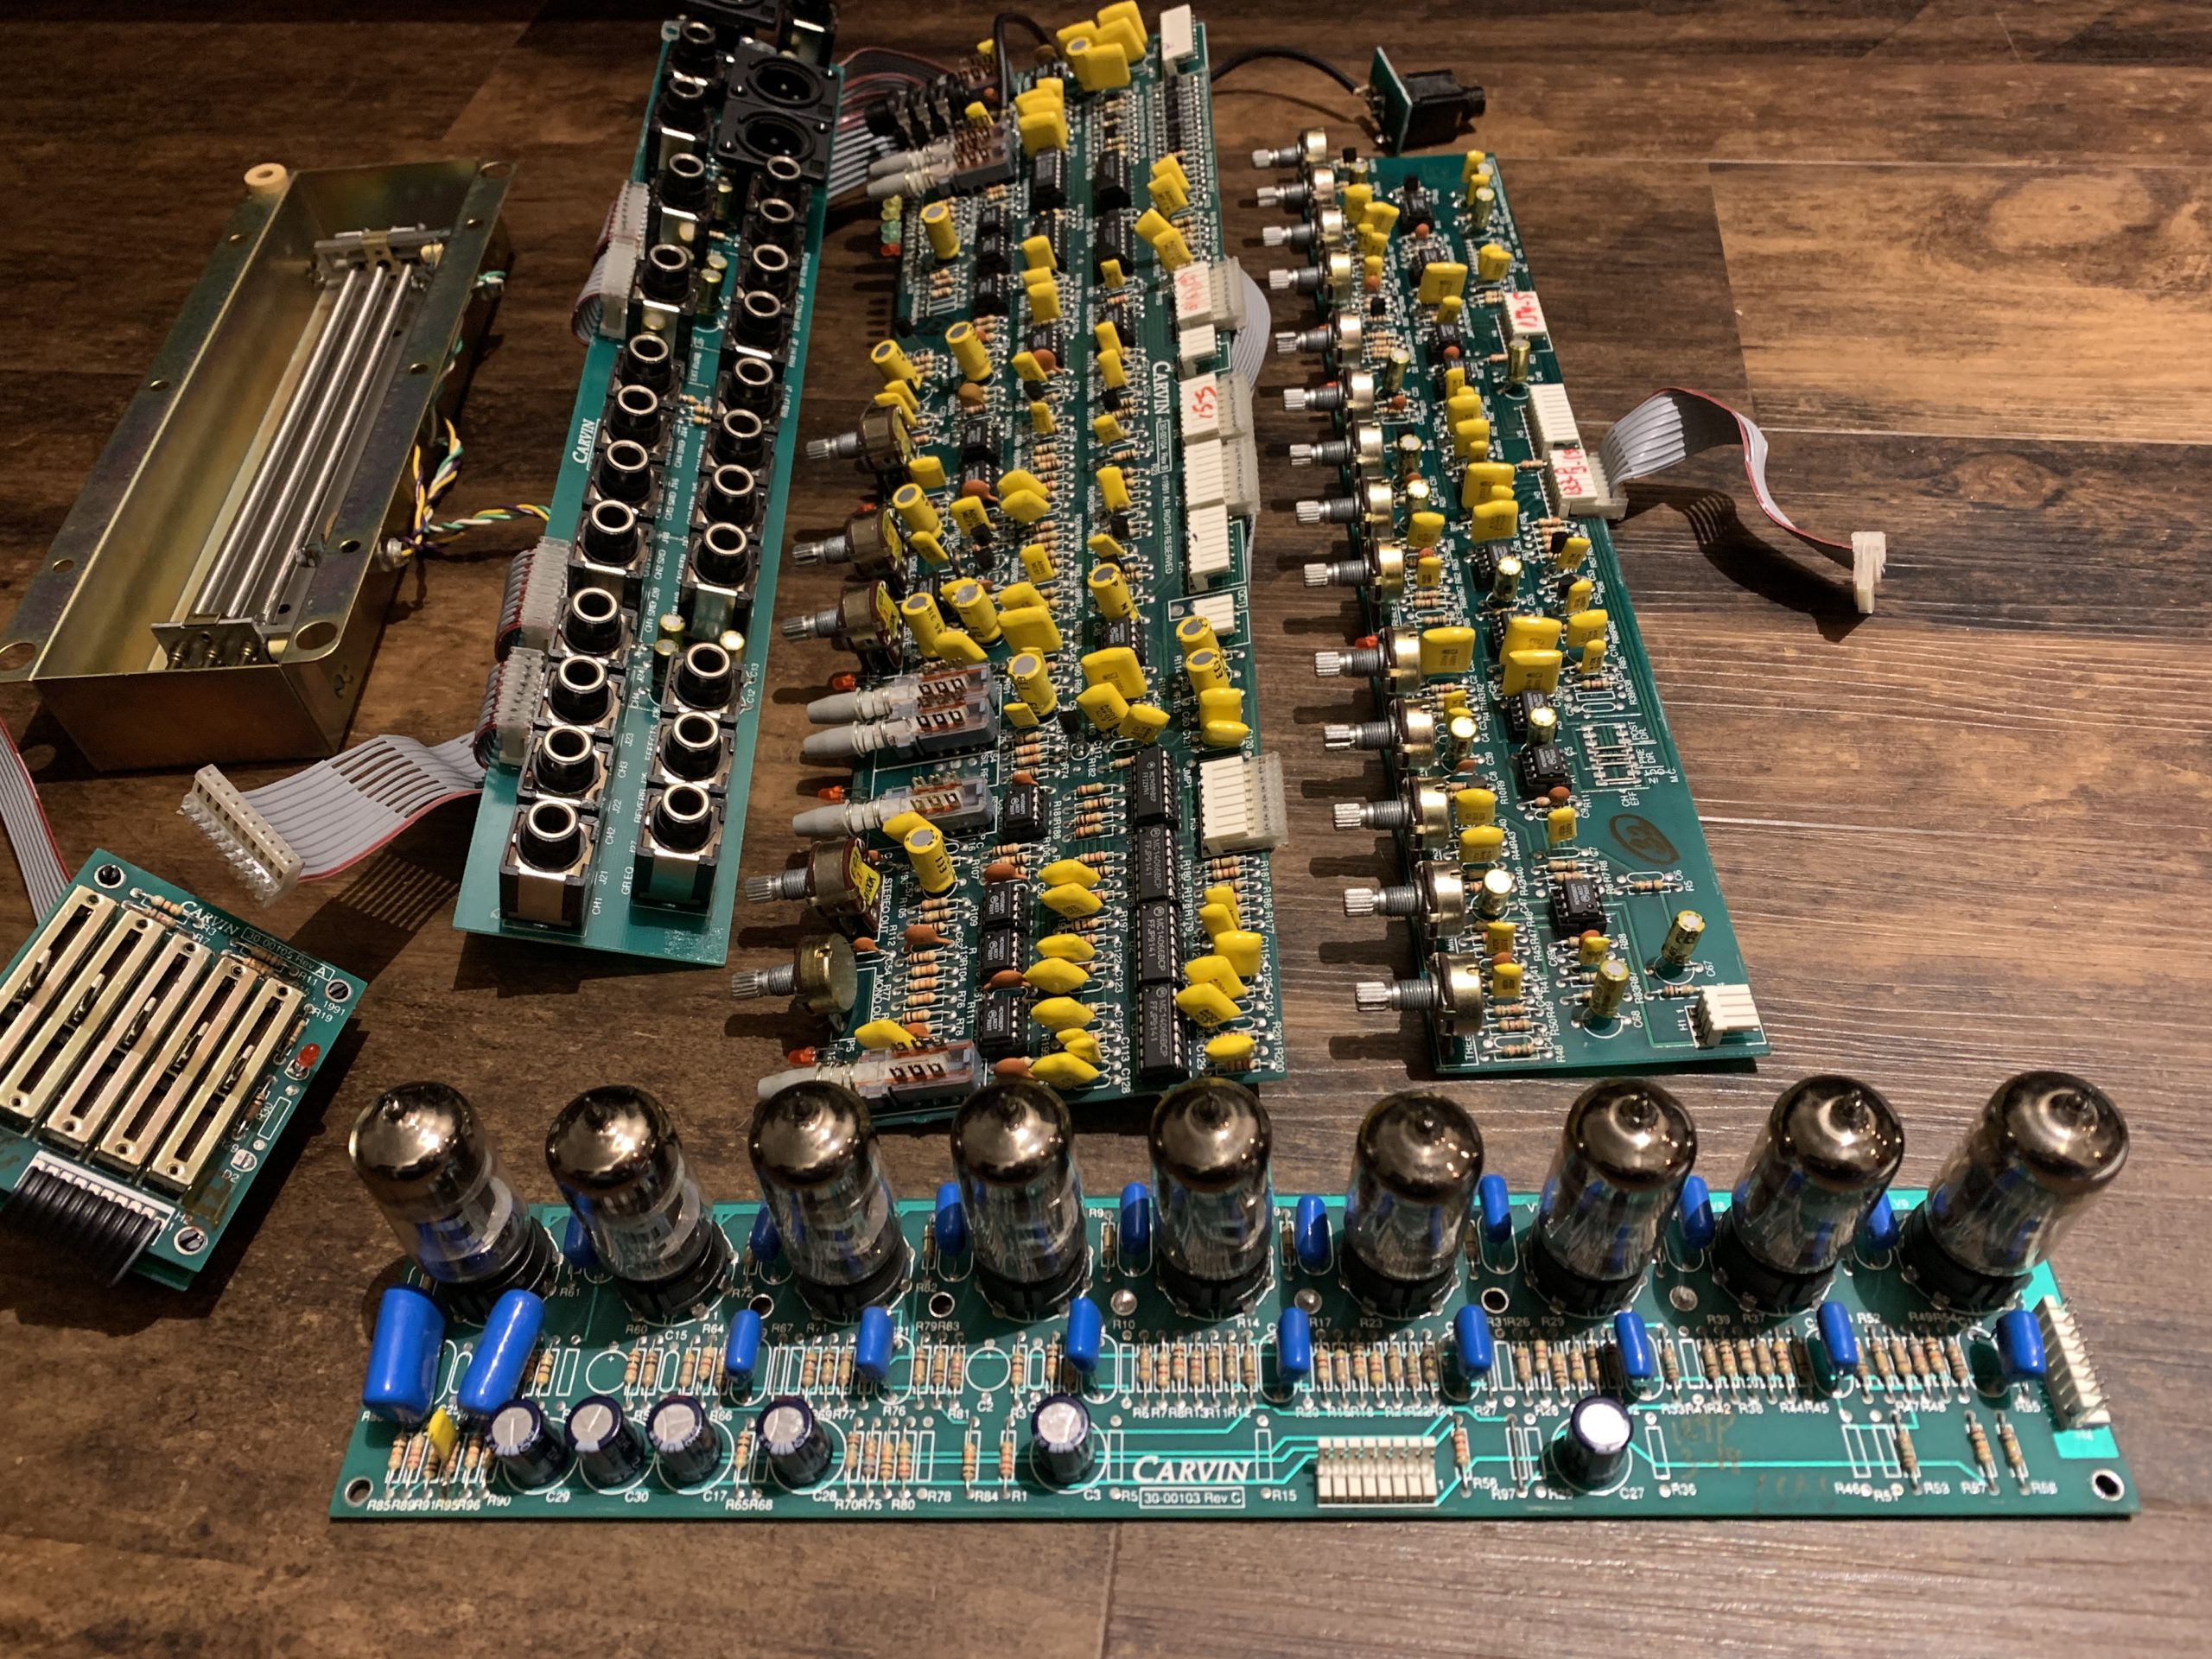
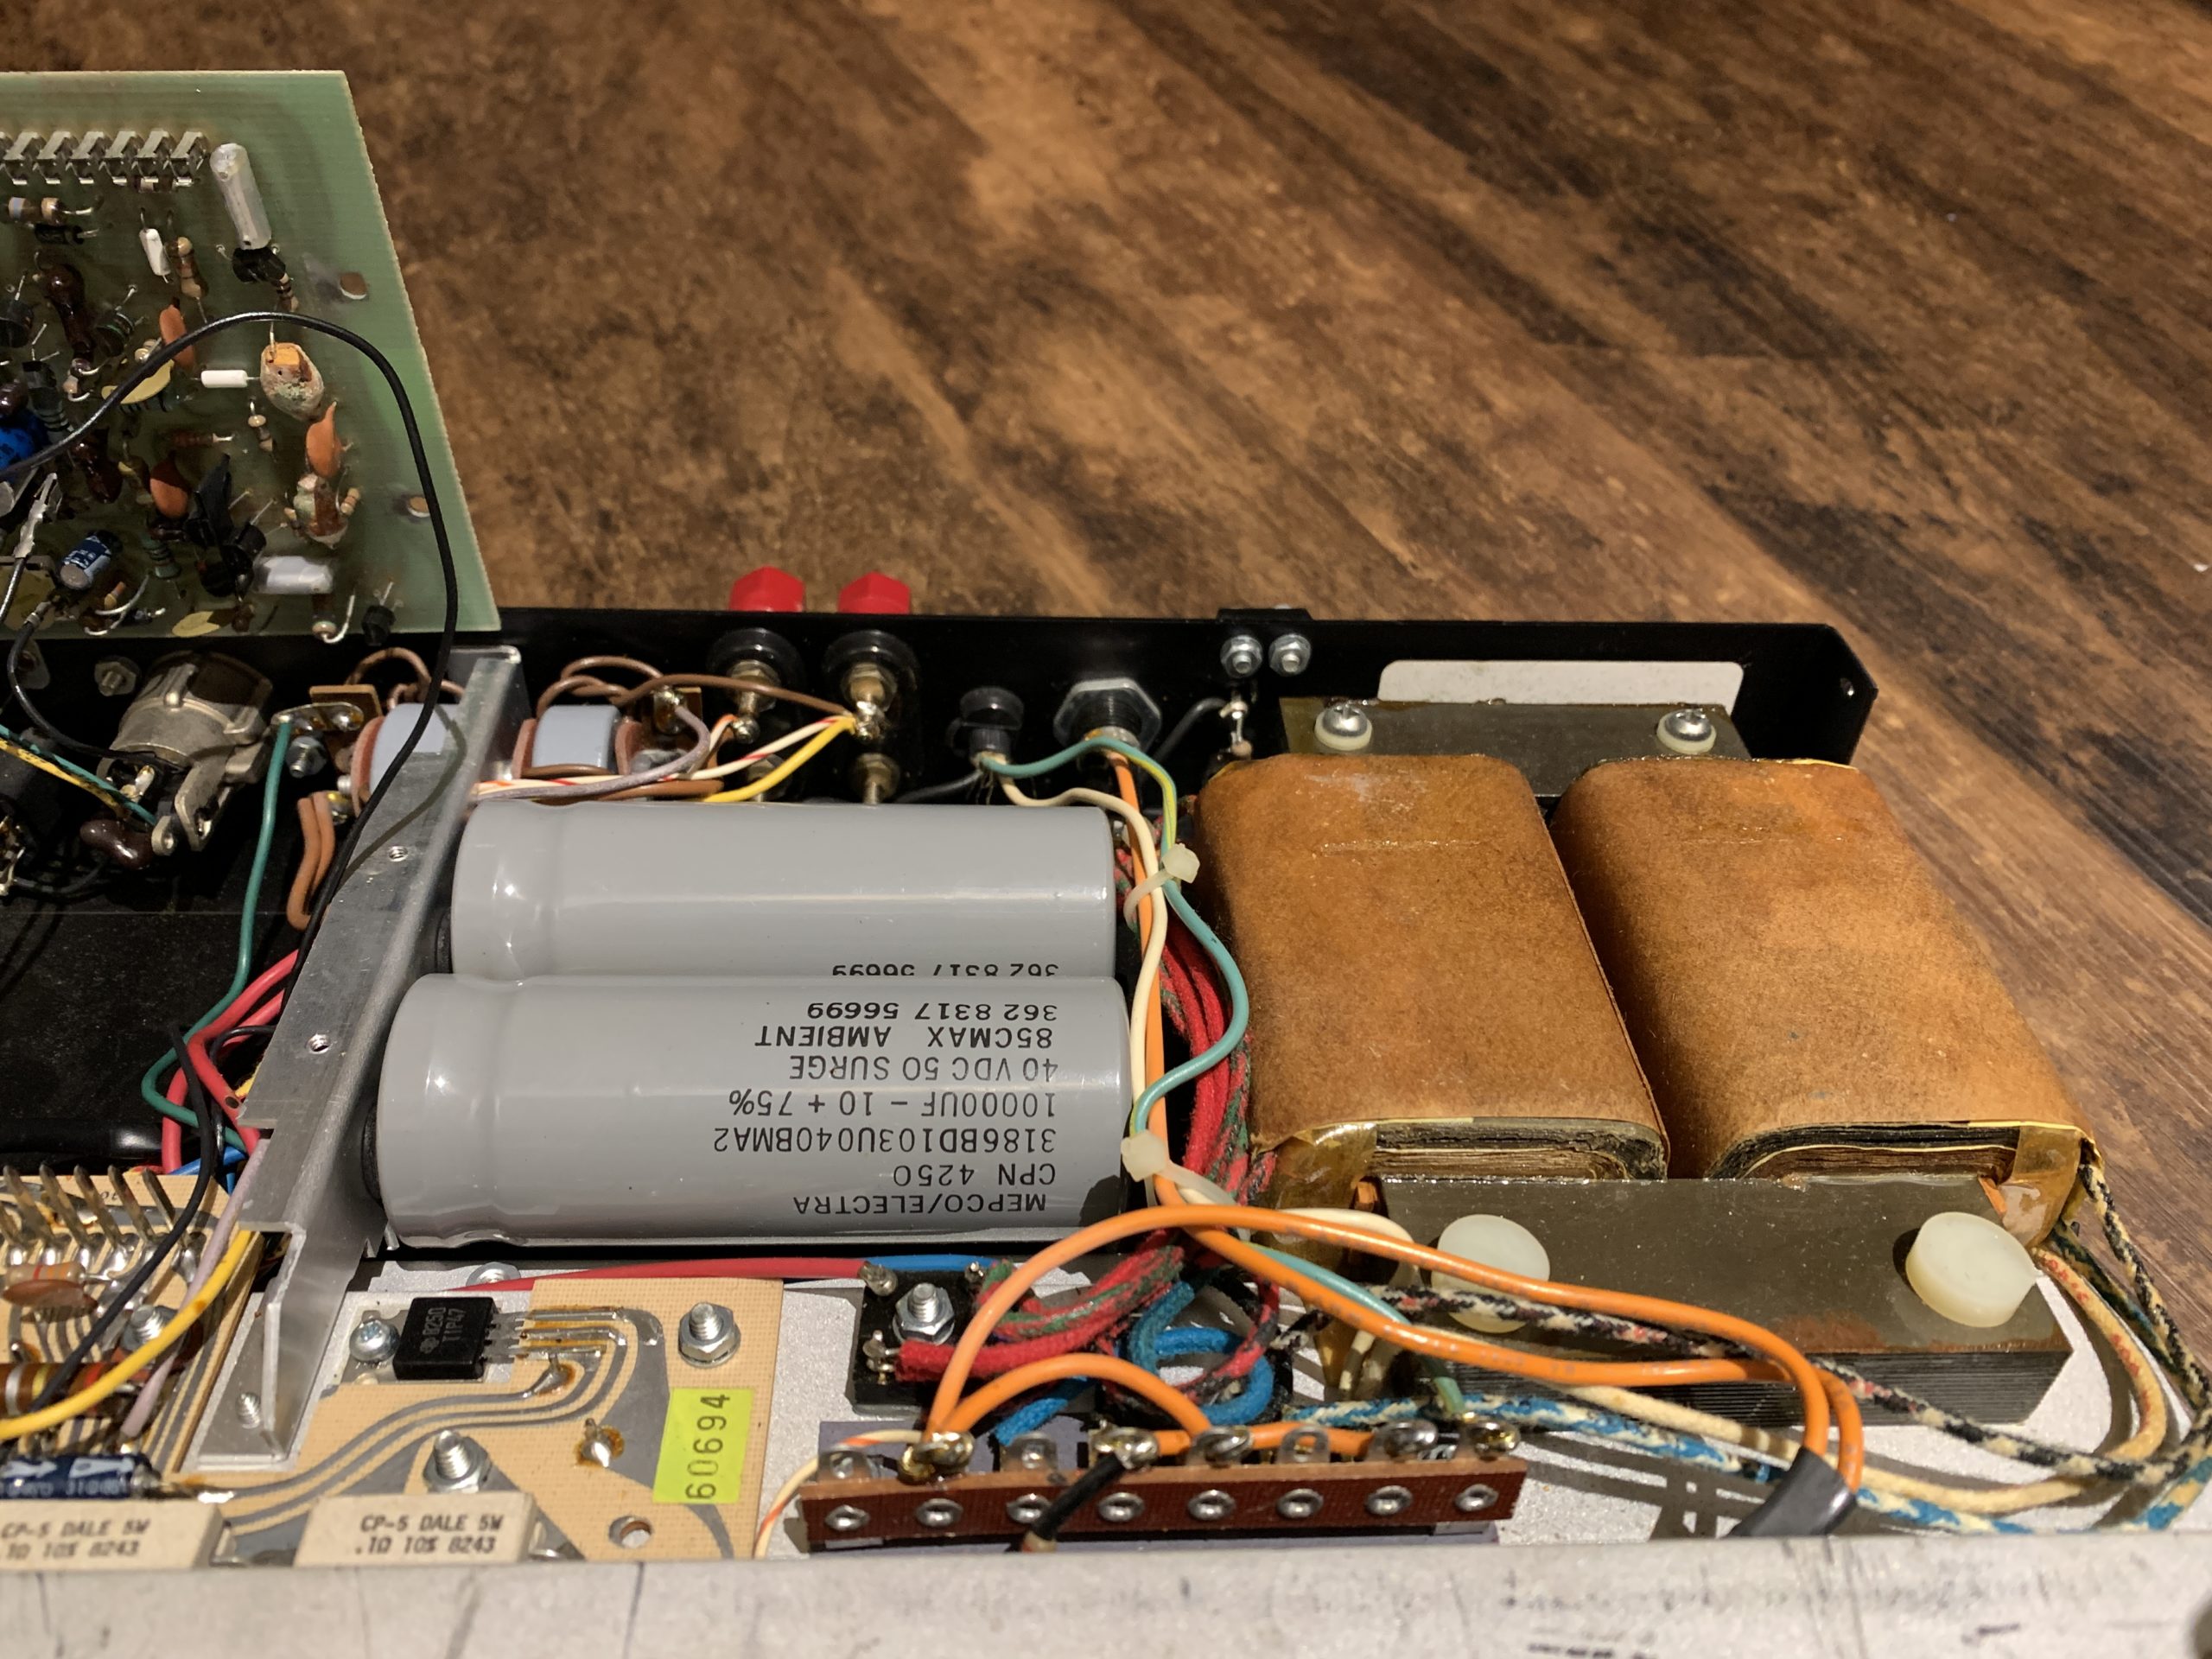
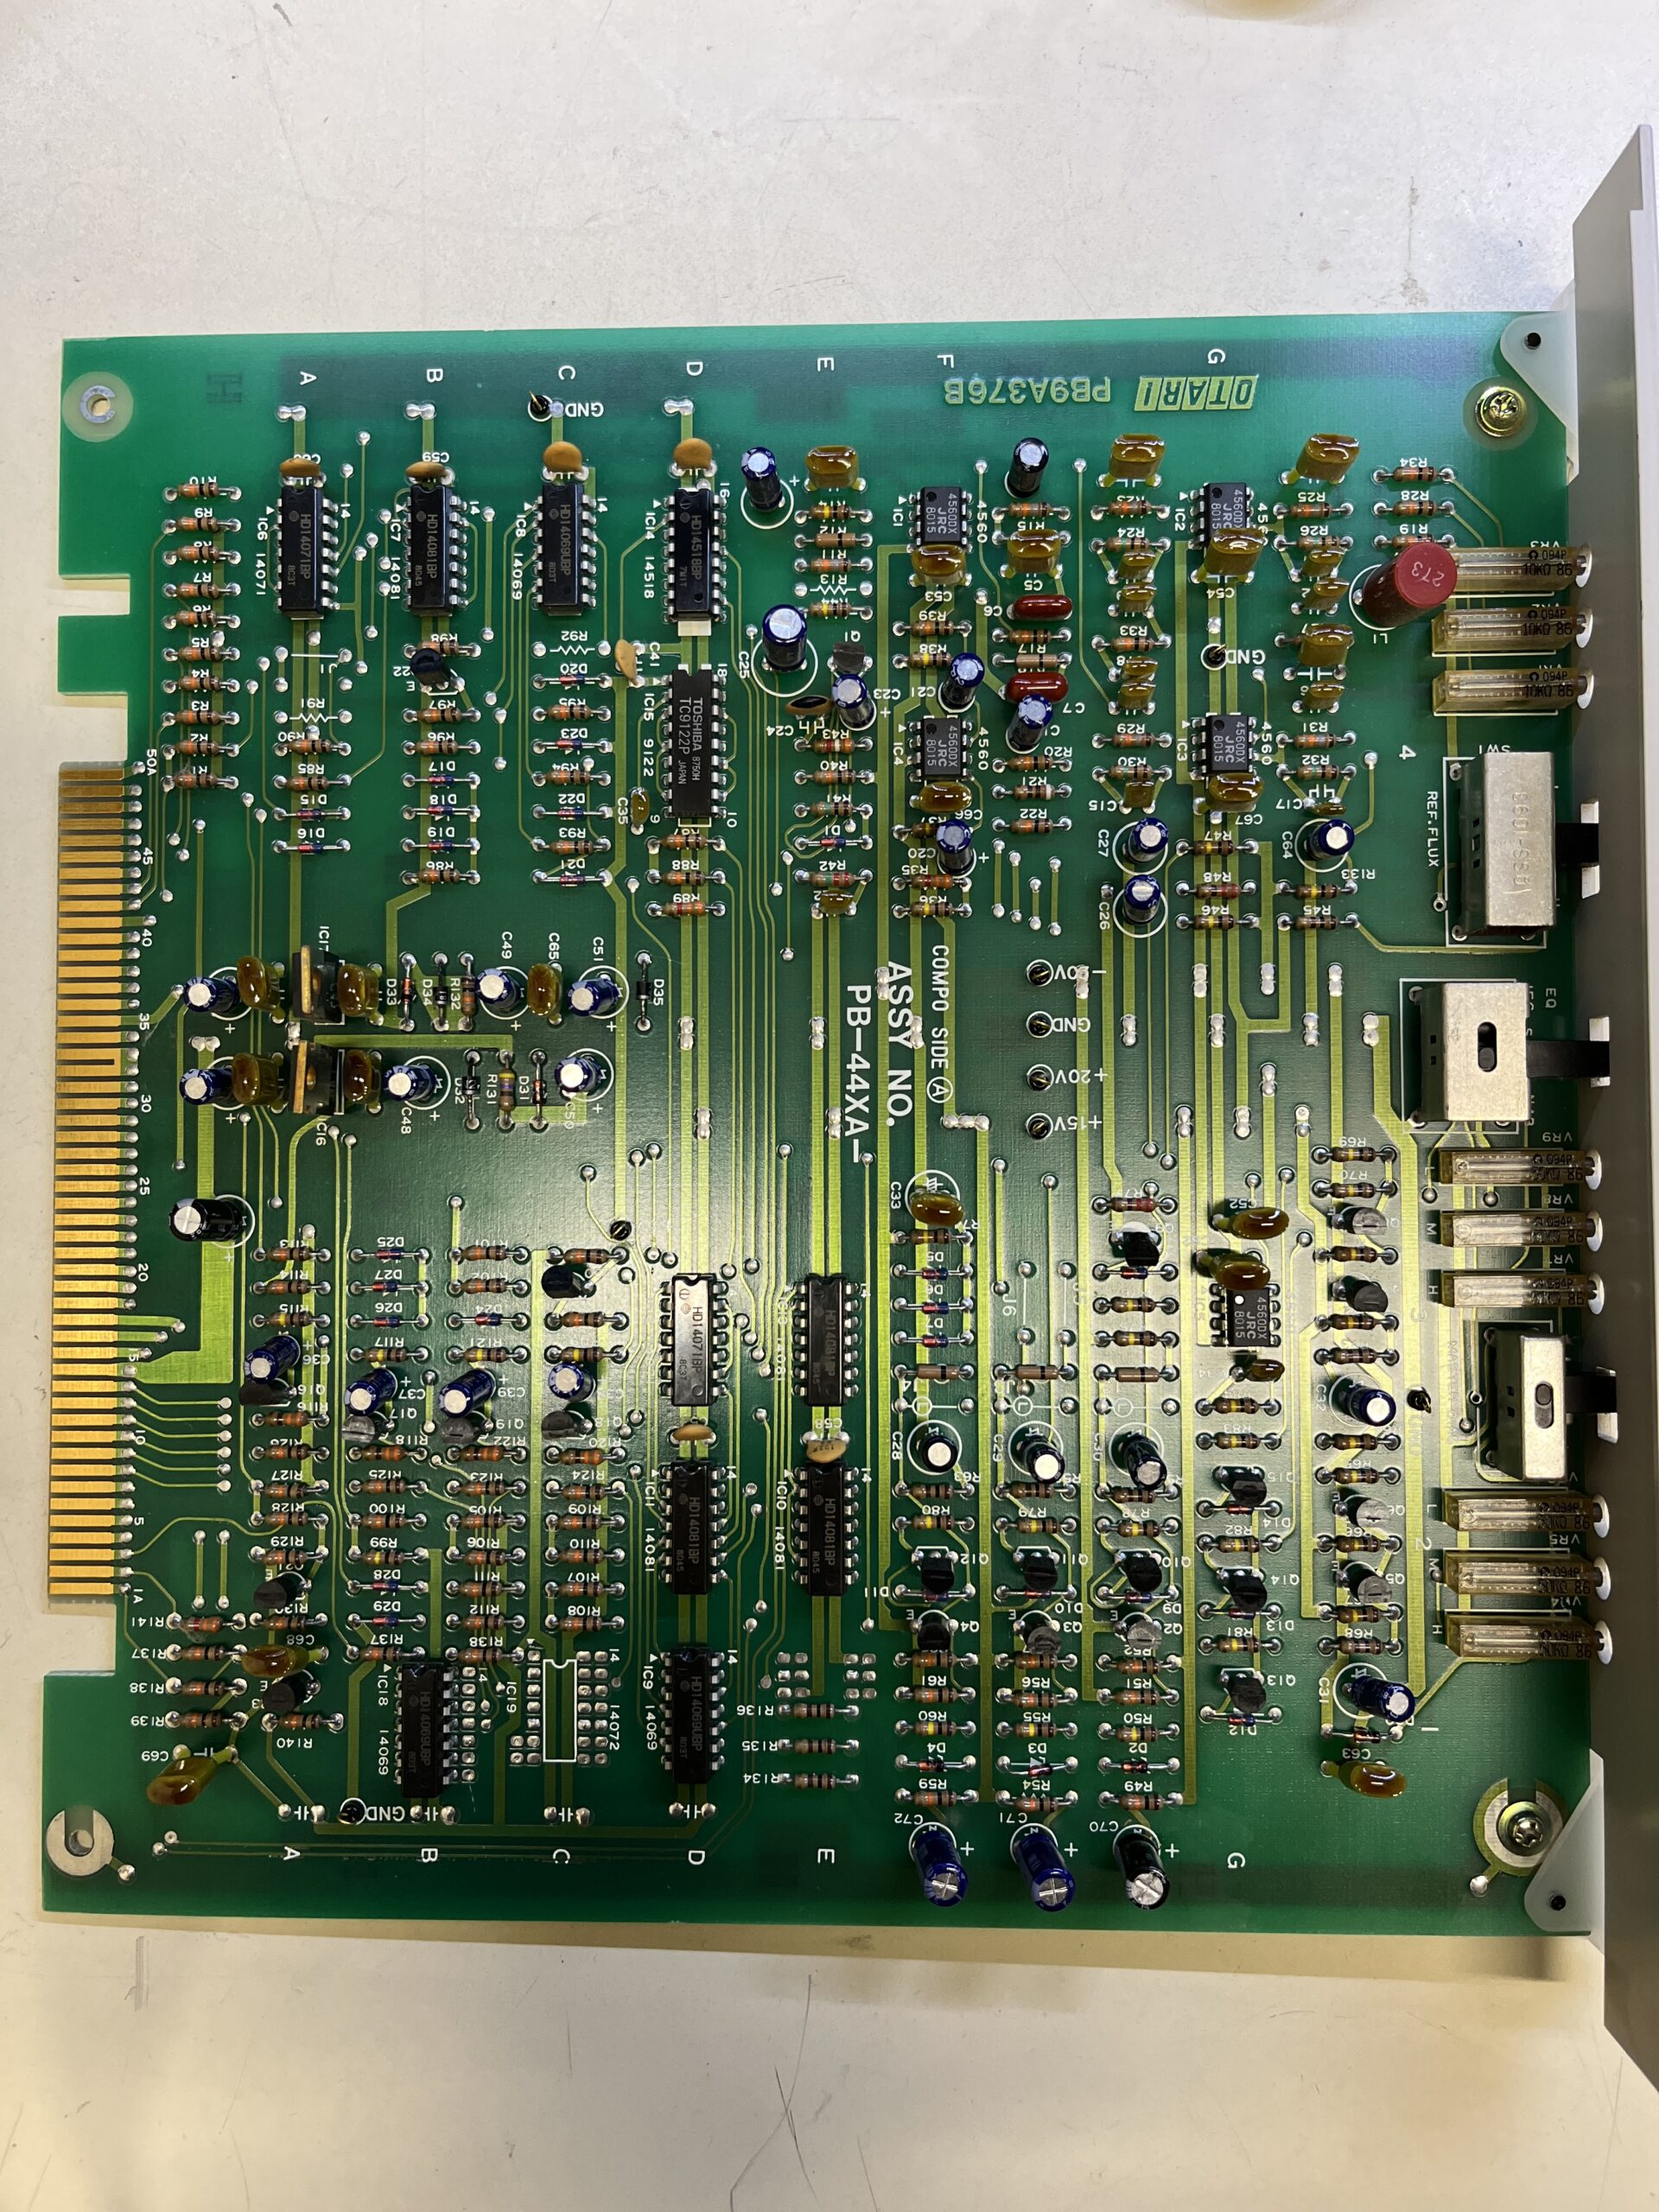
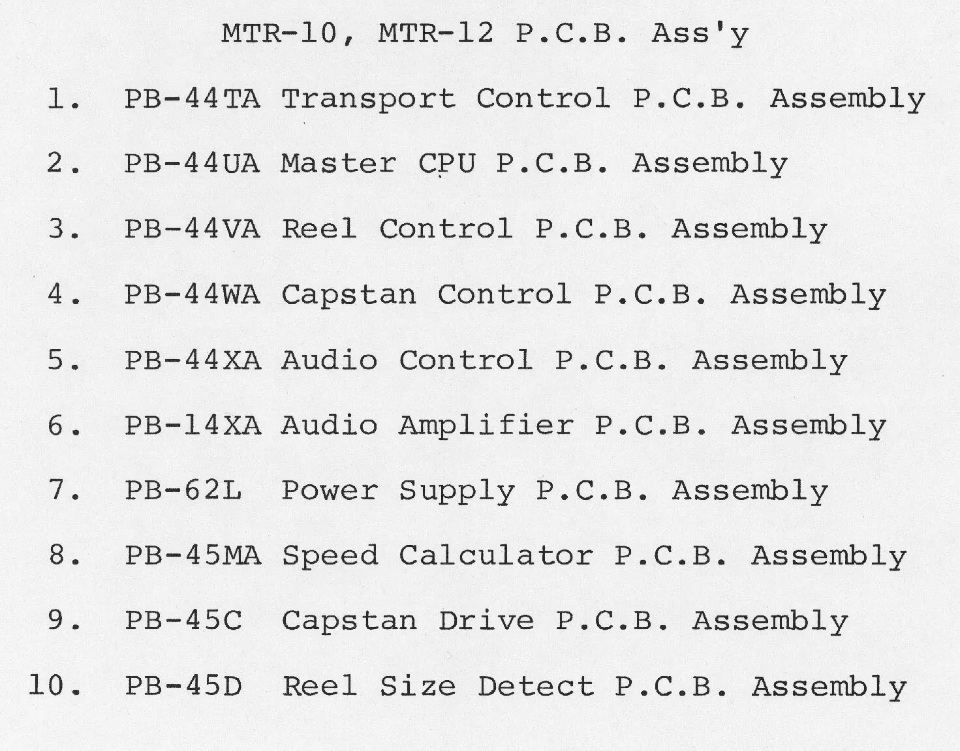
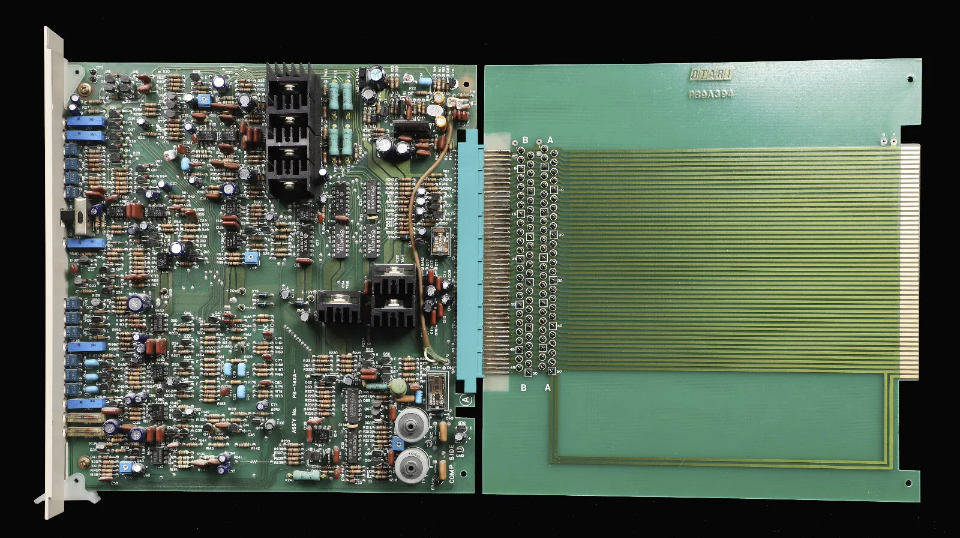
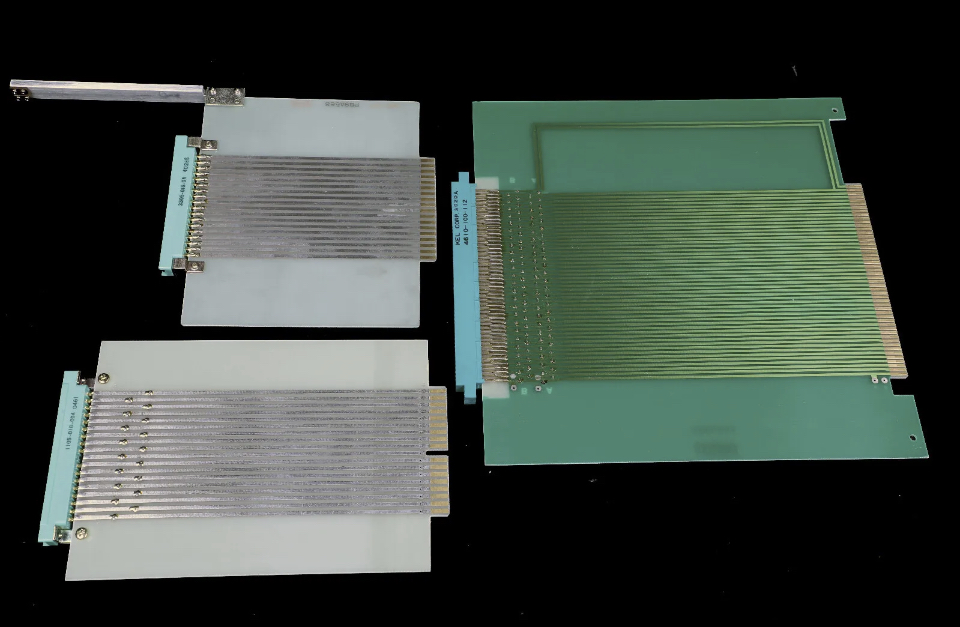
Please reference this list below for the plug in boards. Also I have included a picture of the extender card set.


This project is ongoing and I will continue to post more information about what I encounter. Below are some more pics and downloadable data.


Run the .stl of Calibration Tool in Prudaslicer and print then press fit the 2.5-2.6mm Allen keys into handle.

Vintage Peavey Sampler SP SX II PC1600 & Kurzweil K2000R SCSI Zulu Emulator Build

I am working on a vintage sampler build. This rack set will include fully expanded Peavey SP, (2) SXII and a Kurzweil K2000R. Added control will be used by a peavey PC1600X. These Peavey units take the old apple ram modules and on the SP you have to set the jumpers correctly on the main board to enable the full use of the ram.


UPDATE: I have decided to move away from external storage rack units and run with the Zulu emulators.
Rabbit Hole Computing. It turns out that you can create .iso files using Power ISO of the Akai S1000 disks you have. Then you can set the configuration files of the zulu to read each scsi drive as a cd. For the Peavey gear, I had to order a scsi selector switch to jump between SXII and the Zulu drives because I kept getting out of phase errors. The selector box has the SP connected in the middle, and the two zulu boxes and SXII are connected to remaining locations. Doing it this way, I can have everything powered on and not worry about phase errors.

Inside the K2000R I fully upgraded it with Expansion Sound ROM and PRAM from https://sampler-expansions.dxp.pl/ Then I added an internal Zulu drive and configured it, this machine is loaded with sounds, plus I copied all my floppy’s to the emulator as well as the internal disk drive… pretty awesome.
So, keep in mind if you have the current OS installed in K2000R it wont read the Zulu. Zulu emulation is working on a fix for this problem with an update soon. I was able to move forward by rolling back the OS of the K2000R to V3.54.

Above are some examples of how I set my configuration files of the Zulu. Each folder can house the set of scsi drives. To make a change you just edit the pointing directory.

Below are some pics of adverts from the time period by Peavey.


Below are some internal pics from the internals of the Peavey SP, SX and PC1600.

I am adding an update here for those who may be confused about how the architecture of the Peavey SP is set up. Please remember that it is all apple based so the ram and the floppy is reflective. It will not accept standard floppy drives but need to be apple based. Here is a model of a verified floppy drive that will work with this unit. Sony MFD-17W-10 or internal label of MP-F17-10-10 SMM.

Don’t forget that you can stack SP rack units to add polyphony. Here are the instructions, additionally I am posting some photos of factory disks.

Palmer Macht 402 Guitar Power Amp

Specially Designed for Guitar Applications

For my guitar rack build I wanted to add a power amp that was small but powerful & tuned for guitar. I have been searching around for a while and the only models I liked were overseas manufacturers. This particular model is great because it can run 110 or 220 with a standard rack plug cord. It offers stereo channels and two outputs per channel. I found this to be a great 1u solid state amplifier. I wanted to have that option in my rack since I sometimes blend tube and solid state outputs. Below is some commercial information you can read about it. I bought my unit at Gear 4 Music and it arrived quickly and hassle free. Here are some pics of the inside of the unit, very nice.

The MACHT 402 offers many features that have been tailored towards the electric guitar, allowing for incredible amplification with ease. Offering 200 watts of power per channel, with 400 watts available when bridged, the power amp can be used with virtually any speaker cabinet, allowing you to use an array of cabinets without needing extra equipment. The hi and low controls featured on the MACHT 402 have been tailored for guitar signals, providing extensive EQ facilities to create a wide variety of sounds.

The Ultimate Power Amplifier

Designed with a compact shell, the MACHT 402 offers a range of features to enhance your sound and deliver the ultimate amplification. An efficient switch mode makes the power amp and excellent source of power, while special circuits protect it against overvoltage, DC, short circuits, and overheating. The low noise fan keeps the unit cool, allowing the MACHT 402 to deliver authentic tube power stage characteristics that make it an ideal power station for guitar preamps, small amp, modelers, and some effect pedals. The power amp also provides a rumble feature with an on/off function, allowing you to suppress the low frequencies to let the low end sound great at high volume levels. A limiter restricts the power amp’s max output, preventing clipping distortion and protects your speakers.

Specifications

  • Rated Output Power (1kHz @ 4 Ohms): 2 x 200 W
  • Rated Output Power (1kHz @ 8 Ohms): 2 x 100 W
  • Rated Output Power (1kHz @ 8 Ohms, bridged): 400 W
  • Output Circuitry: Class D
  • Frequency Response: 20 – 20000 Hz
  • THD: Less than 0.1
  • Gain: 32 dB / 26 dB / 28 dB
  • Input Sensitivity: 0,68 V / 1,4 V / 1,2 V
  • Protection Circuits:
    • DC
    • Short Circuit
    • Soft Start
    • Thermal Overload
    • Over-Current
  • Controls:
    • Sensitivity
    • Volume
    • On / Off
    • Mode
    • Low
    • Limiter
    • High
    • Ground Lift
  • Indicators:
    • Protect (Protection Circuit Engaged)
    • Signal
    • Power
    • Mode
    • Clip
  • Line Inputs: 2
  • Line Input Connectors: RCA, 6.3 mm Jack
  • Loudspeaker Outputs: 2
  • Speaker Output Connections: 6.3 mm Jack, Speakon Compatible
  • Cooling: Low-Noise Fan
  • Operating Voltage: Switching Power Supply
  • Power Consumption @ Full Load: 470 W
  • Operating Voltage: 115 V AC / 230 V AC (Switchable)

Dimensions

  • Width: 482mm
  • Height: 44mm
  • Depth: 244mm
  • Weight: 3.8kg

This unit fit nicely in my power section of my rack.

ENGL Tube-Power Amp 2X100 E920

There are many all tube stereo power amplifiers out there for guitar rugs. This unit I usually don’t see too often so here are some pictures of it. I was tracking this one from an auction site I use called JAUCE The unit was labeled as non functioning so it seemed like a bargain project at $100 USD. They are a very reputable broker for Japanese gear. Be very careful about purchasing heavy objects since it can get costly to ship.

Alesis Nano Modules

So apparently there has been a lot of buzz around these modules lately. I fully remember when they came out and no one cared back in 1997. This was the same year Antares launched Auto-Tune. In my opinion, other full rack mount units back then were pretty awesome comparatively and that was the better choice. Small is in now and the sounds within these units are usable. If you want them in a rack, you wont have that flush rack mount look but can fit three side by side. I believe they will have to be adhered to a rack or you can drill custom holes in through a 1u shelf. They were really geared for the small desk user that probably had a USB audio box interface. If I order a few for testing or modification I will open them up and post. Below is the compiled resource for quick reference.

Hunting for Used Rack Gear to Enhance your Setup

Right now many people are uploading their rack gear for sale. To be honest it’s heavy it takes up space and much of it is old and many not high end grade. So you ask why would I mess with it? Well bargain hunters and repair diy people can make it bring a whole lot more for less money. Below you will find some example I was using to bring more to my keyboards, samplers and alternative track takes. Here I created two separate rack cases, one primarily for reverb/effects and the other to lift, sculpt and project my final results. I added a patch to the effects rack so I can quickly play with different settings outputting to my mixer channel aux. The other rack I added to my mixer main inserts for final gloss and lift but did also route it through a patch bay. The tube amp was used for powering my audio main monitors. Other than the tube amp most of these I bought cheap and or broken. They made fun projects to restore and most of the repairs were simple fixes. The key to picking easy fixes is not always straight forward. I collect a lot of spare parts and that always helps. I used to pull broken gear out of the graveyard all the time. Even if it doesn’t work there’s always parts on it that still does so save or sell.

Keyboard Lights

If you would like to maintain a nice atmosphere in your keyboard room while having the lights out or ambient lighting in place try this easy add. In most dollar stores or online you can find these battery operated led lights. They have magnetic backs and led intensity slide adjusters on them. For older keyboard as in this example the keyboard chassis are made of metal. I just stuck one under each keyboard to provide a quick light to see the keys for performance in a multi-keyboard rack.

Carvin Quad X-Amp Guitar Preamp

I have now had a chance to dive into the Carvin Quad X. I have provided some photos I noticed that no one has been showing, that elusive bottom board. The unit I picked up had alot of scratchy pots. They are all coming from the cheap pots on the bottom board. I disassembled the entire unit and cleaned all the connections and pots. This helped dramatically but ultimately I would like to replace all the pots on the bottom board. After I do that the unit is ready for another 15 yrs. or so. From what I have read it is a common problem on this amp.
I connected this pre-amp into a Marshall stack right into it’s input. I kept all the setting on the amp neutral but ideally I wish I could have tested this on a plain stereo tube amp. So my first take was quite disastrous. I had a very hard time getting the sound to be fat crisp and properly distorted. I didn’t want to give up on this pre-amp. I removed the unit and tried just guitar and headphones plugged in. Actually this was a great move, it gave me a chance to tweak the knobs such that I can see where all the break points are for the tubes. I found that most of the best settings were when the main volume knobs were between 3-4 or 5-6 and the drives between 6-7 or 7-8. From there I adjusted the stereo out listening for bad distortion (like tonal loss) and lastly the cloaking if using those channels.

Overall I believe I may be able to coax so great sounds out of this preamp. Understanding the sweet spots is really key and not have any external sound influence other than the Quad X. Once dialed in then I would add effects. Please see below for additional documents.

Year and Version

Crown D-75 Power Amplifier

I was on the search for a small 1U reliable power amplifier that I can use to power my audio oscillator. Together I take these 2 units in a small road case and use them on the go to test speakers or speaker cabinets. When you send the sine wave through the speakers 20hz to 20khz in a sweep you can use this to identify issues with the speaker cone, coil or spider. Abnormalities will produce a rattle, hum or distortion. It’s a good check also when buying second hand speakers/cabinets. I didn’t want to spend a lot on this amplifier since it’s only used for testing.
I choose the Crown D-75 because it’s has been an application monitor amplifier standard for many years. Typically used in broadcasting it will serve it’s purpose for my testing setup. I found a real cheap one online that had some issues. After opening I found corroded chokes, a burnt ceramic resistor, missing power switch and a bad audio pot.
This is the version that does not have any labels on the main board so make notes when you open (very carefully) before all the connections pull off of the board. If lost please use the photos for reference or the attached documents.

So a really quick repair, removed all bad chokes and installed new ones (.5mH RF Choke, same as 500uH) Removed any burnt ceramic resistors and replaced with CP-5 Dale 5W .1 10% ceramic. Changed the rotary power switch with a standard toggle, replaced the R101 R201 with a 25K audio level taper pot. This unit is rugged so the main components are solid. Notes: keep in mind there are 2 grounding wire that will need to be de-soldered from each board before you lift. Use a deoxit spray on all connections since the unit is older. The hardest item to find is the RF choke. I bought these on ebay for a reasonable price (see photos).

Captain Crunch Guitar Tube Preamp Prototype

This is a very interesting rebuild project I acquired. It’s is in terrible shape but it is one of a kind. A prototype unit from B. P. Smith Stereo Tube Guitar Preamp. It has three channels and is a nine vacuum tube design built into a stripped out Tapco Intersound enclosure that was gutted and modified for prototyping. The faceplate was drilled/modified and silkscreen over with the brand name “Captain Crunch” 2×3 Stereo Tube Preamp. I remember many years back when I asked a tech wizard what was the ultimate in guitar distortion they told me to hunt for the illusive “Captain Crunch”. Well here it is but no schematics, no information is located anywhere until now. The only similar 9 tube preamp design from this period I could find was the Carvin Quad X but this unit is a circuit board design and not point to point. I am slowly rebuilding the design and tring to mount boards and rewire the unit but I feel like my next purchase will be the Carvin Quad X. I am so curious to see how these two tube hogs hang together in a battle. Captain Crunch utilizes nine vacuum tubes across two main boards. Clean Channel Stereo #1 designed 1-16-91 and #1 Kill Channel Prototype Board. There are loads of vintage components including Black Cats, Mallory’s Caps & Allen Bradley Pots.

This is how the unit arrived at auction before the tear down, what a mess. I documented the wiring but this rebuild is going to take a long time.