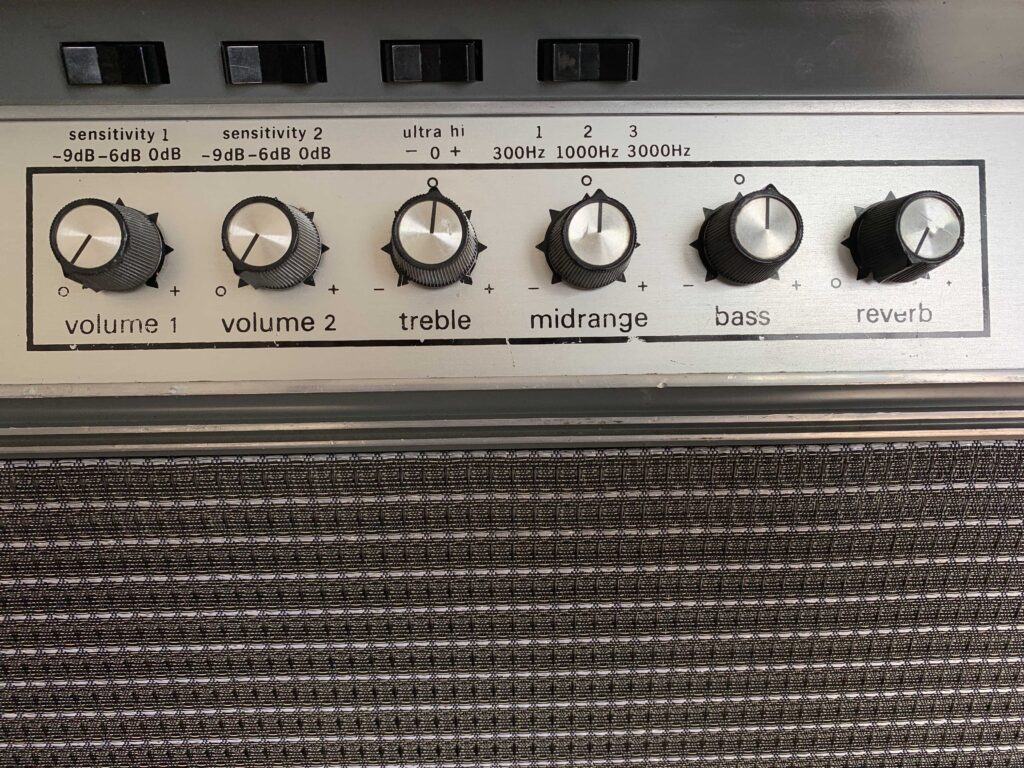
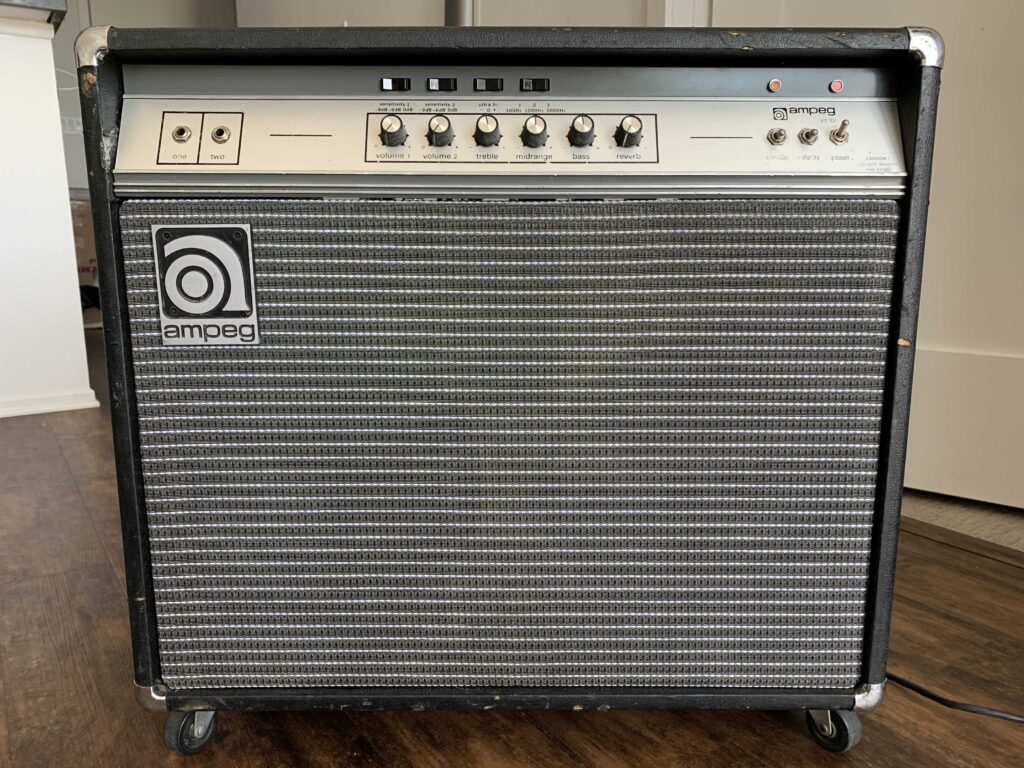
Ampeg VT-22 Restoration

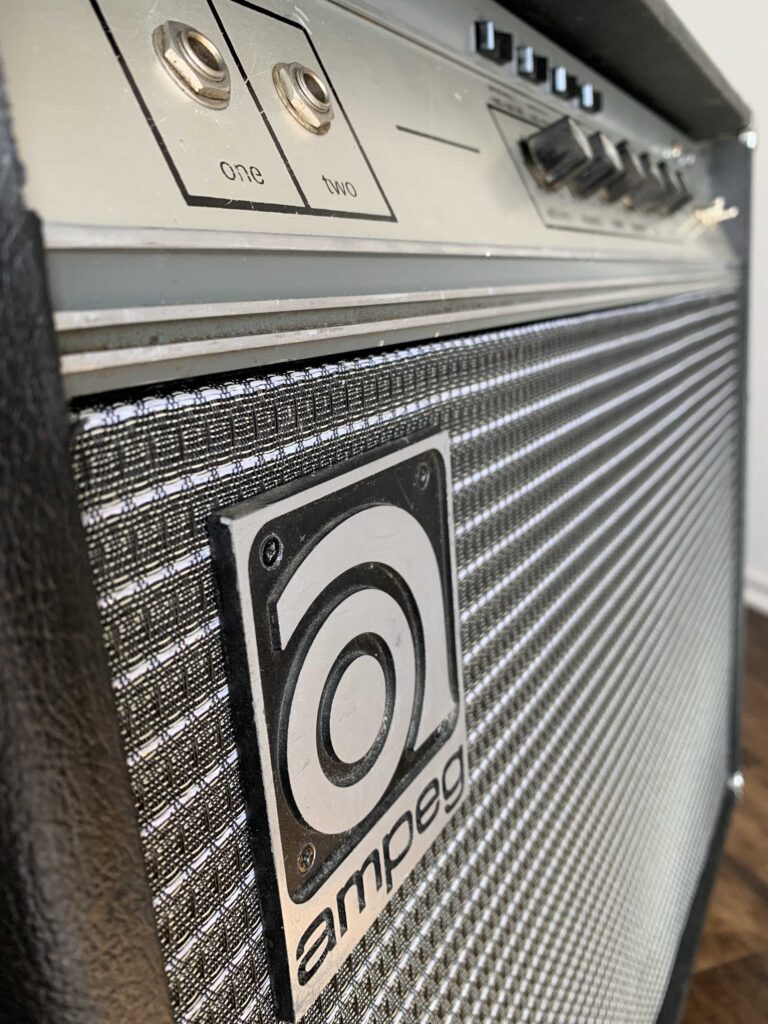
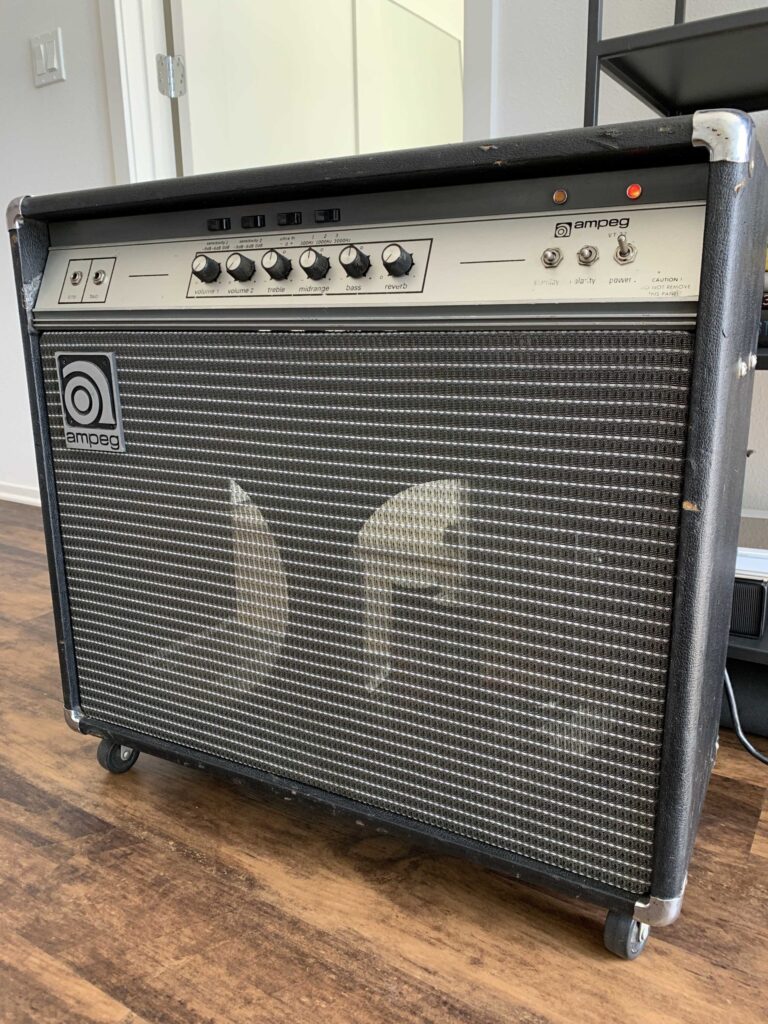
During the virus lock down I was on the hunt for a project to work on. I picked up an Ampeg VT-22 on craigslist in bad shape for $100. Unknown of it’s true condition, it sounded fun and I decided to tackle this one in stages to stay busy. Keep in mind, I decided to not power on this amp at all until the project was fully completed, a very risky action giving the unknown condition before starting to rebuild. Cosmetically it was filthy, needed a new grill cloth, new hardware, vinyl was peeling and many screws were loose. As for the speakers, one read zero ohms and the other was fluctuating upon reading, additionally a pre-amplifier and power tube was missing.
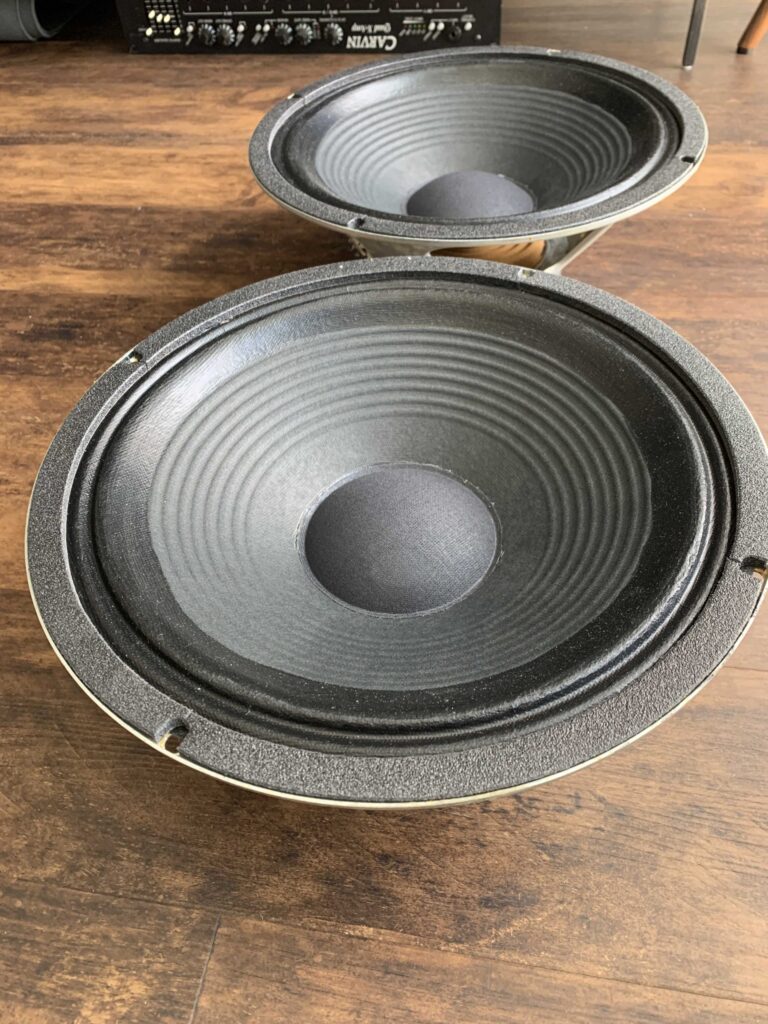
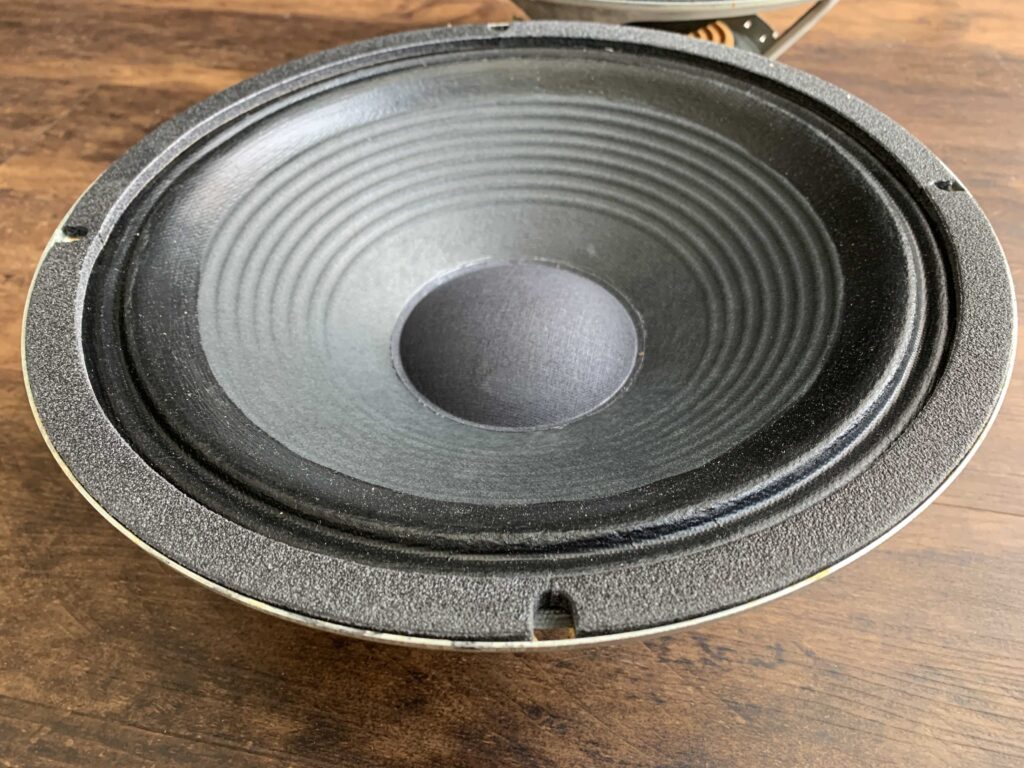
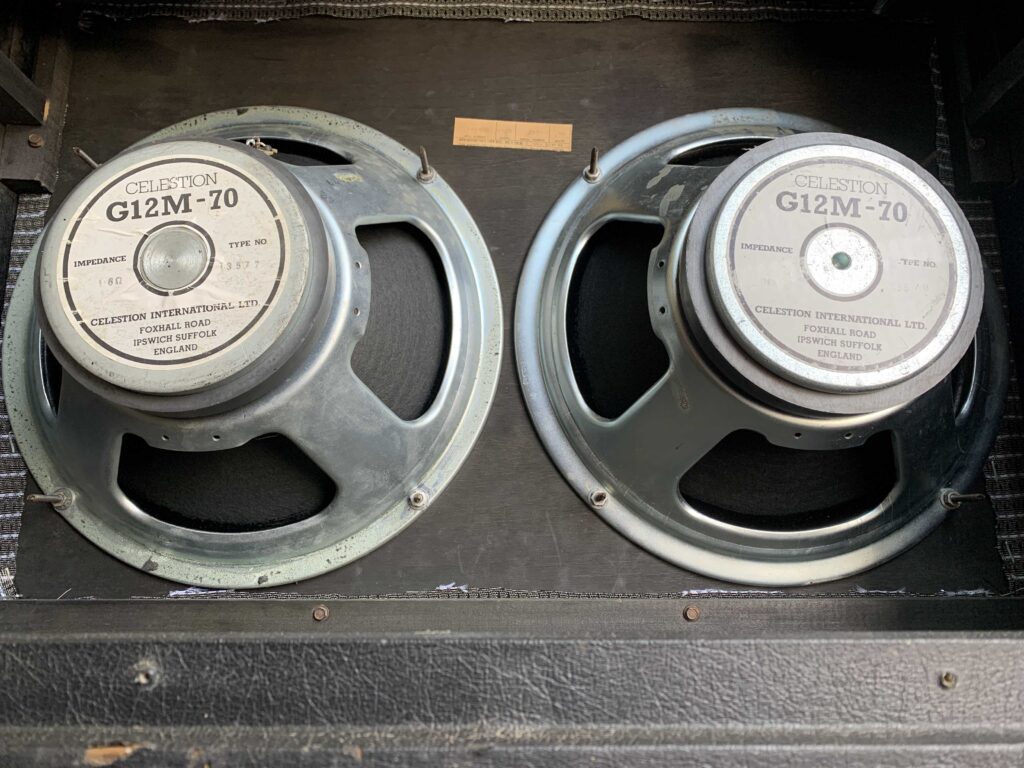
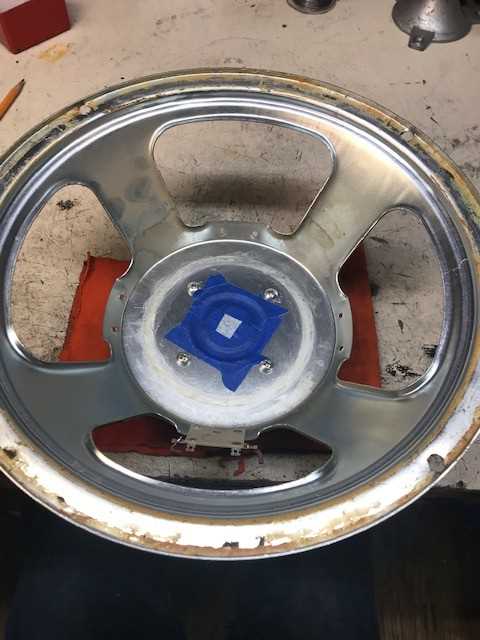
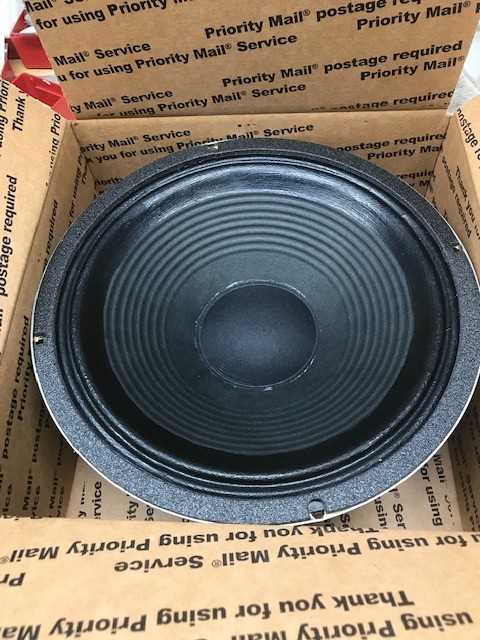
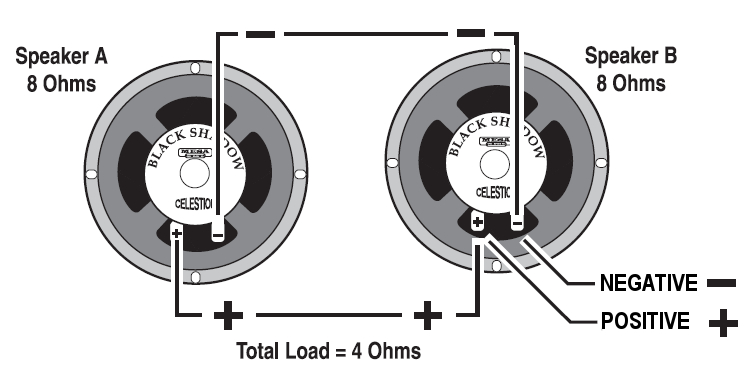
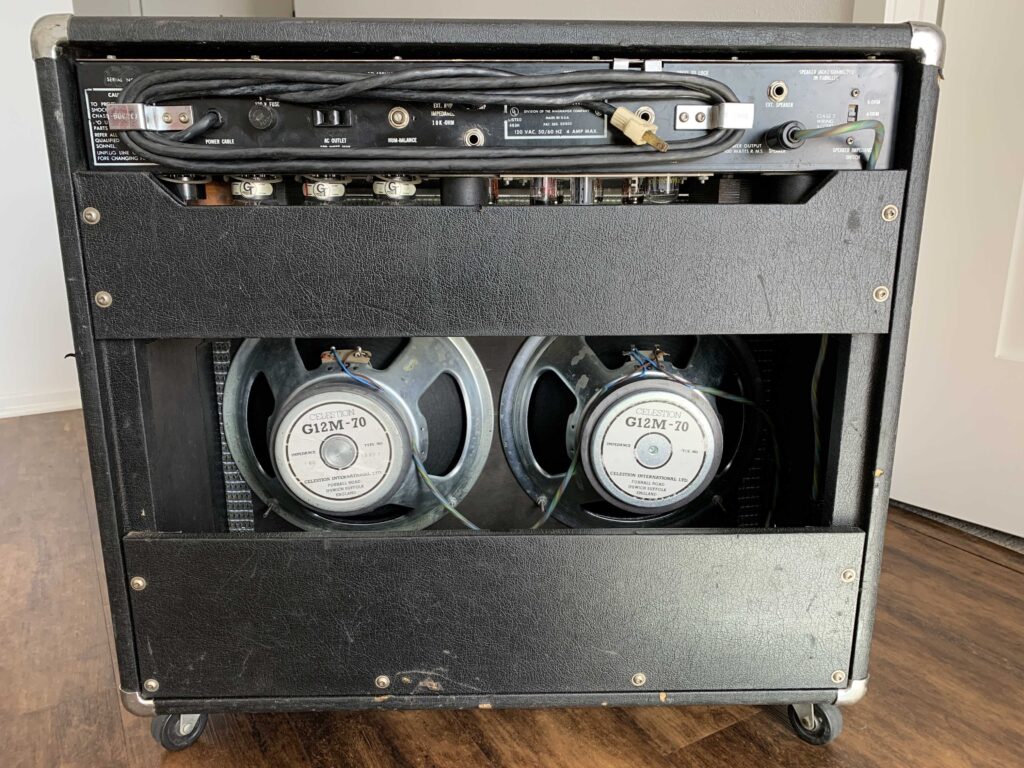
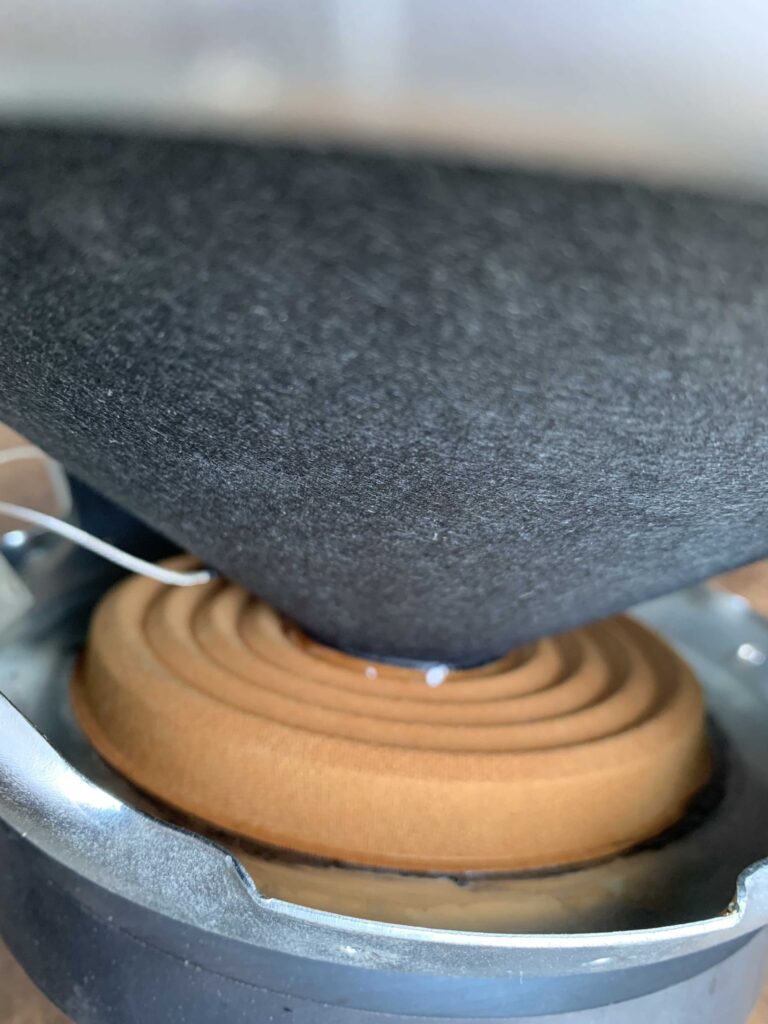
I started by cleaning the amp, inspected the circuits, and removed the speakers. The speakers I sent over to my friends at Gabriel Sound. They always do a great job restoring my vintage speakers. Check out their website https://www.speakerrecone.net/recones and the work they did on these vintage Celestian G12M-70’s. I requested to have 8 ohm coils installed and wired them up to be in parallel at 4 ohms.

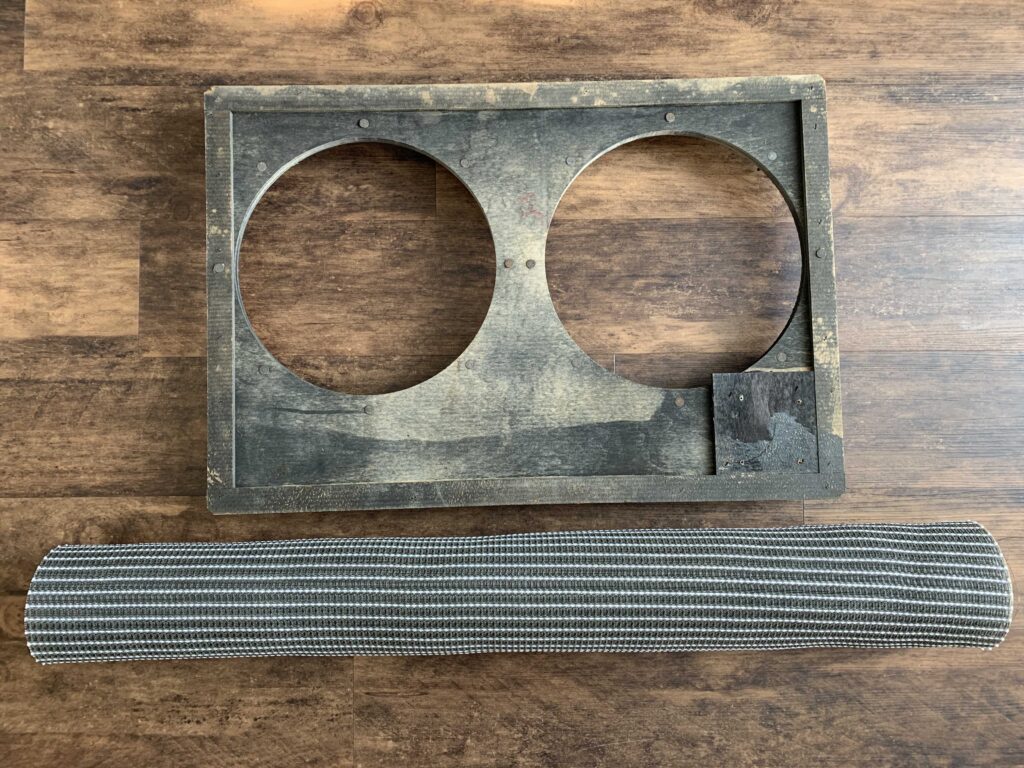
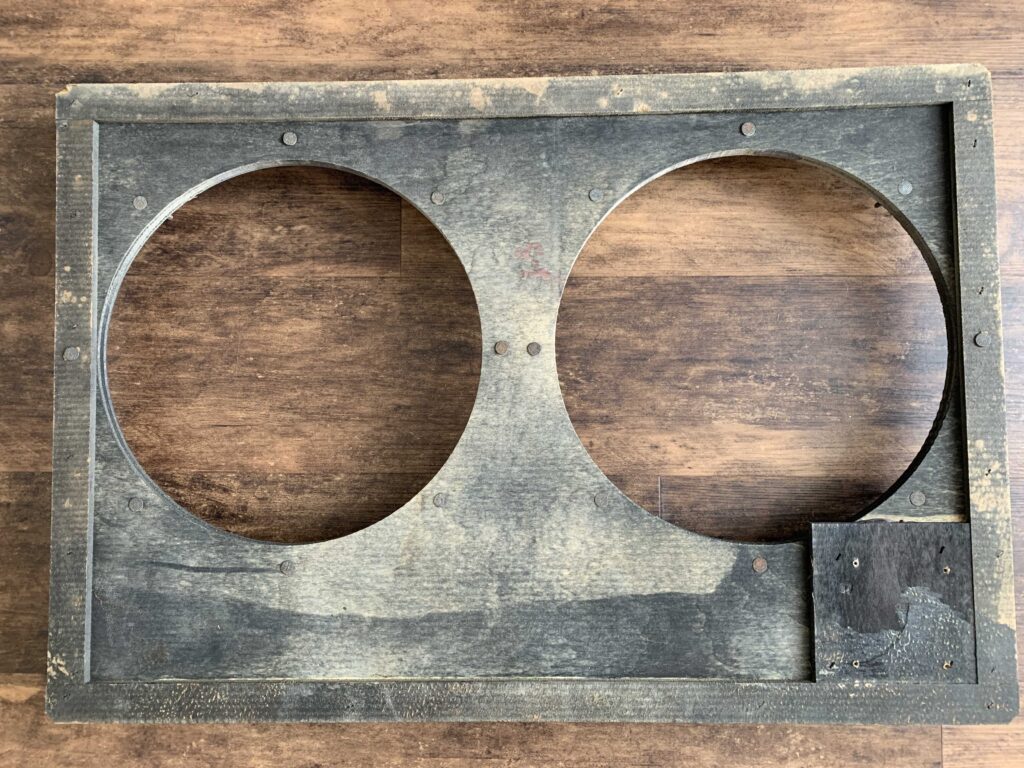
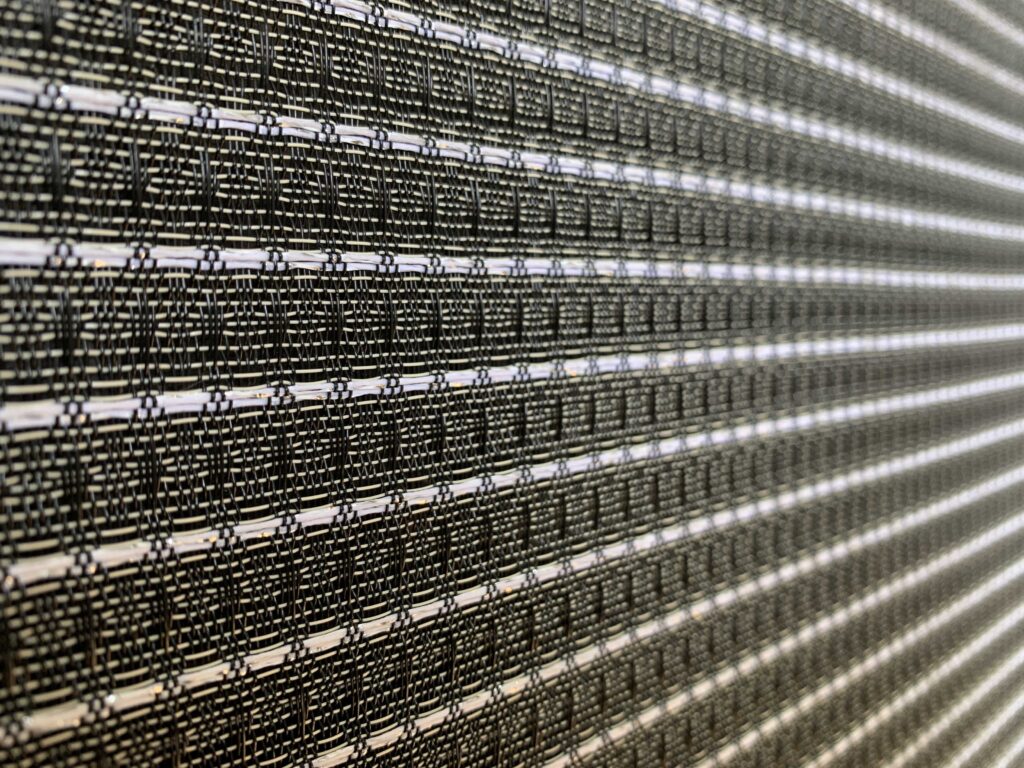
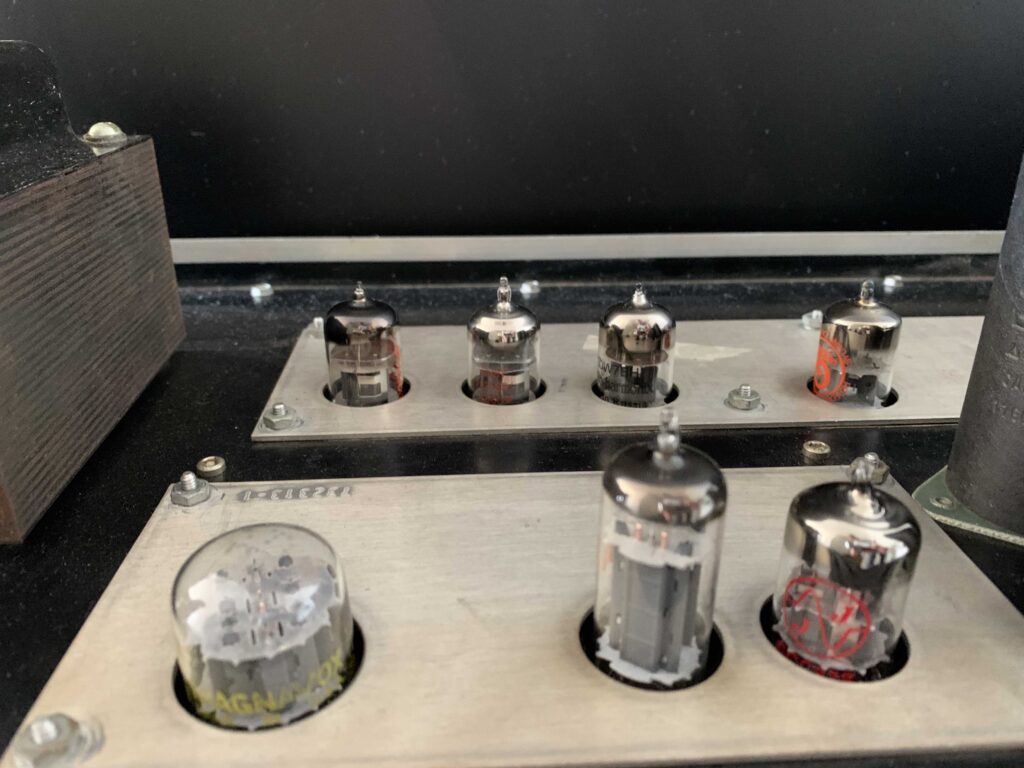
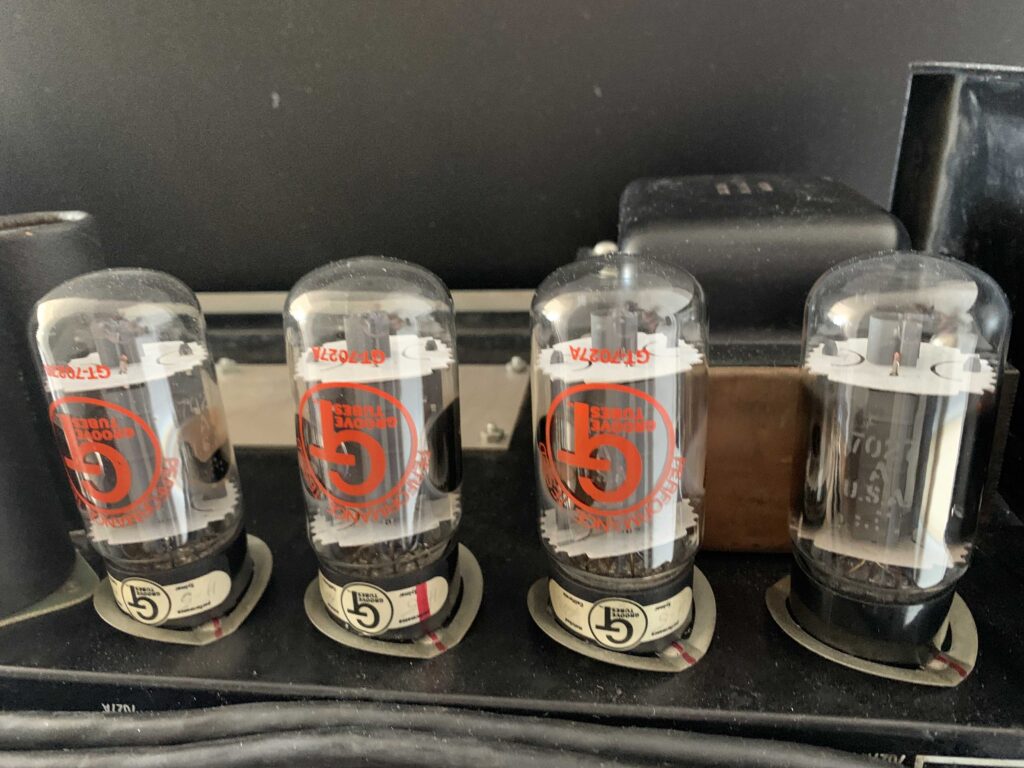
So while the speakers were out for rebuild, I started on the grill cloth and hardware. The cloth I bought on eBay for cheap and installed with a staple gun. The hardware I acquired from home depot and choose a durable stainless. I used my century 100 tube tester on the tubes and determined what needed to be replaced based on strength test. For the missing output tube, I purchased a clear top RCA nos tube to match the GT tubes that were already installed.

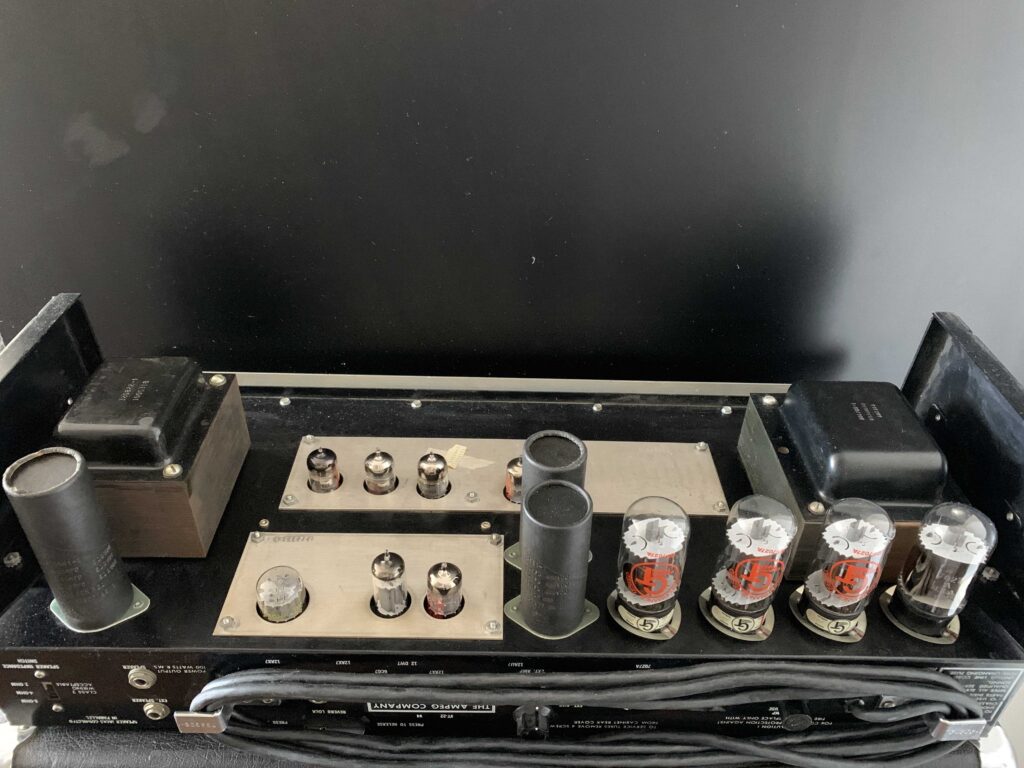
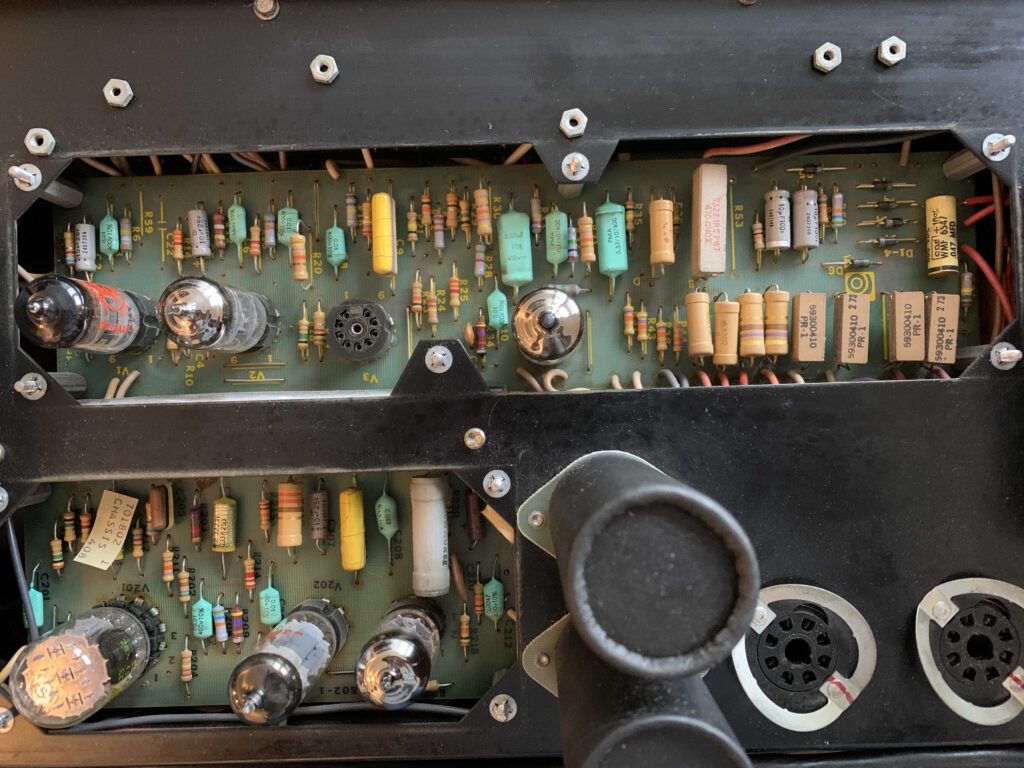
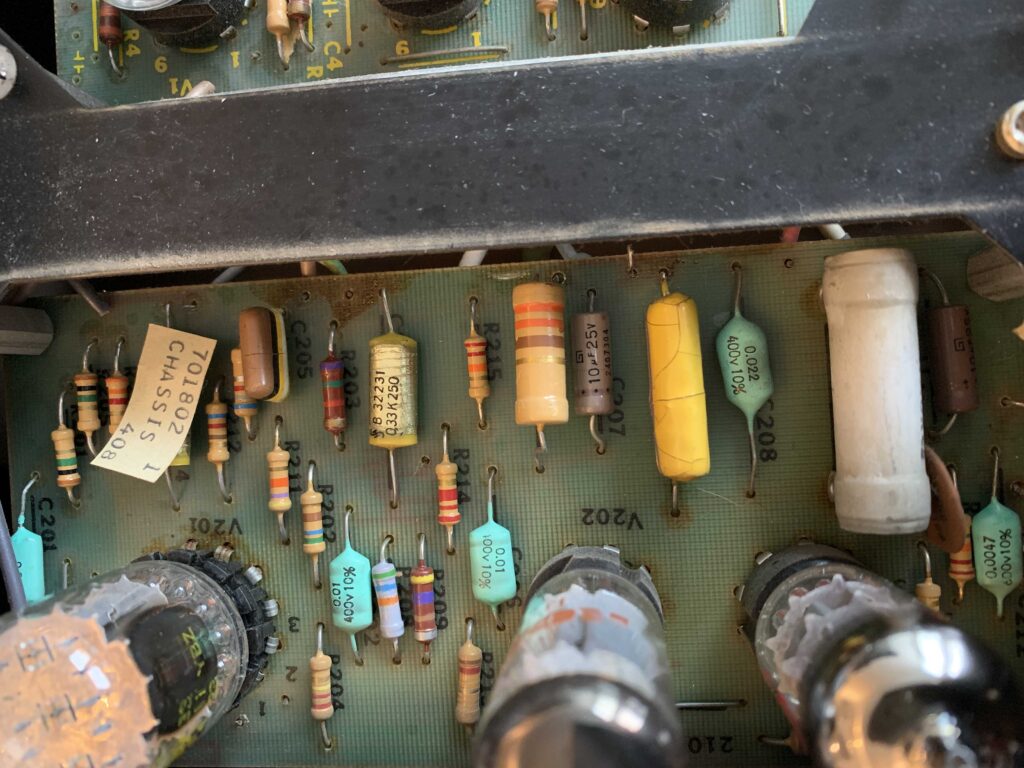
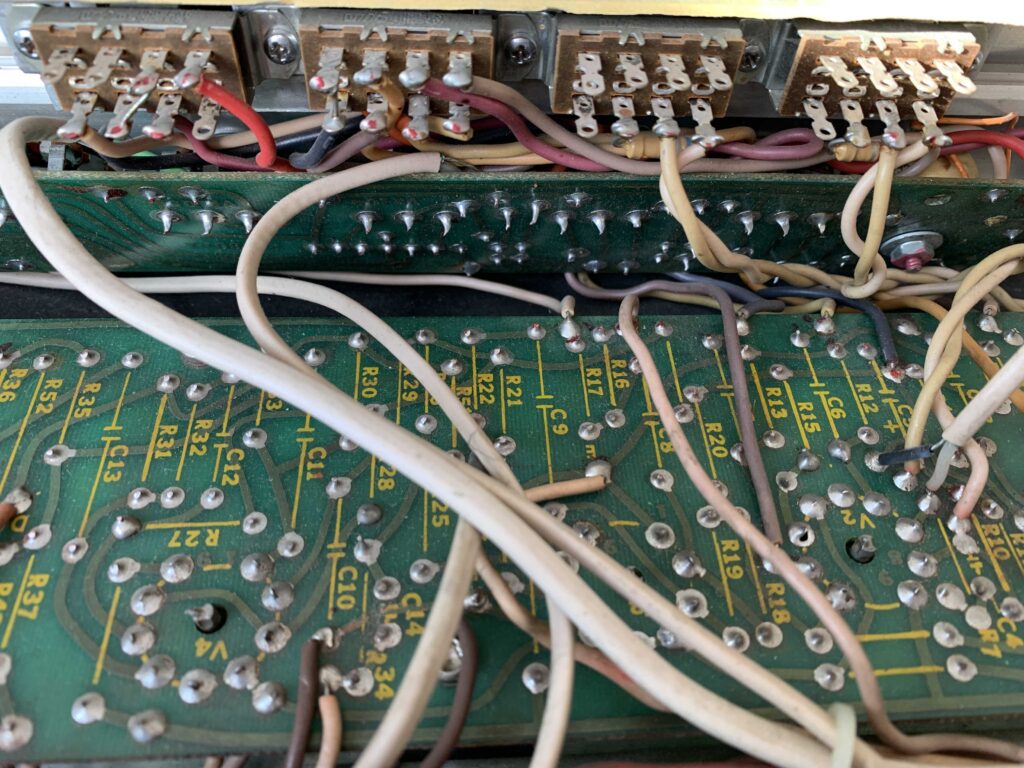
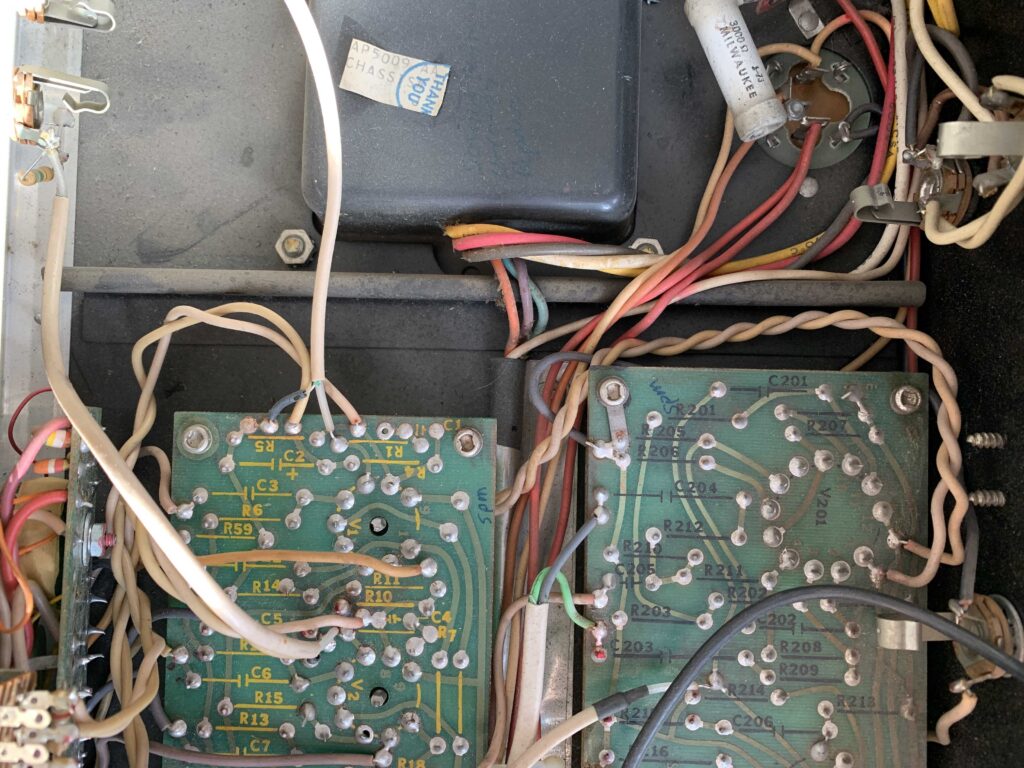
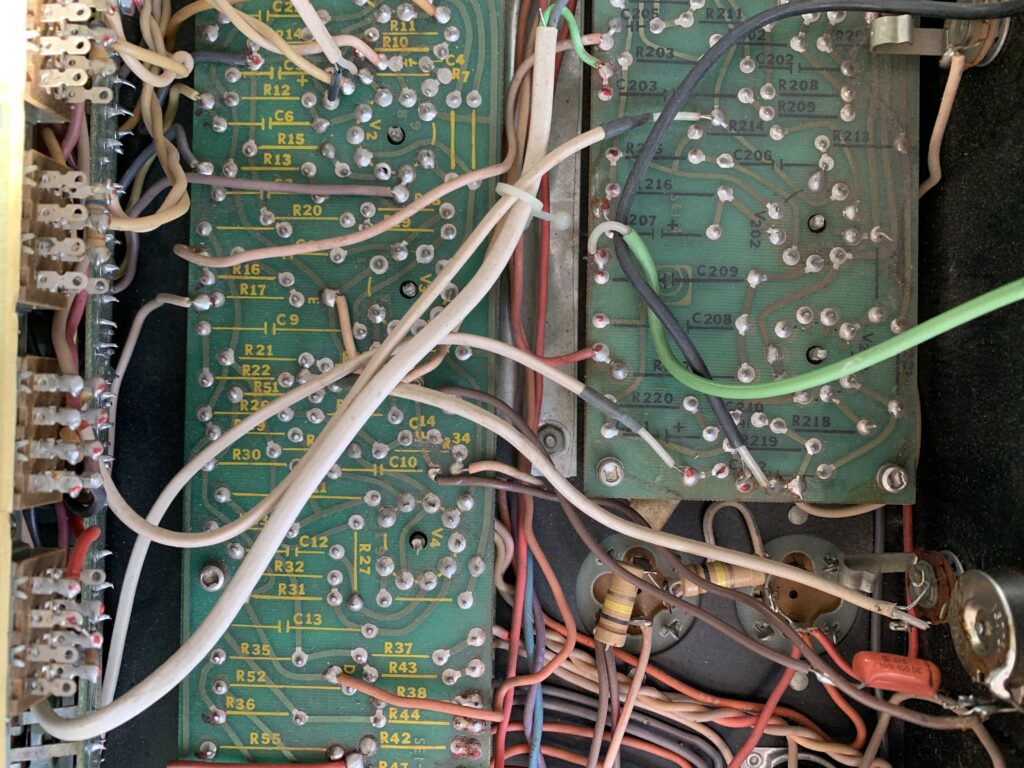
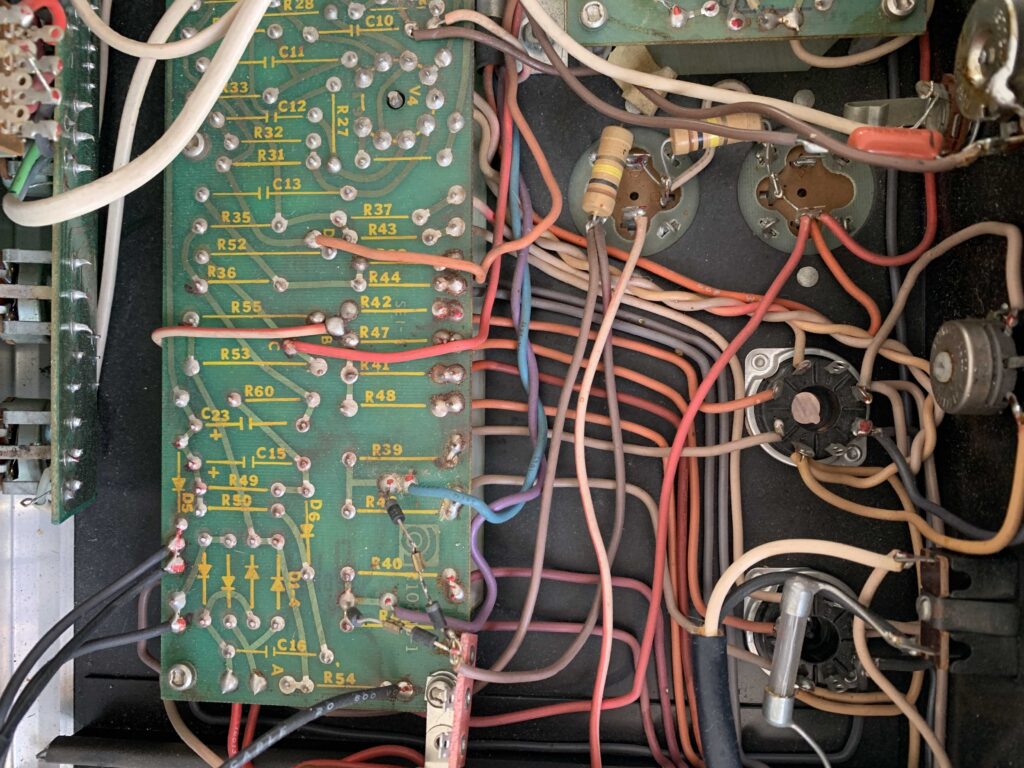
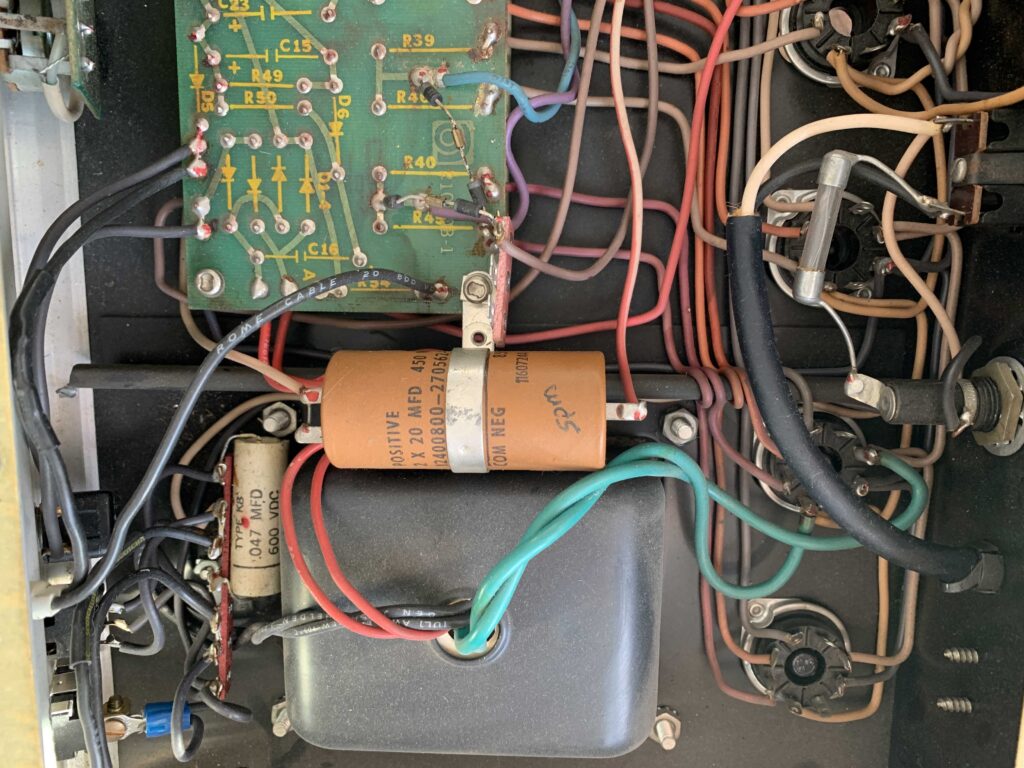
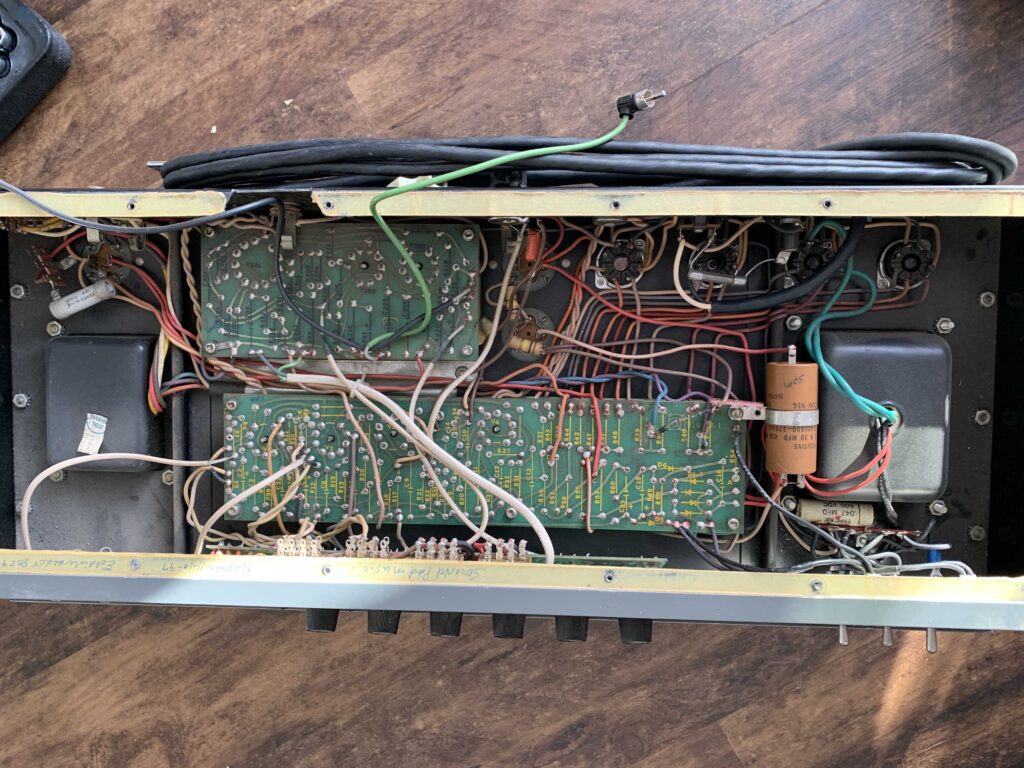
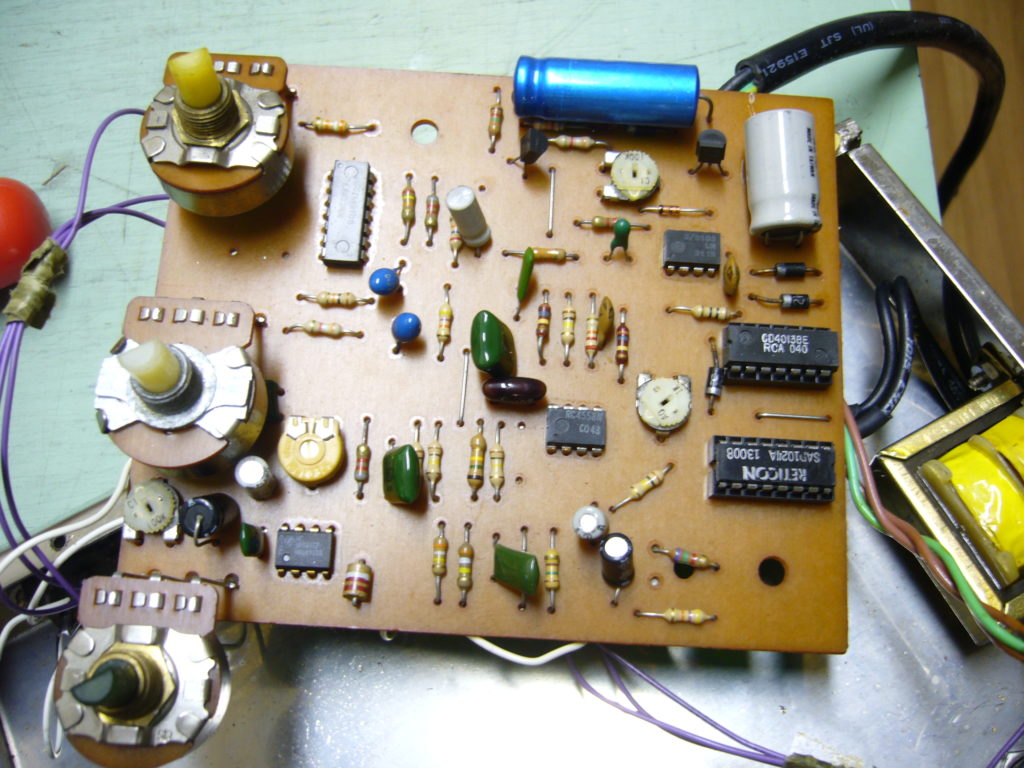
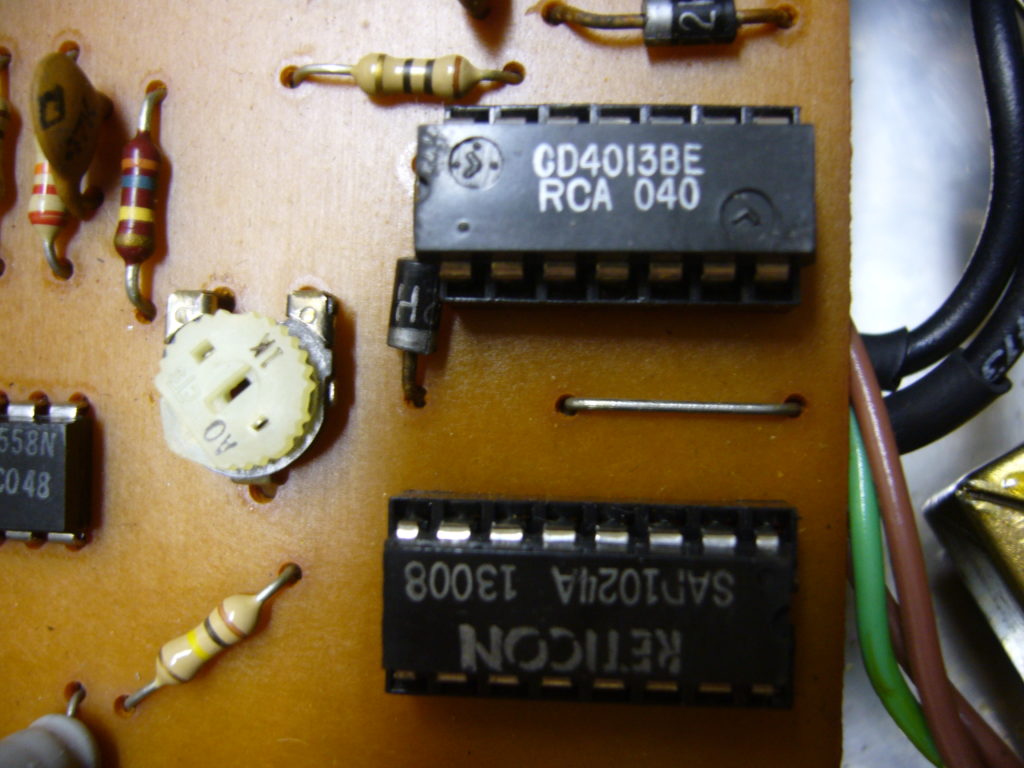
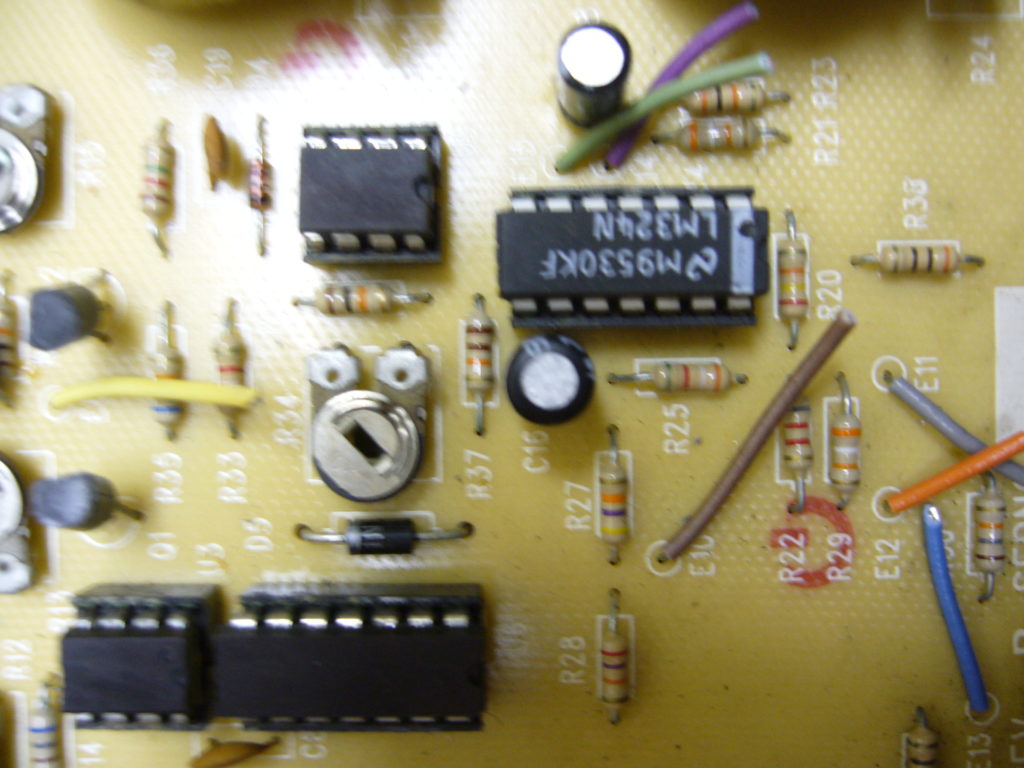
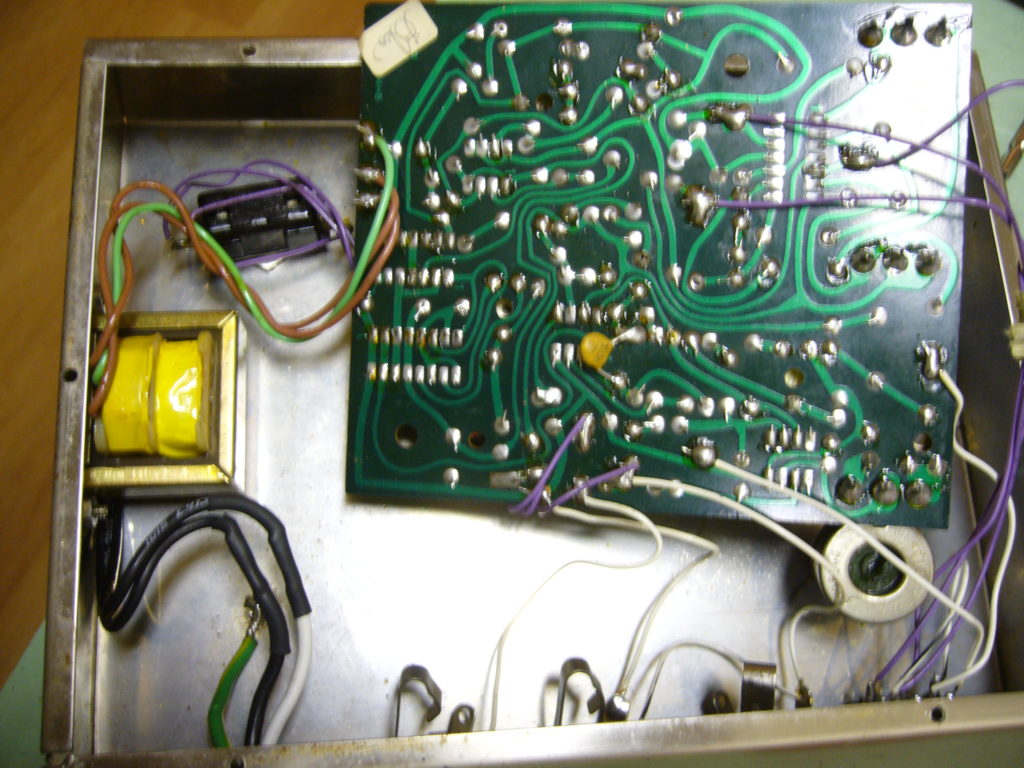
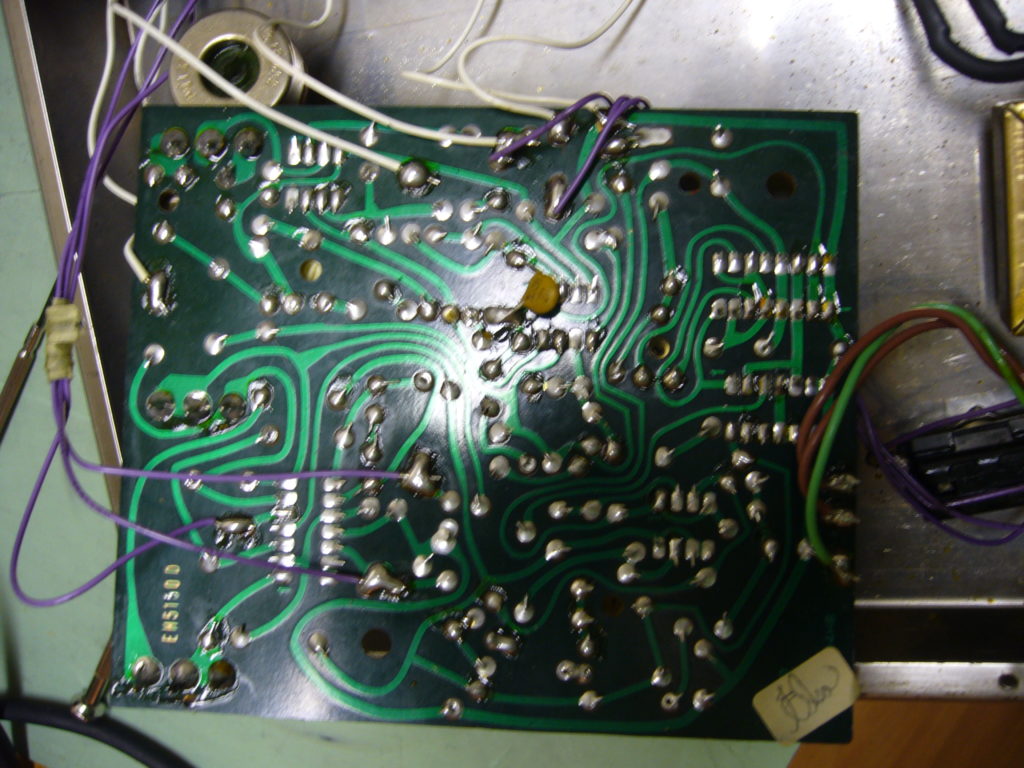
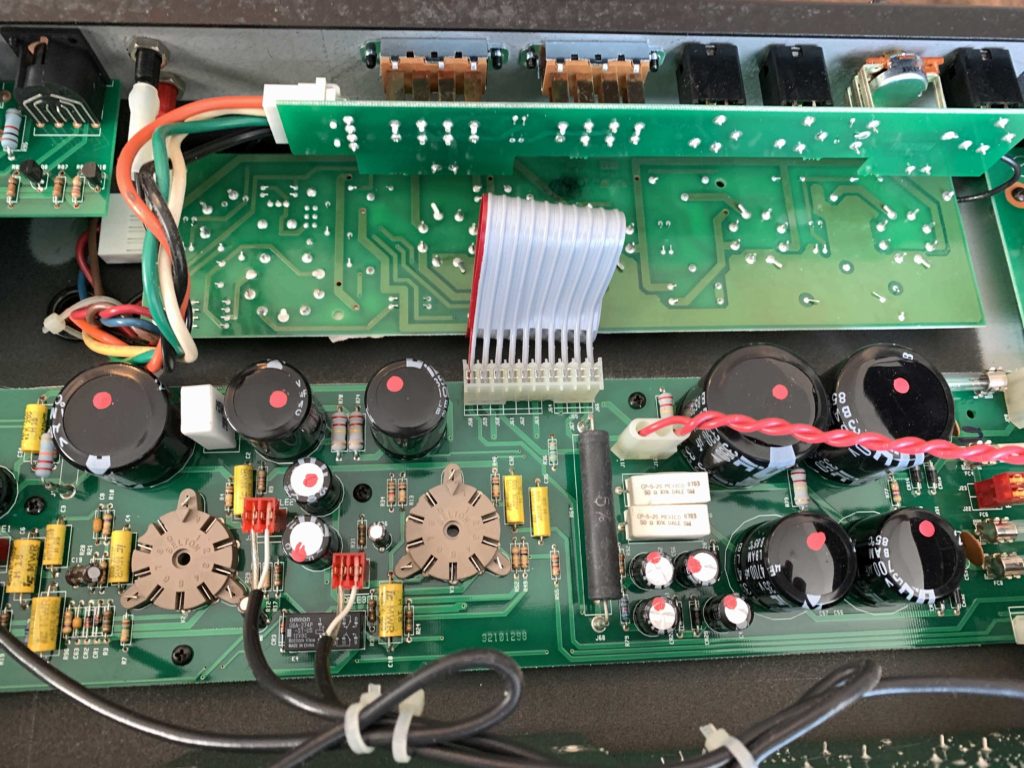
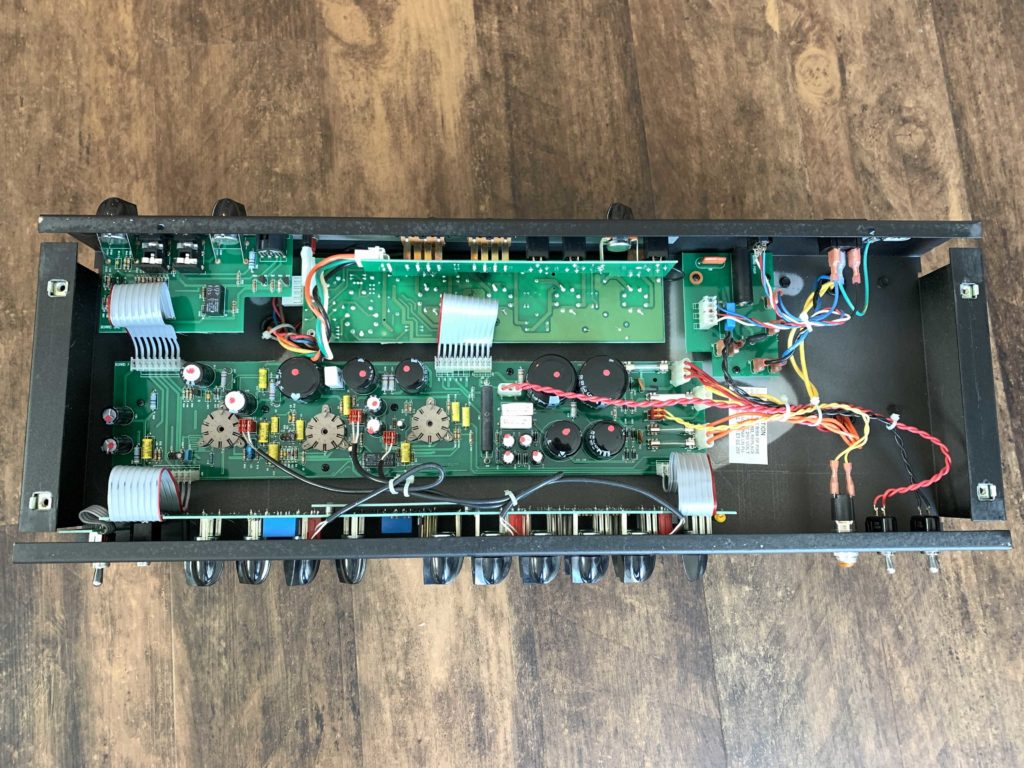
Luckily all the electronics were in good shape for their age and the only modification the prior owner made to this amp was an additional pot added to the amp output signal. Below are some pics of the amp’s insides and the tubes that I have installed.

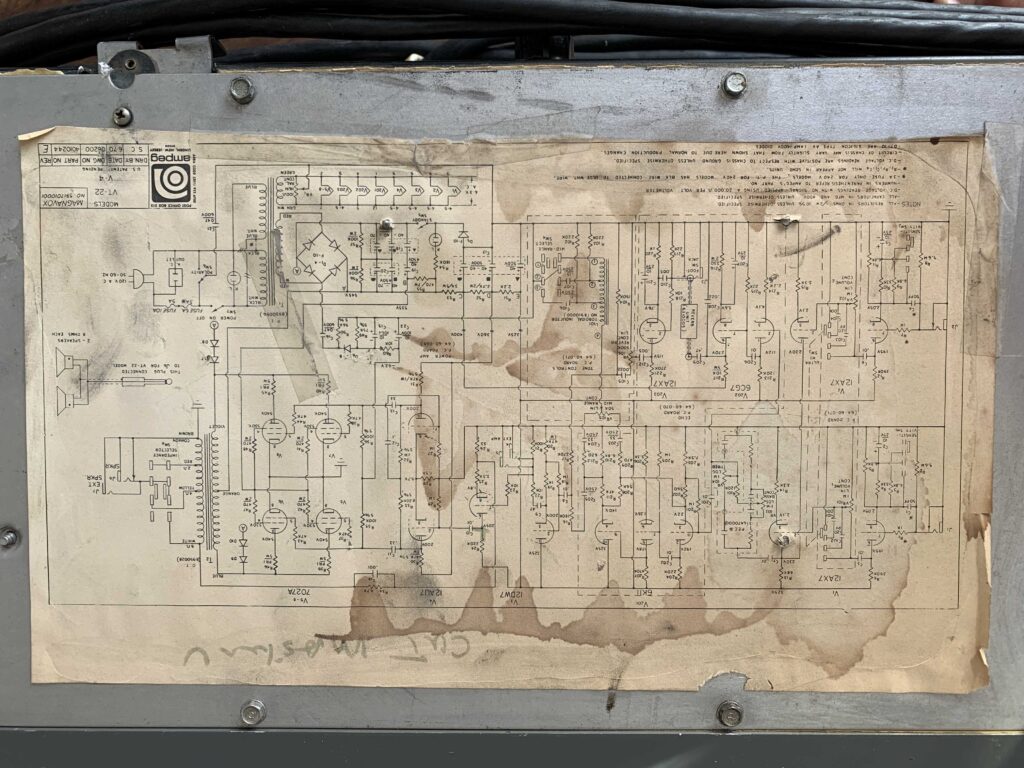
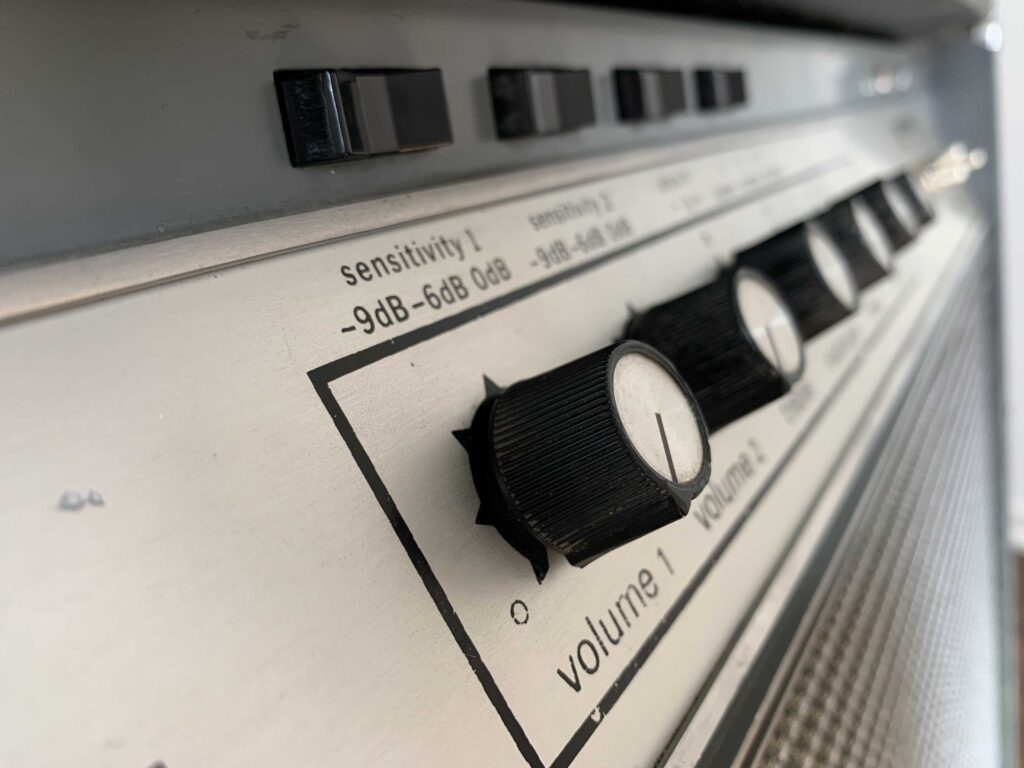
I am glad I fully opened up the amp, when I was at this stage I sprayed all the pots with fader lubricant/cleaner and used deoxidizer on all the connections. So after the amplifier was re-assembled I plugged in the unit and tested for functionality. I lifted the ground switch to reduce noise since the power plug does not have a ground plug. This amp is ridiculously loud and has the ability to sculpt any clean to mildly distorted guitar sound possible. Although there are only a few knobs for adjustment, the switches allow you to grab the correct range for your preference. The channels 1 (clean) and 2 (distortion) are blend-able and you can even send two signals in at once. This is not a stereo amp but it is very flexible and unique. I would have to say, the reverb is lush and overall I fell in love with this amp’s unique rich sound. This amp falls into that category of higher voltage plate amp and really seems alive when powered on, worth every penny in the used market. Best of all, when seeking these type of projects the gear is well documented, discussed and parts are readily available. Unlike my last project an Ampeg VT-120, the push pull pots are difficult to find and the amp guts are way over crowded. Here are some finished refurbished pictures and below you will find all the manuals plus ads I have collected.

Deluxe Electric Mistress

Well, I’ve had and tried a few of these through the years. Hands down of my favorite pedal in terms of diversity. Be warned though not all versions perform the same. And yes that is the case with many component parts from different periods. High quality parts are still being manufactured today but some combinations seem to provide a unique magic. This post is just to be quick and tell you my favorite version, why and link to all the information I have in my folder. Below you will find some real useful guides and photos by Ralf Metzger. His site is www.metzgerralf.de and the links on deluxe electric mistress versions below are his, thanks Ralf.


Version Prod. Range Identifying Feature
V1 1978 – 1980 Two conductor power cord without earth ground*
V2 1980 – 1981 Two conductor power cord without earth ground *
V3 1981 – 1984 green printing
V4 2002 – 200? “Sandpaper” surface backplate, missing i-dot on most of the models, but not all
three conductor power cord with earth ground *
V5 200? – today 24 V adapter – no main power cord,
“Sandpaper” surface backplate

My favorite version is the V4 Deluxe Electric Mistress. While the older versions have a fatter tone on guitar I was looking for a strong mid-range to high tone. The V4 version offers a nice pocket of adjustment thus delivering an organic natural sound for guitar picking and rhythm. The V5 is too bright and tin sounding. I bet the older versions would be cool for synths.  Take the time to adjust the pots inside. You will be surprised to see how they react and give you what you need. Take a few photos before you do so.

Peavey 3120 Metal Head

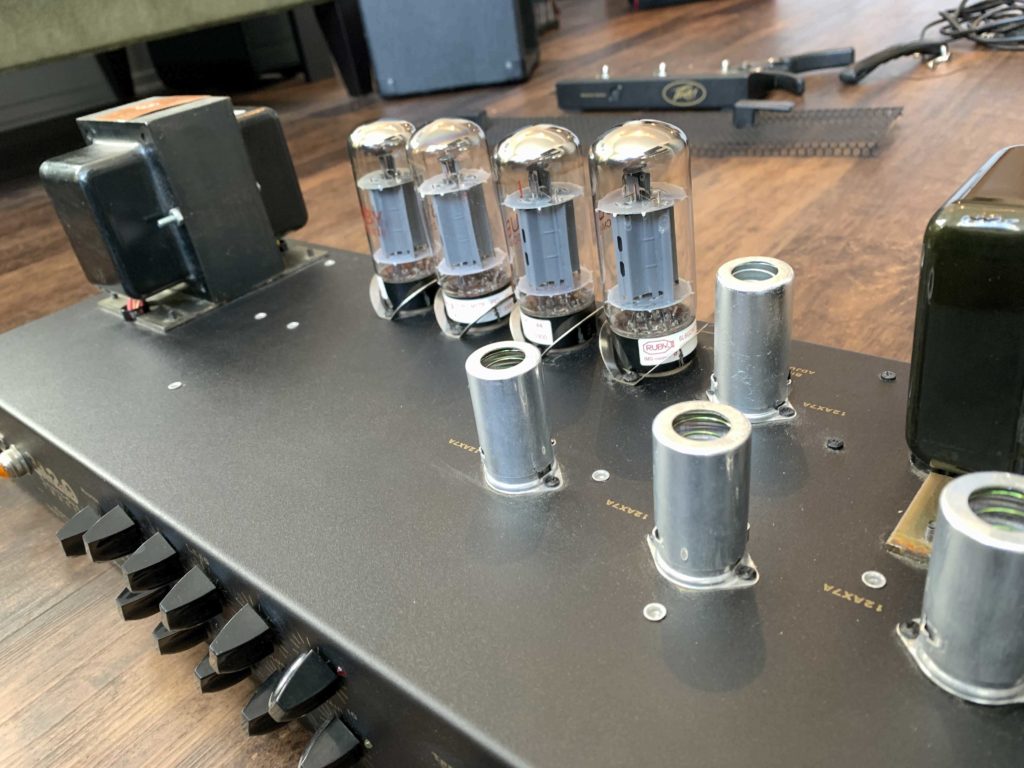
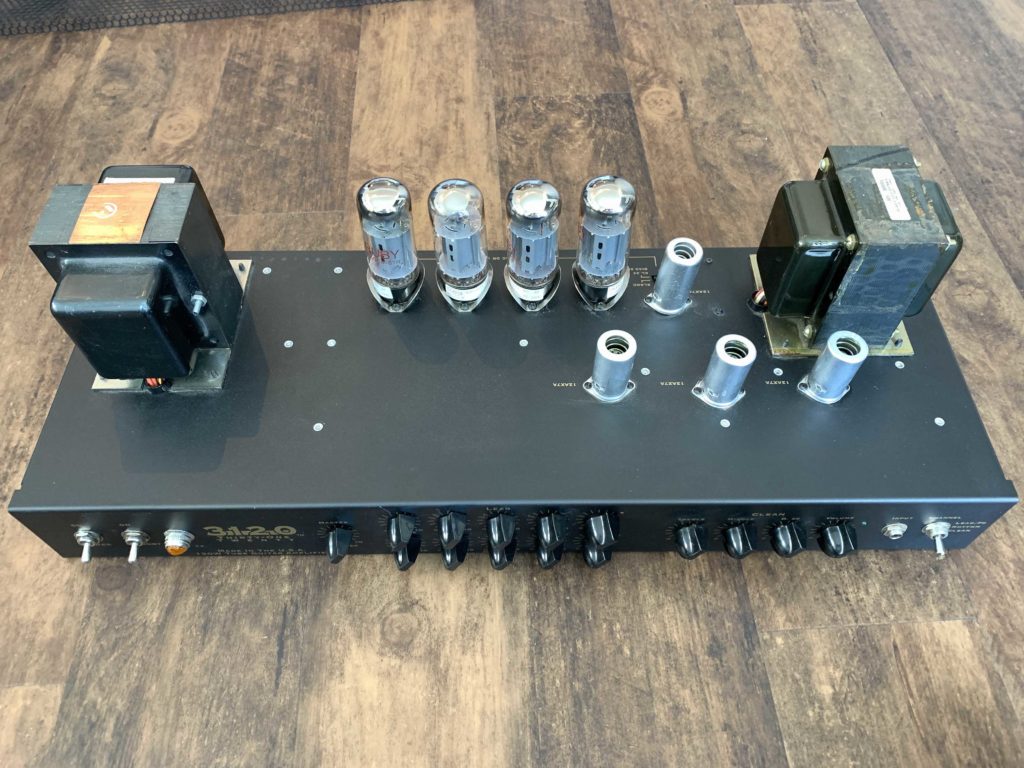
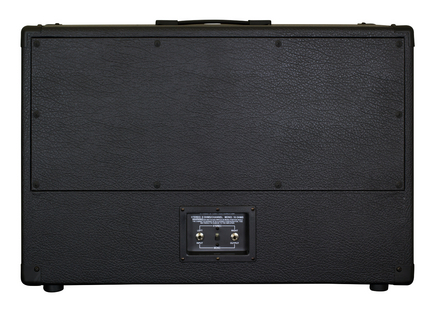
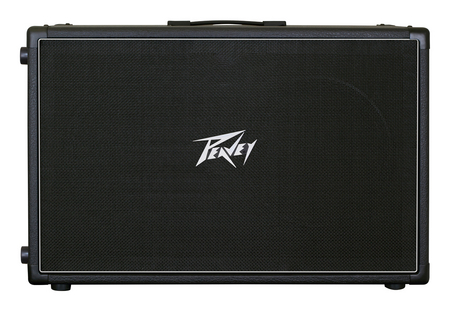
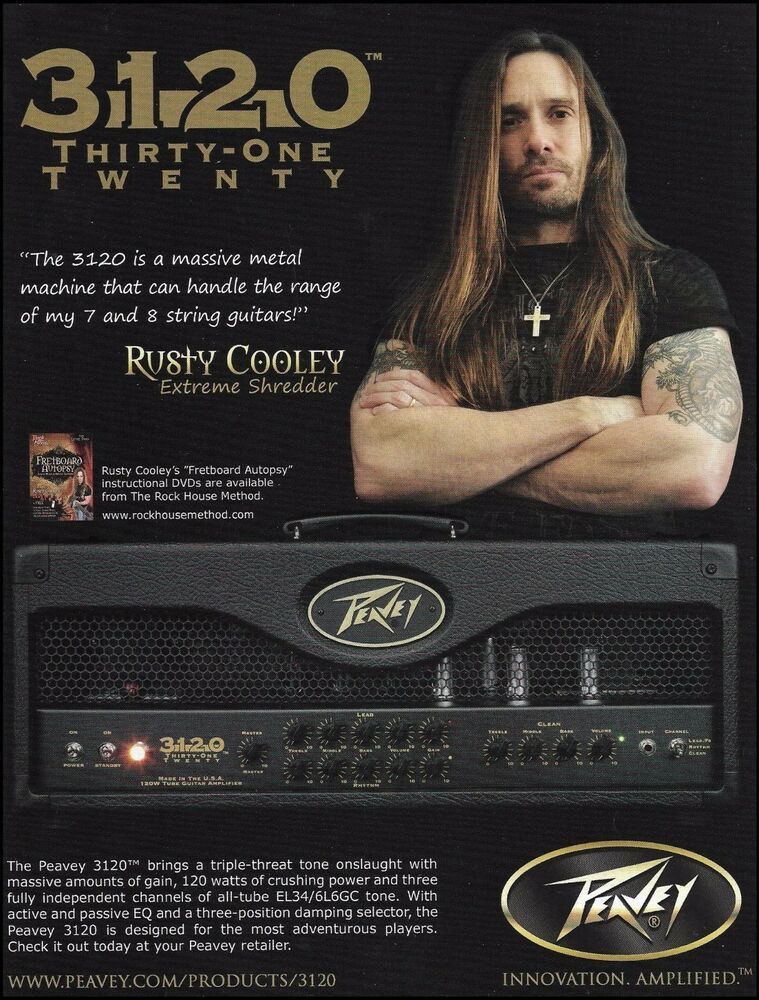
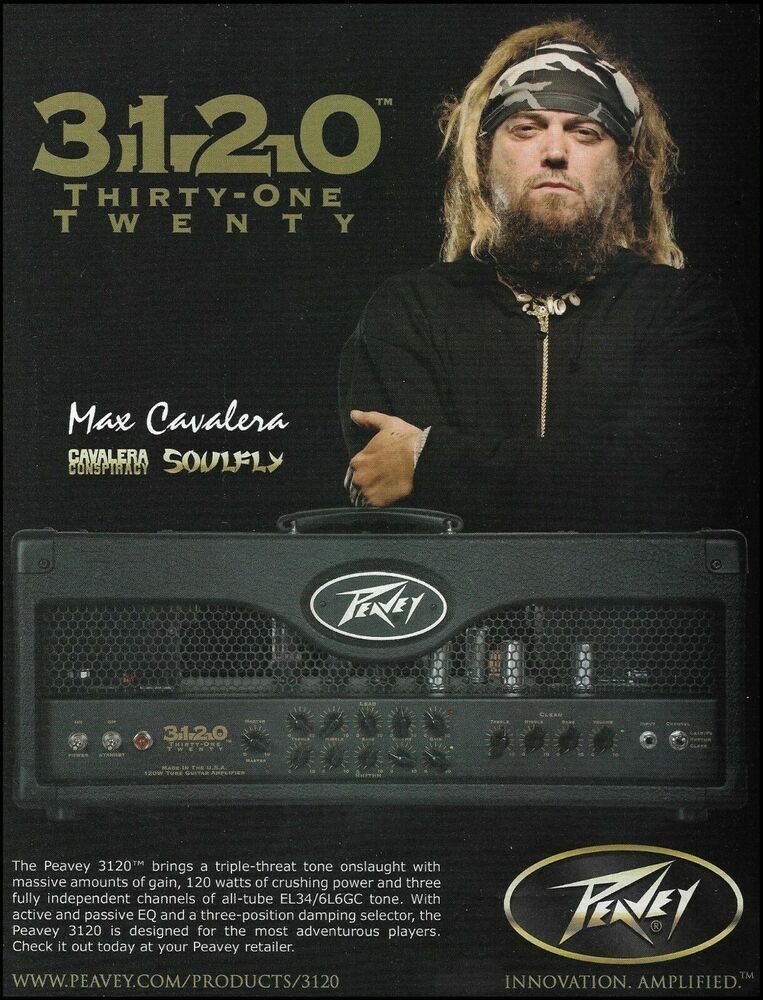
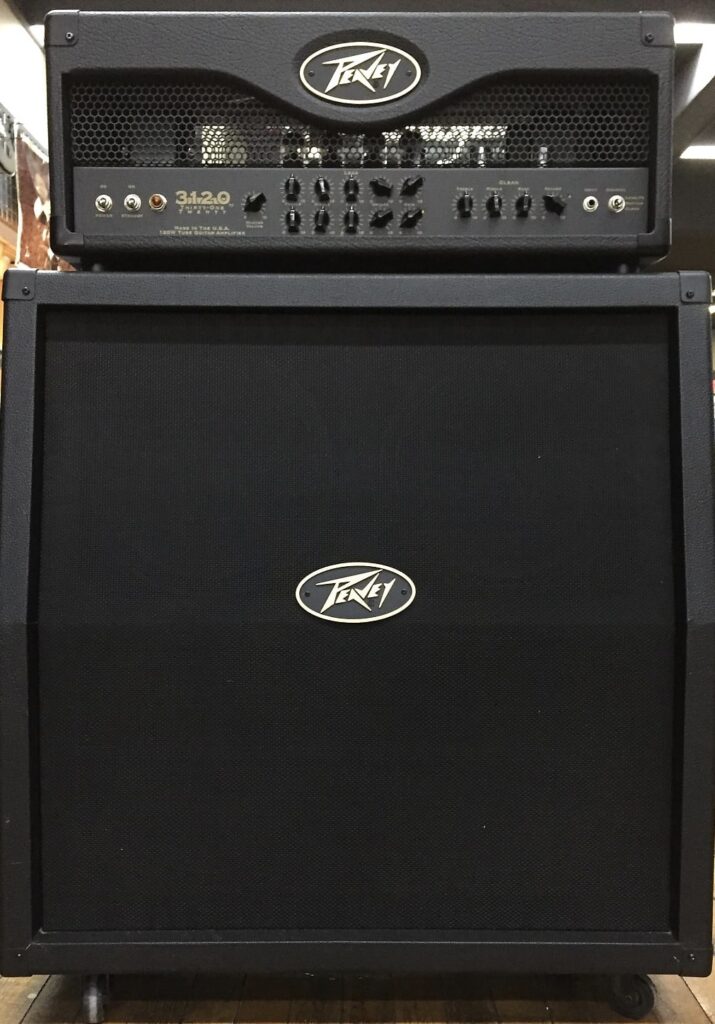
I recently picked up a Peavey 3120 head on craigslist for a great price. This head 3120—a name that is based on the amp’s specifications of three channels and 120 watts of power is a great diverse head. I paired this with the Peavey 212-6 cabinet. I am able to get rich clean sounds to all the way max kill distortion. Totally underrated and super powerful head, I was surprised. Maybe the name threw people off since it’s a lower number than the 5150 or 6505. Lower numbers in this case don’t mean less. What a great pair with the 212-6 cabinet, because of the lower power rating I get great clipping but totally can blow up this cabinet if not careful. I wish I could have added the Invective cabinet but it costs a fortune. I contacted Peavey parts and got the matching Metal head plate to add to the cabinet, very cool and will post a pic later. Here is a peek inside, nice clean layout and quality parts, solid construction, both the head and cabinet.
Below are some vintage Ad’s for the Peavey 3130 Guitar Tube Amplifier.

Building a Test Rack Stack for Fixing Audio Equipment

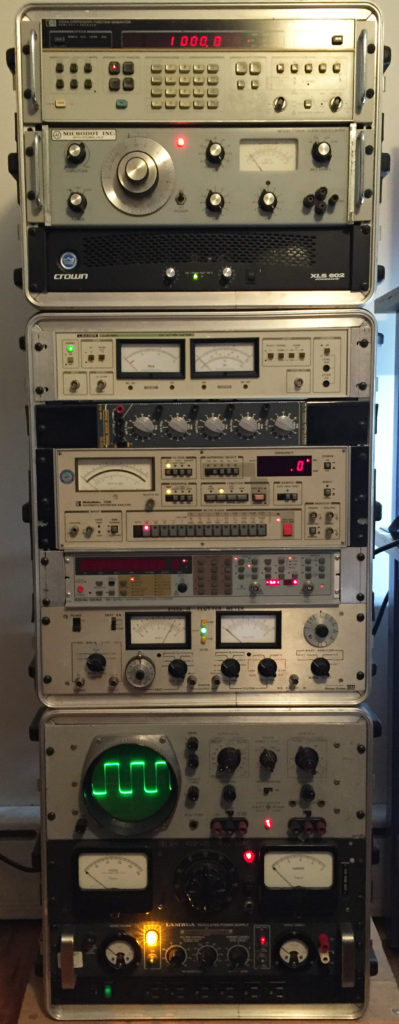
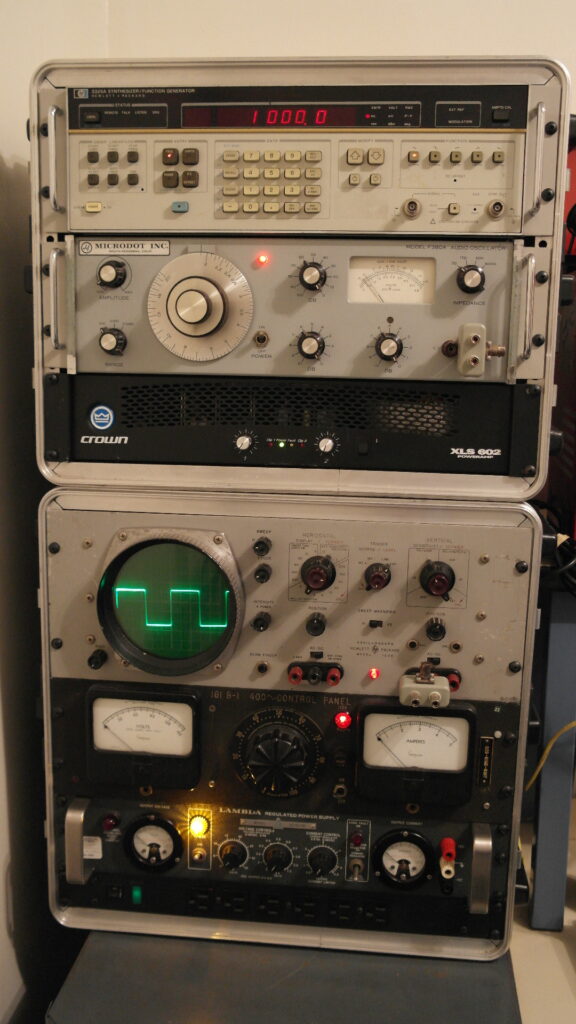
Fixing electronic audio gear can be difficult without some good testing equipment. It is important to first consider what it is you wish to repair and which equipment is specifically needed to accomplish those tasks. On a basic level, you first want to start with a multi meter especially one that can measure capacitance, transistors and diodes. Then an oscilloscope can measure the shape of your signal. In this setup example I have a Frequency Generator, Audio Oscillator, Audio Power amplifier, Jitter Meter, Resistor Decade Box, Distortion Meter, Frequency Counter, Flutter Meter, Audio Oscilloscope, AC Variac, Variable DC Power Supply & AC Outlet connected to the AC Variac Output. 

Here are some of the manuals of the equipment in this setup.

SAMSUNG CSC

Magnatone Estey M12

Here is a vintage Magnatone M12 “The Brute” tube amplifier under restoration. This amp had some unique characteristics tonally. This version loaded with a 12″ driver is harder to find in the “M” series. Recently the company has been revived www.magnatoneusa.com

This is a fantastic resource link for the vintage Magnatone M12. Unfortunately there site is down so I have placed a link through my trusty way back machine. https://www.magnatoneamps.com/M12.html

This M12 photographed was my first amp for guitar and I played on a Teisco Spectrum. I garbage picked the M12 with original cover still on it. Always worked operationally, the new finish was much needed. Not many manufacturer’s utilize such a large amount of distance between the power supply and circuit. Also bottom weight made it less prone to tipping. I always remember the lows to be a nice natural growl with some clipping. I would blend this amp with a single speaker solid state amp to make up for the lost high’s. Almost always running a Yorkville Bloc 100G.

Alternative Pedal Board Shapes & Layouts

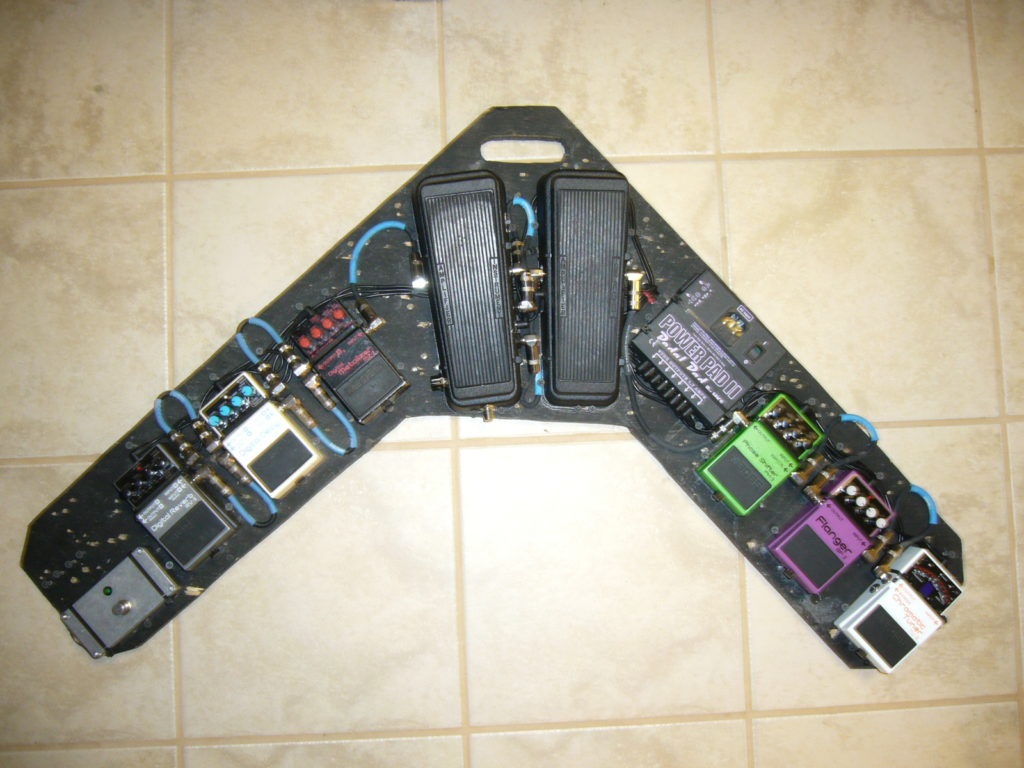
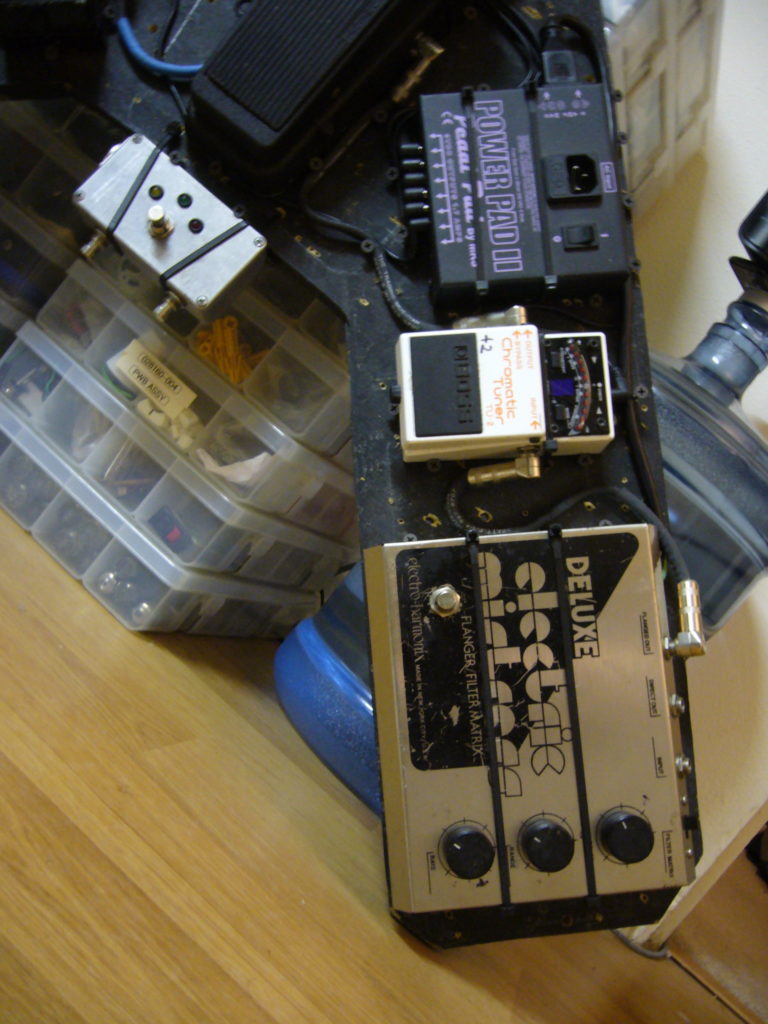
V design with double Classic Cry Baby Wah. The Wah on the left has been modified to incorporate a front facing “kick on” switch. It engages a Dunlop Power Booster that has been inserted into the shell. Volume to boost is on the bottom left of pedal. Stereo chain from distortion to out through. The custom pedal on the left is a 5pin xlr input box for controlling an Ampeg V-7 (CH1, CH2 & Reverb). This box has been simplified for head distortion control only. The version with all three uses the same box but has 2 buttons on top pan L/R & 1 “front kick” placement switch. (From L to R) V7 controller, Digital Reverb RV-7, Digital Delay DD-3, Digital Metal MZ-2, Dunlop Cry Baby X2, Power Pad II, Phase Shifter PH-3, Flanger BF-2, Chromatic Tuner TU-2 on .5″ Plywood Custom Board.

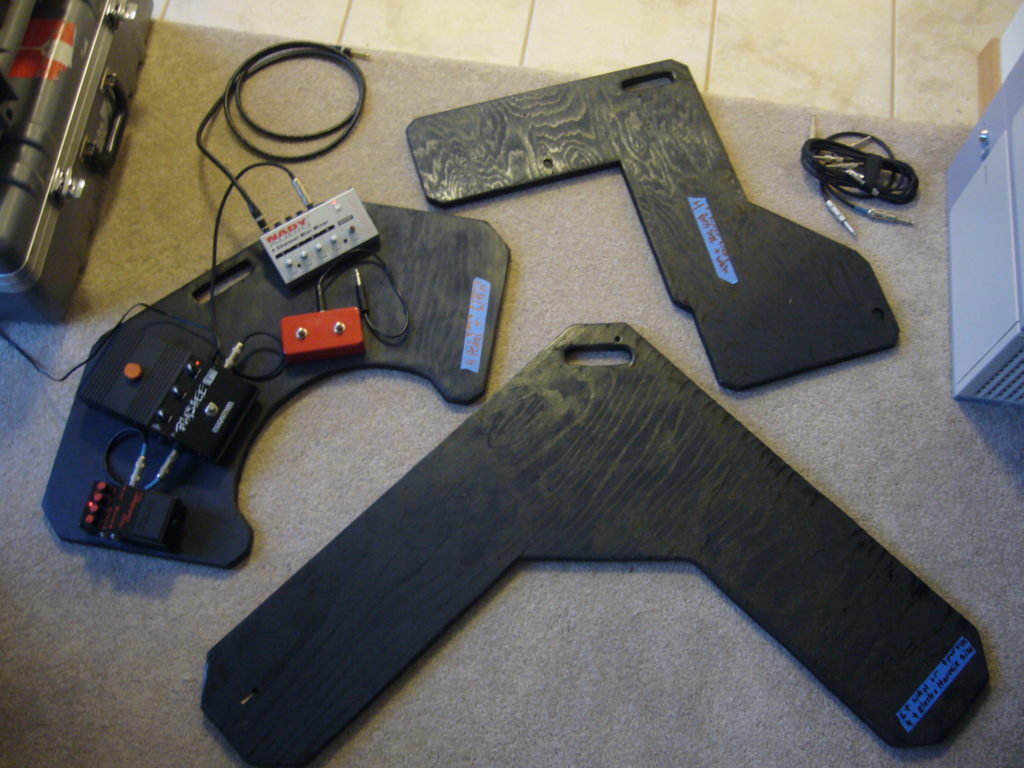
Pedal Board shapes should vary based on your live performances and comfortable stance. Try to think about where the microphone stand would sit if you play effects and sing. From those ideas sketch out your shape on a blank board and cut/paint/finish.