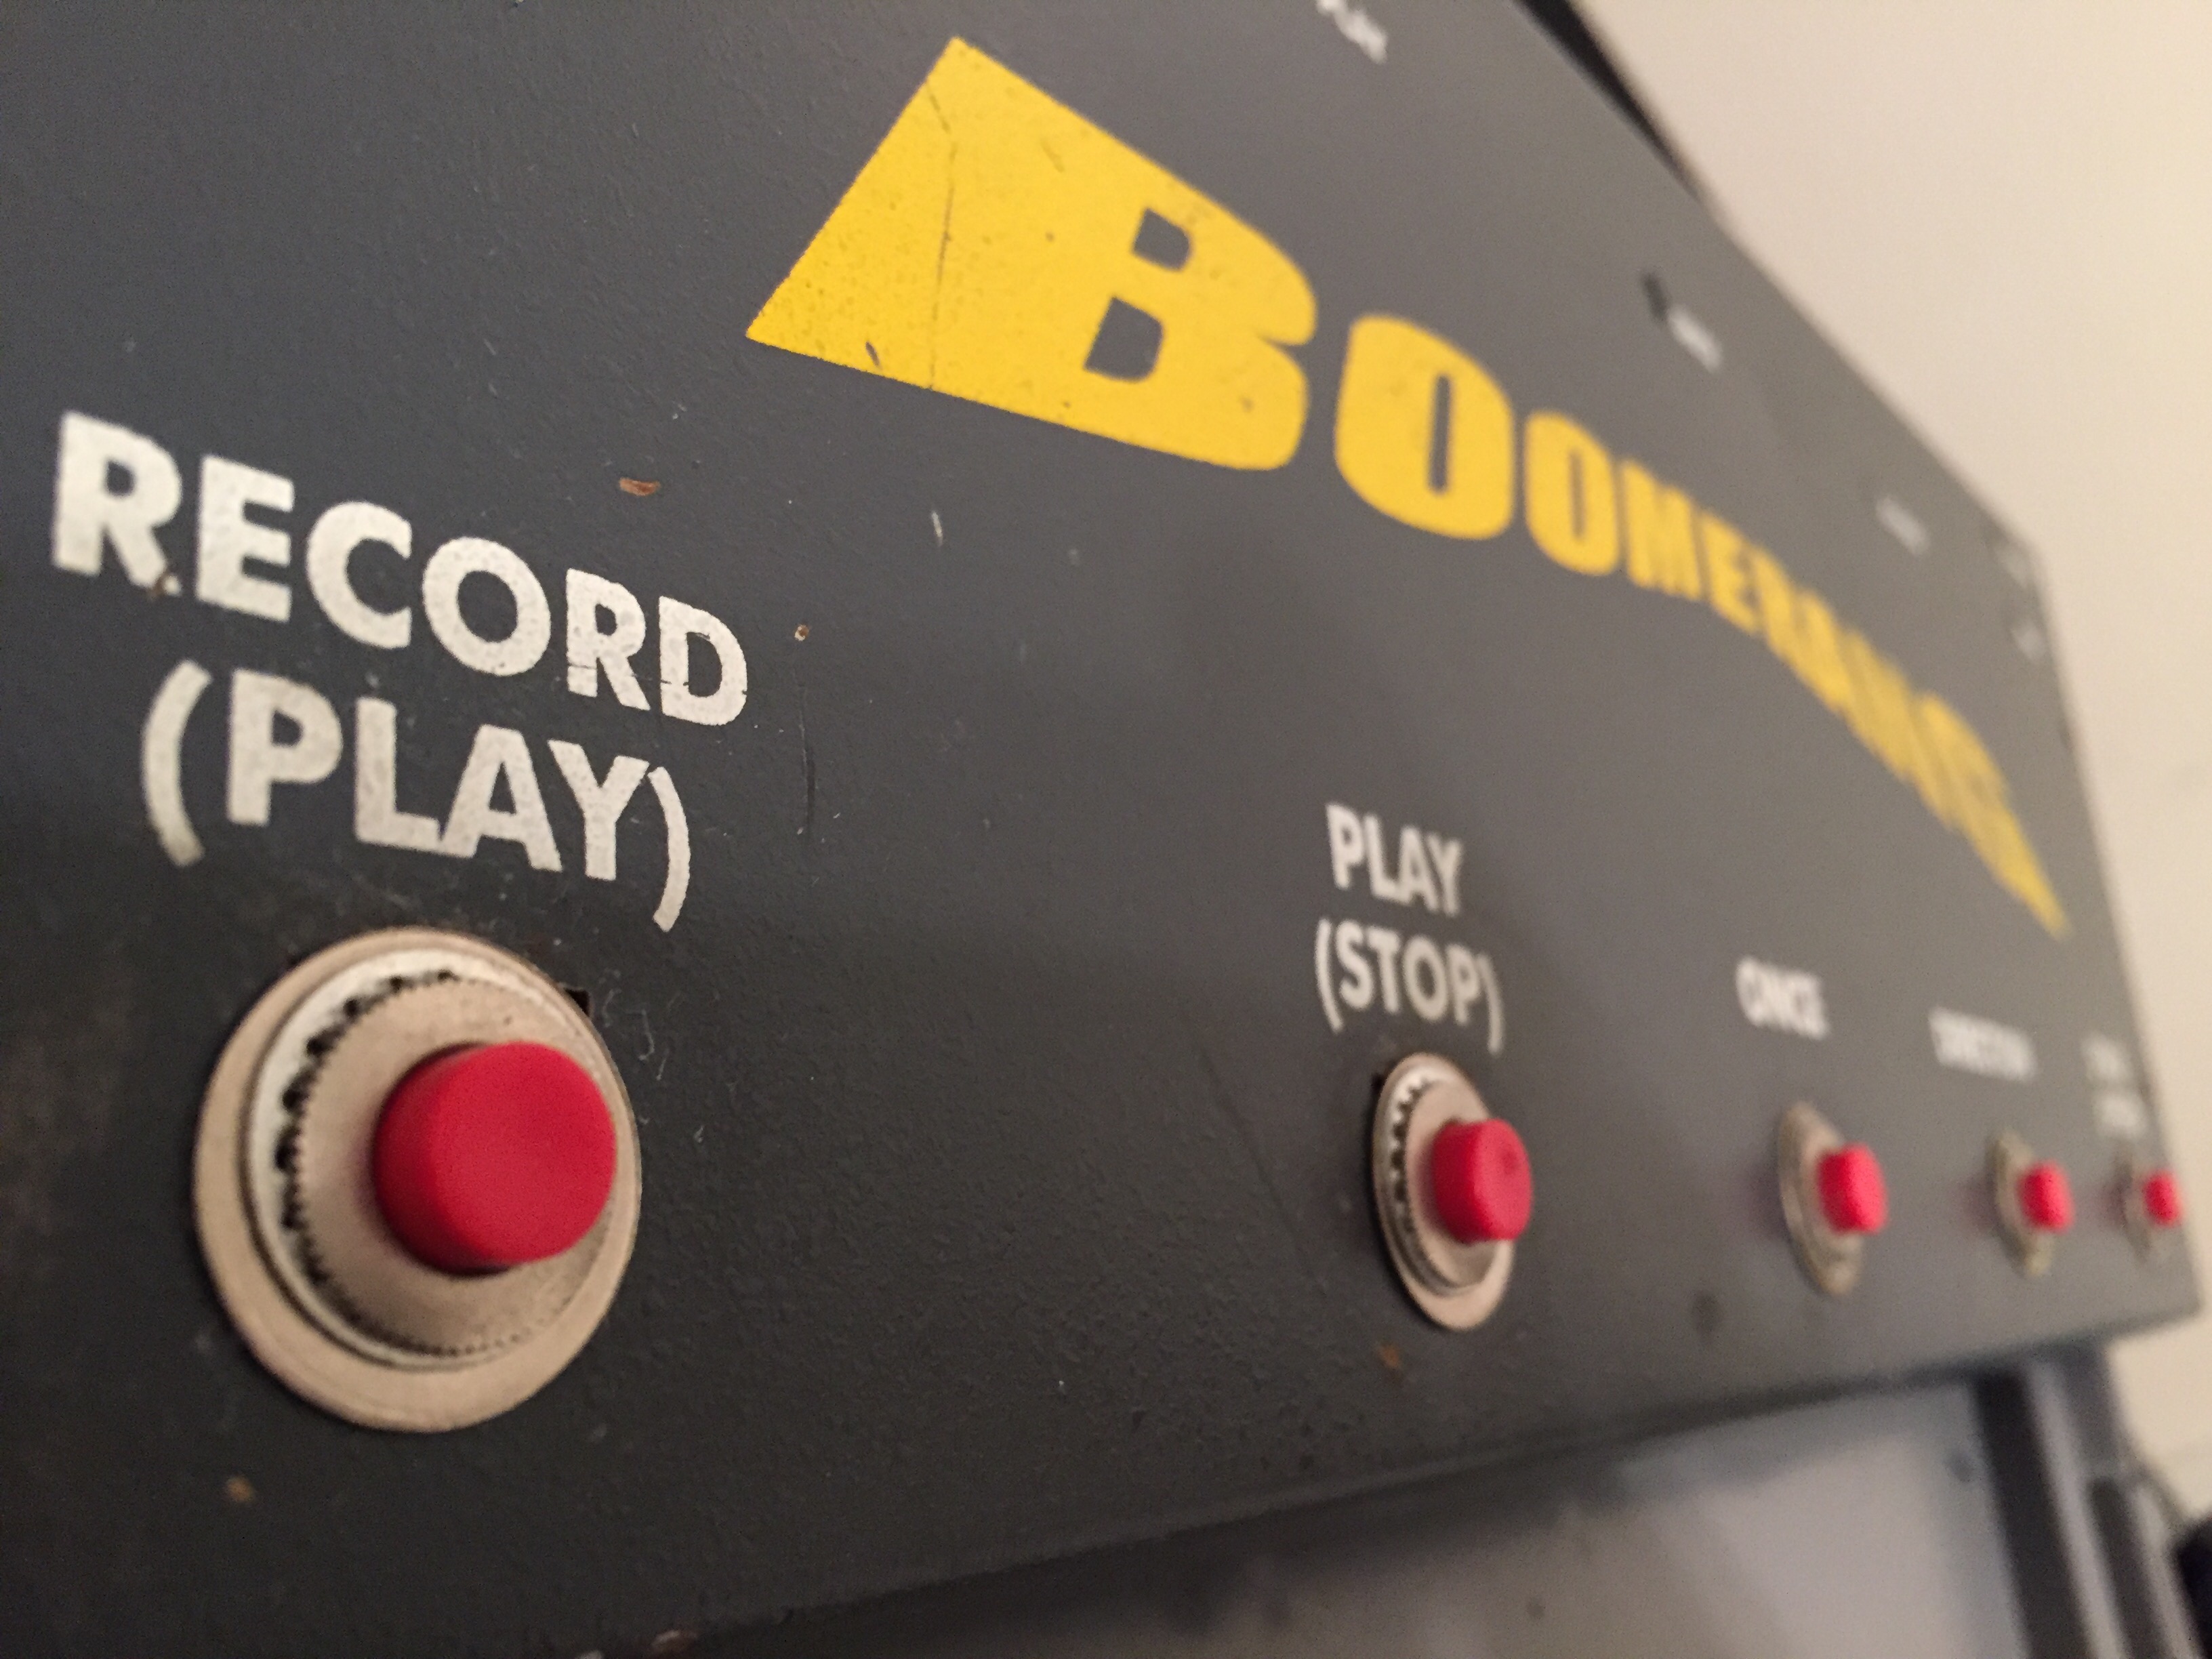
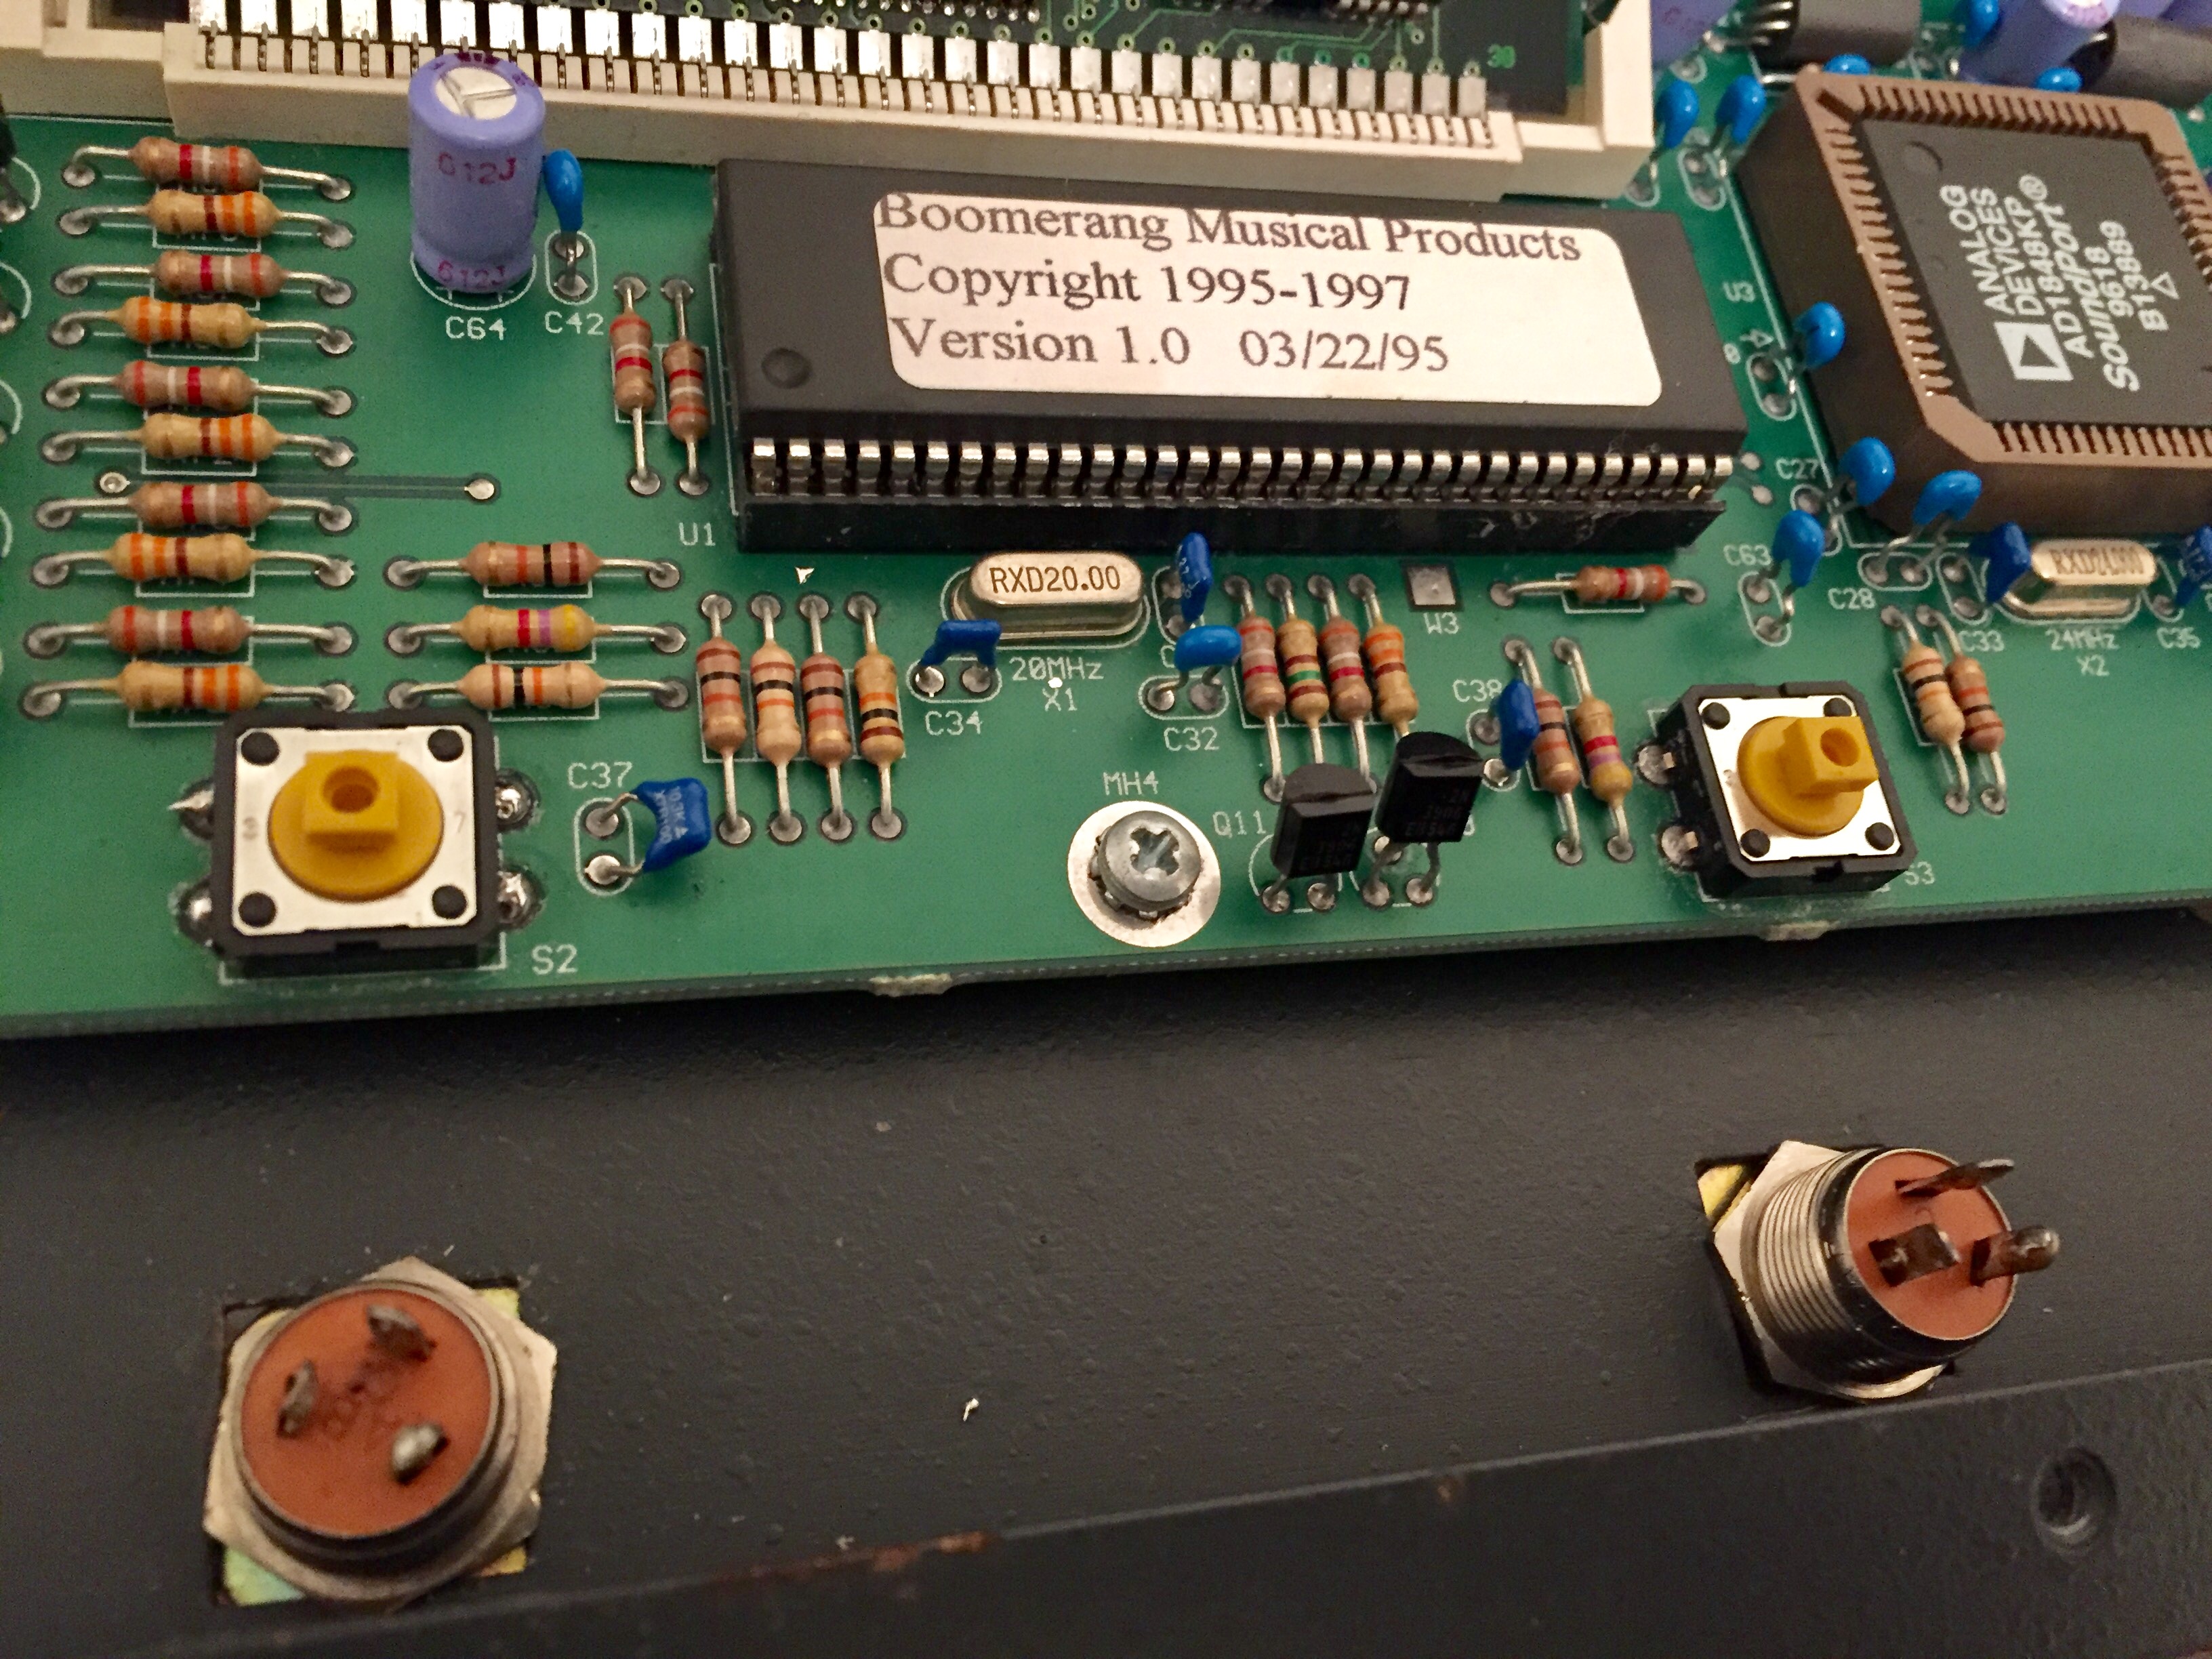
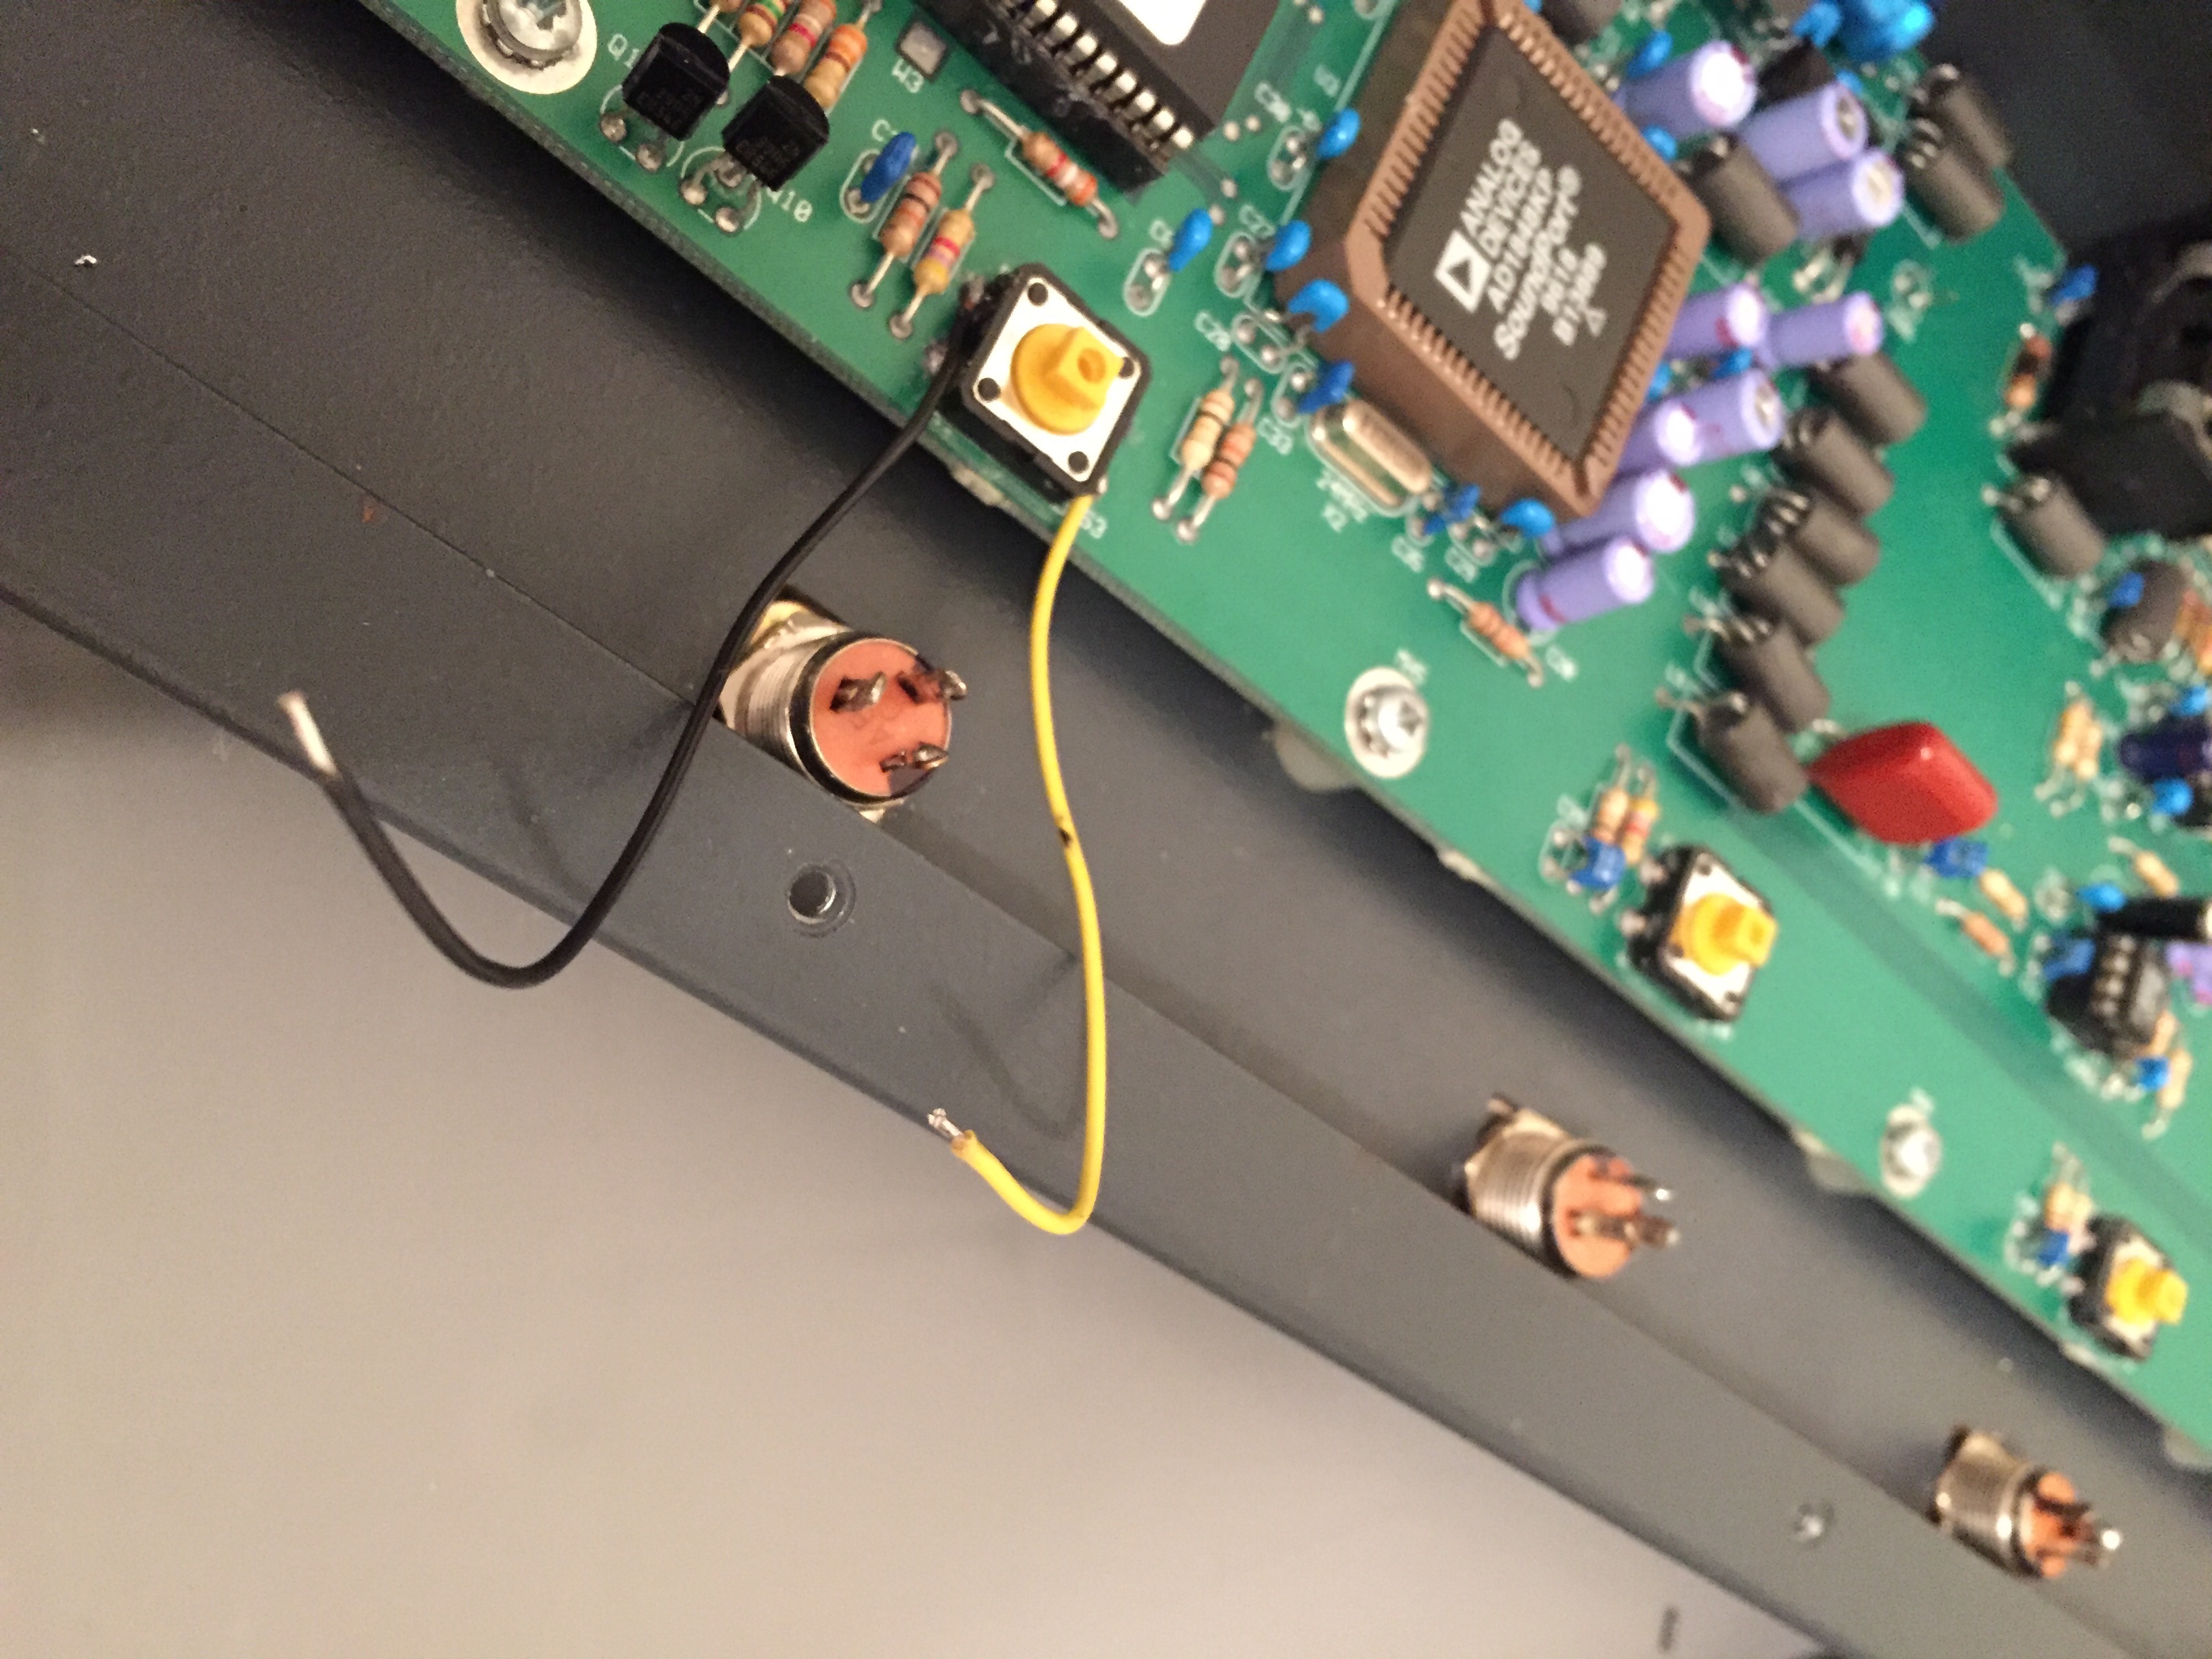
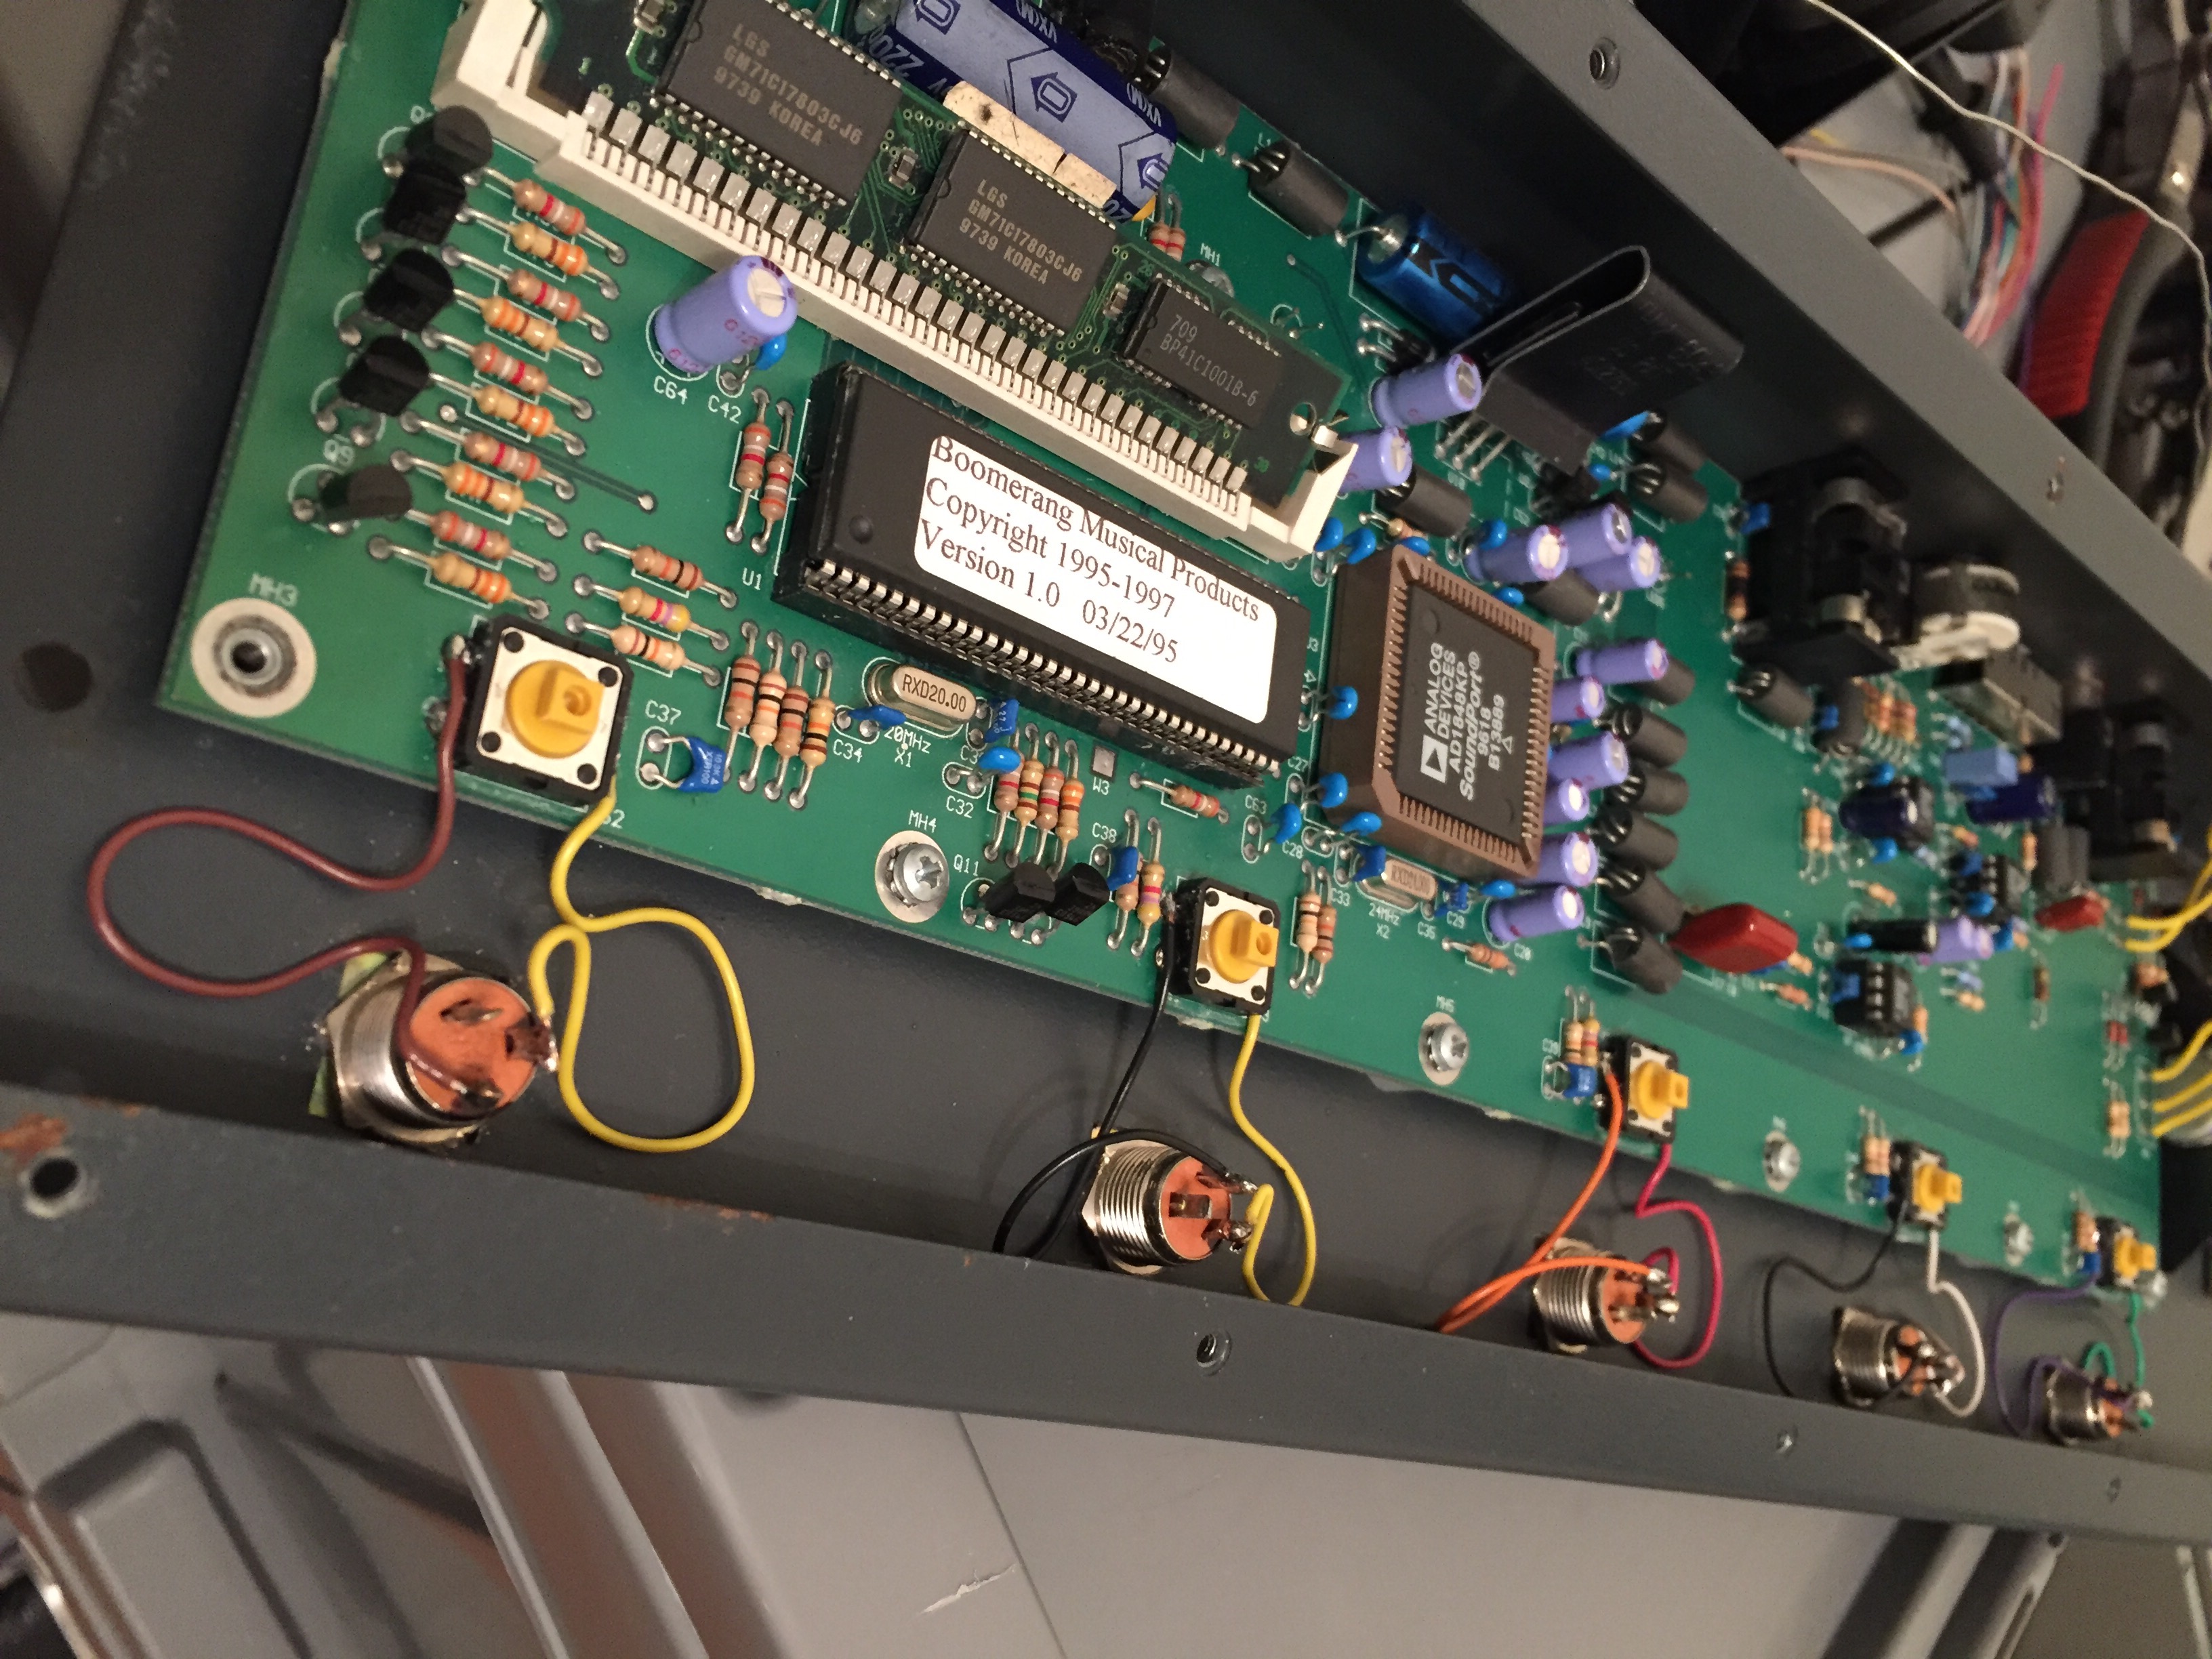
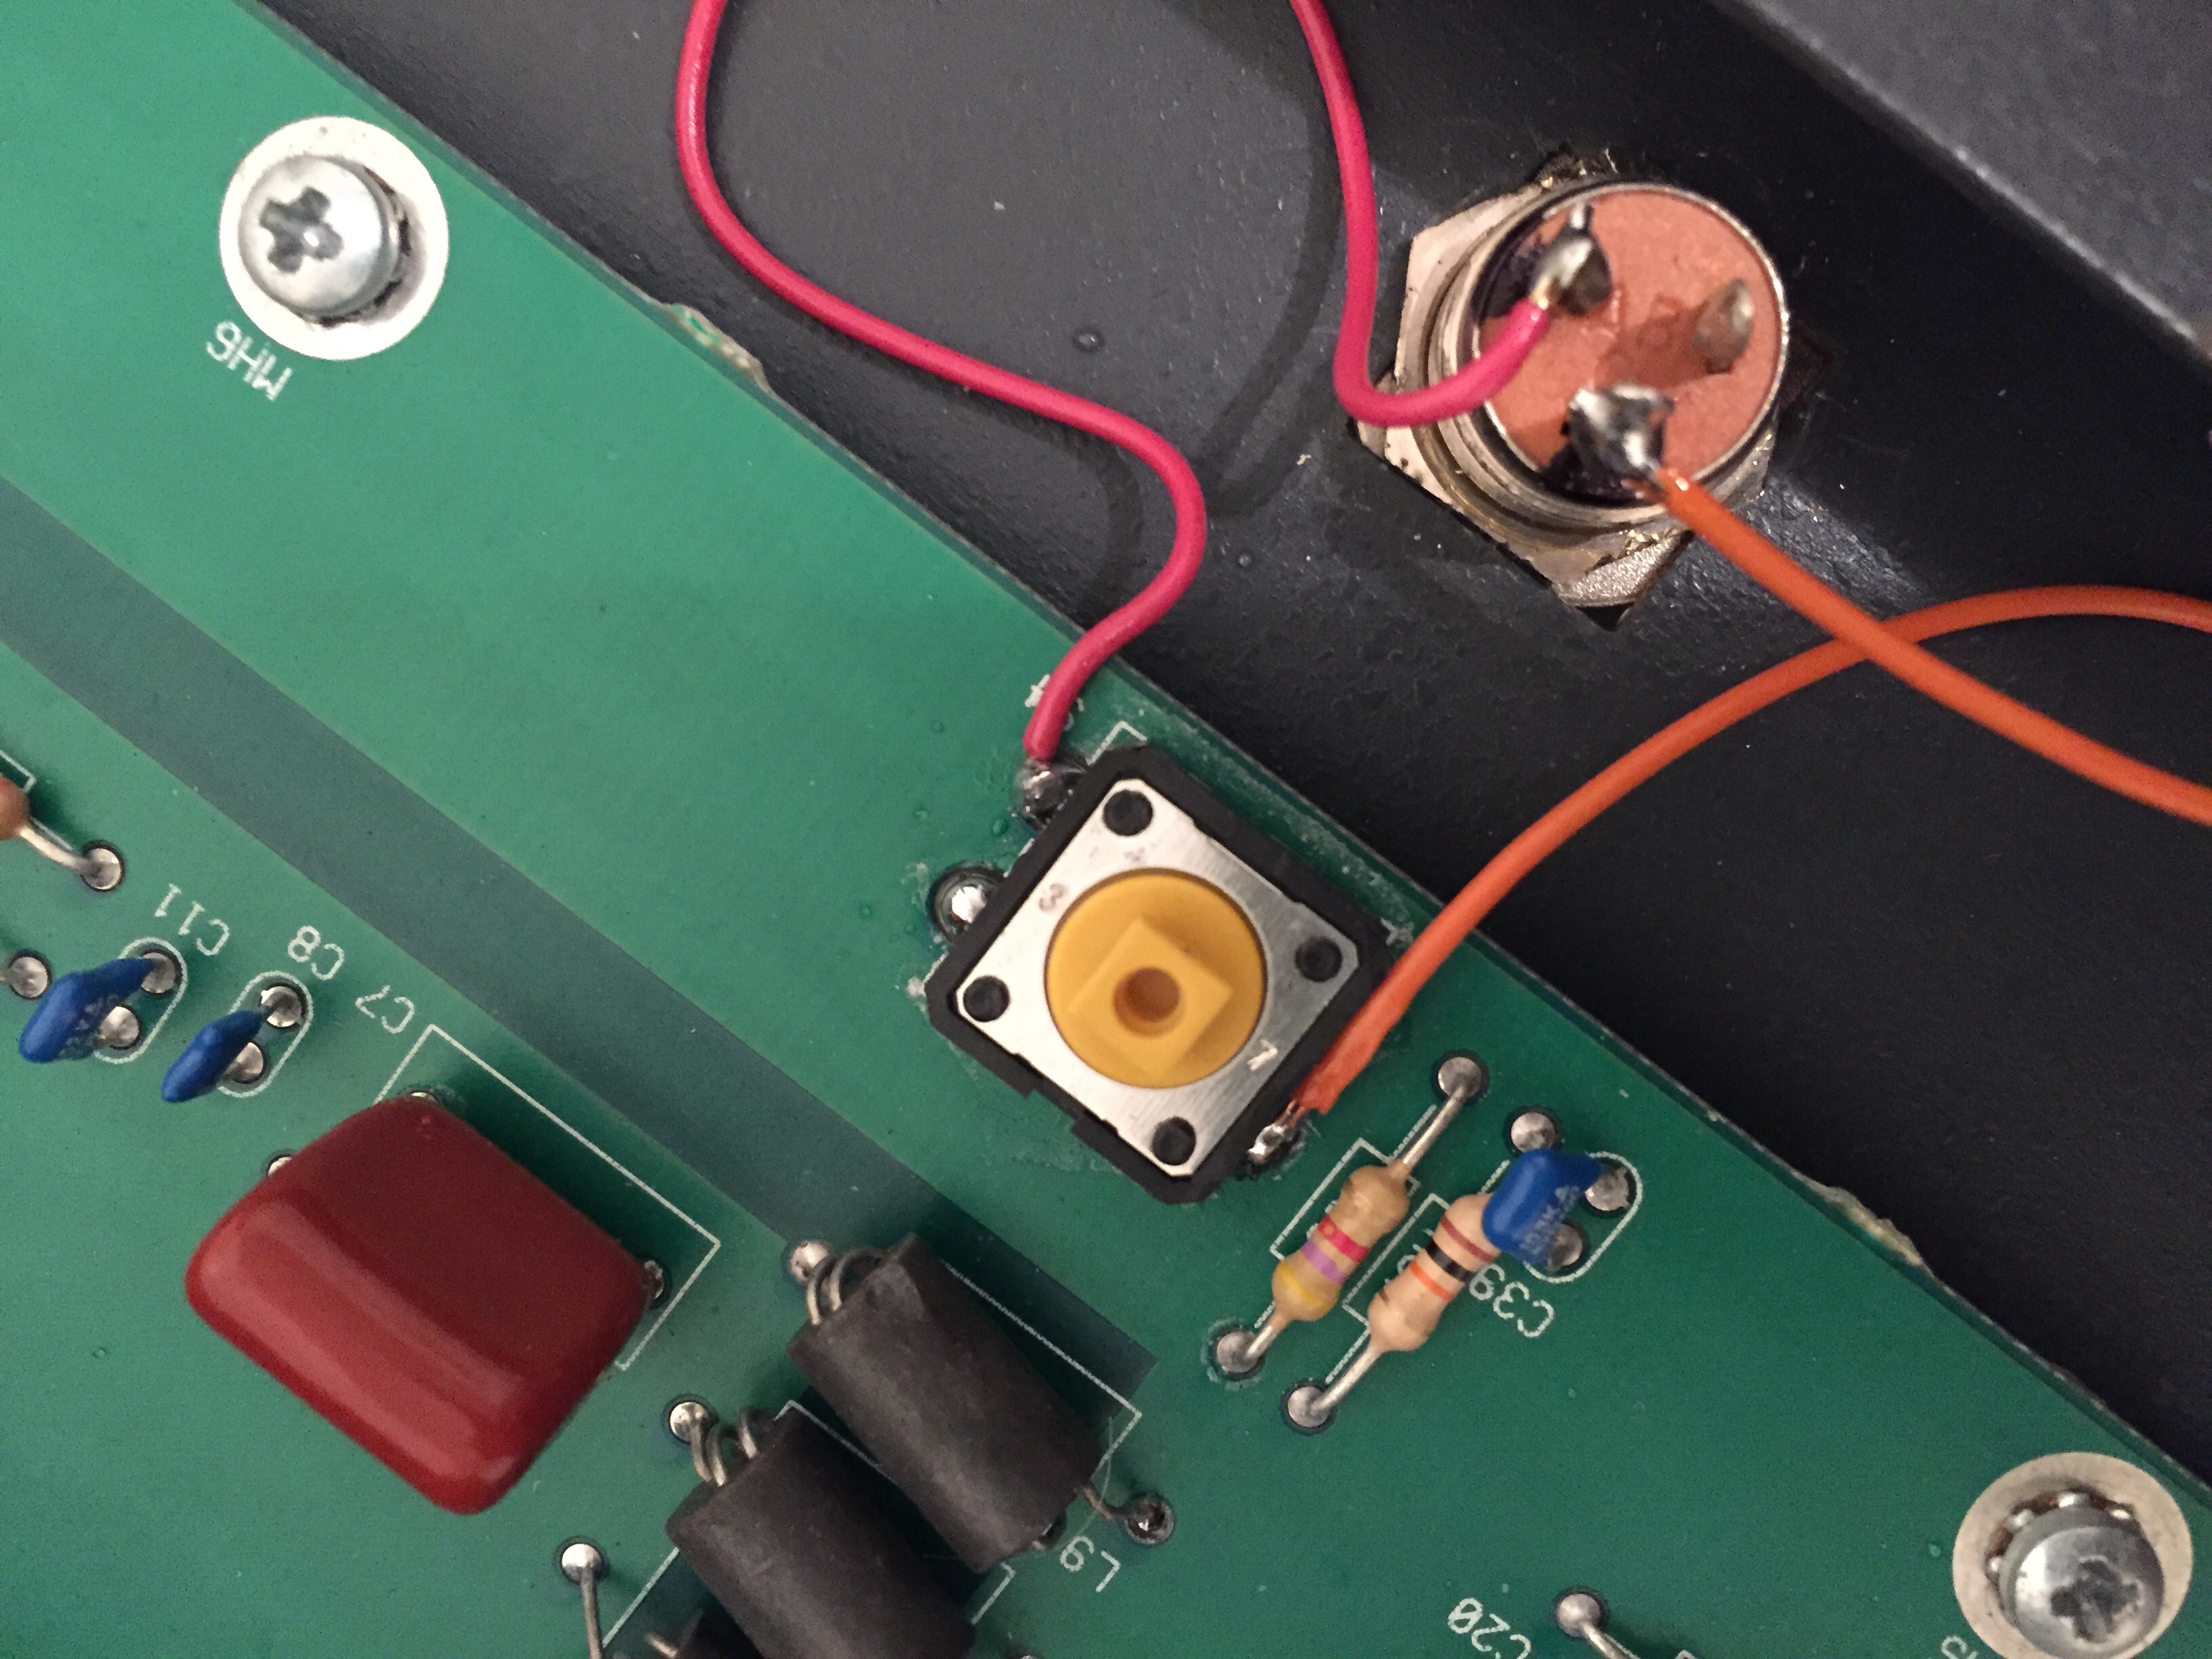
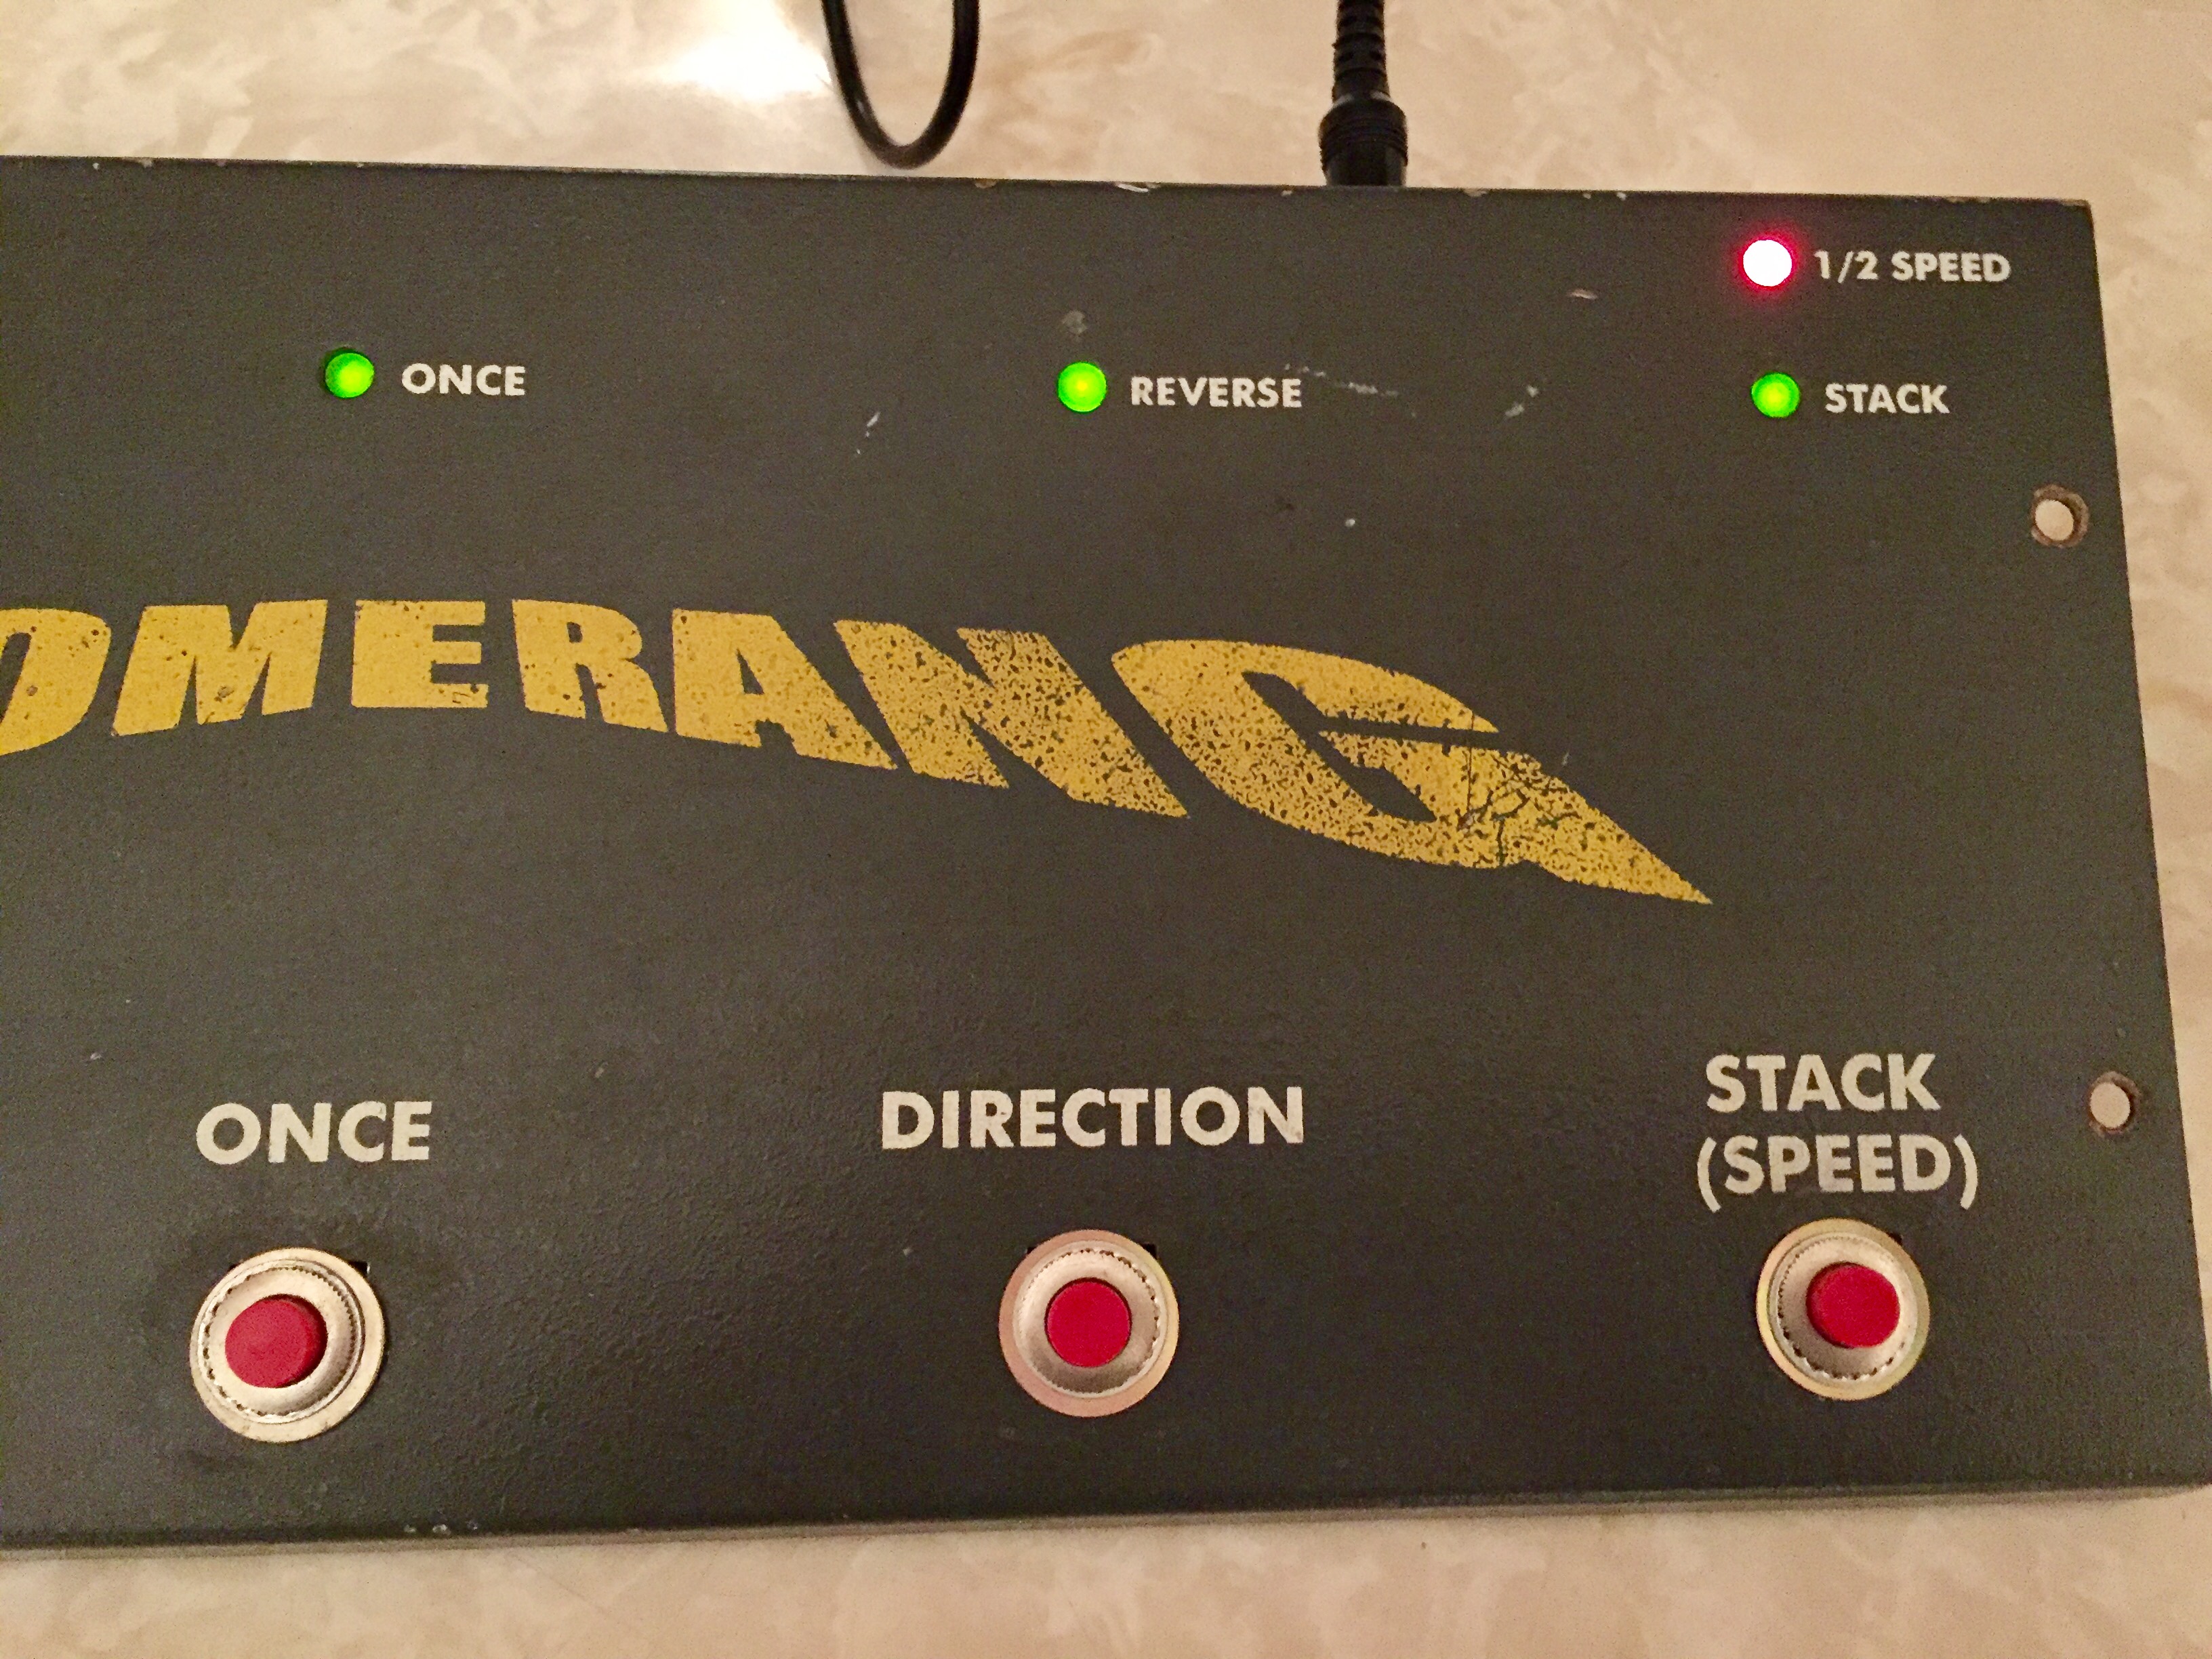
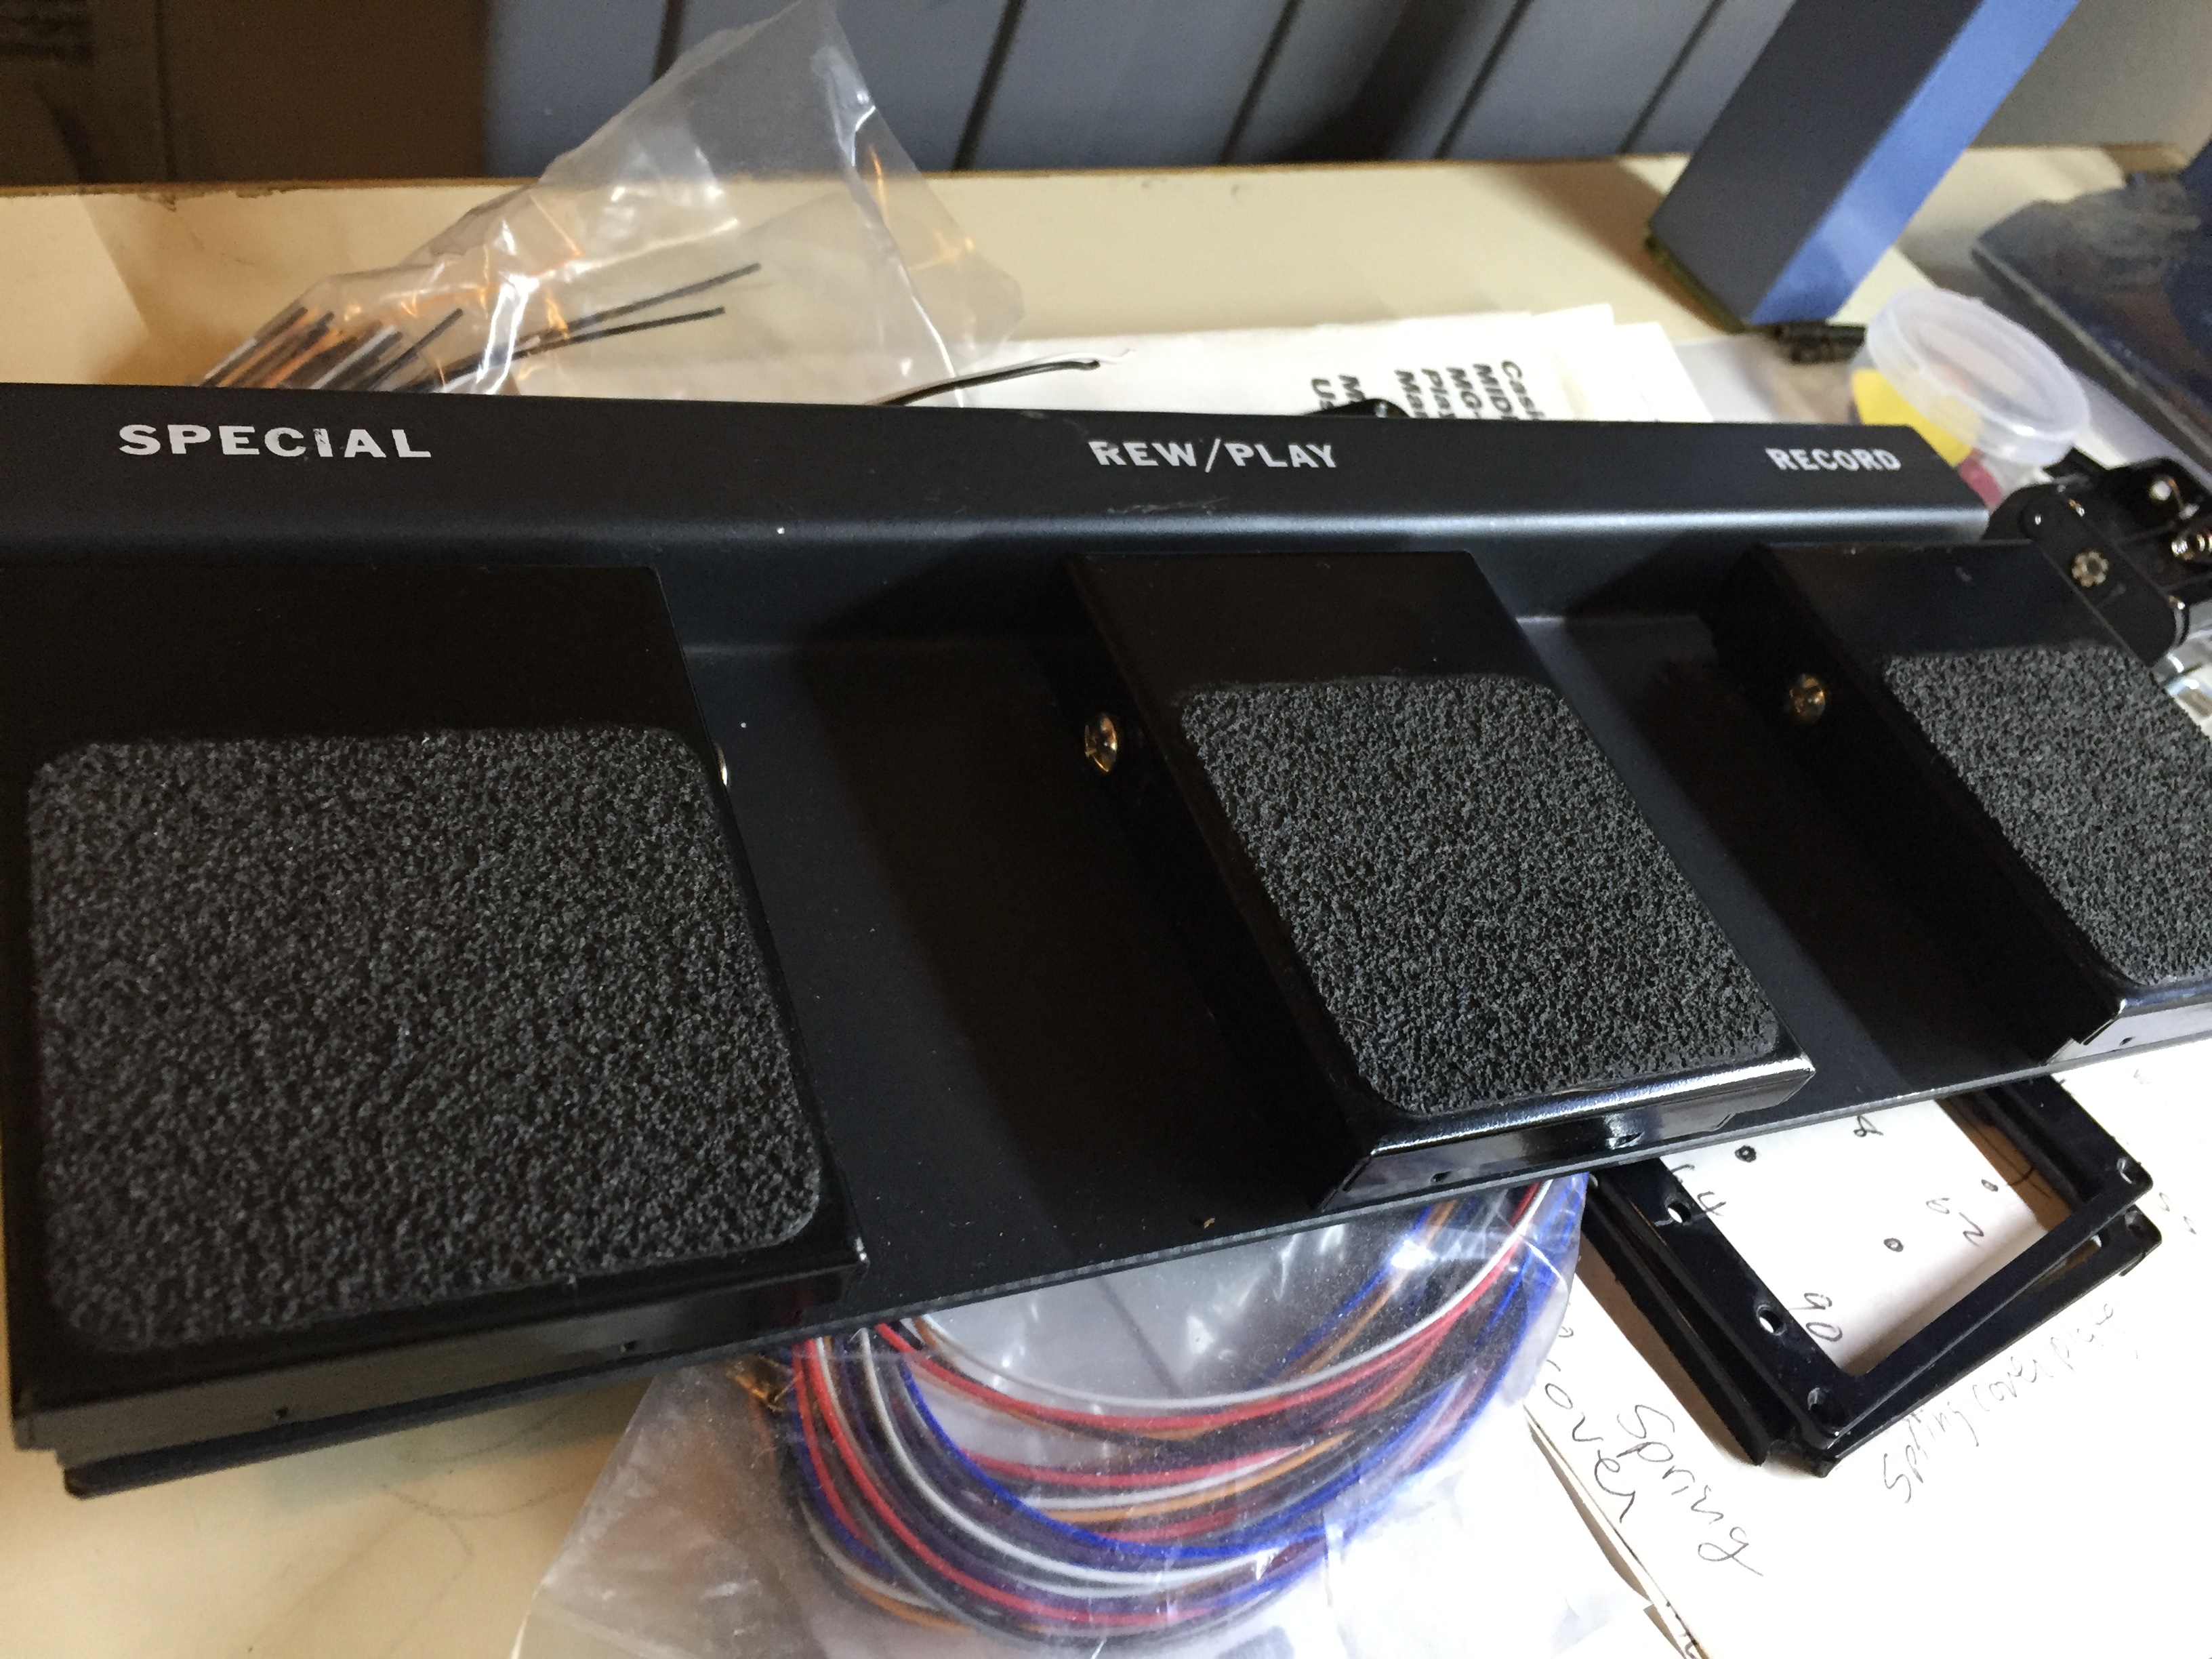
This is an easy way to restore a vintage Boomerang Looper Pedal. The original plastic click style buttons have been removed and replaced with quiet soft press buttons. Be sure to mark your pin target locations on the new installed momentary switches. btw, if the machine sounds garbled when using, power off, unseat and reinstall the ram.
Category: Uncategorized
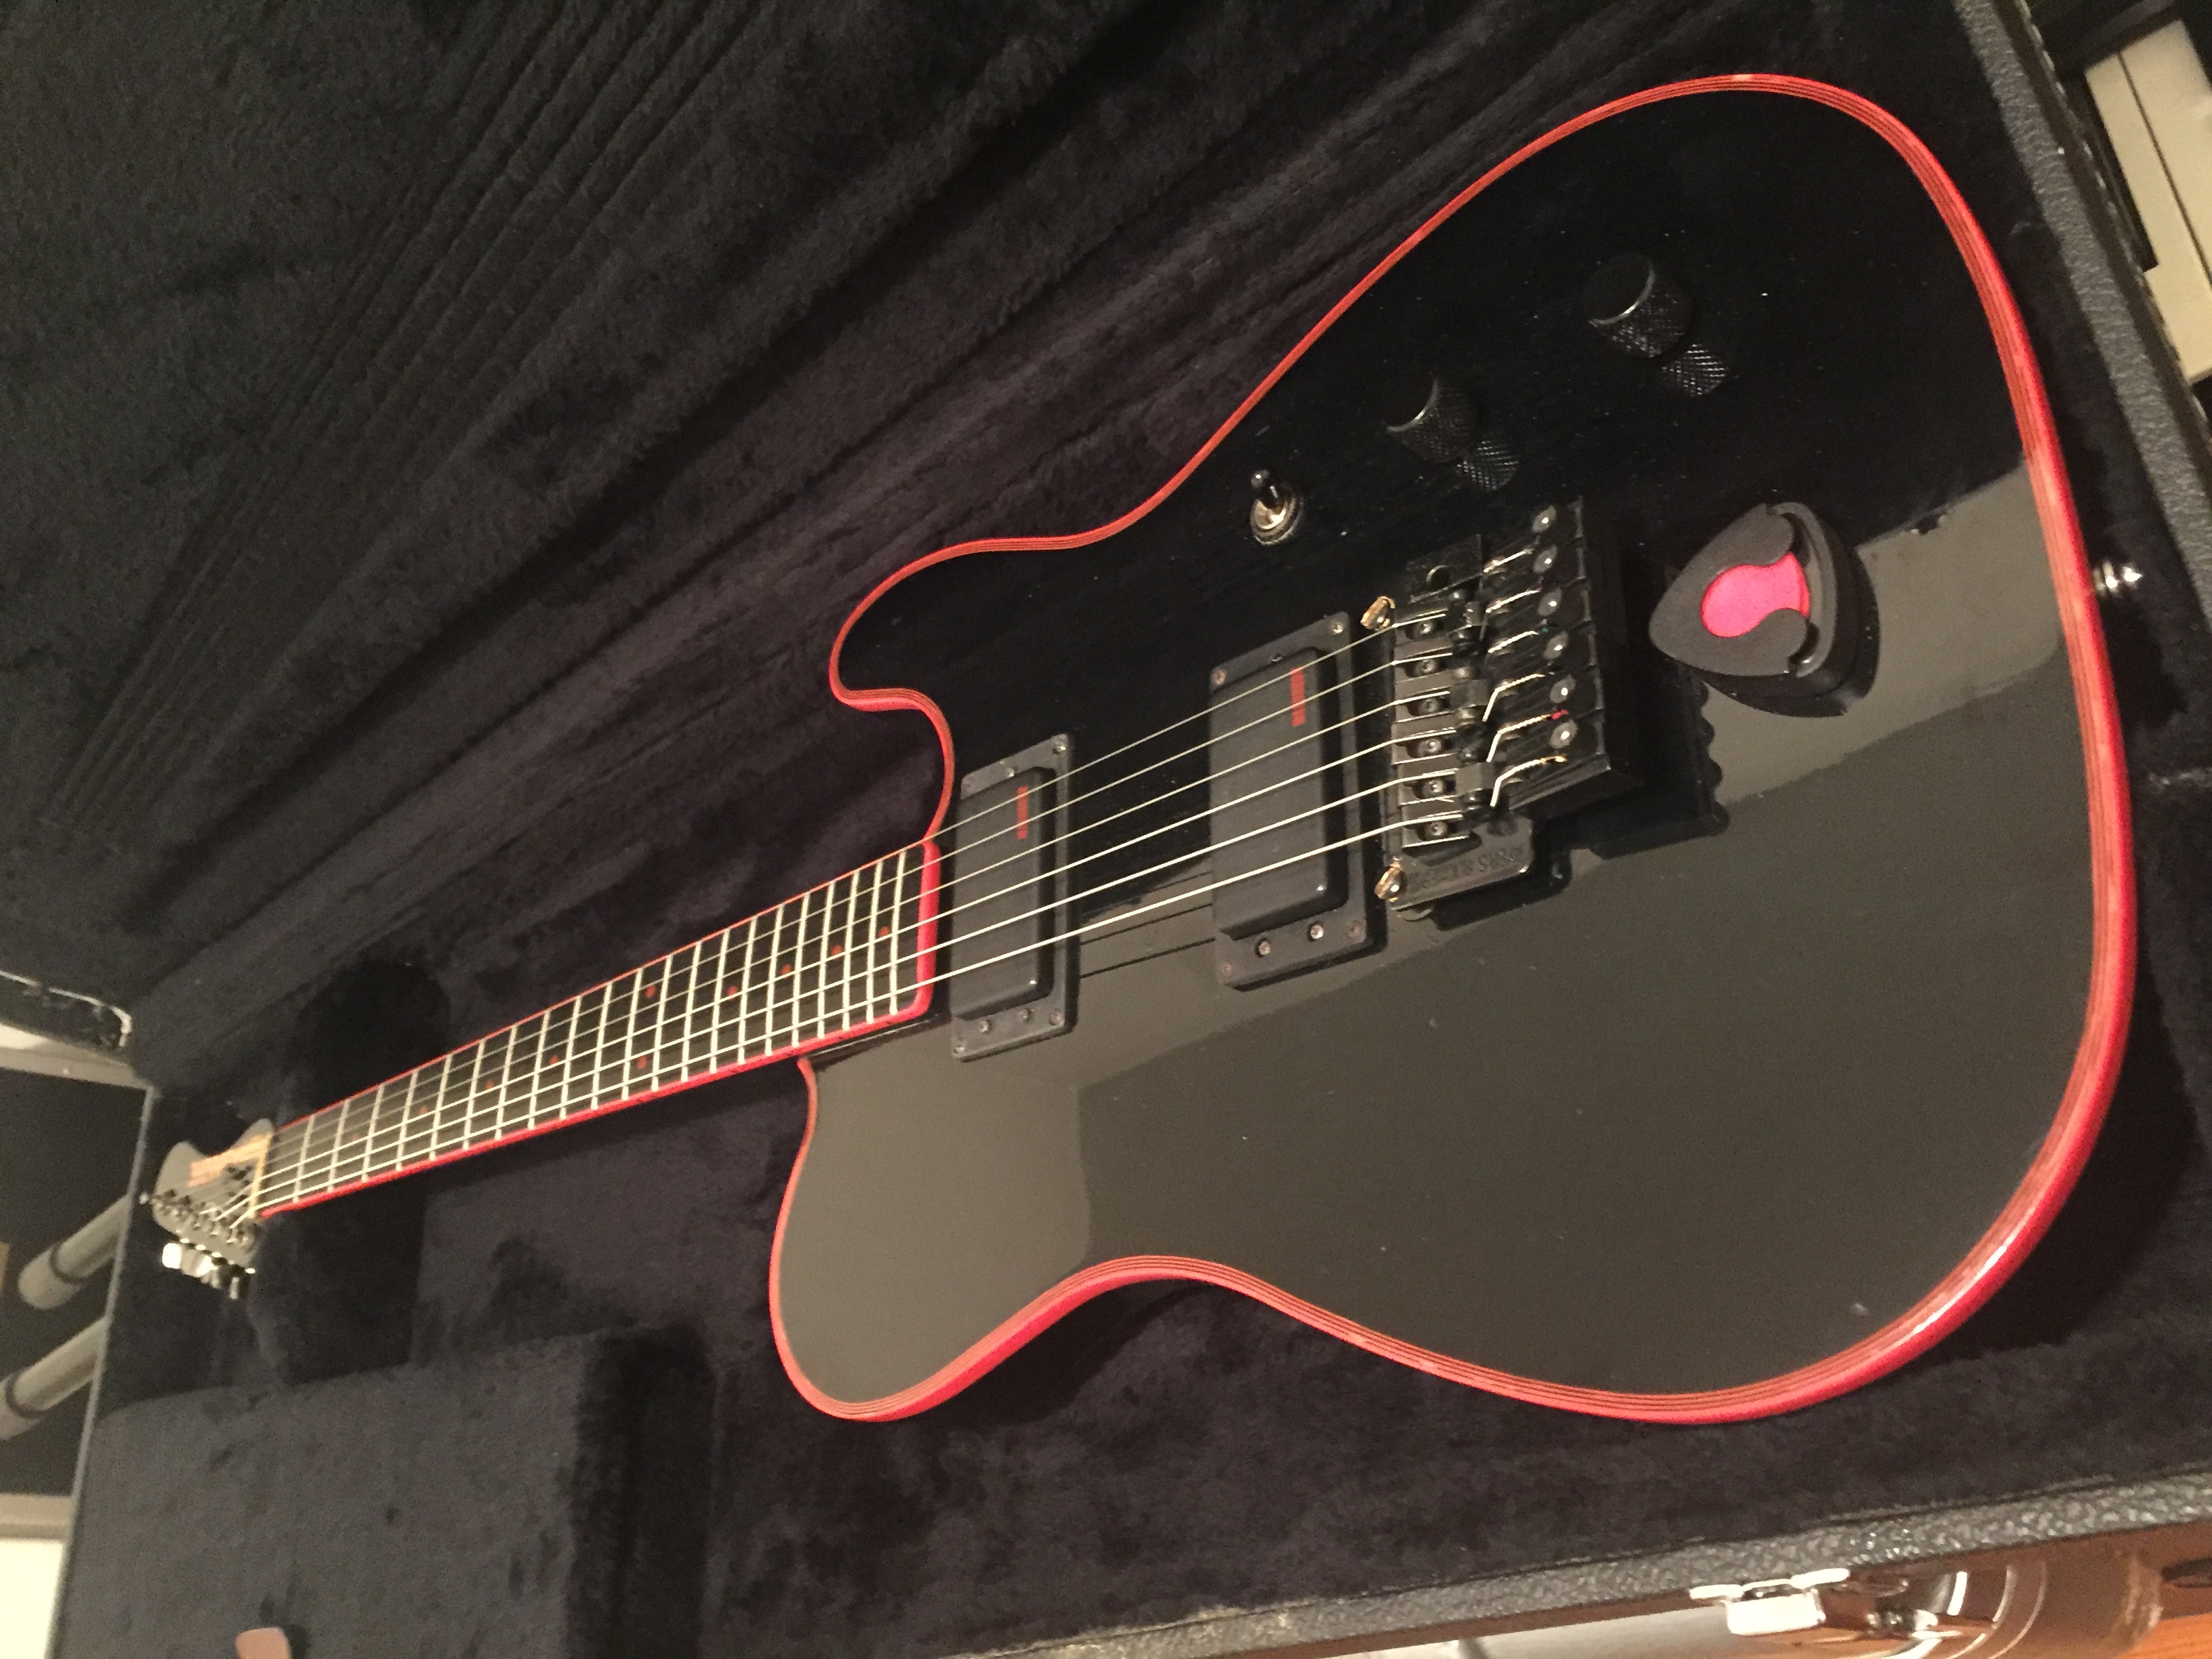
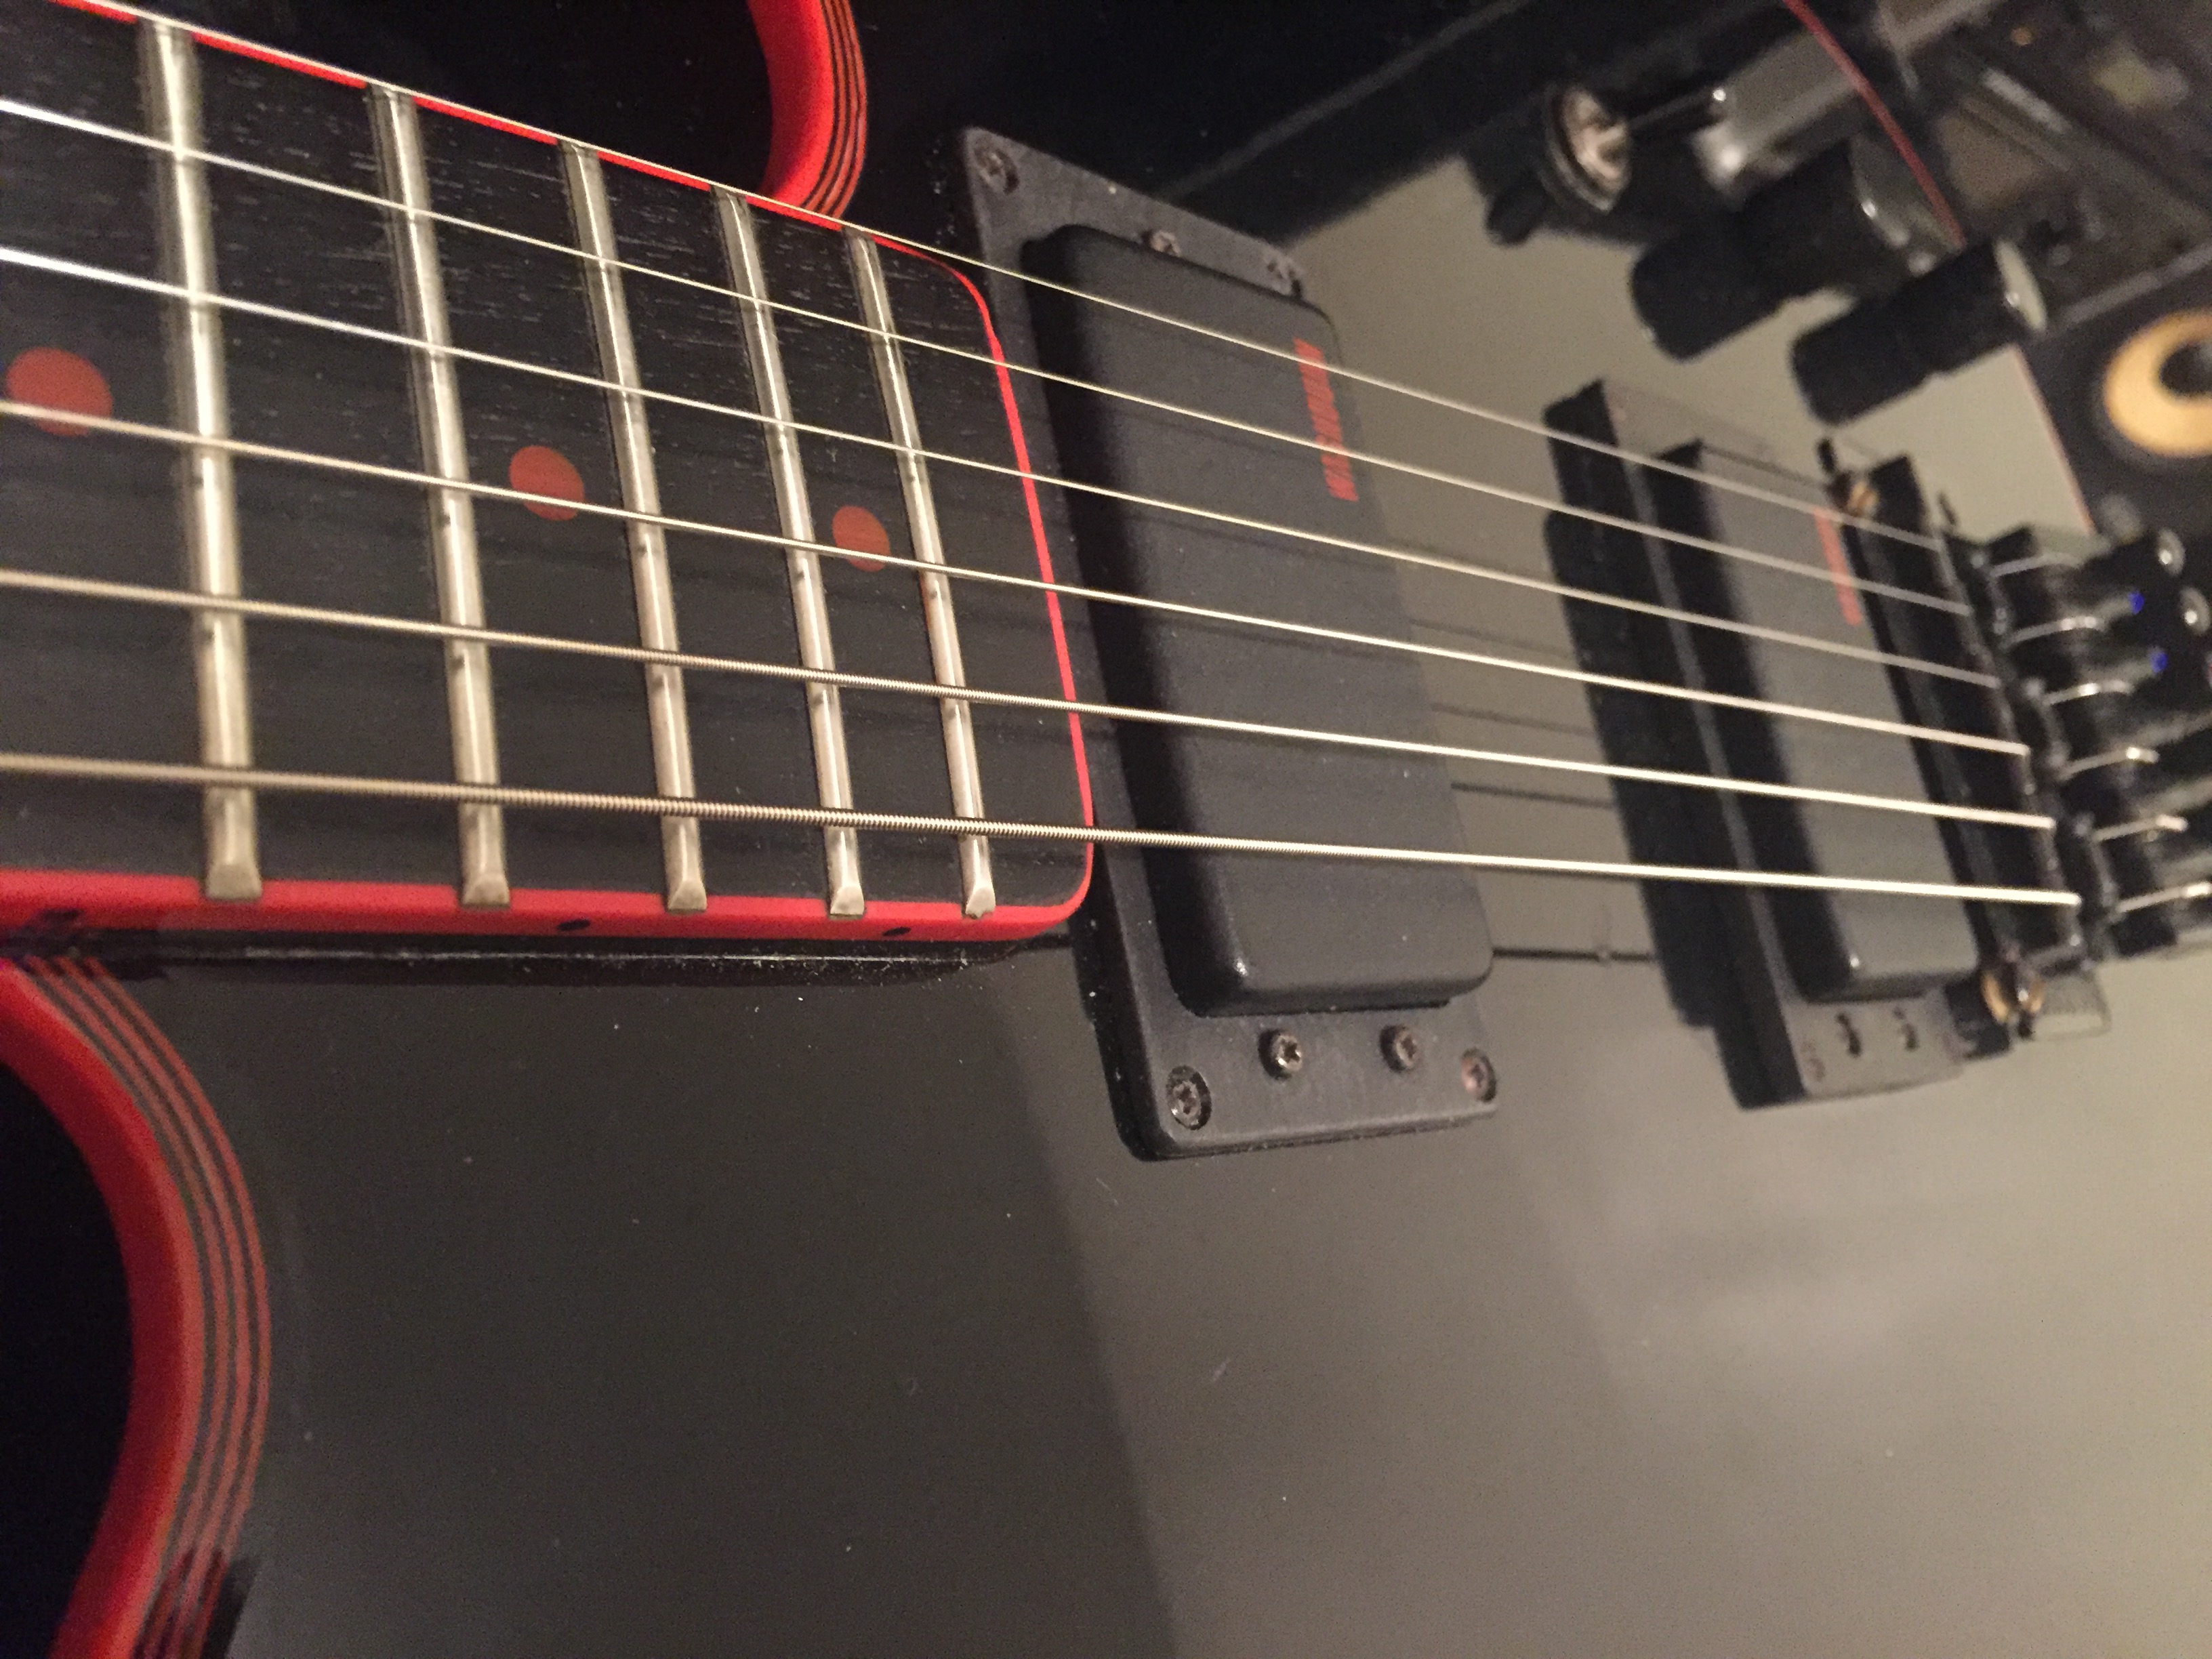
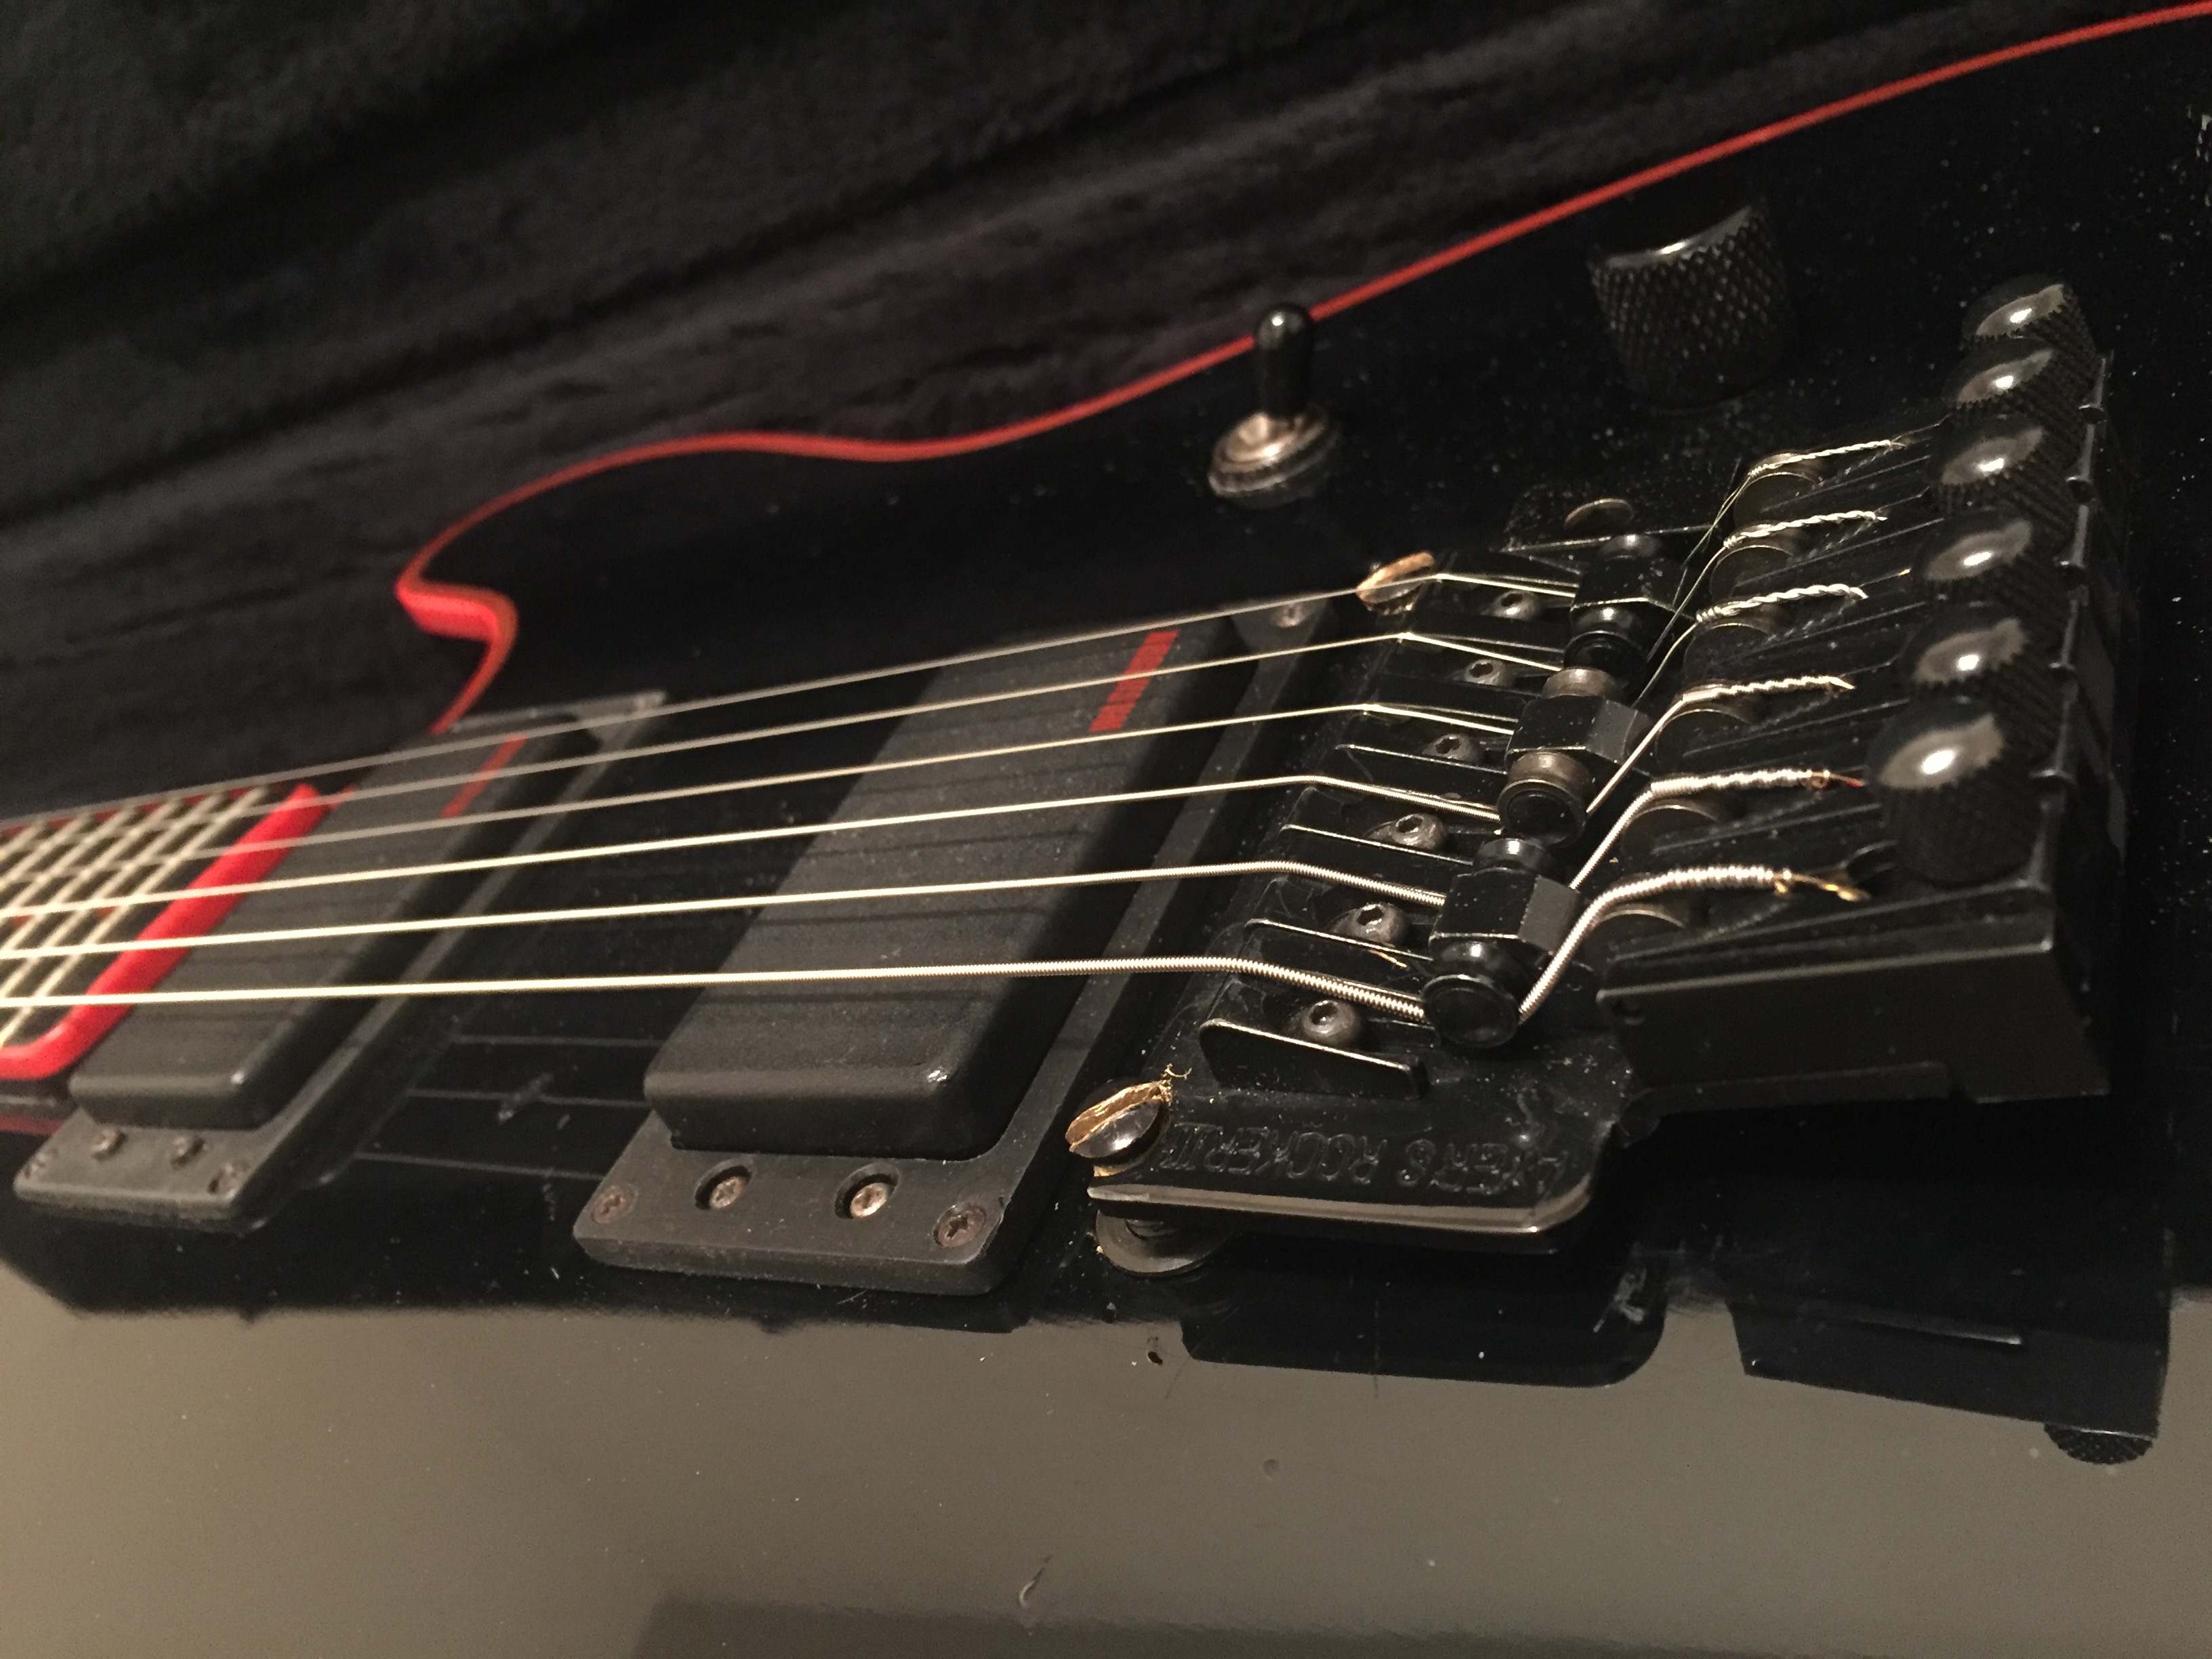
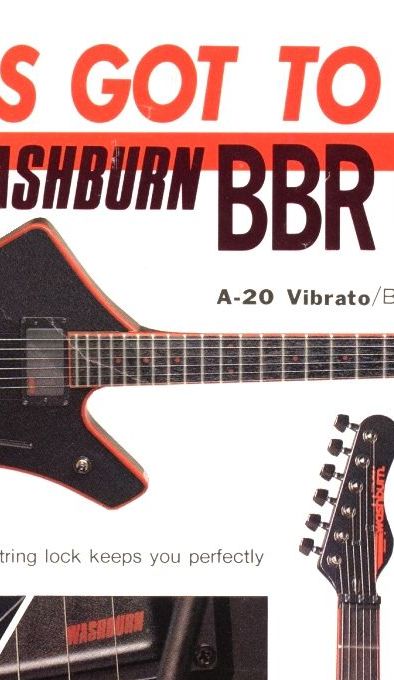
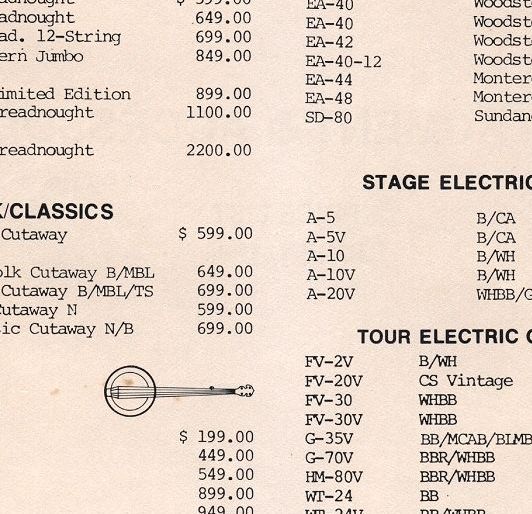
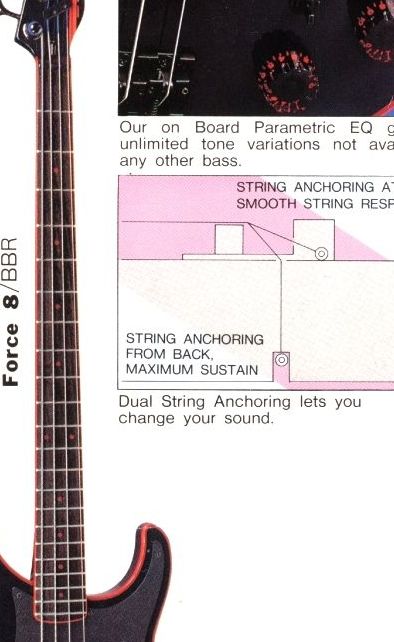
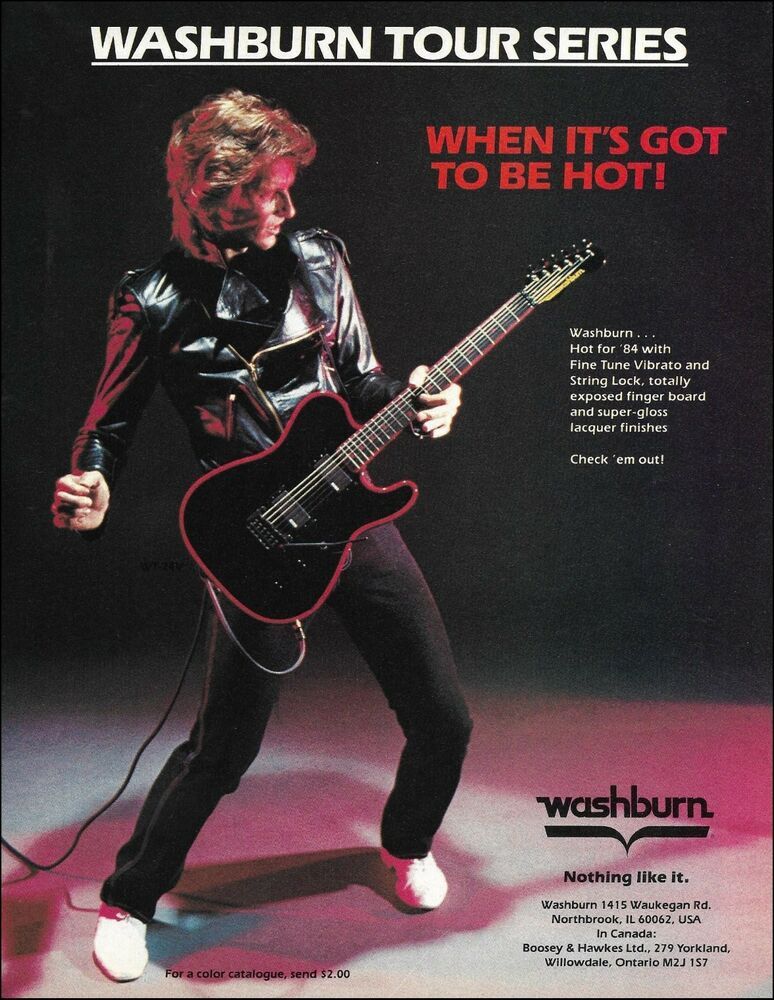
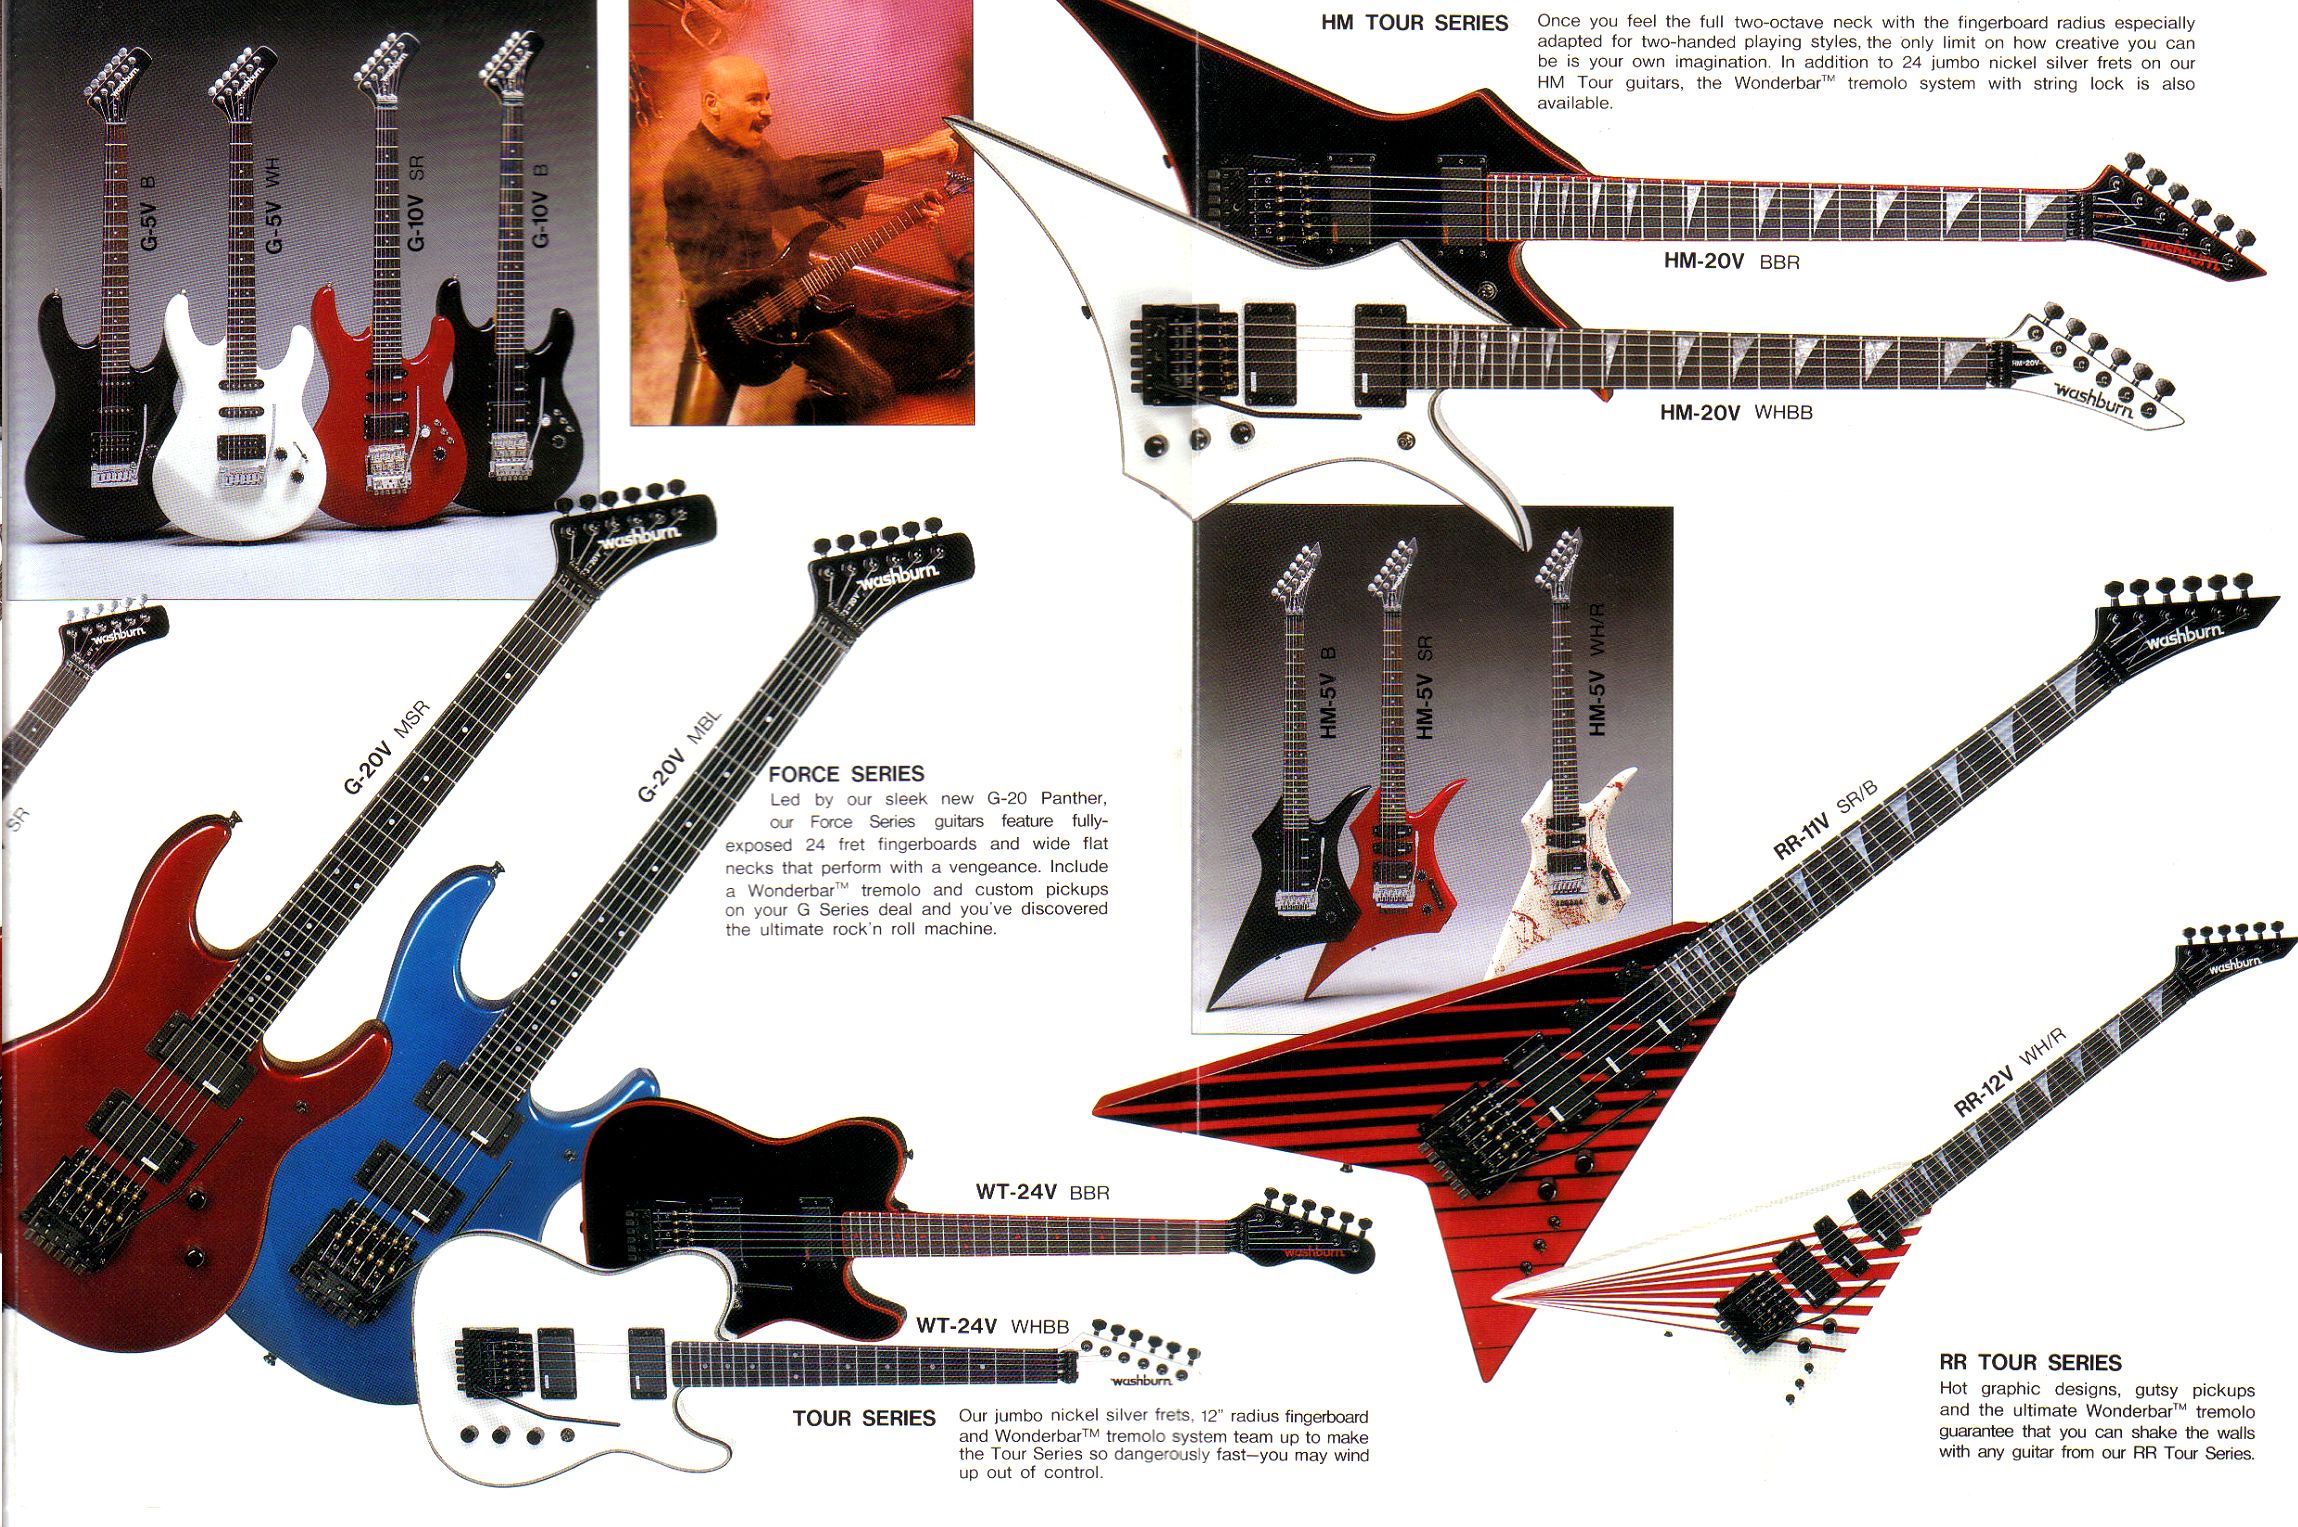
Washburn Tour 24 Chicago
This is a restored Washburn Tour 24 Chicago electric guitar. The pickup rings were reconstructed in solid machined plastic by http://www.fretsonthenet.com and the original bridge was replaced by a vintage Ayers Rocker II. The tremolo was blocked and professionally set up to stabilize the tuning. Guitar has a nice grinding play and clean tonality, made in Japan & issued 1985.

Creating Custom Effects Pedal Boards
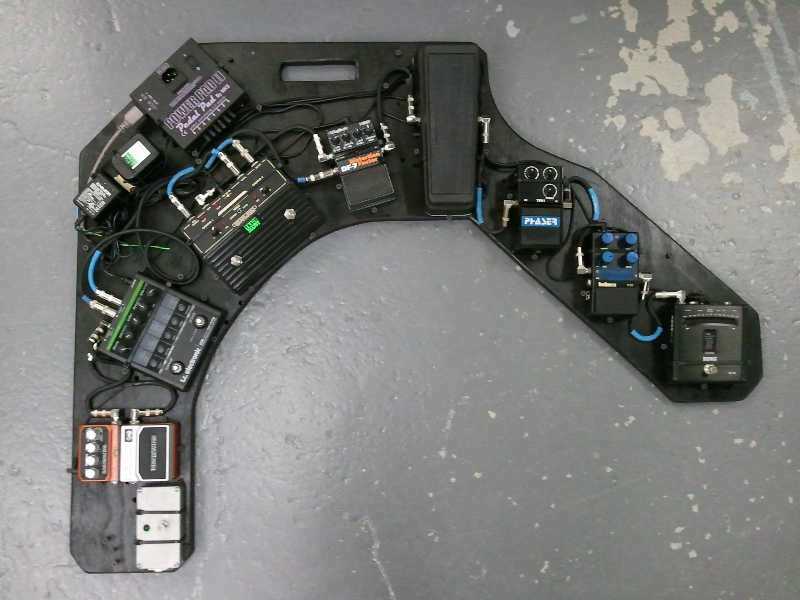
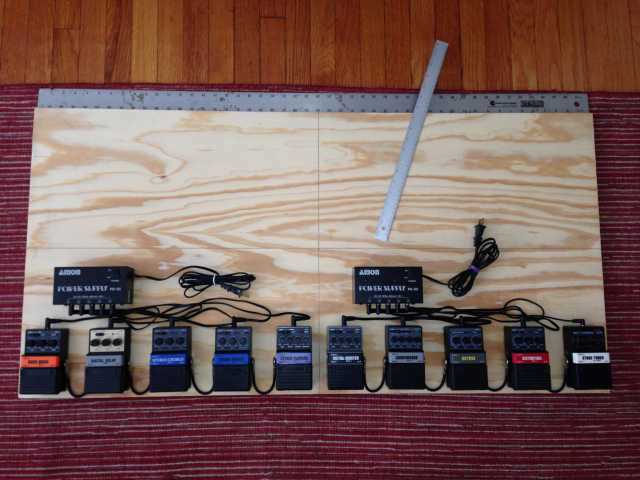
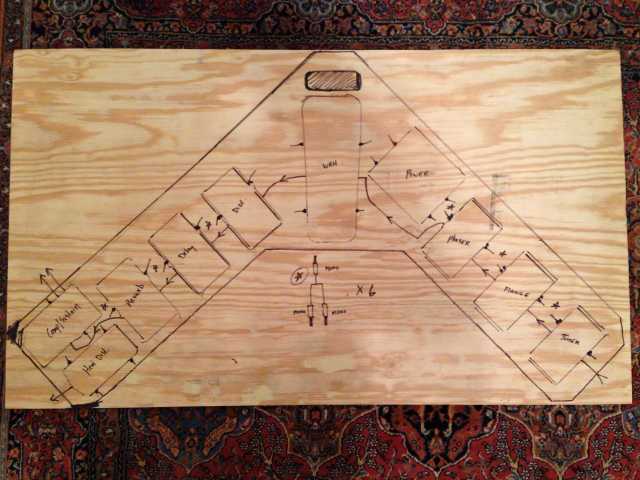
So when your ready to create a pedal board there are a few things you need to keep in mind. First you want to be able to get the correct tones and effects for what you are trying to create. It is best to set up your pedals on the floor loose and determine each placement in the chain as well as whether or not you even like what it has to offer. Once that is figured out you will need the following items.
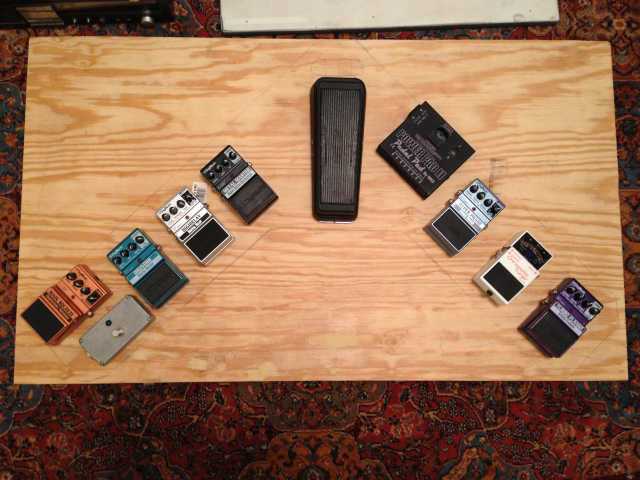
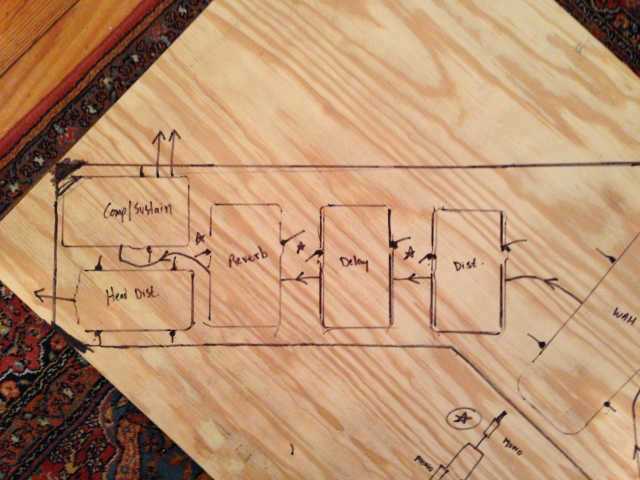
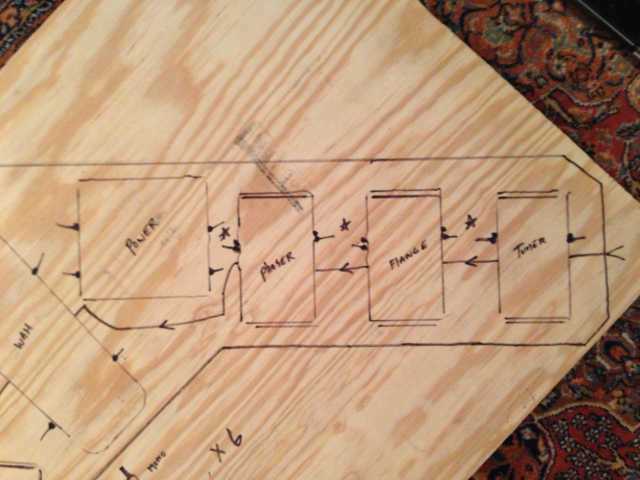
A large piece of 1/2″ quality plywood, spray paint, drywall screws of different lengths, a drill, a reciprocating saw, all the required cabling and a good power supply. Lay out your pedals not wired on top of the plywood. Create the most comfortable layout so that you can press on them without hitting another pedal by accident. I typically place my pedals a 1/2 a foot length spacing apart. this way if I was to press in the center point of that spacing I could engage two pedals at the same time. this technique only really works well for pedals like boss style because there is not a small button switch you have to engage. After you layout is complete then carefully trace in pencil around the outer edges of each placed item. then draw an x on the left and right side of the pedal where you will send you zip tie through. make sure that it will not interfere with the inputs and outputs. draw your outer perimeter of where to trip as well as a handle option. once you have that done remove all items from the board. spray paint your board. using you drill create 1/4″ holes on the x marks. return your pedals to the board and zip tie them all in place. next wire up your entire board. then using the screws you will attach them around each pedal, on a slight angle away from the pedals to secure each on firmly in place.
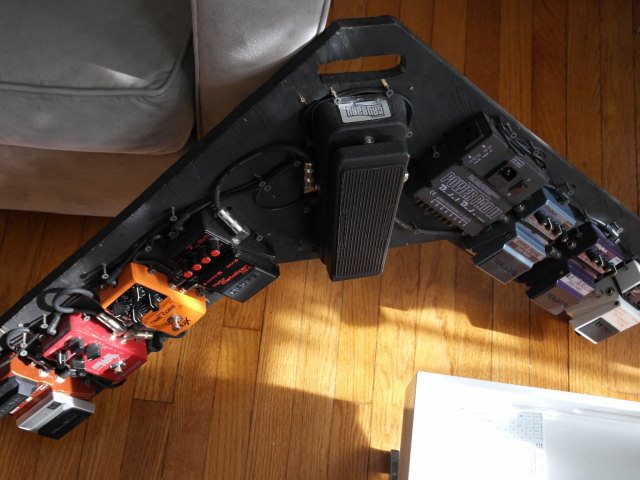
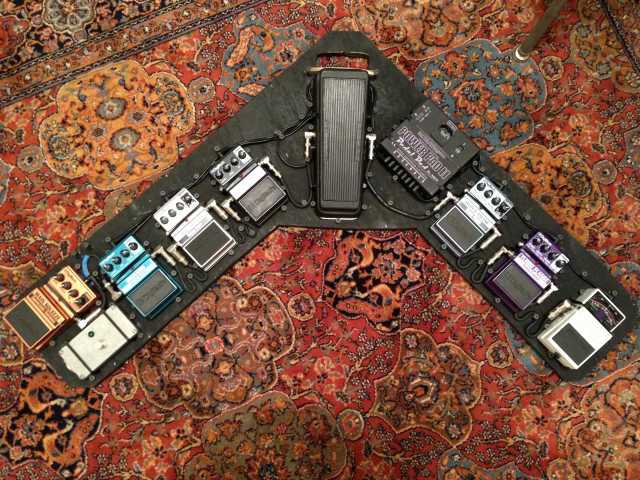
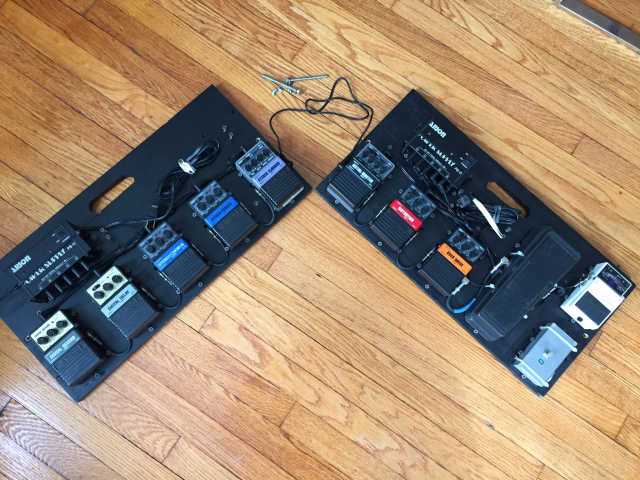
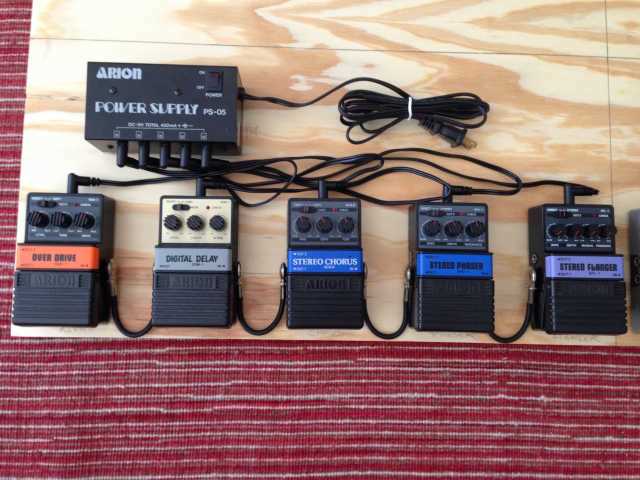
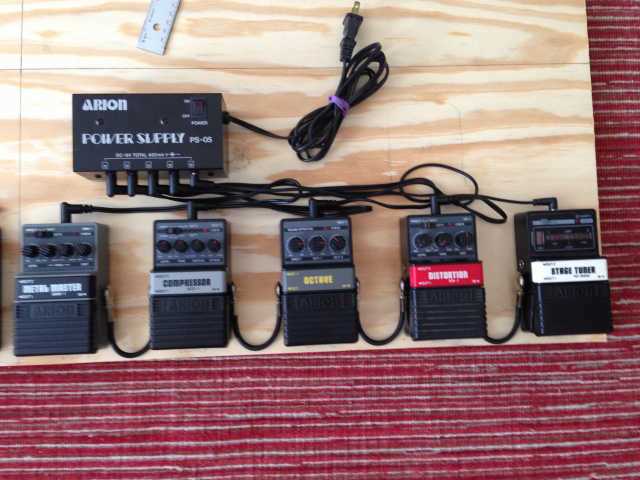
This one is very unique. I tried to make a dual unit with the smallest footprint possible. If you put the backs together they can attach for portable carry. this one is a an Arion built with Arion original power supplies. As you can see I did a similar layout with the plywood, placed my pedals for spacing and functionality and then drew my outlines and cut lines. below also are finished product views.
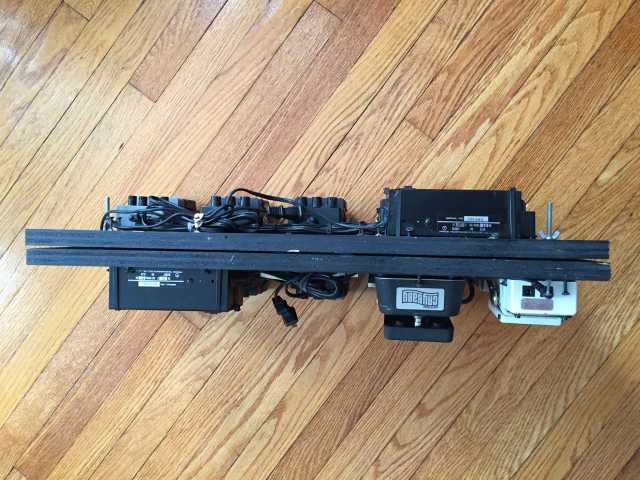
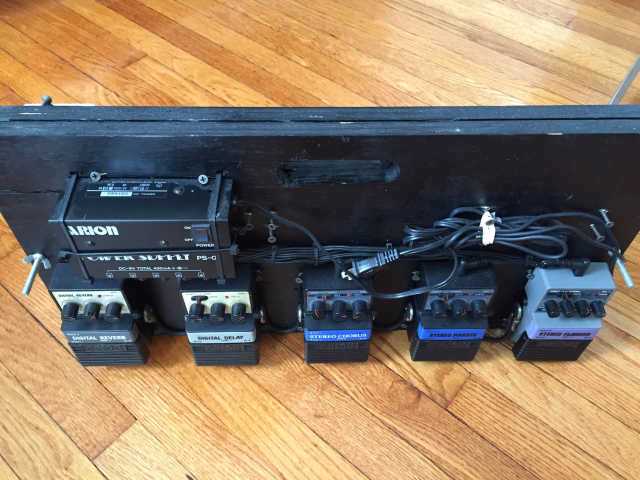
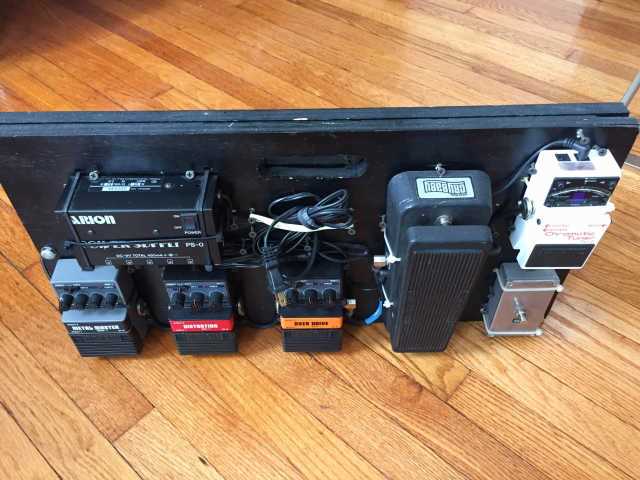
1/2″ plywood, the pedals don’t ever budge and it don’t slide on wood floors…(trick) Take a few 1-1/2″ drywall or wood screws and place them left and right of your center wood. Screw them through until you feel them pierce out 1/8″, Done. no one will see it at a show but those little guys will dig in and prevent your board from pushing around.

Vintage Ampeg V-3 & V-7 Combo Tube Amplifiers
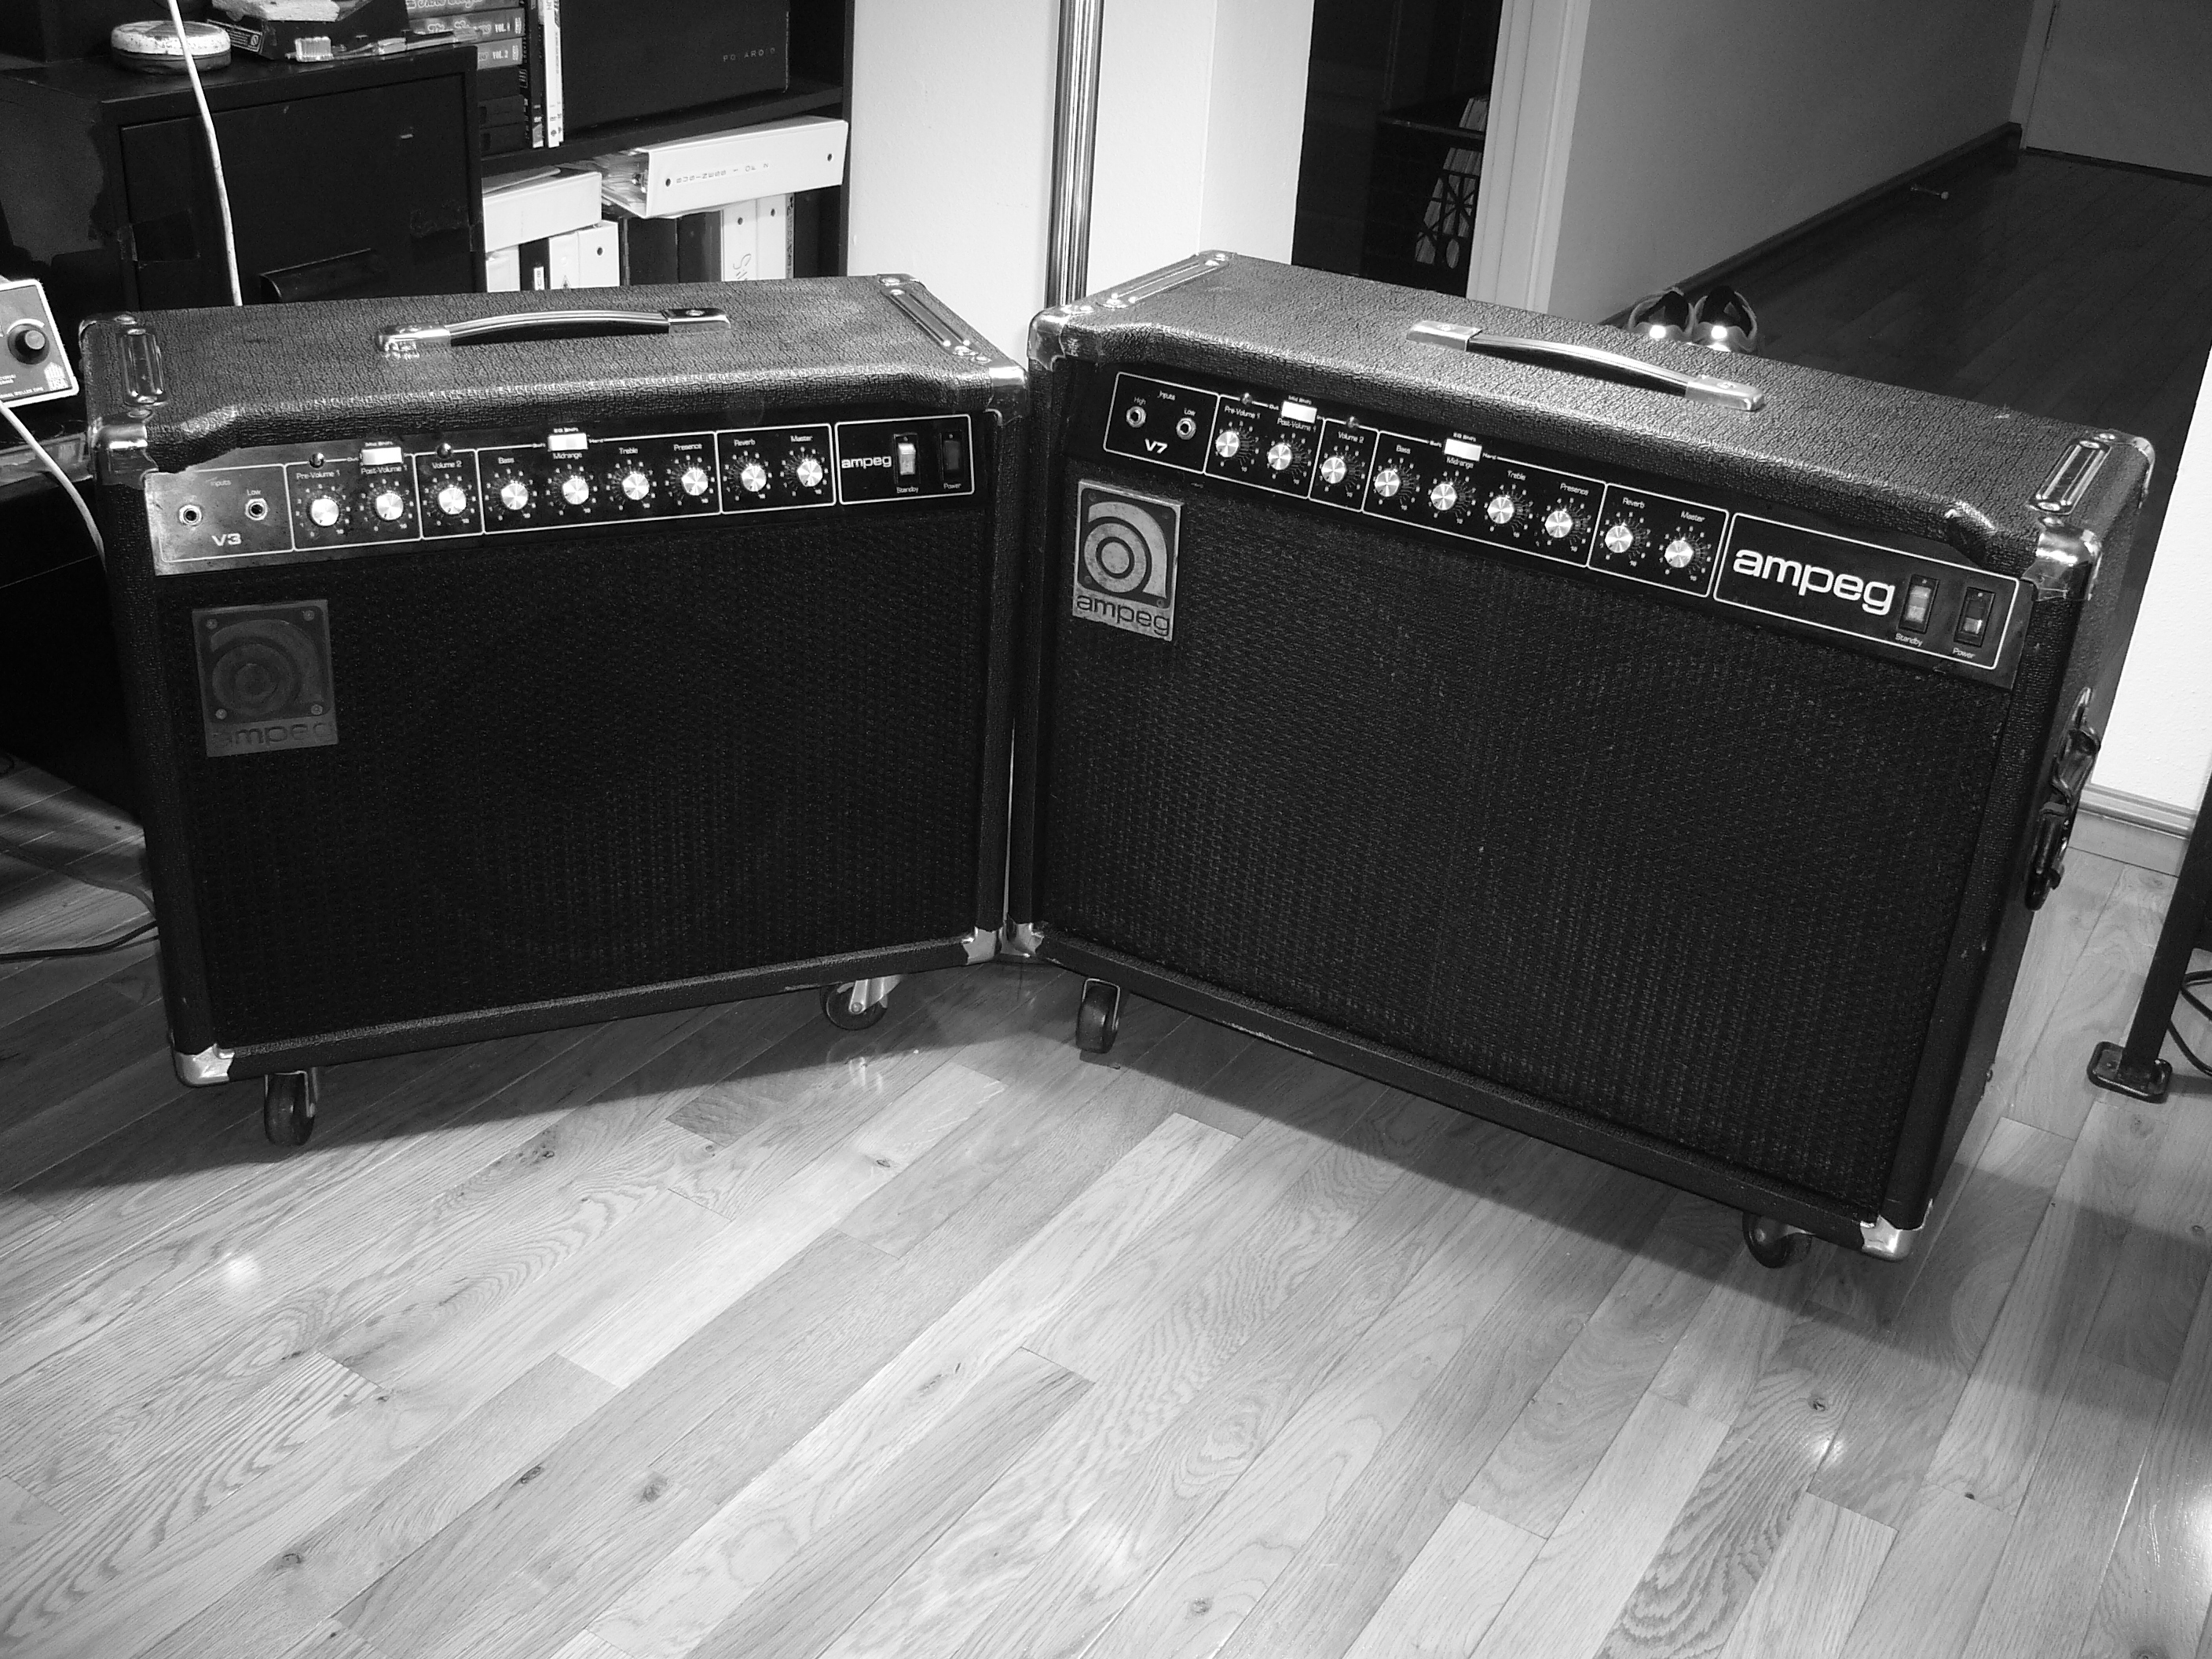
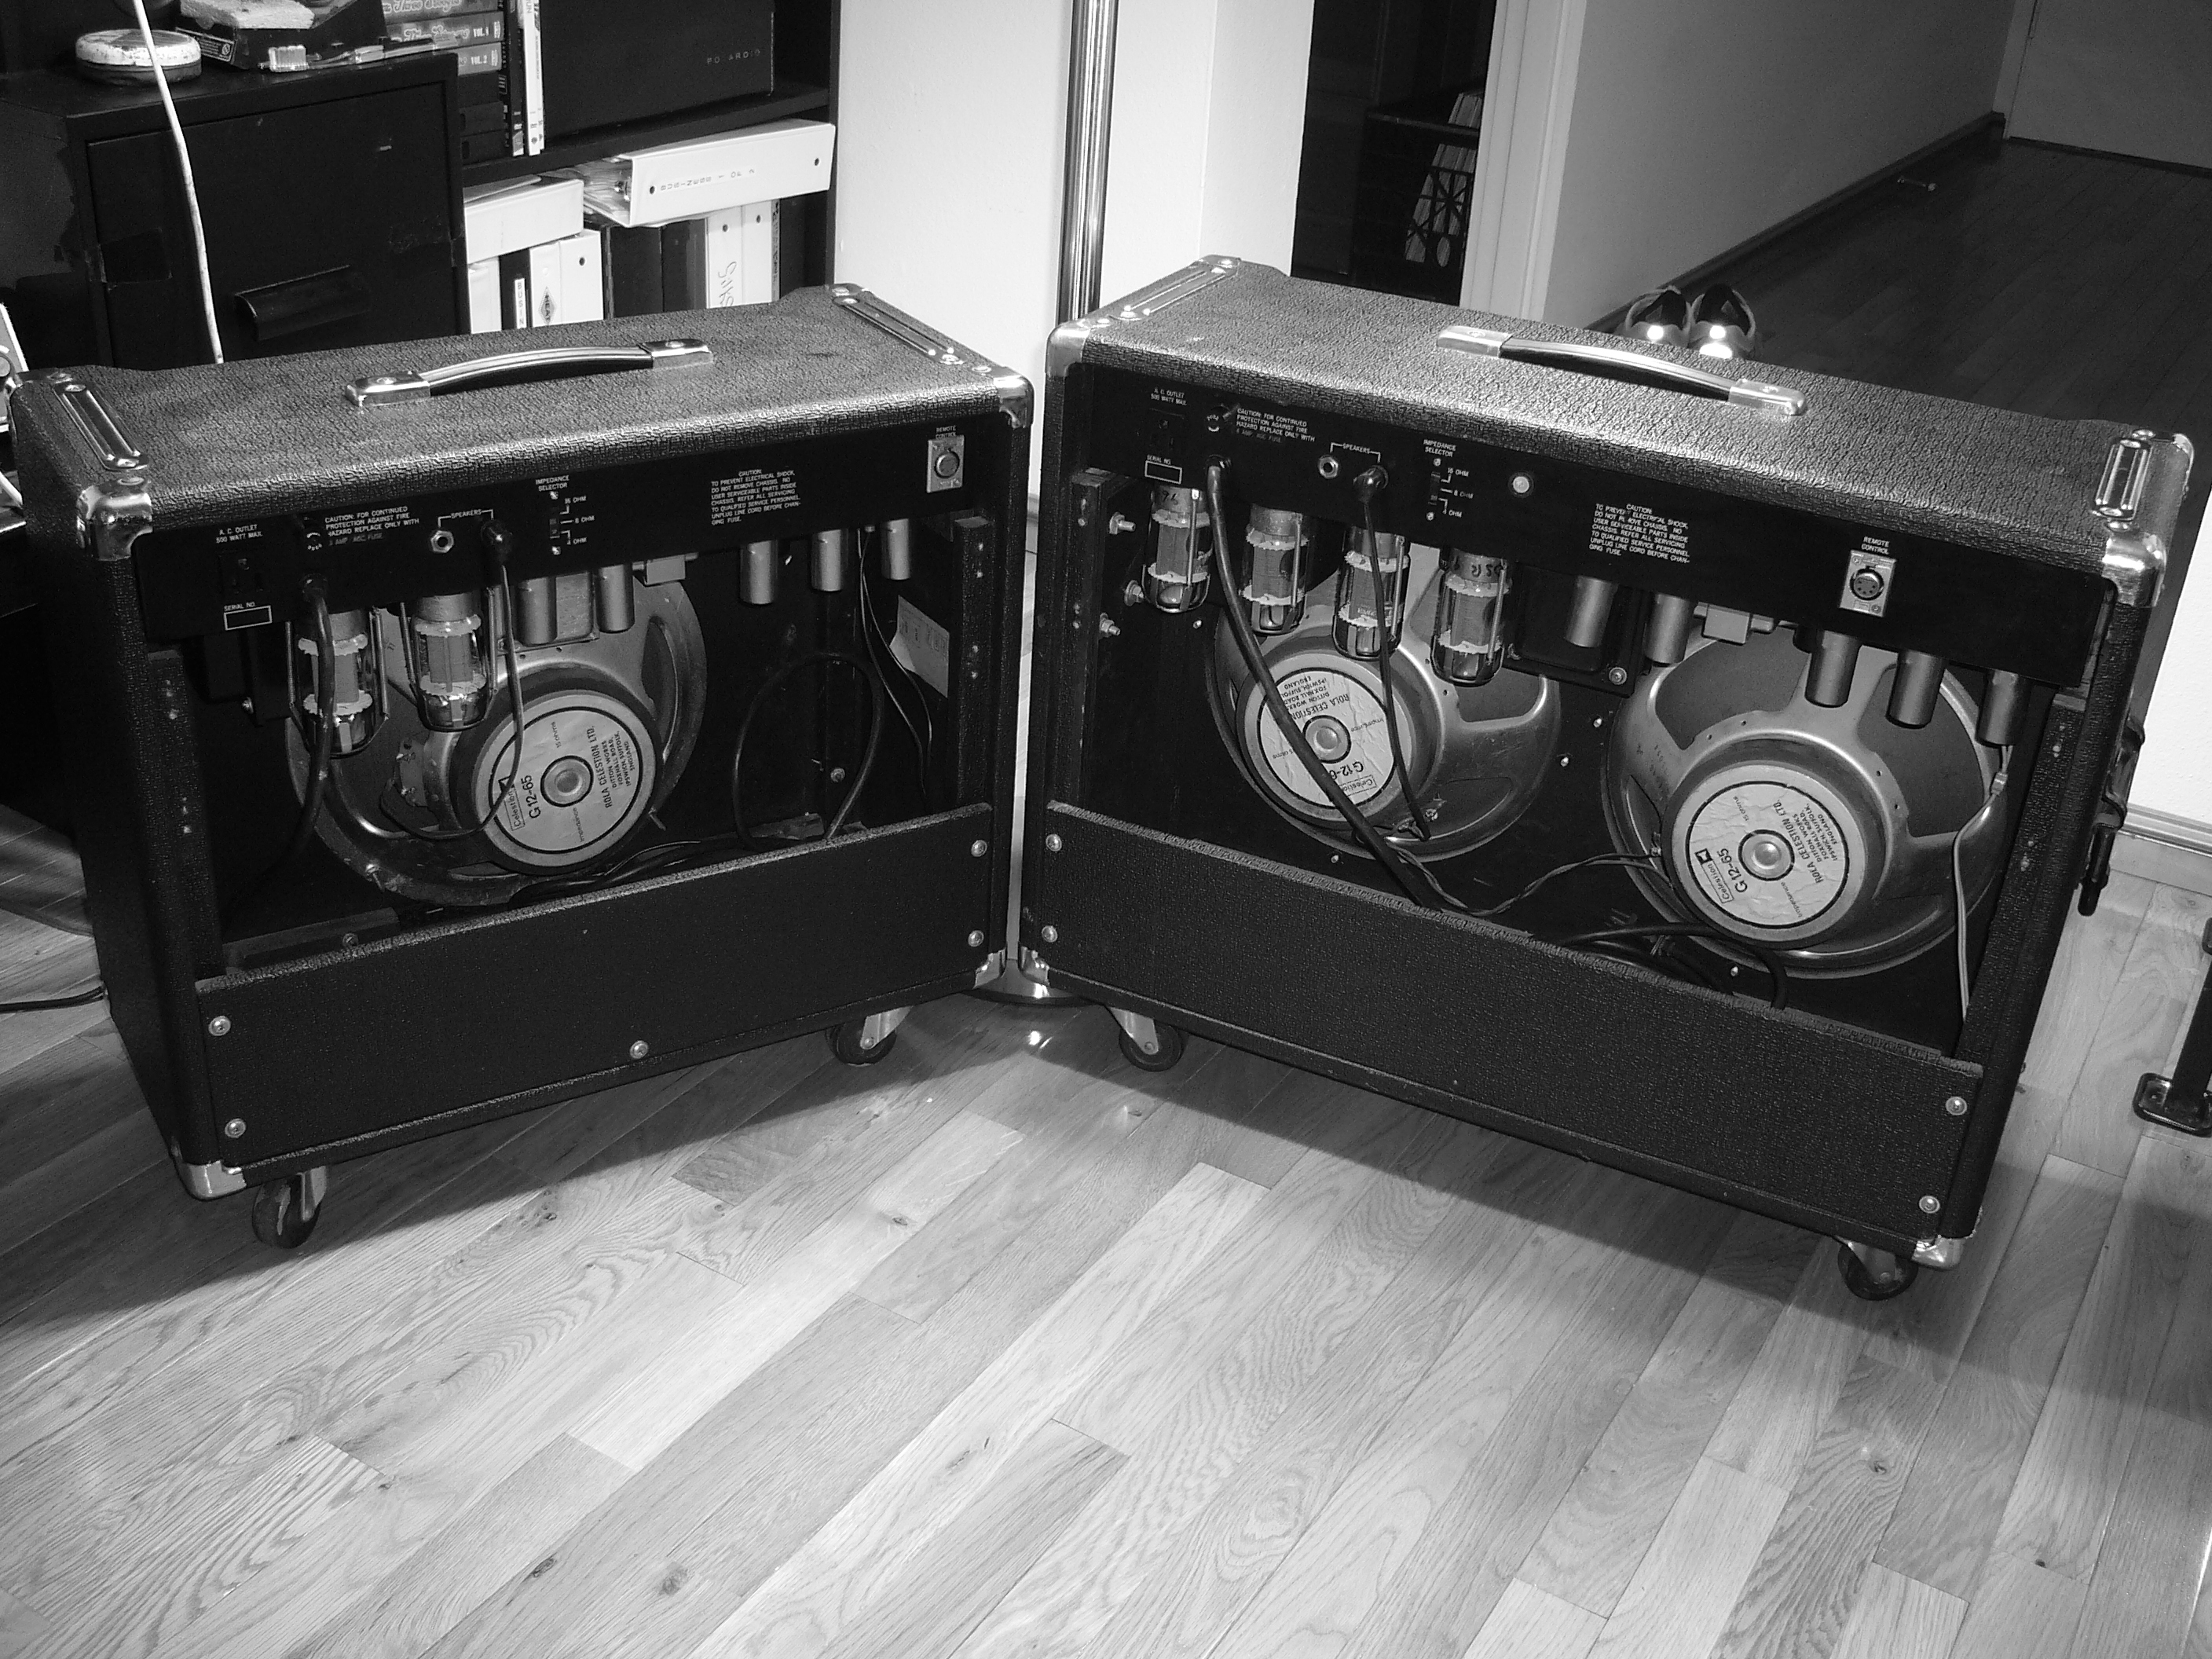
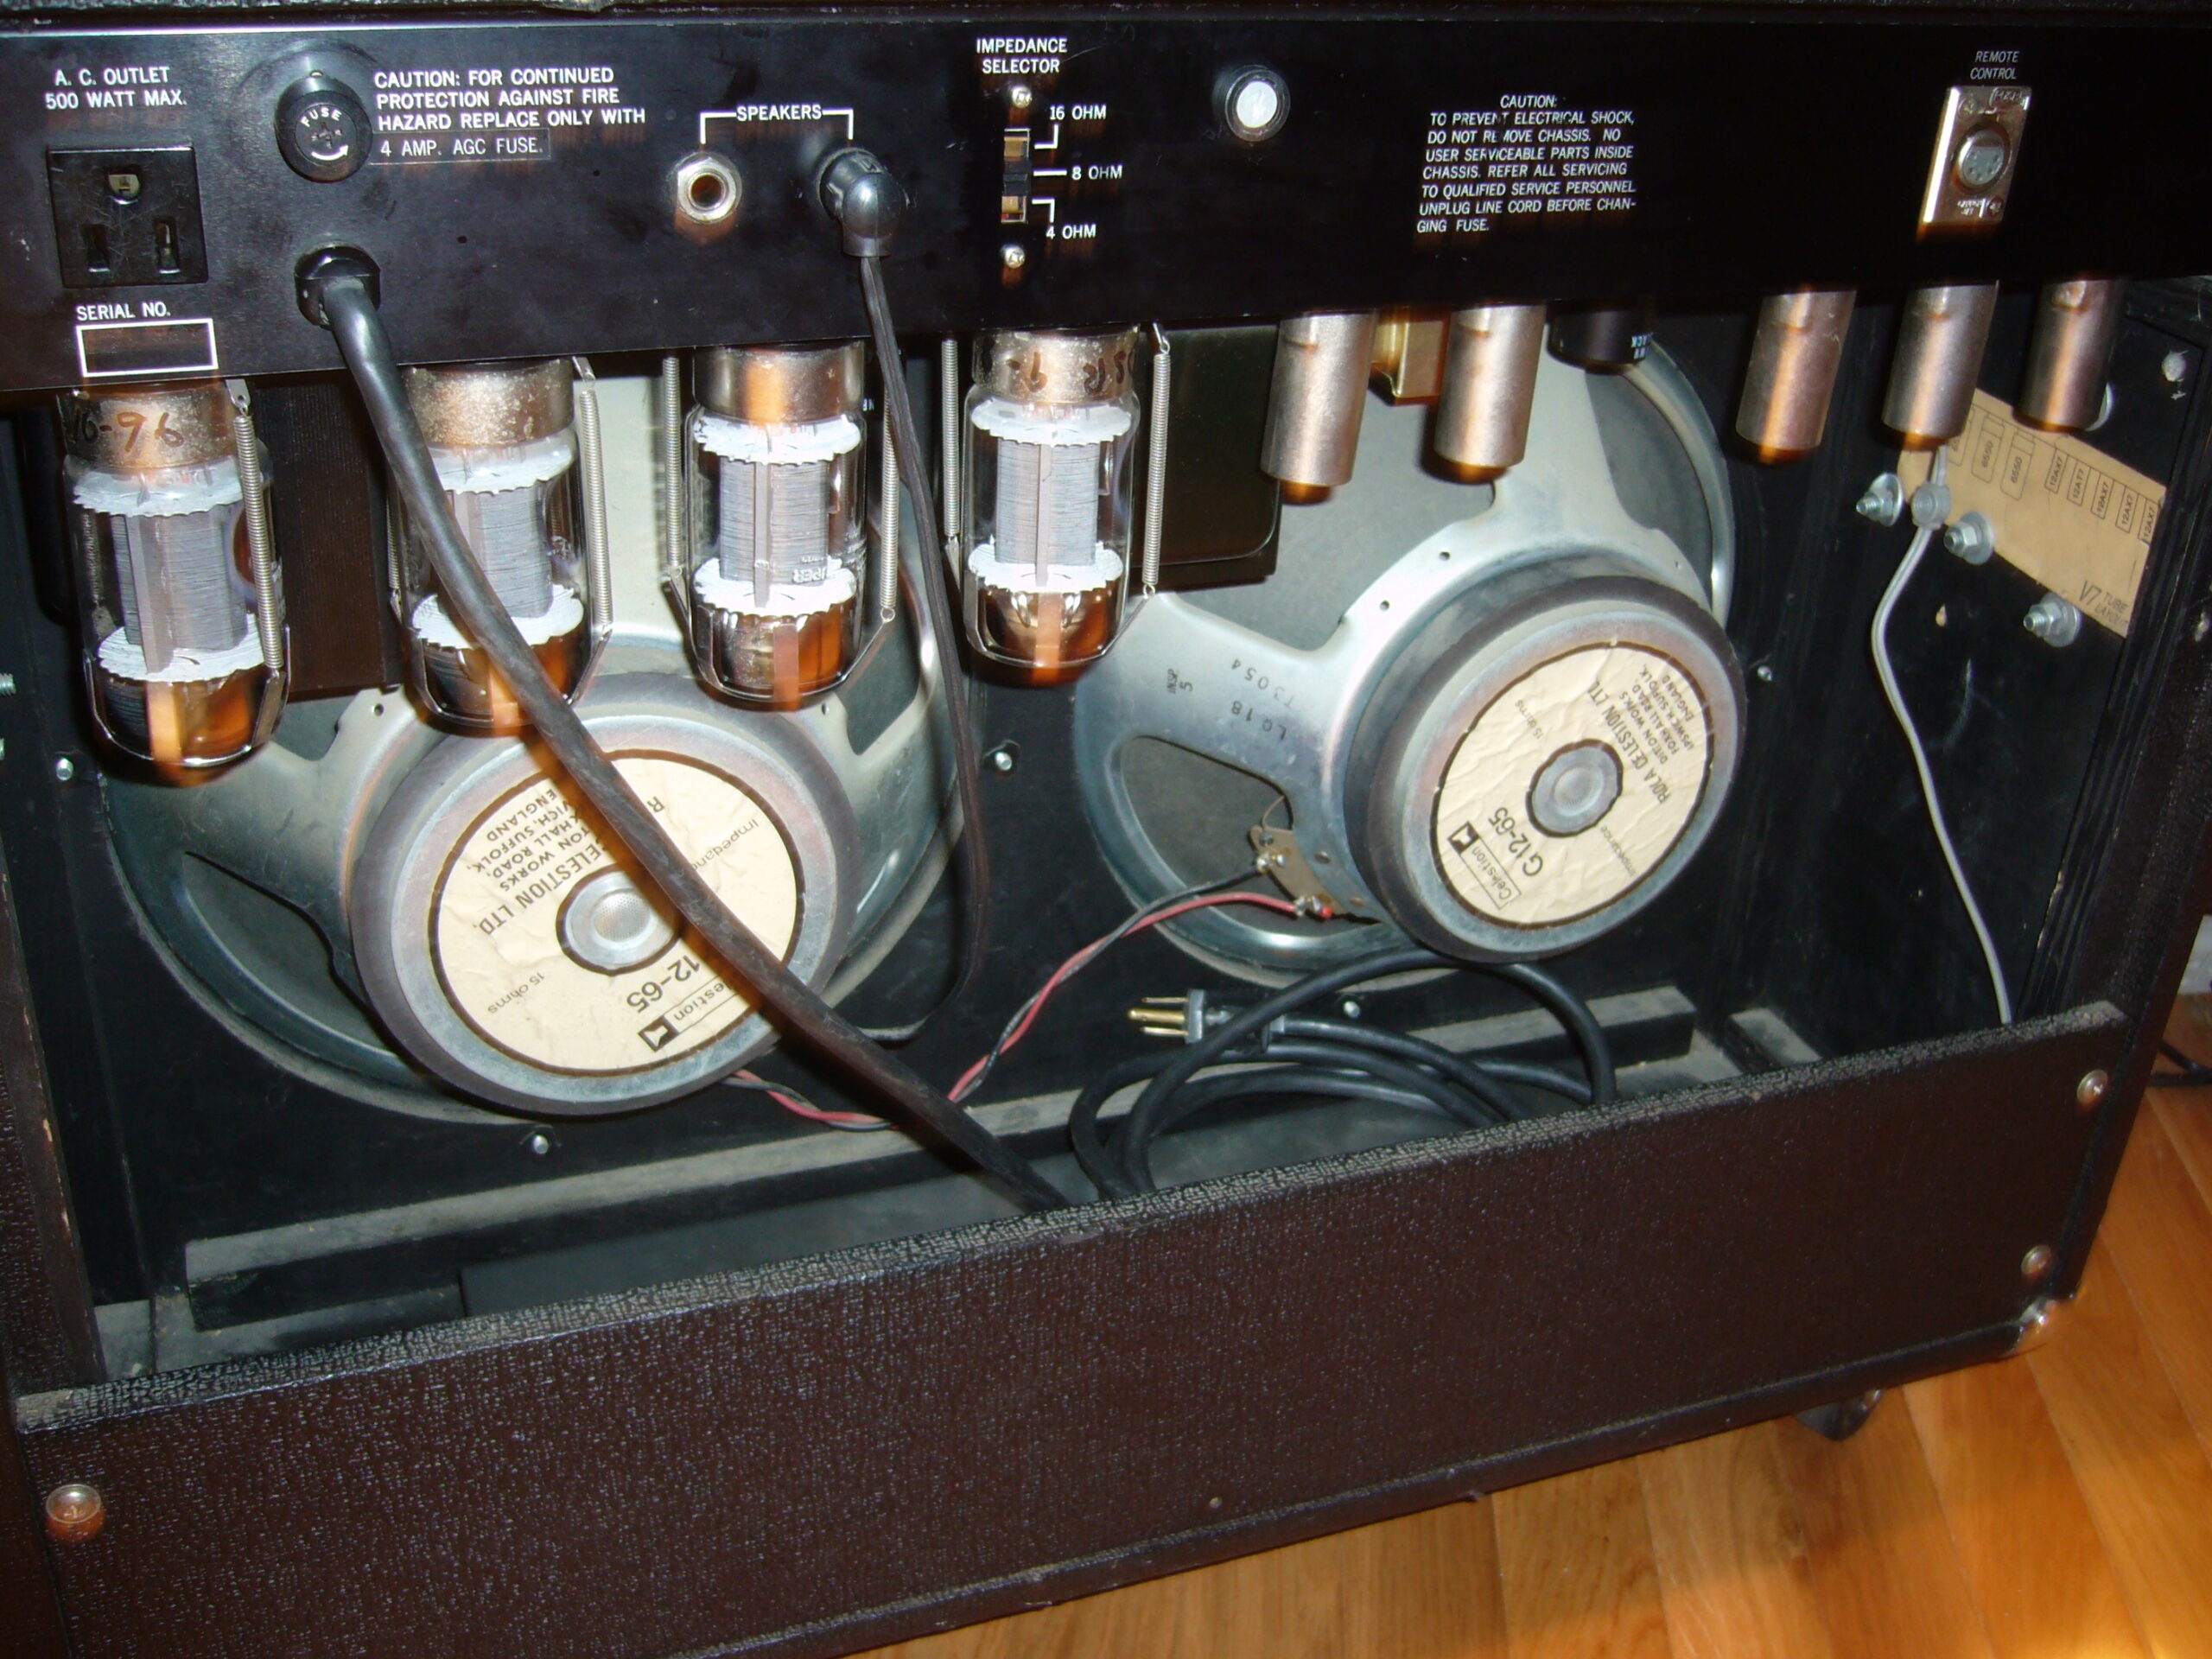
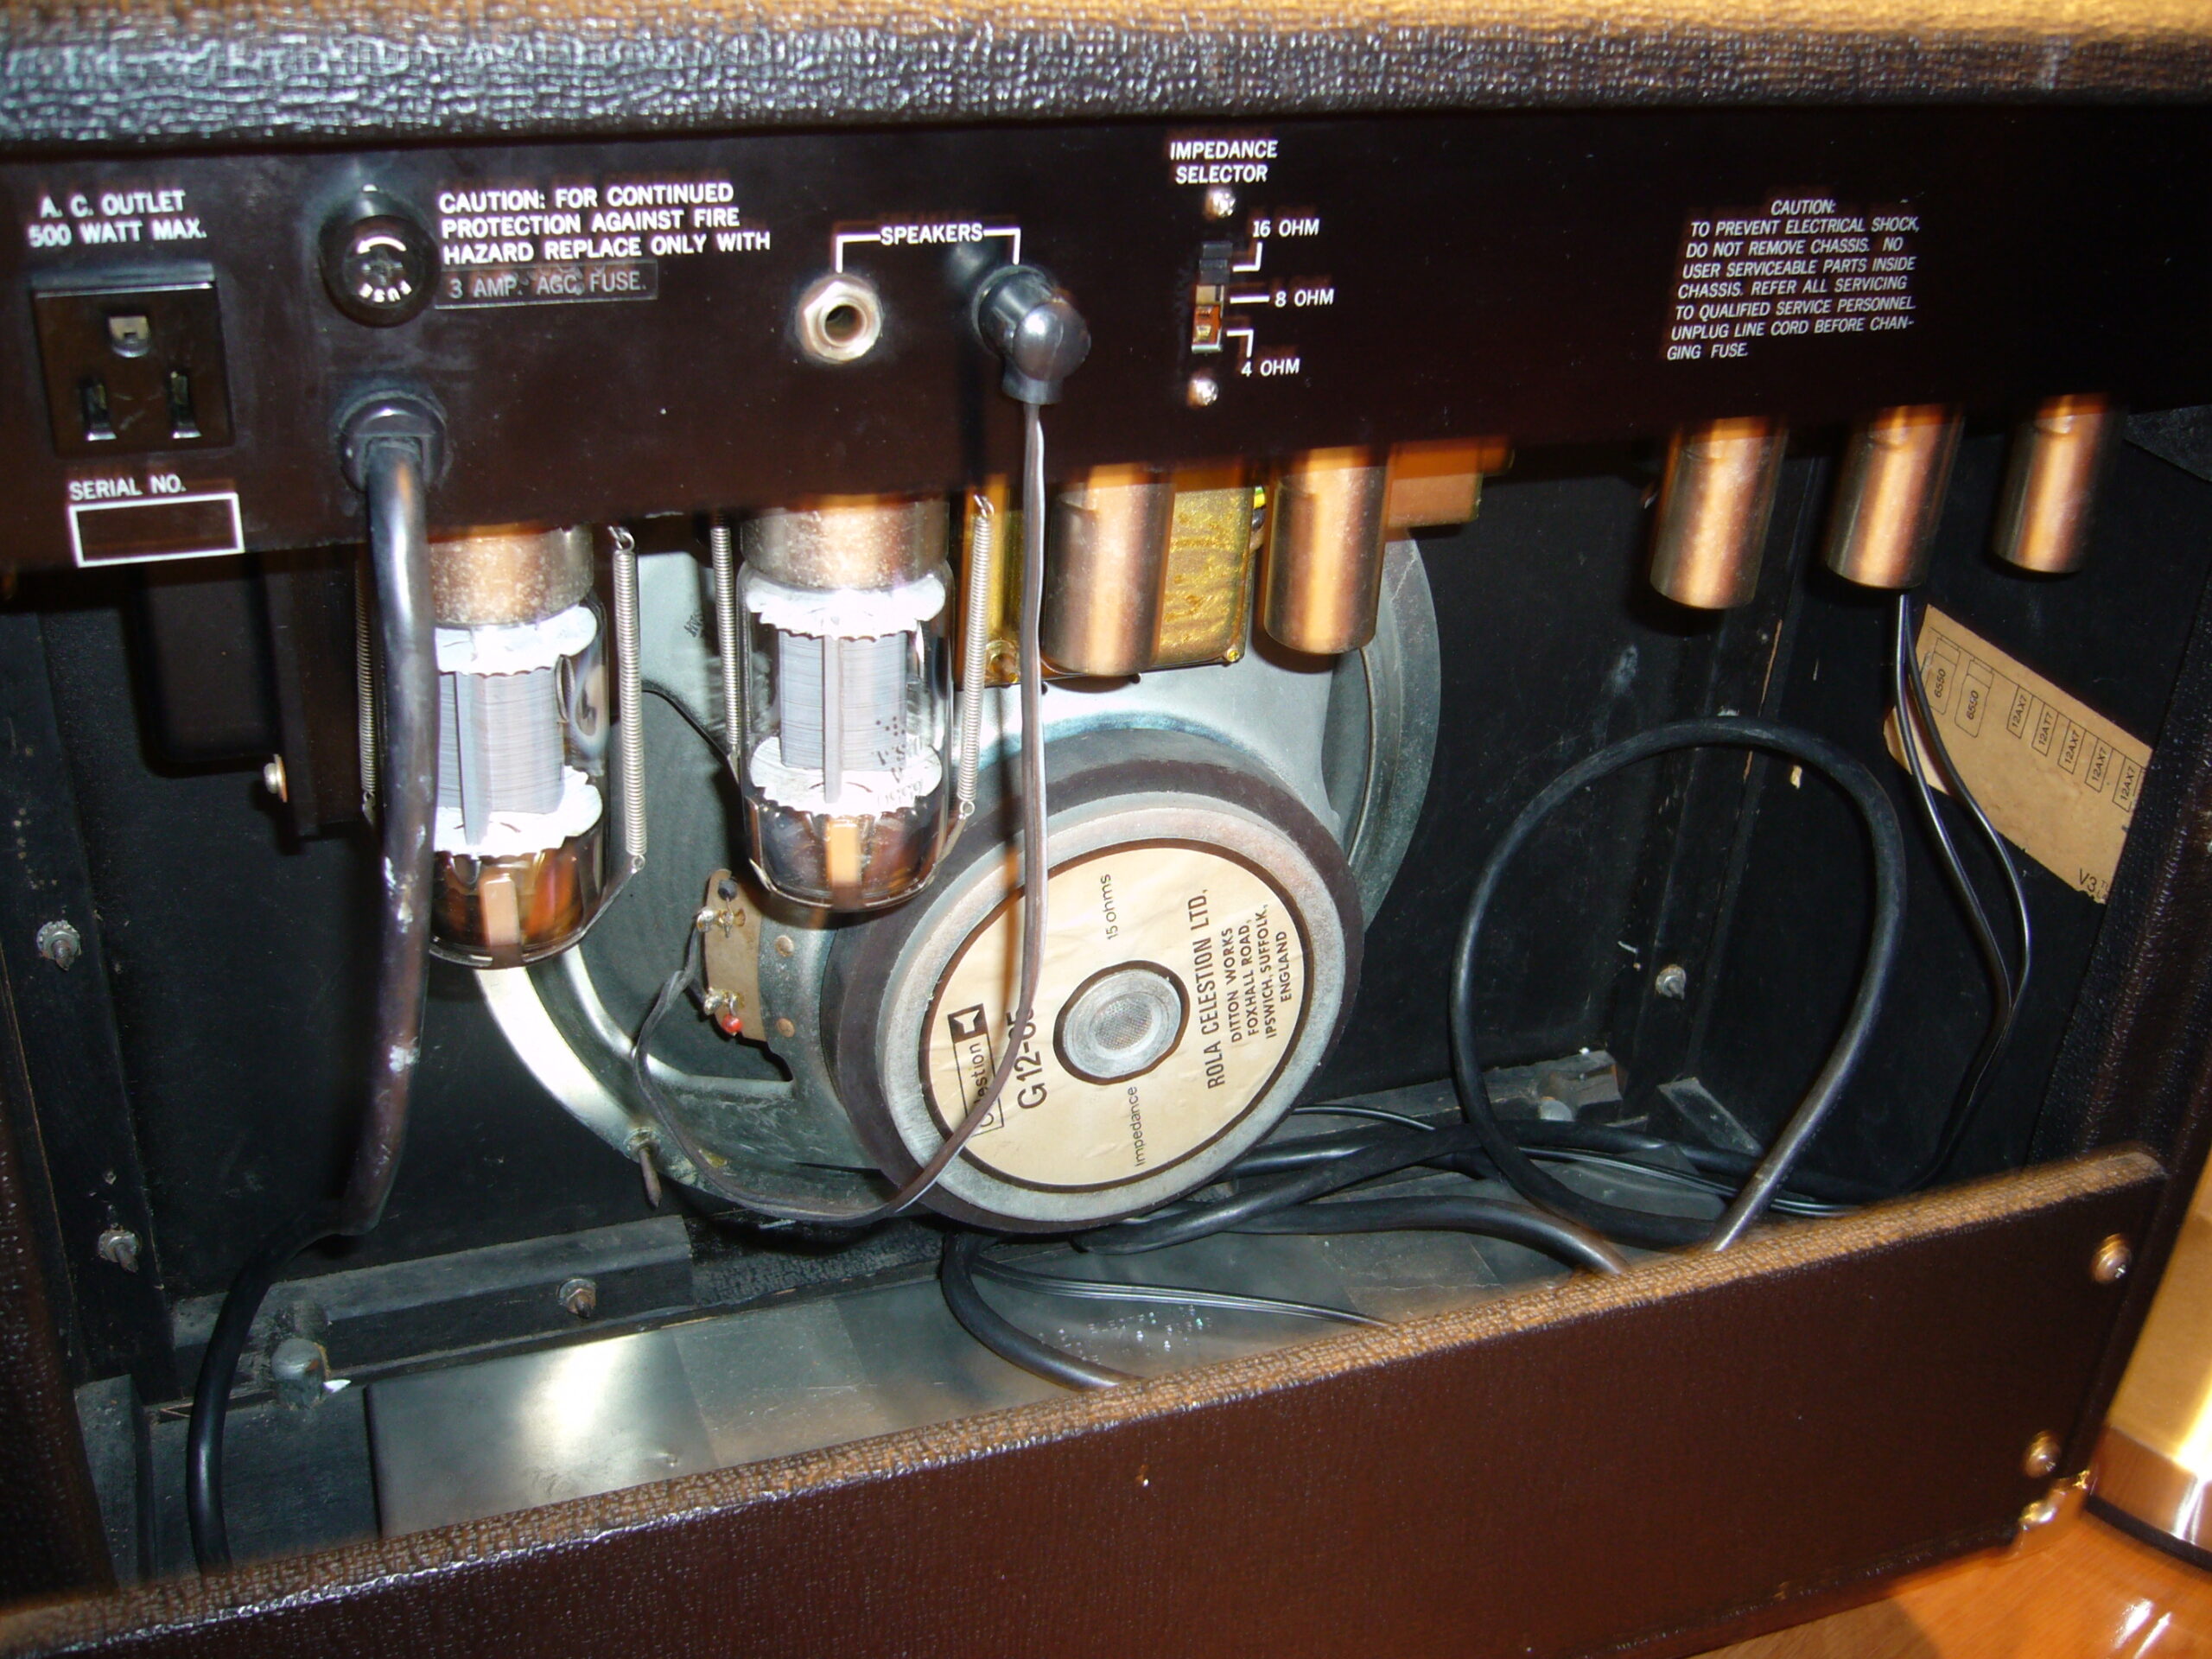
Here are some harder to find schematics that are Ampeg design original for the V-3 Tube amplifier.
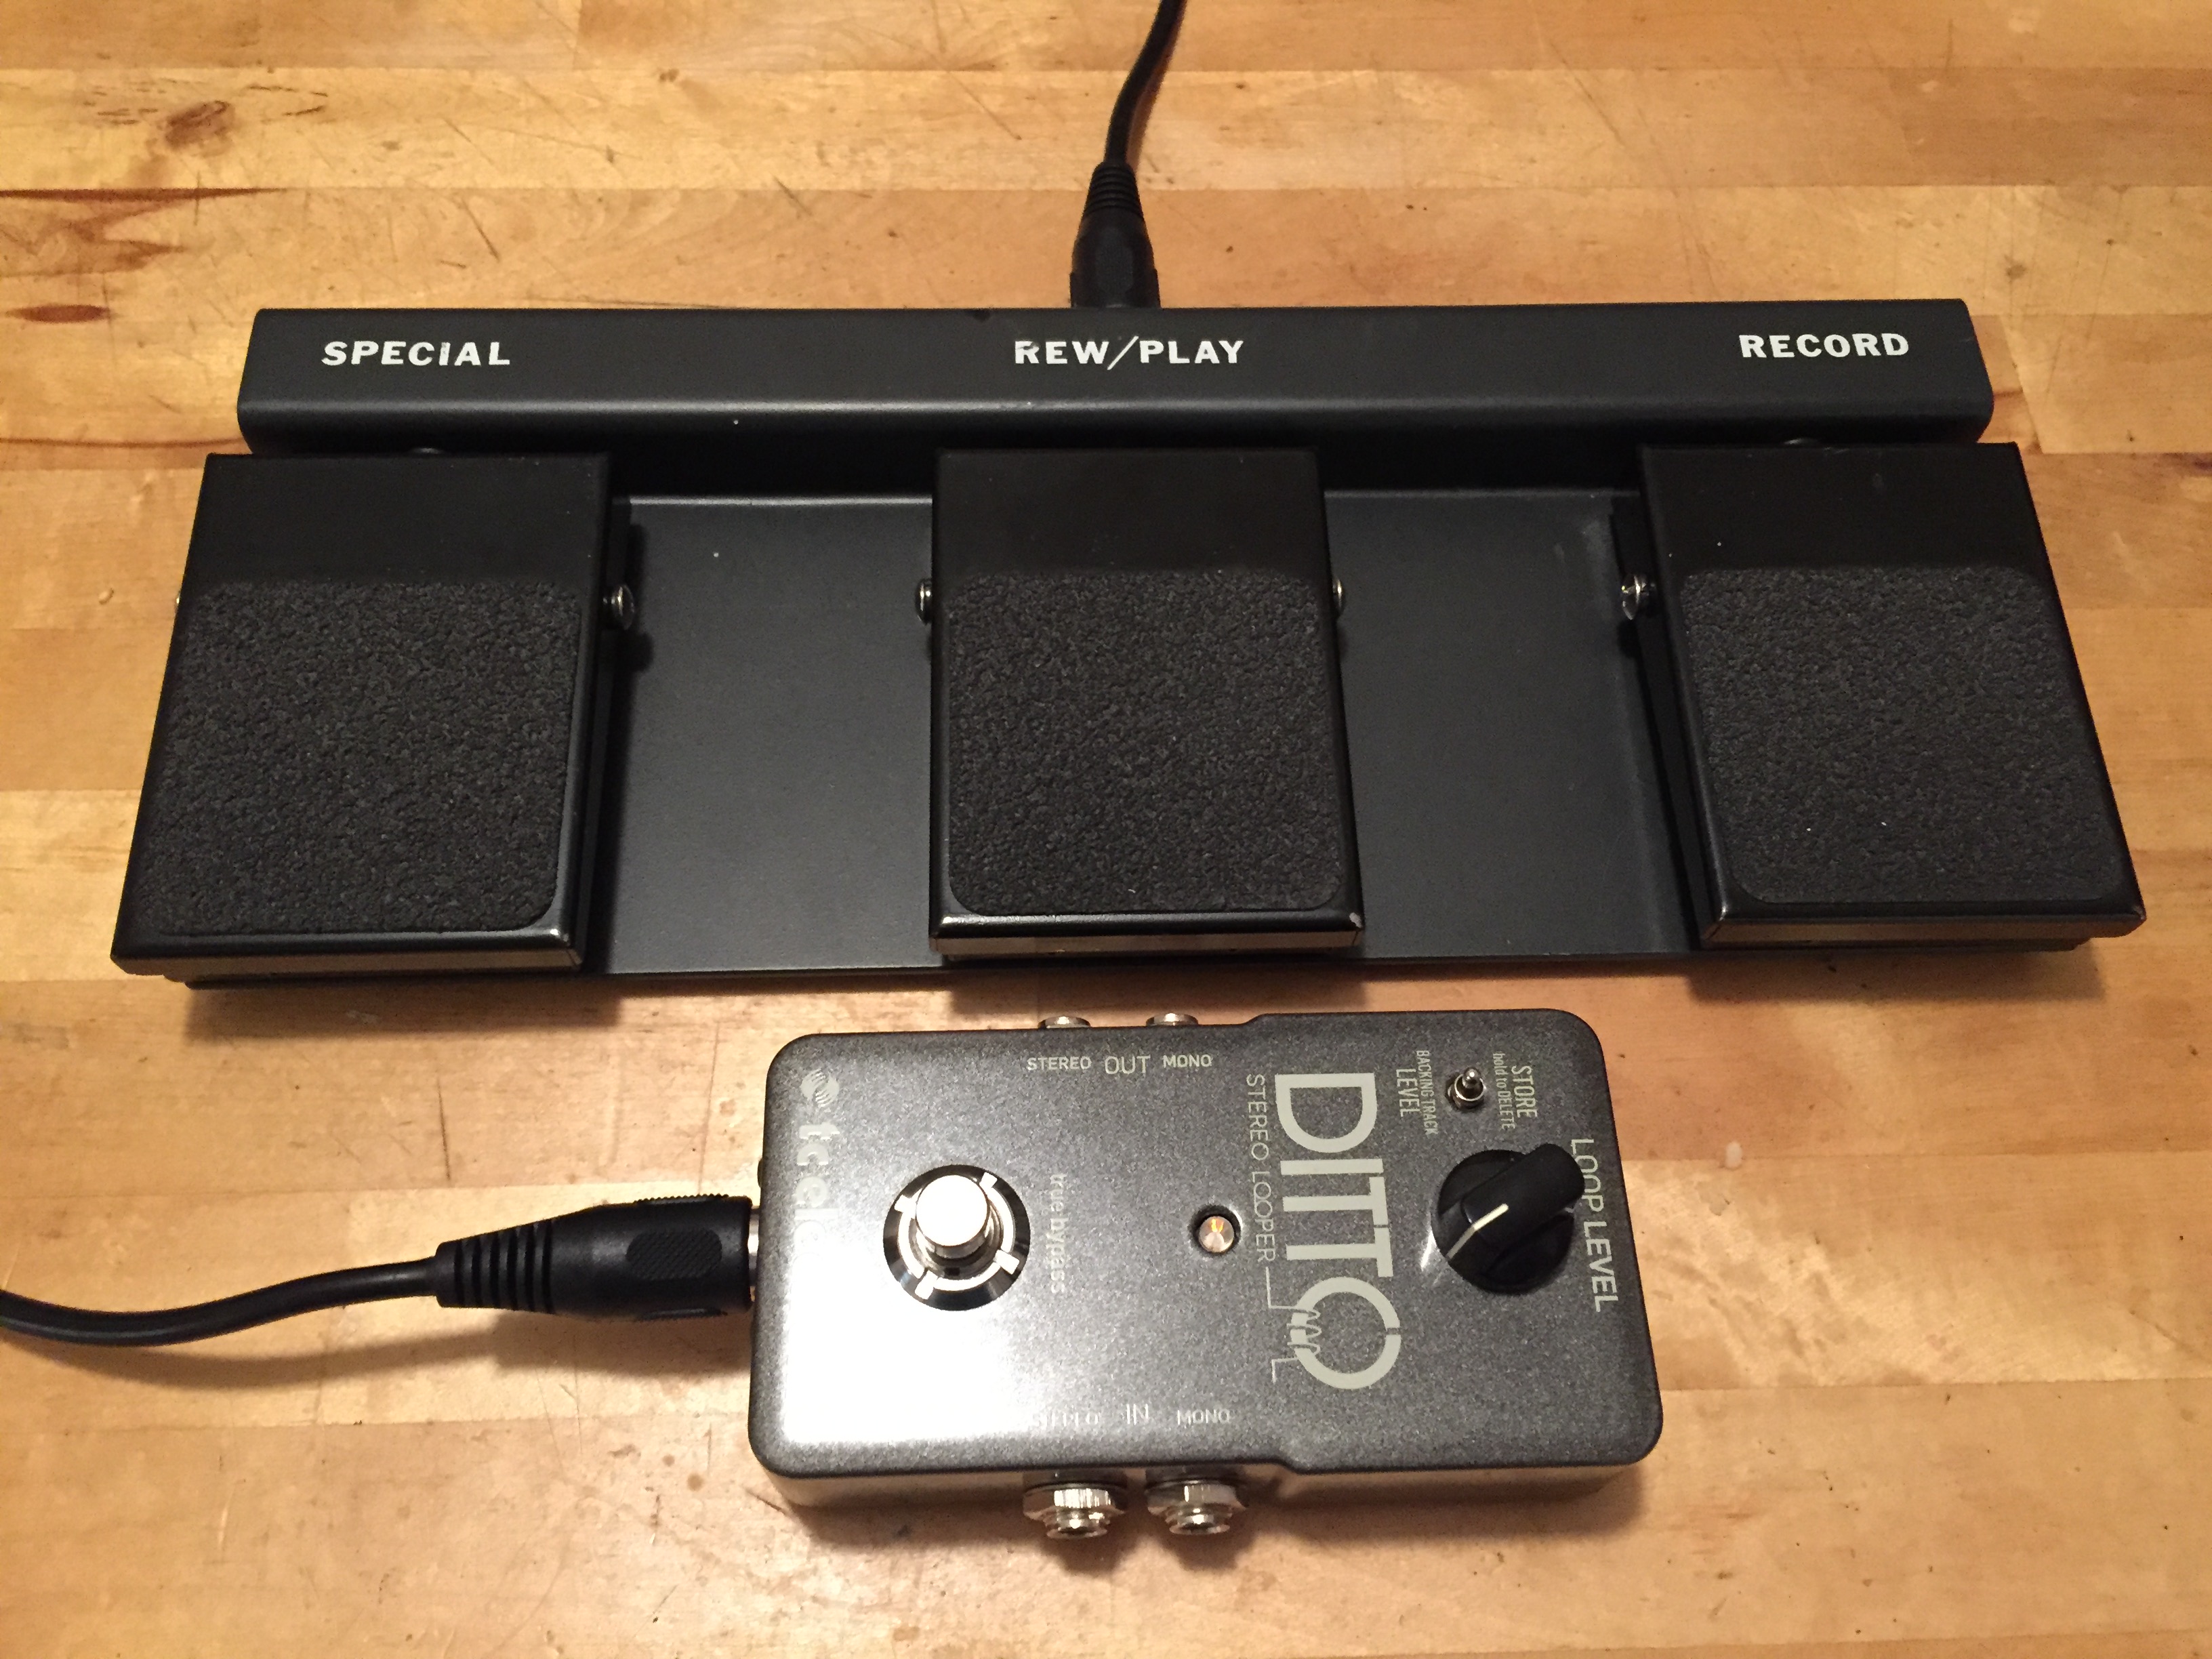
TC Electronic Ditto Looper MOD EXT Foot Switch
I created this simple mod to easily use all of the functionality of this great stereo looper pedal Ditto. I found that fat footswitches improve accuracy and help simplify control.
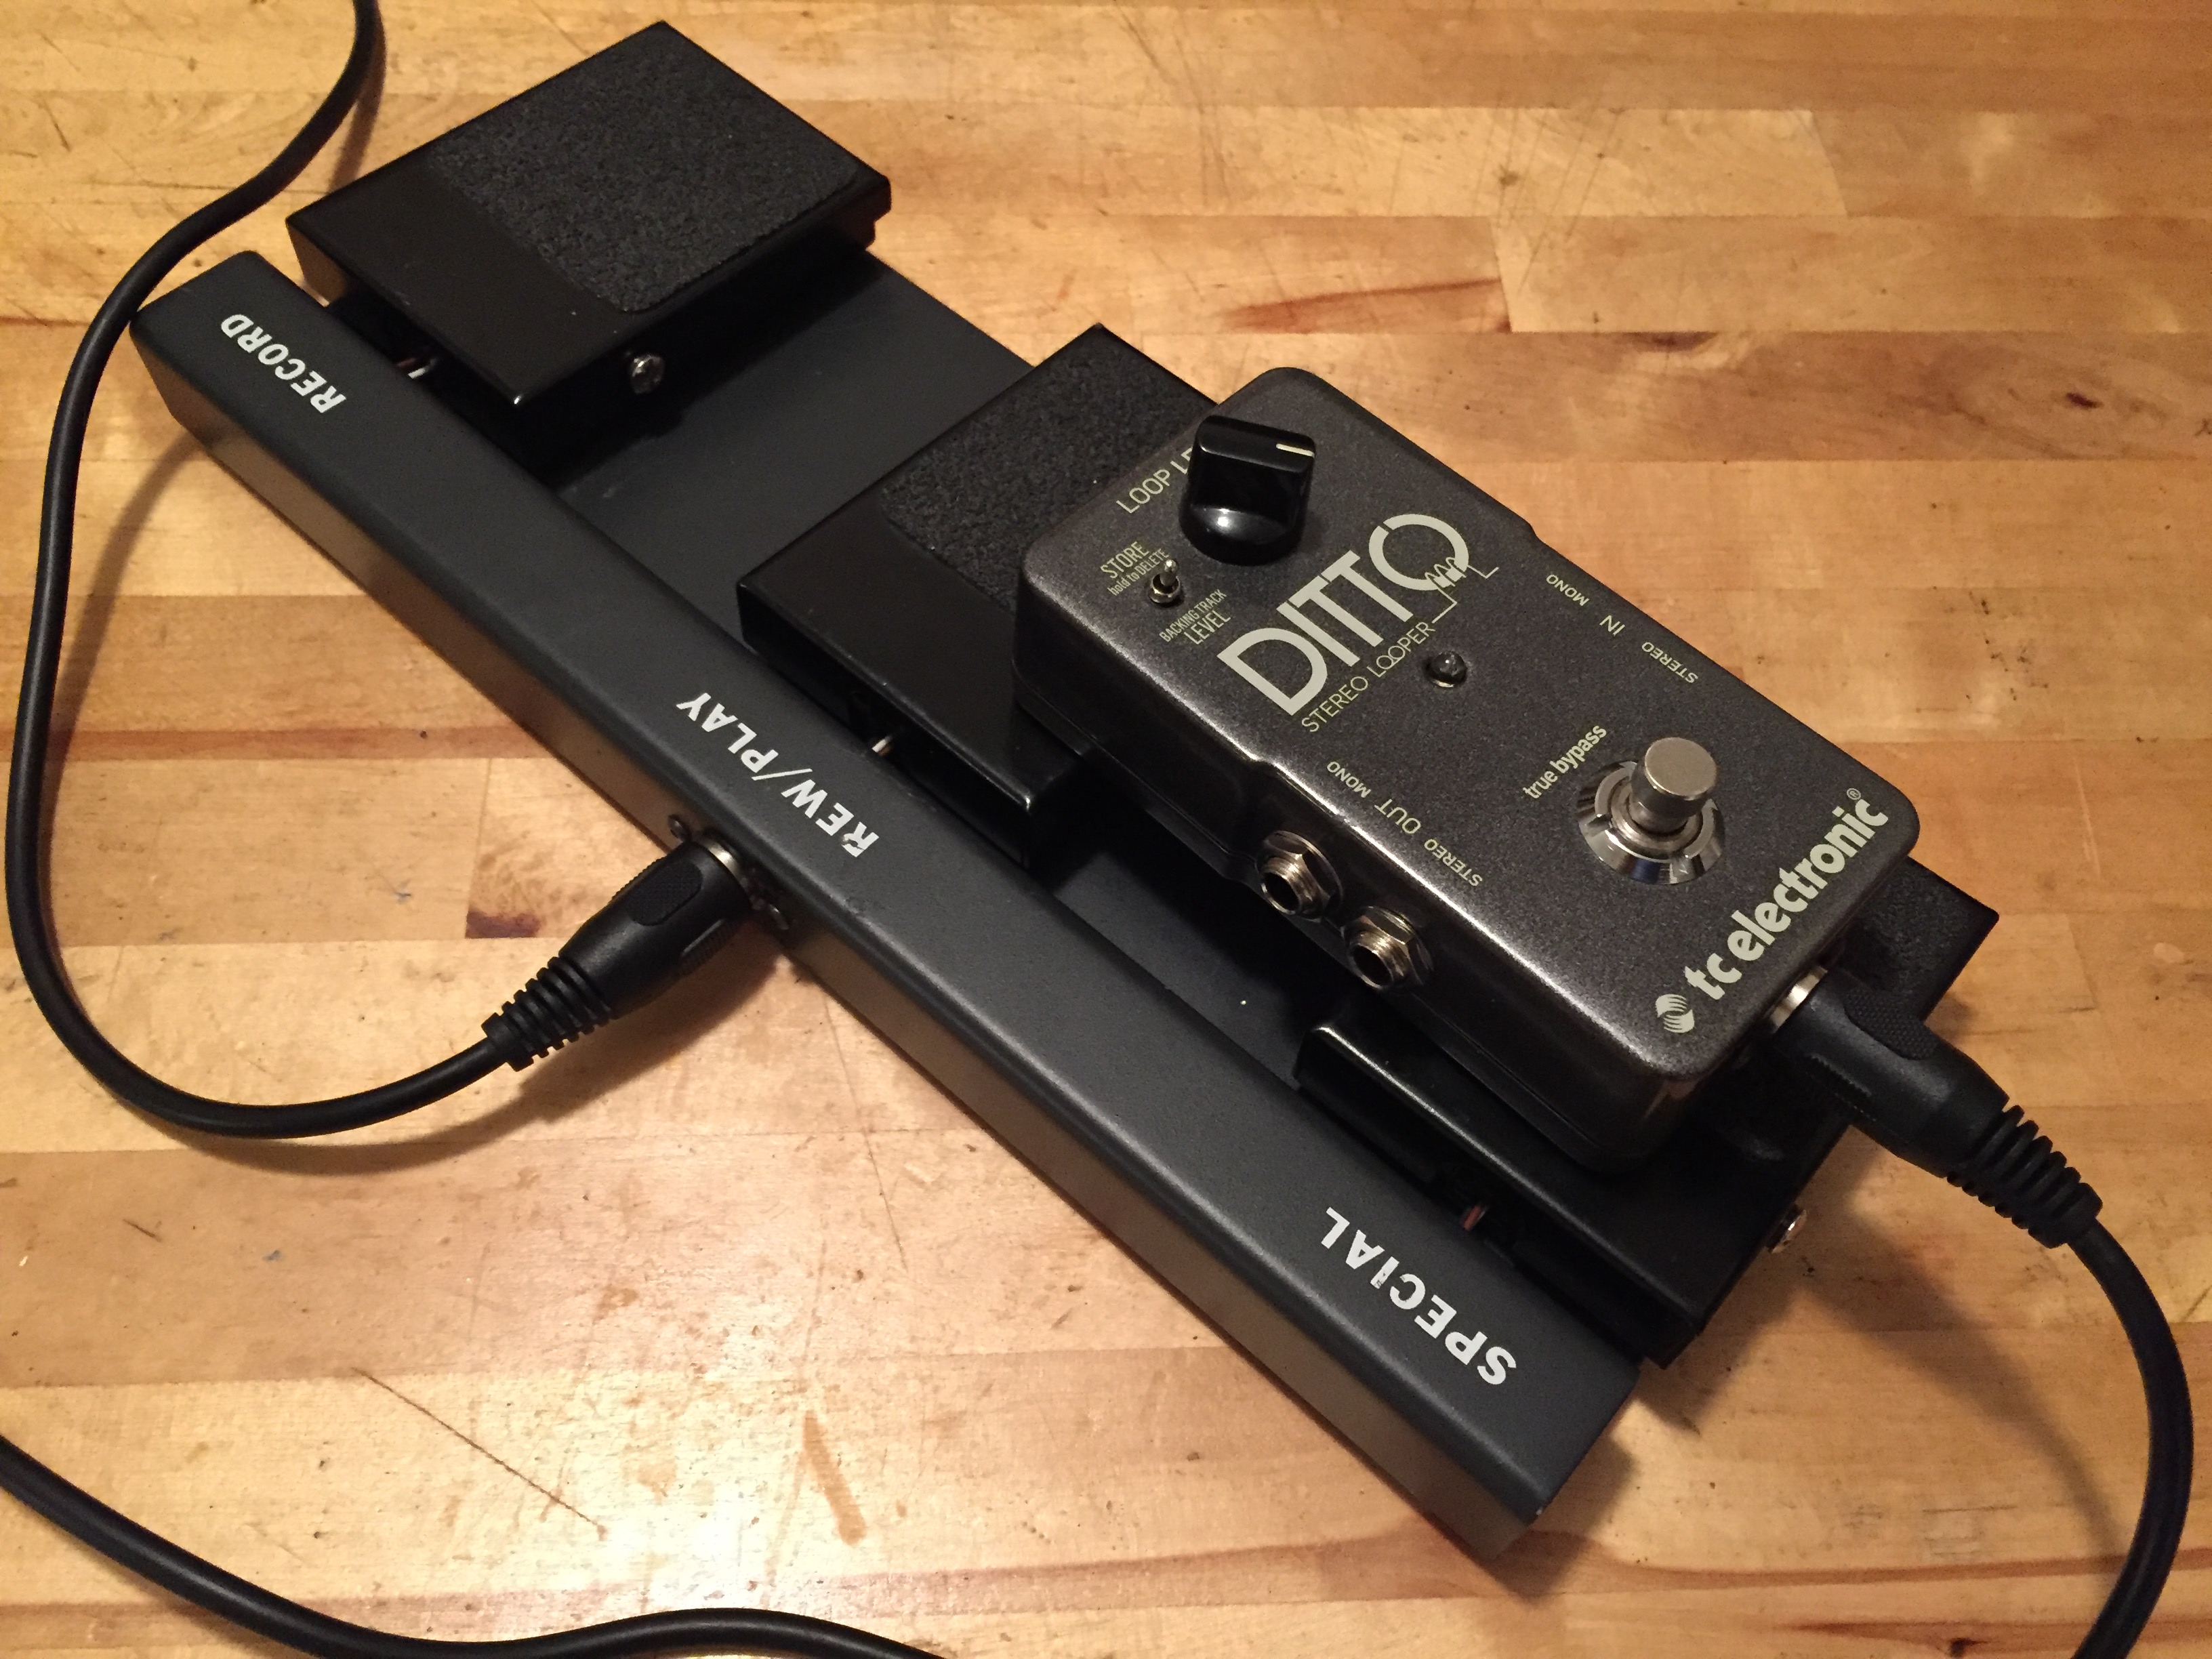

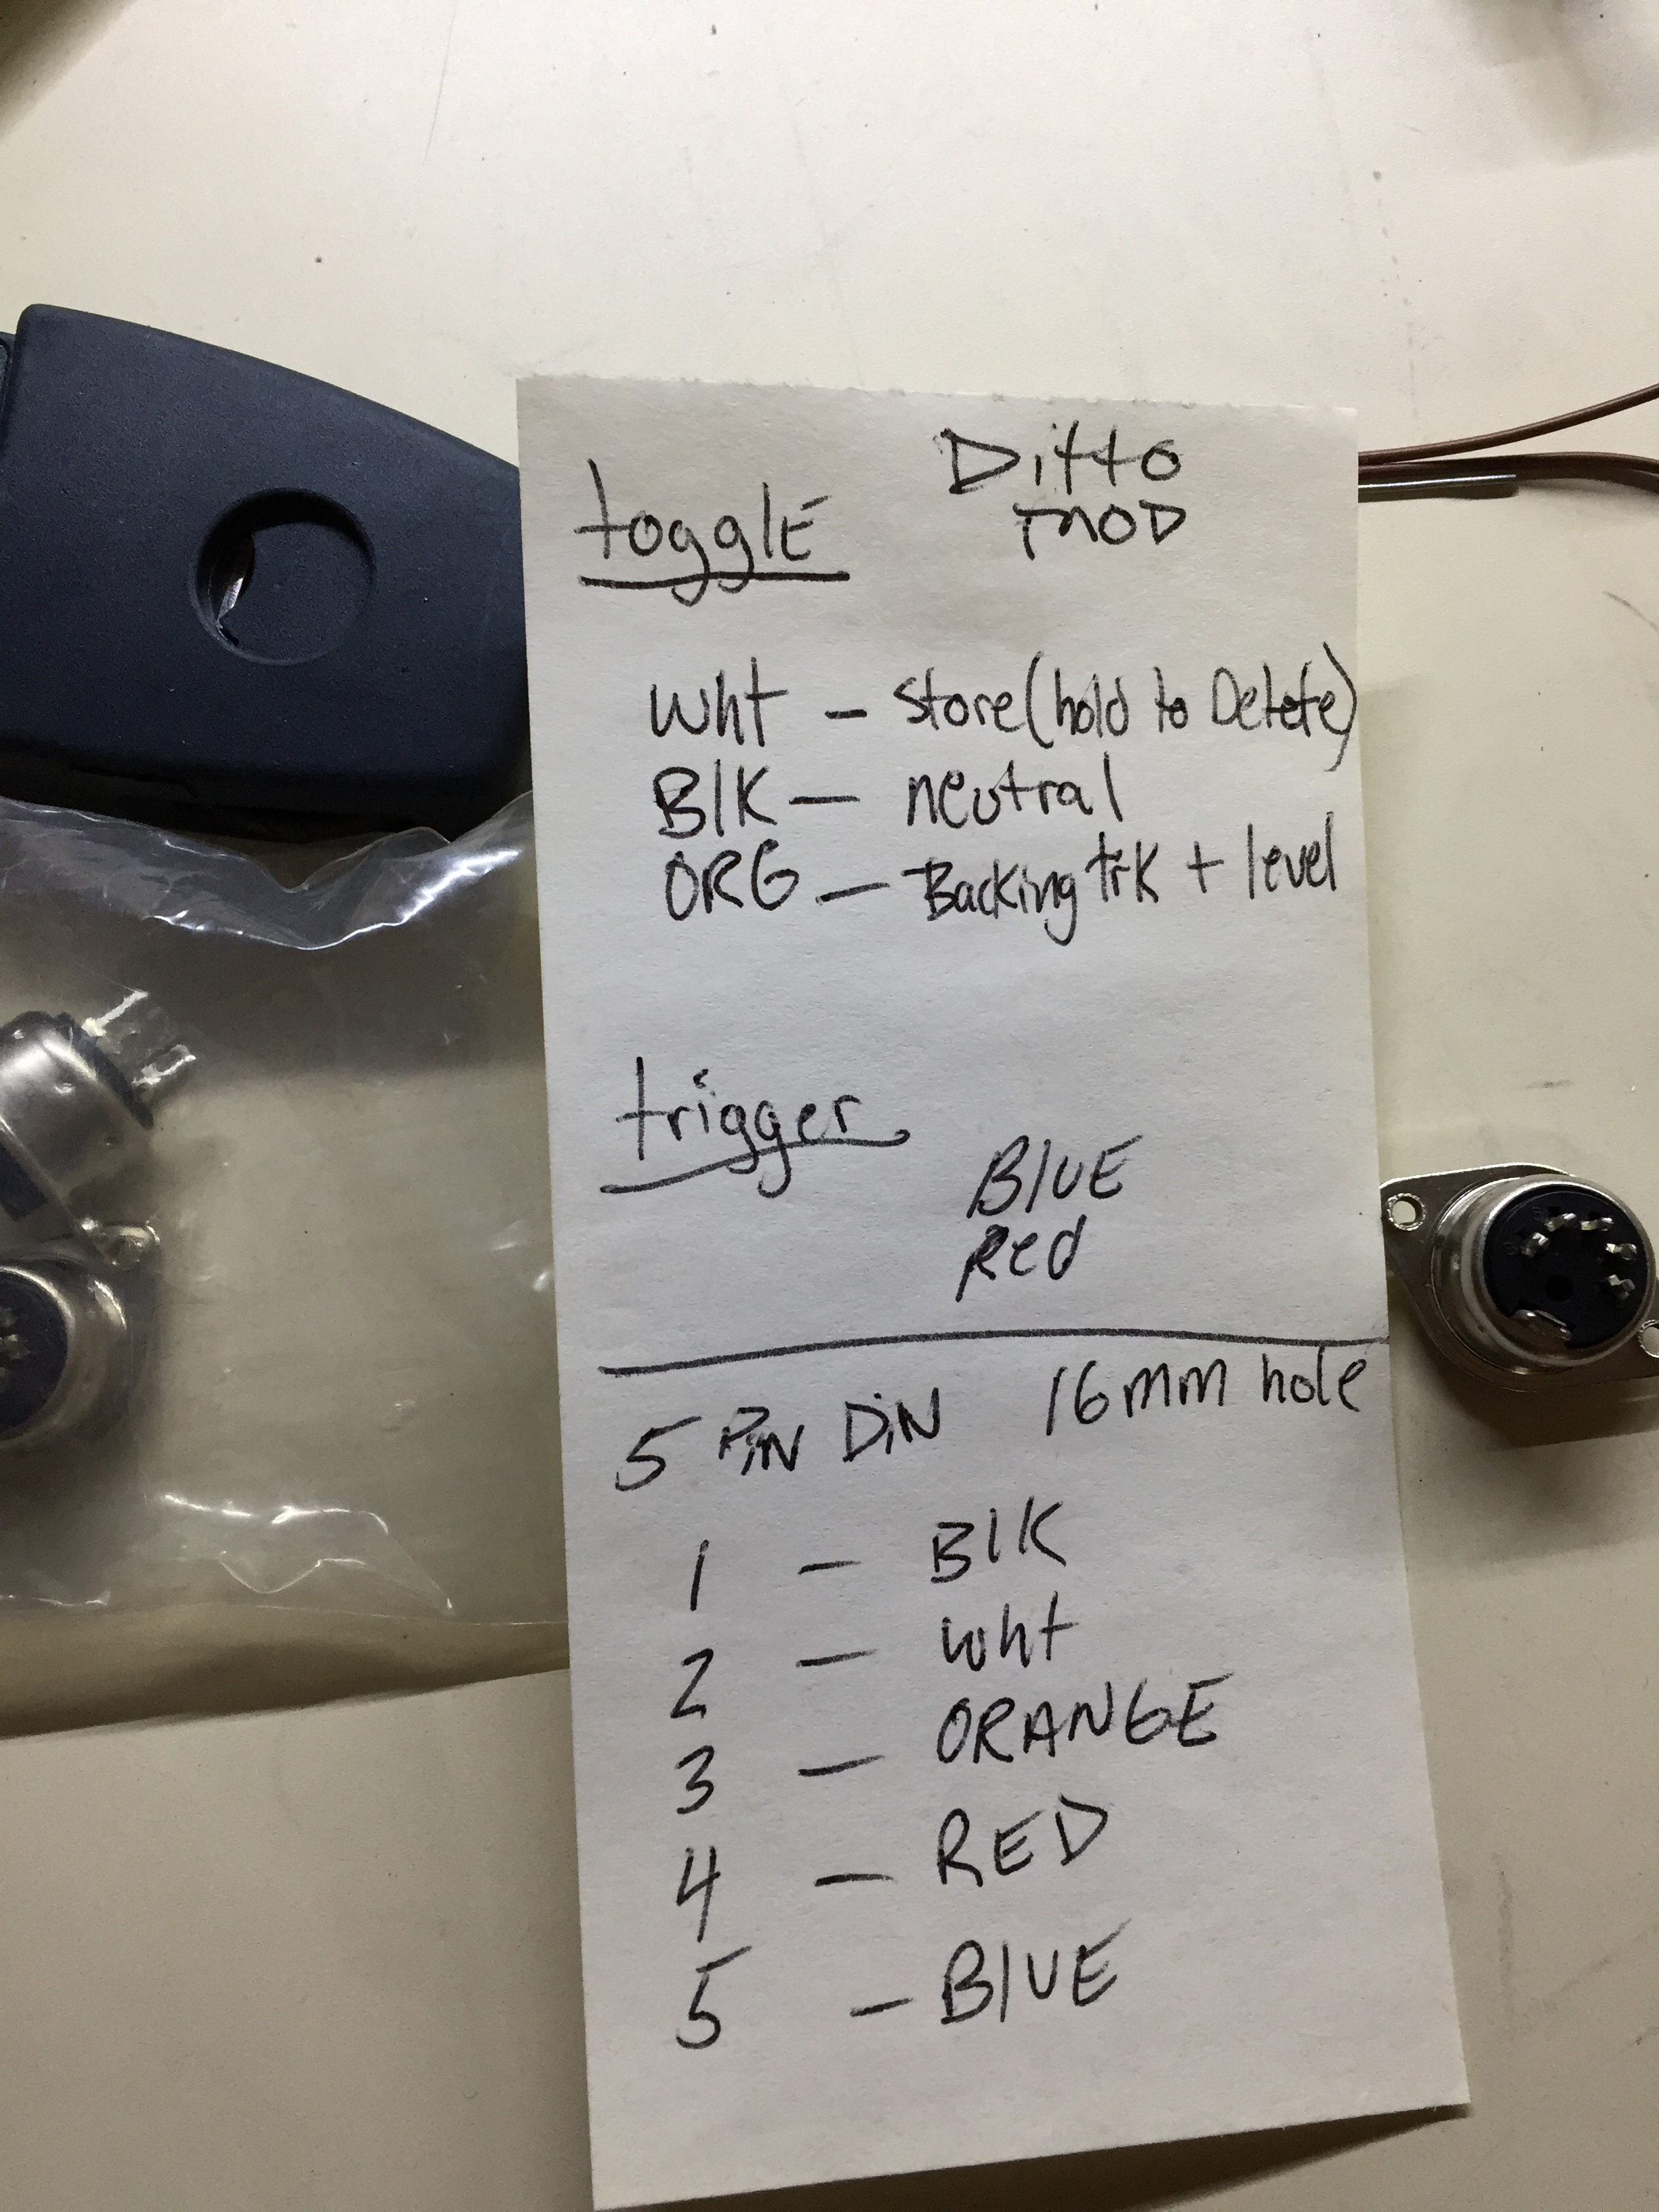

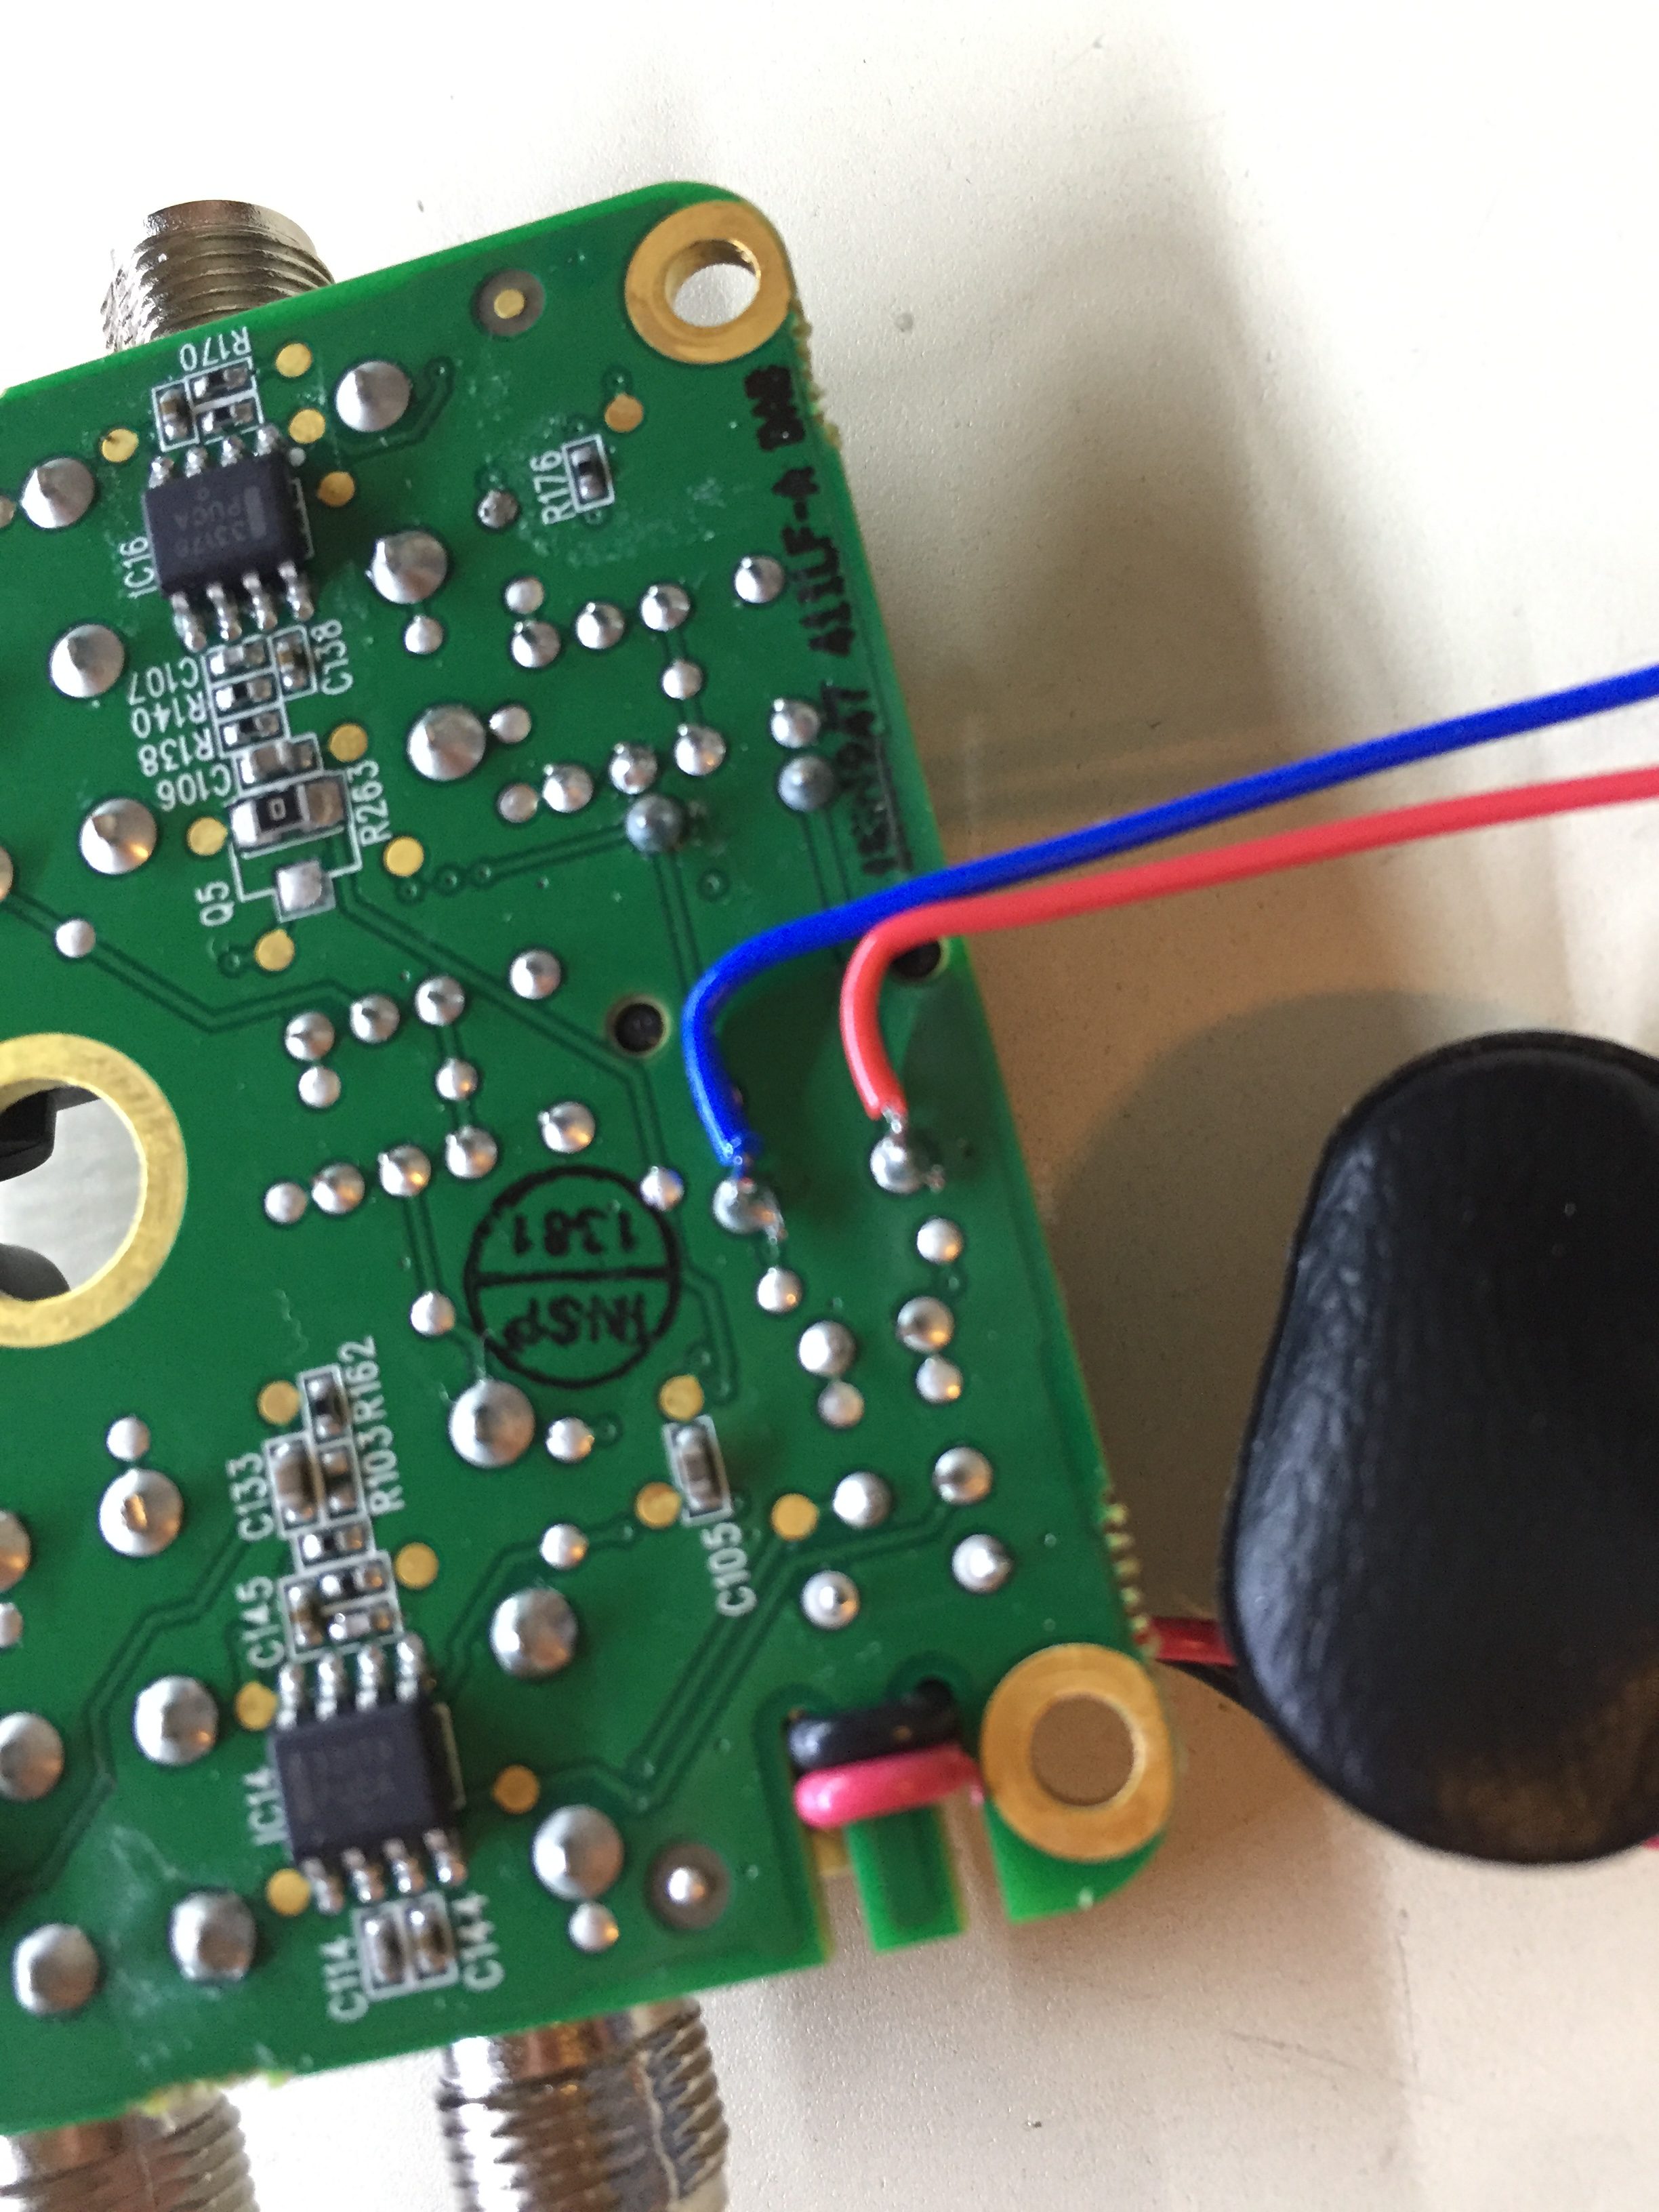
I wired this unit using a 5 pin din connection. Now a standard midi cable will make the connection at any length needed. Disassemble the unit and prepare the wire connection. You will need 2 wires from the footswitch and 3 wires from the toggle switch.
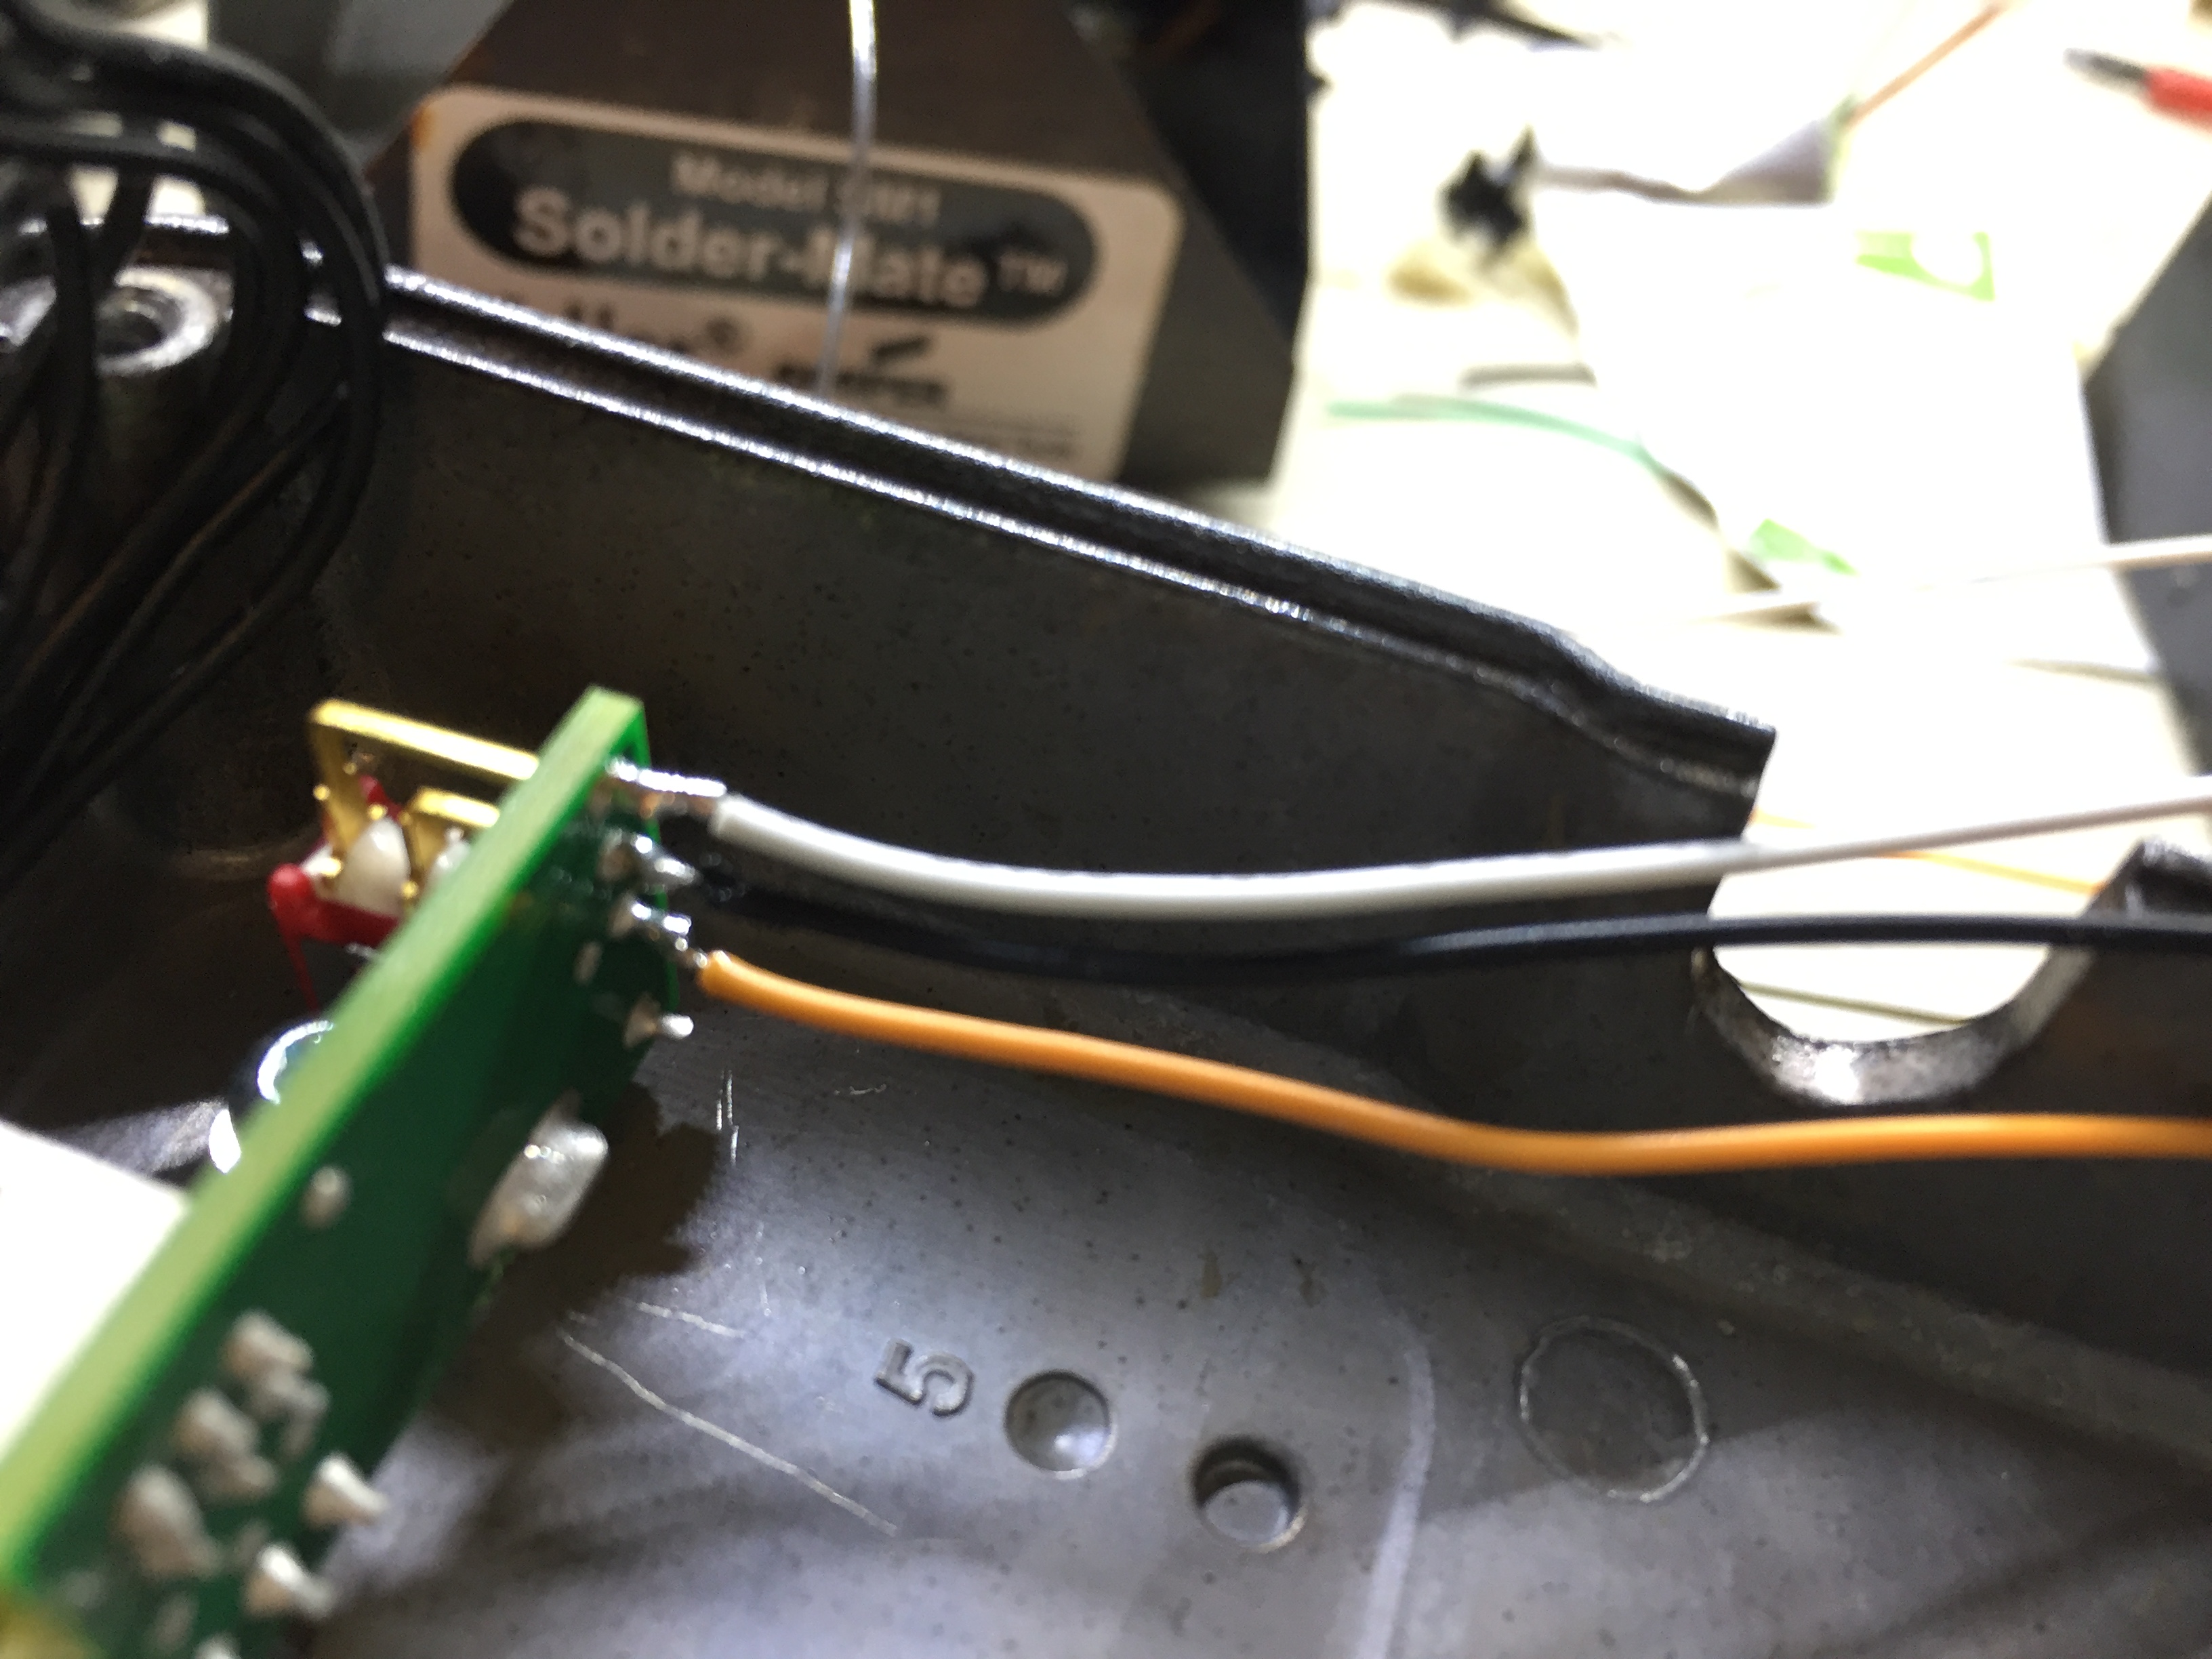
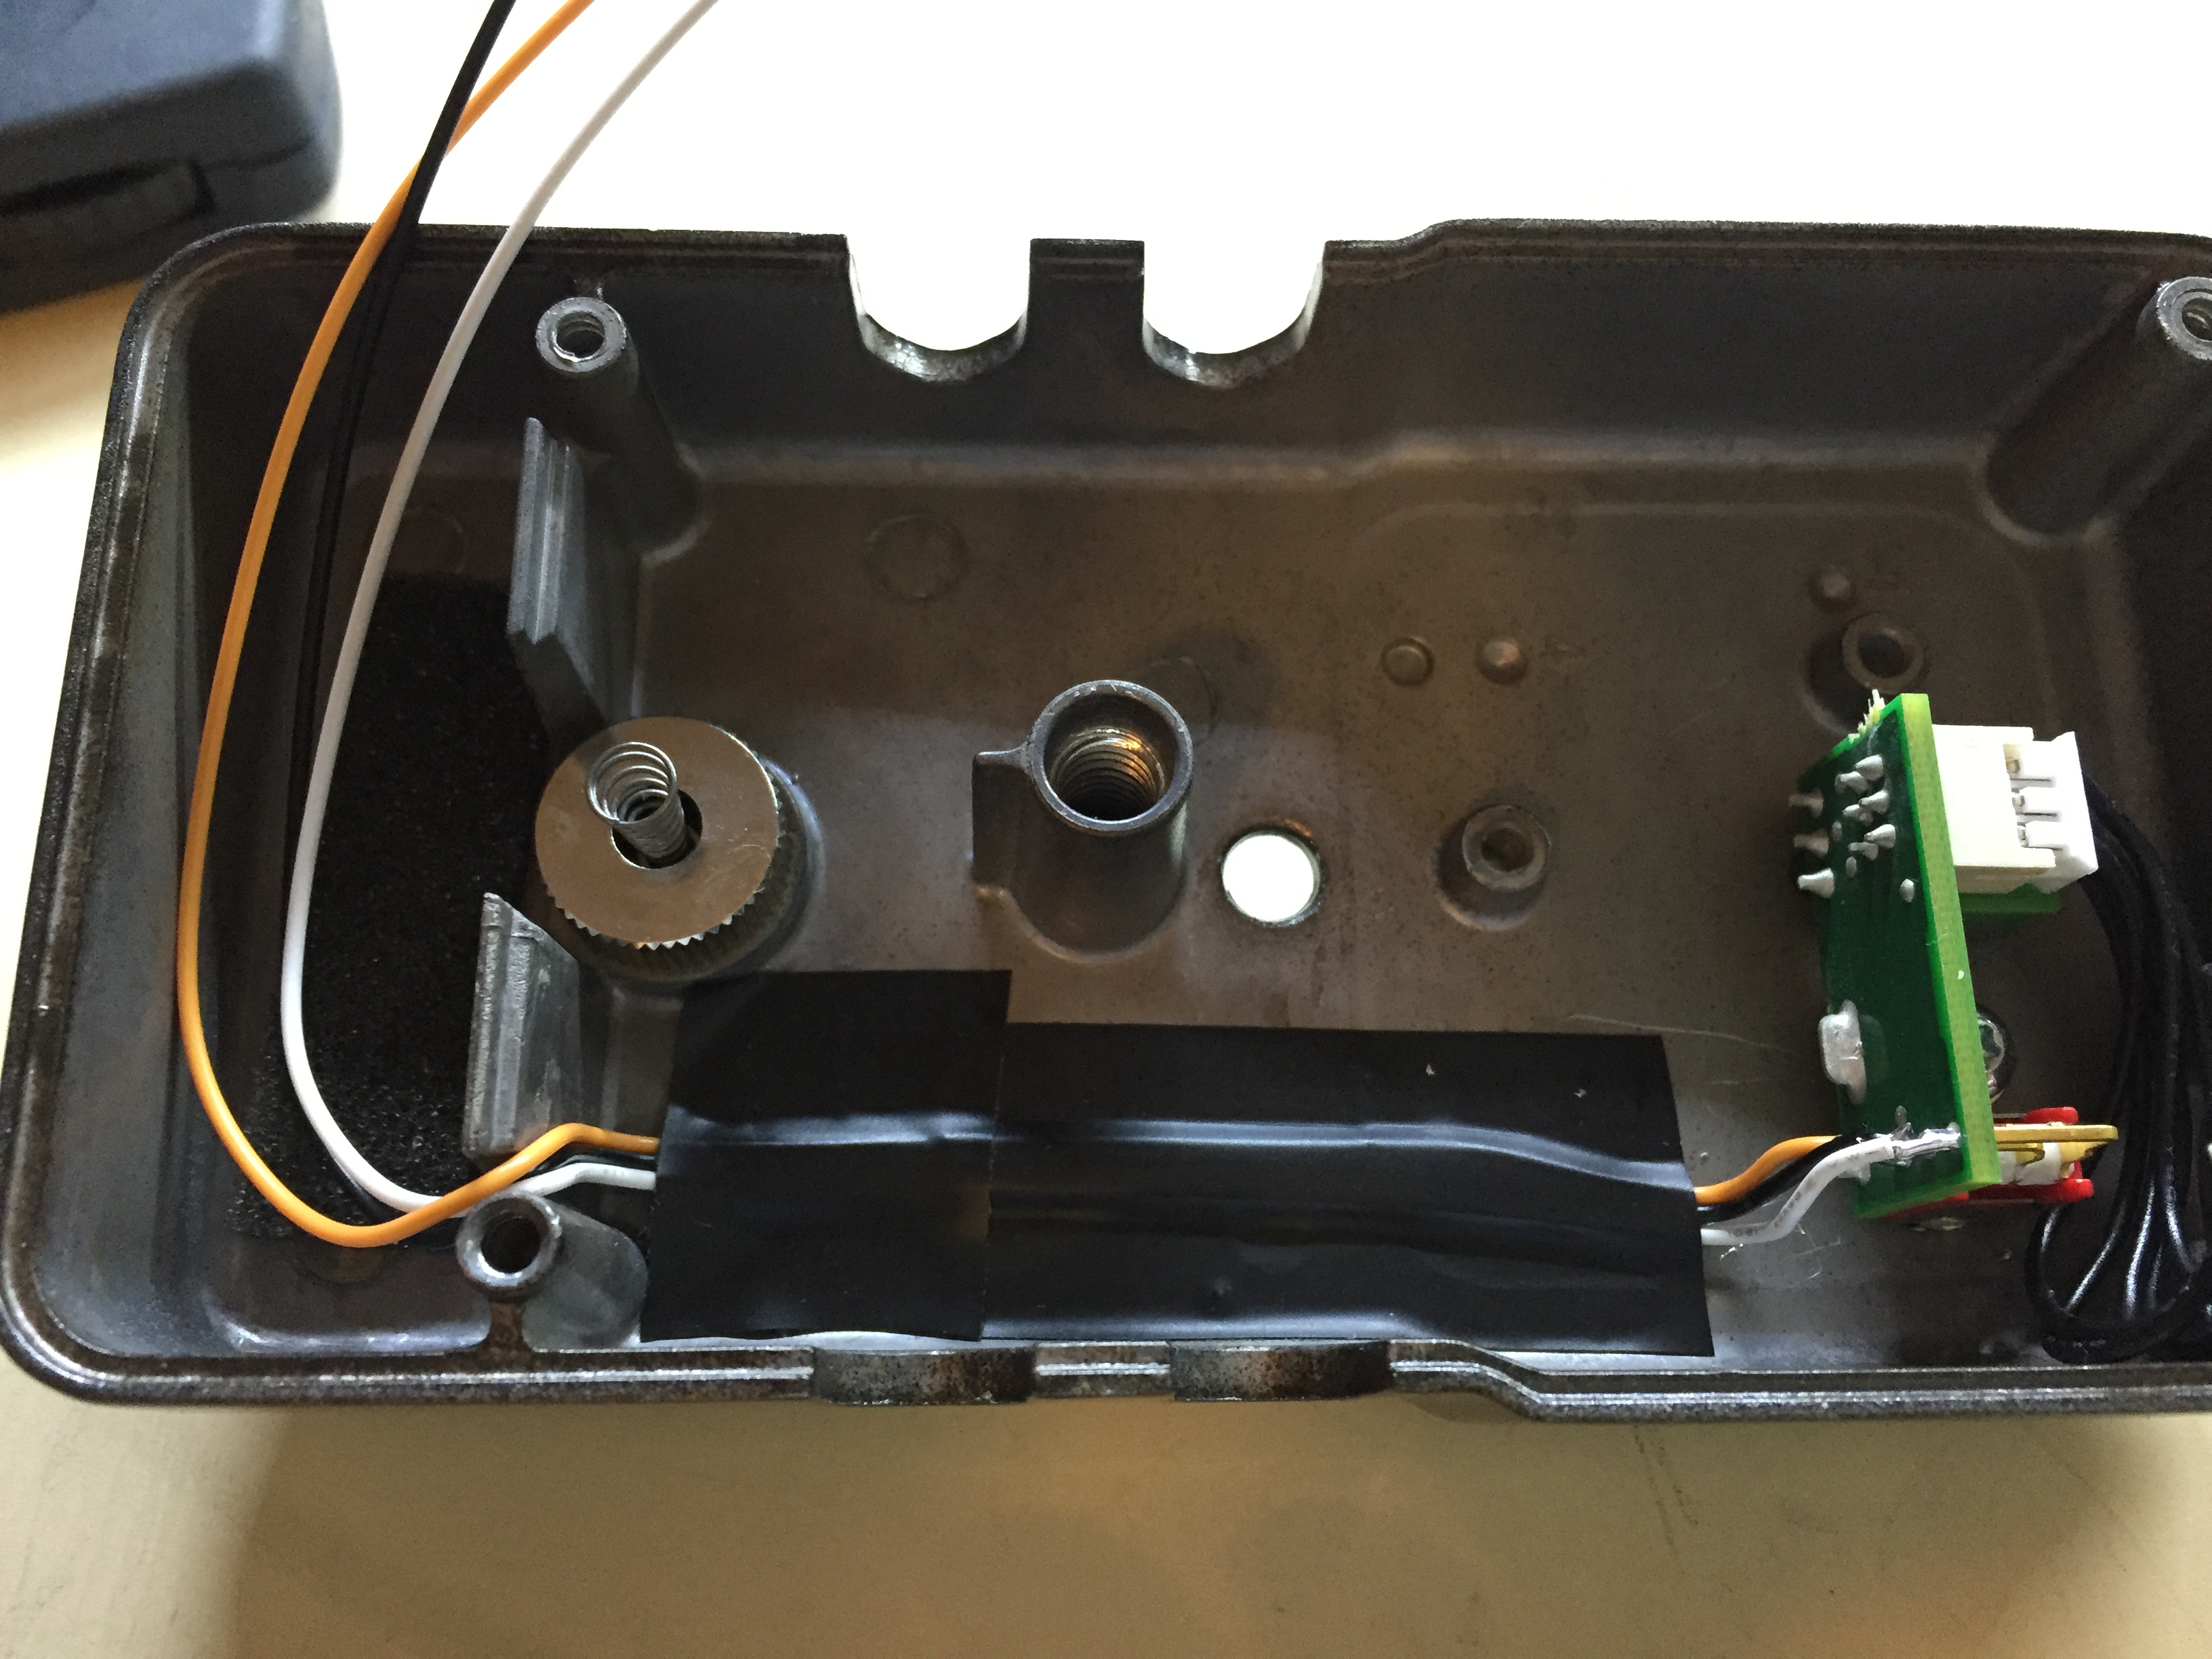
Run the wires to the battery compartment. There is enough room here to mount a female 5 pin din connection. I separated the two switches to have all there channels on separate plugs. Cut all terminals to half length.
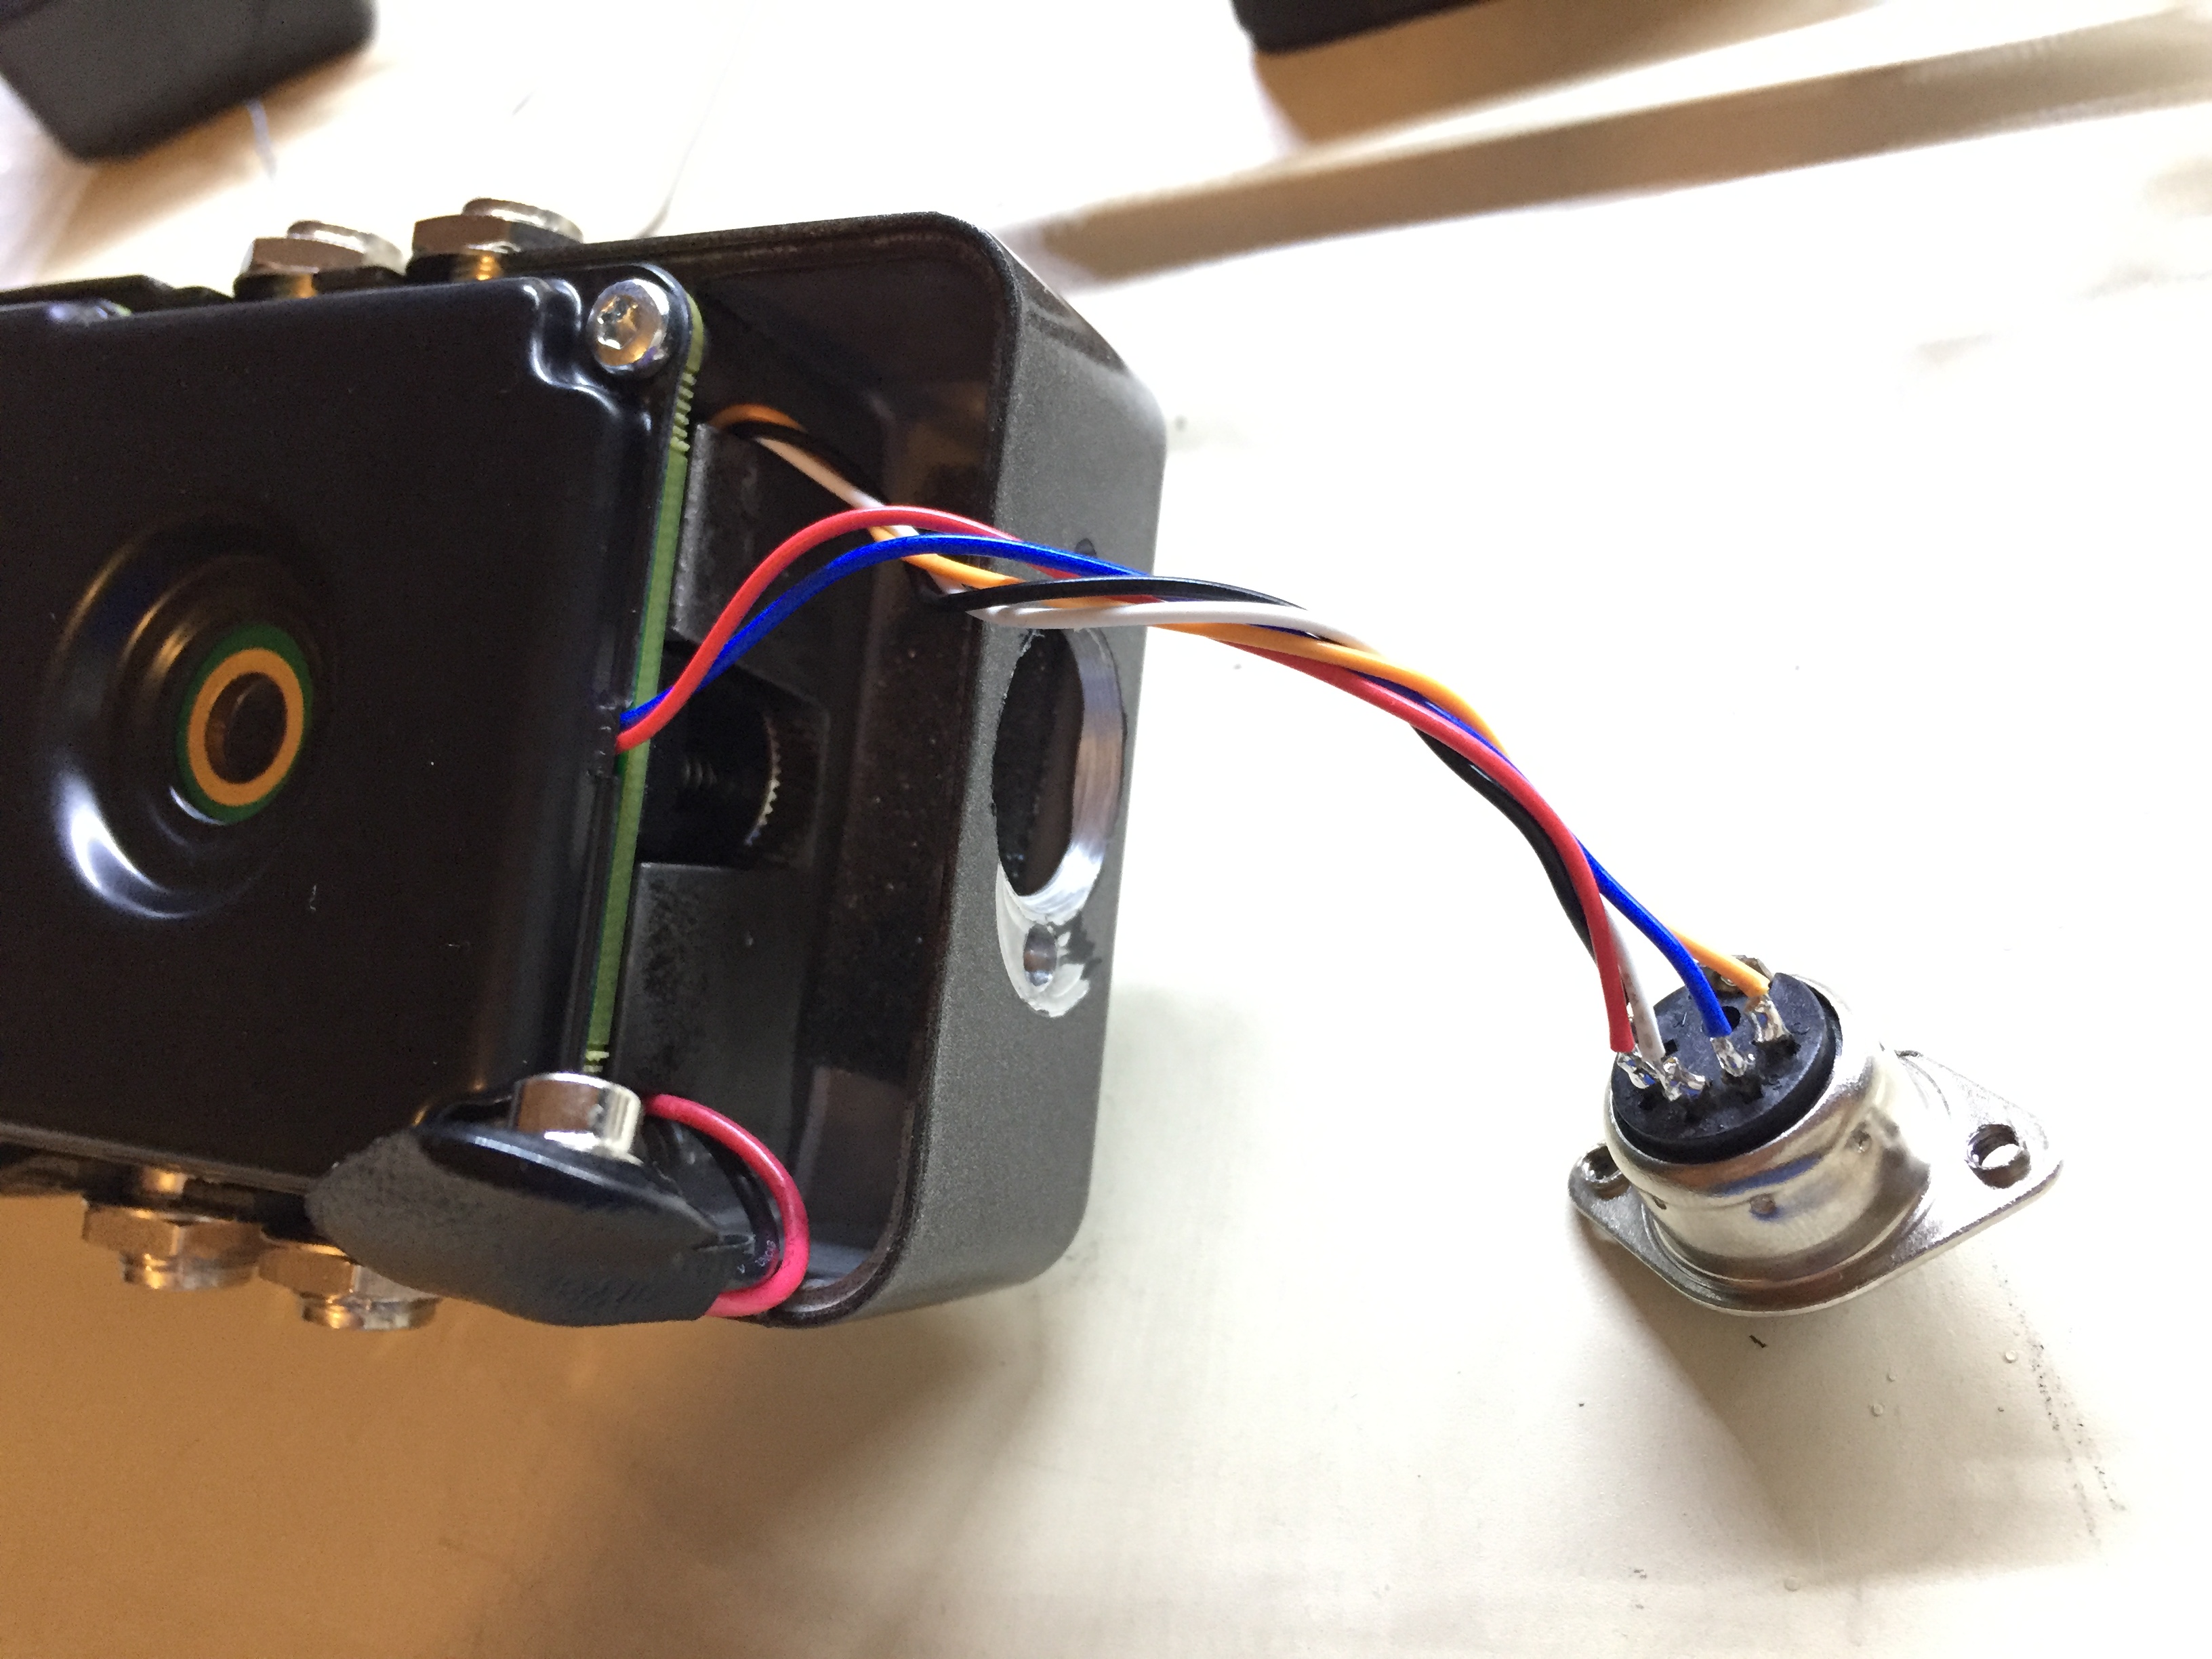

The footswitch is a metal can USB design. I removed the circuit board and wires and used the limit switches inside the pedals to operate at normally open. When they press it will close the circuit to engage the switch function on the Ditto. The Black cable pin 1 to the footswitch was used as common and jumped between pedal Store & Backing Track. The controls on the Ditto still function normally. Female 5 pin din mounts on the inside and screws fasten from the outside.
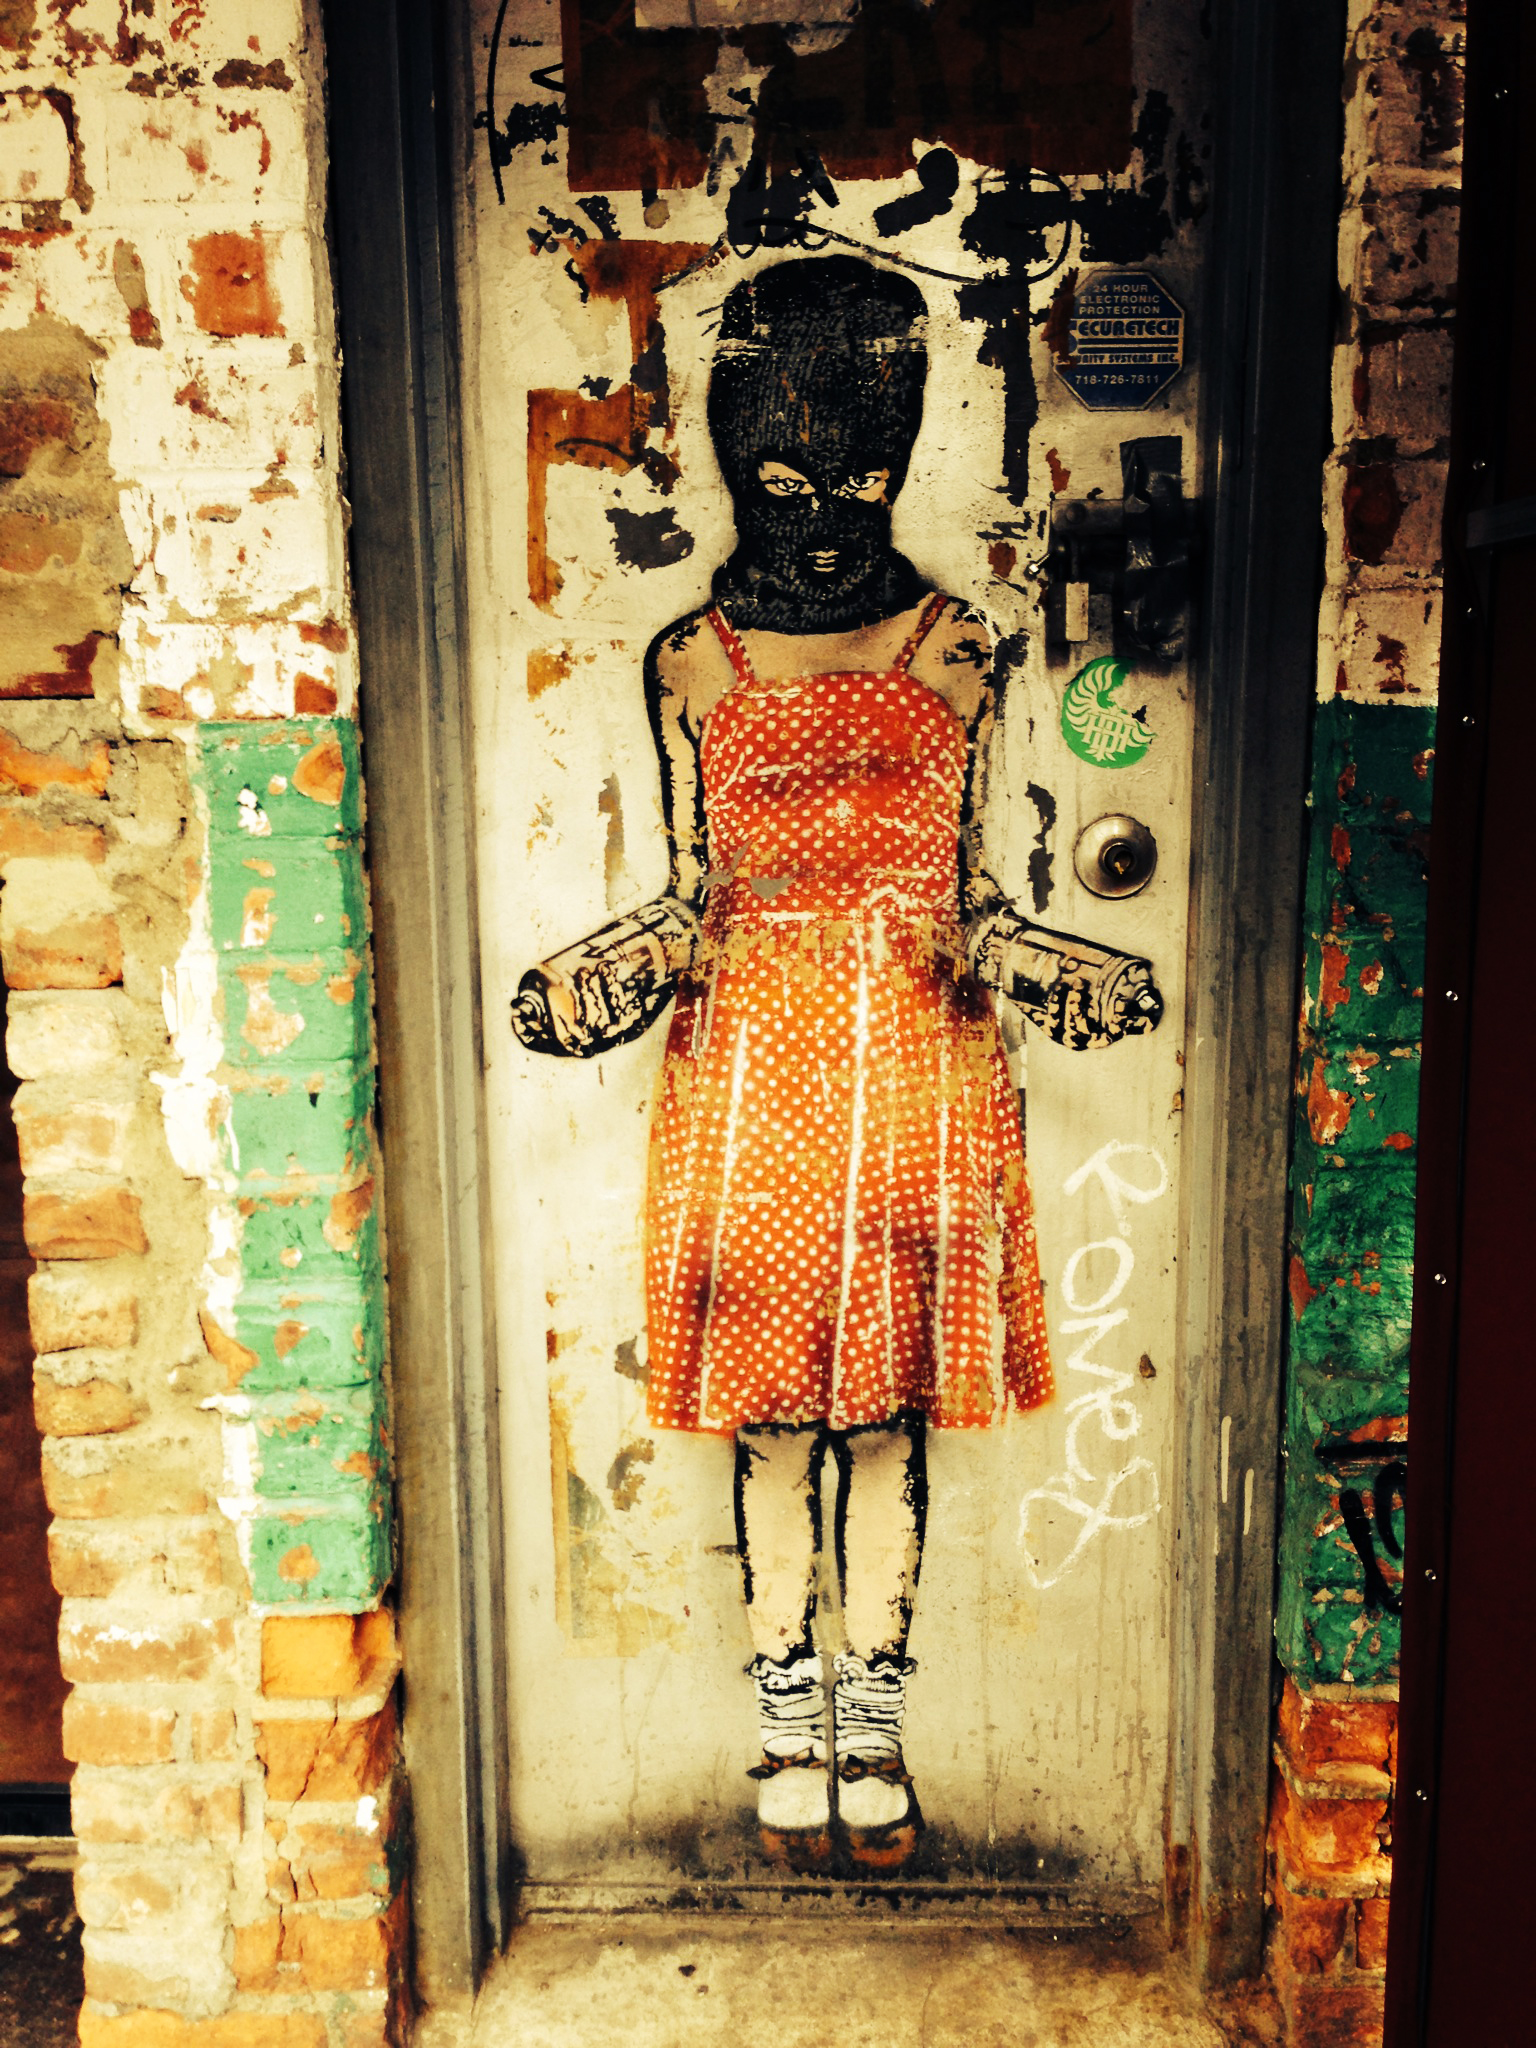
Graffiti Tag
I really like this one, soon I will put together a slideshow of all the photos I’ve taken and add an audio track to it for viewers to enjoy.
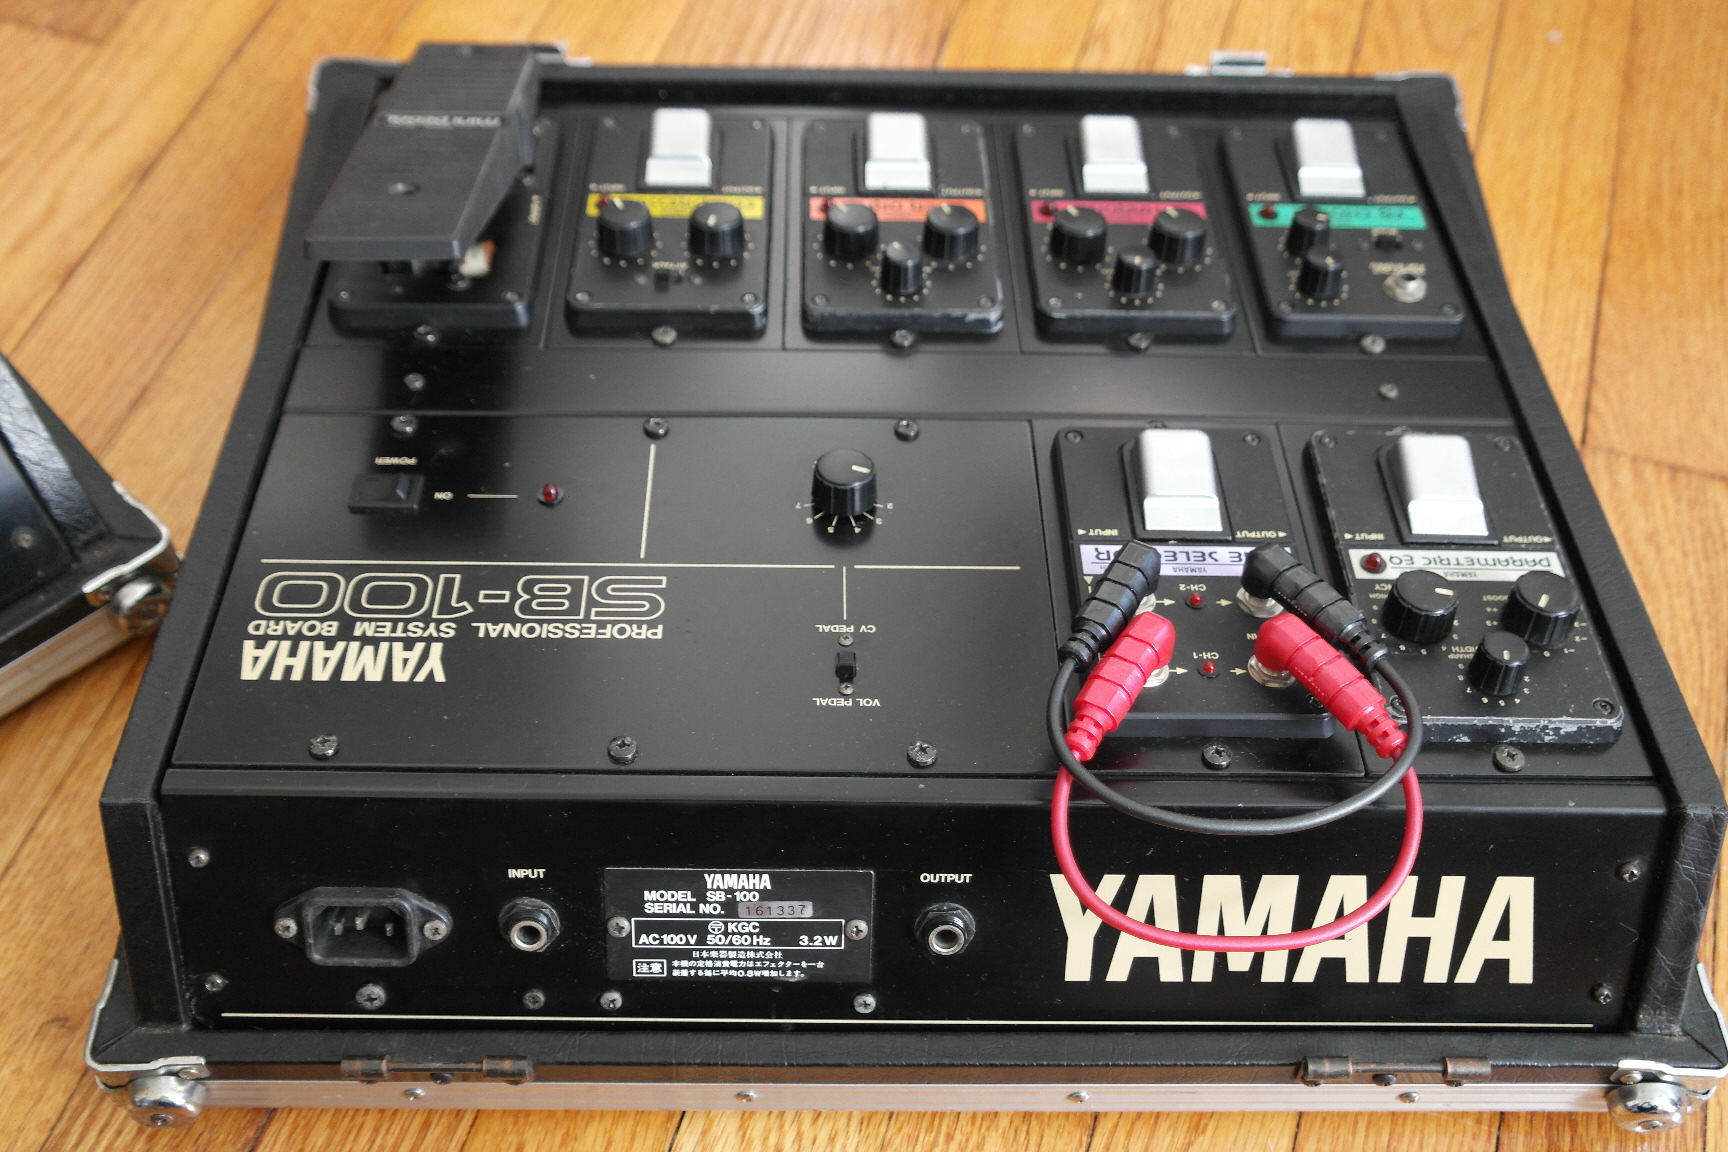
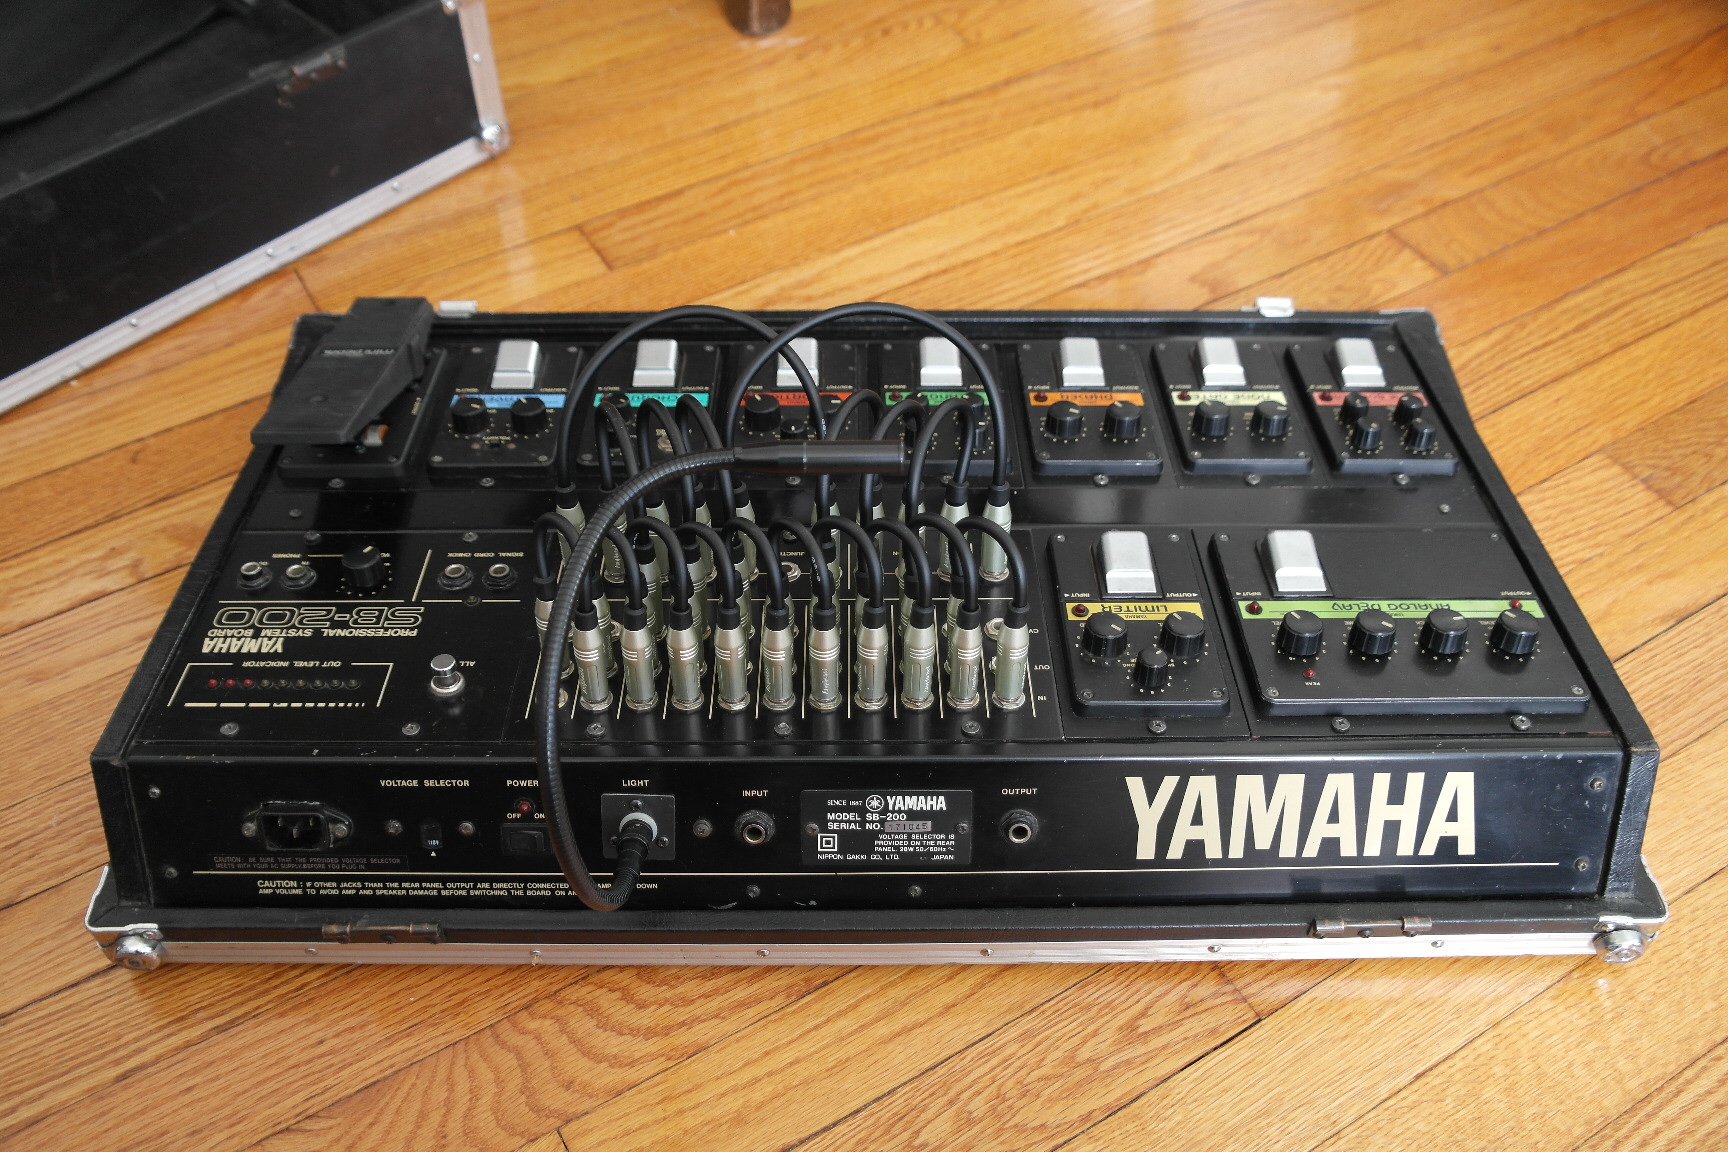
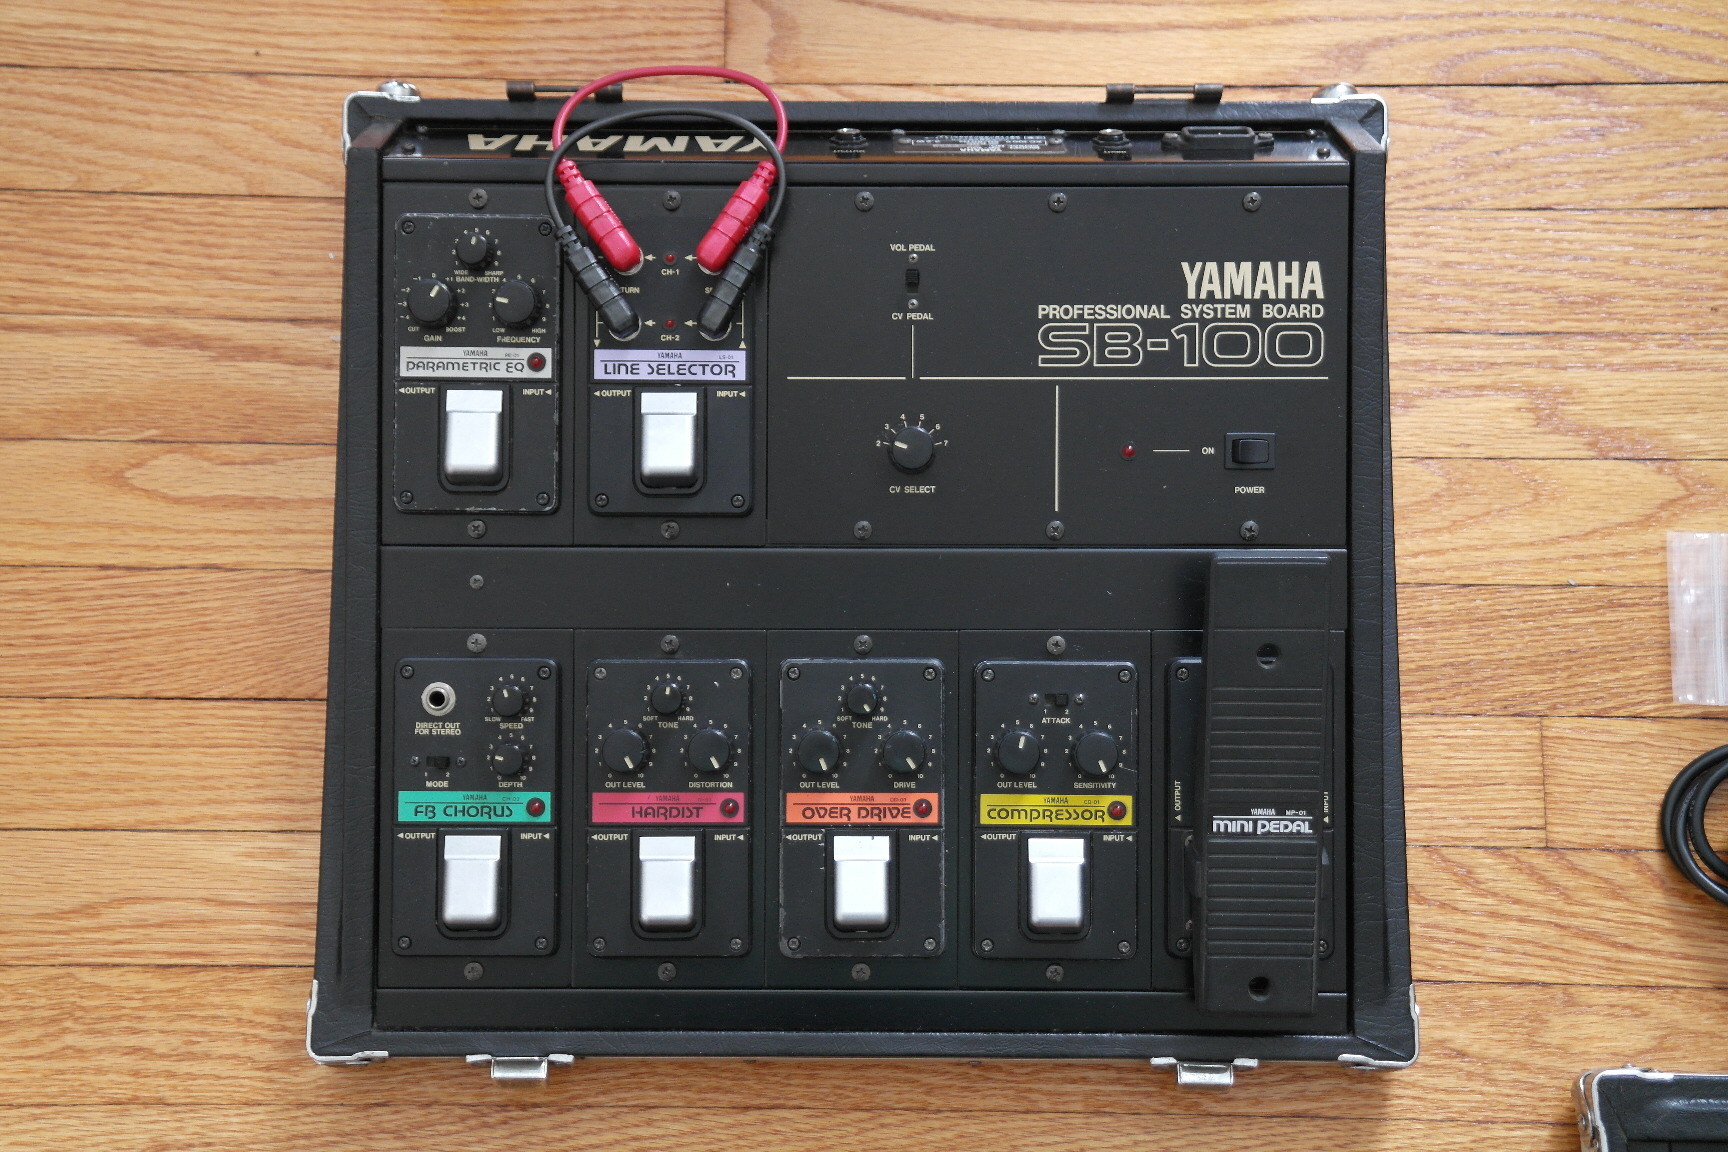
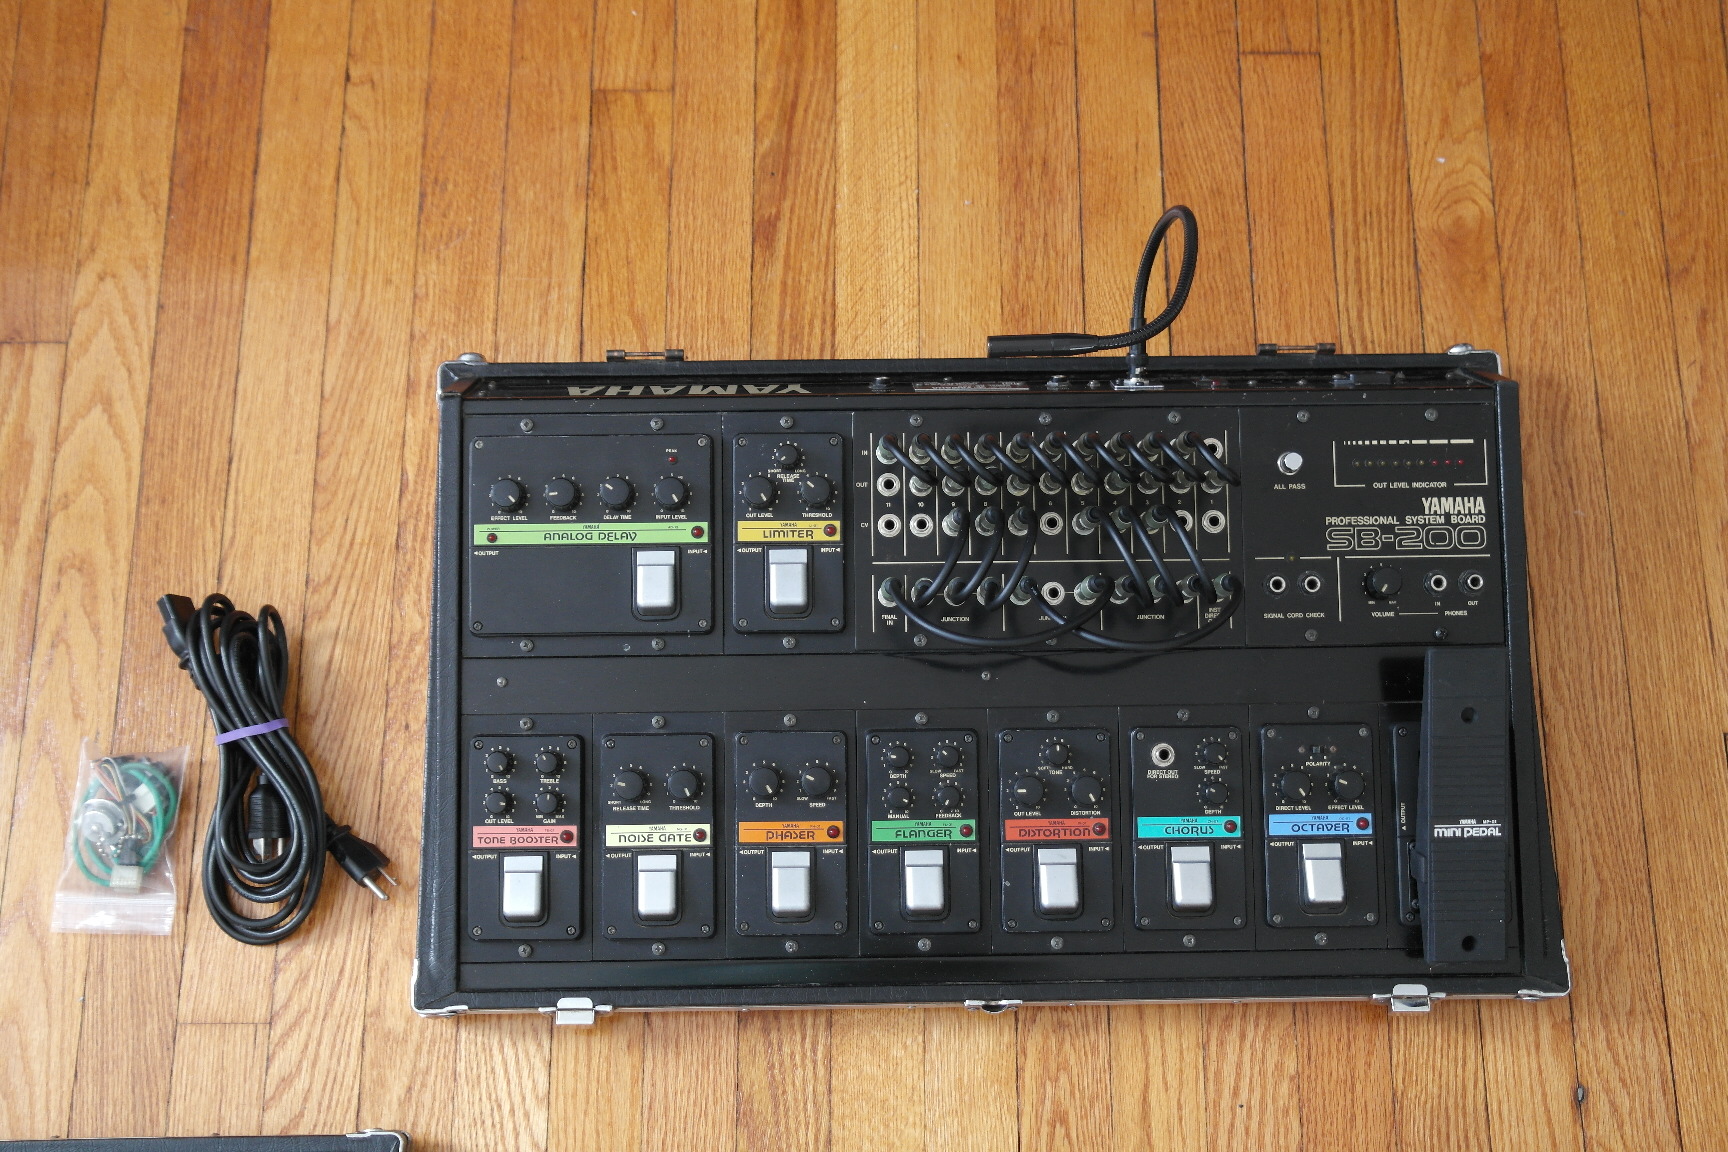
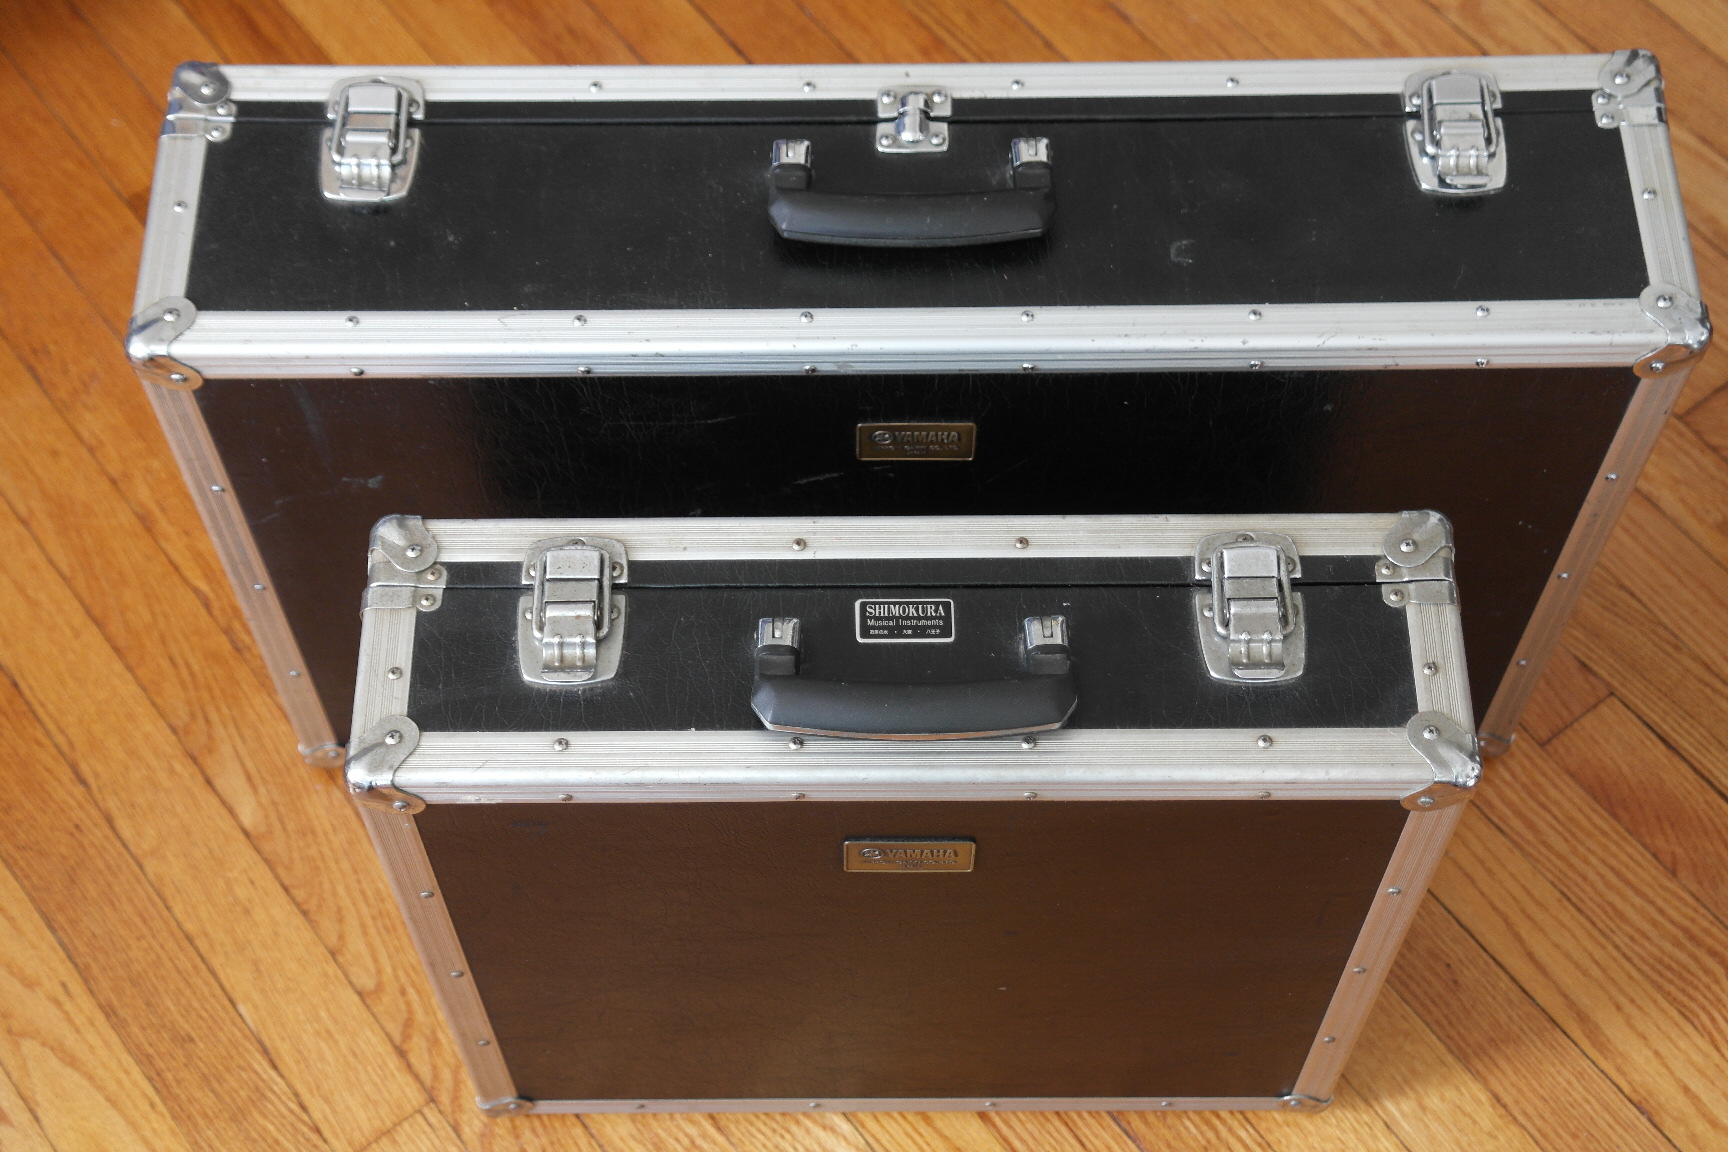
Yamaha SB-100 & SB-200 Compete Pedal Board Set
One of the best pedal boards ever to be manufactured out of Japan. I will post some videos of the sounds soon as well as an inside break down in the pedal board category. Please search blog for second posting.
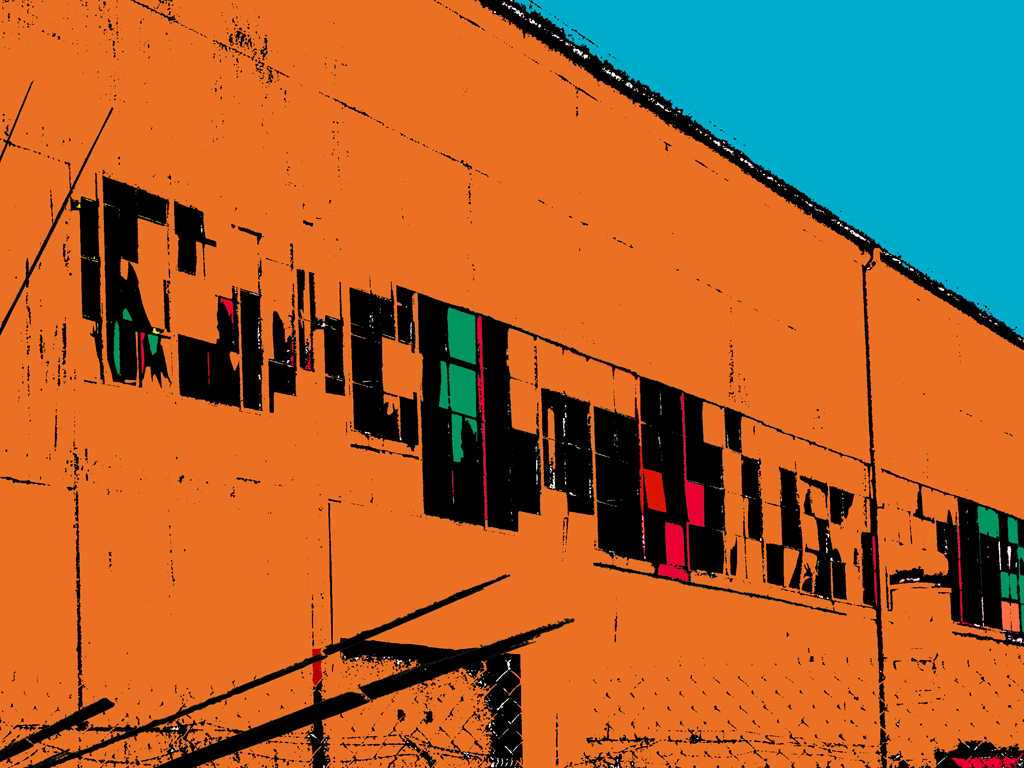
Art Design
I created this from a photo I took while in Seattle and manipulated it in Photoshop CS to have suggestive text.
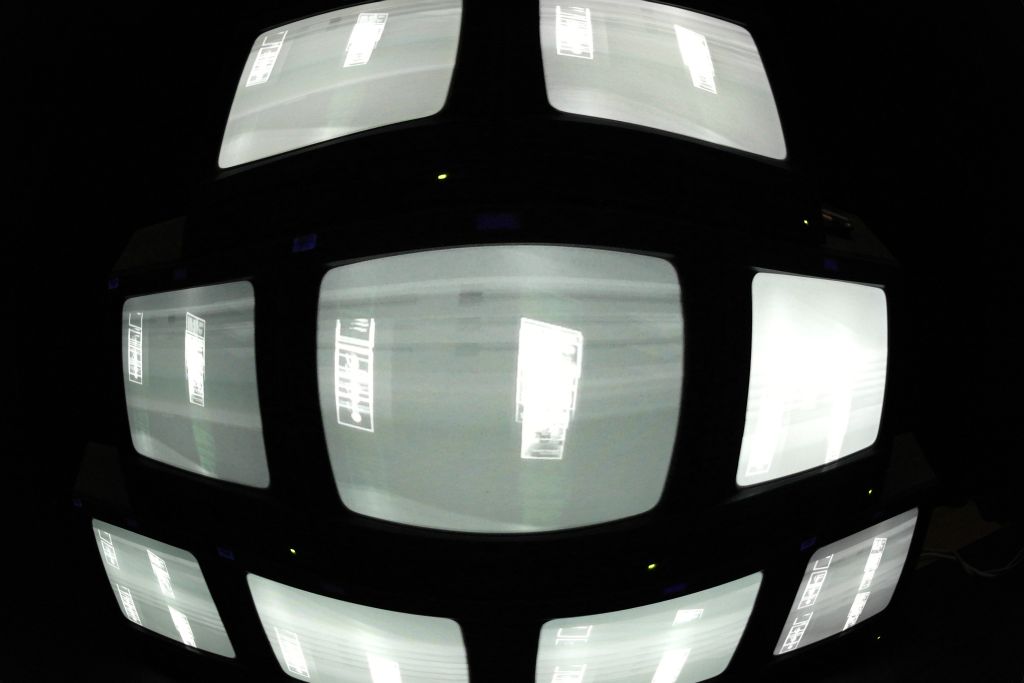
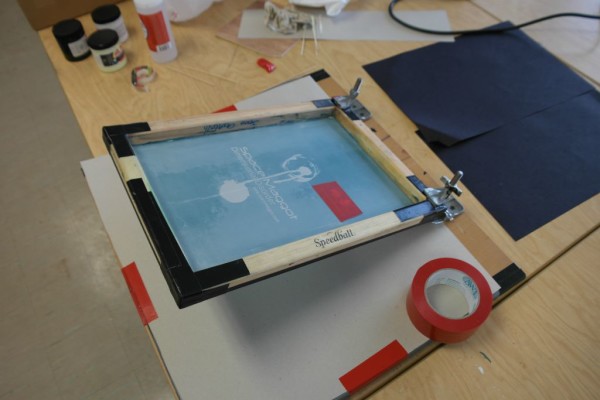
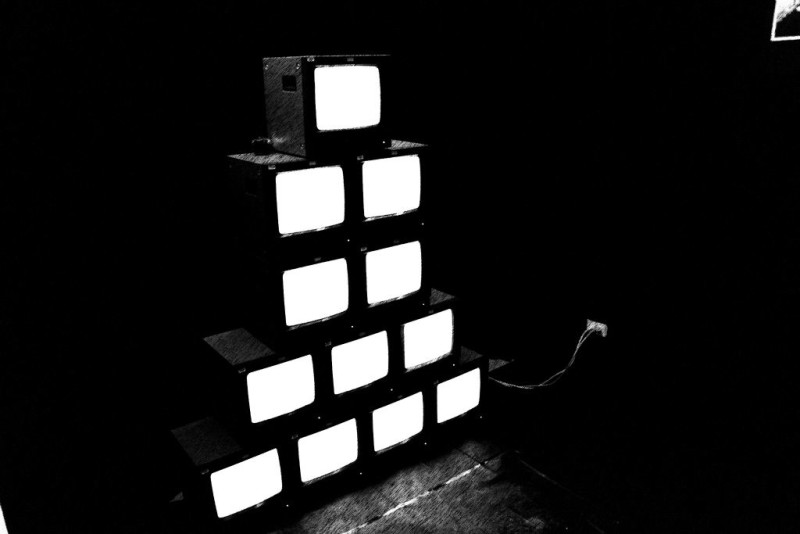
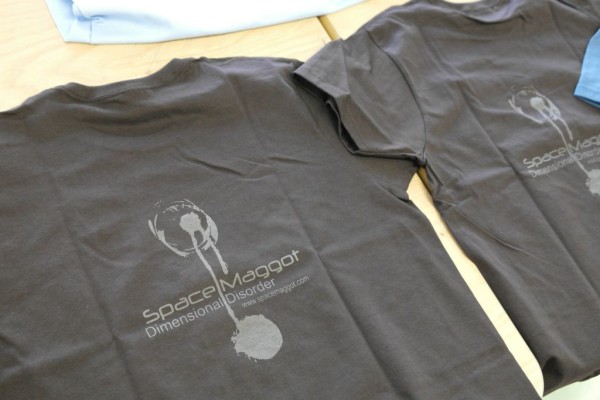
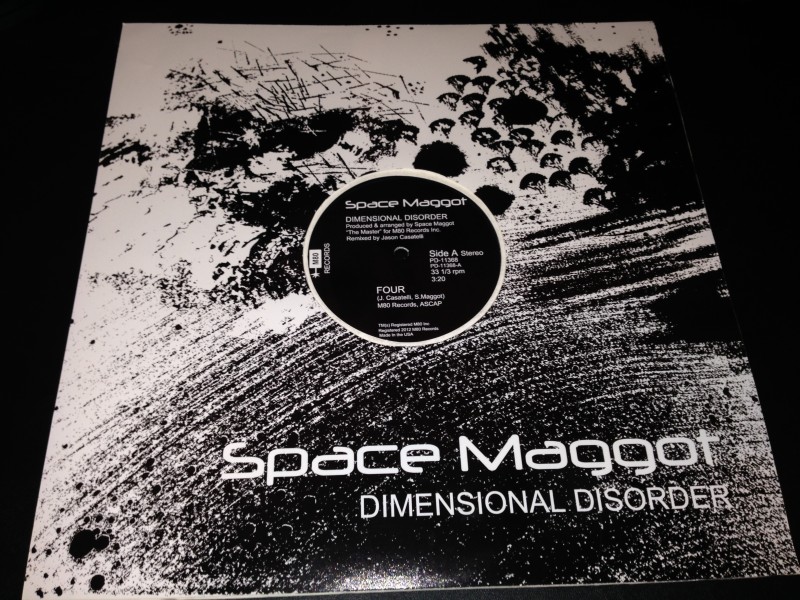
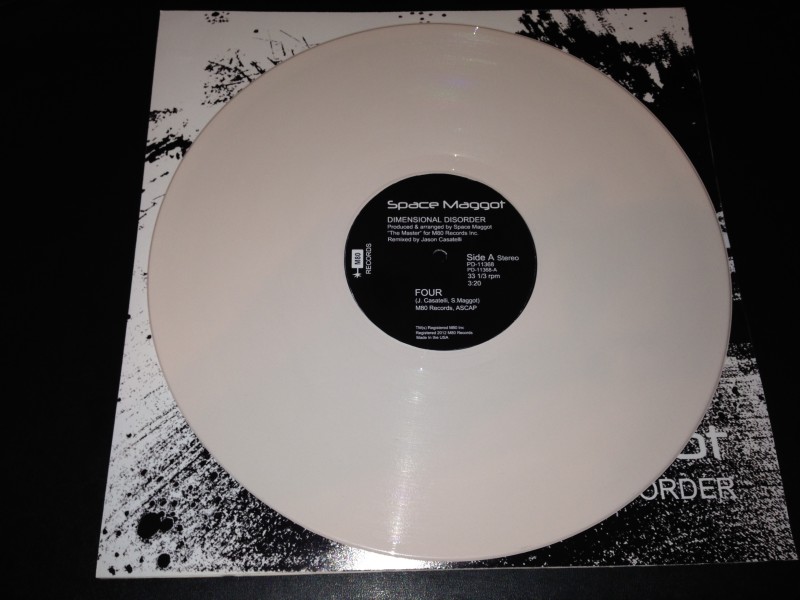
Space Maggot Single Press
When M80 Moved to New Jersey from Seattle my first project was a Demo Press of a project called Space Maggot. The Single was titled Dimensional Disorder. An art installation was created for the release. It was a fun project and turned out to be a nice overall branding concept. The entire project was illuminated in a dark room with 12 T-8 black lamps and had a monitor stack that fed a live cascading video feed of the people who entered the room. A shirt design was also created with glow screen ink for the first 50 people who entered.


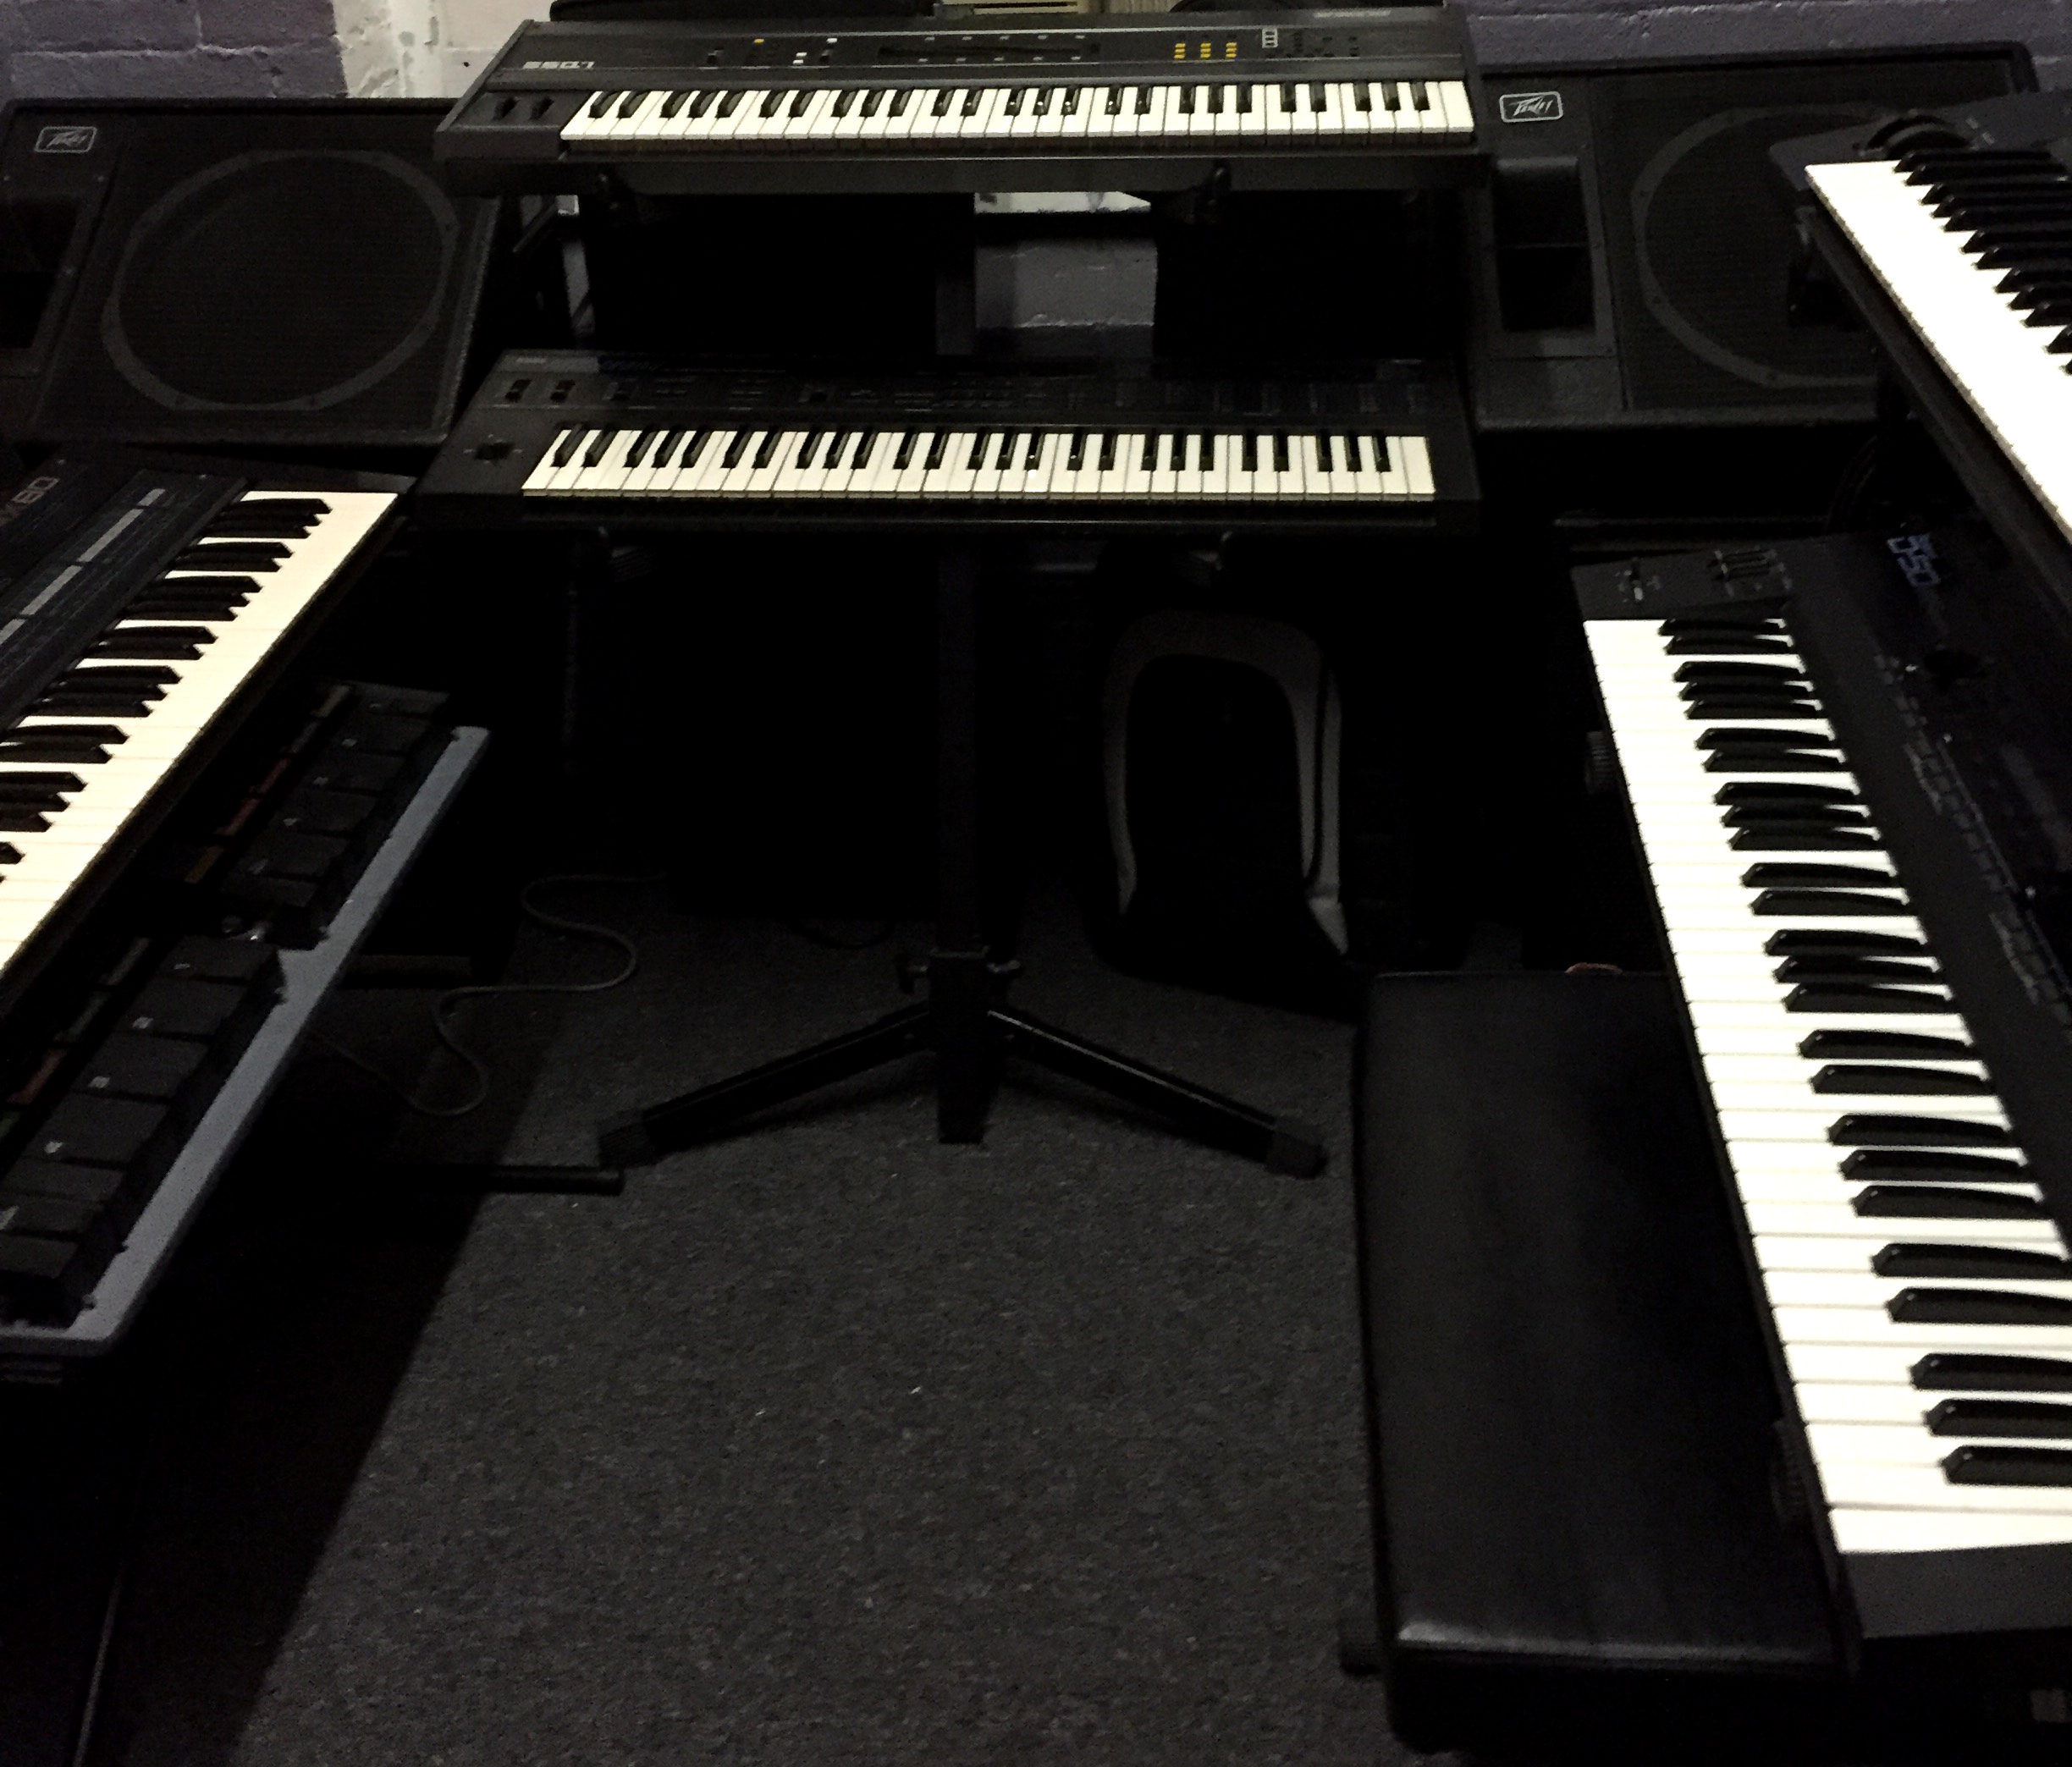
The Keyboard Room
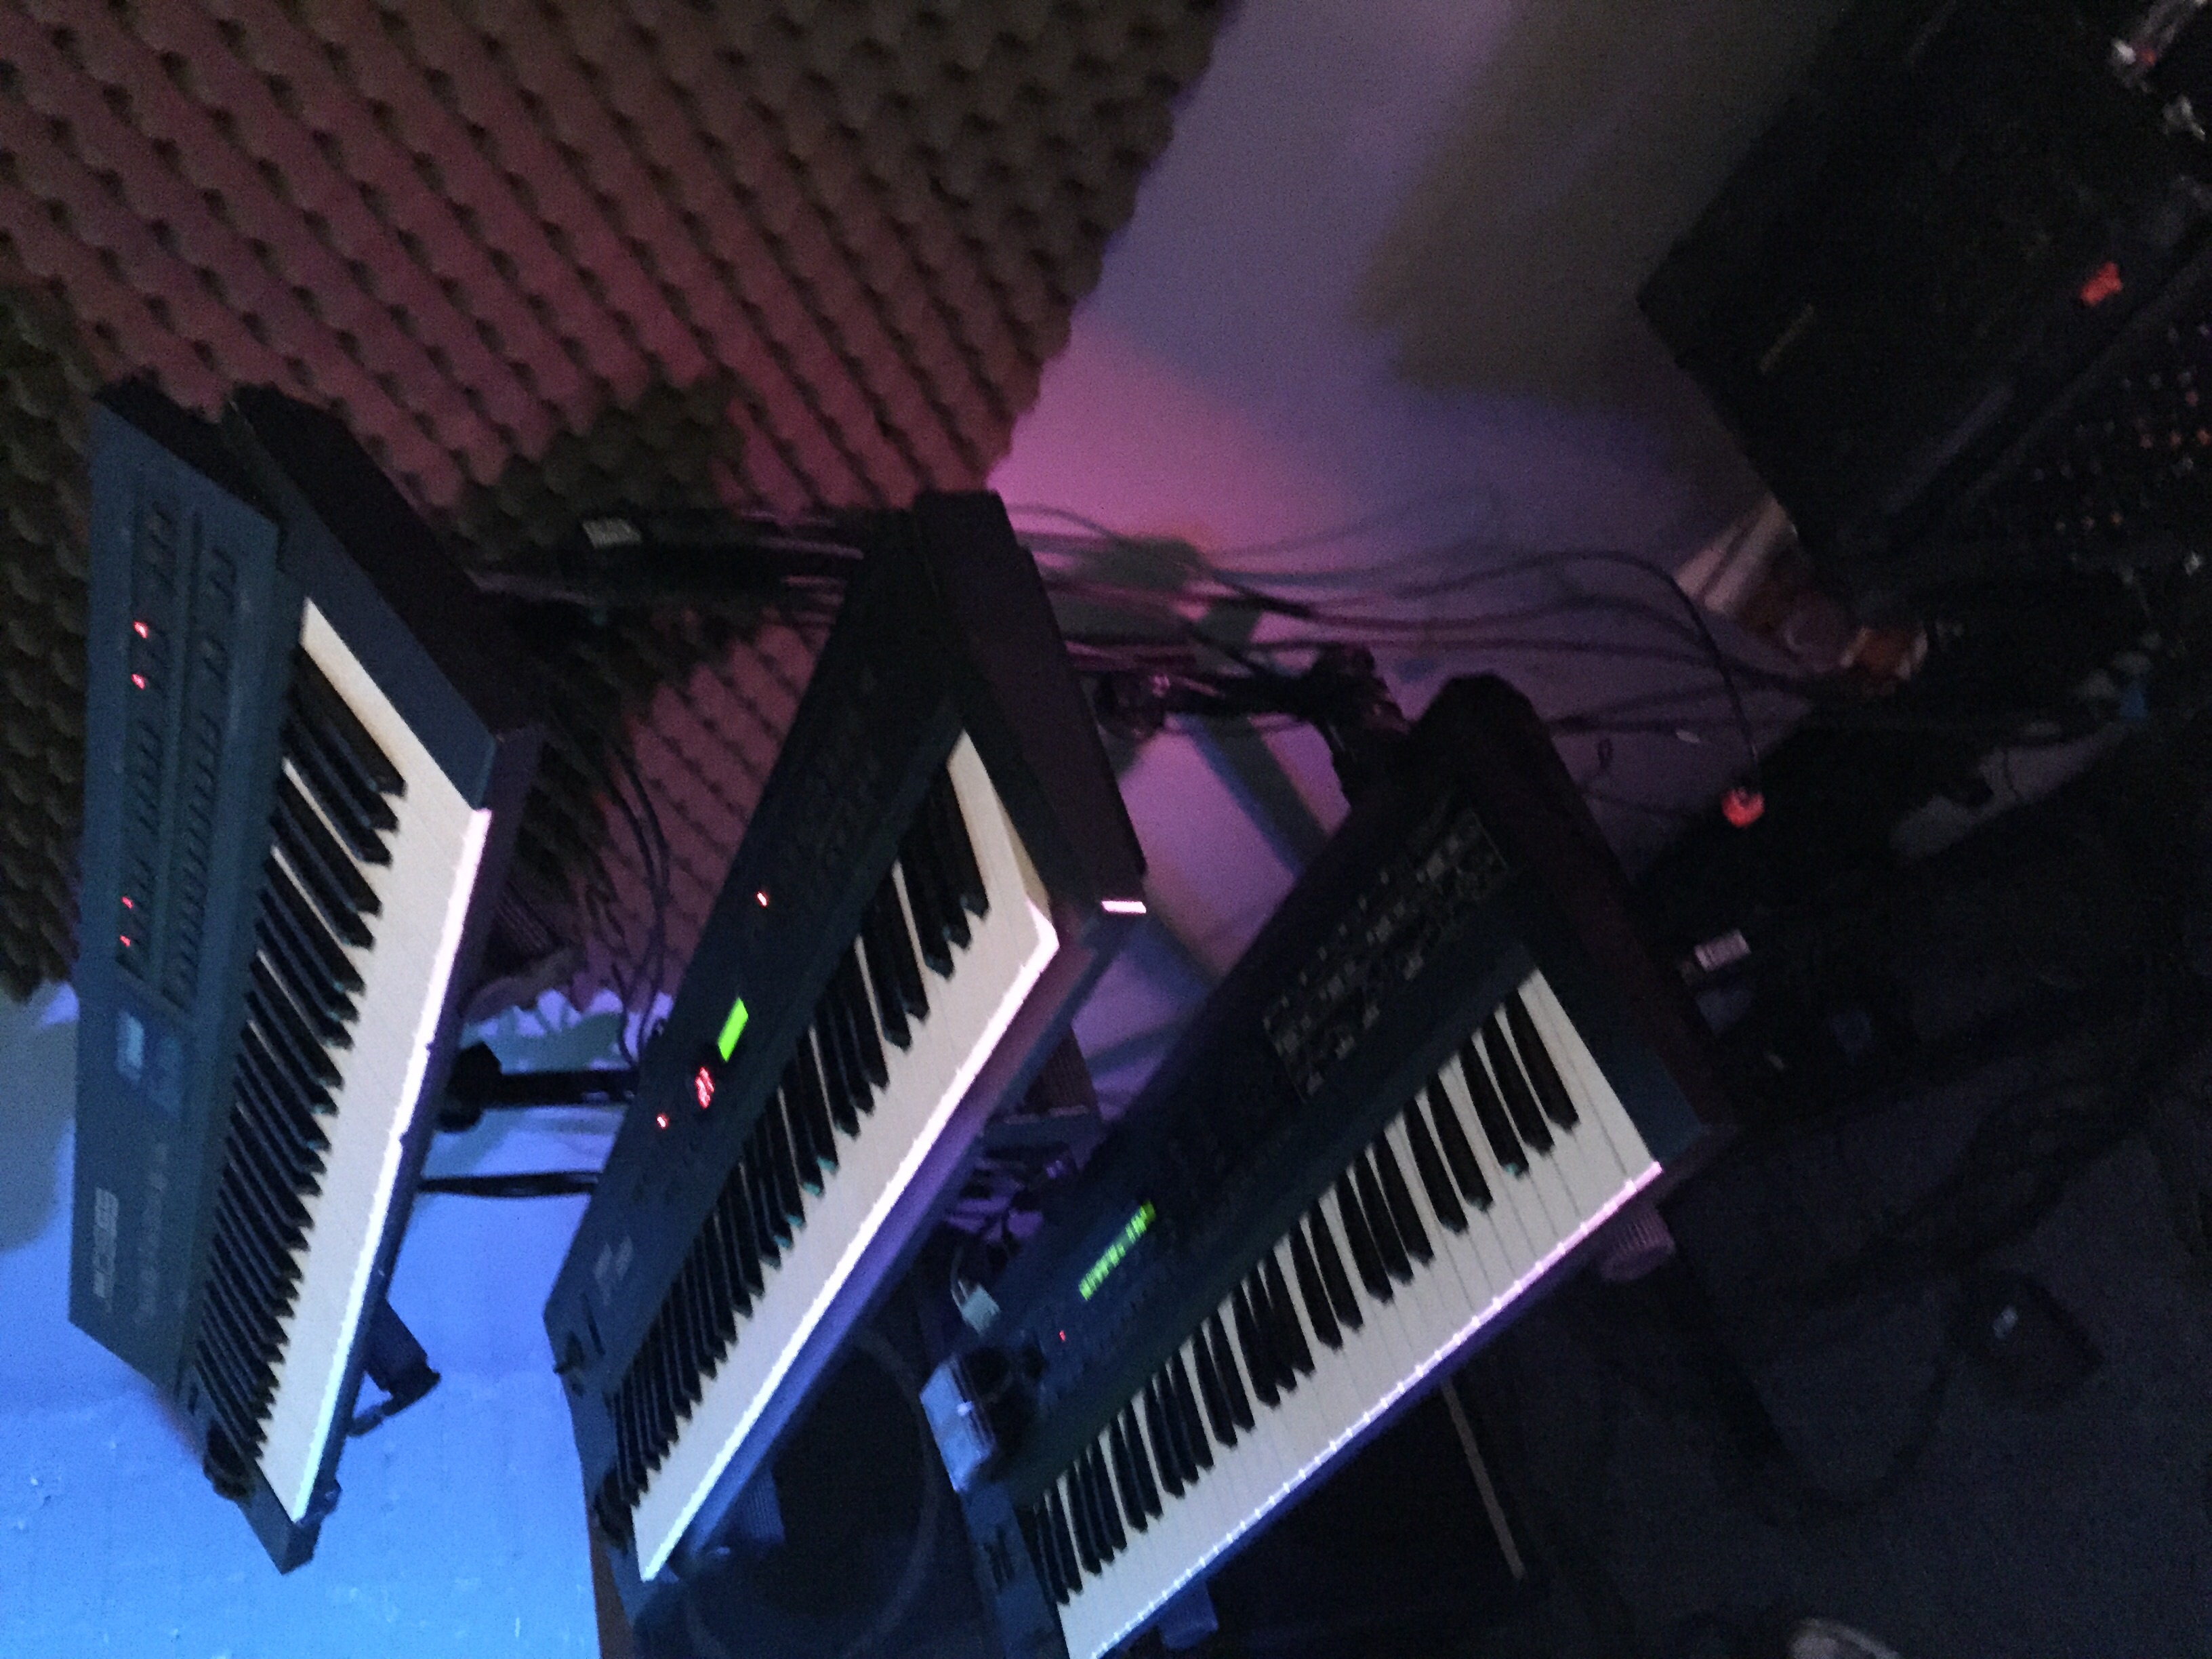

All of the keyboards are running through a mixer live with effects, looper and recorder attached. Great for idea generation and loop builds. This room has the following listed keyboards. Yamaha SY-22, Yamaha DS-55, Roland D-50, Ensoniq ESQ-1, Korg DW-8000, Akai AX-80 & Oberheim OB-12. Effects modules are Yamaha PSE 40X double unit, Multiple Rackmount Effects plus three other custom stomp box pedal effects boards. PA Sound is 900W through 4-15″ woofer box enclosures with horns. A Marantz Solid State recorder is connected.